In this tutorial, we learn how to draw a twisted skull. First, draw the outline of the skull and then start to draw in the jaw line around the middle. After you have this drawn out, draw in the teeth on the top and bottom of the face. Then, draw in the eye sockets and the nose shape. From here, start to add in lines that look like cracks around the top and sides of the skull. There is no perfect way to draw this, draw it how you feel it should look! Add in some shading to show the depth and c...
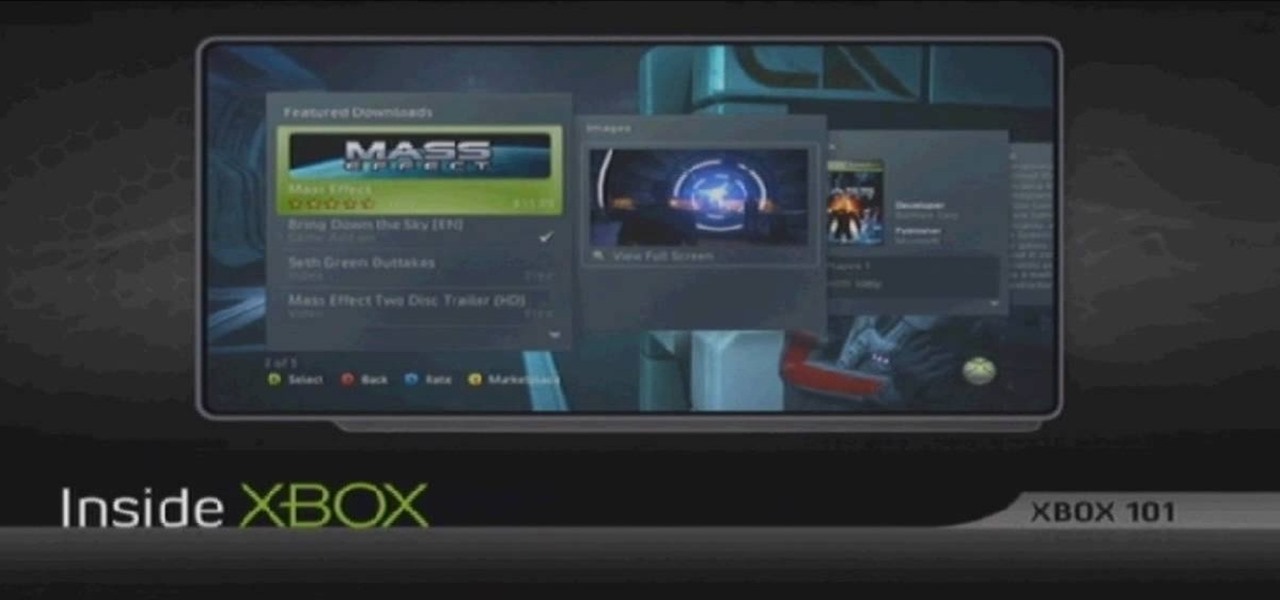
In this tutorial, we learn how to get Games on Demand on Xbox LIVE (Xbox 101). You will find all the newest games as well as classics and downloading is easy. It's the same process as downloading the demos. Just head to the marketplace and select from the title choice. You have the option to charge the title to your credit card or using points to purchase it. Each game is several gigabytes in size, so give it lots of time to download. To familiarize yourself with games, go to the website for ...

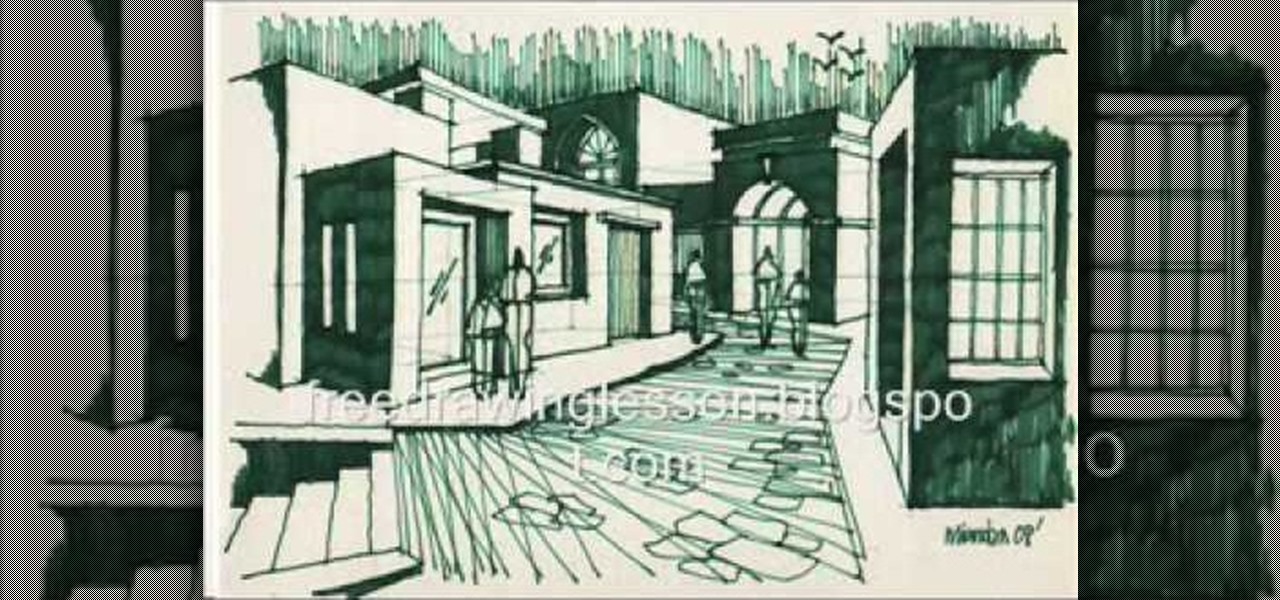
In this tutorial, we learn how to draw a plan view with art markers. First, you will draw a dot in the center of the paper and then draw lines out from here. After this, use the lines on the paper to create the proportions for the buildings. After this, draw in squares and lines to help create the ground and buildings. Then, you will add in details to the building and then draw in plants and grass around the edges. After this, erase any background lines from the drawing and then color it in. ...

In this tutorial, we learn how to draw a gangster M&M graffiti character. Start out by drawing the eyes and the mouth for the character. Fill in the eyes and the mouth, then add in more details. Next, add in eyebrows to the M&M, then draw the body around the face. Draw a beanie hat on top of the head, then draw arms with a spray paint can in one of the hands. Add in the additional details for the hands and arms, then draw in the legs on the bottom. Add in the shoes, then finish with additiona...
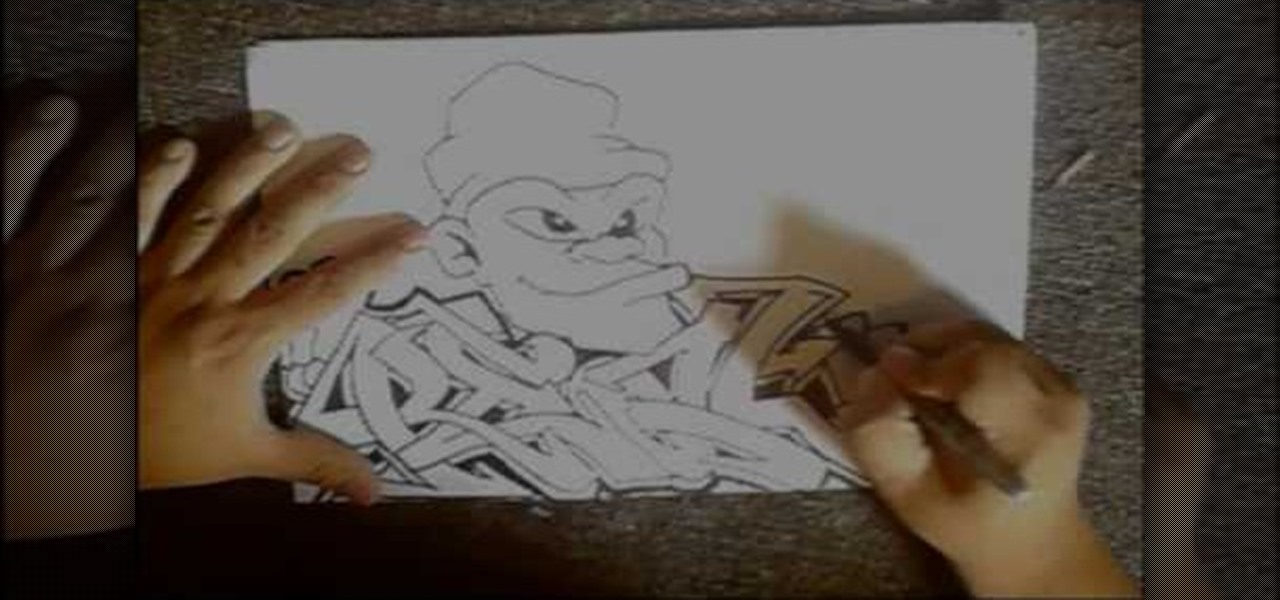
In this tutorial, we learn how to draw graffiti in pencil. Start out with a white piece of paper and a pencil. Then, draw your character's face, adding in the details of the face and the features of the face. Underneath this, shape out your letters that you want to write out. Cross the letters together, and make sure they are all touching each other. Shade in the areas next to the letters and add in lines and darker edges to the sides of them as well. Add in black in between each of the lette...
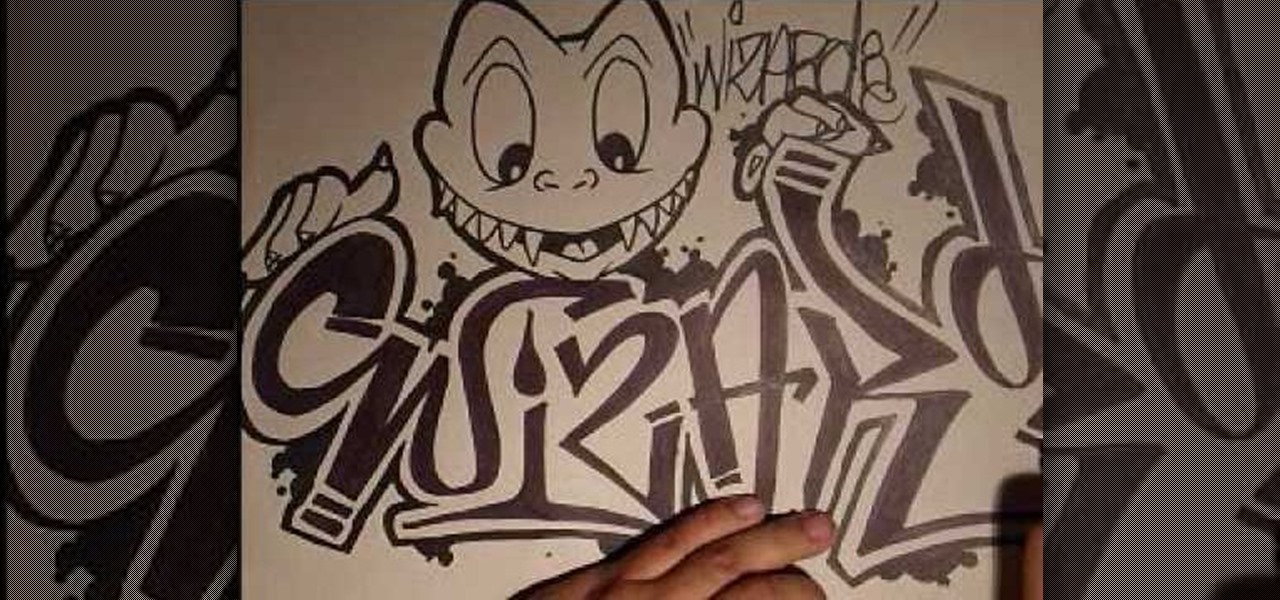
In this video, we learn how to draw a graffiti character. Start out by drawing two large eyes with small pupils at the bottom of them. Next, you will draw a nose and a mouth with pointed teeth. From here, you will draw the head around this and the jaw line for the mouth. Shade in the mouth and add lines to the face, then draw graffiti letters for the name of the character right underneath it. When you draw the letters, make sure to drag the letters out to make them flare more and stand out. W...

In this tutorial, we learn how to draw a realistic portrait. Using a pencil, you will first draw the out line of the face. After this, add in the details and bold lines to the eye. From here, you will add in the details and shading to the rest of the face. Use your eraser to create smooth lines and white lines to make the features look glossy. Draw in a white line on the bridge of the nose to make it look more realistic. Also make sure to add in lines that are on the face as well as hair that...
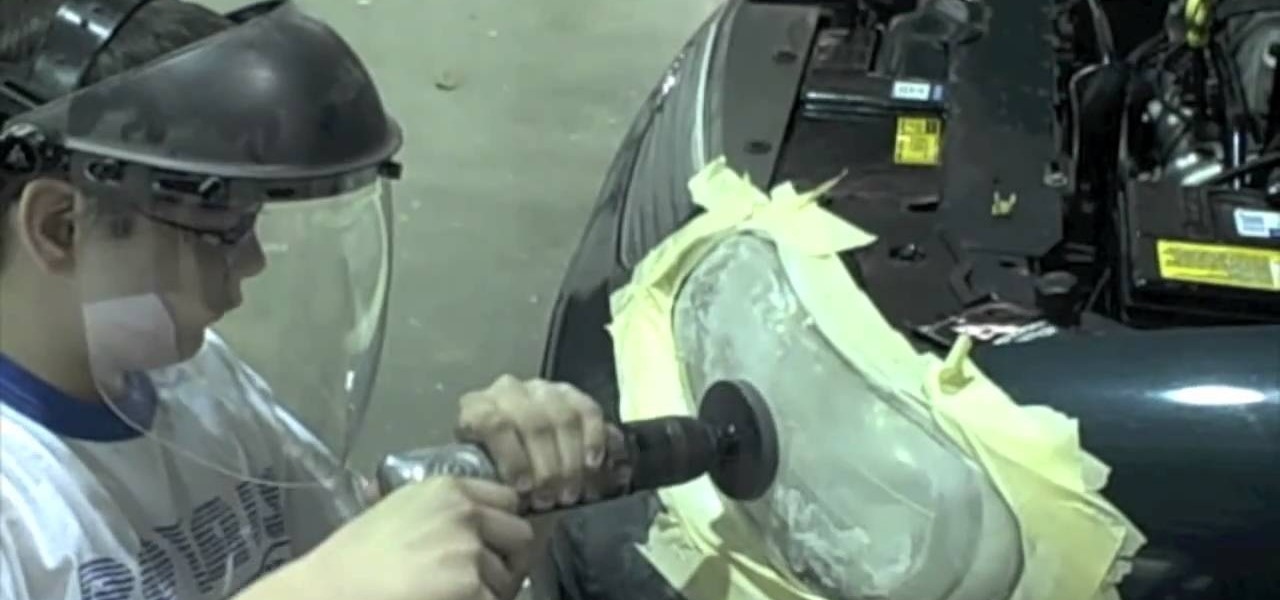
What's better— forking out the dough for a new headlight or simply restoring it to its original beauty? The latter is definitely the choice for penny-pinchers, and is easy to accomplish with a restoration kit from 3M. This video will show you how to use the 3M Headlight Lens Restoration System to restore your headlight's shine.
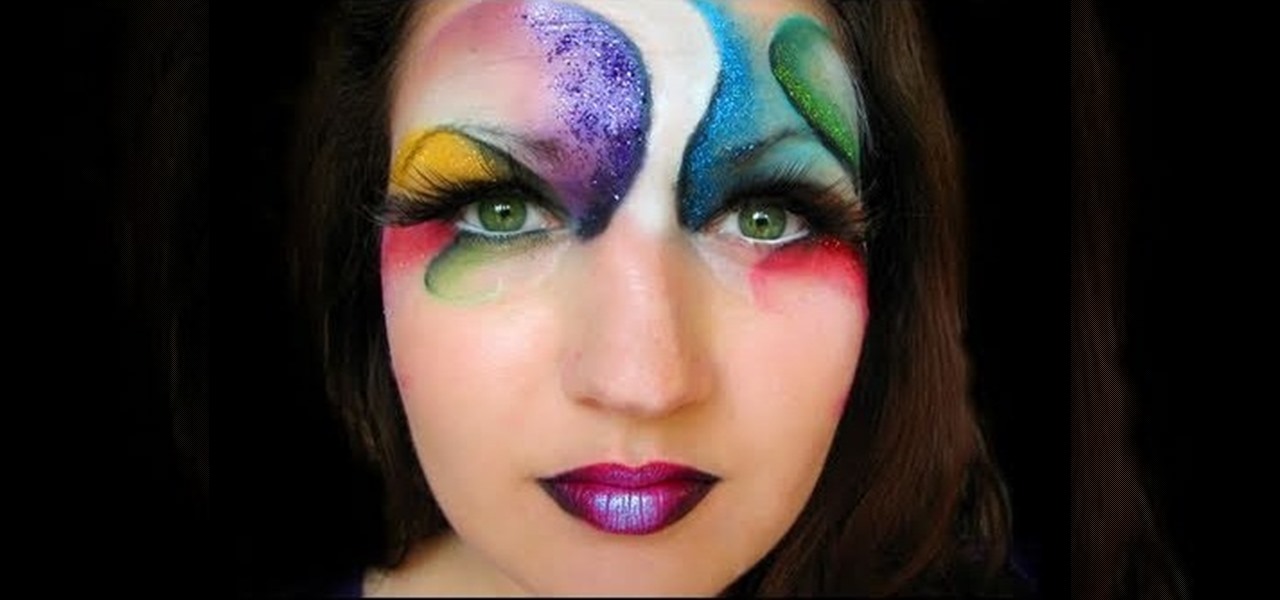
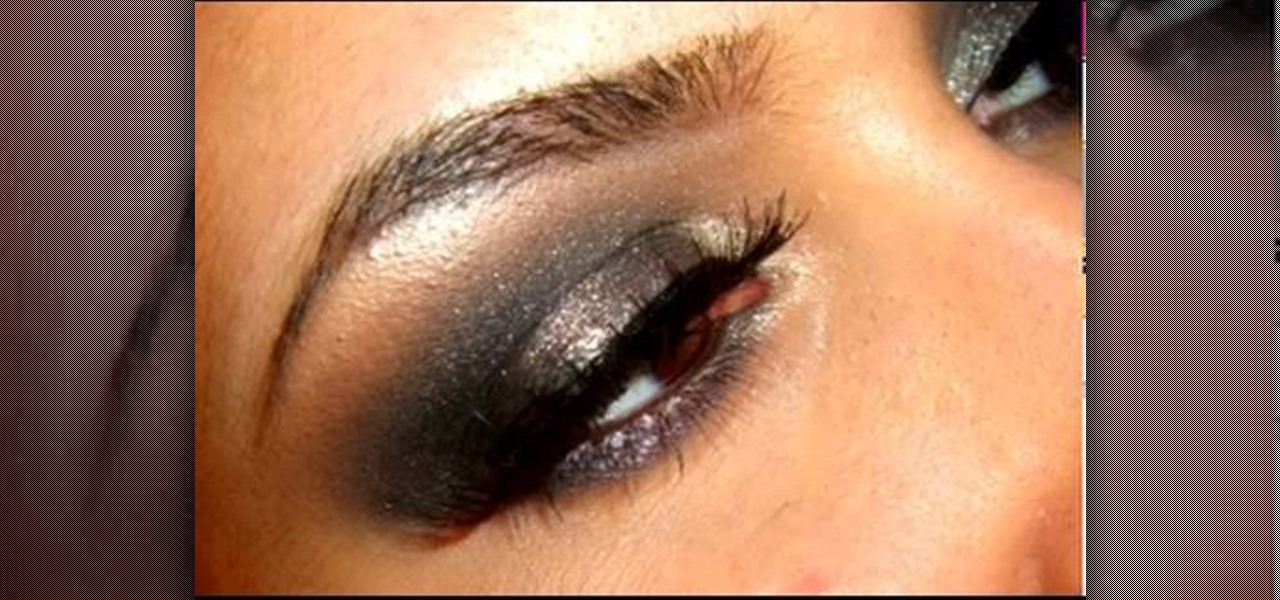
We normally advocate you don't pile on the glitter for most makeup looks, even nighttime ones, but on Halloween you have no choice but to pull out all the stops - and all your glitter tubes.
In this tutorial, we learn how to draw a dragon head. Start out by drawing the outline of the dragon head, giving it a pointed head and a large neck. Then, draw in flames coming from the mouth and large sharp teeth on the inside of the mouth. Draw in eyes, scales, and additional details around the entire area of the dragon. After this, you will be able to add in spikes on the back of the dragon as coming from the head down to the neck. Add in horns to the dragon, then shade in areas and add l...
In this video, Bill Corso teaches us how to apply injury makeup. This can make it look like you are hurt, but it's really just makeup you are using to create the look! Using red and brown together can give a more realistic look of blood, blending it out through the entire cut. Using different colors on the injury can add a more realistic look to where the injury is. Work with the different features on the face to create the best look you can. Pay attention to the sweat on the body as well, be...
In this tutorial, we learn how to draw a neighborhood using an imaginary box. First, draw a straight line and then the boxes should go around it. Continue to draw additional boxes around the line, then fill them in with the outline and further details. Draw in the roof, walls, windows, and doors. When you finish with the details, start to shade them in and then add in the street details. Make sure to give the ground some rough edges and also add in lights on the street. Add as many details as...
In this tutorial, we learn how to draw the face of an anime young man. Start out by using a pencil on a white piece of paper, drawing spiky hair at the top of the page. After this, draw in additional lines to create more hair around the face, then draw in the sides and the bottom of the face. Next, draw in the features of the face, including the eyes, nose, ears, and mouth. Then, start to draw the clothing and add shading in on the clothing and the top of the hair. Add in more lines to make i...
In this tutorial, we learn how to draw a manga girl. Start out with a pen on a piece of paper and draw the eyebrows in the upper middle part of the paper. Color the brows in, then draw in the eyes, along with their creases and the bottom of them. Next, you will draw in around the face and add in the point for the chin. Add in the details for the face, making sure to draw in the eyelashes. When finished with the features, draw bangs on the front of the face, then draw hair all around the sides...
In this tutorial, we learn how to draw a dragon in profile. Start with a pencil on a white piece of paper and draw out the outline of the profile for the dragon. After this, start to add in the details for the side of the face, this includes the horns, teeth, nostrils, and scales for the dragon. Work your way into the middle of the dragon, drawing in different details, including the eyes and the mouth. Continue to shade and add different lines to the dragon, then finish it off with a horn or ...
Want to receive daily, weekly or monthly updates on a subject of your choice? With Google Alerts, it's easy! So easy, in fact, that this home computing how-to from the folks at Easily can present a complete (and somewhat talky) overview of the process in just under five minutes' time. For the specifics, and to get started setting up and using Google Alerts yourself, just watch this handy how-to.
Can't afford a high-speed camera? Fake it! In this clip, you'll learn how to achieve a slow-mo frame-blending effect with Adobe After Effects CS4 or CS5 and two digital photos of your choice. Whether you're new to Adobe's popular motion graphics and compositing software or a seasoned video professional just looking to better acquaint yourself with the program and its various features and filters, you're sure to be well served by this video tutorial. For more information, including detailed, s...
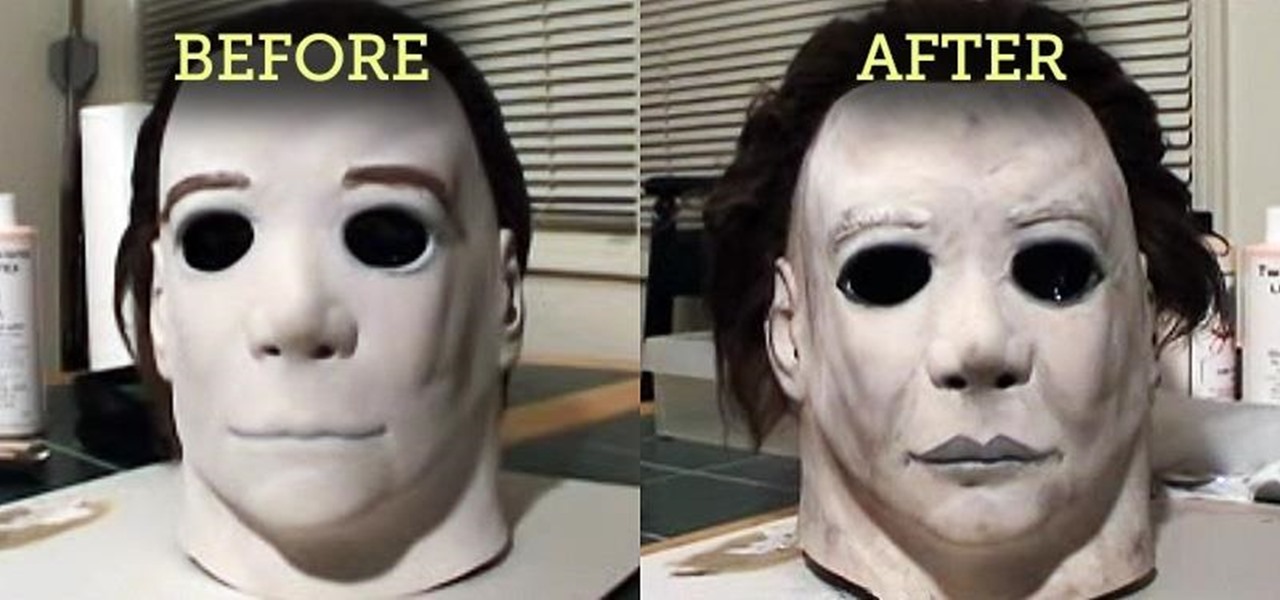
Michael Myers from the Halloween movie franchise might be one of the scariest villains ever to be depicted on screen. He is a popular Halloween costume choice, but most of the newer masks and other costume products made of Mike Myers are not very faithful to the original—or they're extremely expensive.
In this video, we learn how to draw and color landscape scenery. First, draw your starting point, making a horizontal line. After this, draw other reference points on the paper, then start to draw in lines to see where your structures are going to be. After you do this, make trees on the paper, then start to fill in details of plants and flowers around the trees. Draw in buildings and stairs, making mountains and hills in the background. Add as many detail as you feel needed, and then start t...
In order to color complex street drawings with markers, you will need the following: markers in assorted colors and a street sketch.
In this video, we learn how to draw a simple scenery. Start by drawing a horizontal line across the page. From here, draw reference boxes along the middle of the line. Now you can start filling in more details, making buildings out of the boxes. After this, make people outside of the buildings, then make a street and trees in the background. Fill in shading and lines to make the picture more realistic. The key to this is to learn how to start with your reference point to make everything flow ...
In this video, we learn how to draw and color a city with art markers. First, draw a horizontal line as your reference point to where the city buildings are going to go. Make a point in the middle as the background line. Now, start to draw in the buildings around the middle line, making diagonal straight lines, then drawing in the details of the buildings. Draw in taller buildings in the back, then start to draw the larger details in the front of the drawing. Add in shading and details as nee...
In this tutorial, we learn how to draw steps in perspective. Start off by drawing a dot in the middle of the paper. From here, draw lines using a ruler coming from the middle diagonally on the top middle and sides. Now, you will be able to draw your pictures using these as a reference point. The lines at the top will show the steps that are at the top and farthest away the closer they get to the dot in the middle. After this, fill in the details of the picture making different items around th...
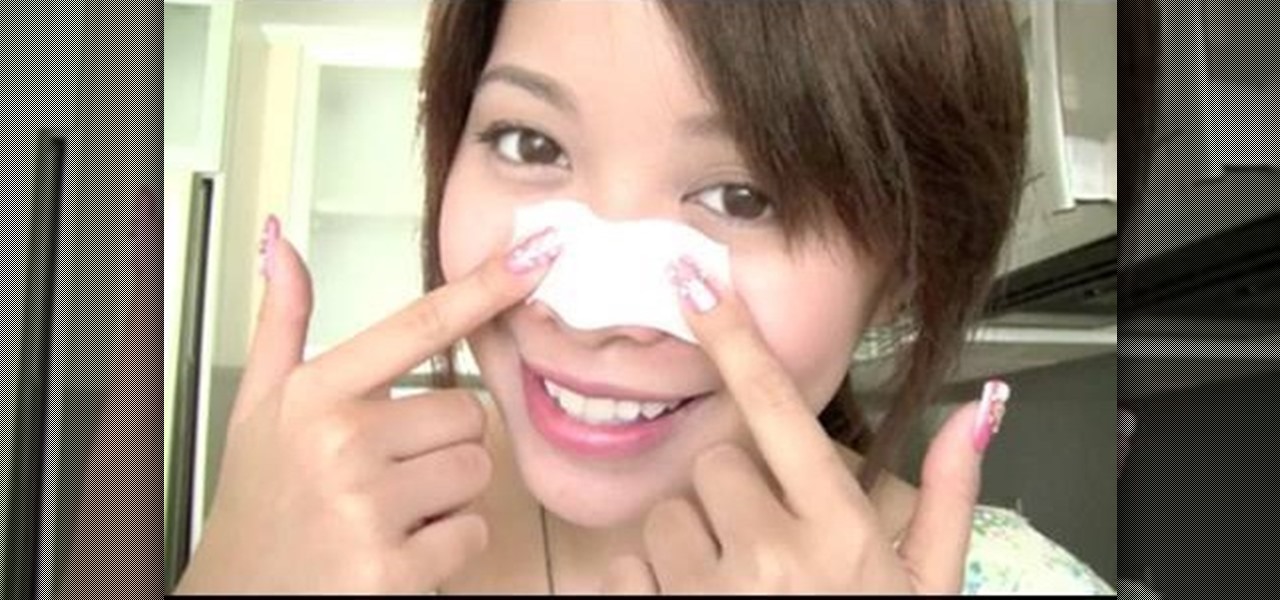
Even princesses need help getting pretty. Take one of our favorite (faux) princesses, Princess Mia from "The Princess Diaries," who walked around sans makeup and with pore strip on nose before a big event (which she then speedily - and painfully - ripped off when Michael came in the room).
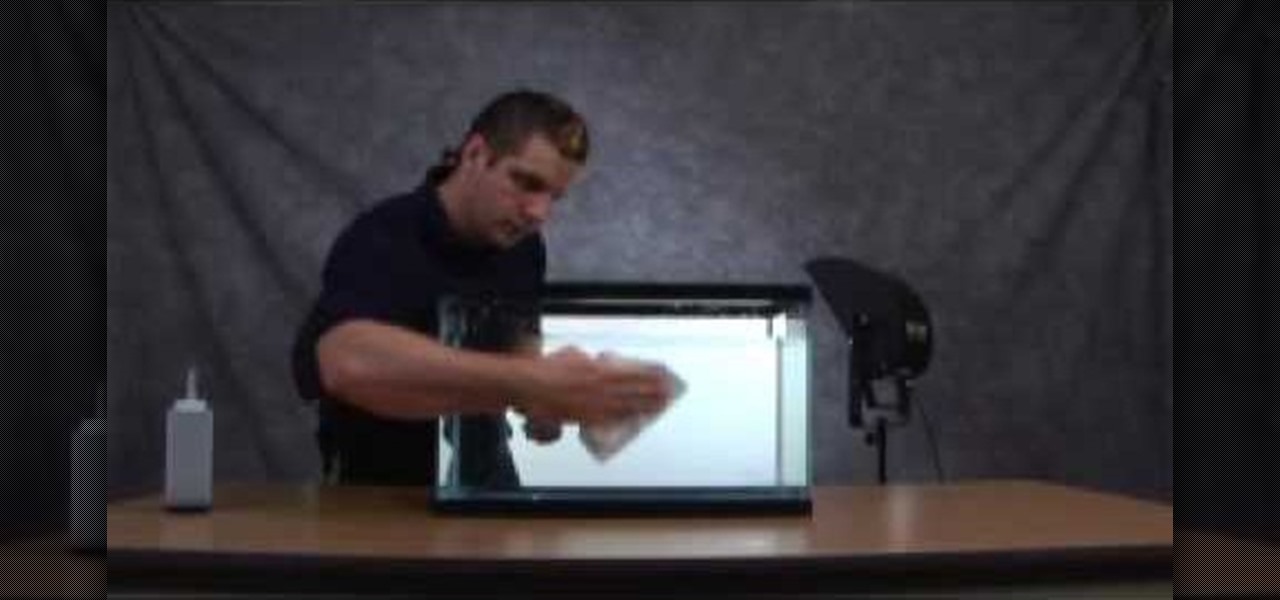
In this tutorial, we learn how to create ink drop and spread effects. You will need: coffee filters, fish tank, dropper, black ink, water, and a bowl. Next, pour water into your fish tank, then pour your ink into the dropper. After this, add in water into the bowl and place the coffee filter in it to soak it, then place it on a flat surface. For the first effect, drop the ink into your water and see what it looks like when you drop it into the tank, getting this on tape and using the proper l...
In this tutorial, we learn how to create an everyday contoured look. First, apply a full coverage foundation to your face. Mac is recommended, using a color that is a match to your skin. Blend this on the face using a foundation brush. Next, apply a loose powder over your skin with a brush to settle the foundation onto your skin. After this, you will brush a bronzer of your choice onto the cheek bones, followed by a blush brushed onto your cheekbones. After this, you can also brush the bronze...
Just in case you've been living under a rock (AKA without internet) for the past couple of days, here's a quick update: "Gossip Girl" star Taylor Momsen has officially become the new face of Madonna and her daughter Lourdes' new fashion line, Material Girl.
In this video tutorial, viewers learn how to draw a cartoon bird. Using the gray pencil tool, draw an oval shape for the body of the bird. Then create the lines for the wing and tail. Now add the details with black outlines. Then use transparent colors to fill the body, tail and wing with different shades of color. Add details to the wing by drawing some lines. The beak should be short and sharp, and the eyes should be highlighted in white. Color the branch with the brown paint tool and the l...
In this tutorial, we learn how to whiten teeth in one minute using household items. You will need: a lemon, baking powder, and a cup to do this. First, pour baking powder into a cup and then squeeze the juice of a lemon into the cup. After this, mix the two together until you have a paste and all water. Now, rinse your mouth out with this mixture. Do this several times a week and you can get your teeth to become eight shades whiter! This is a great way to whiten your teeth without having to s...
In this clip, learn all about kelation therapy. Kelation therapy is a simple procedure administered in a qualified physician's office that may reverse and even slow the progression of age-related and degenerative diseases such as atherosclerosis. In this tutorial, Francesca will explain all about this procedure so you can help decide if it is the right choice for you.
Photoshop is the photo-editing software of choice for just about everyone these days. It is very complex; but you're in luck! We have many videos here on site dealing with how to use Photoshop's many functions. This video will teach you how to display a picture inside of text by using masking. The effect is very cool, and sure to zest up your website or film.
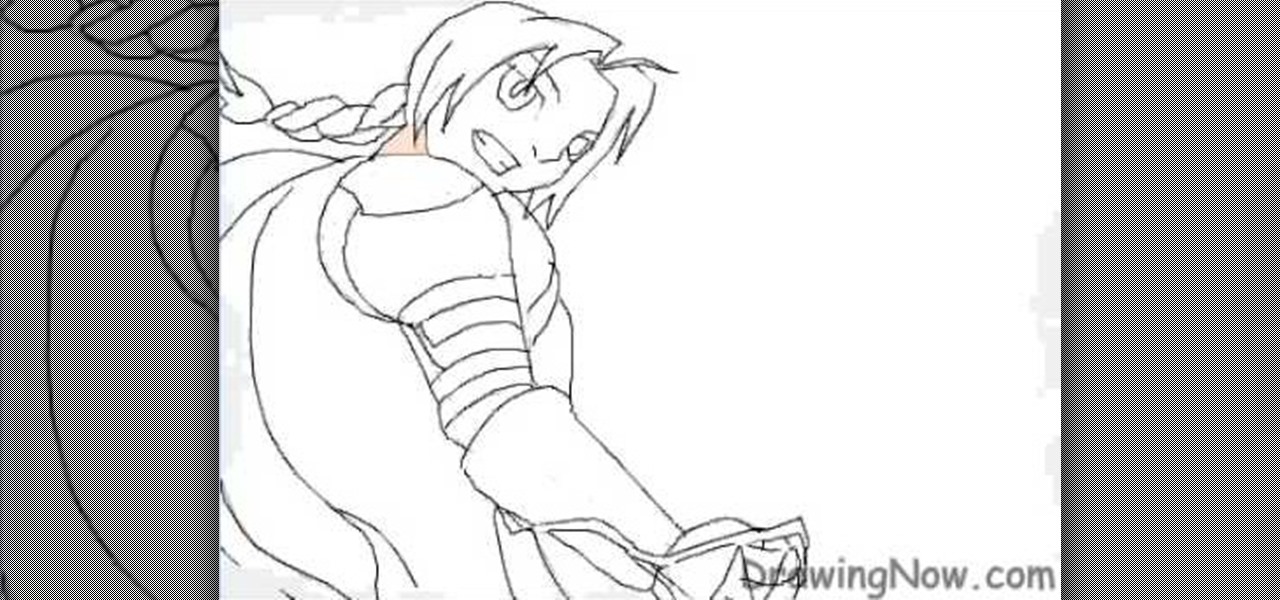
In this video tutorial, viewers learn how to draw the animated character, Edward Elric. Begin by drawing the guidelines of the character in 30% black pencil lines. The head is drawn as an oval shape. The shoulder is guided by a large circle and the elbow by a smaller circle. Connect the shoulder and elbow together with a stick line. Add details with the opaque pencil and erase the guidelines. To color, start with a mid-tone and add shading. Use some transparent tones on the mechanical arm. Hi...
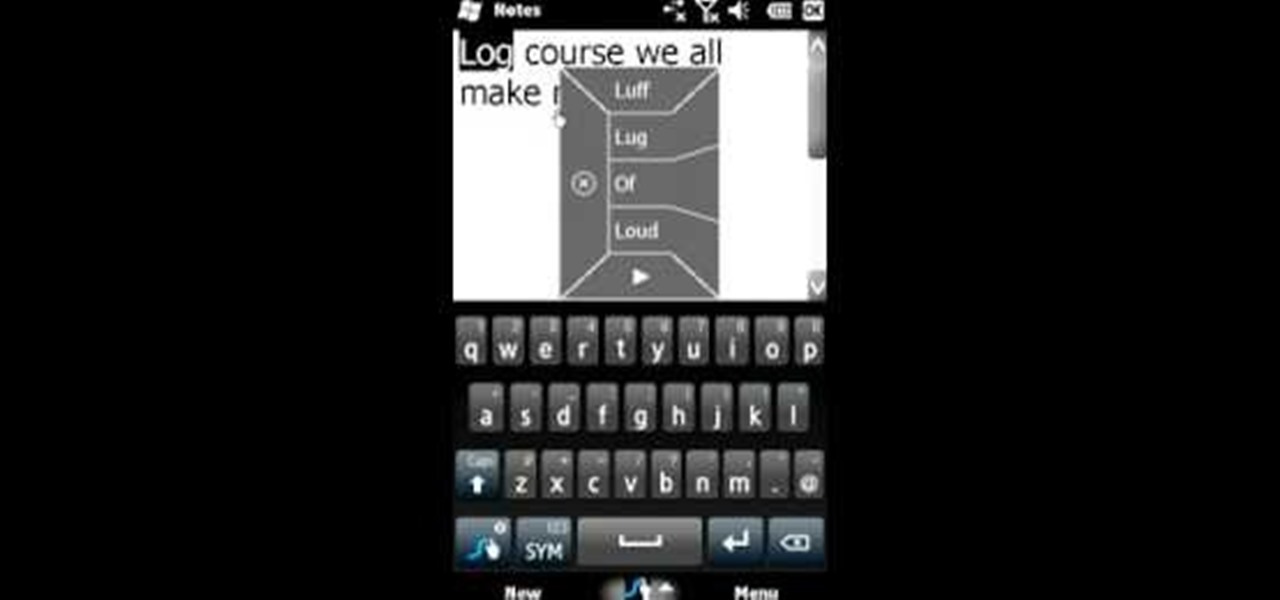
As good as Swype's word prediction software is, sometimes we all make mistakes. If you are wondering how to go back and fix something that isn't right in your text messages, check out this tutorial. Fixing words with Swype is just as fast as texting with this lightening fast application.
Rear suspension bikes are the bikes of choice for most hardcore mountain bikers. This video features a professional mountain bike rider offering a quick tip on how to set the rear suspension of your bike properly to give it the right amount of travel and maximize its effectiveness.
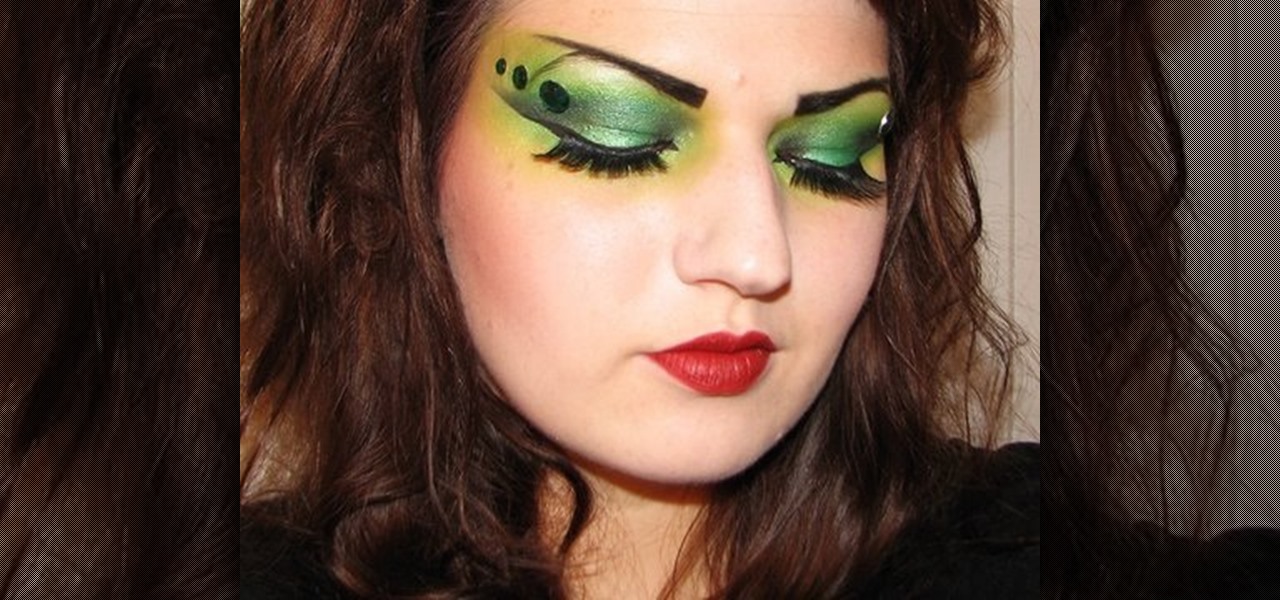
There's a reason witches are a timeless costume costume choice worn year after year on Halloween. They're sexier than fairy costumes and far more lurid than ketchup bottle costumes.
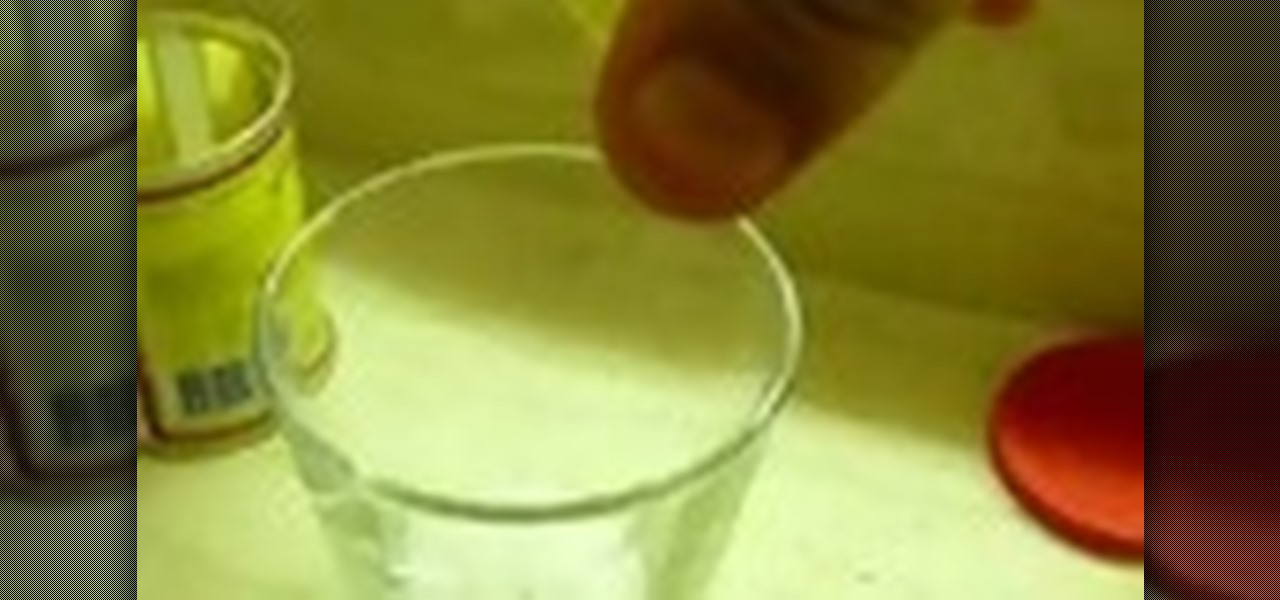
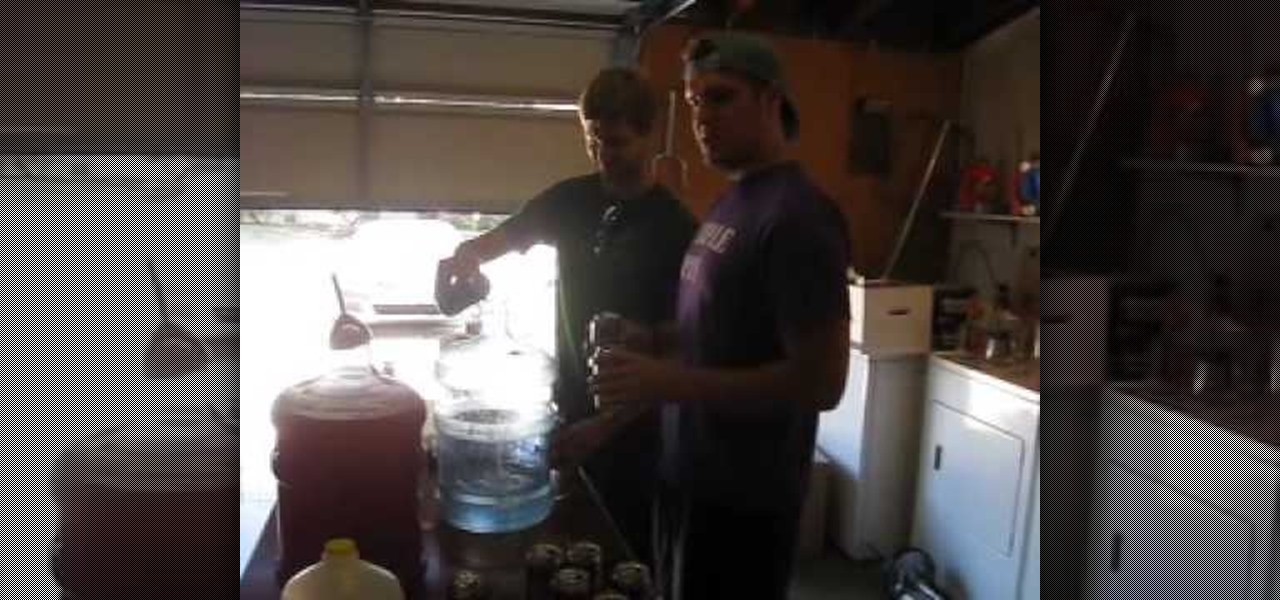
Jungle Juice is a college frat party classic. In this tutorial, learn how to dump all of the left over liquor and juice in your kitchen and make this intoxicating cocktail.
In this Home & Garden video tutorial you will learn how to grow and juice wheatgrass. Take wheat seed in a bucket, add little bit of compost and wet it with water. Take a tray, make few holes in the bottom, put newspaper, fill the tray with compost up to halfway, spread the wheat seeds and cover the tray with newspaper. After a day or two, remove the paper and put the sprouts in shade. Wait for 8 – 10 days and the wheat grass is ready. Then cut it with love with scissors, wash it thoroughly...
In this how-to video, you will learn how to dry a simple version of Shy Guy from Mario Brothers. You can use a pen or pencil on paper, or even software such as Illustrator or Photoshop. First, start off by making a circle. This will be the face of the character. Draw in the two elongated ovals for the eyes and shade in with black. Next, draw a small black circle for the mouth. Now, draw the hood and robe of the character. The arms and feet are next. Draw the belt and buckle of the character a...
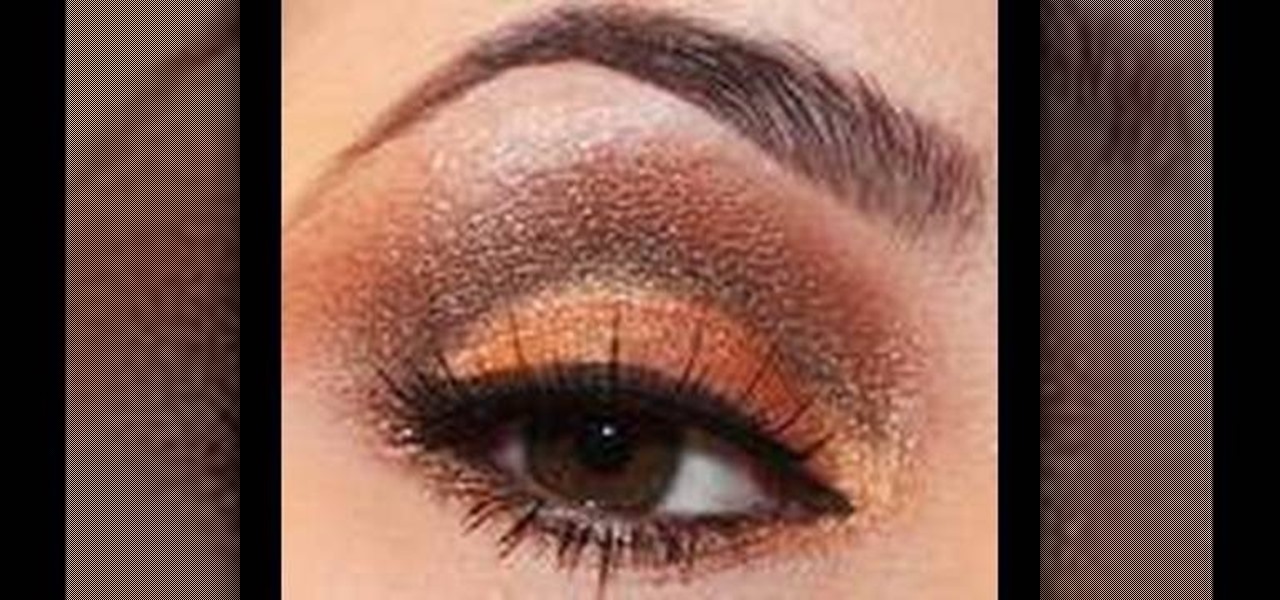
This video illustrate us how to create a cut crease golden brown eye look. Here are the following steps.Step 1: Apply a primer on the upper eyelid and the lower eyelid.Step 2: Take a mat brown eyeliner and draw and outer round smooth line which folds inward to the inner eye.Step 3: Now take a brown eyeshadow and apply it on the upper lid above the line. Smudge it well.Step 4: Now take a golden eyeshadow and apply it on the upper lid below the line and smudge well .Apply the eyeshadow on one t...
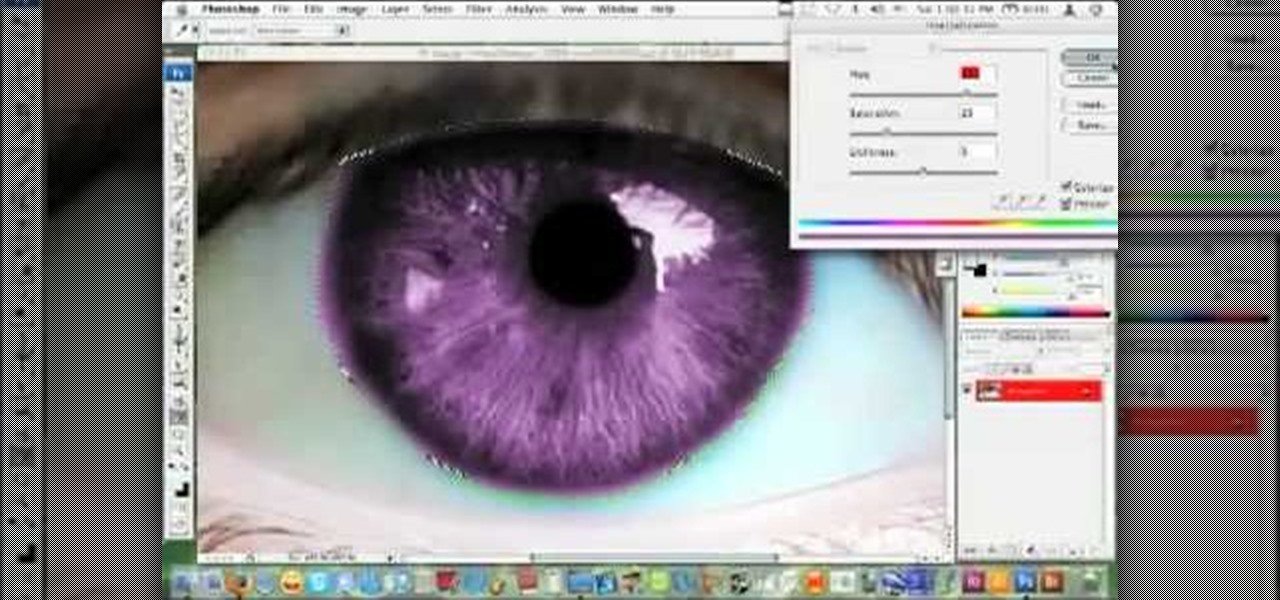
hotarrows223 demonstrates how to manipulate the eye color in a photograph using the masking tool. First, you must open the image with the eyes you intend to work on with Photoshop CS3. Next.], you must zoom in on an eye. You should be at the point where the iris fills up more than half of your screen. After that, you must select the iris, outlining it with the selection tool. Then, select image>adjustments>Hue/Saturation. Make sure all the boxes are checked, then adjust the hue or color bar t...