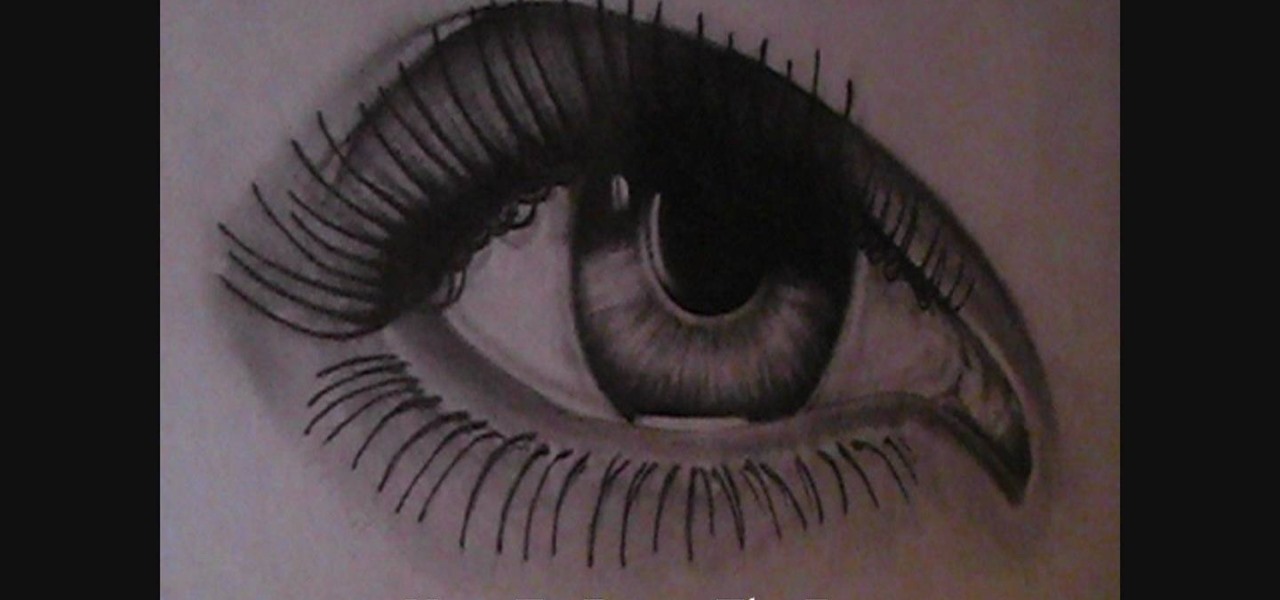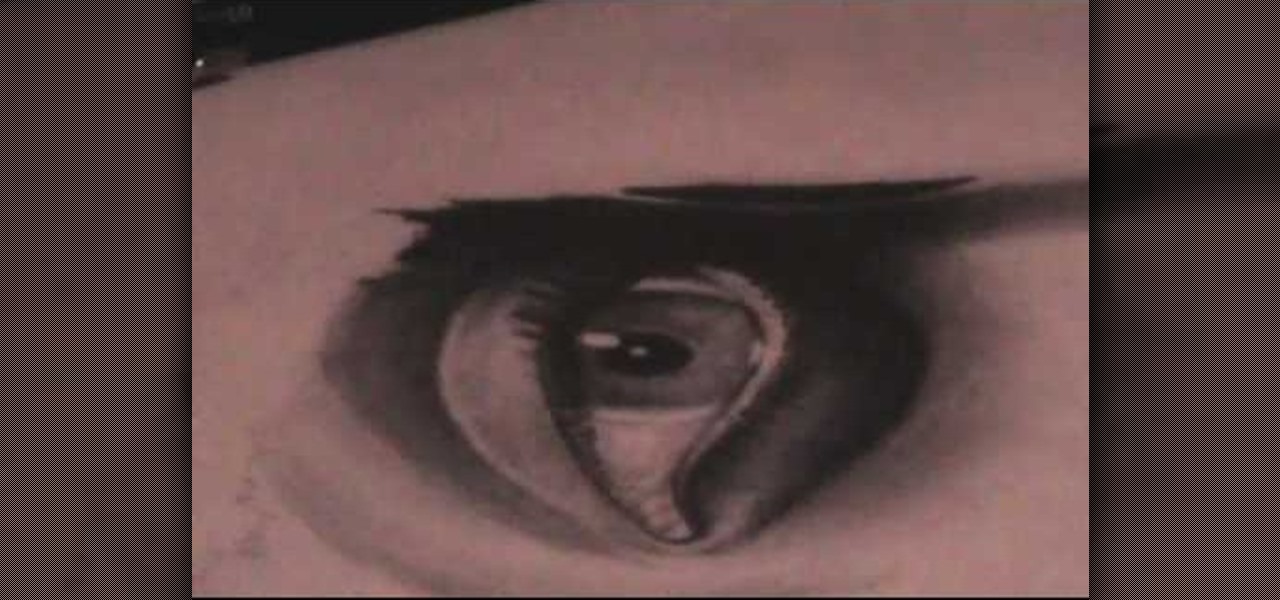
In this video, we learn how to draw a realistic mouth, nose, and eyes. Start out by drawing the outside shape of the eye, then draw in the details inside the eye. After this, shade in the pupil and add a white circle to make the eye look glossy. From here, add in the eyebrows and add darkness and lines to make it look more realistic. For the mouth, you will first draw the outline of the lips, then draw the teeth on the inside followed by additional details. Make the teeth different shapes and...
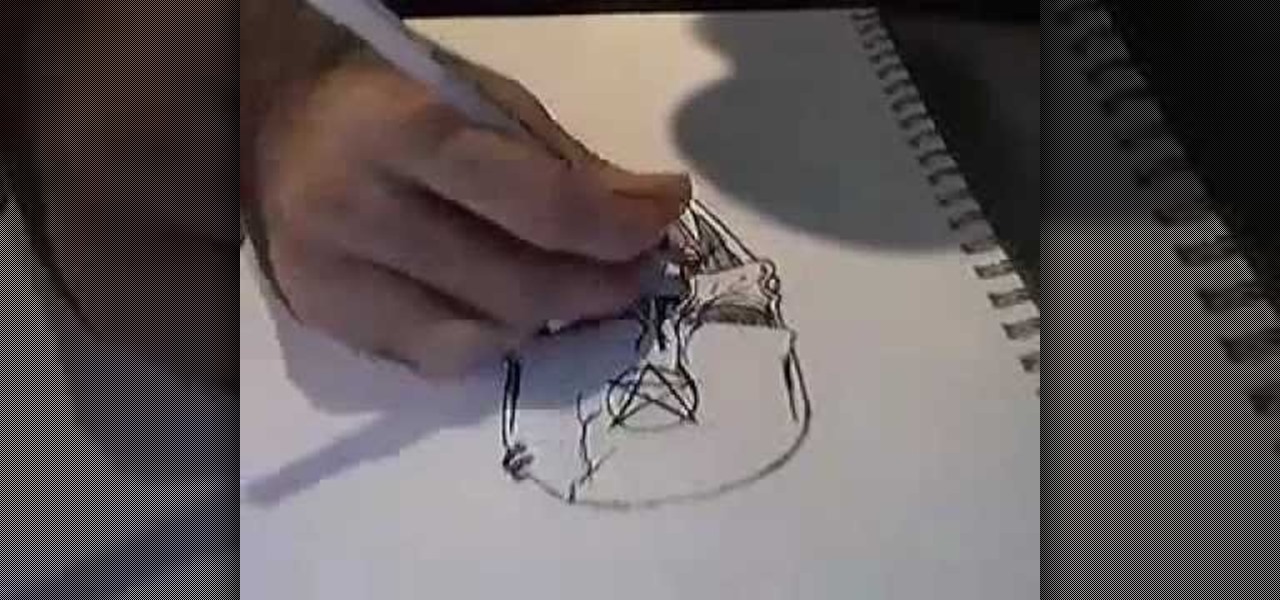
In this video, we learn how to draw a skull. Start off by drawing in the eyes and then draw the nose and basic outline of the head. Add in lines on the head to show broken and cracked bones. After this, draw in eye sockets and add details to the nose as well. Shade in the eyes and then start to draw the jawbone and where the teeth are at. Shade between the teeth and then draw the chin in. Add in shading where you feel it's needed, then add in more cracks to make it look more real and you're f...

In this tutorial, we learn how to draw a hand. First, start drawing on a blank canvas and start with the middle finger and knuckle. Shade in the knuckle area, and make the lines that are around the nail of the finger. Then, start drawing the other fingers out, adding lines to make it look more realistic. After this, shade the sides of the fingers to make the hand look like it's bent in some areas, then make sure you have fingernails drawn into the picture. After this, shade the entire hand an...
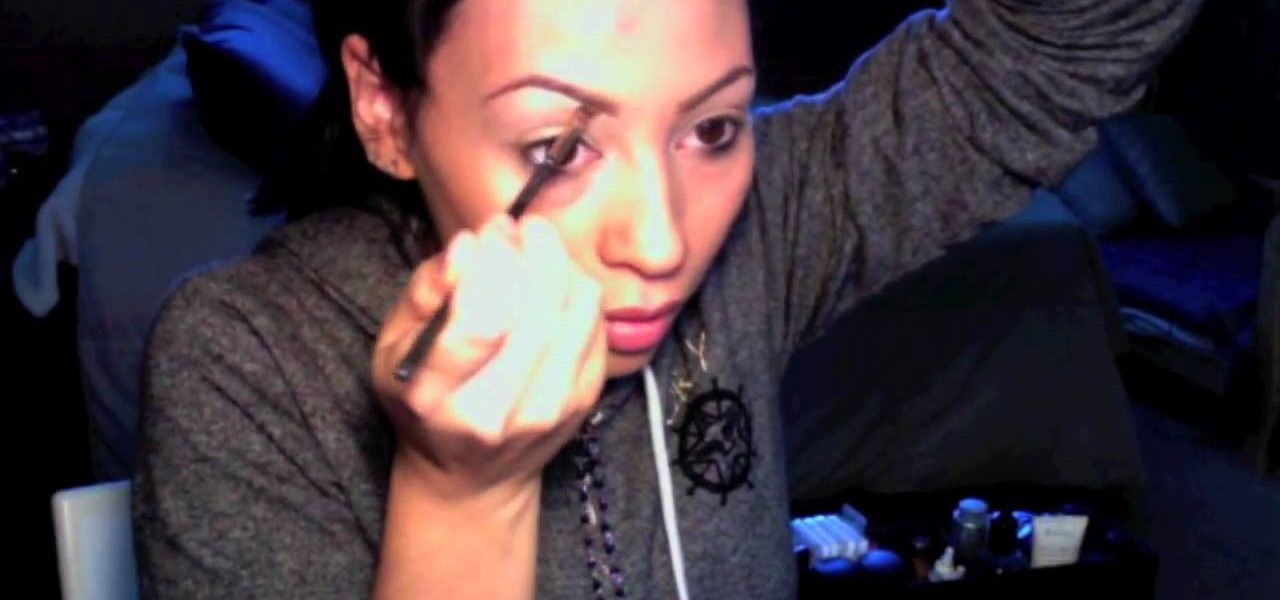
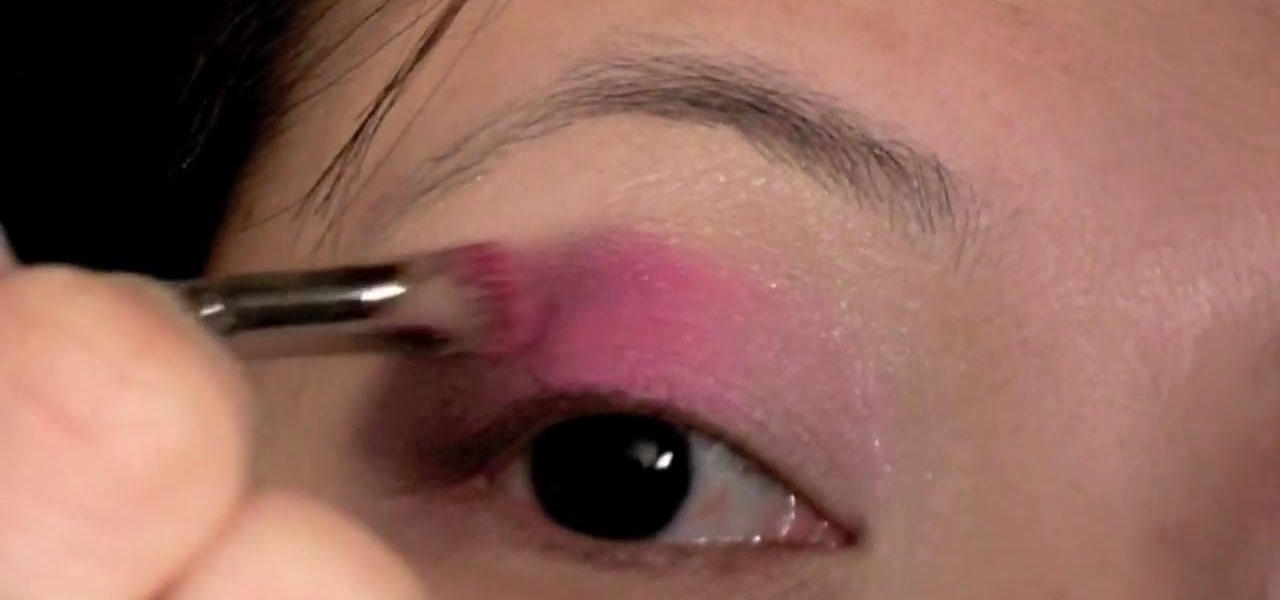
Ashley Victoria teaches the secrets of using neutral shades & hot pink lips like Kim Kardashian. First use cream shadow paint in "Secretive" to apply the base on your eyelids. Apply a concealer with an angled brush right under your brow line. Apply off white color using a 239 brush all over your eyelids. With a fluffy brush take a color matching your skin tone and apply it on your crease. Apply a carbon black eyeliner to your upper lashes. Apply a light pink blush color to your face using 168...
Learn the right way of Applying Eye Shadow using a sponge tip applicator, as shown in this video. Begin by applying a little eye primer over the eye lids, to ensure the make up stays longer. Spread it evenly using a brush or your finger tips. Always take a light shade (Bisque by MAC used in this video) of an eye shadow first onto a sponge tip applicator. Dust off the excess. Press and dab the color over the brow area. Blend it in to soften the edges. Next, choose any two dark shades, which ma...

The video shows us a how to draw a human figure in a very simple manner. It is done using a pencil. First, you draw the axis lines both horizontal and vertical with a very light shade. Now start drawing the upper right part and lower left part simultaneously so that you can get a rough shape of both the top and the bottom of the human figure. Then start drawing the face of the figure very lightly and then darken the shades of the figure which you had done previously. The shades are made darke...

Check out this step by step nail art video tutorial for beginners to do at home , to learn how to do this exquisite shaded color blocking nail art manicure design at home for both long nails and short nails !
This video begins with various examples of male heads being shown from different angles. The artist begins by drawing the outline of the eyes and eye brows with little definition. The outline of the head is then created to give the male head it's size and shape. by using a ruler the distance in between eyes, nose and lips are created then drawn more precisely. The video shows various different ways to shade the male faces features to give realism. The last part of the drawing that is covered ...
To spray paint graffiti, you will need the following: 2 cans of spray paint and a mask. You will need to have an idea of the design you want to paint, before you begin this project, because you will need to work quickly. Put on your safety/protective gear. Paint an outline of your design, first, with one can of spray paint. Then, you will want to strategically fill in the design. One can is primarily for filling it in and achieving light and shadow. Therefore, you will need a dark shade and a...
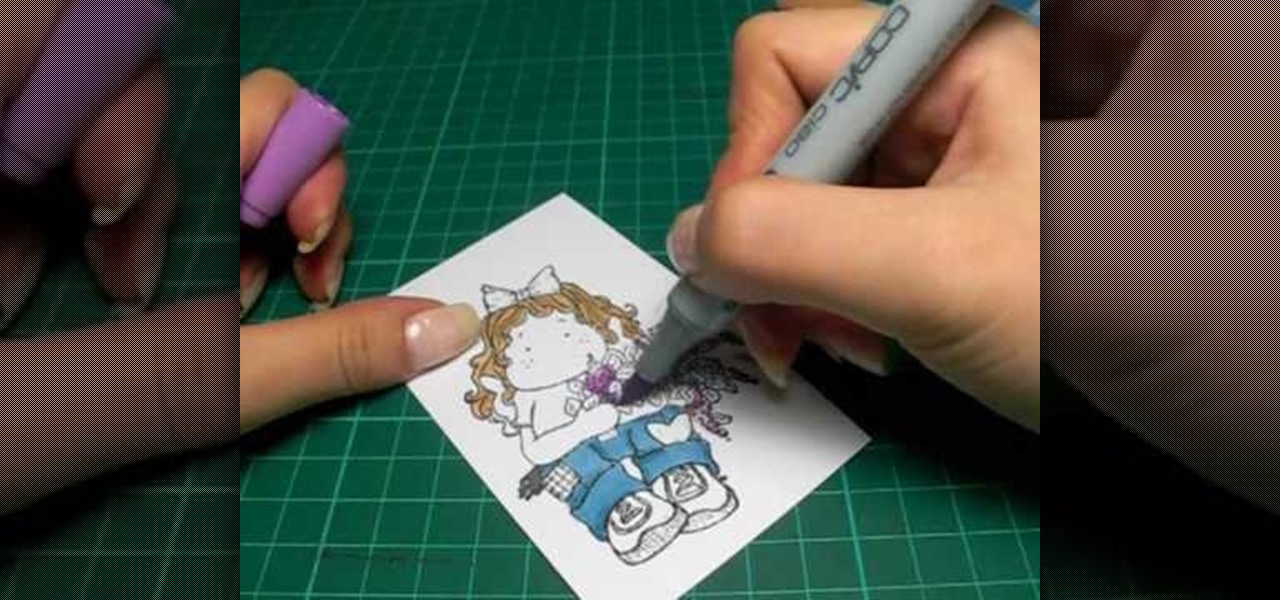
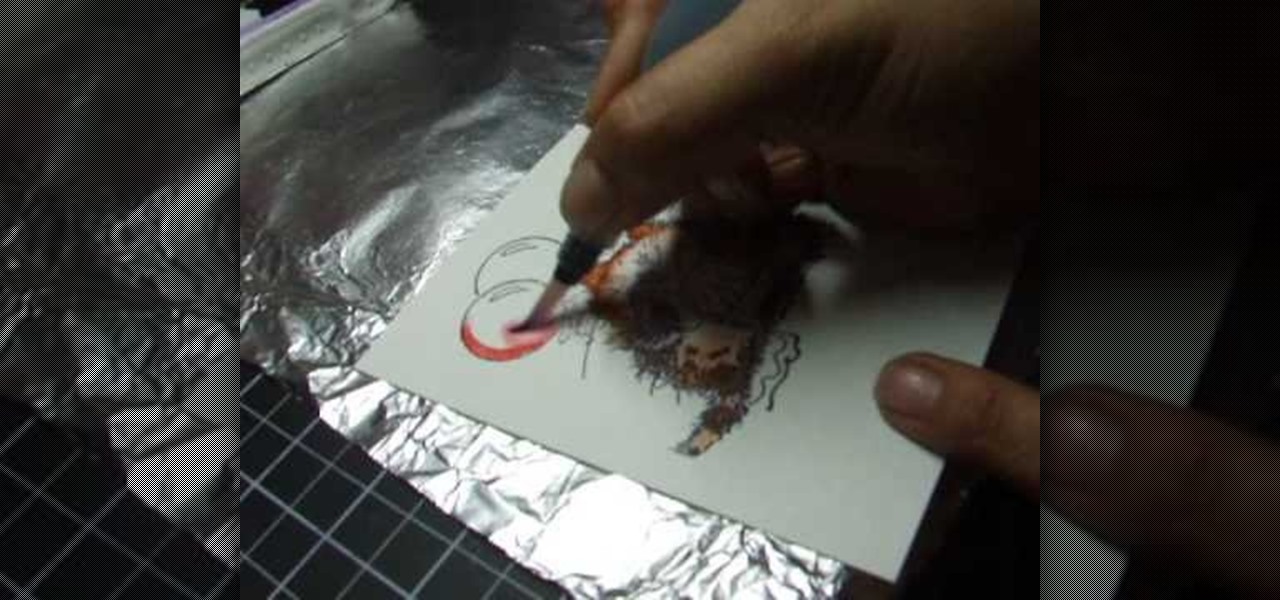
In this tutorial, we learn how to color with Copic pens. First, grab a picture that you want to color with your pens. After this, start to color in the picture with your different colored pens. After you fill in the colors, use a darker colored pen to add in shading and make the lines darker along the sides. Continue to color in your picture, adding shading where you prefer. Add in different colors and make the lines darker when you want them to look more bold. Make sure to add in highlights ...
In this tutorial, we learn how to draw Ironman. Start off by drawing the feet to Ironman, making sure to pay close attention to the detail that is on the outside suit. Make sure to include bolts and screws to make the picture more lifelike. Use shading on the outside of the sides to make it darker and more realistic. Continue working your way up on Ironman until you reach the torso and the rest of the upper body. Then, draw the head onto the top followed by the large mechanical arm and the he...
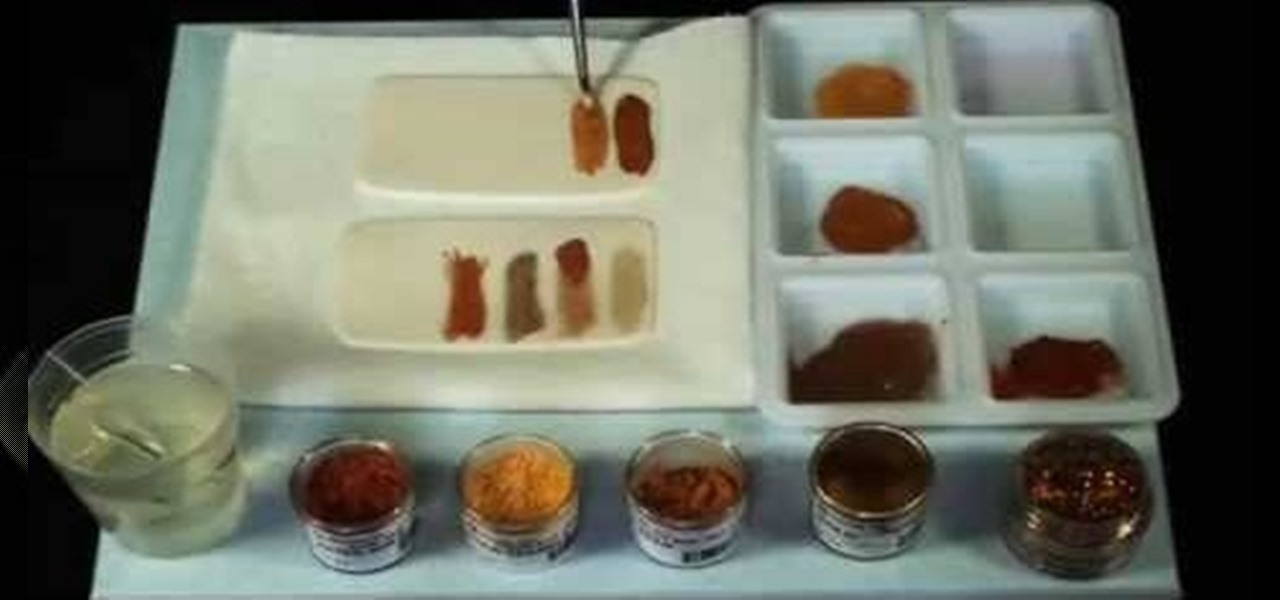
This is a video tutorial on how to design with gold dusts while decorating a cake. There are many different shades of gold available. Some of them are edible while some are not. The names of some types of gold color are Disco dust, Highlighter gold, Old gold, Sparkle gold, Aztec gold, etc. To intensify your colors, add some lemon extract or vodka to the color .When you use dry color, it looks a little lighter than when it is wet. The video will show you how to use different shades and types o...
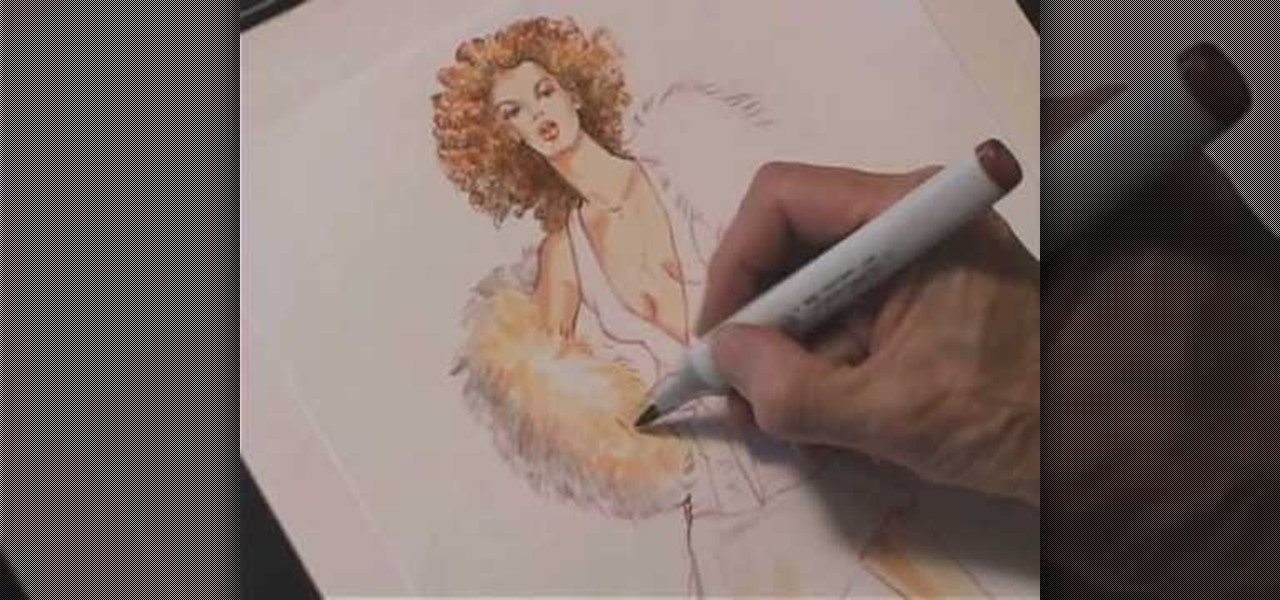
Maria Bell demonstrates to create the watercolor project, add color to the watercolor paper by first outlining the image or the shape with the SU marker. Then, distribute the color from the edge of the image or shape to the center of the image or shape with an aqua painter or watercolor brush. Fill in the images with shading details as desired. The technique produces gradient shading and a quick spread of colors without the use of watercolor pencils or crayon. Painting watercolors with SU mar...
Blazing maned Molly Ringwald inspired a generation of girls who grew up knowing that a girl always looked pretty in pink. Pink in any intensity or shade is a universally flattering hue when used in makeup.
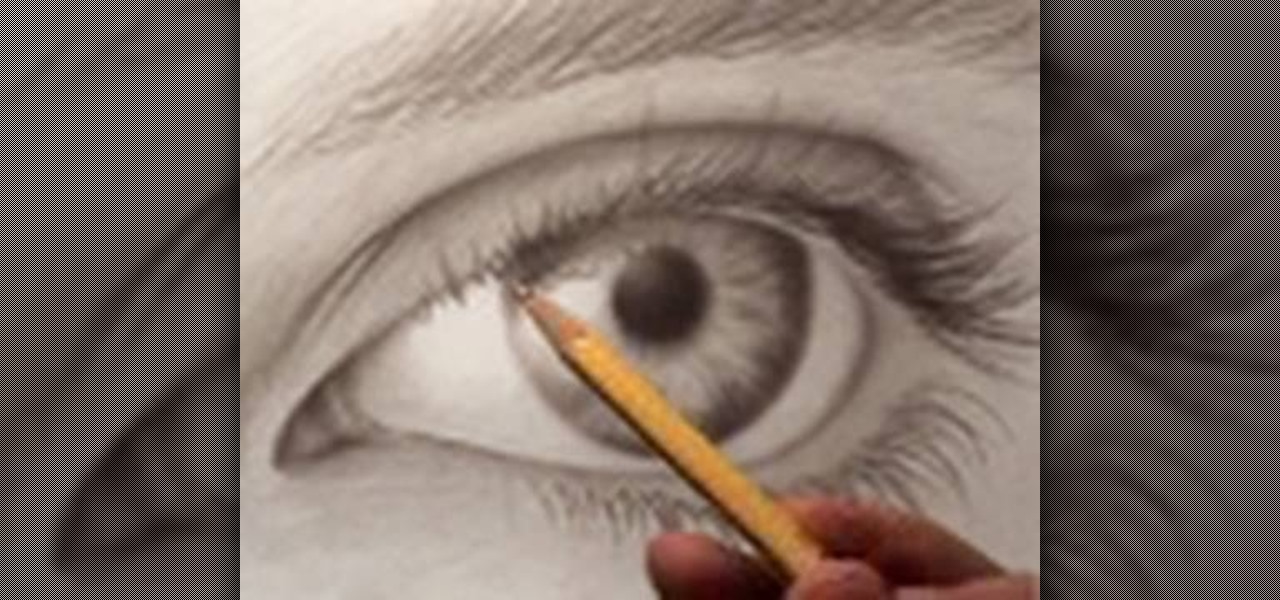
This excellent, extensive video truly takes you step by step on how to achieve the most realistic possible eye when drawing. With instructions on proper shading, pencil placement artist Mark Criley shows you everything you need to know.
In this tutorial, we learn how to fashion sketch satin. When you are sketching satin, you would to make sure you use the right colors and the side of the pencil. You will need to use the side of the pencil to shade in small areas to create creases and folds in the clothes. Then, you will use the eraser to make white in the middle, which will create a shine on the skirt. Color in the rest of the area around the piece of clothing. It doesn't have to be perfect, just make sure you shade and use ...
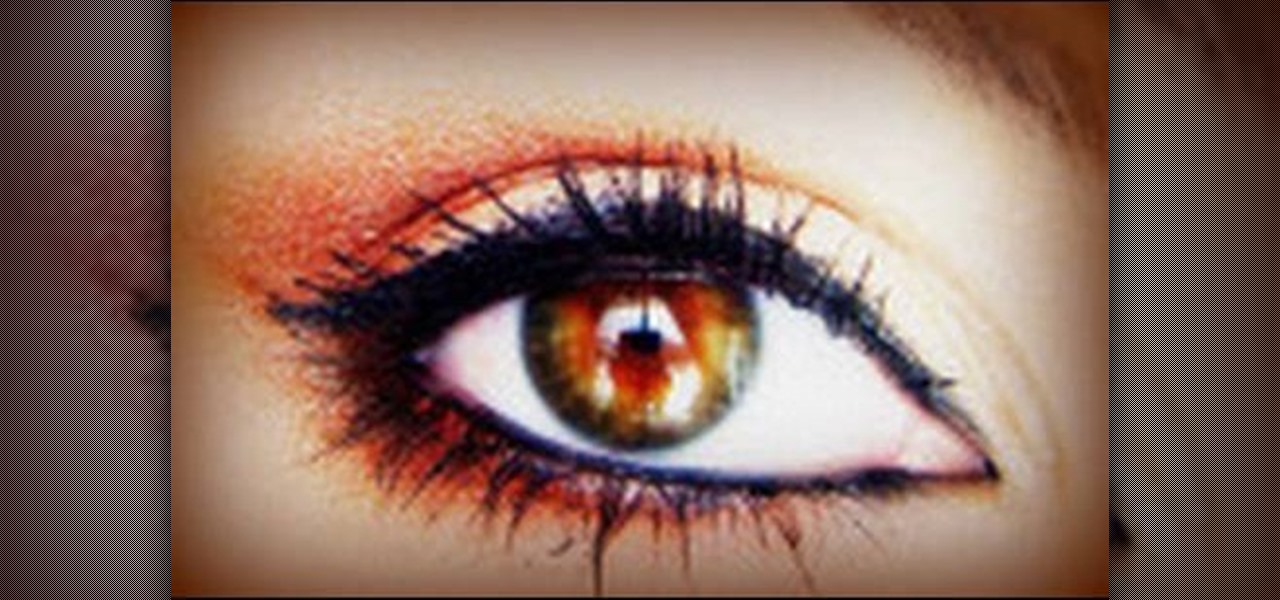
In this tutorial, we learn how to apply a "Moroccan truffle" makeup look. First, apply a light neutral shade all over your eye with a fluffy brush. After this, take a burnt orange and brown color and brush it into the inner crease of the eye where the outer 'v' is. Then, brush a bright orange on top of it and blend everything together. Only blend this until you reach half way to the inner corner of the eye. Then, brush the darker brown shade from the 'v' to underneath the eye. After this, app...
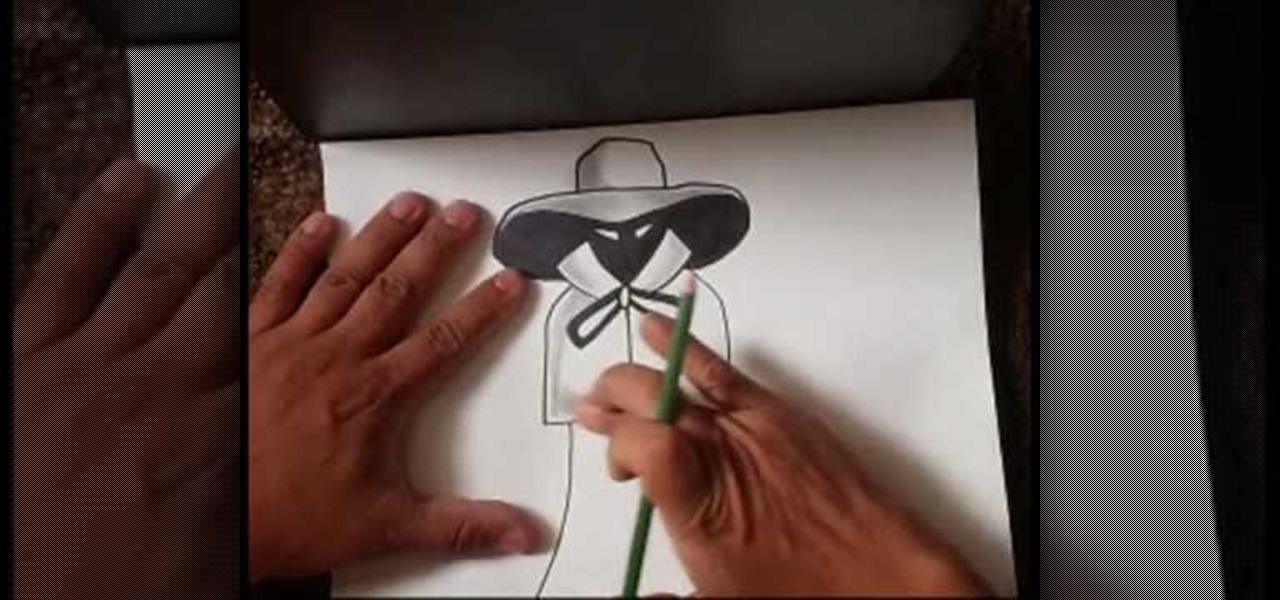
In this tutorial, we learn how to draw a scary character. First, draw the outline with a hat and a cape. After this, use your pencil to color the inside of the hat and the face (except the eyes) completely black. From here, you will shade in the hat by blending in the pencil with your finger. From here, you will color in the bow on the front of the cape and then shade in the sides and the top and bottom of the cape. Use your finger to blend in the pencil and then smudge it around the front of...
In this video, we learn how to match and apply foundation for dark skin. When you apply your foundation, you want to make sure you apply oil free on your skin to prevent break outs. Use cocoa butter on your skin as well before you apply foundation to make it go on easier. Find your shade by matching the foundation to the color on the palm of your hand. The shade on the bottle might not be right, you need to open it up and test it out on your skin first. When you find one that works for you, y...
This video contains different techniques to draw Naruto Sage Mode. The first step is to draw the basic outline of the characters face along with the ears and nose. After completing the basic outline the eye outline and details are then placed. The Lips and nose are drawn third to finish the basic features of the character. Dark shading around the eyes must be completed to give Naruto sage mode more realism and detail. The hat is one of the last parts of the character created involving a simpl...
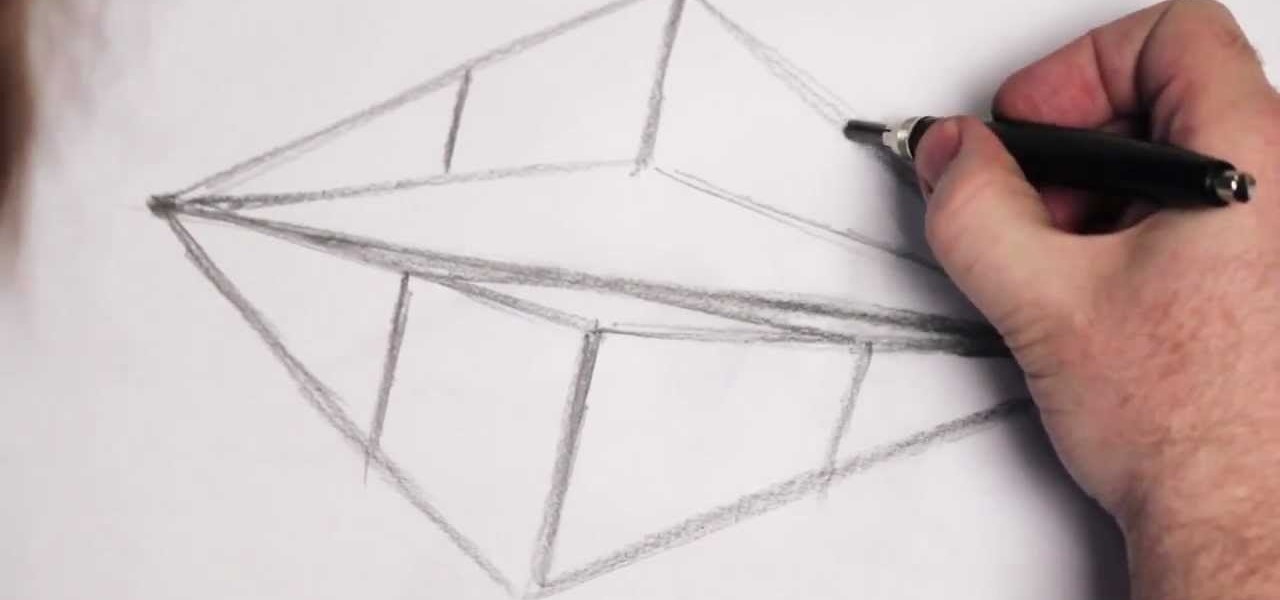
In this tutorial, we learn how to draw a cylinder. First, you will draw the sides of the cylinder and then the curves for the top and the bottom. After this, complete the circle at the top and then shade in the side with crosshatching. From here, draw some lines to shade in on the side next to the cylinder. If you want to draw a cylinder on its side, draw a box around it first and then continue to draw. Make sure all your lines are equal to each other so it evens up and looks more realistic f...
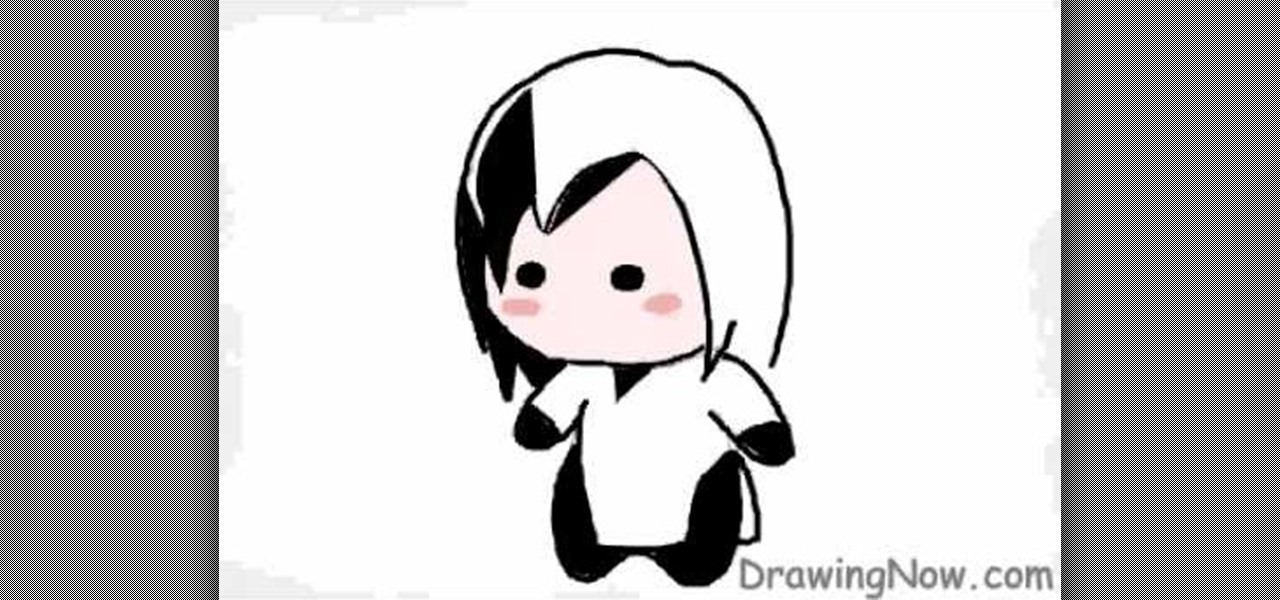
In this tutorial, we learn how to draw a Chibi Orochimaru from Naruto. Start off by drawing the outline for the character, then add in the details for it as well. After this, you will start to draw in the shading and the additional lines to give it more details. Then, you will need to erase the background lines that you used as a guide to draw the final product. From here, you will start to shade in colors on the character and then draw in any additional details or facial features. To finish ...
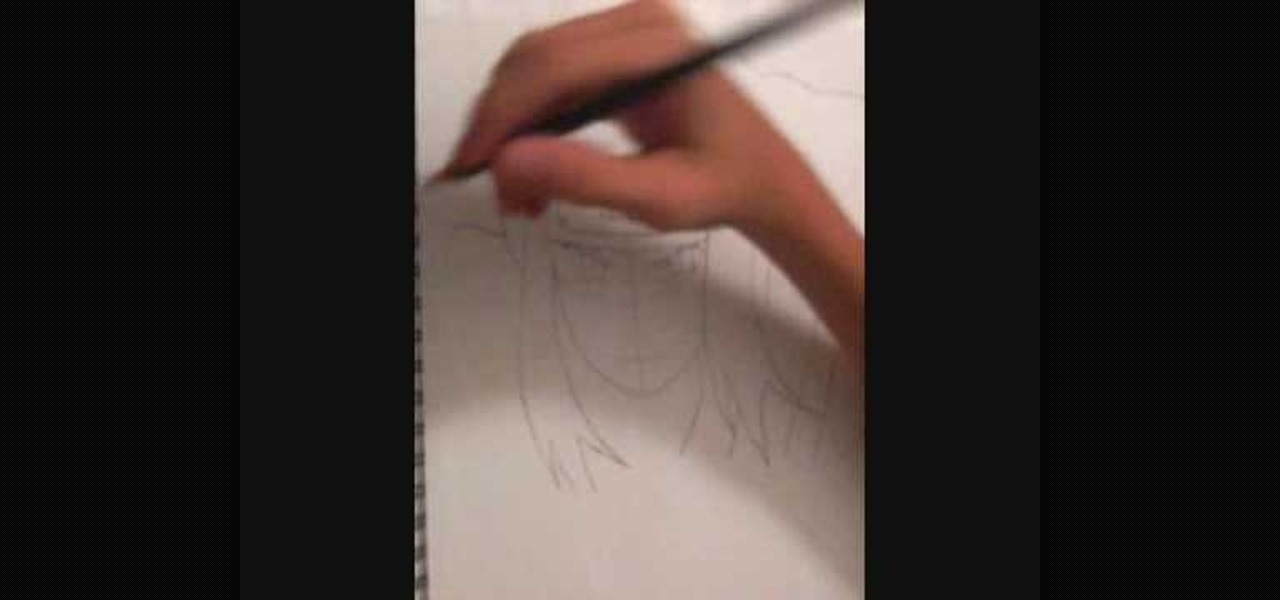
In this video we learn how to draw Neji Shippuuden. First, draw the outline for the head, use lines in the middle of the face to figure out where to place the facial features. After this, use a pencil to draw on the hair around the face and then draw on the headband. From here, add on the details to the hair and then start to add in shading around the face to make it look more realistic. After this, draw in the shoulders on the side and then draw in the rest of the details of the face. Finish...
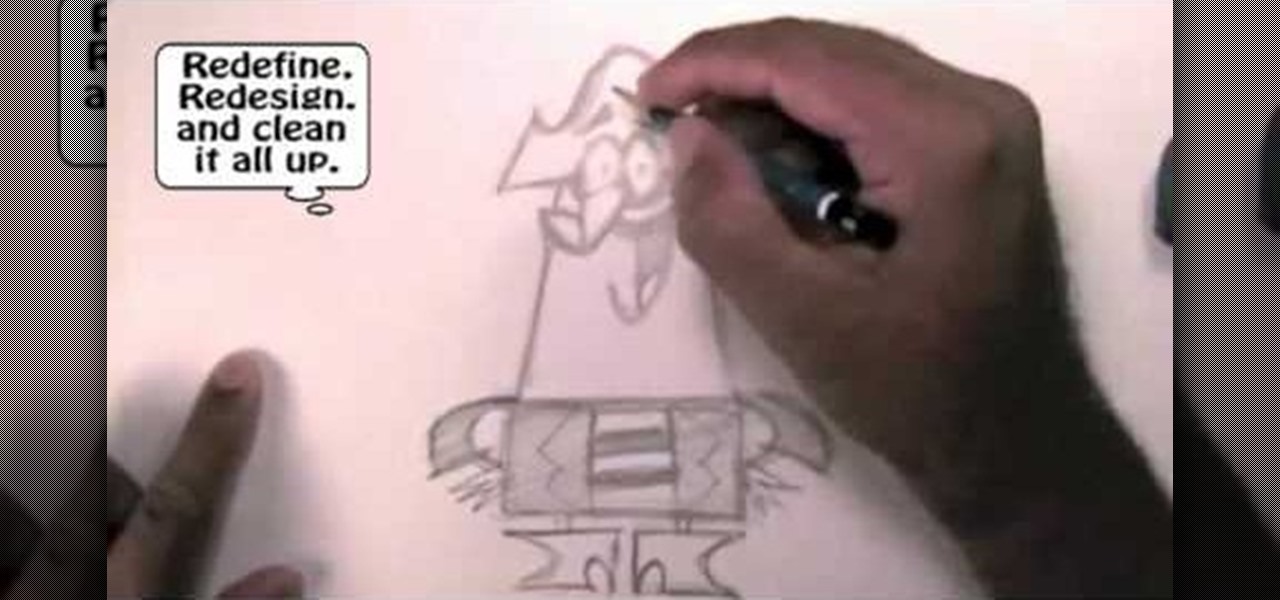
In this video, we learn how to draw Captain K'Nuckles. First, draw a cucumber type shape then draw a pirate hat on the top. From here, draw in the simple oval eyes and then draw in the nose. After this, draw in the mouth and the teeth, then shade in underneath the eyes. From here, draw in his arms and his fingers as well. Then draw and color in the clothes he's wearing and draw rectangles for his feet. After this, clean up any stray lines on the drawing and then add in shading to make the cha...
In this tutorial, we learn how to draw Danzo. To start, you will draw the outline with the light touch of the pencil. After this, draw in the final outline darker and then erase the background lines. Next, you will add in the details around the character and then add in lines to show creases and make it look more realistic. From here, you will add in shading to make the drawing have some more depth. After this, you will finish up by cleaning any stray lines with an eraser. You can also use th...
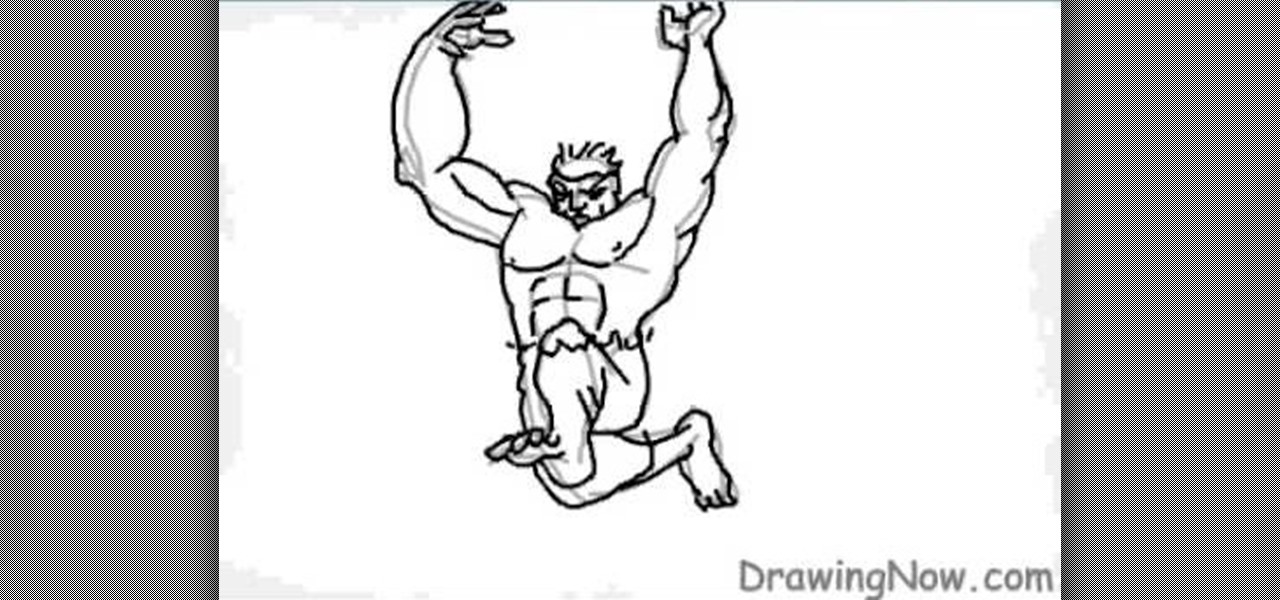
In this tutorial, we learn how to draw the Hulk. Start off by drawing the outline of the body. Make sure you draw the character's body large and keep the proportions accurate. After this, start to draw in the features of the face and the rest of the body. Use lines to make the muscles appear, then shade around them to make it look more realistic. Next, you will need to add some color to the drawing. Green would be most accurate, with some parts darker than others with shading. Finish this dra...
In this tutorial, we learn how to draw a skull. First, draw the outline for the skull. Remember not to draw the hair on the head, because skulls do not have these! After this, you will draw on the cracks to the top of the head and shade around them. From here, draw in black on the inside of the eye sockets. Then, draw the lines around the eye sockets. From here, draw the area for the nose and then the teeth. Next, you will draw in the jaw line and add in additional shading and lines to finish...
In this tutorial, we learn how to draw a sphere in 3D. First, draw a circle and a square around it with a light pencil. From here, you will use the side of the pencil to shade in the sides of the circle. Then, draw a half circle next to the circle to make it look like it's shadow. Shade that in and then add in more dark markings to the circle, leaving a small white area on the top of it. After this, draw in the outline of the circle and erase any stray lines. This will complete your sphere, e...
In this tutorial, we learn how to draw the female body. First, you will draw the outline of the body, starting with the basics. Then, start to shade in the different areas of the body and create contours. Make sure to draw longer and leaner lines to create a more feminine figure. Draw in her hips and make her body curvy, not just one straight line. After this, add in lines to the body to make it look more realistic and show the contours. To finish this, add in white for lighting and then cont...
In this tutorial, we learn how to draw a human skull. To start, you will use your pencil to draw a light outline of the skull on your paper. After this, you will start to add in more shading and lines throughout the face to make it look like it has depth and contours. From here, you will draw in the teeth and then create the nose and the pits for the eyes. After this, you will start to shade in the sides of the skull darker and then add in any additional details like small cracks on the face....
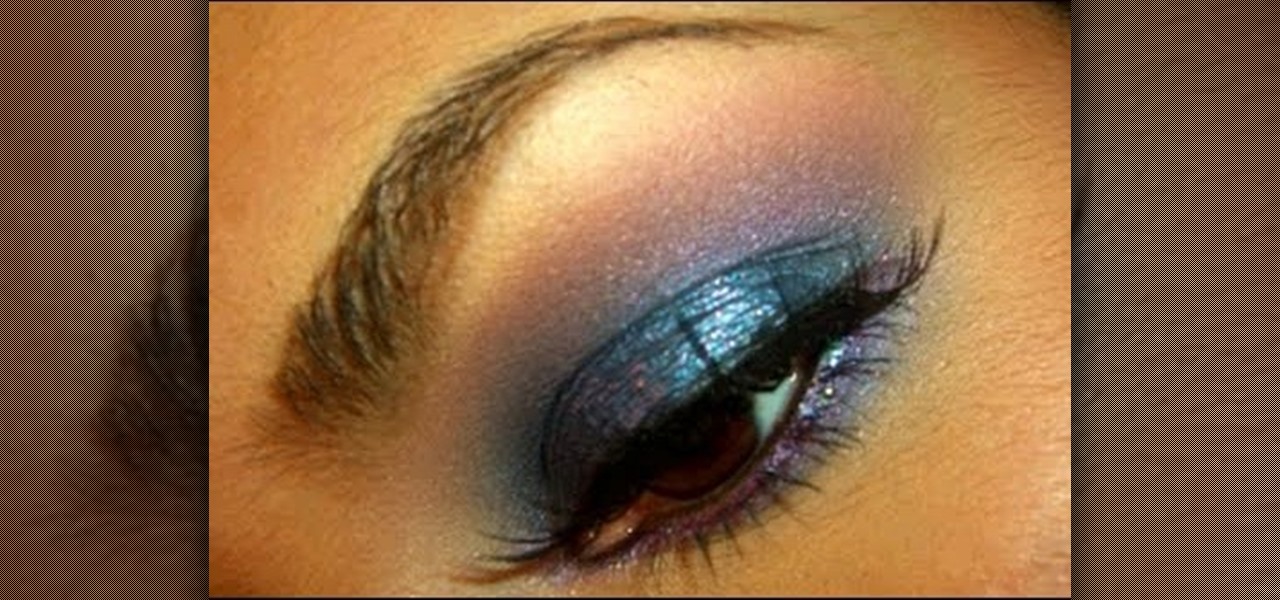
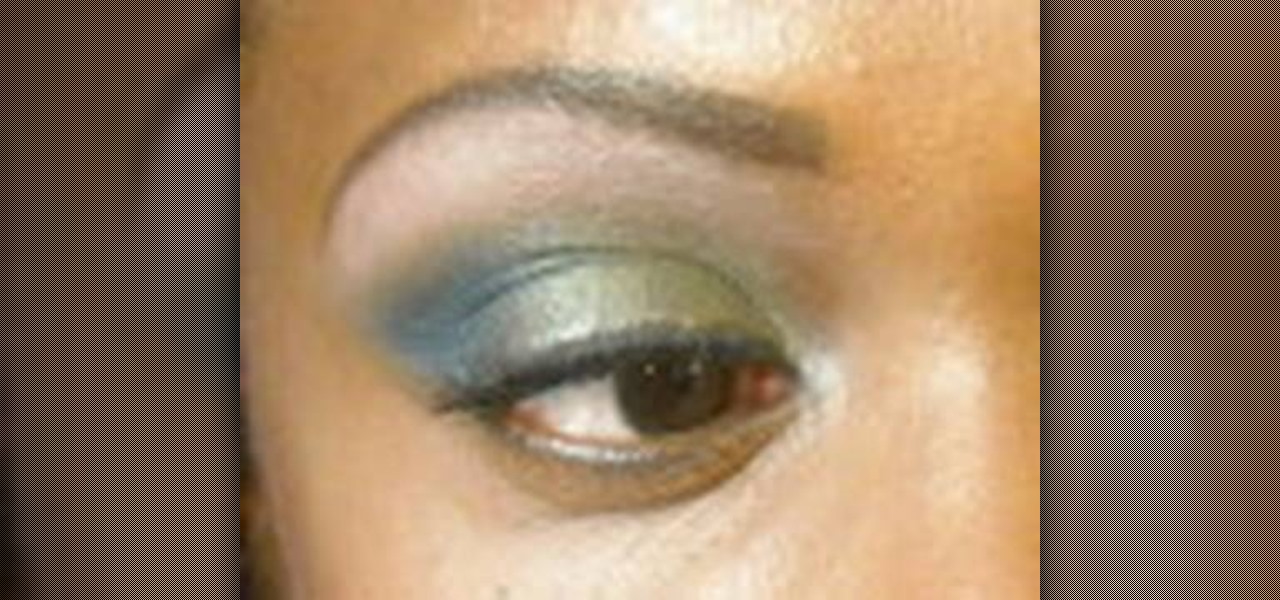
Though it may not seem like it, blue eye makeup is one of the most universally flattering shades out there. We're not talking robin's egg blue or any of the lighter shades of blue; rather, we're thinking a deep, dark navy or an electric, sparkly teal.
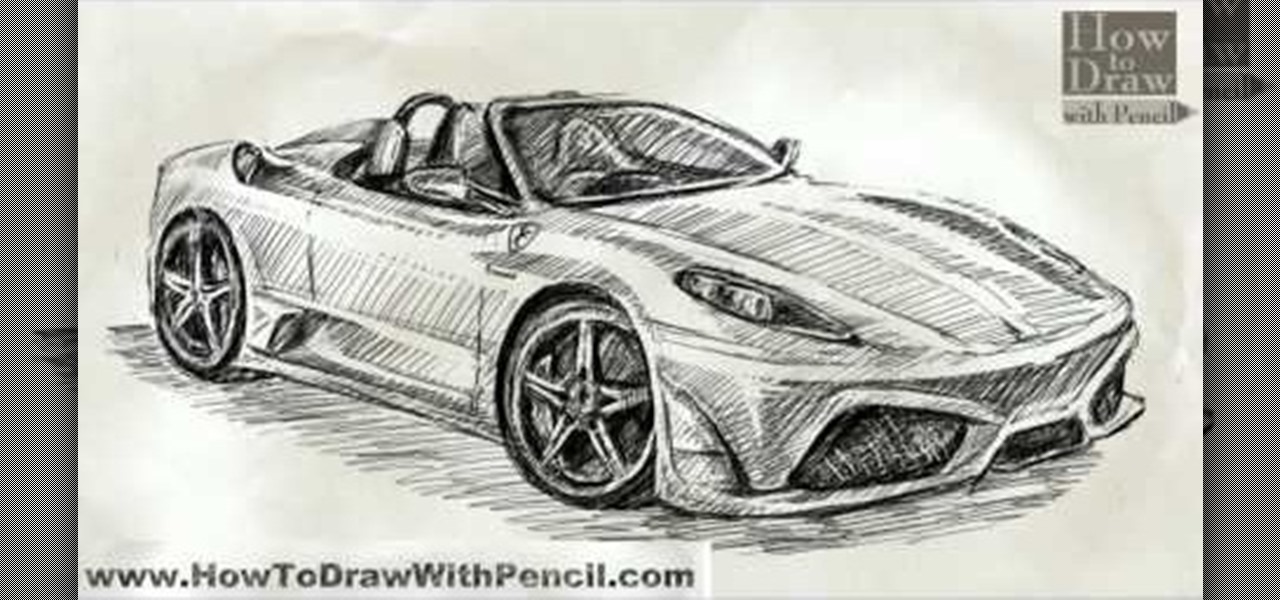
In this tutorial, we learn how to draw a Ferrari Scuderia Spider 16M. Start out by drawing the outline of the vehicle. Make sure you draw in the areas for the tires and the windshield, as well as the other areas of the car. After this, add in shading around the car on all of the sides. Next, start to draw in the details around all of the car. Add in shading and additional lines to make it look more realistic. After this, you will need to use the eraser to erase any unwanted lines that don't b...
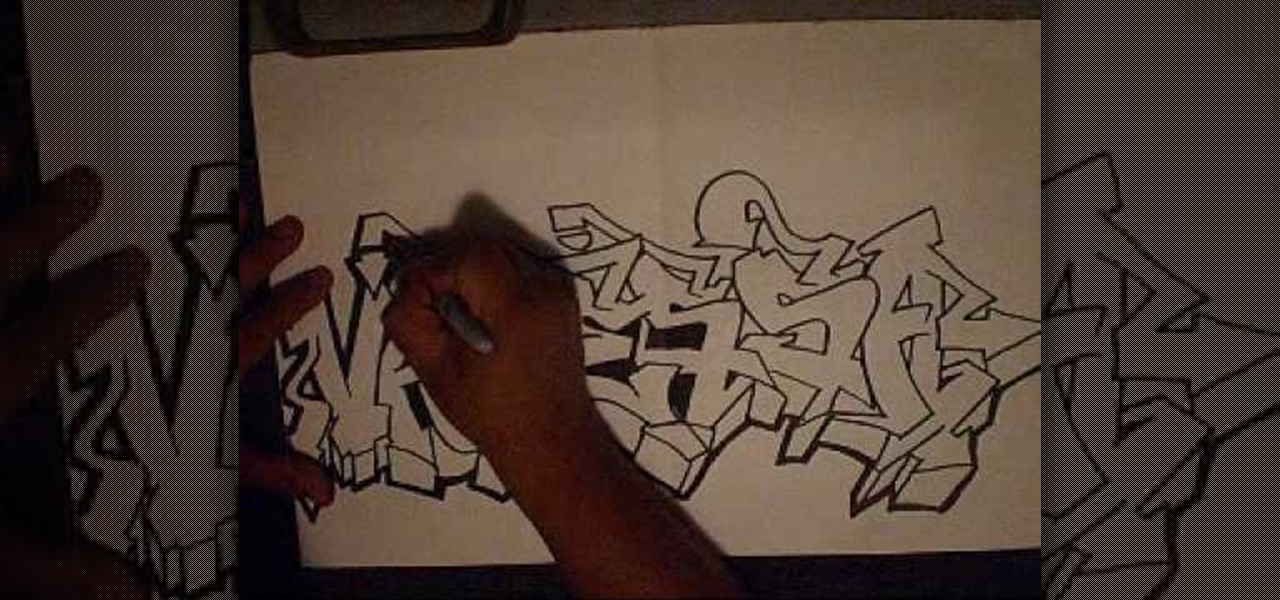
In this tutorial, we learn how to draw graffiti letters. When you are drawing these letters, you will want to use as much imagination as you can. Make sure to add in your own personal flare to give each of the letters a special touch. Now, you will draw the letters making them into a large 3D letter. Add in swirls and lines to the edges of the letters to give them a wet look and then add in shading to the side to make it look darker. Add in more shading and darker outlines, then when you are ...
In this tutorial, we learn how to draw an eye. Start out by drawing the outline of the eye, which should be in a football shape. Then, draw the inside of the eye and the outside of it as well. Then, you will start to add in additional details around the eye and the eyelashes. After this, add in the crosshatch inside the eyes and shade in the pupils. Shade around the outside of the eye, then add darker lines for the eyelashes on both the top and the bottom. Add a crease in the eye to make it l...
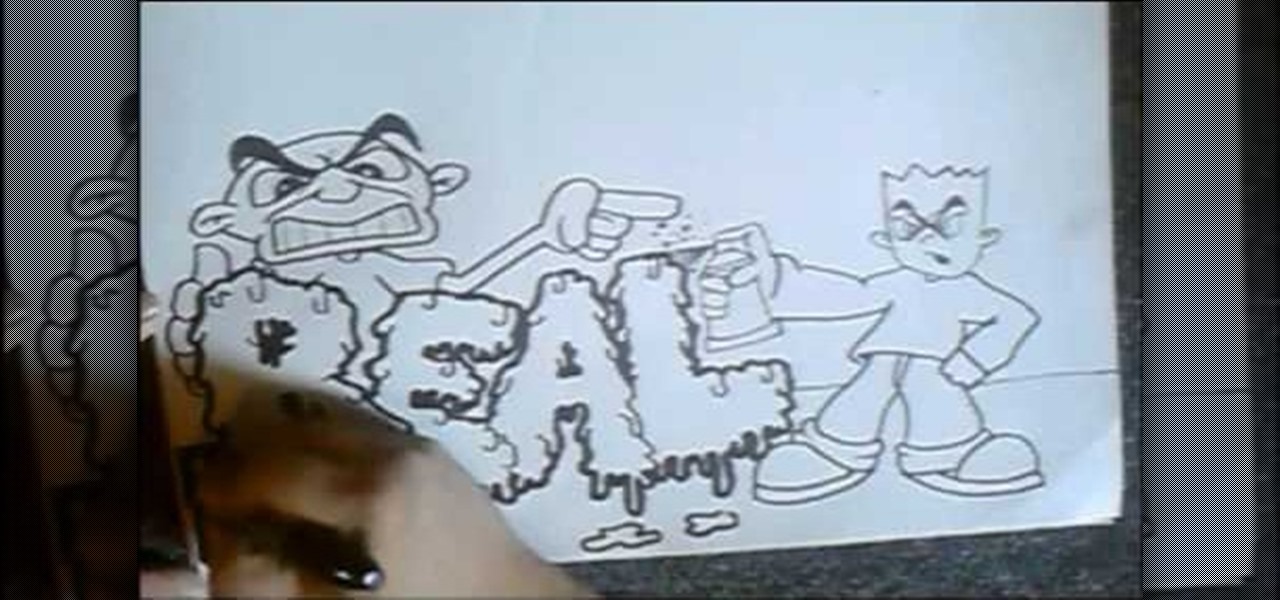
In this video, we learn how to write a name in graffiti letters. Start off by outlining the letters, make sure to draw them thick so they look 3D. Add in different shapes edges to the letters to make them look more like graffiti. Make sure they are all touching and overlapping as well. Then, use the pencil to draw in the areas in between the letters and in the middle of them. Once you do this, you will be able to add in additional lines and shading to each of the individual letters. You can a...
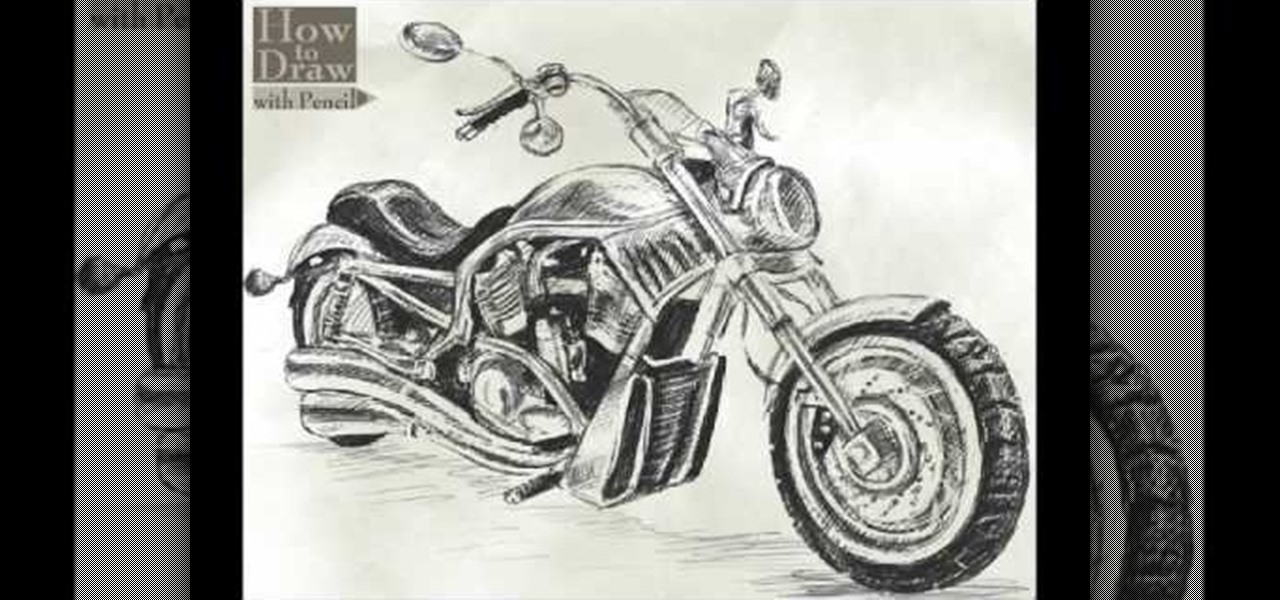
In this video, we learn how to draw a Harley-Davidson V-ROD. First, draw the outline of the vehicle using a light pencil. After this, start to add in the details of the wheel and front of the motorcycle. From here, add in shading and additional details to make it look more realistic. Make sure you draw on the small details of the motorcycle because this will make all the difference. Shade in additional details on the drawing and then erase any lines that you don't need. Use the eraser to crea...
In this video, we learn how to draw an eye step by step. First, draw the curve of the eye on the top and on the bottom. Then, draw in the pupil of the eye and the inner corner of the eye. Use a light touch with the pencil to make the circle in the middle of the eye. Then, draw around it with a bolder line. After this, draw the crease above the eye, then draw shading to show where the crease line is. Next, fill in the pupil and add in a circle to make the eye appear glossy or that light is hit...
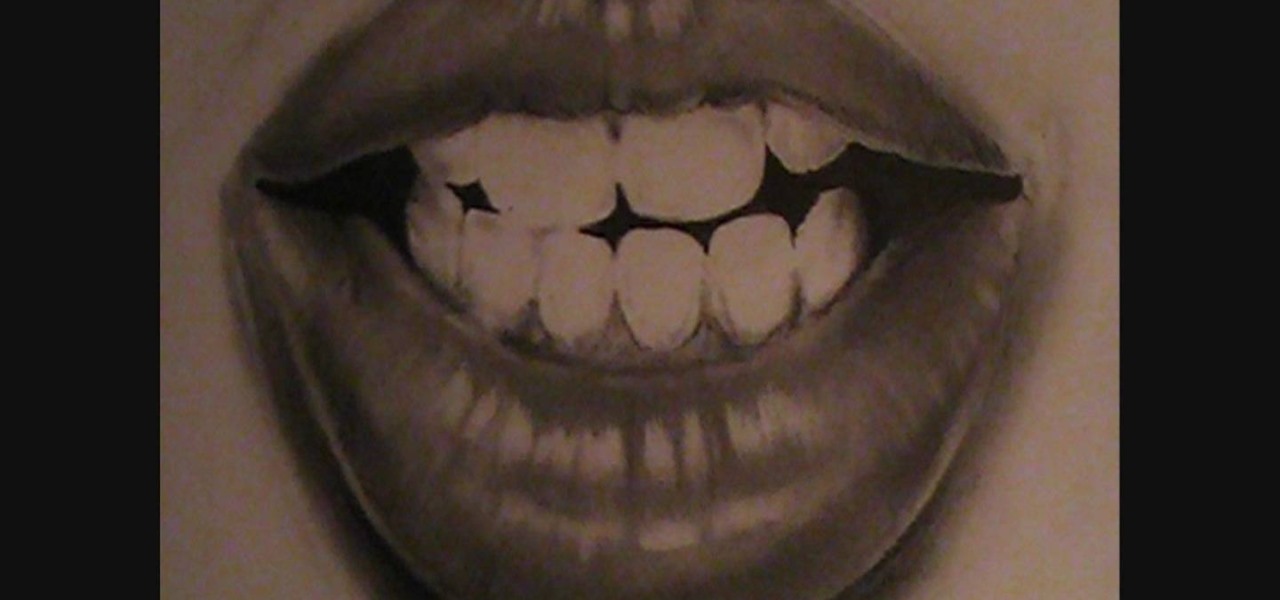
In this tutorial, we learn how to draw lips and teeth. First, you will need to draw the sketch or outline of the picture. You will need to make sure you take your time to create realistic lines for the lips and the teeth as well. From here, you will add in more lines on the lips to make it look more realistic. Then, add in the teeth in the middle of the lips and shade in the areas that are in between them. When you are finished with this you can add in more shading and lines into this and you...
In this tutorial, we learn how to draw eyes with a pencil. First, draw the outline of the eye, giving it an almond type of shape. From here, you will add in the lines to the eyes and shade it in to make it look more realistic. Add in the crease above and below the eye, then draw another line on the bottom for the lash line. Then, darken in the areas around the eyes, then add in the lashes to the top and the bottom of the eyes. Shade in the pupil, then use lines to create a more realistic insi...