In this video, we learn how to draw a robot. Start off by drawing the outline of the robot, then draw in the details of the robot's exterior. Make sure to use squares to make it appear like the robot is a bunch of metal pieces put together. After this, you will fill in the robot with different colors of your choice. Make sure to add in small details around the figure to make it look more realistic. You can also add in shading to make it appear 3D. Once you are finished with the robot, make su...
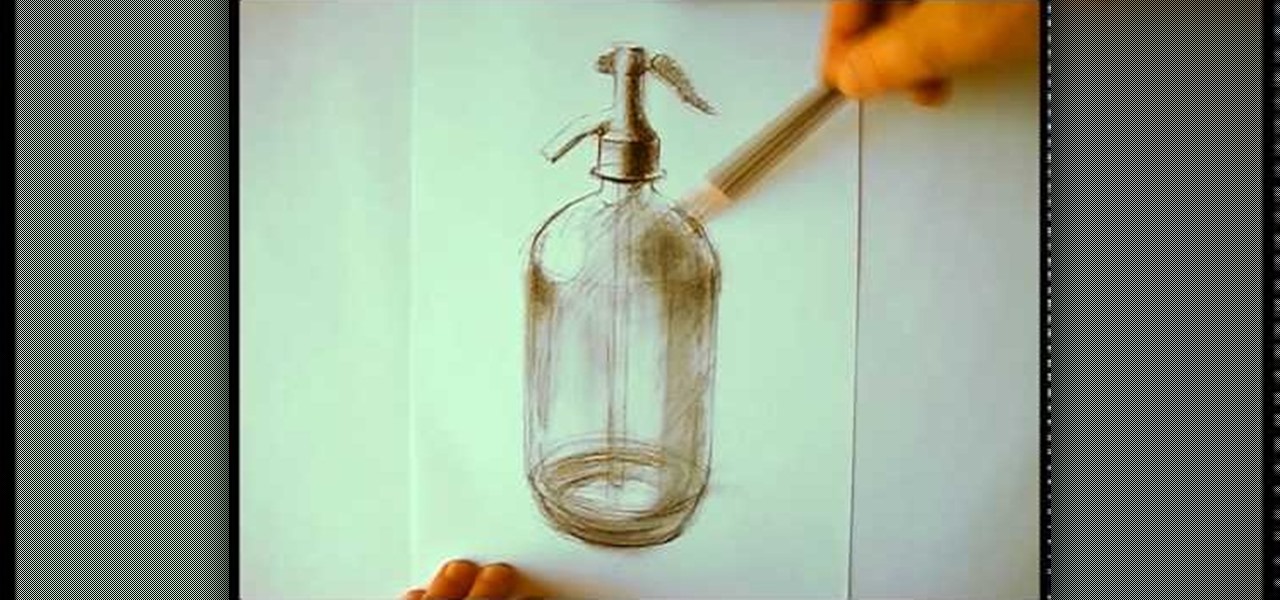
In this tutorial we learn how to draw a glass bottle. To start the bottle, you will draw the outline of the bottle starting with the cap to the base. After this, start to shade in the top and around the sides of the bottle. Small lines will create the effect of the bottle seeming to be transparent. After this, start to shade in around the sides of the bottle and on the bottom. Draw the inside lines and the other side as well so you can see that it is clear. Then, use the eraser to smear the c...
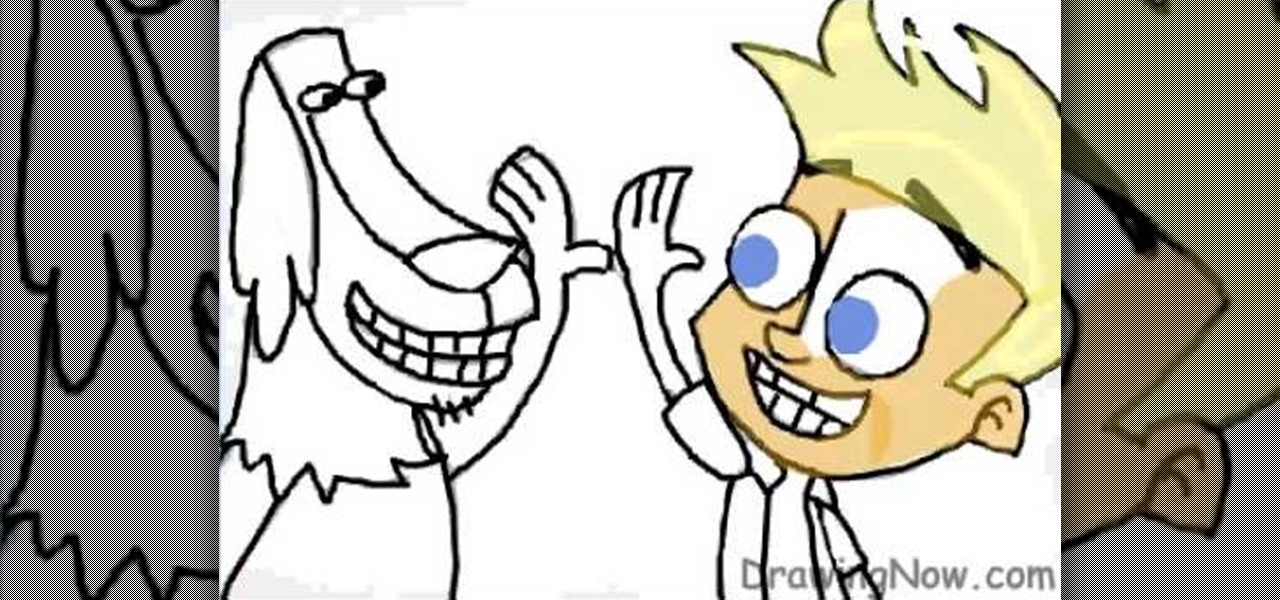
In this tutorial, we learn how to draw Johnny Test & Dukey. Start out by drawing the outlines for both of the characters. Next, you will draw in the features of the faces and then draw the details to both of the characters. Next, you will use a bolder line to draw on all the features to make it look like it's 3D. Next, add in the shading to the characters to make them look more realistic and draw the clothing on as well. To finish, color in the characters and their clothing. Finish off with f...
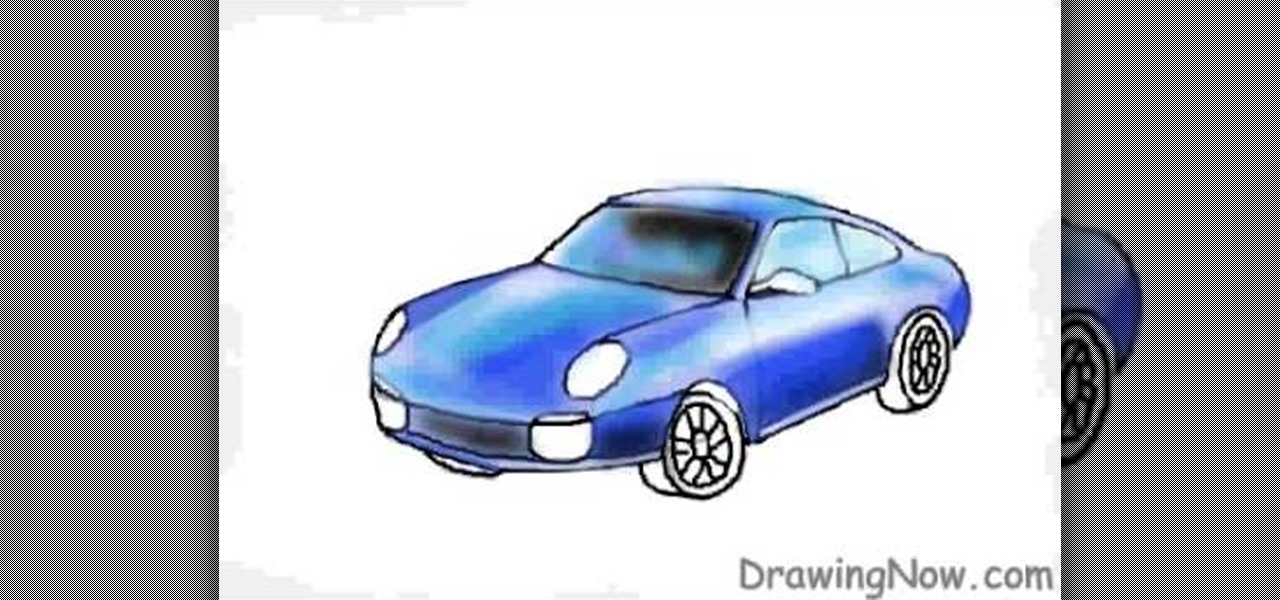
In this video, we learn how to draw a Porsche sports car. Start off by drawing an oval type of shape with lines to make the top of the car. Then, draw in the rest of the outline of the car and add on the wheels and the front of the vehicle as well. From here, you will start to add on the details to the front and sides of the car, as well as on the bottom. Use crosshatching and shading to make it appear realistic. Once the details are on this, use color to add a more in depth look to the car. ...
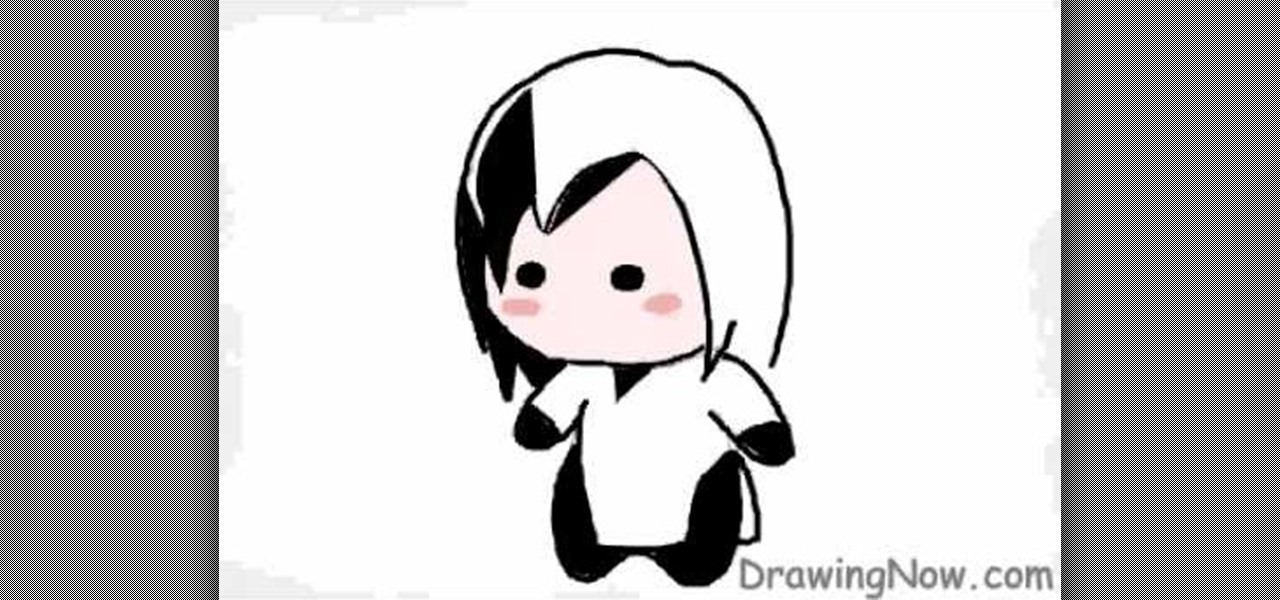
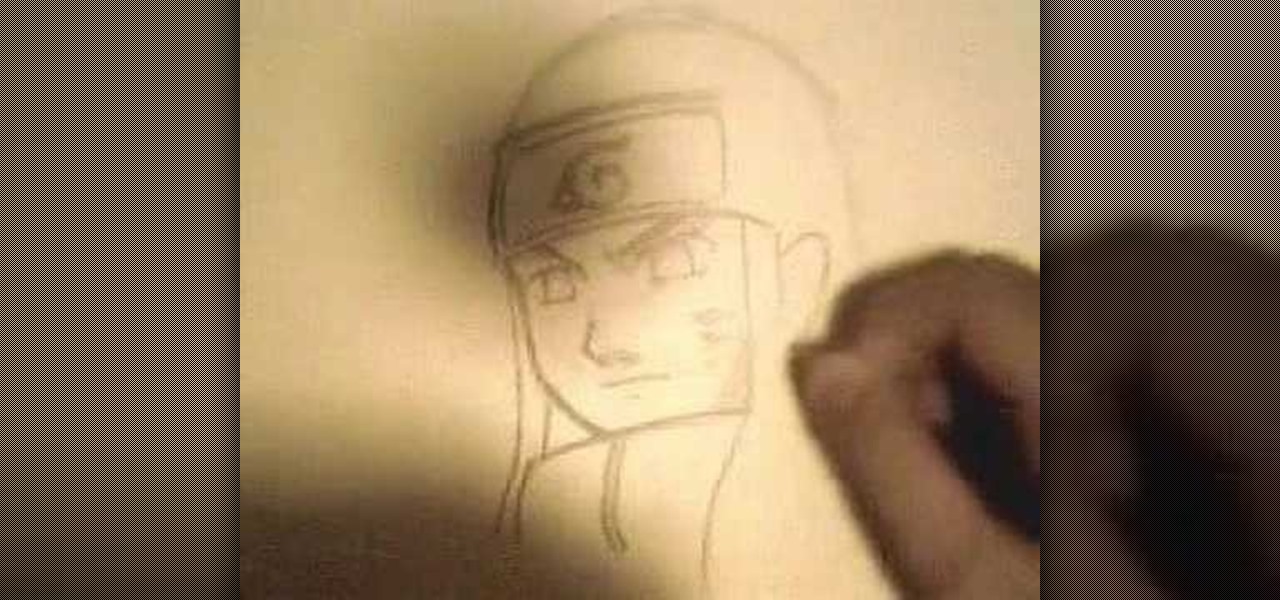
In this tutorial, we learn how to draw a Chibi Orochimaru from Naruto. Start off by drawing the outline for the character, then add in the details for it as well. After this, you will start to draw in the shading and the additional lines to give it more details. Then, you will need to erase the background lines that you used as a guide to draw the final product. From here, you will start to shade in colors on the character and then draw in any additional details or facial features. To finish ...
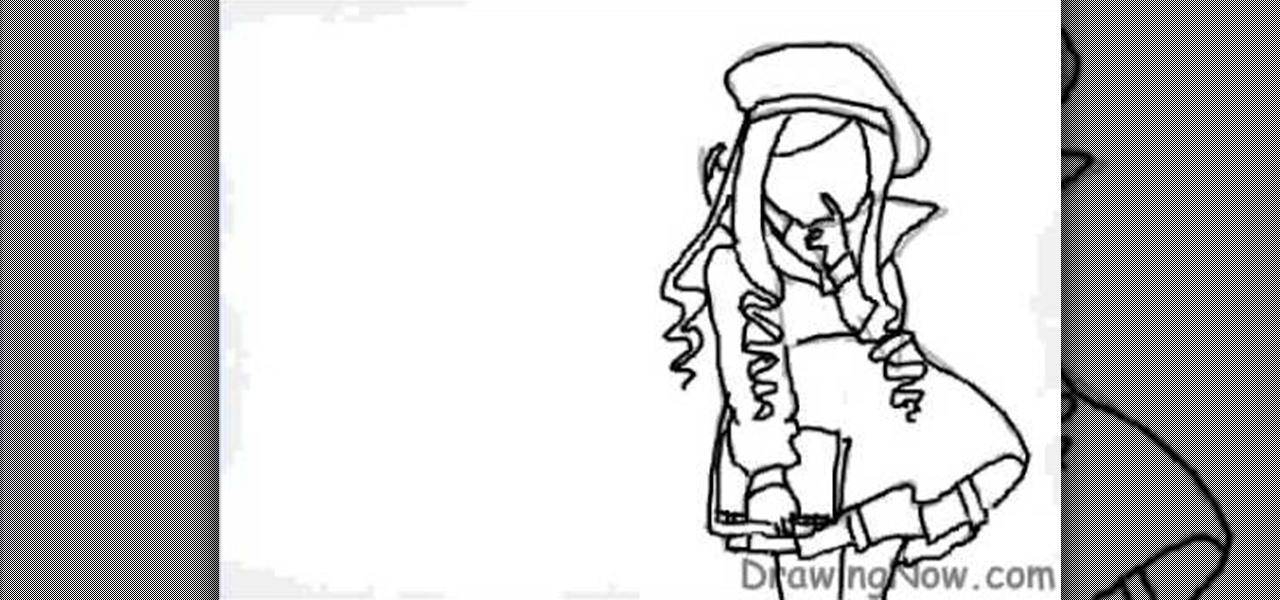
In this video, we learn how to draw mange clothes on a computer. There are many different types of manga clothes that you can draw, so study what you want to draw before you do it. When you start to draw, make sure you use great detail with the clothing, no matter what kind you are doing. After you draw the basic clothing, then add lines to show folds and creases inside of the clothing as well. Draw in shading around the inside of the clothes and then you will have your clothing complete. Enj...

In this video, we learn how to draw the classic Sonic the Hedgehog character. First, draw a round circle for the head. Then, draw in the eyes and the hair around the head in big huge lines. After this, sketch in the rest of the body. Then, start add details to the head, drawing in the eyes, mouth, and hair lines. From here, draw in the details of the body and then create the leg and feet clothing as well. Draw a bold black line over all of it, then you will add in shading to finish up this dr...

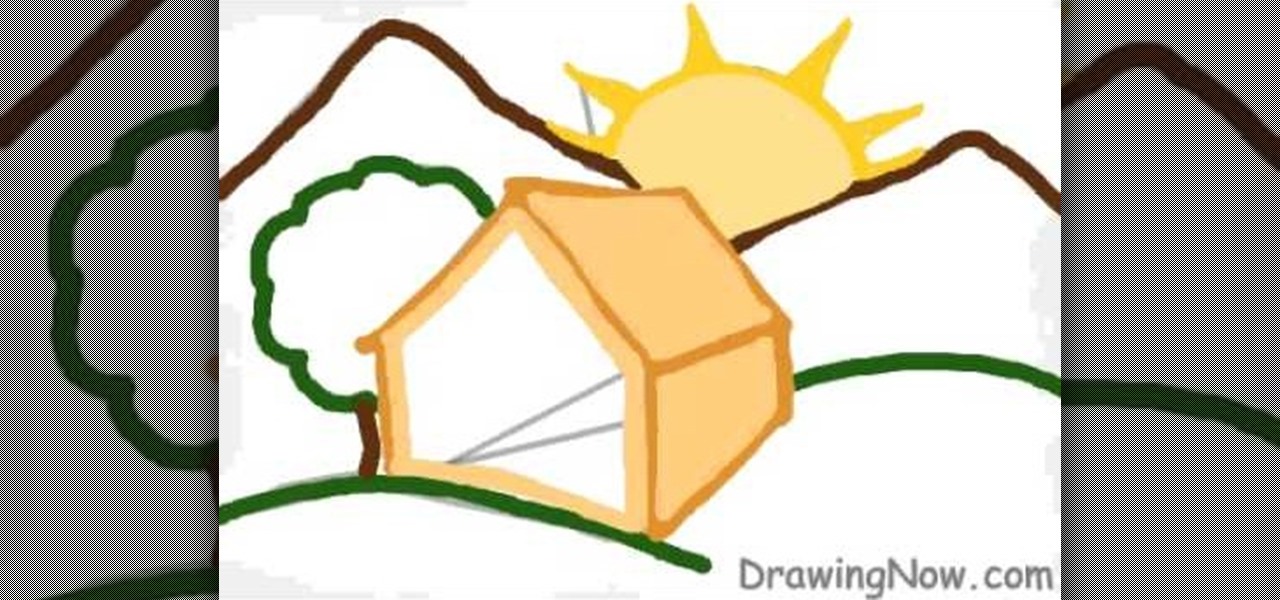
In this video, we learn how to draw a cartoon cottage scene. Start out by drawing the outline for the house, a tree, the sun, and mountains. After this, add color to the mountains and everything else in the scene. From here, color in the sun and then start to create the cottage. Make sure to add details to it, like a roof and a door and windows. Then, color the ground green to make it look like it's set out in the wilderness. Once finished, add in shading to make it look more realistic and th...

In this tutorial, we learn how to draw a foot. To start, you will first need to draw the outline of the foot. You can easily do this by first drawing out the ankle and then drawing the rest of the foot. Look at your foot if you need help to figure out where the different contours are. Then, draw in the toes and add in the toenails. Once you do this, you will be able to add in the shading around the foot as well as the lines to the skin to make it look more realistic. When finished, sign with ...

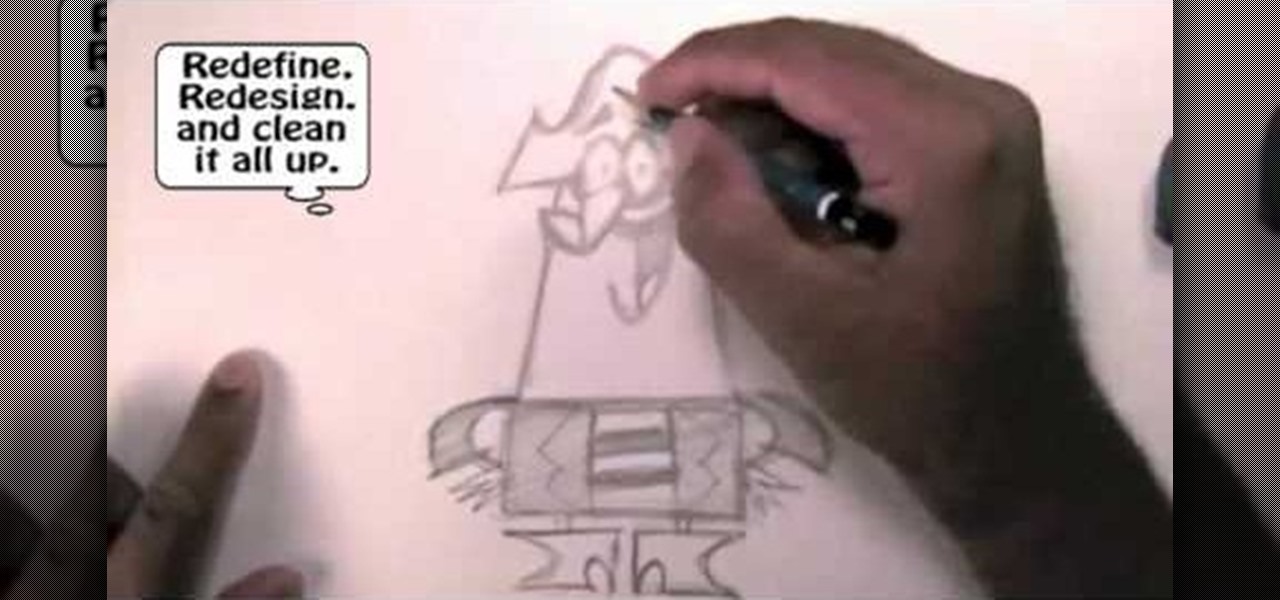
In this video, we learn how to draw Captain K'Nuckles. First, draw a cucumber type shape then draw a pirate hat on the top. From here, draw in the simple oval eyes and then draw in the nose. After this, draw in the mouth and the teeth, then shade in underneath the eyes. From here, draw in his arms and his fingers as well. Then draw and color in the clothes he's wearing and draw rectangles for his feet. After this, clean up any stray lines on the drawing and then add in shading to make the cha...

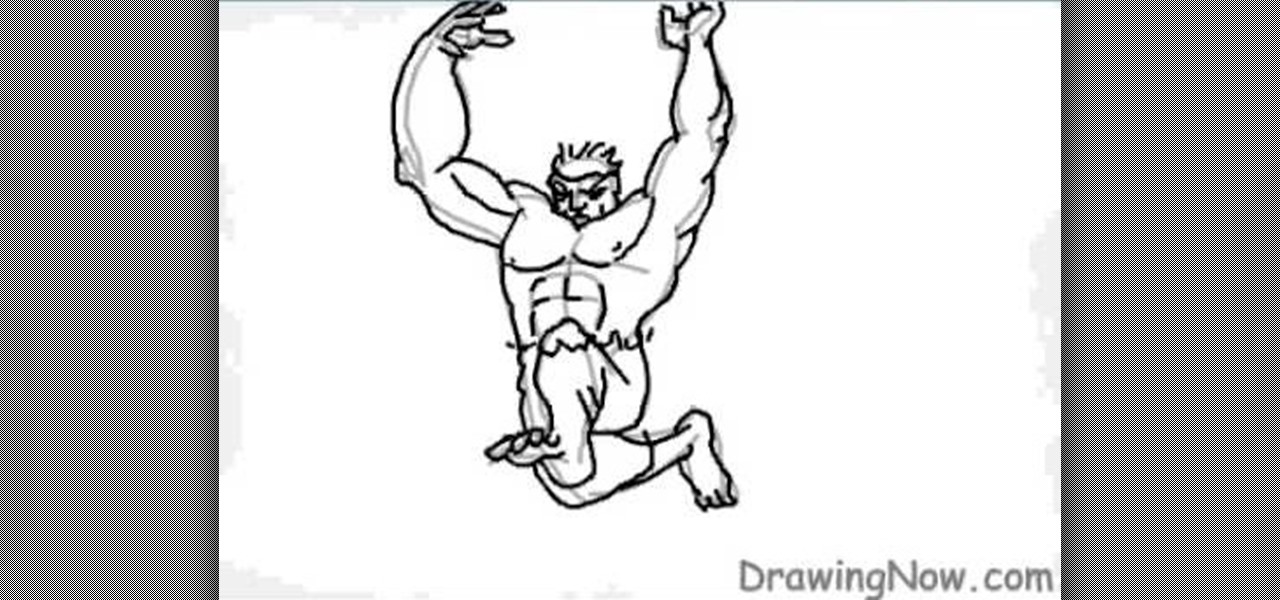
In this tutorial, we learn how to draw the Hulk. Start off by drawing the outline of the body. Make sure you draw the character's body large and keep the proportions accurate. After this, start to draw in the features of the face and the rest of the body. Use lines to make the muscles appear, then shade around them to make it look more realistic. Next, you will need to add some color to the drawing. Green would be most accurate, with some parts darker than others with shading. Finish this dra...

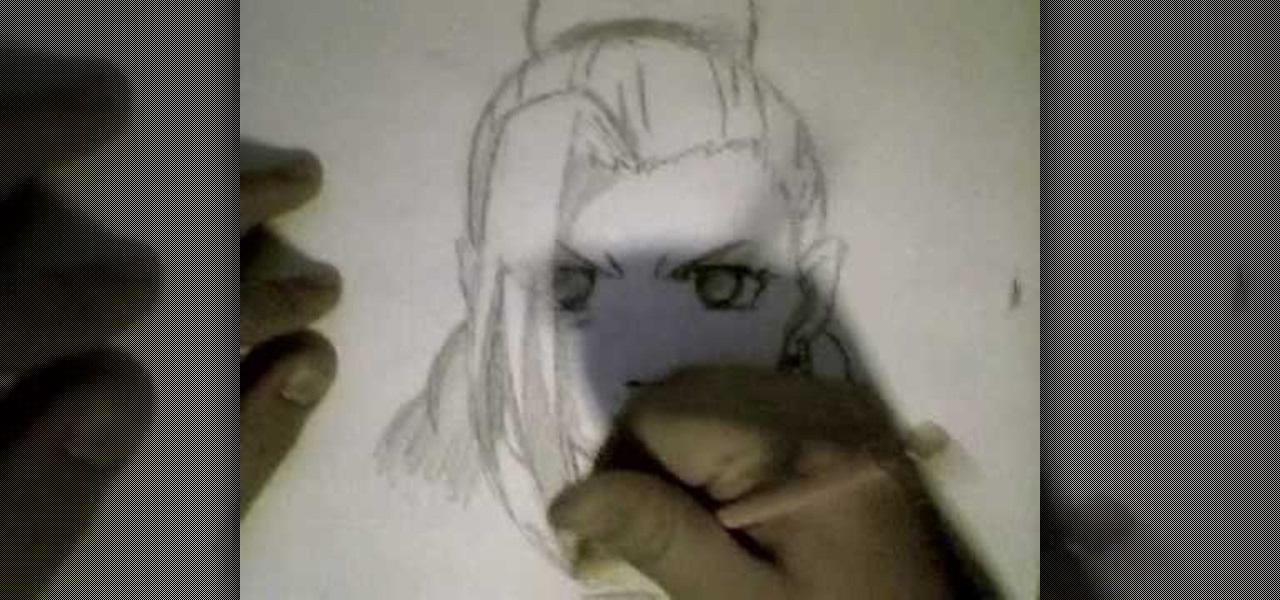
In this video, we learn how to draw Ino from Naruto. Start off by drawing a circle for the head, then drawing lines in the middle to create reference for where the facial features will go. After this, draw in the hair on the top of the head along with the eyes, eyebrows, and creases of the eye. Then, draw the jaw line around the face and erase the lines you used for reference. After this, add in additional lines and hair to make it look more realistic. Use shading around the face to show ligh...

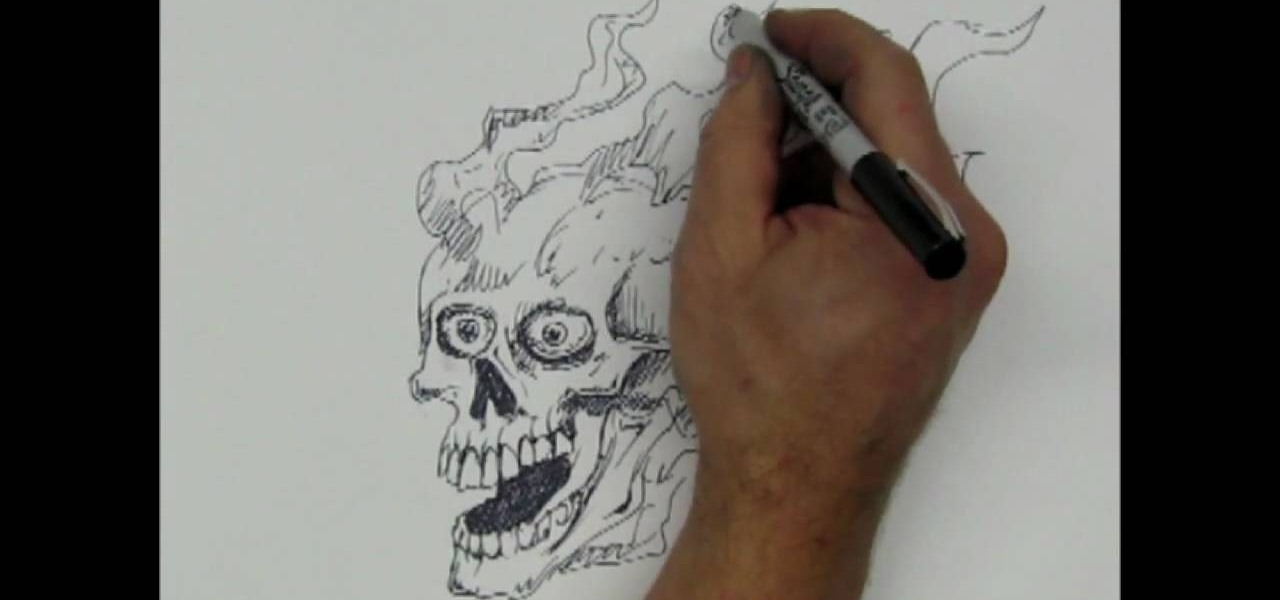
In this tutorial, we learn how to draw a skull with a Sharpie. First you will draw the eyes, make sure to draw lots of little lines around them then cross them to create depth. From here, draw the outline to the head and then the nose and the teeth. Make sure to add lines in around the head to show cracking and marks around the head. Use shading to create darker lines along the head and then add in additional details. Make this unique to you, it doesn't have to look one certain way. When fini...

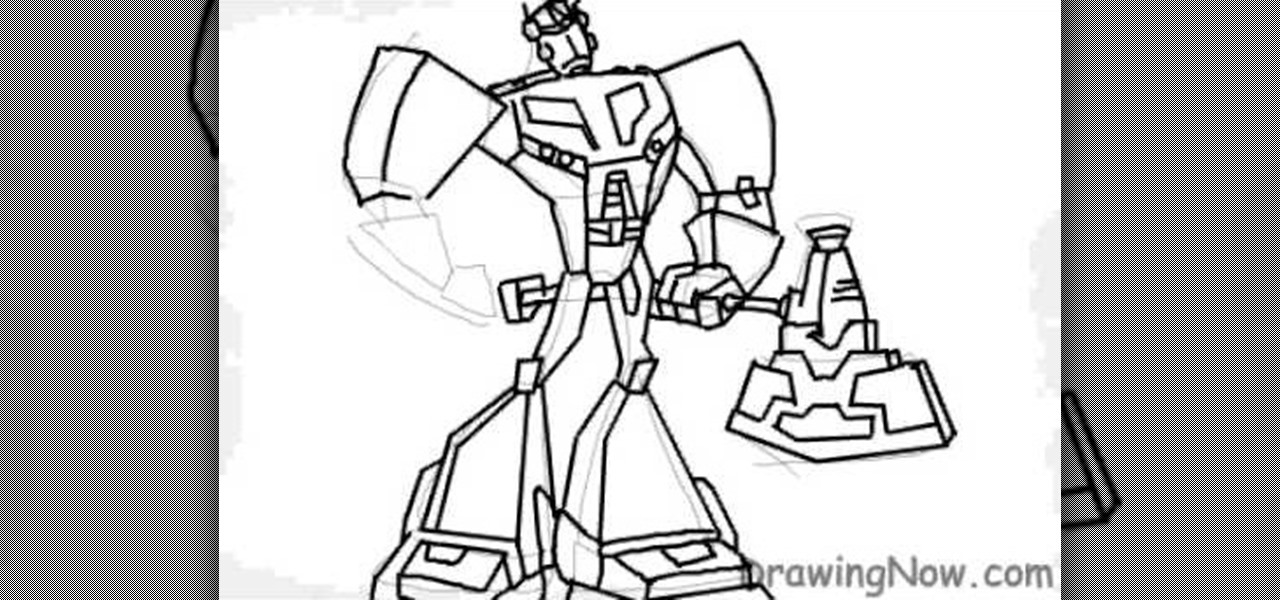
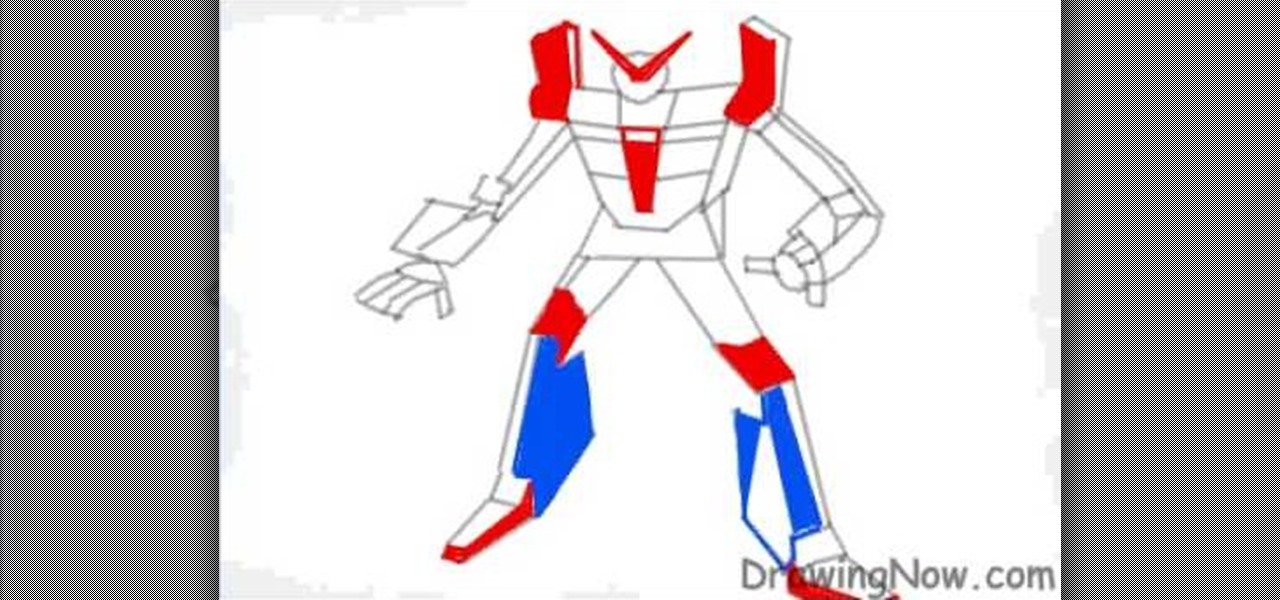
In this tutorial, we learn how to draw Optimus Prime of Transformers. Start off by drawing the outline of the entire body of the character. Make sure to add in the large arms and feet as well. Next, draw over this to make a more elaborate outline including the details for Optimus Prime. Once you have all the details draw, erase the background lines. Ten, color in the character and add in lines and shading to make it look more realistic. Once you have done this, then you will finish off with a...

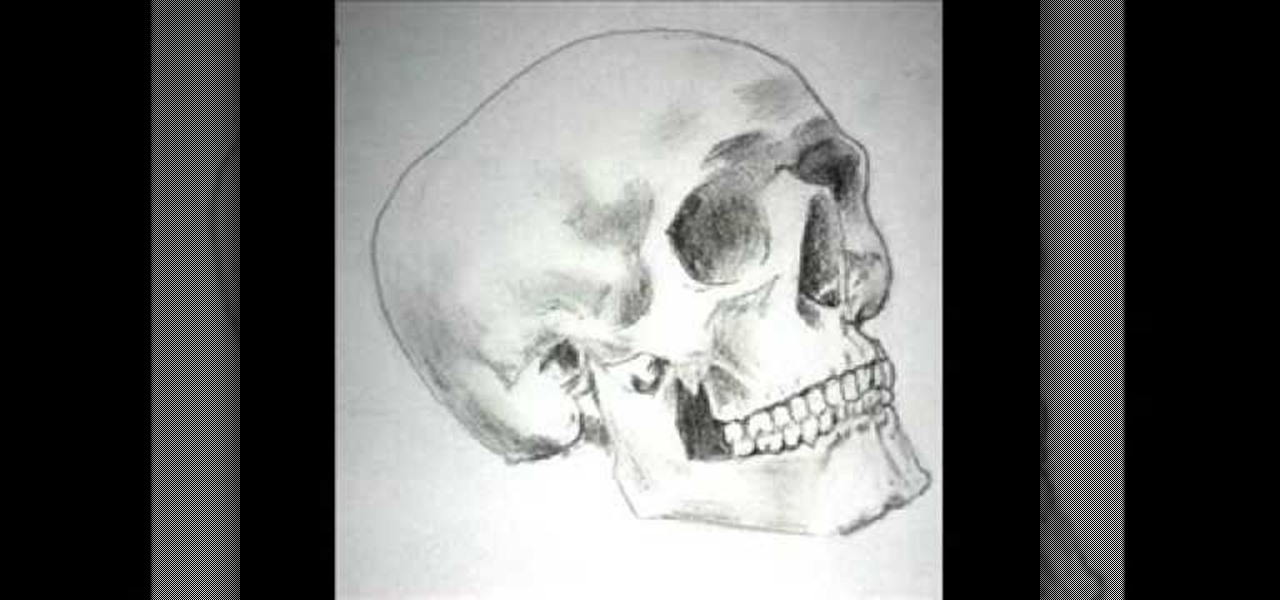
In this tutorial, we learn how to draw a skull. First, draw the outline for the skull. Remember not to draw the hair on the head, because skulls do not have these! After this, you will draw on the cracks to the top of the head and shade around them. From here, draw in black on the inside of the eye sockets. Then, draw the lines around the eye sockets. From here, draw the area for the nose and then the teeth. Next, you will draw in the jaw line and add in additional shading and lines to finish...

In this tutorial, we learn how to draw Kazekage Gaara. First, draw the outline of the character using a pencil. Then, draw in the features of the face and the hair as well. From here, draw in lines on the clothing to create the folds and make it look more realistic. After this, continue to add in details on the clothing to show the arm and the backpack on the character. Start to add shading to the character and the clothing until you finish the drawing. Clean up any stray or background lines,...

In this tutorial, we learn how to draw manga Neji. Start off by drawing the outline of the character. Don't forget to include the parts where the facial features, limbs, and hair are at. From here, you will use a darker pen to draw in the rest of the character. Next, you will start to draw in the additional lines and shading to make the character look more realistic. Once you do this, you can start adding some color! Use any colors that you would like or use the normal colors that are on Neji...

In this video we learn how to draw hands without references. First, draw the basic structure of the hand using a photo to make sure it's true to size. After this, draw on boxes and circles to create the wrist, hand, and the knuckles. Then, you will draw on straight lines for the bones in the thumb. After this, start to add details of the fingers and make out their basic shape. As you continue with details, erase any background lines and start to add lines in for wrinkles on the skin. Finish t...

In this video, we're shown how to draw Fred Flintstone from "The Flintstones". Start off by drawing the outline for Fred's body, drawing in his limbs and his upper/lower body. After this, use a darker pen to draw in the full outline and create a more 3D type of image. Next, you can draw in the clothing for the character, drawing in lines to show creases in the clothing as well. Then, you will need to color the skin and the outfit as well and add in the facial features. After this, draw in the...

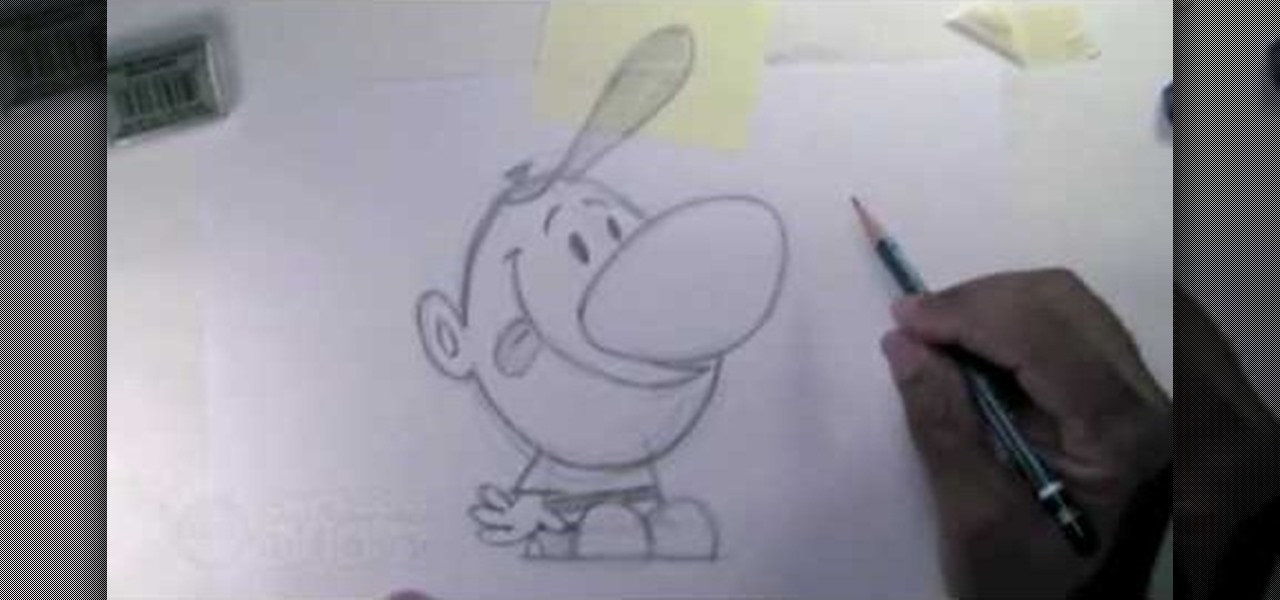
In this video, we learn how to draw Billy from The Grim Adventures of Billy & Mandy. Start out by drawing the egg shaped head with a pencil. From here, sketch on the body by using a block shape then draw the shoes as simple half circles. The arms and hands will be hanging to the sides. Now, draw on the huge nose in the middle of the circle. Attach the mouth to this and draw it all the way up near the eyes, which are simple dots. The brows are simple slashes. After this, add in the minor detai...

In this tutorial, we learn how to draw Dora from "Dora the Explorer: Pirate Adventure". Start out by drawing the outline for the character. Then, add in the details for the body, including the hand holding an eyepiece. From here, you will start to add in color to the hands and the clothing on the body for the outline. Add in the facial features and the features of the clothing as well. Then, you will draw in the hair and the hat, along with any other details you left out. Color anything you w...

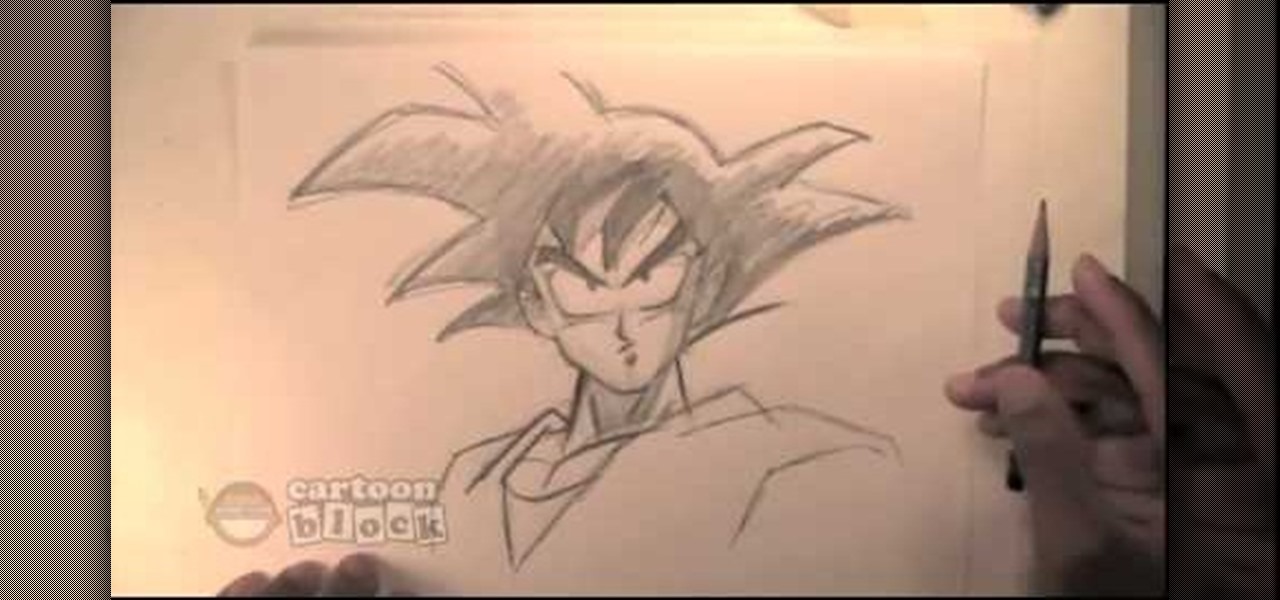
In this tutorial, we learn how to draw Goku. First, you will start drawing the outline of the face, including the features of the face. After this, darken around them by drawing with the pencil. From here, draw in the hair on the top of the head and the ears on the side of the head. Next, you will draw in the neck and the rest of the body as well. Add in lines on the body to show the contours and the muscle on the body as well. Finish this off by adding in shading and erasing any background l...

In this tutorial, we learn how to draw a skull. First, select a picture of a skull that you want to draw. Then, sketch a few lines so you know where you are going to position the sockets in the eyes. Also do this for where you're going to position the nose and mouth cavities. Then, erase any unwanted background lines. From here, you will draw over your original sketch and then tone the eyes and the sockets. From here, you will tone and add shading to the rest of the skull and the areas behind...

In this tutorial, we learn how to draw Naruto 4-tails. First, draw the outline of the characters and the four tails. After this, draw in the rest of the outline in the final stages using a darker stroke of the pencil. Start to add in the details of the figure of the body and then add in the shading around the sides. Make sure you draw in the hands and the fingers as well as the facial features to make it look more realistic. Add in any more details that you would like to make it unique, then ...

If you're a fan of Tinkerbell, then this video is for you! We learn how to draw Disney's magical fairy, Tinkerbell. Start off by drawing the outline of her body and wings. Then, draw over this to make a 3D version of her. From here, you will start to draw in the details of the face and the body as well as the clothes. Once finished, you will color in the skin, wings, and clothing. Use shading and lines to make the character appear more realistic. To finish this up, add a colored background an...

In this tutorial, we learn how to draw portraits. First, you will use a light touch of the pencil to draw the outline of the face and hair. Make sure to include the jaw bone and create a line for the chin. Next, use the side of the pencil to draw on the shading underneath the features of the face, which you will gently outline with the pencil as well. As you add more detail, you will increase the color with the pencil to create a bolder image. After this you will draw in the ears and the hair...

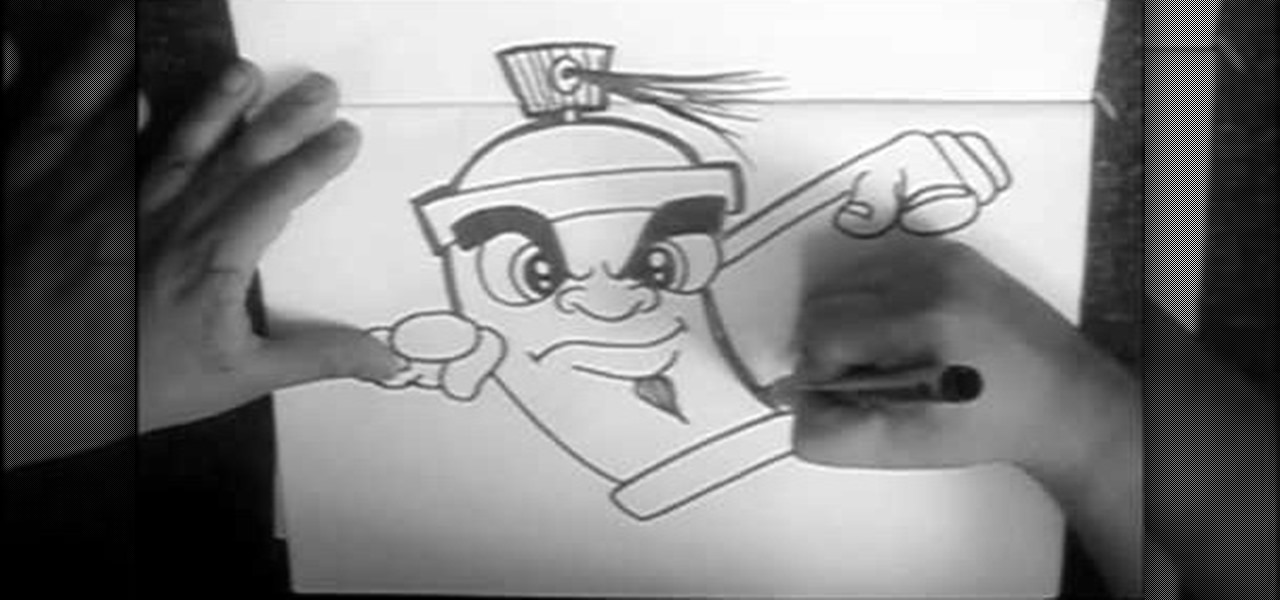
In this tutorial, we learn how to draw a cartoon spray can. Start off by drawing a round circle for the eyes, then fill in the pupil and draw the eyebrow above it. After this, draw in the nose and then draw the other eye opposite to the first. From here, draw in the mouth and the goatee on the face. Then, draw in the top, which will be a rectangle with a half circle on top of it. From here, draw a hand on the right side pointing straight out, then draw a top to the spray can showing the spray...

In this tutorial, we learn how to draw the 8-Tails Jinchuuriki, Killerbee. Start out by drawing the outline of the character. You want to make sure you draw reference lines on the head so you know where to place the eyes, nose, and lips. Next, you will start to draw in lines to show wrinkles on the face and then the headband on the top of the head. After this, add some shading into the face to add some depth. From here, you will draw in the hair and the band around the head, giving it more de...

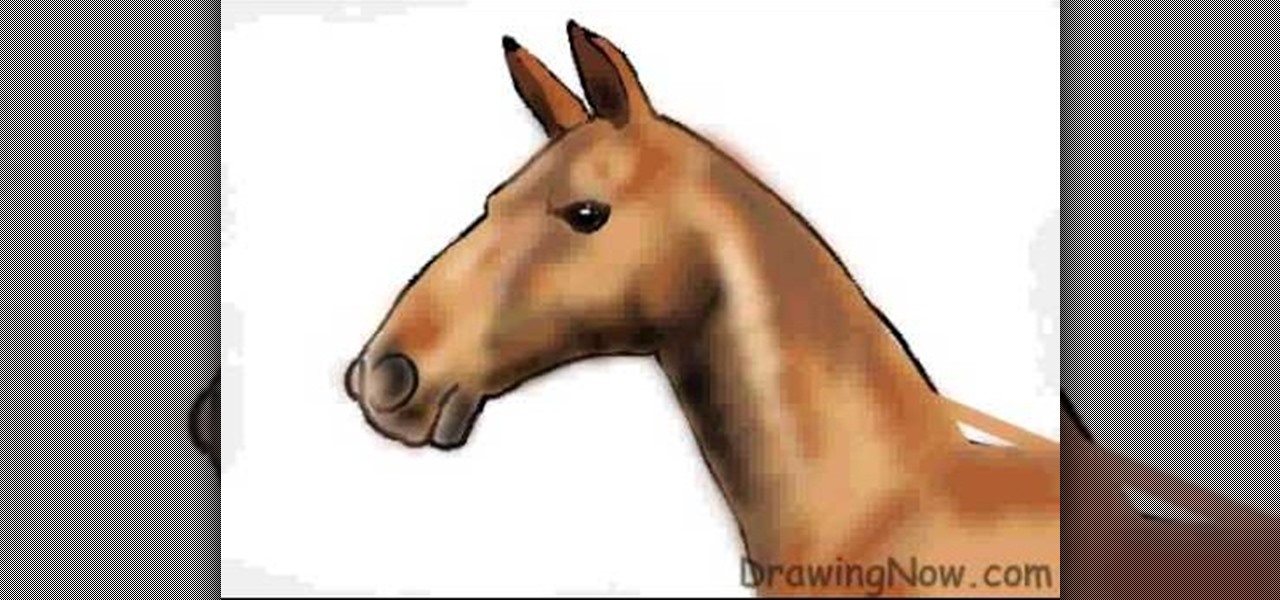
In this tutorial, we learn how to draw the head of a horse. Start out by drawing the outline of the horse's head and the neck. Then, draw in the ears and the details for the nose and the face. Next, color in the horse and then add shading along the sides of the horse and fill in the features with black. Use different colors of brown to show a contrast between the colors on the horse. After this, you will use small lines to create hair on the horse, then add in additional features. Clean up an...

In this tutorial, we learn how to draw The Incredibles. Start out by coloring the background orange, yellow, and white. Then, draw the outlines of the bodies for all of the characters in the family. After this, draw in the details, giving them a 3D type of image. Next, you will color in the clothing and add in the fine details for the hair and the face as well. Erase any background lines from the drawing to clean it up, then add in some shading to make it look more realistic. To finish this, ...

In this video, we learn how to draw Sonic the Hedgehog in his soap shoes. First, draw his muzzle and nose. After this, draw in angry teeth in the mouth and then draw in the eyes and the ears. From here, you will draw in the rest of the spiky hair around the head. After this, draw on the arms and legs, as well as the feet and shoes. The shoes should be larger than the entire body and have lots of details on them. When finished, add in shading around Sonic with the side of the pencil to give hi...

In this tutorial, we learn how to draw a human skull. To start, you will use your pencil to draw a light outline of the skull on your paper. After this, you will start to add in more shading and lines throughout the face to make it look like it has depth and contours. From here, you will draw in the teeth and then create the nose and the pits for the eyes. After this, you will start to shade in the sides of the skull darker and then add in any additional details like small cracks on the face....

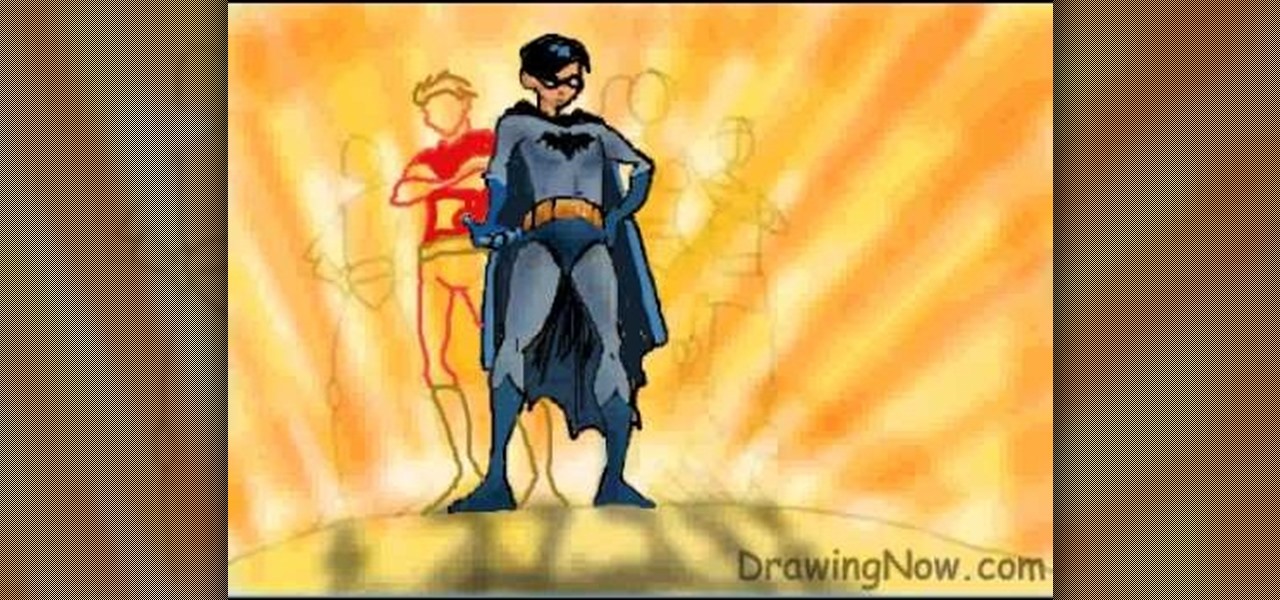
In this tutorial, we learn how to draw the cartoon Teen Titans. Start off by drawing the basic outlines of all the characters. Use circles and basic lines to draw out the outlines of them all standing together. From here, draw in the color for the background behind them, then start adding in details for each of the characters. Draw in each of their outfits, as well as facial features. Use lines and shading to make the characters look more realistic. Color them with the appropriate colors for ...

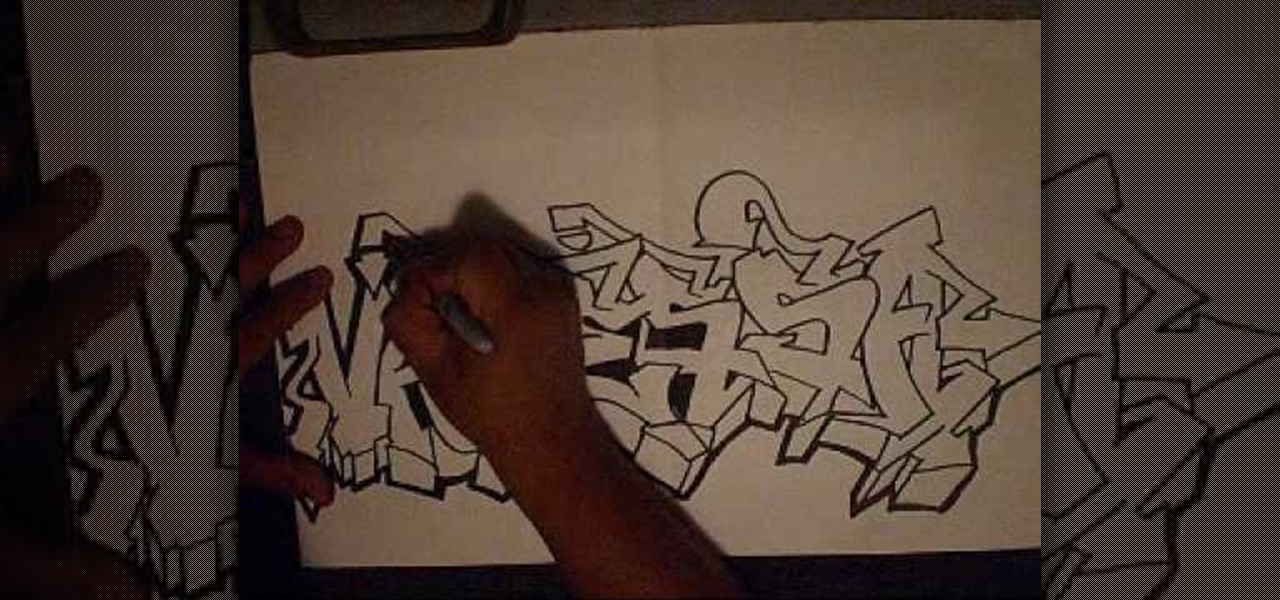
In this video, we learn how to write a name in graffiti letters. Start off by outlining the letters, make sure to draw them thick so they look 3D. Add in different shapes edges to the letters to make them look more like graffiti. Make sure they are all touching and overlapping as well. Then, use the pencil to draw in the areas in between the letters and in the middle of them. Once you do this, you will be able to add in additional lines and shading to each of the individual letters. You can a...

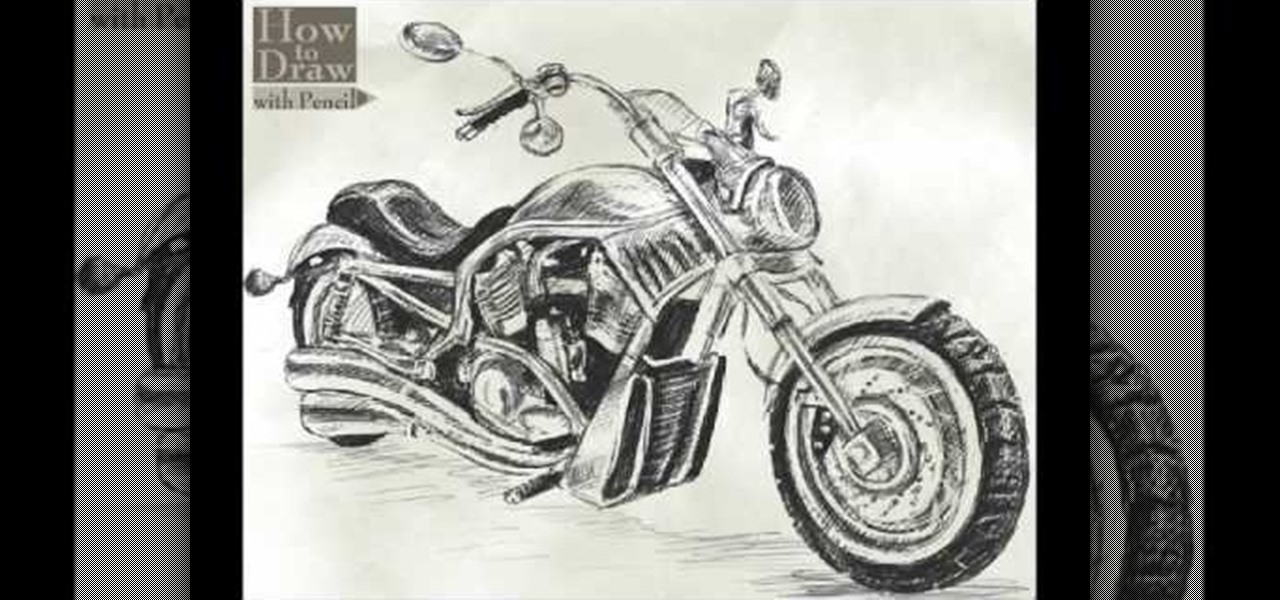
In this video, we learn how to draw a Harley-Davidson V-ROD. First, draw the outline of the vehicle using a light pencil. After this, start to add in the details of the wheel and front of the motorcycle. From here, add in shading and additional details to make it look more realistic. Make sure you draw on the small details of the motorcycle because this will make all the difference. Shade in additional details on the drawing and then erase any lines that you don't need. Use the eraser to crea...

In this video, we learn how to draw an eye step by step. First, draw the curve of the eye on the top and on the bottom. Then, draw in the pupil of the eye and the inner corner of the eye. Use a light touch with the pencil to make the circle in the middle of the eye. Then, draw around it with a bolder line. After this, draw the crease above the eye, then draw shading to show where the crease line is. Next, fill in the pupil and add in a circle to make the eye appear glossy or that light is hit...

In this video we learn how to draw a KTM X-BOW "ROC" car. Start out drawing the outline of the car, adding in the details for all the areas. After this, shade in around the tires and on the hood, back, front, and sides of the car as well. Then, add in dark shading to the areas that you originally shaded. Fill them in completely so it's black, then use the eraser to crease a highlight on the different areas of the car. When finished with adding details, you will have a great drawing of a uniqu...

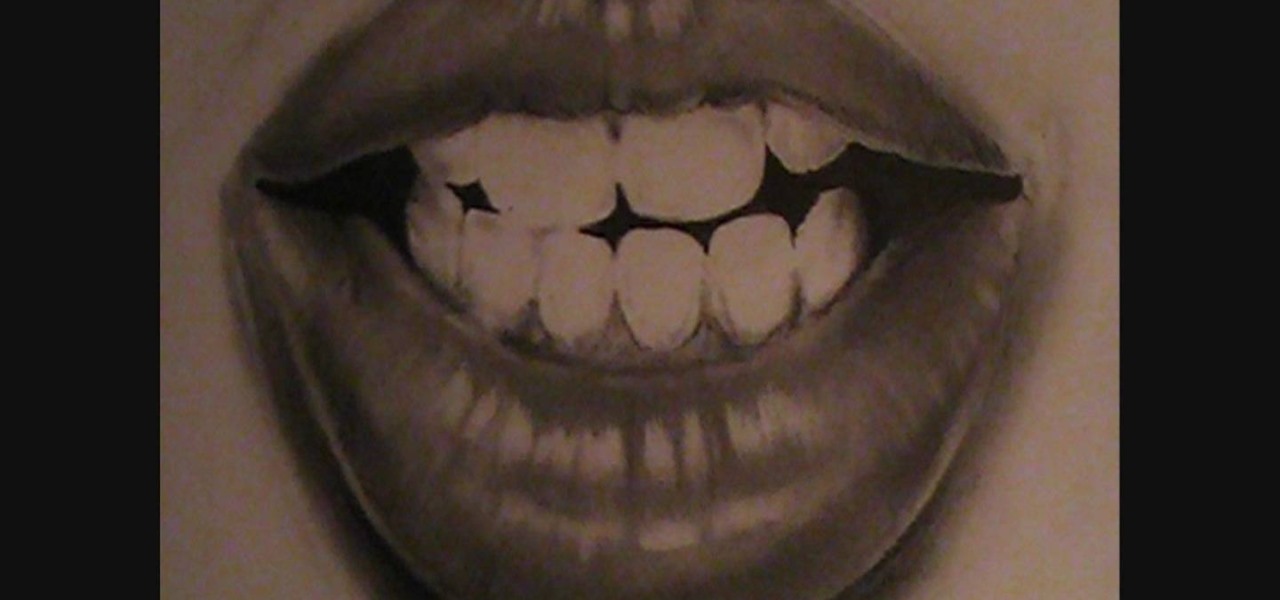
In this tutorial, we learn how to draw lips and teeth. First, you will need to draw the sketch or outline of the picture. You will need to make sure you take your time to create realistic lines for the lips and the teeth as well. From here, you will add in more lines on the lips to make it look more realistic. Then, add in the teeth in the middle of the lips and shade in the areas that are in between them. When you are finished with this you can add in more shading and lines into this and you...

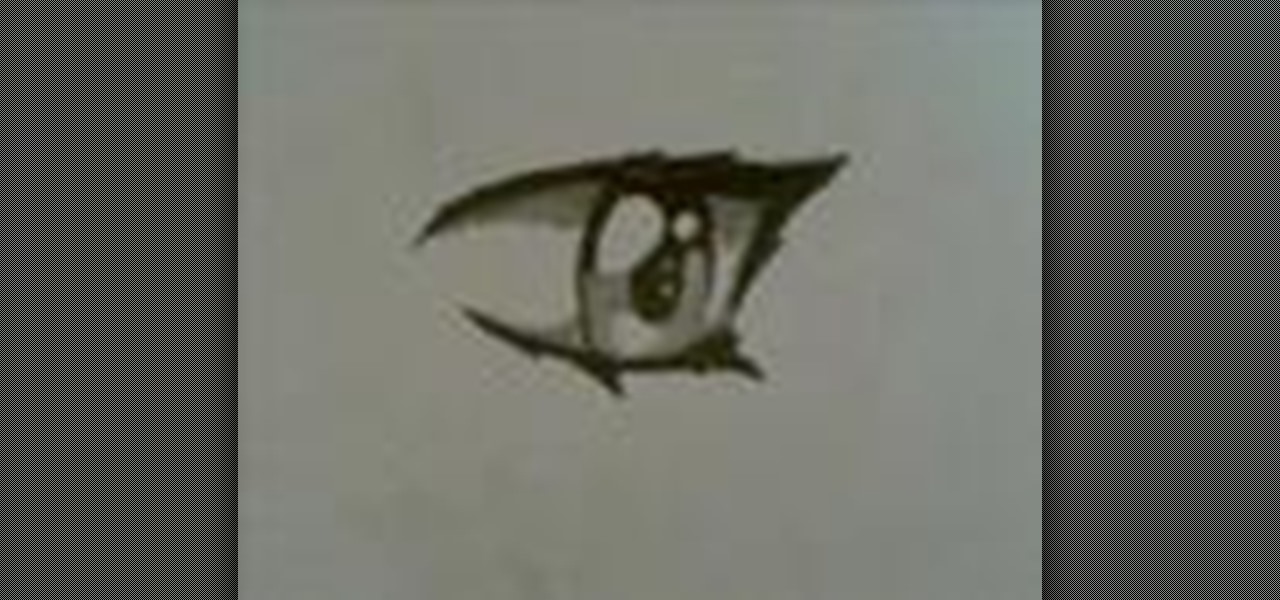
In this video, we learn how to draw an anime eye step by step. Start out by drawing the outline of the eye. Then, fill in the eye with details and create shadows as well. From here, you will add in further details, including the shading and lines that make it look more realistic. Make sure you draw in the creases for the top and the bottom of the eye as well as the lashes on the top and the bottom. Draw in the details on the inner corner of the eye and add a white spot to make the eye appear ...

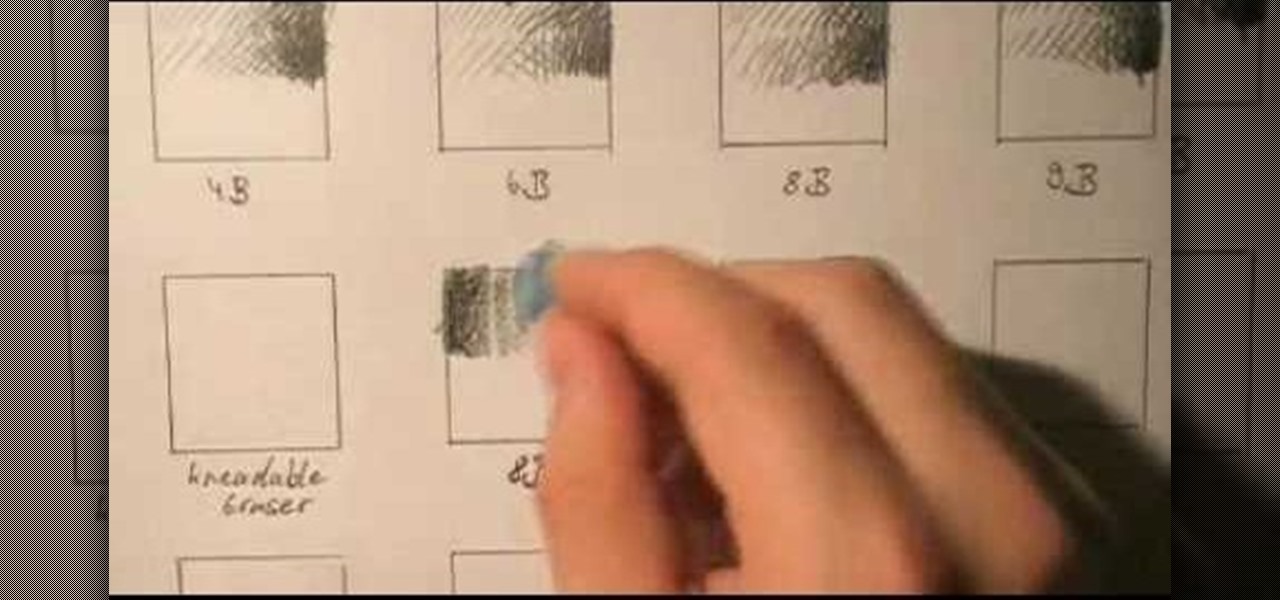
In this video, we learn how to draw with basic concepts and techniques. To shade with different pencils, you will start out by doing a light touch on the pencil and then push down harder to create a darker shade. Use different pencils to get long and wider lines from the shading. A 4B and a 6B pencil will have lines that look the same, but they are different in the way they apply graphite to the paper. Practice using all of your pencils to get an idea of how they write, then you can choose wh...


