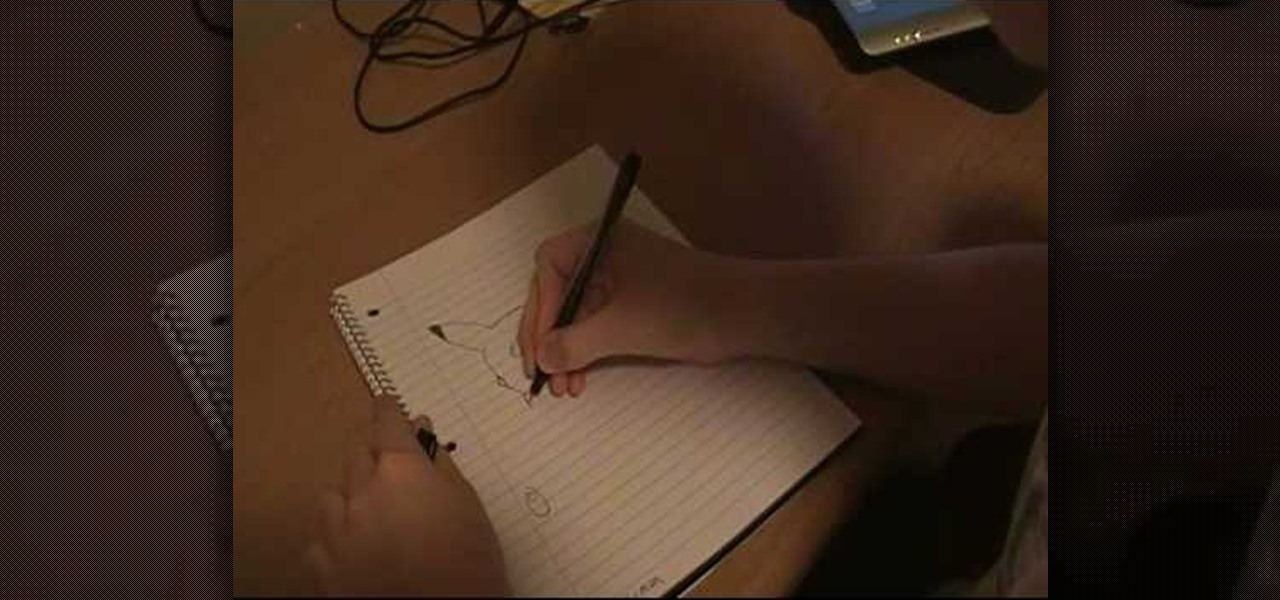
In this video we learn how to draw Pikachu from Pokemon. First, draw the ears and the top of the head. After this, create the sides of the head and color in the tops of the ears. Draw in circles for the eyes and then draw in the nose, cheeks, and smile. Continue on to draw the rest of the body and the details of the chin of the character. Add in the details for the side of the body and then add in shading and body lines wherever possible. When you are finished, share this with others and be a...
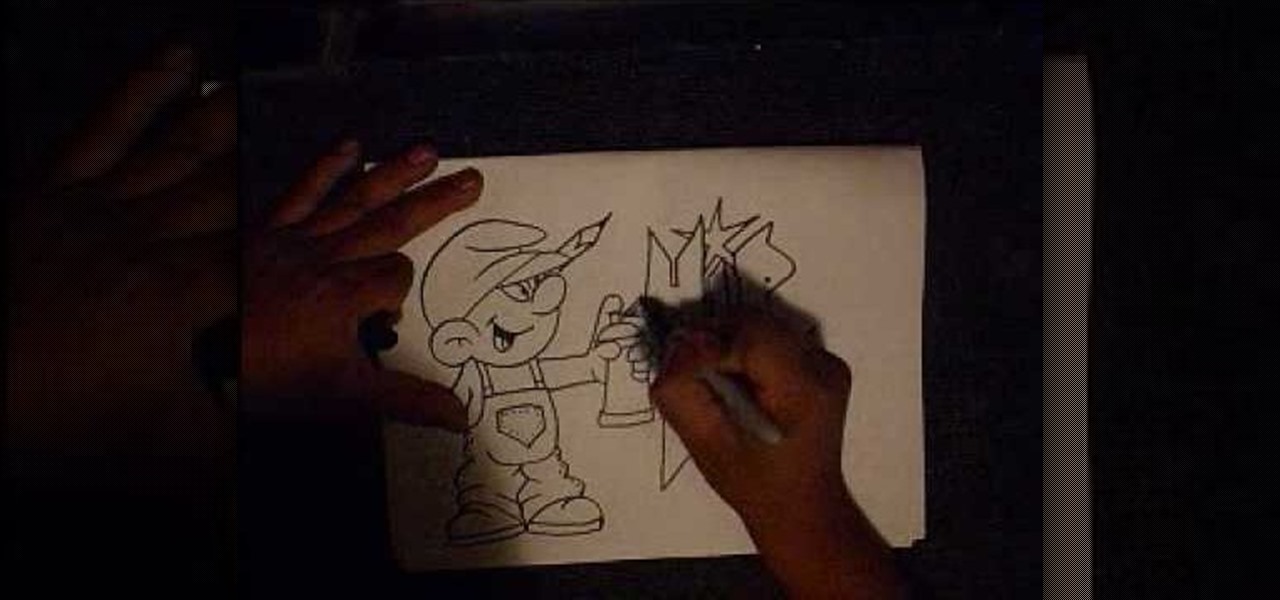
In this tutorial, we learn how to draw a graffiti Smurf character. Start off by drawing the hat for the Smurf, then draw in the ear on the side of the head. Then, draw in the face and start to add in the details. Draw in the mouth, nose, and eyes. After this, draw in the upper body and the clothing that the Smurf is wearing. Add crinkled lines on the edges to make it look like the pants are too big, then draw in the feet, arms, and hands. Draw a spray paint can in the hand of the Smurf, then ...
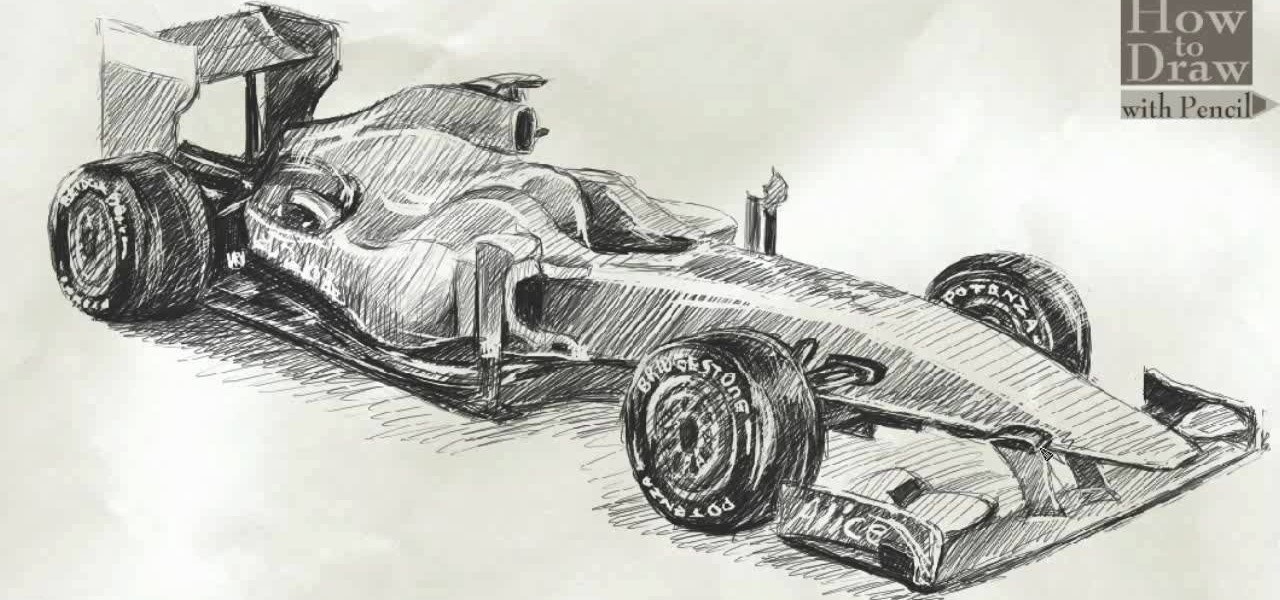
In this video, we learn how to draw a Formula 1 Ferrari F60. Start out by drawing of the car, then start to shade it in. Shade in the wheels and then the rest of the vehicle with a lighter pencil. After this, use the eraser to erase different parts of the car to make it look more realistic. Draw in darker lines with the pencil to make it more shaded. Then, add in shading on the bottom of the car and continue to darken the care until it's completely filled in. Add in writing on the wheels and ...

In this tutorial, we learn how to draw Sango and Kilala. Start out by drawing a circle and reference lines for the head, then draw a stick for the body and draw a half circle going off the bottom of the page. Then, draw circles on the upper body to create the hands and draw fingers coming off of those. Now, draw in the neck and the clothing that is on the character. Erase the background lines, then all in the features of the face and the hair around the head. Also make sure to draw on the ear...

In this tutorial, we learn how to draw Electivire from PokŽmon. Start out with a very sharp pencil and lightly draw the outline of the body of the character. After this, use a firmer hand to draw a darker line on the outline of the body, then start to add in details of the face and the rest of the character. Next, draw the details on the body to give it more of a personality and make it look more realistic. Continue to draw on the rest of the body parts, using lines and shading where appropri...

In this video, we learn how to draw a sports car. Start out by drawing the wheels and the base of the car. After this, draw the rest of the body of the car and the windows. Then, add in the wheels, tail lights, and the rest of the details of the vehicle. Once you have finished this, add in shading and lines to create a more defined vehicle. Continue to draw using this same method, drawing different types of cars and vehicles that you like. Make sure to look at a picture of different cars as y...

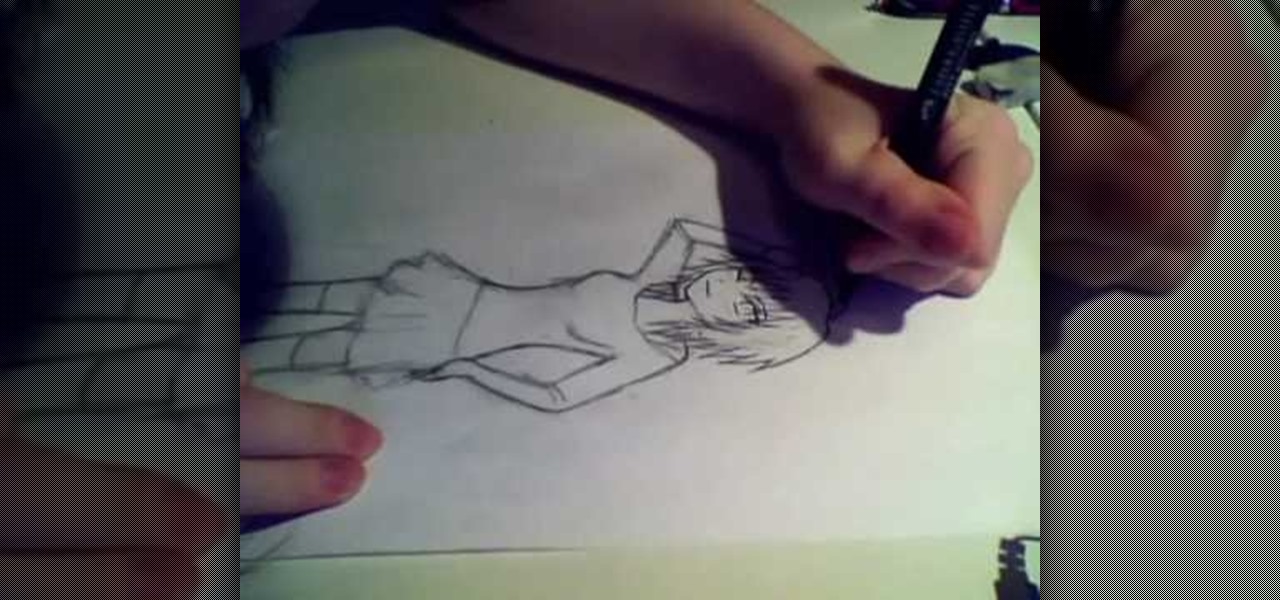
In this tutorial, we learn how to draw a manga girl. Start off by drawing the outline of the body, starting with the head. After this, draw the neck and shoulders, leading down to the rest of the body. Make sure to give the character feminine curves as you are drawing. Then, add in the features of the face and then give her bangs and short spiky hair. Next, draw a long sleeved shirt on her, that has wide shoulders on it. Continue to draw, making sure to add on lines to show contours where the...

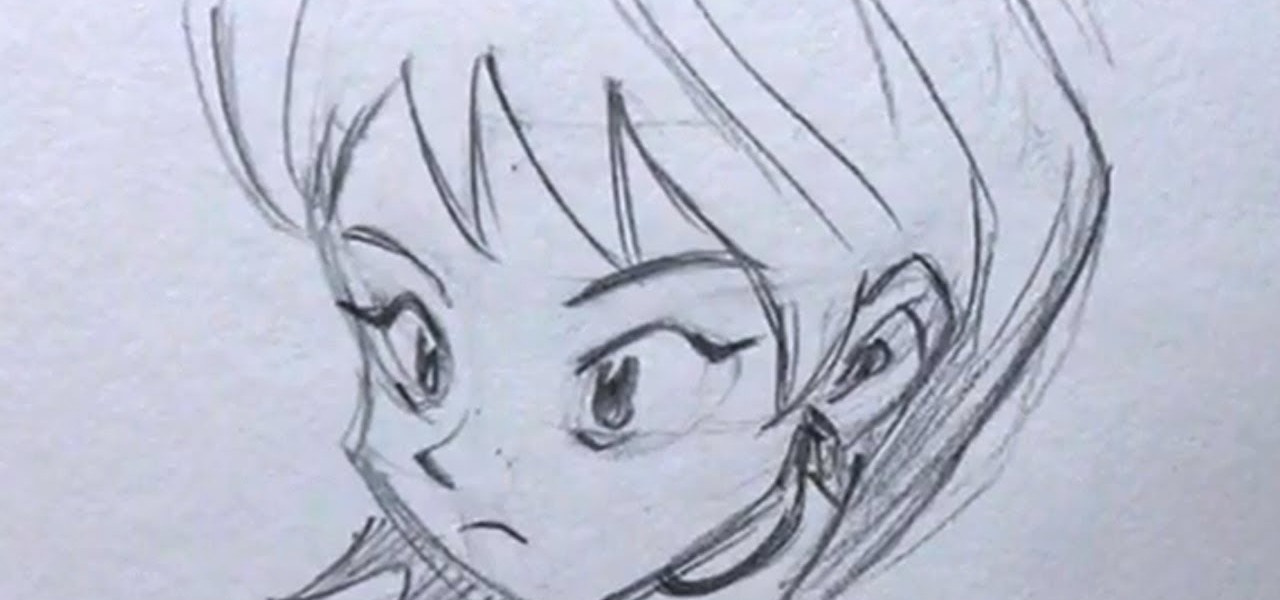
In this tutorial, we learn how to draw manga faces 3/4 view tilted down. You will start with a circle for the head, but you will make the chin go off to the side slightly. Next, you will draw a horizontal and vertical intersecting line off to the side of the face where the chin is. Next, draw in the circles for the eyes, then draw in the brow line. The brow line should be lower than normal. Once you have all the guidelines set up, add in the ear and start to draw in the details of the face. W...

In this video, we learn how to draw Rukia. Start out by drawing a circle with a triangle shape at the bottom. Then, draw reference lines in the face to measure where the features of the face are going to be. After this, start to draw in the details of the face. Draw the eyes, mouth, nose, eyebrows, and any other details you need. Make sure the eyes match the original character and leave white for the pupils to show. Draw in the hair to finish up the drawing, making sure to draw the eyebrows a...

In this tutorial, we learn how to draw Dialga. Using a pencil on a white piece of paper, use a light touch to create the outline of Dialga. After this, draw in the small details on the inside of the body. Use shading and lines to make it look just like the real character. Continue to draw down the entire body until you reach the feet. Make sure to draw the spikes on the side and add in the proper lines to make it look like the real character. Add in more details if you would like, then save t...

In this tutorial, we learn how to draw a basic dragon. Start off by drawing the head of the dragon, then draw the neck and the rest of the body in a simple outline. Use circles throughout the body of the character to create a large body that looks realistic. Next, draw in details of the body of the character and the fur that is on the outside of it as well. Draw in the claws on the feet and the lines along the body to create a more realistic look. As you continue, erase any background lines a...

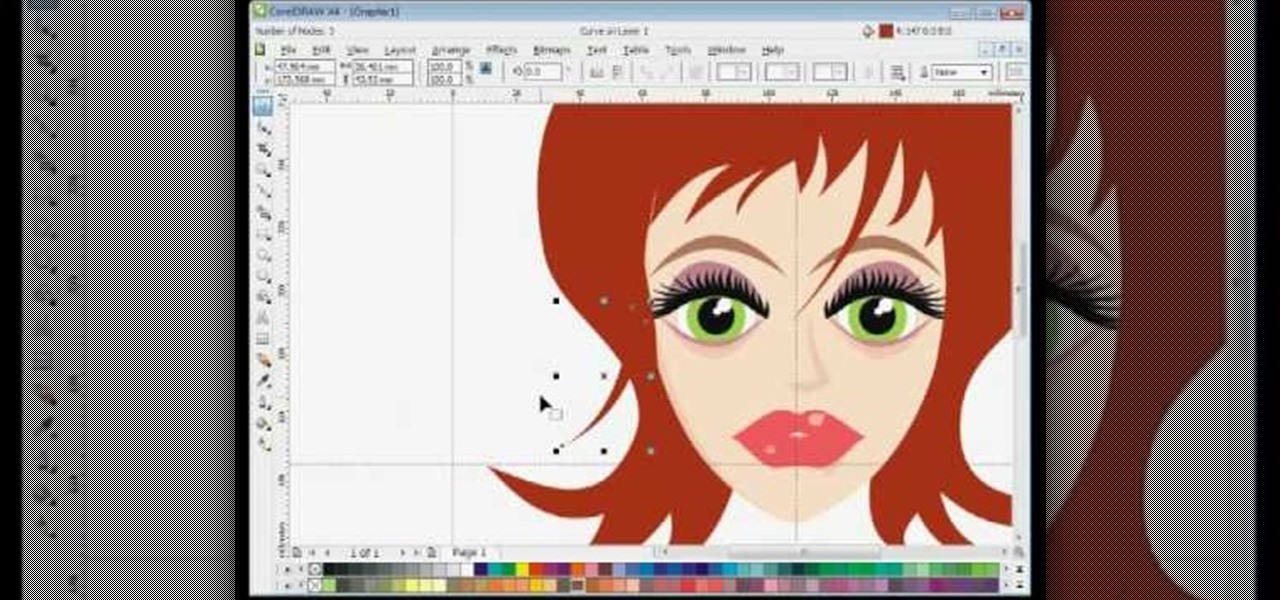
In this tutorial, we learn how to draw a female vector cartoon character in CorelDraw X4. Start out by drawing the head of the character with lines that are curved. Then, add in the pupil and color of the eye. Don't forget to add in the lines underneath and on top of the eye, as well as the creases above them. Copy and paste this to create the other eye, then add in eyelashes and eyebrows. Then, draw in a nose and shape the face. add in additional details to the face, then add in the colors t...

In this tutorial, we learn how to draw manga eyes. Start off by drawing the top of the eye, the measure how long it is. Then, make one eye width between each of the eyes and draw the other eyelid. Now, if you want to draw eyes in a different perspective, you will draw the line from the outside of the eyes to see where the line of vision would be. Next, draw in the lower lid and go around the form slowly. Draw large irises to make it look more like a manga character, then you will need to draw...

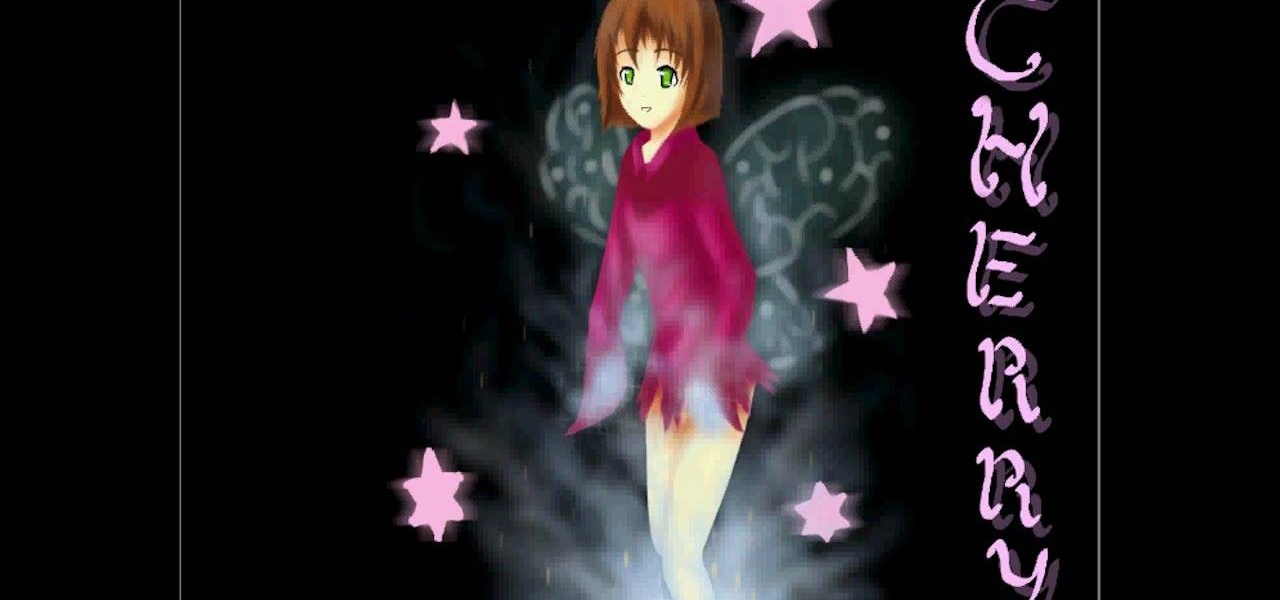
In this video, we learn how to draw a cherry fairy. First, sketch the entire picture before you start to draw in any detail. After this, draw in darker lines where you want the features of the body to go, then start to add in features of the face. Next, add in color to the face and to the outfit of the fairy. Make sure you give her hair and bangs that are surrounding her face as well. Once you have the color completed, create a white light coming from the bottom of the fairy and going up into...

In this tutorial, we learn how to draw Train Heartnet. Start off by drawing a circle for his head, then lines in the head for reference of where the features will go. Next, draw a stick for the body and draw circles where the shoulders and wrists would be. After this, draw in the neck and the upper body. Draw in the clothes after this, adding in as much detail as you would like. Make sure to add in shading and lines to make the clothes look more realistic. Next, you will need to draw in the f...

In this tutorial, we learn how to draw Death the Kid from Soul Eater. First, you will need to draw in circles around the body where the joints would go. After you do this, draw the outline of the body around the joint markers. Next, you will start to draw in the arms for the character and add in the full detail of the arms and machinery. Next, use a darker line to create the details in the body and the outline as well. When finished, you will need to add in the details of the face as well as ...

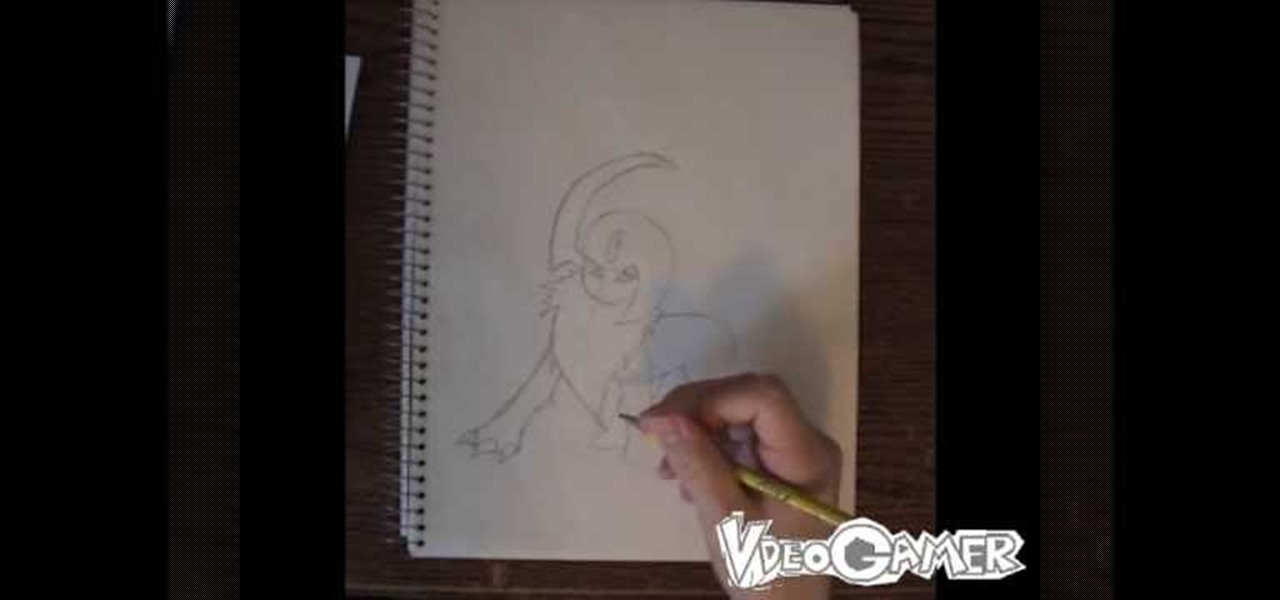
In this tutorial, we learn how to draw Absol. Start out by drawling the outline of the character, starting with the head. After this, draw on the details of the body, including the claws that are on the feet. Next, you will draw on lines for the fur that are on the main part of the upper body. Draw on the tail towards the read, then draw a large wing on the upper and lower body. You will also want to draw on a flat background to show that Absol is standing up. Add in details and shading to th...

In this tutorial, we learn how to draw Husky. First, you will start by drawing the dorsal fin of the character. After this, draw the rest of the body including the lower and upper body. Also make sure you draw the head. Now, draw the arms crossing, then go over the drawing with a harder pressed pencil. Draw in the details of the face, then start drawing in the details of the fins and the upper body. Once the details are in, draw the hair and add in some scales along the entire body. Once fini...

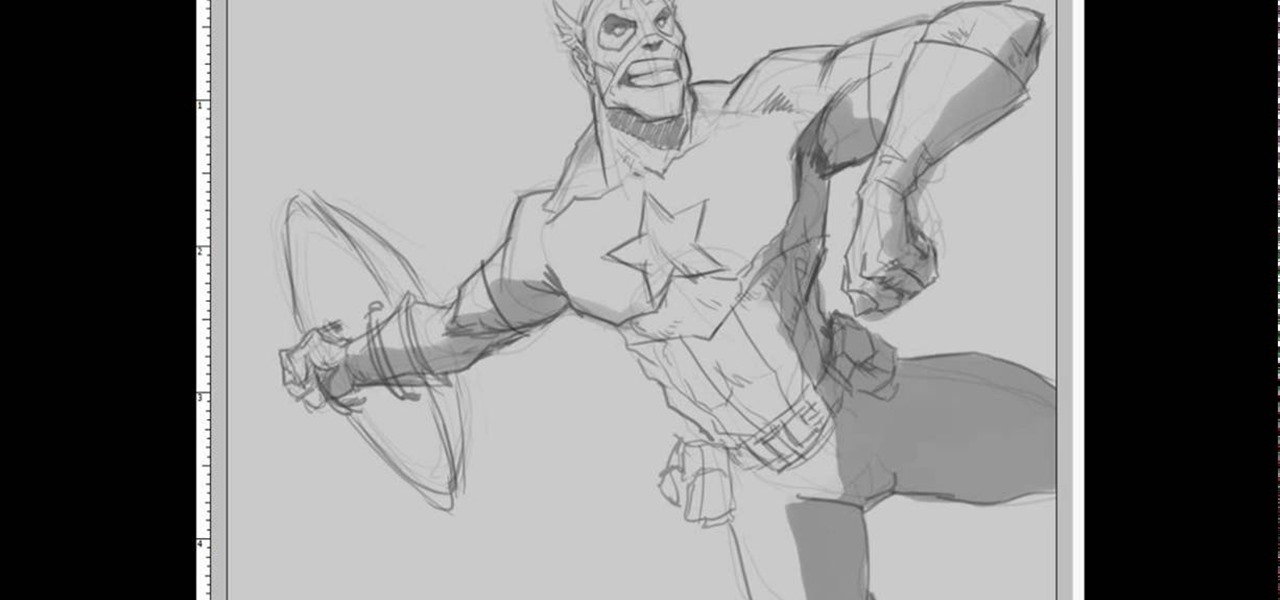
In this video, we learn how to draw Captain America in an action pose. Start out by drawing the torso, then the rib cage and pecks. Continue to draw the outline and small details of the rest of the body. Draw in arms gong out of the body so that they are spread apart, then draw in the head. Draw in lines for where the muscles are, then start to draw in the mouth, nose, lips, eyes, and other facial features. Once you do this, start to add in even more details of the outfit that the body has on...

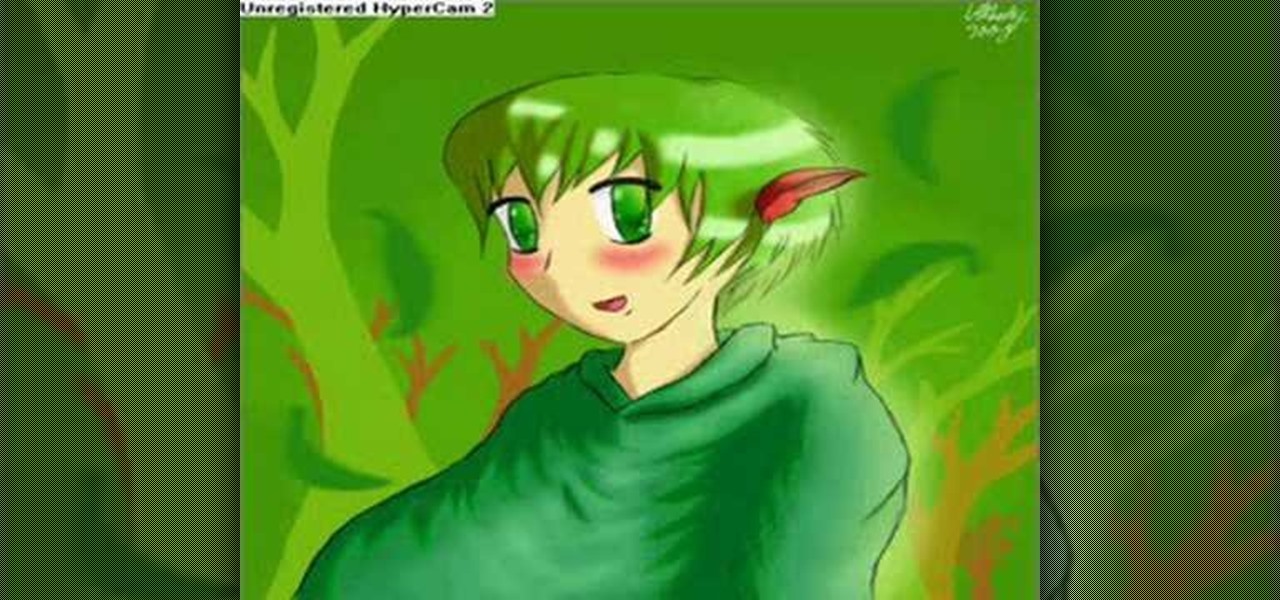
In this tutorial, we learn how to draw anime. Start off by drawing the outline of the anime, then color in the face, hair, and clothing. Add in the ear on the side of the head, then add in the features of the face. Next, add in shading to the face, hair, and clothing to add dimension to the drawing. Next, add in details to the face to make this look more realistic. Then, draw in trees and leaves for the background of the drawing and color them green and brown. After this, add in a light sheen...

In this video, we learn how to draw Maplestory Bigfoot. Start out by drawing the outline of the character, then start to draw on the details. Once you have finished the outline of the entire character, start to use a darker pencil or pen to make it darker. Add in shading on different parts to make it look 3D, then add in lines to make the character look more realistic. Add as many details as you would like, then when you are finished you can color in the picture as you would like. You can rep...

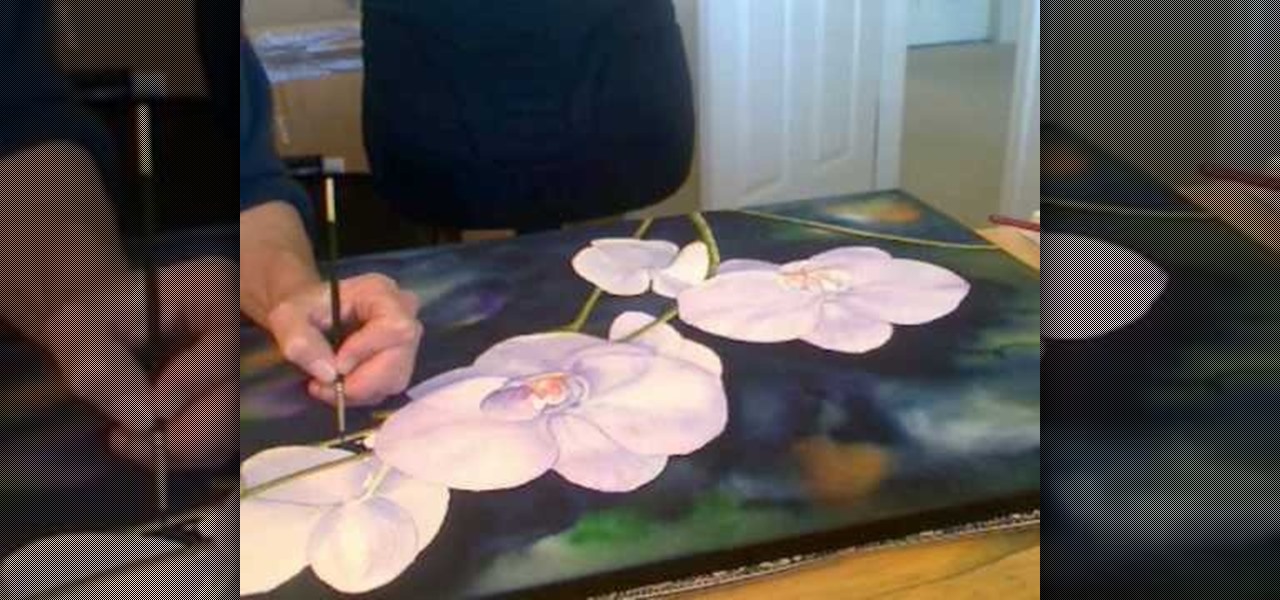
In this video, we learn how to pain orchid flowers with watercolor paints. Start out by using a light lilac color on the petals. Use a thin brush to push the colors around on the picture so you have slight shading around the different petals. Use a darker purple color in the middle of the flower. Then, use a yellow color in the very middle. Add in a green leaf and stem on the bottom of the flower. Use a paper towel to smudge any excess moisture or water off of the flower to make it more prist...

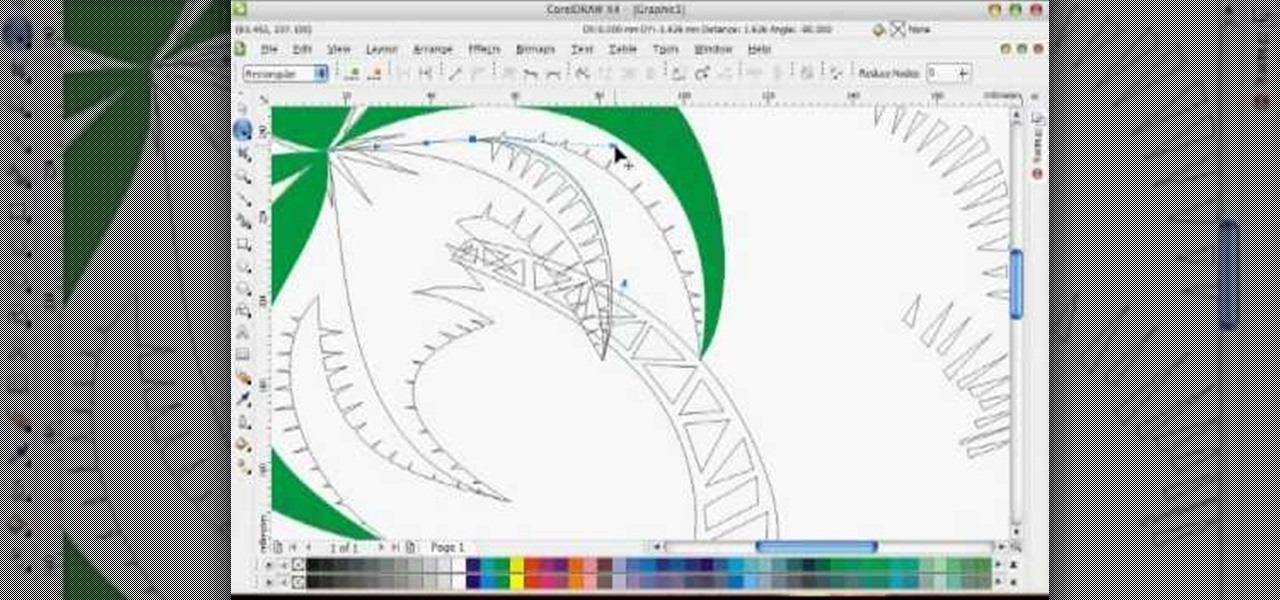
In this tutorial, we learn how to draw a vector art palm tree in CorelDraw X4. Start off in the CorelDraw program and create the base of the tree with a drawing tool in black. After this, draw small triangles inside of the base of the tree and then draw the leaves and branches of the palm tree. Fill this in with small spikes and then erase the middle nodes. From here, use a shaping tool to make the spikes on the palm tree more rounded and lifelike. After you do this, start to color in the ent...

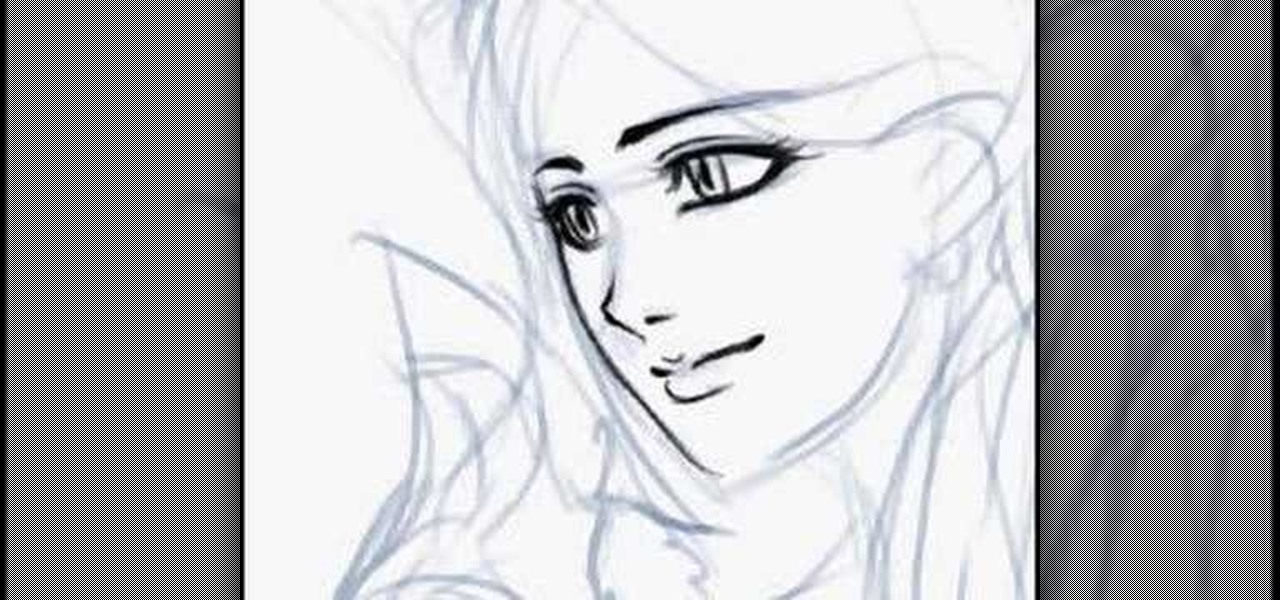
In this video, we learn how to draw an anime girl in Photoshop. First, draw the outline of the face, shoulders, and neck using a light touch of the brush. Next, draw in the details of the face and then start drawing in the hair. Use different shapes and swirls for the hair, to make it thick and long around her face and body. Next, draw in her hand and arm. Use a darker brush to fill in the details and draw over the outline, to create the final sketch. Add in eyelashes and feminine details to ...

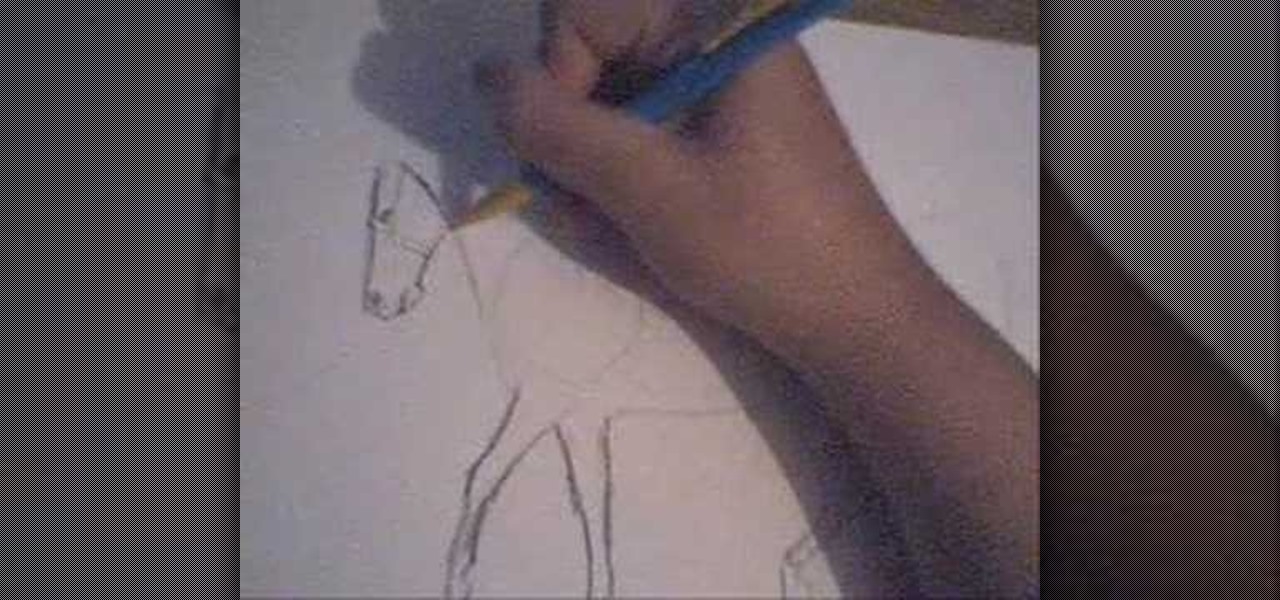
In this video, we learn how to draw a horse. First, draw the outline of the horse's body. Start with a circle for the head and wispy lines for the rest of the body. Make large shapes that connect to see where the mass of the body will be. Next, draw in the head, tail, back, and legs of the horse. After you have the outline finished, erased the lines inside of the picture. Now, draw in details on the horse. Add in lines to show where the hair is, then draw in the nose and eyes to the face. Als...

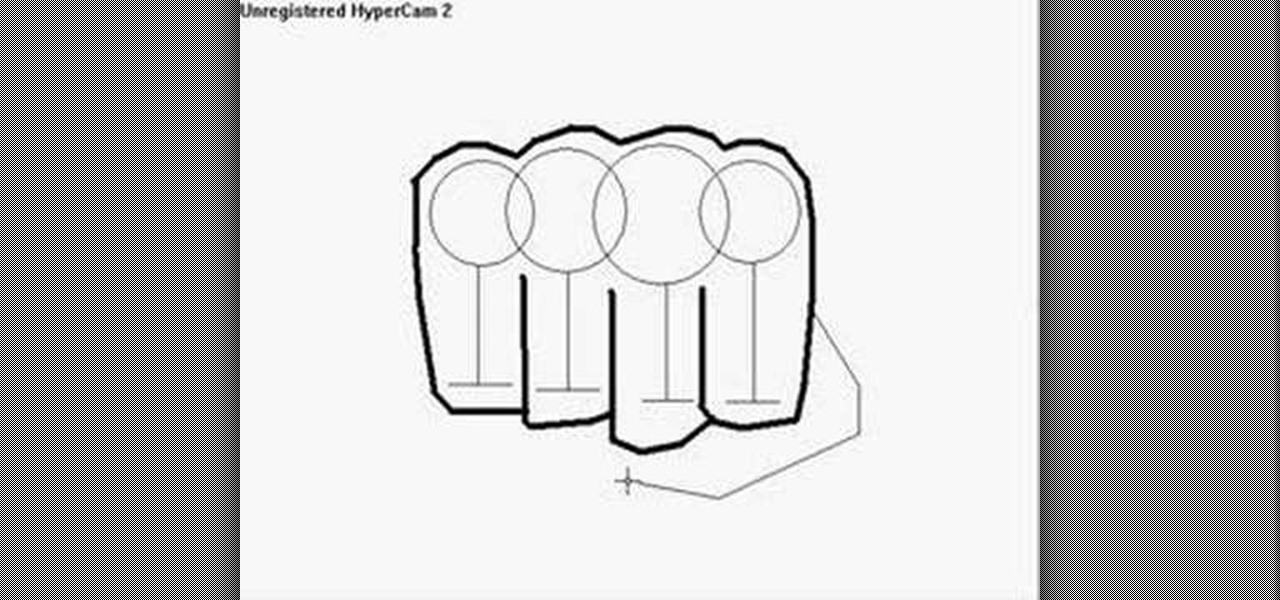
In this tutorial, we learn how to draw a fist. Start off by drawing for circles linked to each other, then draw lines coming down from the middle of each circle. Then, draw a line across the bottom of each vertical line, going horizontally. After this, use a dark line to outline around the circles and the bottom of the lines. Make sure to draw a line in between each of the individual lines. Next, add a couple of curved lines to make a thumb appear on the side. To finish, erase the original ci...

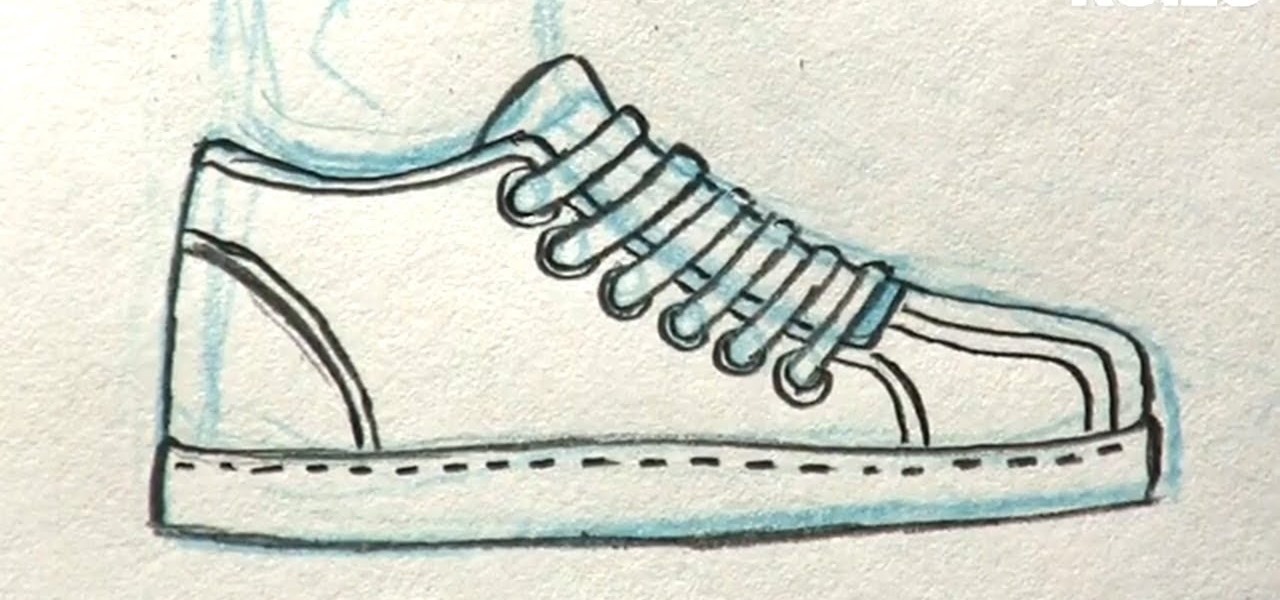
In this tutorial, we learn how to draw manga shoes. First, you want to sketch the basic shape of the foot. On top of this, you will draw a rough shoe shape with a different colored pencil. Next, draw in the details of where the laces are going to go, and where the lip of the shoe will be. Also draw in the soles and any other details you feel you need. Switch over to a black pencil to draw in darker details and add in shading throughout the drawing. When you are done, sign your name by your dr...

In this tutorial, we learn how to tune your car in Photoshop. First, open up the image of your car and then add in a picture of different wheels. Then, place these wheels over the existing ones on the car and blend them in, then change the color as you prefer. Do this for the wheels that you are able to see on the image. After this, lower the car and add in a bumper to the front of the car, importing images in from various sources. Continue to add in parts to the vehicle, using shading and bl...

In this video, we learn how to draw Naruto. Start out by drawing a circle as the outline. After this, draw the jawline. Next, draw lines in the middle so you know where you are going to draw the eyes and the rest of the facial features. Next, define the features on all the different parts of the face. Start to add in shading to the face, then draw in the hair. Next draw in a hair band at the top of the head, followed by spiked hair coming out of the top and ears on the side of the face. When ...

Michael Weisner teaches us how to draw an adorable little puppy in this tutorial. Start out by drawing the outline of the dog, drawing in all the details as well as the body. After you have the base done, grab a Sharpie and start to draw the top of the head and the ears. Make lines on the top to make it look like the dog has fur and don't forgot the eyes and nose on the face. After this, trace out the rest of the body, including the front and back paws. Make sure to add in any shading you fee...

In this video, we learn how to start drawing things. To get started with drawing, you have to have a passion for it and know what you want to draw. If you are going to draw with your computer, you will have to learn what all the different tools mean and you will have to learn how to use them. Make sure that when you are drawing, you use shading to your advantage. Start off drawing small things and use outlines to help you draw more precisely. Take your time when you draw and use different tou...

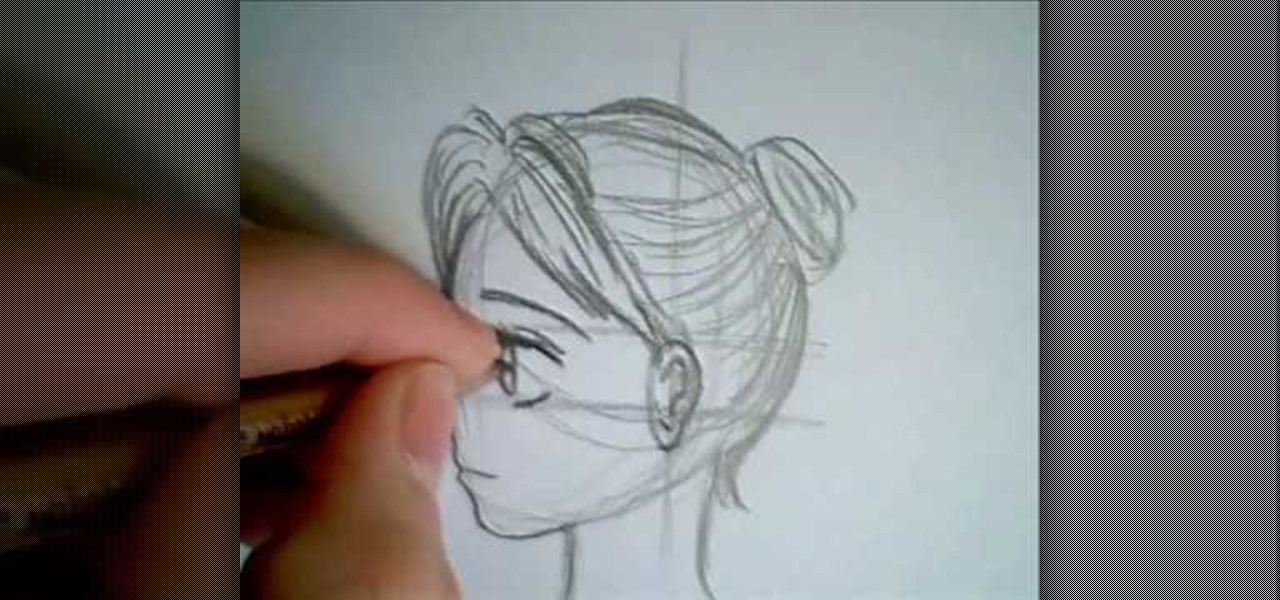
In this video, we learn how to draw a manga face sideways. start by drawing a round circle with a light pencil. After this, draw a chin that is from the side view. Next, add on the nose and make the chin look more prominent, like you are seeing the profile of the face. After this, draw on the ear to the center of the face, then start to add in further details. Make the eye and add shading by the nose to make it appear as though there's another eye. Add in eyelashes, then start to add in hair ...

In this tutorial, we learn how to draw azure kite. Start off by drawing the face, then draw on the hat and the upper body. Next, you will want to outline the rough draft that you first made and start to add in details. Color in the hair and the hat, as well as the skin and the outfit. Add in wrinkles and buttons on the clothing as well. Add in the eyes to the face and include the nose, mouth and ears. Place the tattoo on the side of the face, then add in shading on the entire body. When done,...

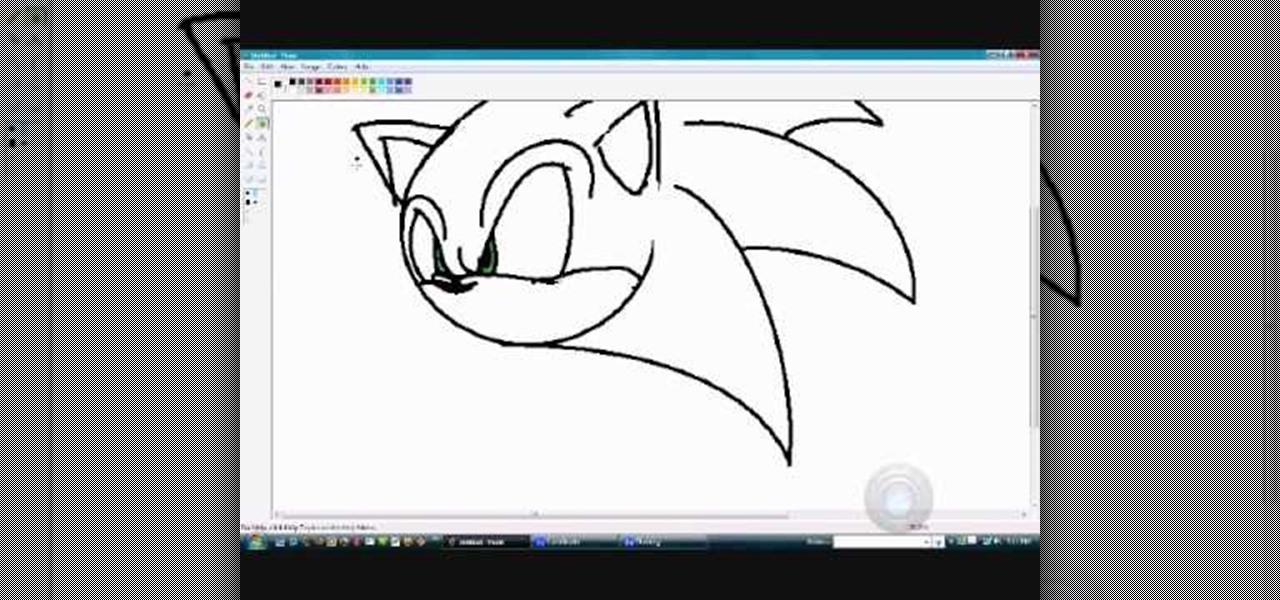
In this video, we learn how to quickly draw Sonic the Hedgehog. Start off by drawing the eyes and eyebrows. Next, draw the ears on the side and connect the head around it. After this, start going to the side to draw the three spikes for the hair. After this, draw in the nose, mouth, pupils, and inside of the ears. Add in shading where appropriate and add highlights to the top of the head. Use a black paintbrush to draw the outline of Sonic darker. After this, finish the picture by coloring it...

In this tutorial, we learn how to draw a 3D ball and cone. First, draw a circle with two lines coming out the side of it. After this, add in shading to the bottom of the circle and then draw a shadow coming out of the bottom of the circle as well. After this, draw a light that is shining onto the ball. Make sure you are drawing a black crayon to get the best texture out of this. Draw in darker lines on the circle, then draw lines over the top of the ball and through where the light is shining...

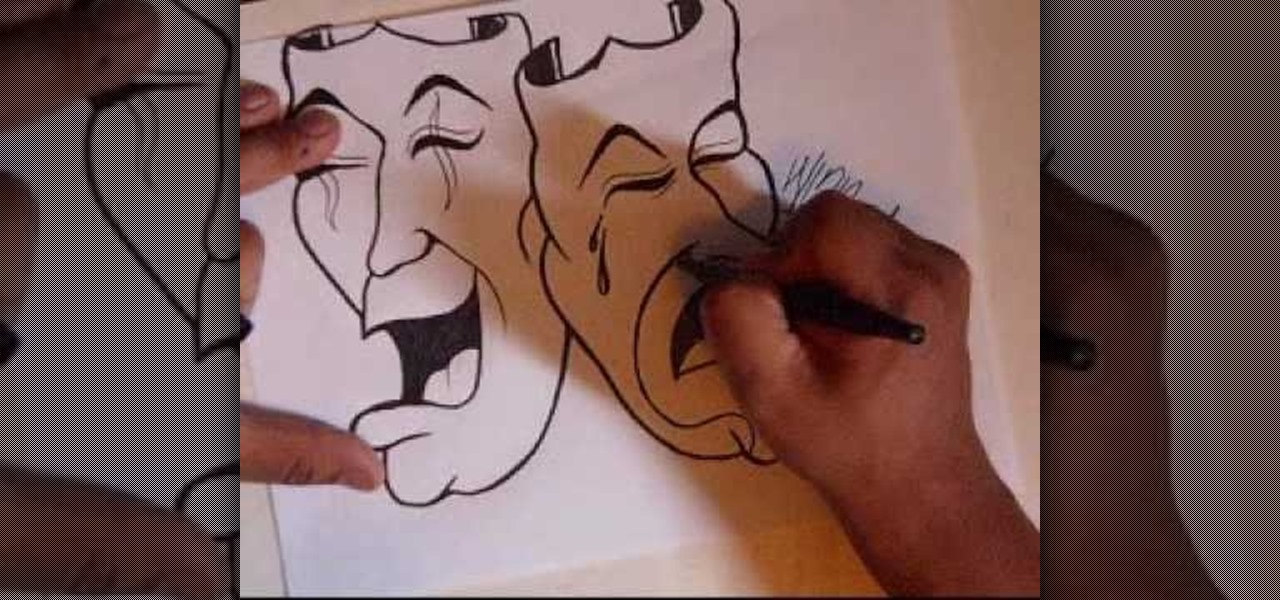
In this tutorial, we learn how to draw smile now cry later clowns. Start off by drawing a large laughing mouth with the tongue inside of it. Next, draw the eyes and then the nose and chin. Draw the eyebrows on the clown so it looks like a clown, with makeup on the eyes and face. After this, add details to the tongue and fill in the back of the mouth with black shading. After this, draw neighboring clowns the same way as the first, just changing up facial features to make them different. This ...

In this tutorial, we learn how to draw Blair from Soul Eater. Start off by drawing the head, hat, and body with a light pencil. Next, draw an arm going down from the body. These will be basic construction lines that you will draw over with a thicker pen later on. Start to establish the eyes and eyebrows, as well as the nose, mouth, and chin. Add details into the picture, then start going over your lines with a darker pen or pencil. Start to add in details that you feel make the character look...

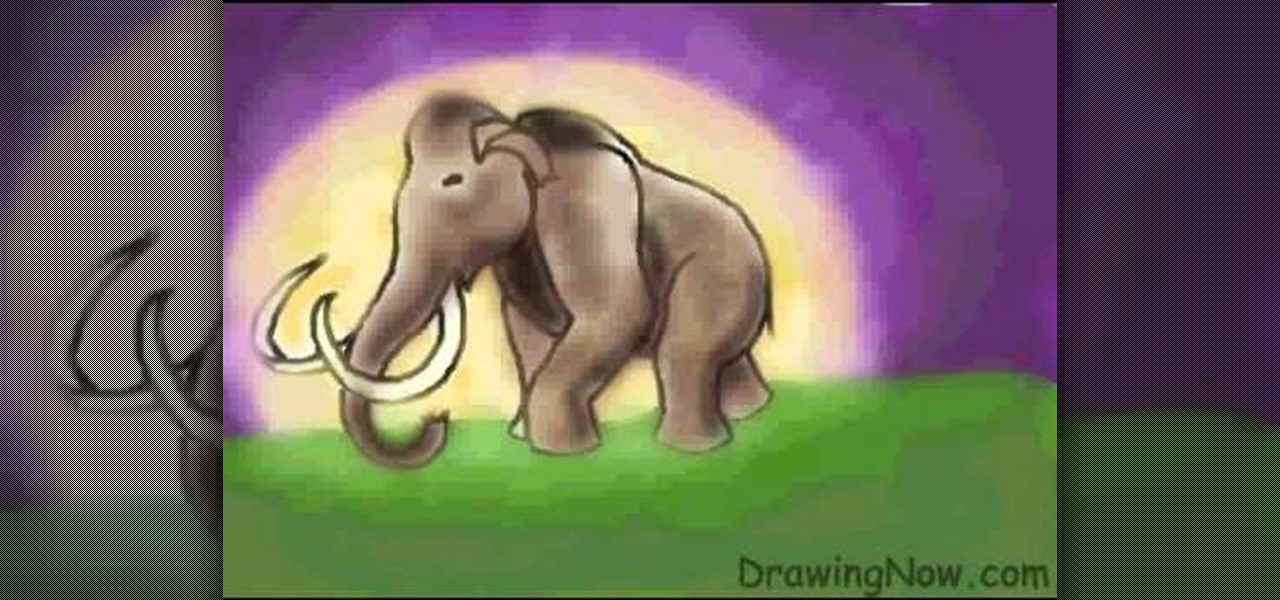
In this video, we learn how to draw a woolly mammoth. Start off by drawing the head, body, tusks, and feet. After you have the basic outline of the animal done, draw over it with a black paintbrush over the entire body and erase the lines underneath that. Next, draw in an eye and color the mammoth brown. Color the tusks ivory, then make the background of the picture purple with green underneath. Next, color the background with orange making it look sunny but also like sunset. To finish, start...

In this tutorial, we learn how to draw Ryo Bakura Yu Gi Oh style. Start off by drawing the head, making a pointy nose on the front of the face. Next, draw in the eyes making eyebrows in and pupils. Also draw in the shapes on the head, then start to draw in the hair. Make two sides of the hair pointy spikes on both sides. Start to draw the neck and shoulders going down to the very bottom of the paper. Place a collared shirt, then start to add in shading on the picture. Draw in lines, then add ...

In this tutorial, we learn how to draw a cartoon cyborg. Start off by drawing the outline of the body to be wide and fat. Make the hands look like claws and the toes large. The ears should be pointed out and the belly should be large and fat. Add in hairs, eyes, a nose, a mouth, a chin, and nipples to the appropriate areas. Add shading around different areas to give the cyborg a more chunky look. After this, start drawing the mechanical parts on the inside of the cartoon, making machinery par...


