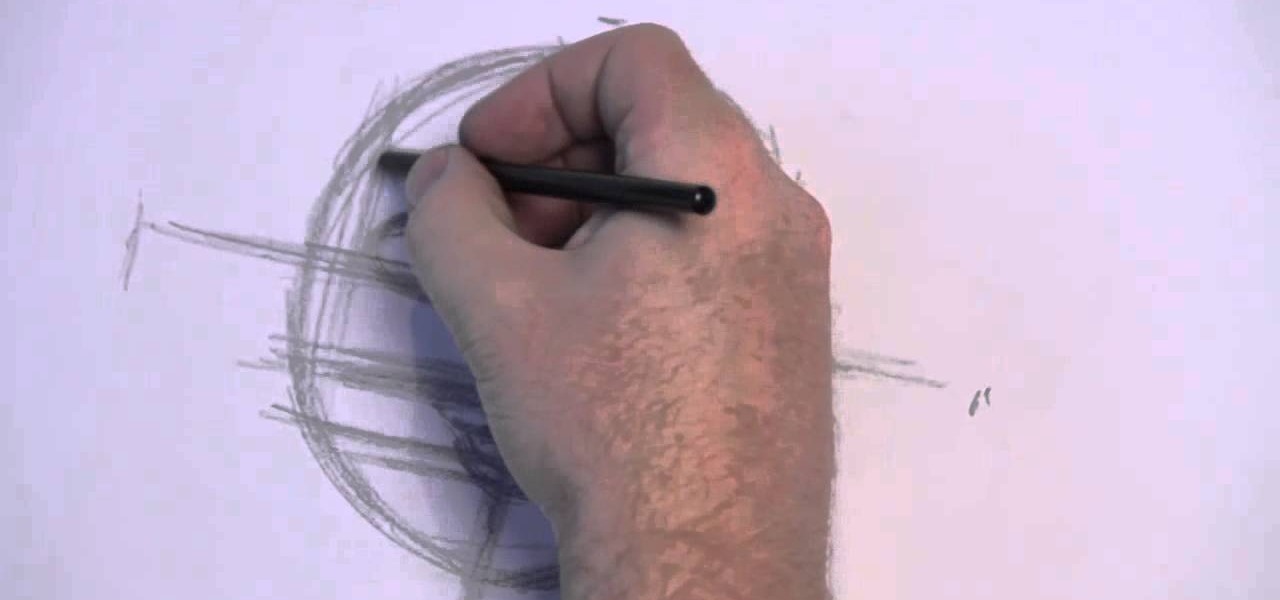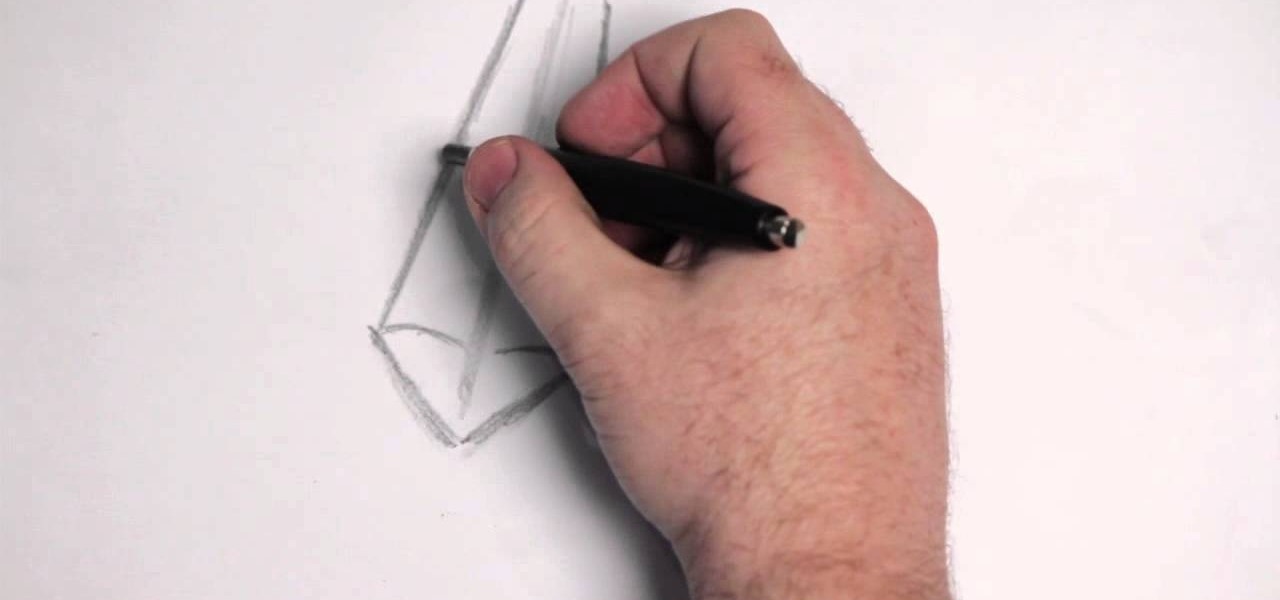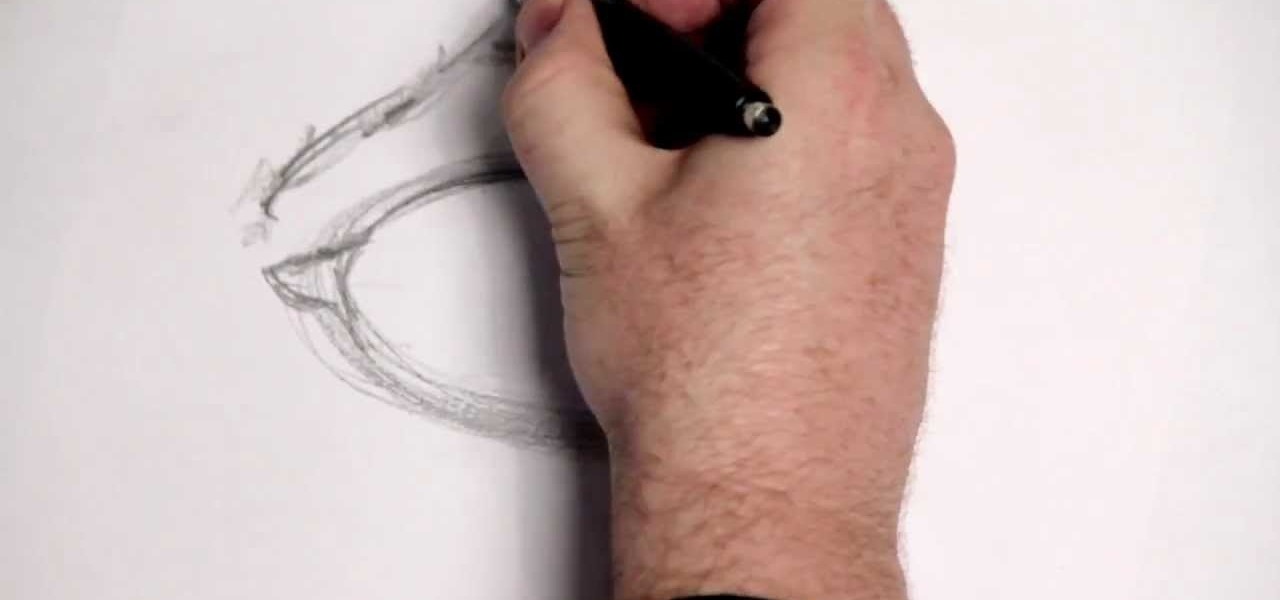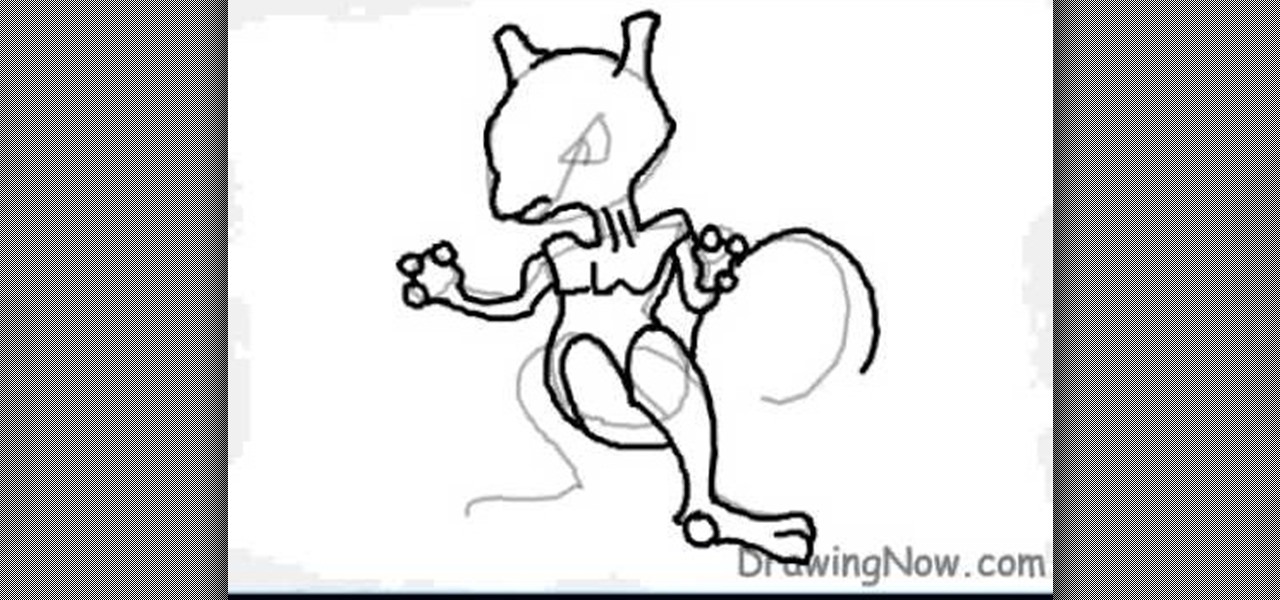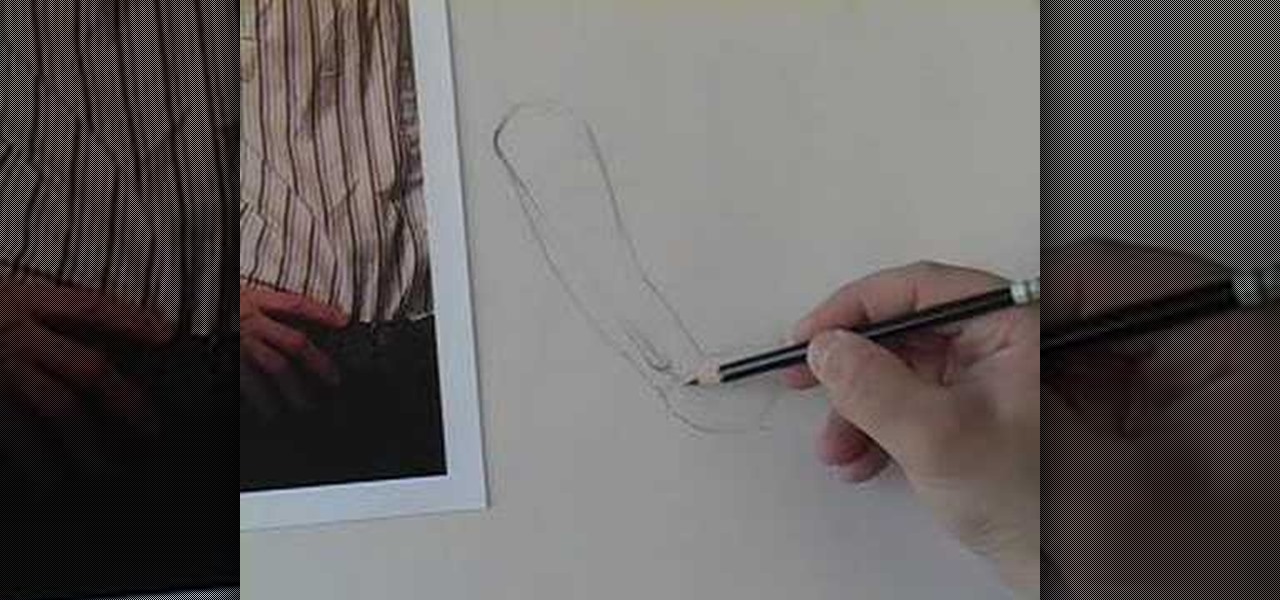
In this tutorial, we learn how to draw people using boxes. Start off by drawing a box for the head, then a box for the body that is bigger then the top box. Keep drawing boxes and rectangles to make the entire body, tracing over it with lines, then filling the body in with muscles and bones. After this, make the face and add on hair to the body. Use shading to make the figure look more realistic. The boxes should give you an outline of where each body part will go, and give you a guide on how...
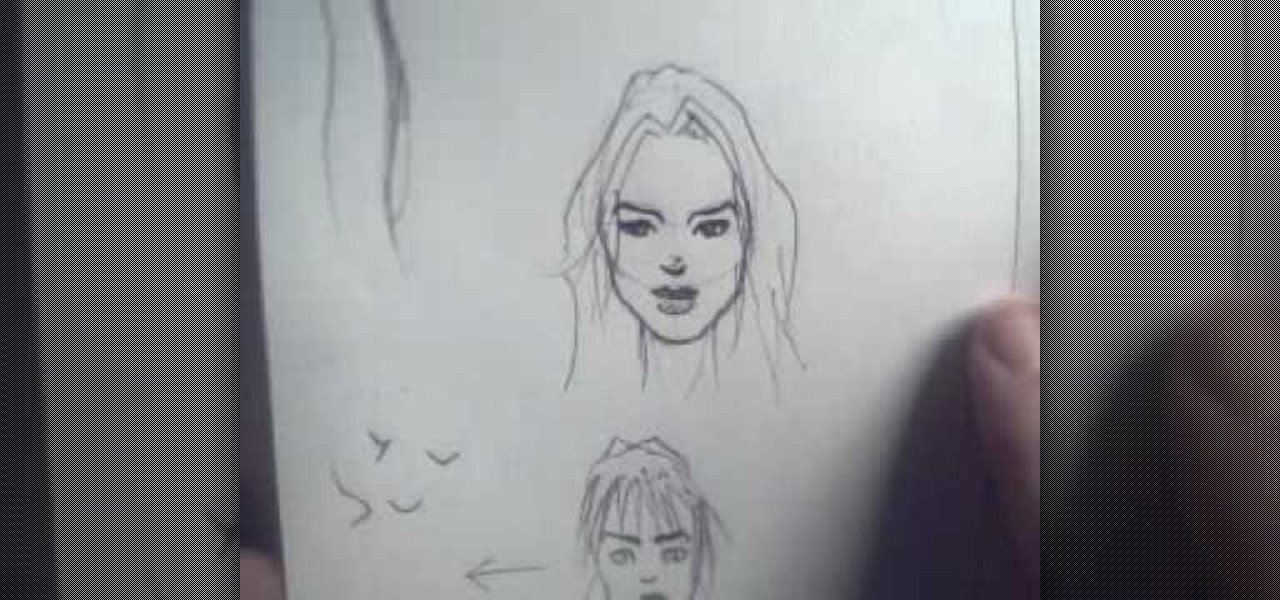
In this tutorial, we learn how to draw small faces on paper. This is best for drawing on comic books, because the faces are smaller than on regular drawings. First, give yourself a scale size to see how large you want the faces on the paper to be. If you are new at drawing, use the square method to learn how to measure the face and learn how to draw the face so the body is scaled to the size of the head. Start out by drawing the head and adding in shading details. You will start with the guid...
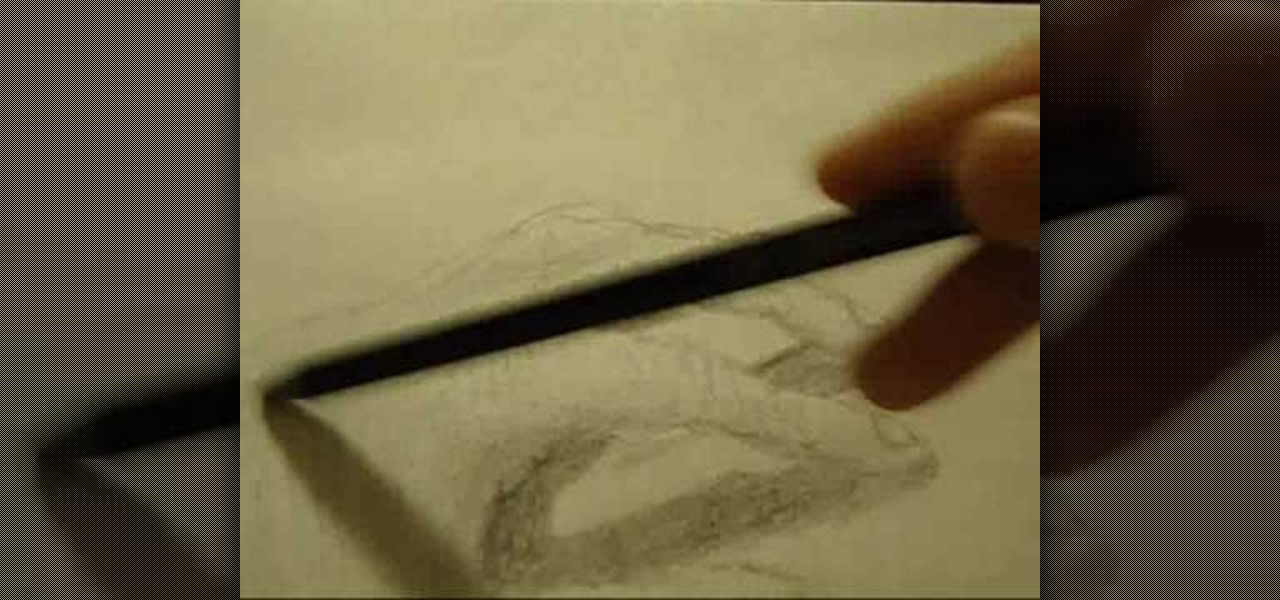
In this how-to video, you will learn how to easily draw hands step by step. First, you will need a pencil and a piece of paper. Next, draw the top outlines of the fingers. Follow this with the folds of the skin at the joint of the fingers. Next, move on down to the thumb of the hand. Once you make the basic outline, move on to the rest of the hand. This includes the knuckles and the finger nail details. Go into the fingers to create more wrinkles and shading. Do this for the thumb as well. Ne...

This tutorial is an on-screen demonstration on how to create a circle that looks like a glass orb using PhotoShop. First make the background black. Then using the elipse took, draw a circle, filled with light grey. Right click on the shape layer and click "Rasterize layer". Select the eliptical marquee tool and make a circle in the grey shape, a little ways in from the edge. Select the area and choose "Layer via cut", click on Layer 2 and delete. Click on Shape 1 and create a contour by choos...
In this how to video, you will learn how to airbrush your Xbox with a Halo 3 design. First, take apart your console. Next, wrap the bottom half with paper to mask it. Next, spray the exposed are with white. Mask the bottom half area again, leaving more unpainted areas exposed. Spray paint and repeat one more time. Next, go over the console with yellow paint. Next, print out an image of Master Chief. Cut it out and then take the outside area to use as a mask on the console. Spray paint accordi...

In this video we are shown an easy way to draw a fox using Photoshop. First, start with a rough sketch on a separate layer. Rough in the head, ears, snout, and eyes. Make a new layer and outline your previous drawing. In this layer put in more detail such as the jagged outline of the fur and the details of the face. To colorize your fox, put in a new layer under the outline layer. The fox should be colored a dull orange, with dark brown shadows for the ears and white under the muzzle and on t...

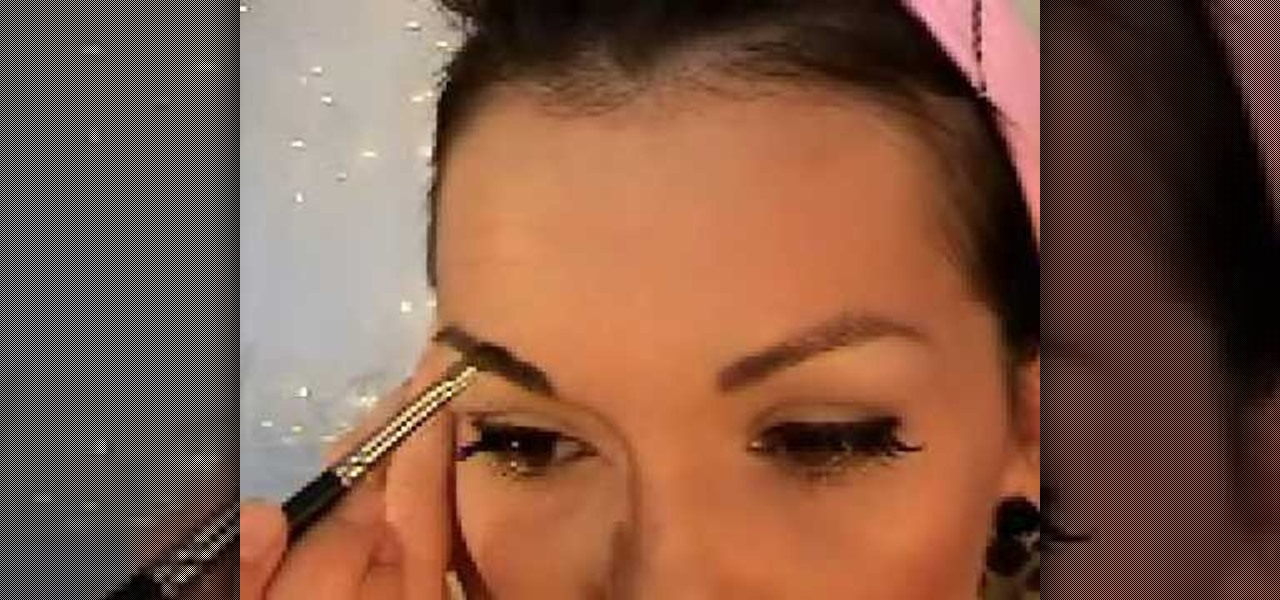
Kandee Johnson demonstrates pinup girl make (similar to Betty Paige or Dita von Teese). You’ll need an angle brush, a fluffy brush, black liquid liner, black pencil liner, nude and pink / peach eyeshadow, black eyeshadow, false eyelashes and bright red lipstick. Start with prepared skin. Then take the light pink eye shadow and apply all over the eyelid. Deposit the most eyeshadow under the eyebrow arch. Then take an eyeshadow with some brown or tan in it to put in the crease of the eyelid to ...

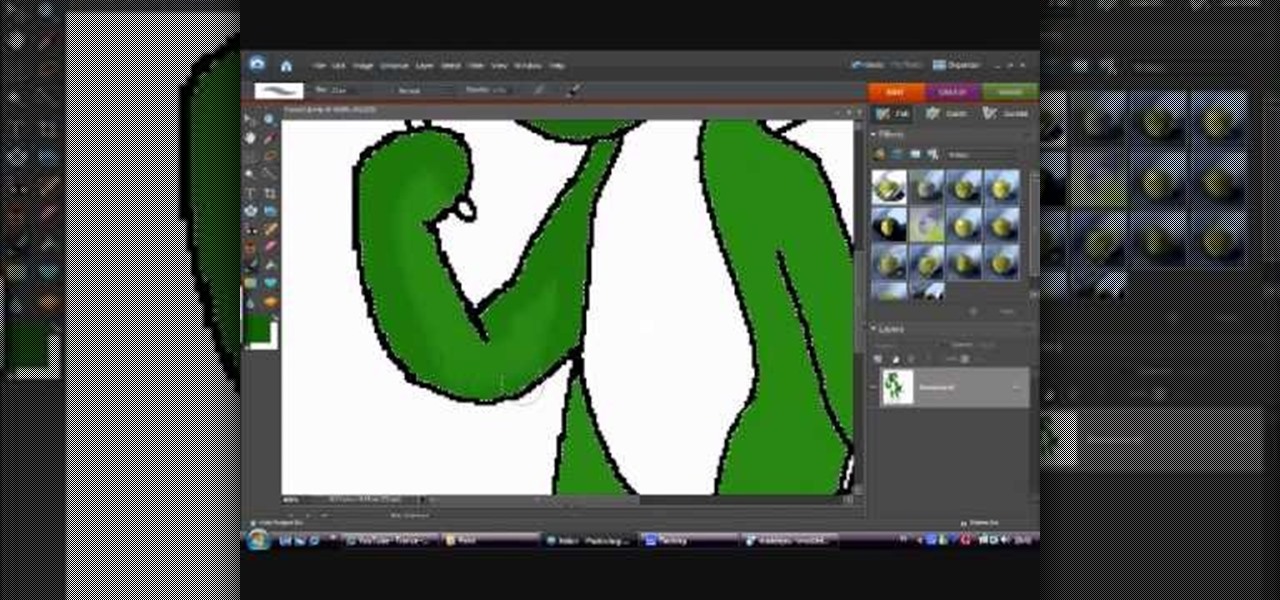
In this how-to video, you will learn how to draw Yoshi from the Mario Brothers universe using MSPaint. First, have a reference photo ready. Open the program and use the line, curved line, and freehand tools to draw the outline. Start off with the face. Outline the body, and then move on to the eyes and mouth. Move on to the outline of the body. Just as with the head, move on to the interior details of the body. Once the outline is finished, fill in the basic green color of the body. You can a...

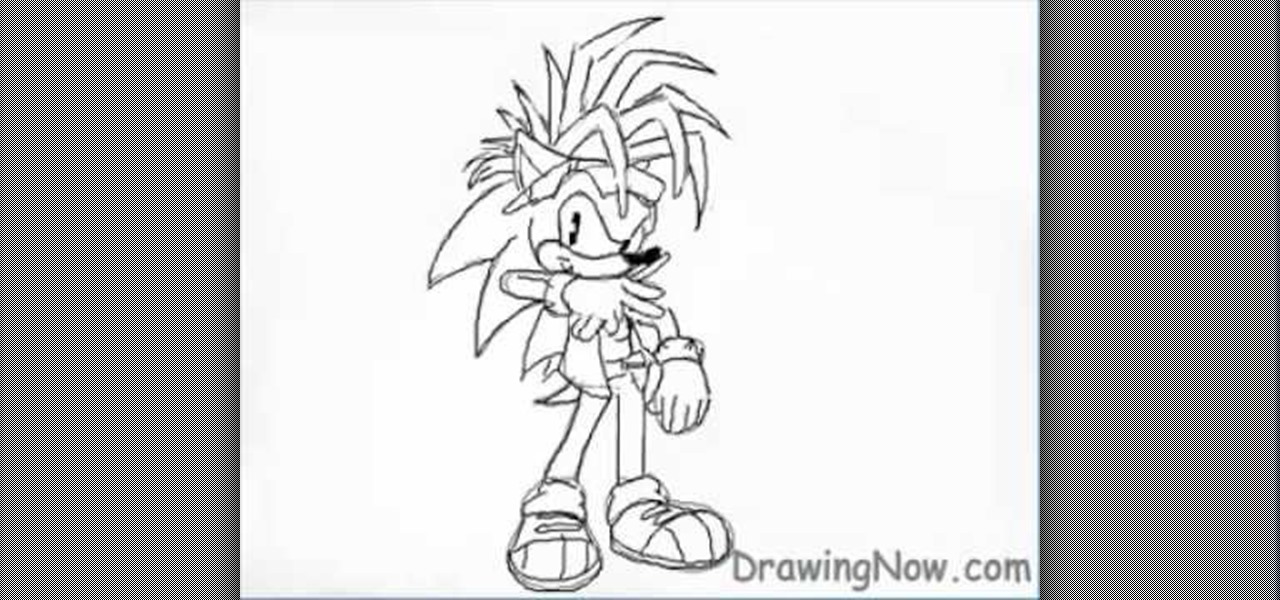
To draw Manic the Hedgehog, you should start by sketching a rough outline of the body, including Manic's hair. Once you have your sketch outline, start drawing over the outline with a darker line, including details like the eyes, nose, mouth, arms, hands, clothes and shoes. Once you have your final outline, go back and erase your initial rough sketch, so that your line drawing looks clean. Now that your line drawing is ready, you can start filling in with color! Start with Manic's green areas...

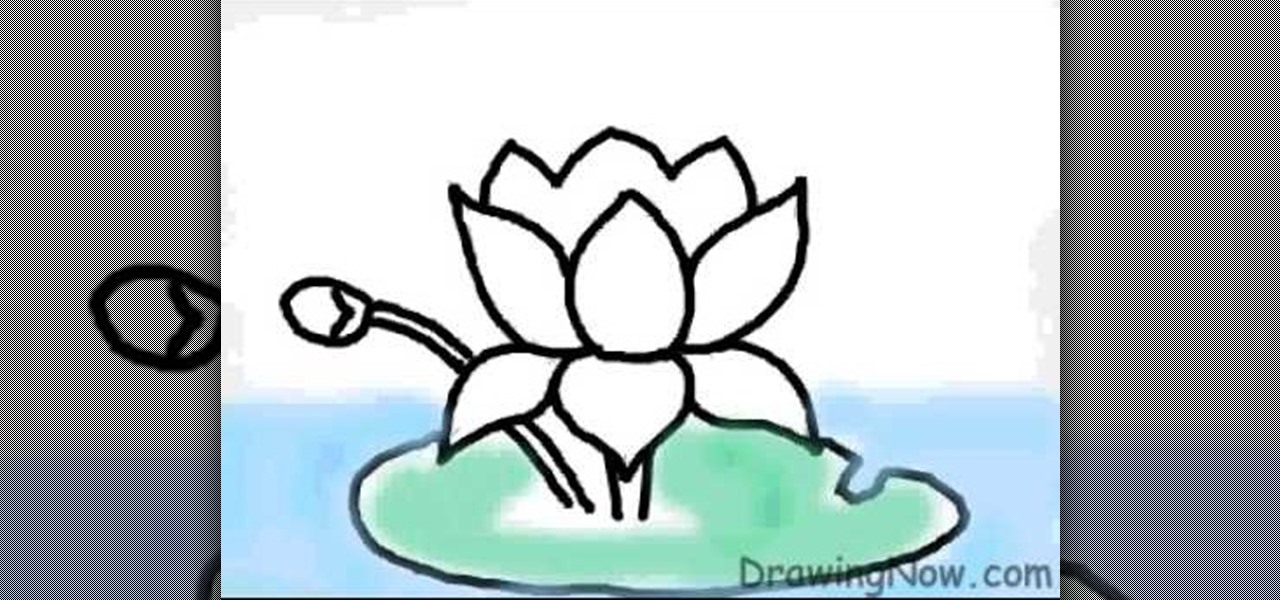
Learn the art of drawing a ‘Lotus Flower’ on your computer, by watching this video. Begin by drawing a faint outline of the flower at the outset. This is done by drawing an oval shape first. Then a straight line is drawn below the oval, along the center. A semi-circle comes next, touching the extreme ends of the oval shape. Similarly, a mirror image of the semi-circle is drawn, below it. The petals of the lotus flower are then outlined in dark, from the center and on either side symmetrically...

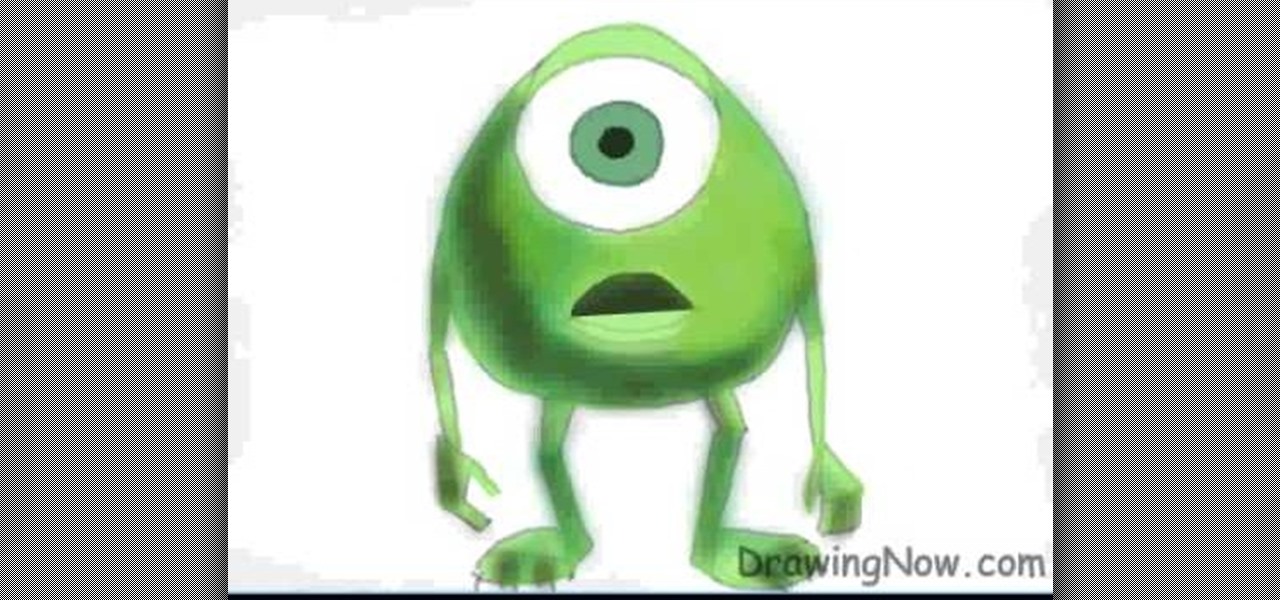
This video from Drawing Now outlines how to draw Mike from Monsters, Inc. There is no audio in the video. To being, draw a tear-shaped oval with a rounded top. Draw a half moon that faces down, with the top of the rounded end of the “moon” touching the top of the tear shape. This will be the eyelid. Below the eyelid, draw a big circle for the iris, with a smaller circle inside it for the pupil. To start the arms and legs, add them in stick form. The arm has two segments and the hand and the l...

Michael Weisner(2D Illustrator) explains that, to draw a camel face one should have clean White sheet and a Drawing Utensil (HB Pencil), especially the light graded pencil helps to save time. In the step one, draw both the eyes first which should be equal on both sides. In the step two, draw the nose which would look like a night lamp. In the step three, start to draw the head and cheeks. In the step four, draw the Upper Jaw and in step 5, draw the ears on both sides equal in size. Add some d...

To prepare for planting take a fork and poke it into the ground and loosen up the ground. Do this throughout the beds so that the ground is completely loosened up. After you finish loosening the soil take a shovel and dig to the bottom of the bed and turn the soil over. If there are leaves in the bed go ahead and turn the leaves over into the soil. It will provide extra compost for the soil. Add some rabbit manure to the soil to provide extra nutrients. Turn the manure into the soil so that i...

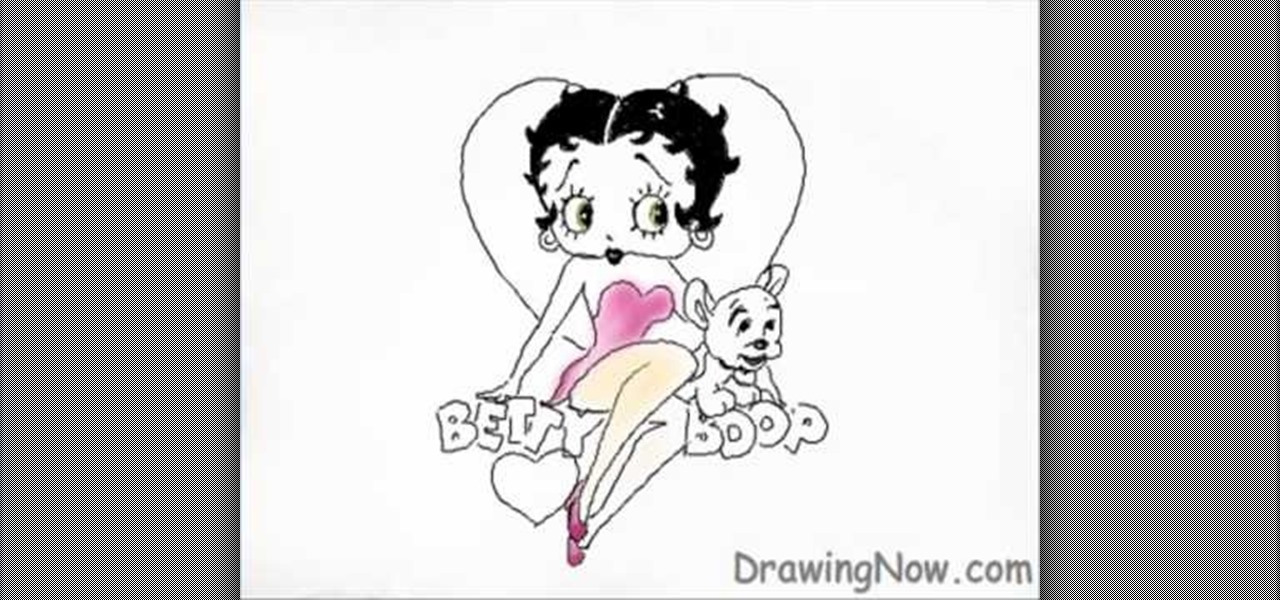
Drawing Now presents this simple video tutorial on how to draw Betty Boop. Begin by drawing an apple shape for her head. In the center of her head draw her part and extend the curved line down to her cheek finishing off with an upturned curl. Next draw the other half of her part and the front curved line of her hair. Then add two circles for her eyes. Inside these circles, shade in small half circle areas so it appears she is looking to the side. On the opposite side of the eye, add an accent...

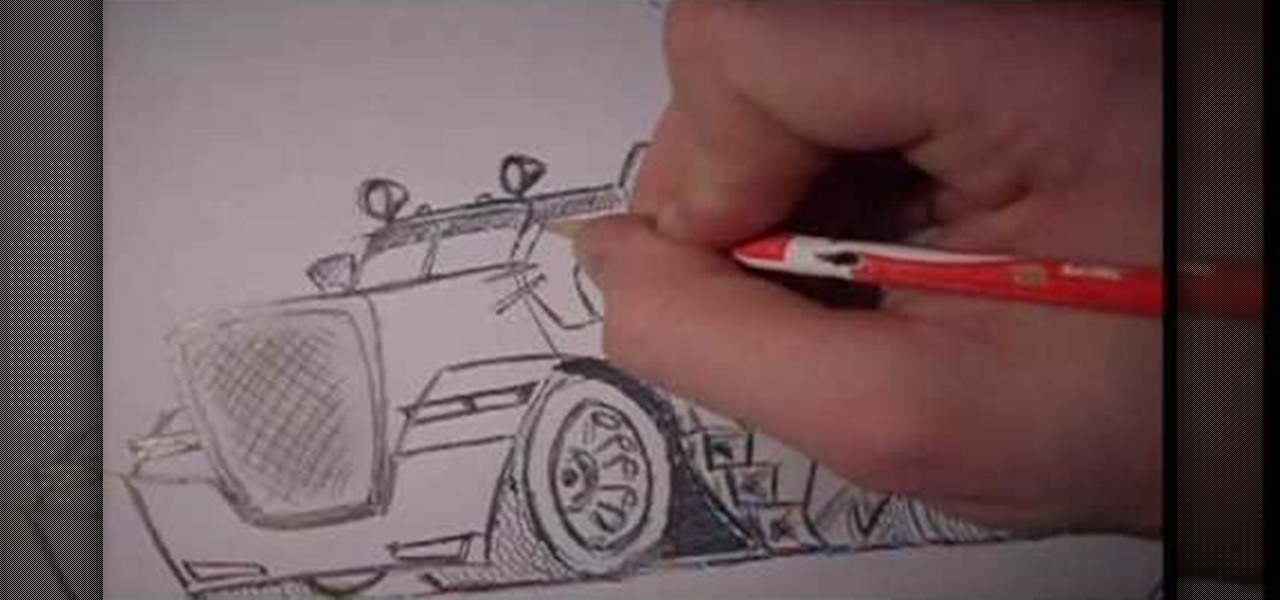
This video demonstrates how to draw a caricature of a truck. Begin with a rectangular shape that is slightly bigger at the top and has rounded corners. This will be the grill. Create an inside border. Below the grill, draw a front bumper. At the top corner of the grill draw a rectangle that is divided into two halves and shade the top section of each half. This is the windshield. Draw hatch marks in the center section of the grill. Above either side of the bumper add narrow divided rectangles...

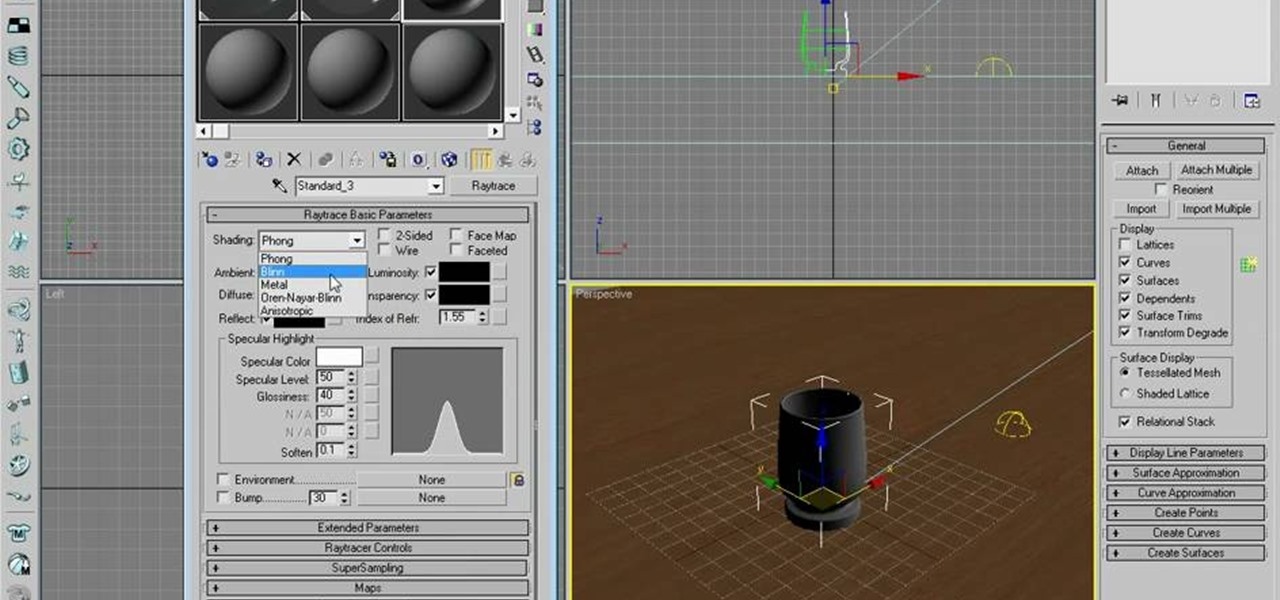
Dave shows you how to produce a glass three different ways in 3ds Max in the video tutorial. Put two panels away, then concentrating on sensor one press m on the keyboard to bring up the materials editor. On the material editor go to the first sphere, choosing a slight blue color, bring up the specter level, bring up the glossy level, click on two sided and bring down the last two to about four. Look to see it is fairly transparent, in a test window. This is glass one, put on hide. Go to glas...

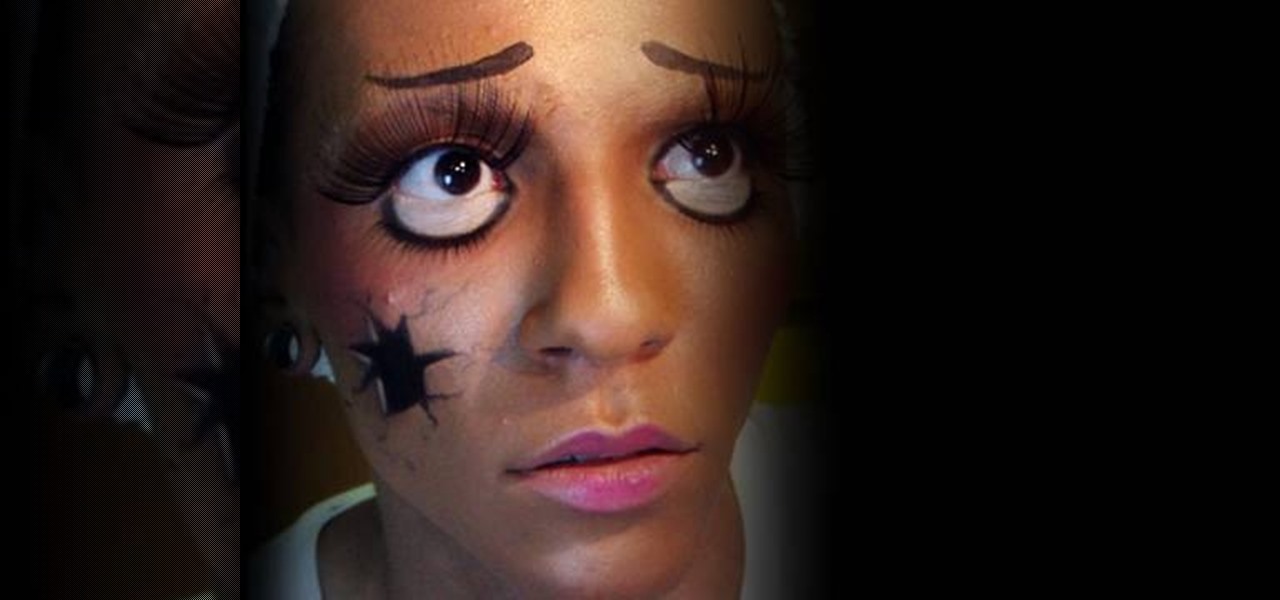
Cover brows with wax or glue stick and concealer that is a lot lighter than your skin). Place some of the much lighter concealer under your eyes. Stroke concealer all over face for an extra layer. Apply full coverage foundation. Set makeup with powder. Use something that'll look very fake when done. Add cream blush product in bronze shade. Apply with finger to warm it up; apply to cheeks, forehead & nose. Use mineral type skin highlighter all over face. Paint on eyebrows with black liquid eye...

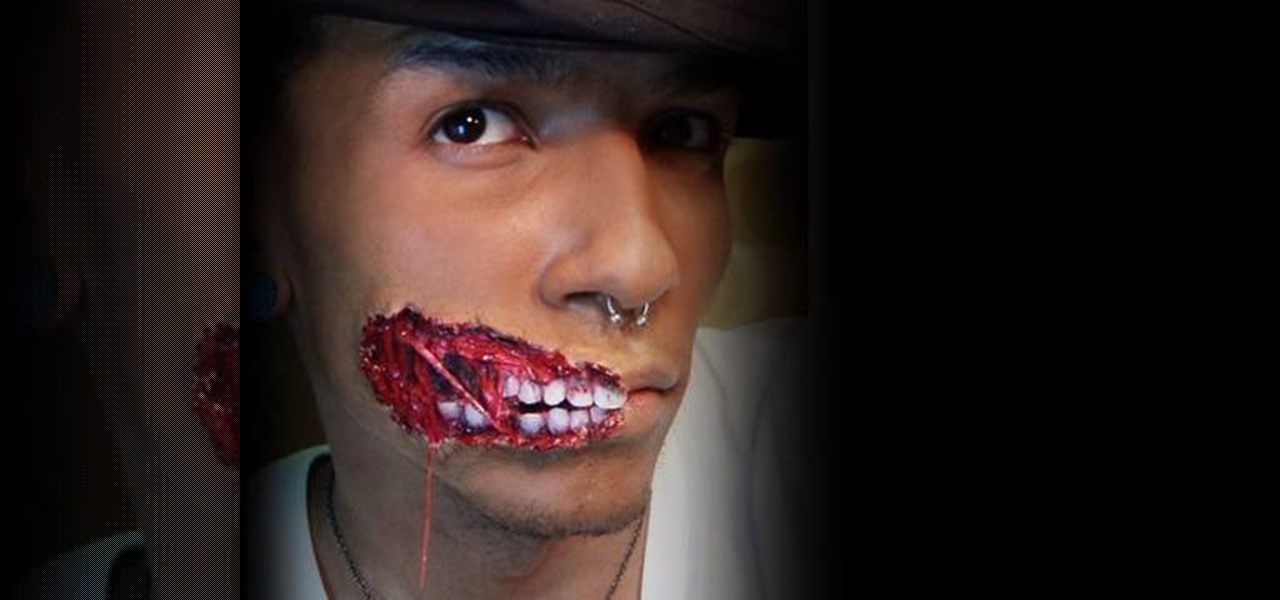
This video is a step by step guide for creating exposed teeth makeup . This is loosely based on the Harvey Dent character from Batman: the Dark Knight.

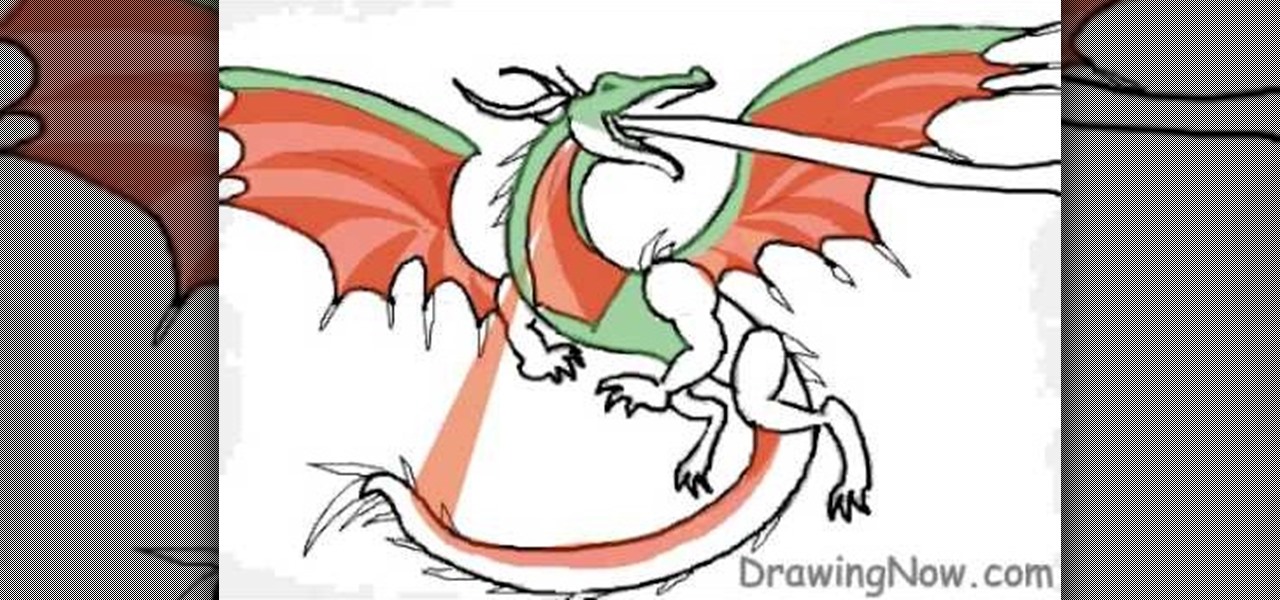
In this tutorial, we learn how to draw a basic dragon. First, draw the basic outline for the dragon, including the tail, wings, head, and body. From here, draw over the outline with the final outline in darker pen. After this, start to add in the details to the face and body. Once finished with that, move onto adding in shading and additional lines to make it look more realistic. Then, add in your colors. Use darker colors where the shading is to create more depth with the character. From her...

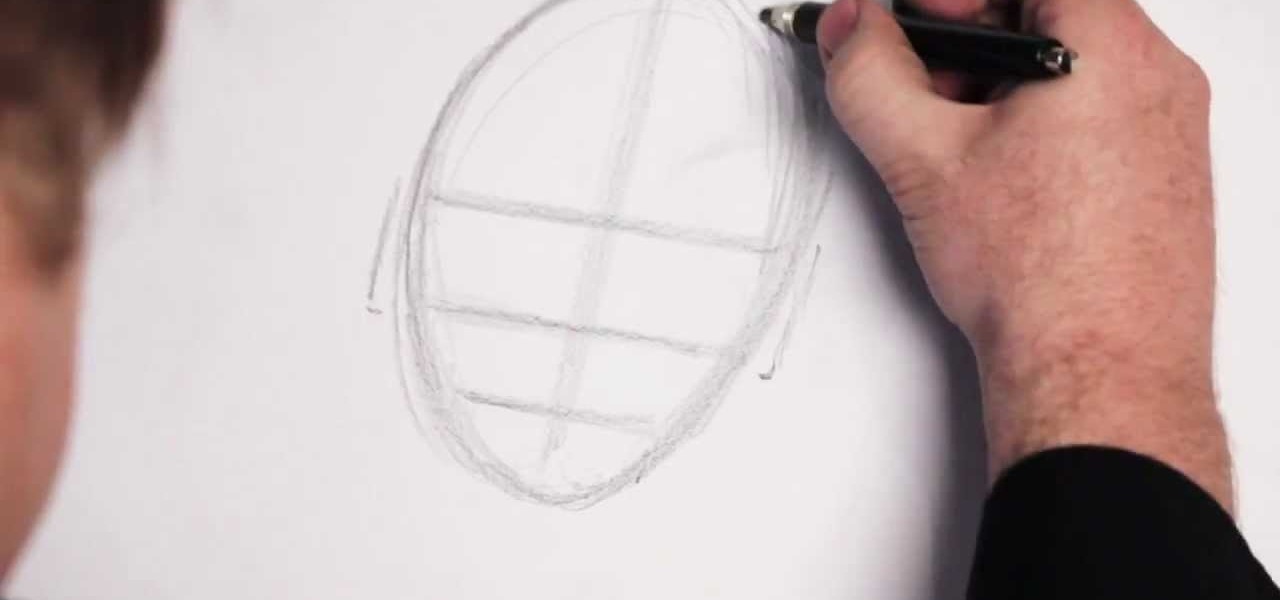
In this tutorial, we learn how to draw a face using charcoal. Start out using a light touch with your pencil to draw the outline of the pencil. After this, use the darker touch of a charcoal brush to draw in the details of the eyes. Draw the eyeline and the creases in the eye, then draw in the nostrils and the middle of the mouth. Draw in shading around the neck and chin to make a difference between the two. Use a light touch of the brush to create shading throughout the entire face, not usin...

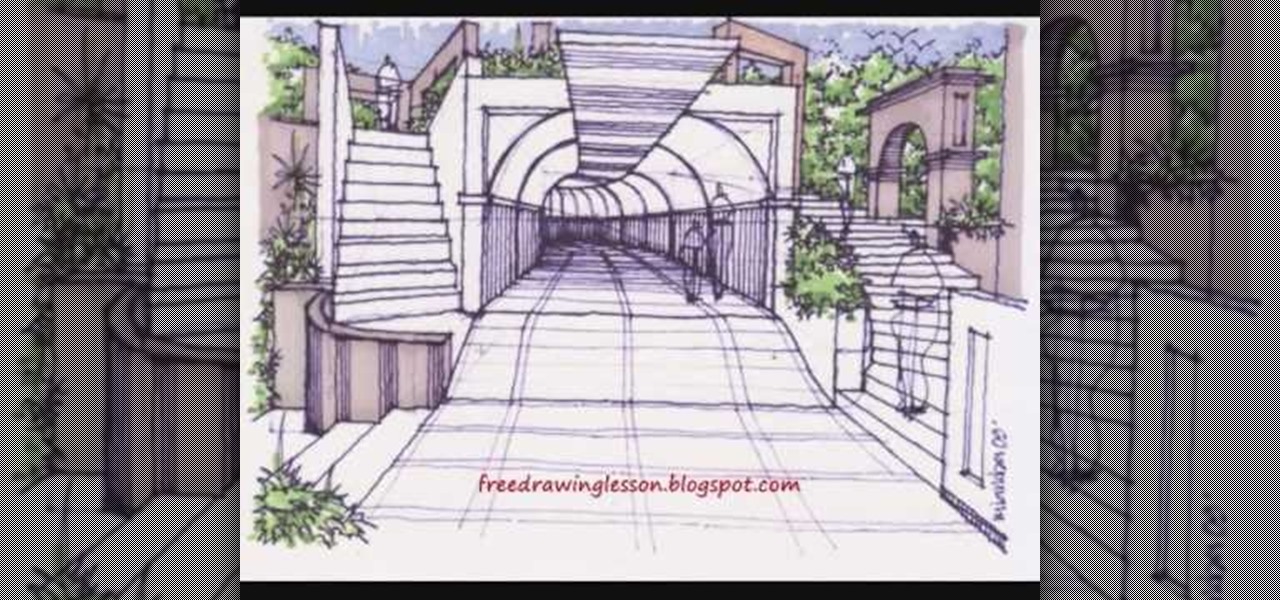
This video is a drawing lesson on how to draw and color a tunnel. It starts with rectangles and an arch, and more lines are added to show the perspective of the tunnel. Stairs, structures, and more architectural detail is added all around the tunnel and then inside. Next the coloring is demonstrated. First the bushes are colored green, and the different architectural elements made of cement or stone are colored in shades of brown and beige. The inside the tunnel is done in shades of blue, and...

This masterful drawing session from idrawgirls instructs us how to draw a mysterious girl specifically the facial figure, face, hand and upper body front view. First you will establish, very lightly, the facial shape, direction of the eyes, and the shoulders and upper body. The key here lies in the direction of the eyes, casting the face slightly downwards, creating that ineffaceable mysterious effect. Another important factor specific to the female face is keeping the nose close to the eyes ...

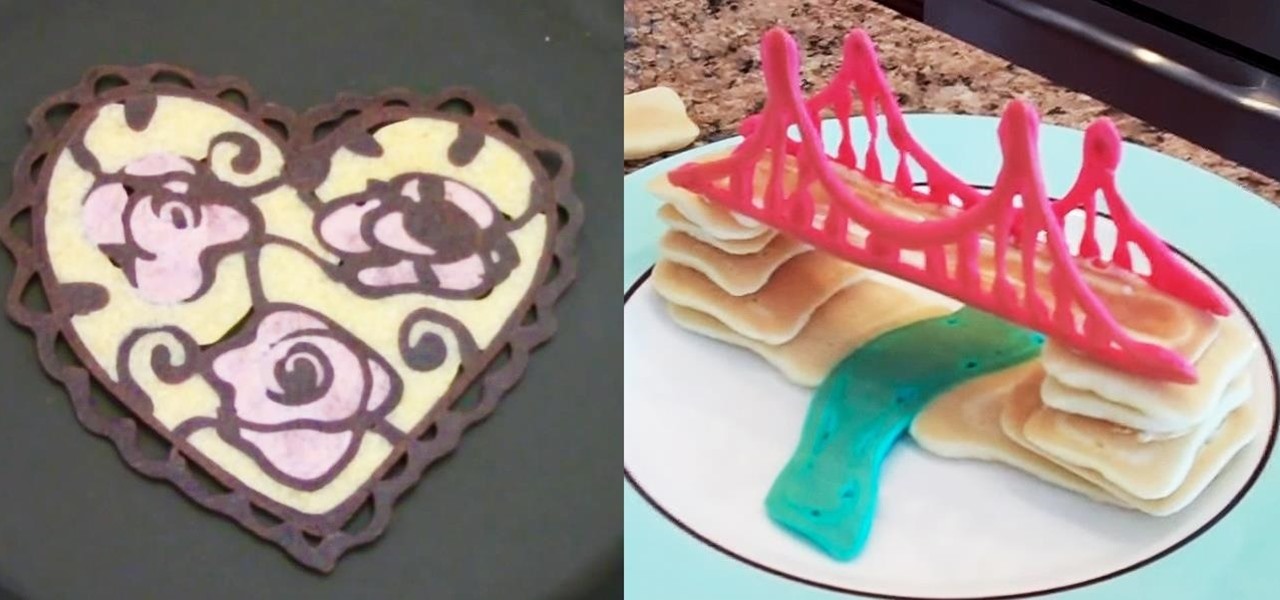
When it comes to making pancakes in the morning, most of us probably follow the instructions on the box. Mix all the ingredients together, pour onto a hot greased pan, and form perfect circular flapjacks one by one.

In this tutorial we learn how to draw Mewtwo. Start out by drawing the outline of the head and the rest of the body with a light pencil. Then, start to add in the details of the body and the face. Once completed, you will draw the permanent outline onto the picture over the first one and erase the first one. Next, you will color in the skin and clothing that Mewtwo is wearing. Add in shading around the character to make it look more realistic. Also make sure to use different colors on the ori...

In this tutorial, we learn how to draw Sonic the Hedgehog in Paint. First, draw a round circle for the head and then connect the spiked hair to the back of it. From here, draw in the arm and the hands as well as the body and the legs. After this, draw on the socks and the feet. Then, draw in the details of the character and the rest of the shading. From here, color in the blue and the whites on the body and then color in green on the eyes. When finished, make sure to save this and then you're...

In this tutorial, we learn how to draw a hand on the hip. Start out by drawing the arm first. You will need to make sure to add in the different features of the arm to make it look more realistic. After you have drawn on the arm, then you can draw on the hand angled like it is sitting on a hip. Make sure you draw the fingers close to each other, not clenched or spread apart. Once you have finished, you can draw on the lines on the hands and the arms, then use shading to finish up the hand on ...

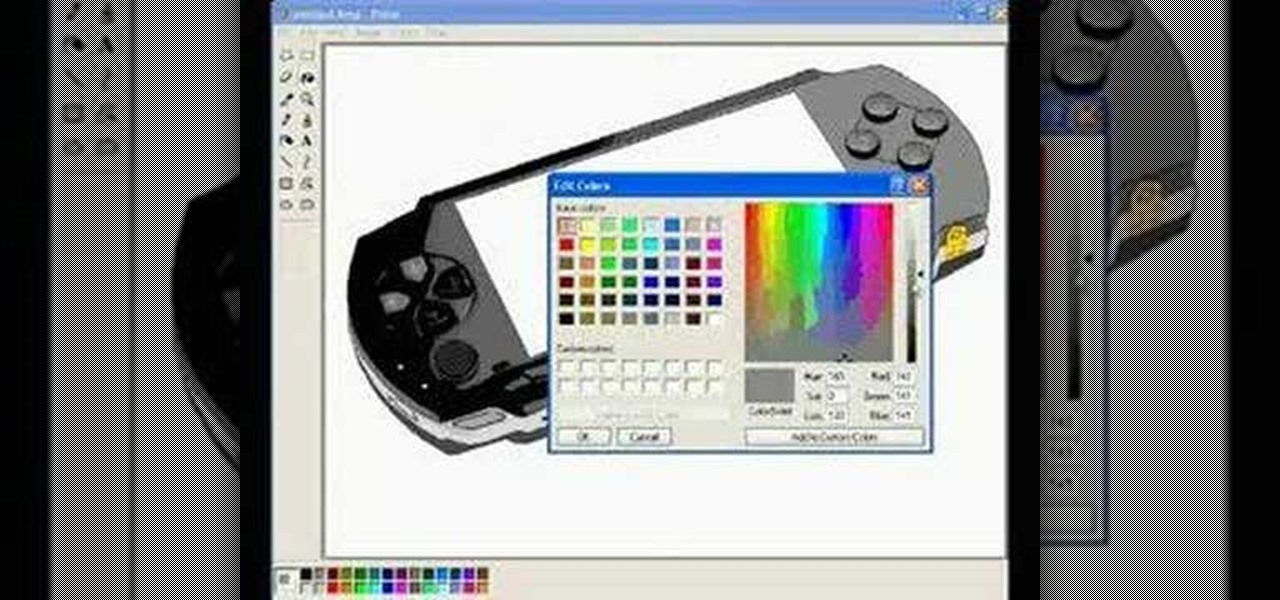
In this tutorial, we learn how to draw a PSP in Ms Paint. First, draw the outline of the PSP with a light pencil marking. After this, draw in the details to the controller. Use details to make the buttons and make them look 3D. After this, you will add in shading to the buttons and around the console. Then, add color to the front of the console in any colors that you would like. After you have added in all of the details you want, you are finished! Save this and then come back to it later if ...

In this video, we learn how to draw a scary werewolf in the moonlight. First, you will draw the outline for the face and the body. Give the werewolf a hunched back to make it appear more human-like. Then, draw the permanent outline over this, including additional details on the body. From here, draw on the facial features and then start to add in lines to show the fur on the outside of the body. Use shading to create a more life-like appearance and then add in some color. When you are finishe...

In this drawing tutorial, we learn how to draw a chibi Sokka. Start off by drawing a round circle for the head of the character. After this, draw on the ears to the sides of the head. Then, draw on the hair on the back of the head followed by the facial features. After this, draw on the body, but don't draw a neck because this character doesn't really have one. Once you have the outline finished, start to use a darker marker to create the clothing and other details onto the character. Clean u...

In this tutorial, we learn how to draw a twisted skull. First, draw the outline of the skull and then start to draw in the jaw line around the middle. After you have this drawn out, draw in the teeth on the top and bottom of the face. Then, draw in the eye sockets and the nose shape. From here, start to add in lines that look like cracks around the top and sides of the skull. There is no perfect way to draw this, draw it how you feel it should look! Add in some shading to show the depth and c...

In this tutorial, we learn how to draw a plan view with art markers. First, you will draw a dot in the center of the paper and then draw lines out from here. After this, use the lines on the paper to create the proportions for the buildings. After this, draw in squares and lines to help create the ground and buildings. Then, you will add in details to the building and then draw in plants and grass around the edges. After this, erase any background lines from the drawing and then color it in. ...

In this tutorial, we learn how to draw a gangster M&M graffiti character. Start out by drawing the eyes and the mouth for the character. Fill in the eyes and the mouth, then add in more details. Next, add in eyebrows to the M&M, then draw the body around the face. Draw a beanie hat on top of the head, then draw arms with a spray paint can in one of the hands. Add in the additional details for the hands and arms, then draw in the legs on the bottom. Add in the shoes, then finish with additiona...

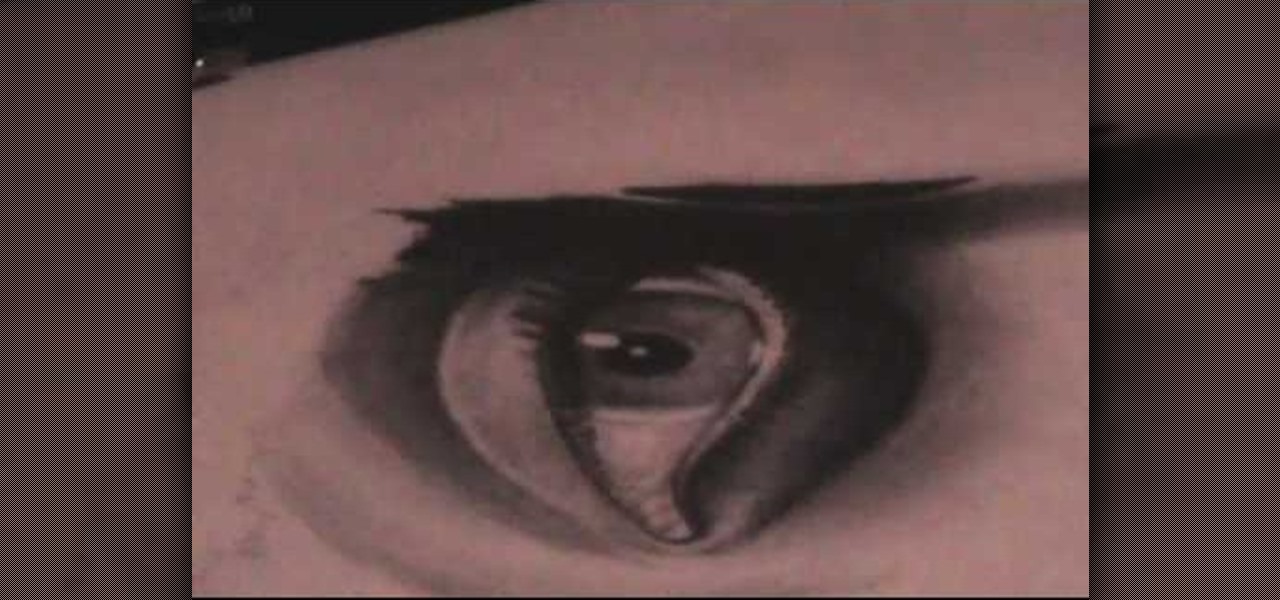
In this video, we learn how to draw a realistic mouth, nose, and eyes. Start out by drawing the outside shape of the eye, then draw in the details inside the eye. After this, shade in the pupil and add a white circle to make the eye look glossy. From here, add in the eyebrows and add darkness and lines to make it look more realistic. For the mouth, you will first draw the outline of the lips, then draw the teeth on the inside followed by additional details. Make the teeth different shapes and...

In this tutorial, we learn how to draw a realistic portrait. Using a pencil, you will first draw the out line of the face. After this, add in the details and bold lines to the eye. From here, you will add in the details and shading to the rest of the face. Use your eraser to create smooth lines and white lines to make the features look glossy. Draw in a white line on the bridge of the nose to make it look more realistic. Also make sure to add in lines that are on the face as well as hair that...

In this video, Bill Corso teaches us how to apply injury makeup. This can make it look like you are hurt, but it's really just makeup you are using to create the look! Using red and brown together can give a more realistic look of blood, blending it out through the entire cut. Using different colors on the injury can add a more realistic look to where the injury is. Work with the different features on the face to create the best look you can. Pay attention to the sweat on the body as well, be...

In this tutorial, we learn how to draw the face of an anime young man. Start out by using a pencil on a white piece of paper, drawing spiky hair at the top of the page. After this, draw in additional lines to create more hair around the face, then draw in the sides and the bottom of the face. Next, draw in the features of the face, including the eyes, nose, ears, and mouth. Then, start to draw the clothing and add shading in on the clothing and the top of the hair. Add in more lines to make i...


