It's no secret that the enterprise sector is hot for augmented reality, but the move into the enterprise AR software market by one of the biggest names in industrial engineering announces the technology's arrival loud and clear.
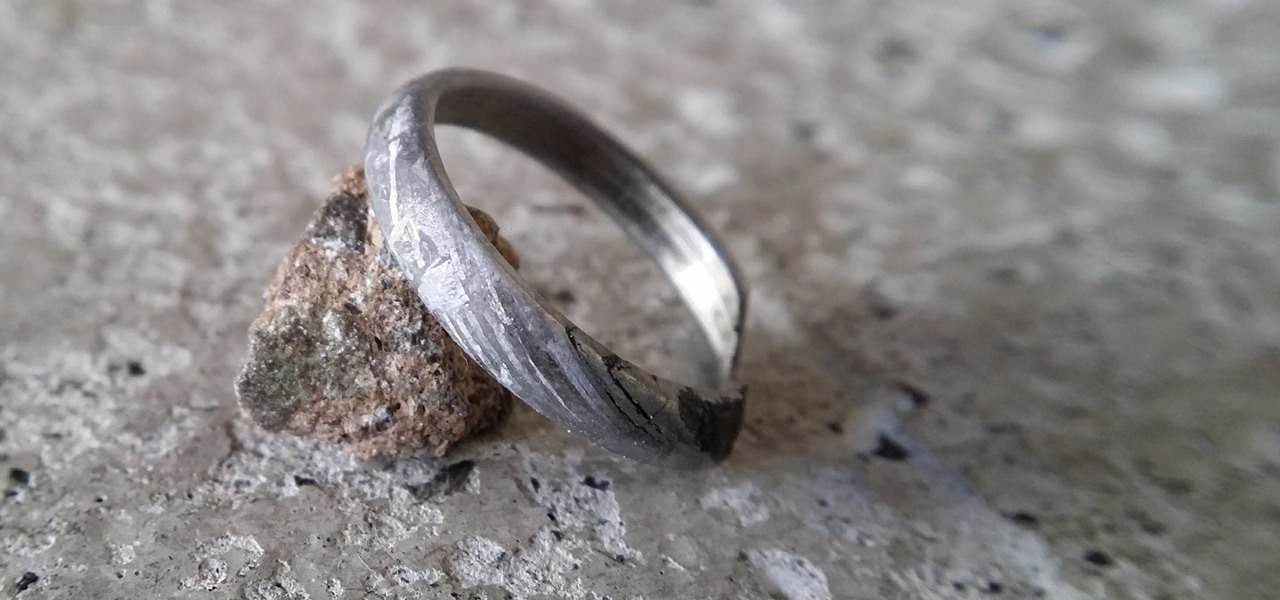
When most people say, "Damn, look at that rock," regarding an engagement ring, they're usually not referencing an actual rock—let alone a space rock.
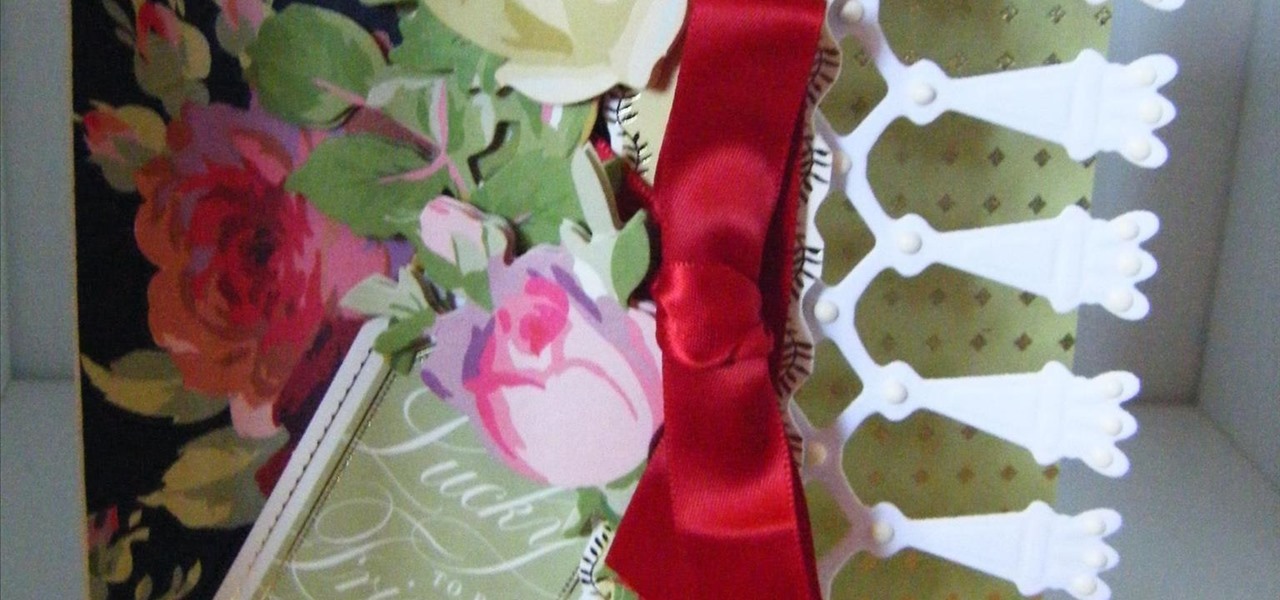
This card project is a little bit different and will show you how to make a trimmings side edge card, using some fabulous products from Anna Griffin, including the Trimmings 12" dies and the Rose designer collection. The card is easy to make and looks so pretty, but it is a 'easy when you see how' card. Step 1: Now Watch the Tutorial

There have been plenty of rumors and lots of speculation about the Galaxy S7 and S7 Edge, and now we're finally getting our first look at Samsung's newest flagships—in the form of two images.
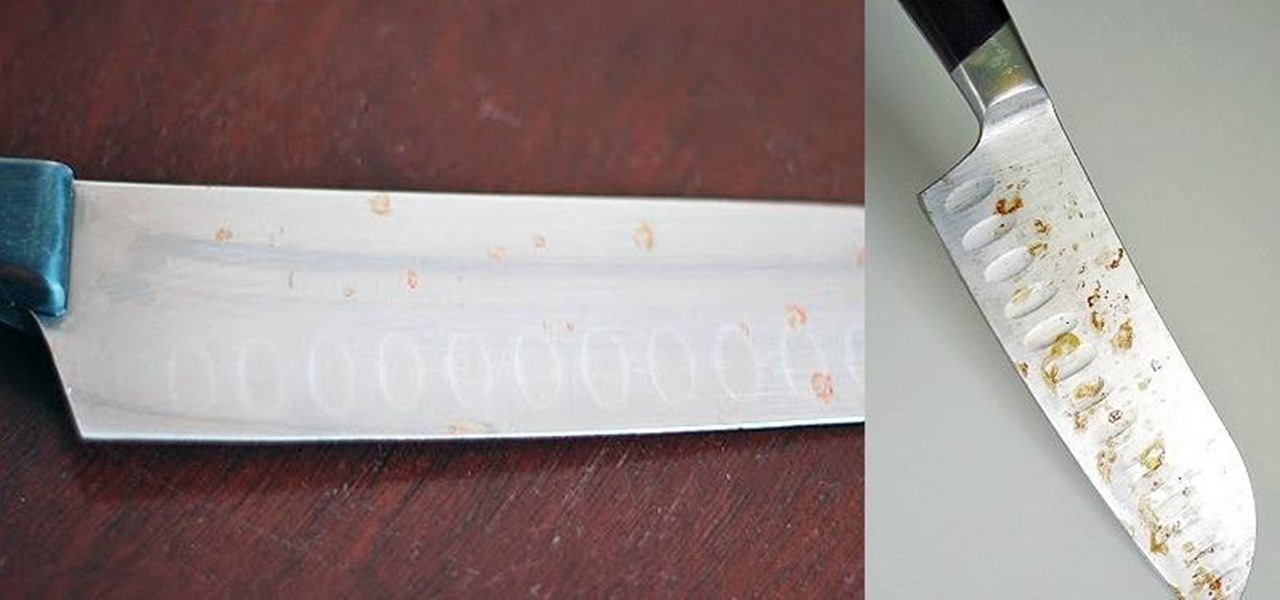
If you're careless and tend to leave your knives lying around or in the sink, chances are you've struggled with rusty blades.

The Galaxy S6 Edge comes with a very nice pair of earbuds, which might possibly be the best set I've ever owned. They're quite comfortable, and they provide clear and robust sound, but they could still use just a little boost in volume.

With the Galaxy S6 Edge, the curved display is mainly an aesthetic feature. Unlike the Galaxy Note Edge, Samsung didn't include many software features to take advantage of its unique design, outside of the scrolling tickers and night clock. For instance, with the Note Edge, you can launch apps from the curved portion of the screen—but this isn't true for the S6 Edge.

This tutorial demonstrates how to make Ninja stars out of 2 pieces of lined notebook paper. Lined paper make your star look cooler and help you keep track of your folds. Fold you paper into five equal sections with a small section left over at the top. This is about five and a half lines per section. Next fold over one corner of the edge that is farthest away from you and then fold over the corner of the opposite edge. Set this paper aside. Repeat the process with your second sheet of paper e...

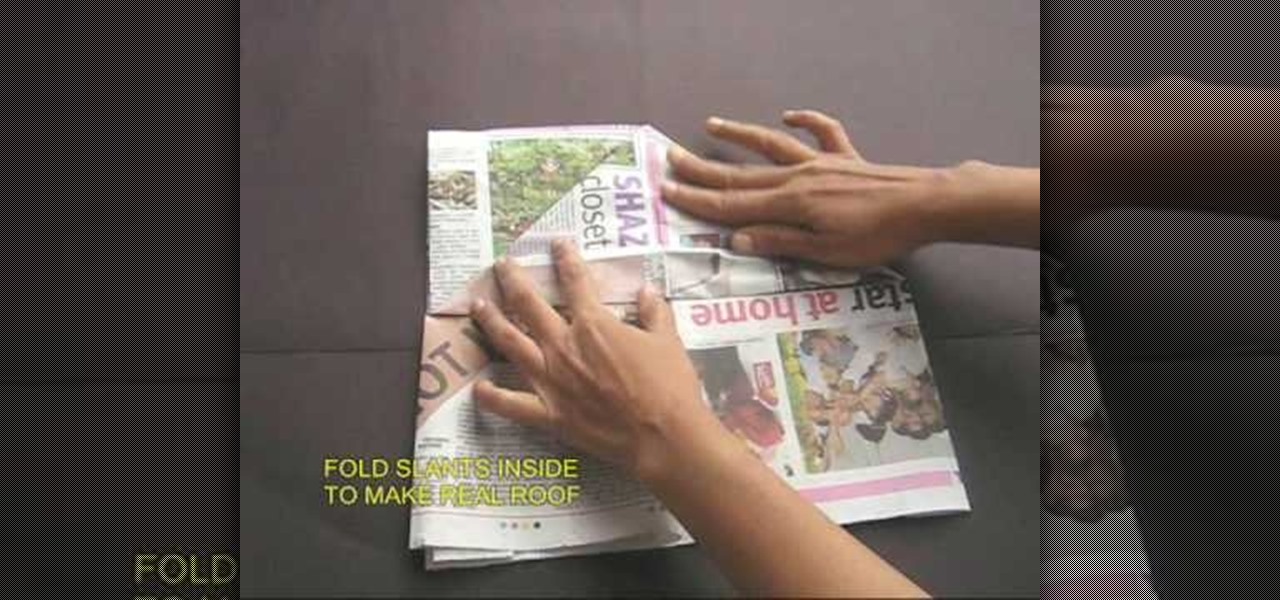
The man on the video explain how to make a cricket cap from just a half sheet of newspaper. You start off with a half sheet of news paper, and fold the sheet in half, and then fold it again into a quarter. Then it shows you to fold down the two tops sides as if you were making a "roof". Then you are to fold the roof to the mid point of the base. You are then told to open the whole sheet of newspaper again, fold in both of the long edges to about 4 cm. You are then to fold the sheet in half wi...

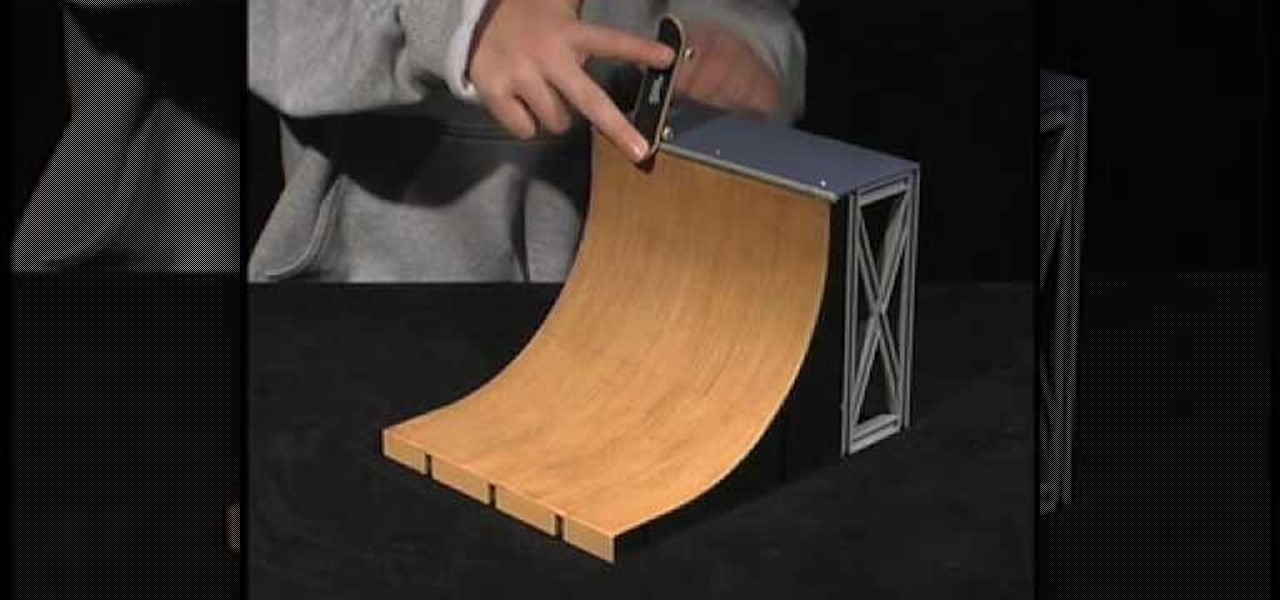
Tech Deck videos demonstrates how to do ramp tricks on a Tech Deck fingerboard. Any trick that you learn can also be performed on a ramp. A rock to fakey is the easiest ramp trick. Ride up, touch the lip of the board to the ramp, balance the center of the board on the edge, tap the front wheels on the ledge, and ride back down the ramp fakey style. You can then turn the rock to fakey into a board slide. Instead of rocking on the lip of the ramp, push the board along the edge and then dismount...

In this video Jennie shows us how to make a perfect spiral paper rose. All you need for this is a piece of 6X6 inches of paper, scissors, some glue and, if you really want to be creative, some ink. For starters you're going to need a 6X6 inch piece of card stock. Jennie chose a double-sided card stock because she thinks it will look more interesting but you can also use a plain piece of paper. The first step in creating your rose is making a spiral patterned cut alongside the paper. The ideal...

This video is a demonstration of how to make a winged heart design with folded paper. Start with a square piece of paper and fold it in half. Unfold it and fold it in half again, and unfold it. Using the creases as a guide, fold one edge up to the crease. Turn it over and fold the corners of the folded edge down toward the middle crease. Turn it over and fold the large edges inward toward the crease and unfold them. Lift that side up, forming a pocket underneath. Fold the sides inward inside ...

Making your own Mondrian-inspired cushion cover is demonstrated in this clear and concise crafting video. Materials required are a plain cushion cover( preferably in a tight weave such as canvas or cotton; water; medium size, firm, flat edge paint brushes; scissors; one inch wide masking tape; a sturdy piece of cardboard , saran wrap and 4 jars of textile paint - one color should be black or graphite. You may choose plain or glitter paints. Cut the cardboard about one inch smaller than the si...

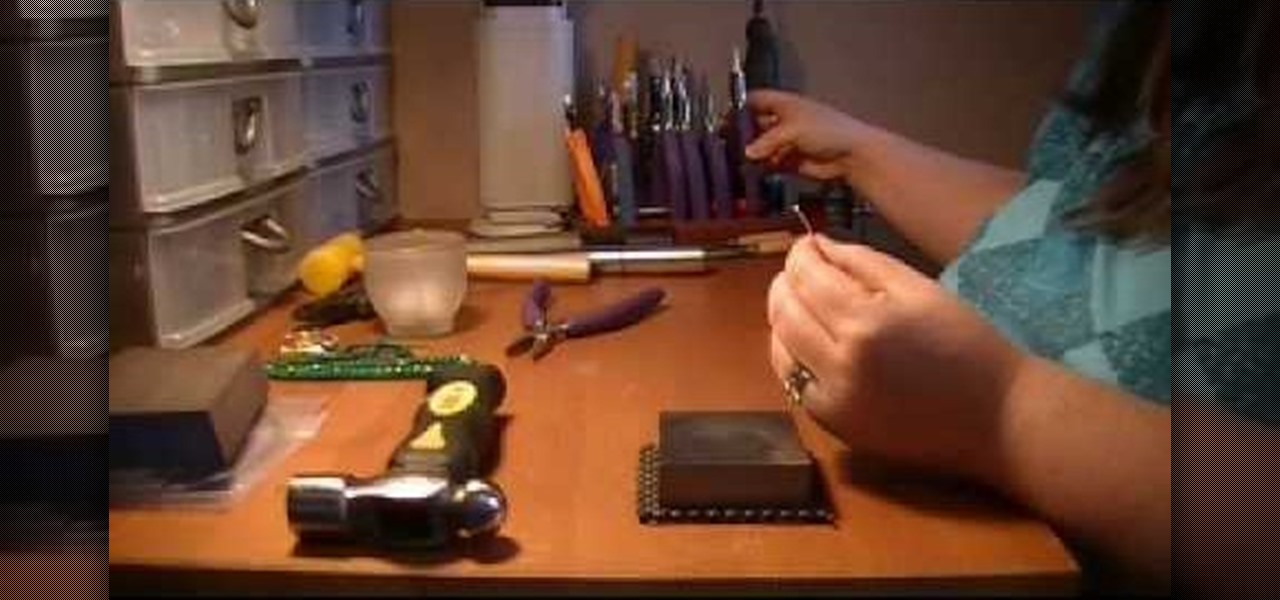
The video helps us to make sterling silver hoops earrings. It is one the popular style of earrings. These earrings can be made of different sizes, shapes, forms whatever we like. This art and craft work is shown by Natalie.

The Art of Crochet by Teresa explains how to sew together crochet ribbing. Thread a tapestry needle and align the edges of the crocheting project. Sew the first stitch together and secure with a knot. Sewing through the top of the stitch on the edge will help prevent distortion and create a neater look for the ribbing. Pick up the back loop and align it with the stitch on the opposite side. Continue all the way across, sewing through the same stitch. It will push the top of the stitches up, c...

This video shows a demonstration of how to make crepe paper rosettes. The materials used are four strips of paper, two small paper circles, and double sided tape. First put double sided tape on one of the circles and trim the edges. Put a corner of one strip of paper onto the sticky edge of the circle. Fold and crease the paper as you go around paper circle, forming fan-like folds in the crepe paper. Put a tiny piece of double sided tape to hold the end. Trim the edges with scissor to make a ...

Learn how to 50-50 grind with a skateboard. After you've mastered some skateboarding fundamentals, try moving on to the 50-50 grind.

Learn how to shuffle a deck of cards. Impress your poker buddies by learning how to shuffle and deal like you do it for a living.

Origami isn't just folding paper, it's a form of art. So, if you want to try a new creative way to express yourself, and if you like birds, try out this tutorial on folding an origami paper swan.

If you play acoustic guitar and want to learn a good song for impressing the ladies, you could do a lot worse than "Grenade" by Bruno Mars. This video will teach you how to play a cover of it on acoustic guitar with a capo.

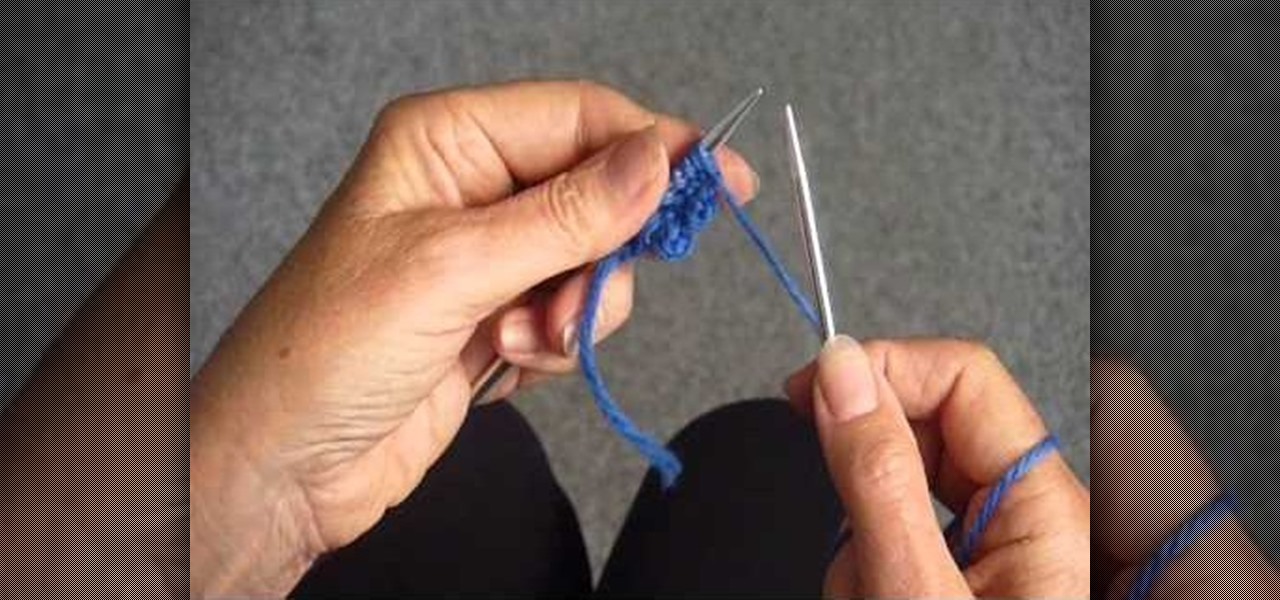
Master knitter Judy shows you how to knit a picot cast on in this knitting video. If you haven't figured out how to cast on yet, you should probably watch her video on that first. This is a sweet edging for the bottom of a baby sweater or blanket. There are many other instances where you would want to use a picot cast on, as well. Learn it with this up close demonstration by Judy Graham, Knitter to the Stars.

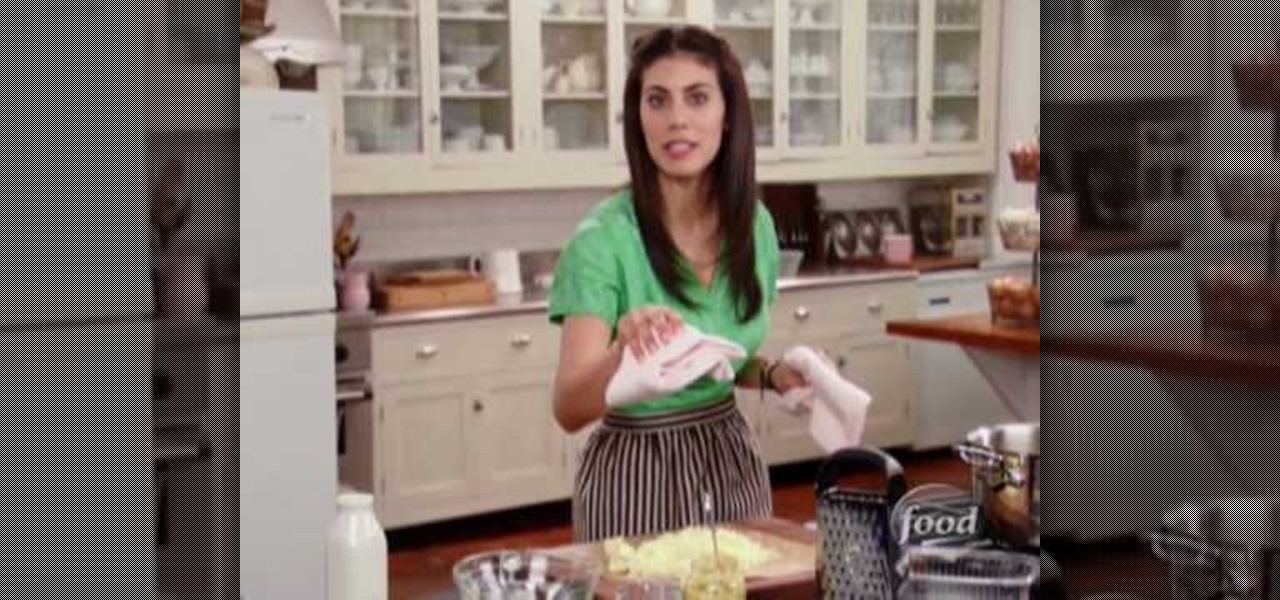
In this video, we learn how to trim a lamb shoulder with Lidia Bastianich. Start off with your raw piece of meat laid out in front of you. You will want to trim the meat around the outside where the most fat lies. Remove the fat that is excessive with a sharp knife. Cut as close to the bone as possible, then trim off the excess fat. Remember, some fat is good to keep on the meat for flavor. Cut the meat into cubes after you have removed the fat from it. Once finished, you will be able to roas...

Watch this video to improve your clinical skills and learn how to do an abdominal examination. Note that this procedure should only be done by a medical professional.

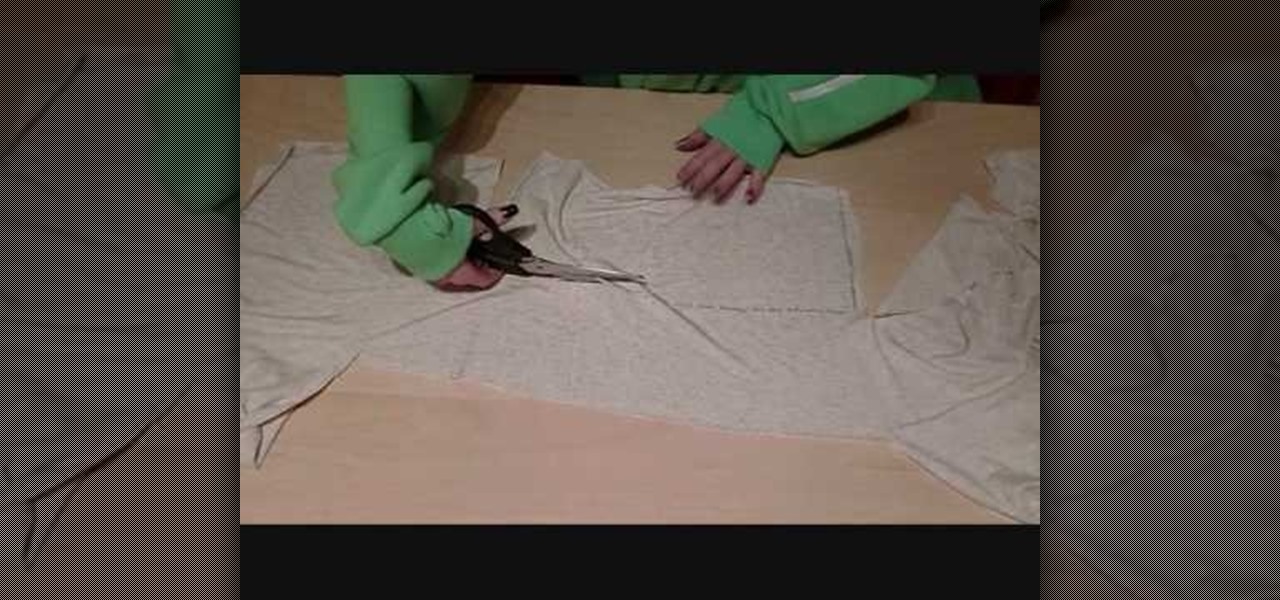
In this video, we learn how to make a feminine, long fitted sweater. First, lay out your fabric and use a pen to trace the lines for the sweater, measure it out so it's a good fit. Make sure to cut around the edges so you have room to sew. Now, sew along the edges and then turn the shirt inside out. Then, take extra fabric and cut out rectangular pieces that you will then attach to the bottom of the sweater by sewing them on. Once you are finished with this, try your sweater on to see how it ...

In this video, we learn how to do a toeside pendulum in snowboarding. Start by sideslipping on your toe edge. Take note that tapping on one leg represents increased pressure on that foot. Look and point in the direction that you want to travel, then tap on both legs to get even pressure on both feet. Increase edge angle with even pressure on both feet to slow down and stop moving on the board. Once you get these tips and tricks down you can better understand how to ride the snowboard. Remembe...

In this video we learn how to do a heelside pendulum in snowboarding. Start by sideslipping on your heal edge. Then, tap on one leg to increase pressure on that foot. Reduce the angle and then you can slide your board down where you are facing. Look and point in the direction of desired travel. Tapping on both legs means even pressure distribution on both feet. Increase edge angle with even pressure on both feet to slow down and stop. Although you will start out slow at first, these are great...

In this tutorial, we learn how to create a masquerade ball mask with makeup. First, draw the outline of the mask around your eyes. After you do this, paint on light blue eyeshadow in circles around your eyes. Then, take a dark blue color and apply it on the outer edge of the light blue and inside the outline that you created. Apply glitter to the dark blue portion of the eyes, then draw on black around the outline of the mask, smudging it onto the outer edges of the face. After this, apply ey...

In this tutorial, we learn how to apply Beyonce's "I am...Yours" inspired makeup. First, take a light pink shadow and apply it all over the eyelids. Then, take a light brown shadow and brush it on the crease of the eye, then blend outward to the outer edge of the eye, after this, use black eyeliner on the top and bottom of the eyes, creating a winged effect on the outer edge of the eye. Apply thicker eyeliner on the top of the eye, then apply false lashes to the top of the eye and mascara to ...

In this tutorial, we learn how to make your blue eyes pop with the right makeup. First, apply a peach or gold color all over the lid, then apply a sparkly gold color all over the lid over the first color. Next, apply a brown color and apply it to the crease of the eye and blend it in the outer edge. After this, use a dark blue color and apply it to the outer edge of the eye, creating a wisp effect on the outer part of the eye. Then, apply a white shimmer to the inner corner of the eye and mor...

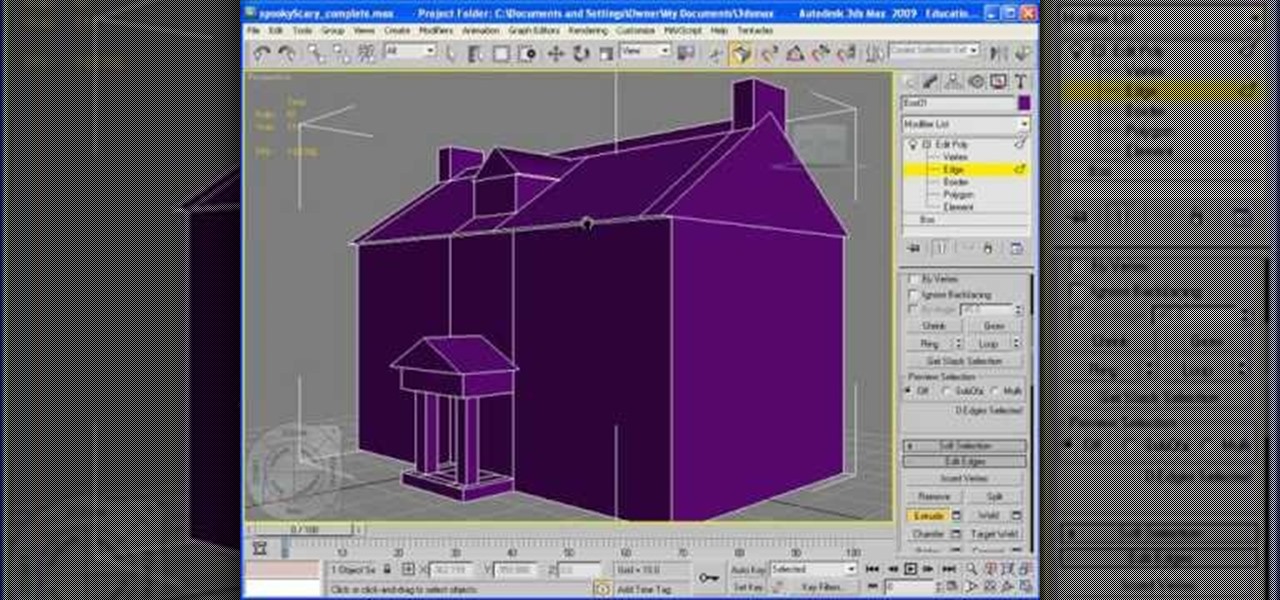
In this video, we learn how to add texture to a model house in 3D Studio Max. After you have created the model, press 7 on your keyboard. This will activate a new menu telling you how many polygons are in your model. Then, edit the edges and remove them so you have less polygons. After this, save the model under a name you want, then select everything on the model. Go to the parameters and click "edit". Now, go to mapping, then flatten mapping. The presets should be fine, then click "ok" and ...

In this video, we learn how to use the polygonal lasso tool in Photoshop. This will allow you to create a selection on your photo in a freehand style. First, select the tool from your toolbar, it's the third selection down. Once you select this, go to your picture and find the piece you want to cut out or copy. Press and hold the control and space bar, then highlight the area you want to. This is great to make a selection that has a straight edge. If you just click with it, it will have a dia...

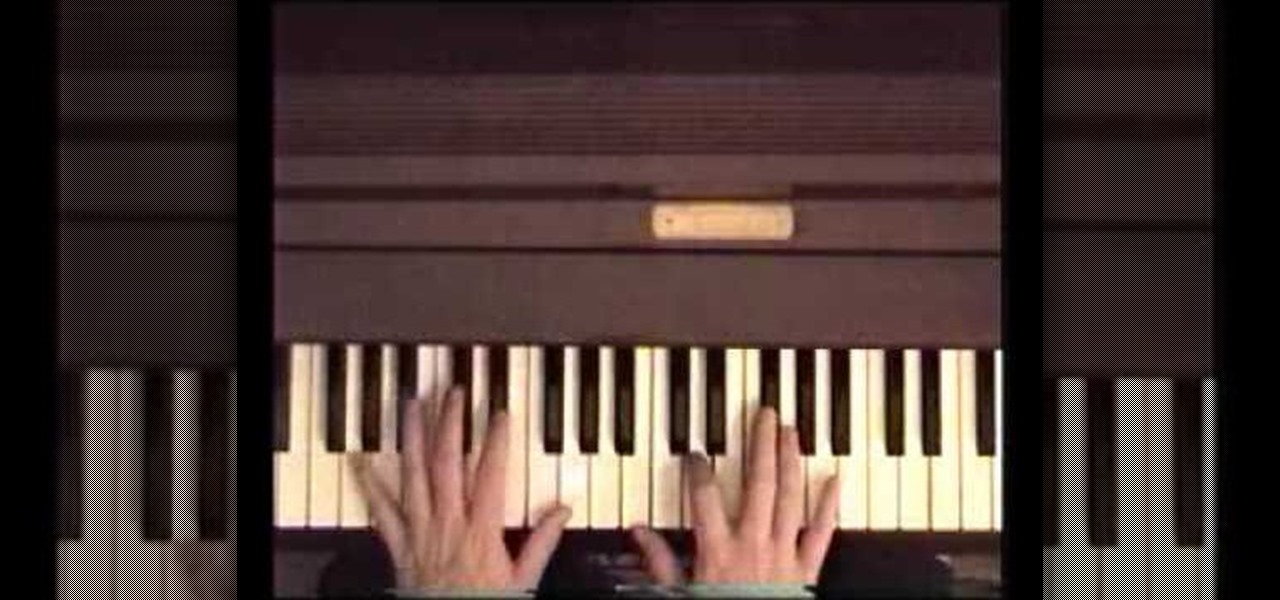
In this video, we learn how to play "Penny Lane" by The Beatles. The keys you will play at first are: B, D#, F#, B/D#, F#, and B. There is a style you have to employ to get this to work on the piano. Each note is played separately when you do it on the piano, so don't combine the notes together as you are playing. Make sure you are keeping the notes in sharps. The next notes are: B, D#, F#, A#, D#, F#, and A#, From here, the next ones are the same except with a G# at the end. Continue to play...

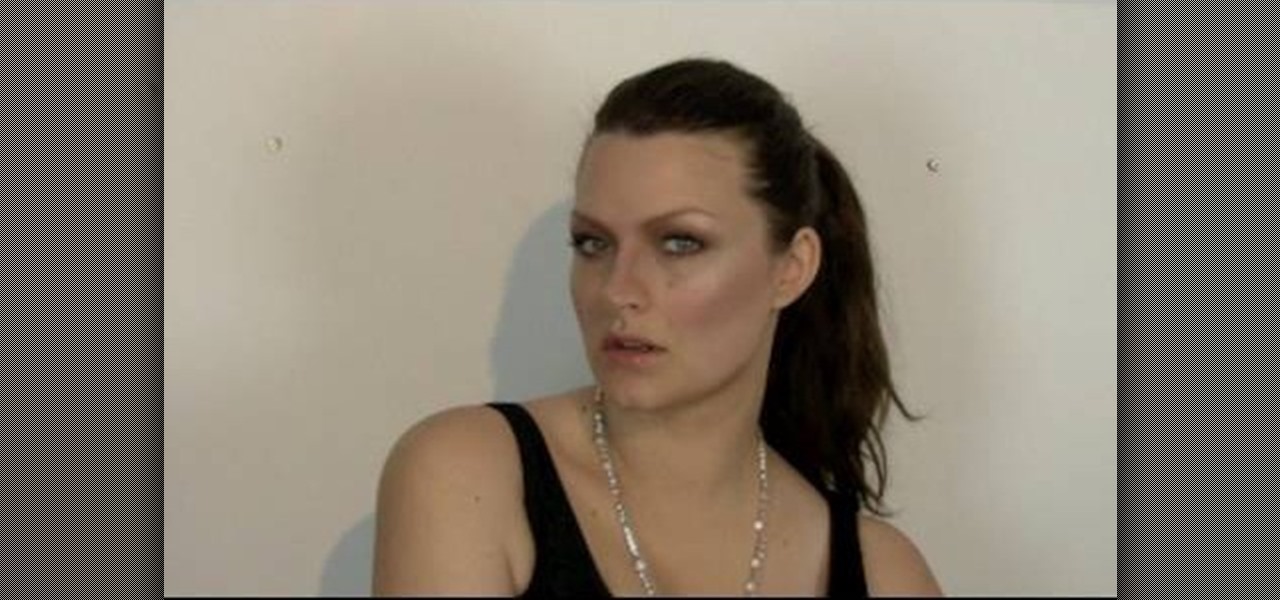
It's true that some supermodels have cheekbones so sharp they could grate cheese (think Gisele and Karlie Kloss). These girls were born pretty, but that doesn't mean they don't need a little help in the makeup department to look their modeling best.

This prank is simple, creative, easy to set up, messy and embarrassing. Five of the first things that we at Wonderhowto look for in a prank. All you need are some basic household materials:

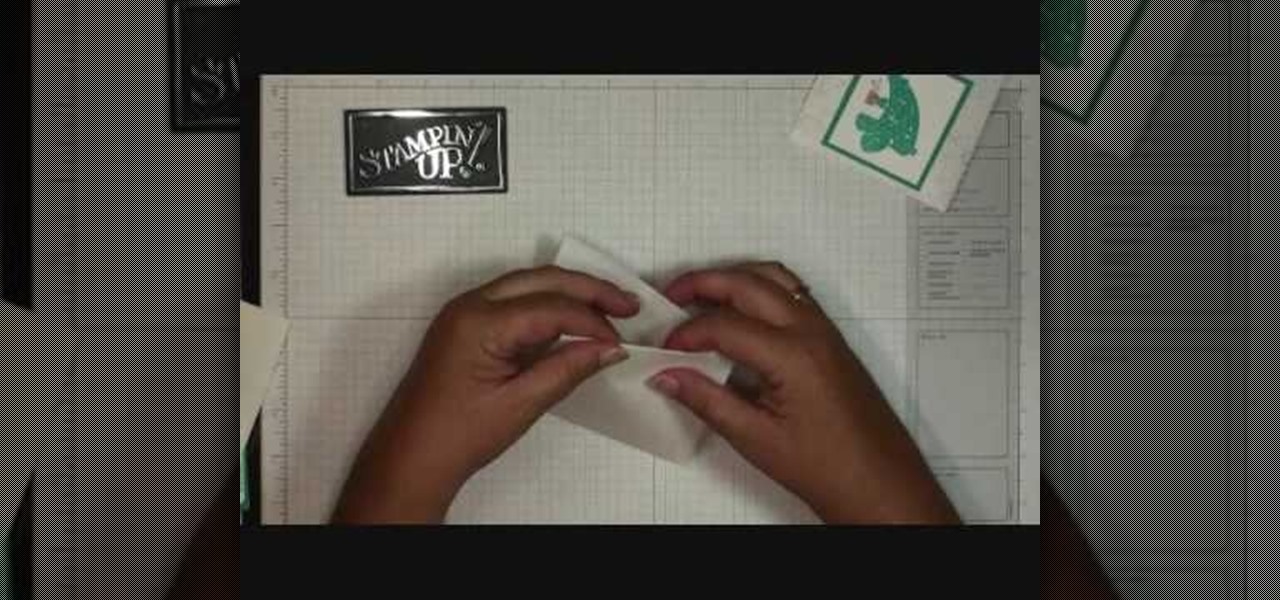
In order to make hot cocoa holders with Stampin' Up, you'll need the following: a whisper white Stampin' Up envelope, scissors, a paper cutter, cocoa, a jumbo wheel, ink pad, adhesive, stamps, ribbon, pen, stapler, glitter, and card stock.

As any woodworker may know, having a sharp chisel is important than having a dull one. A dull chisel can ruin projects and make things much more difficult for anyone. This is also important when stockmaking.

In order to make Cheesy Penne Pasta, you will need the following: salt, 1 lb. penne pasta, 1/2 lb of aged sharp white cheddar, 1/2 cup of whole milk, 3/4 cup of heavy cream, and 2 tsp Dijon mustard.

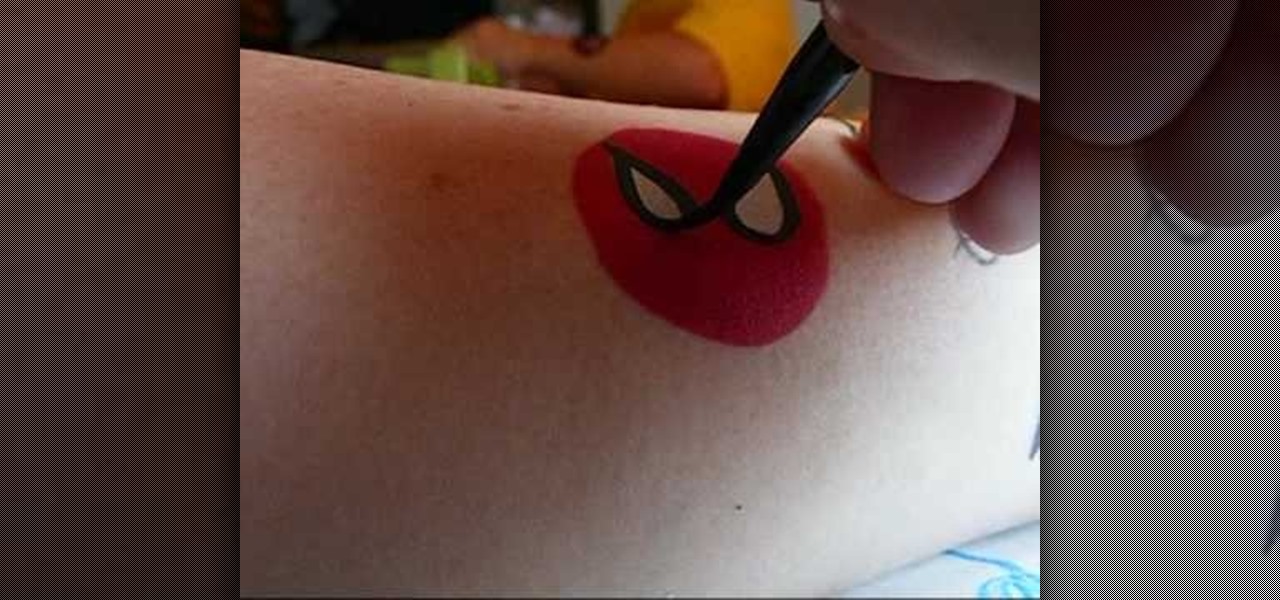
In this video, we learn how to make five easy face or body paint designs. First, to make a shooting star, grab a sponge and apply your paint to the edge of it. You will want to paint three colors next to each other on the edge of the sponge. Now, drag this across the skin and make a point at the end, then paint on a star. Next, to make a flower you will paint four hearts that are all touching with their points in the middle, then paint on leaves by swiping the brush sideways. To paint Spiderm...

In this video, we learn how to make a ceramic slab plate. First, roll out the ceramic. After this, place the clay on butcher or newspaper and smooth it out with a plastic card. Repeat this on the other side. Next, use a paper template to help cut your design or use a circular object. Cut slits to help remove the surrounding clay. Use the excess clay to build support pieces then curve the edges of the plate up and place the support pieces underneath. Use a piece of leather to smooth the edges....

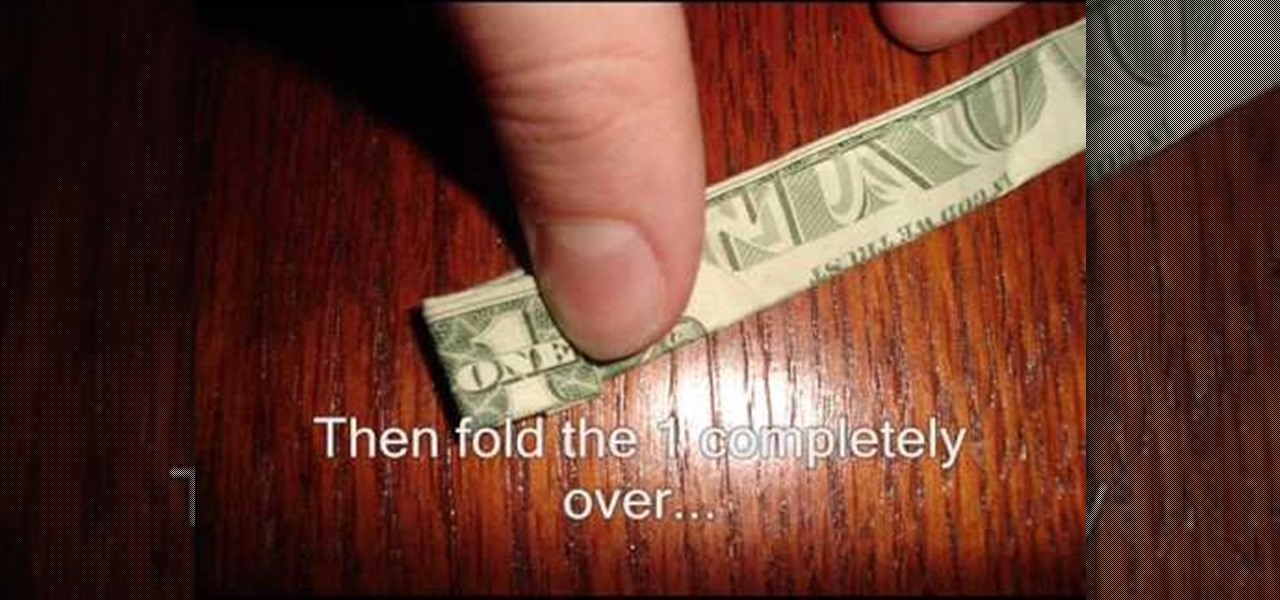
In this video, we learn how to fold a ring out of a one dollar bill. First, fold the white edges in at the top and the bottom. Next, fold it in half and then spin it around 180 degrees. Next, fold it in half again, then take the white edge on the right side and fold it down until you can see the 1. now, make a backwards "L" shape and fold it back down, then curl it up. Now fold the L underneath and curl the extra part underneath the 1. Now, place this on your hand and you can wear it as a ring!


