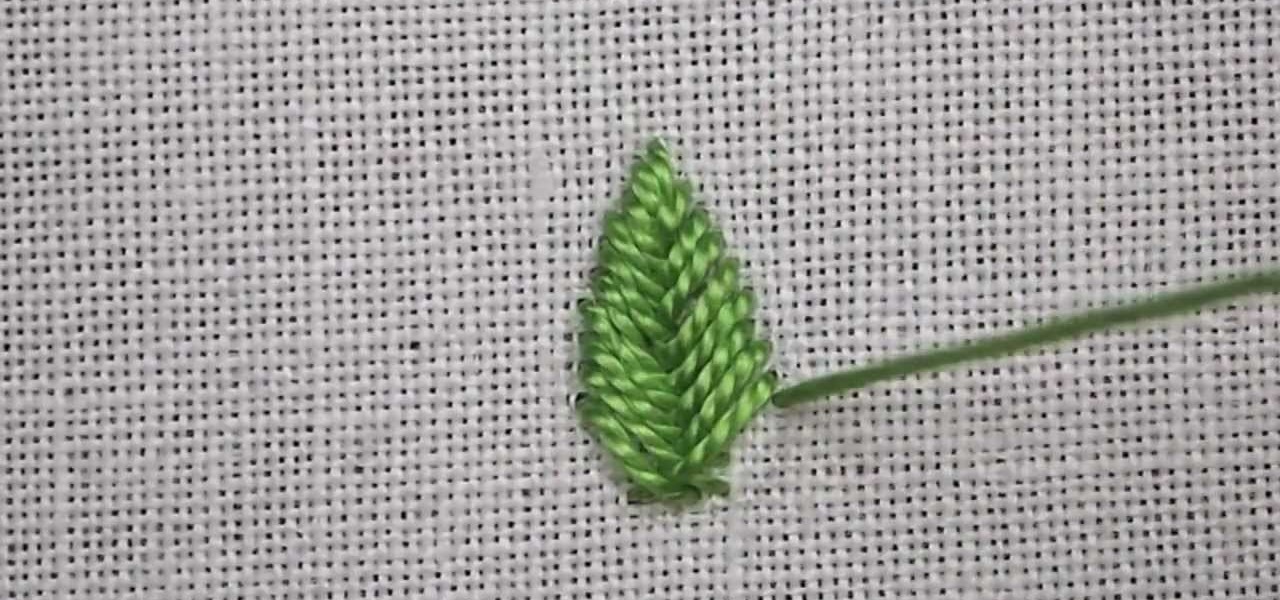
As you'll see in this video tutorial (from Needle 'n Thread), the fishbone stitch is an easy embroidery stitch to use for filling in leaves (and other shapes, too). The stitch is a good stepping-stone to satin stitch, as it requires you to keep a neat edge on the outside of your design.
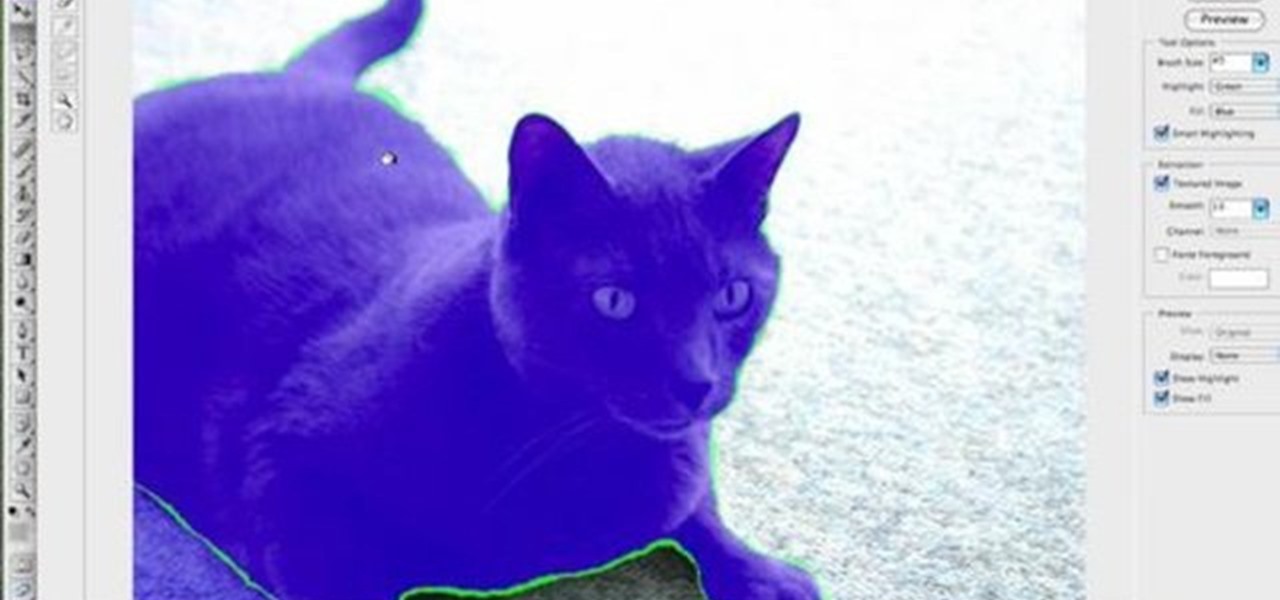
When creating an aesthetically pleasing image, sometimes more is more. Blending images together and blurring the edges is a great method for creating desktops featuring multiple photos of hottie Sam Worthington, or simply for creating a pretty website background.
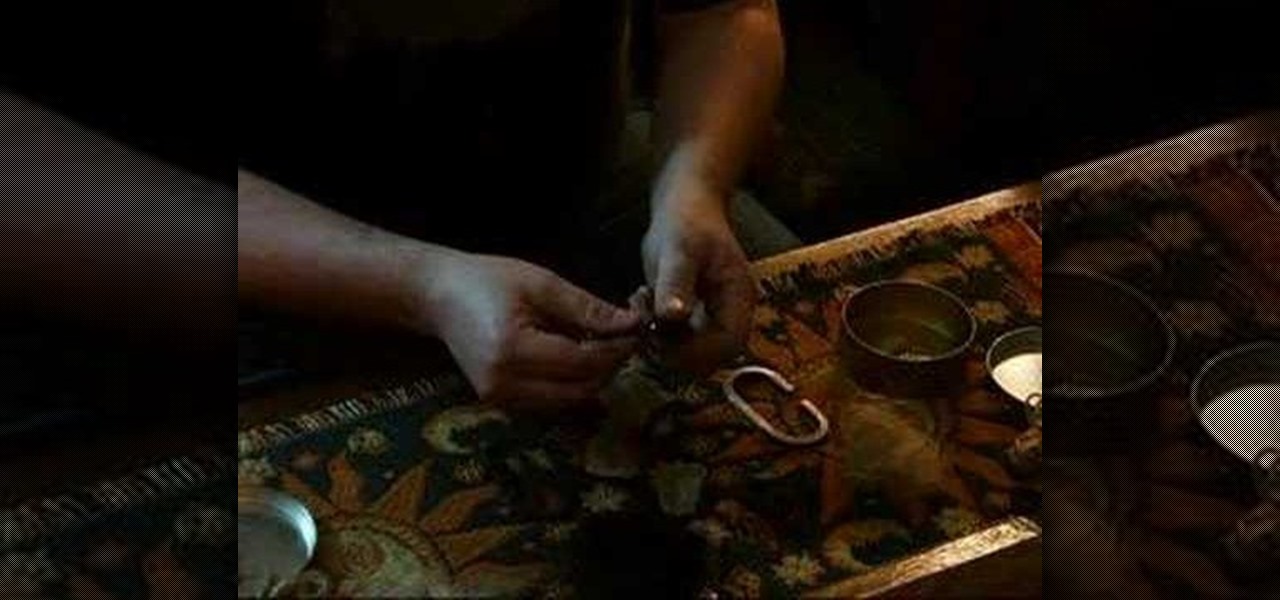
Learn the proper method of striking a flint, how to hold the flint, and the angle of attack. Use a slow, downward scrape--make a spark even on a dull edge!
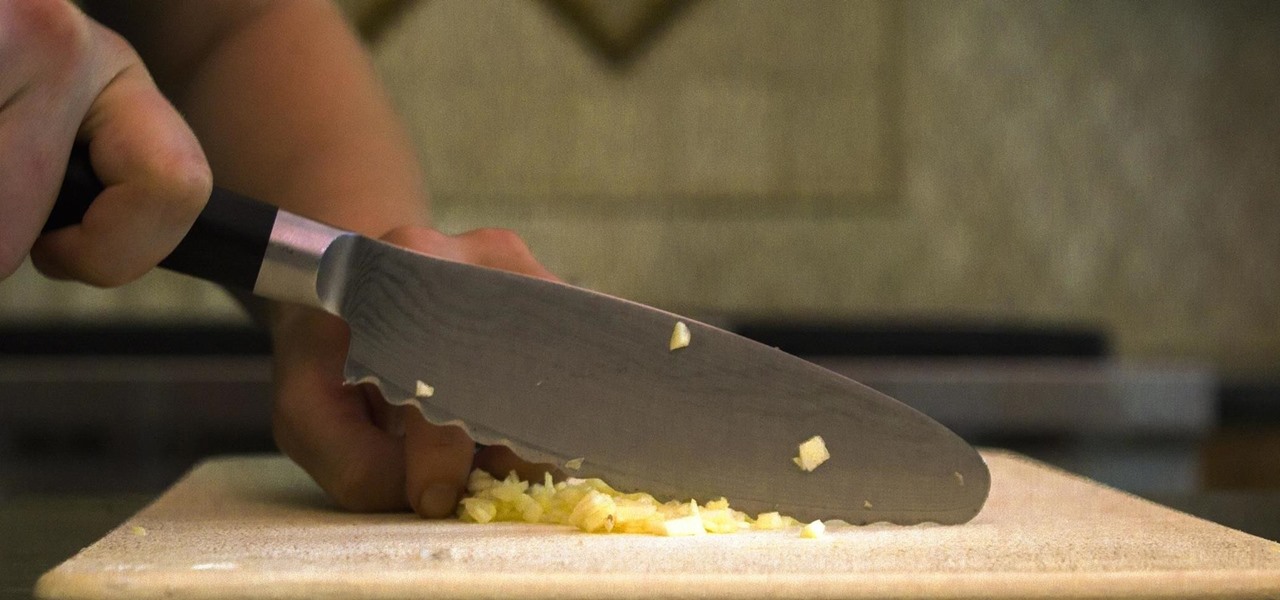
When I was a senior in college, I shared a two-bedroom, one bathroom, microscopic kitchenette suite with three other girls. We all loved to bake and cook but were fully aware that we were in for a crowded year. We needed to use space efficiently, which meant carefully picking what kitchen equipment was absolutely necessary. As a full knife set was out of the question, we settled on a Shun Classic Ultimate Utility Knife whose praises my father had sung for a long time.

Samsung has a long-standing reputation for packing their devices with lots of added functionality, and the Galaxy S6 Edge is no exception. It comes with a nifty feature called "Information stream," which allows you to get quick, at-a-glance information by swiping the edge of your screen back and forth while the display is off.
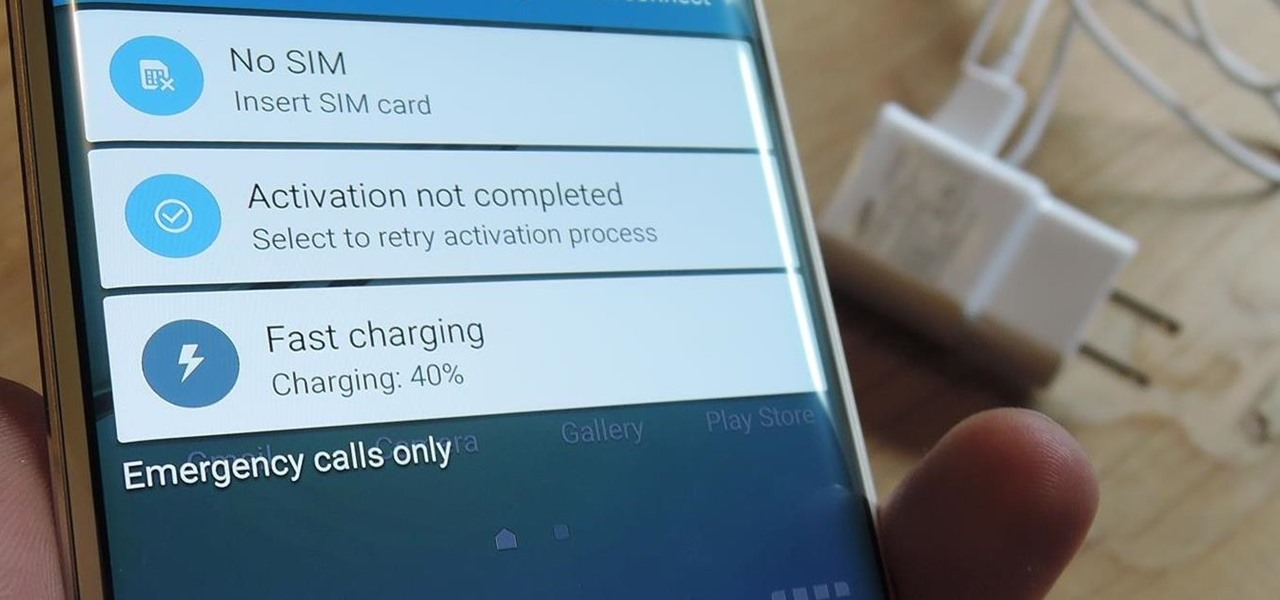
I picked up my Galaxy S6 Edge on release day and have loved it ever since. Did I spend an extra hundred bucks for the mostly-aesthetic Edge display? Yup! Did I have buyer's remorse about my frivolous spending? Not even a little.

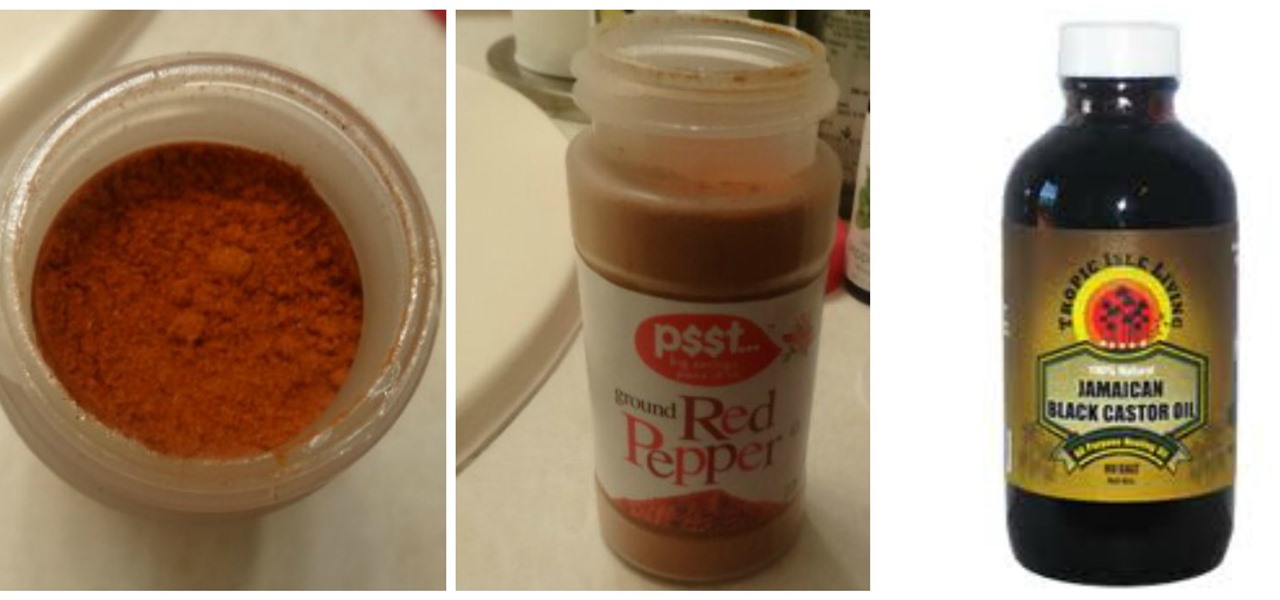
How to Get Your Edges Back w/ Cayenne Pepper & Tropical Isle Black Jamican Castro Oil.

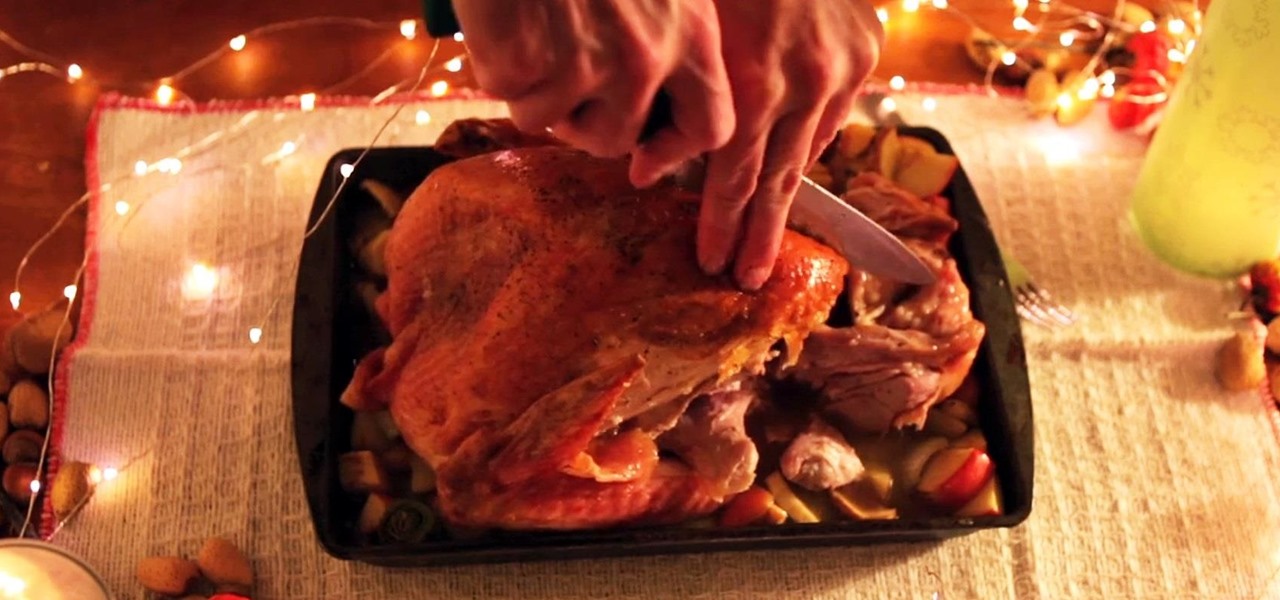
There are many ways to carve a turkey. Some swear by the tried-and-true traditional method with a carving fork and a sharp blade, and others would be lost without their electric knives. Regardless of your preference in utensils, you can't just go hacking away at it if you want to end up with all the right pieces.

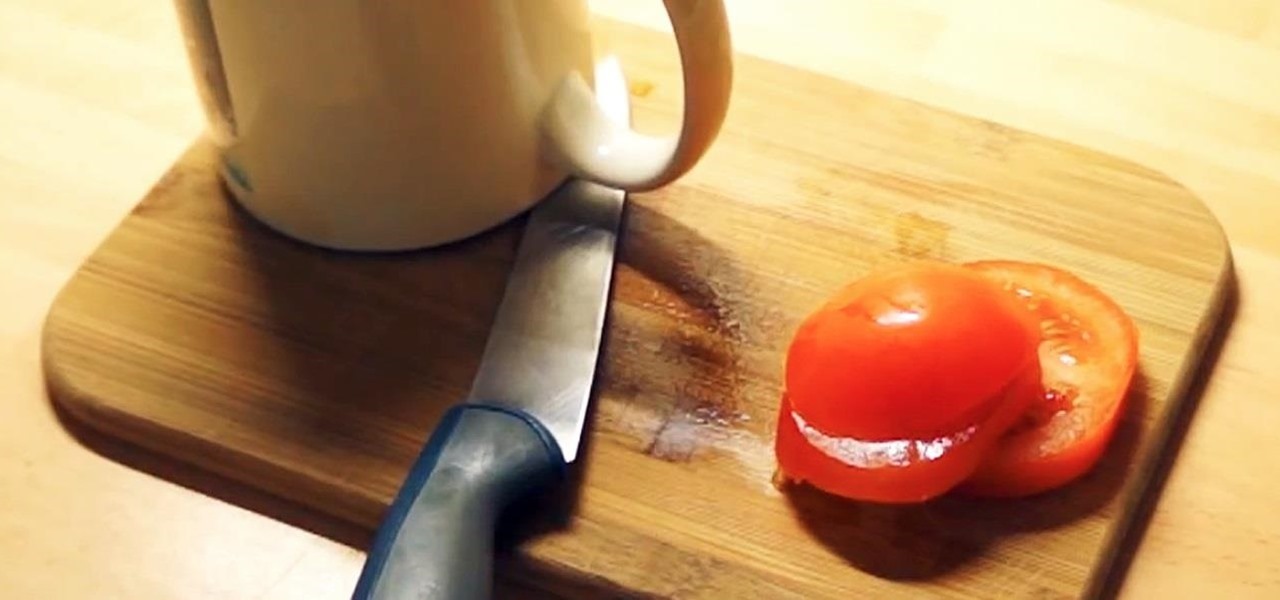
With one exception, every time I've ever cut myself in the kitchen was due to a dull knife. The duller the knife, the more force you have to exert to use it and the higher the number of cuts it takes to get the job done.

You can take macro photos on a huge variety of devices, whether you're using a DSLR with expensive lenses or just your iPhone (or any smartphone, for that matter). One common issue, though, is that it can be hard to get the image as crisp as you want because the depth of field is so small.

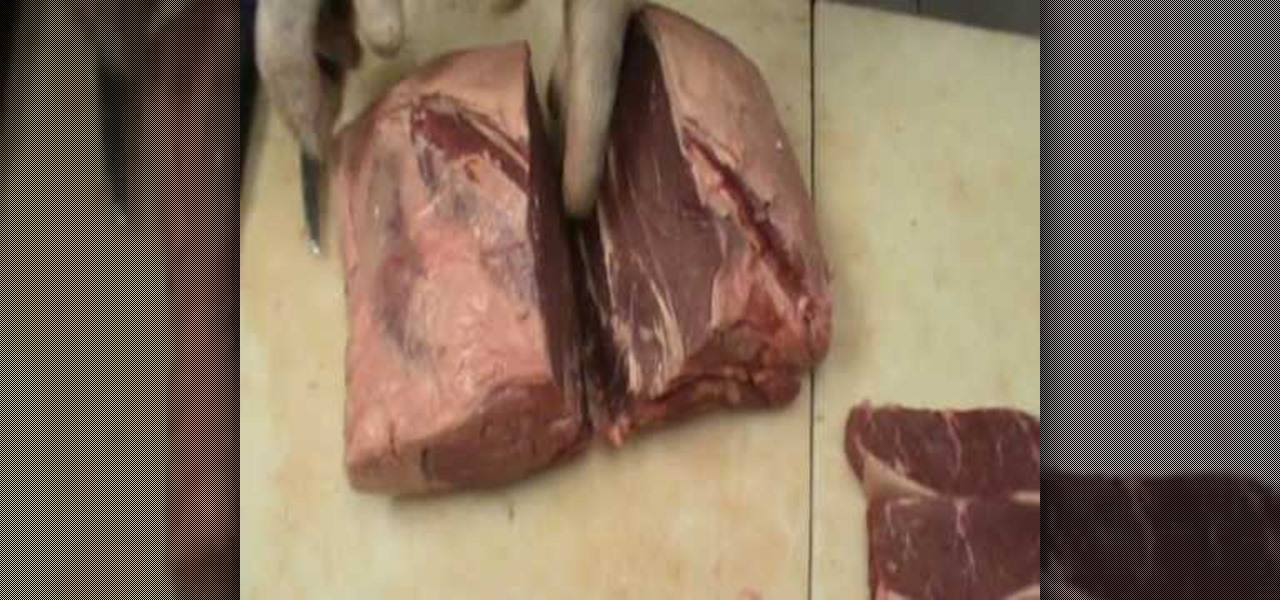
In this video, we learn how to cut a sirloin into steaks. Find the two ends to the sirloin and these are the sides you will cut into. The top is the New York cut, which tends to be more tender. Cut off the bone skin with a sharp knife from the very top of the meat. After this is out of the way, flip it to the other end and find the piece that is the flat part of the rump roast. Start by taking this off of the meat by going into the seam that opens up. After this, you will have cut pieces of s...

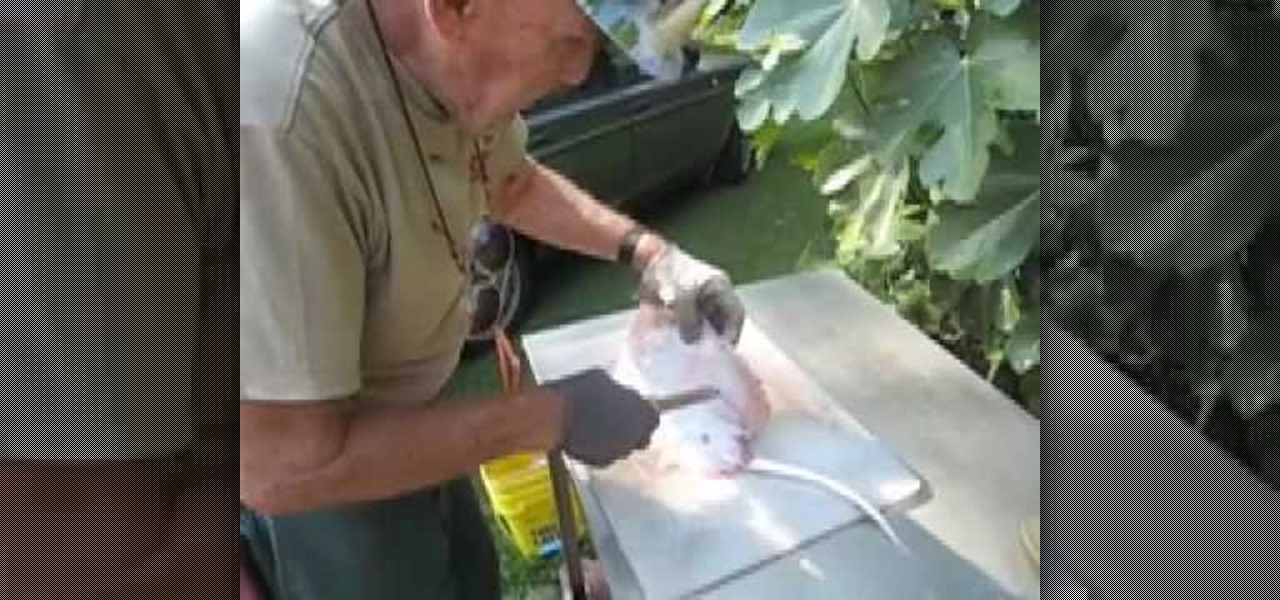
In this video, we learn how to clean skates or rays. First, use a sharp knife to remove the roughness from the top of the ray. After this, stick the knife in both of the sides and cut all the way down. From here, you should just have the middle left and the two sides should go in a bath of clean water to get the dirt off. Continue to repeat this process for all of the rays that you have. You can cook however you want when you are finished cleaning. Make sure you cut the right parts off, the m...

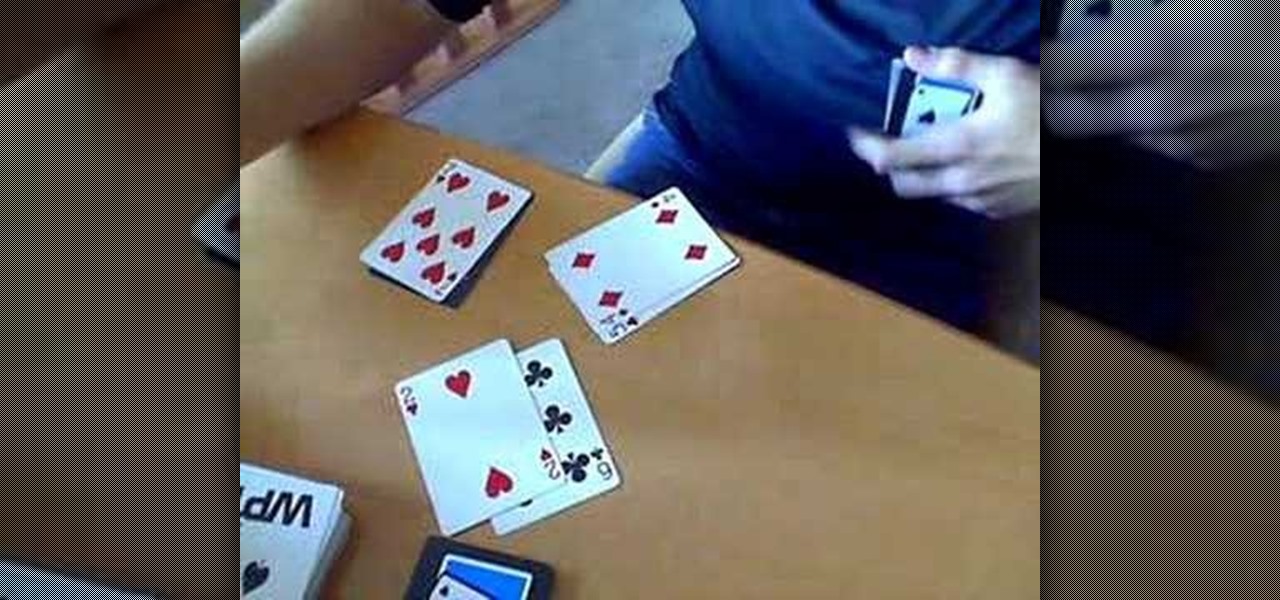
In this video, we learn how to count cards in Blackjack. In blackjack, the cards 2-6 are counted as plus one. Seven through nine are counted as plus 0 and the rest are counted as plus zero. What this means, is if you have two cards, they can cancel each other out depending on what "plus" they are. The counts that are minus one will give the edge to the casino, not to you. You want the edge to be a plus, because this means there are higher cards that are in the deck. Simply look at the counts ...

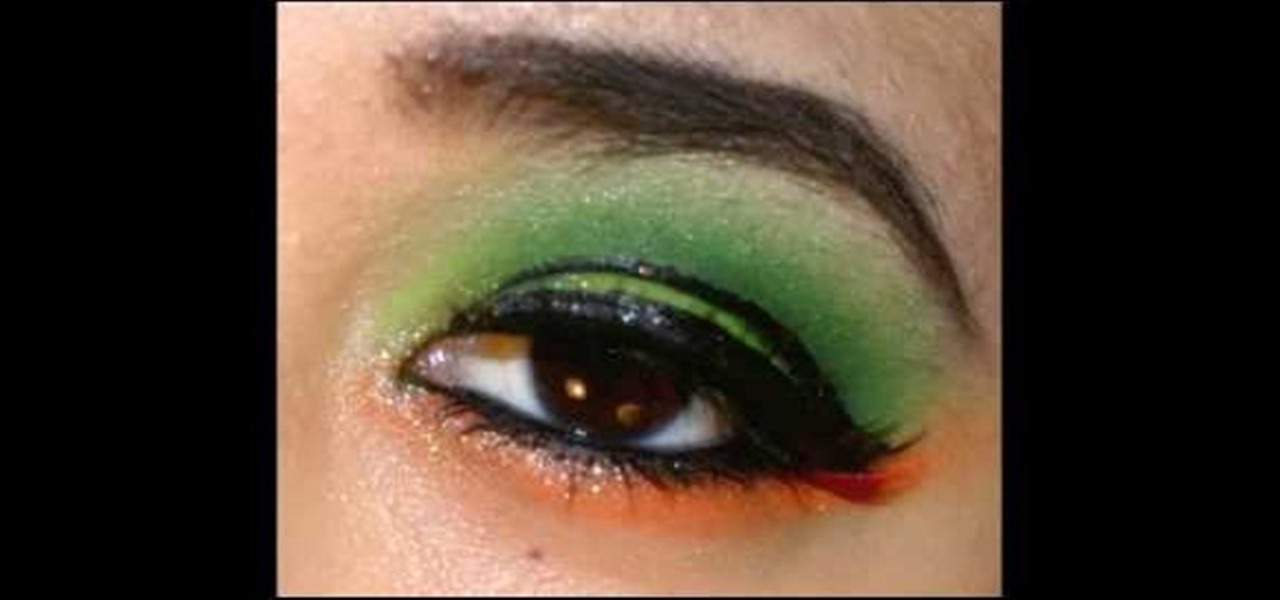
In this tutorial, we learn how to create a neon green and orange look using Kryolan UV. To start, you will brush a shimmery and sparkly white eyeshadow underneath the eyebrow on the brow bone. From here, apply a light green eyeshadow on the eye and into the crease. From here, apply a darker green shimmer shadow to the crease of the eye and blend it into the outer corner. Then, apply a sparkly orange eyeshadow on the bottom lash line, from the inner corner to the outer edge, meeting with the g...

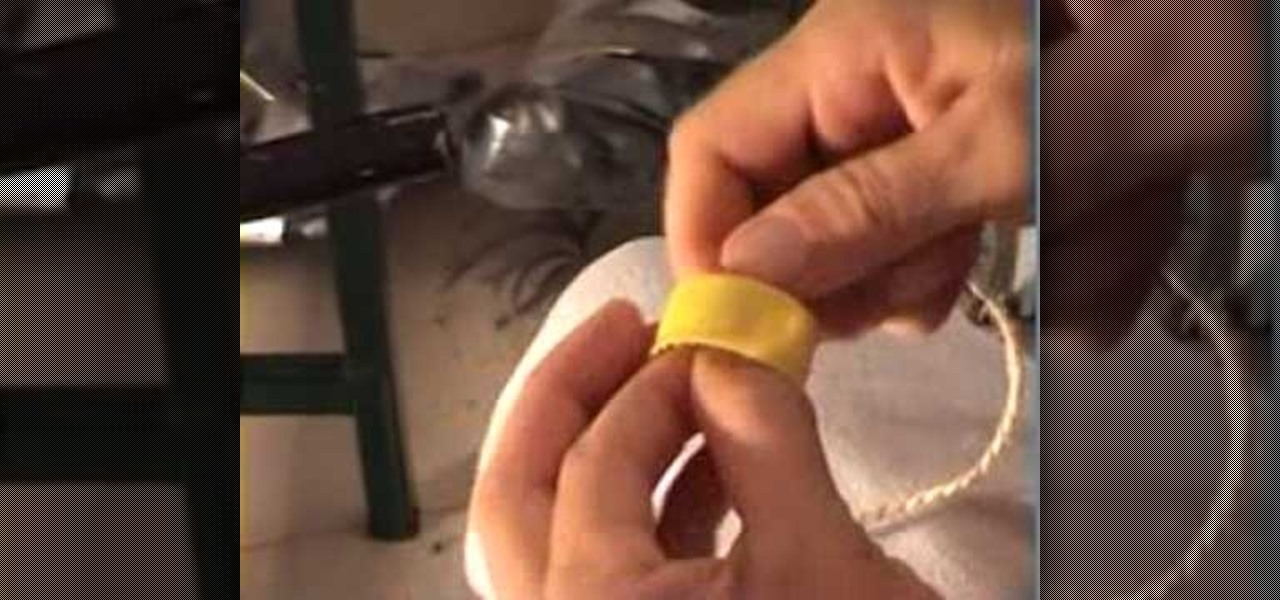
In this tutorial, we learn how to recycle a plastic bottle to make a toy bottle rocket. First, take a large plastic bottle and a sharp knife, then cut it in half. After this, take the side with the cap on it and then paint on the inside of the bottle. You can paint whatever you want on the inside, feel free to use different colors and get as creative as you want! From here, take some bottle caps and poke holes in the center of them. Then, string these together by pushing a string in the middl...

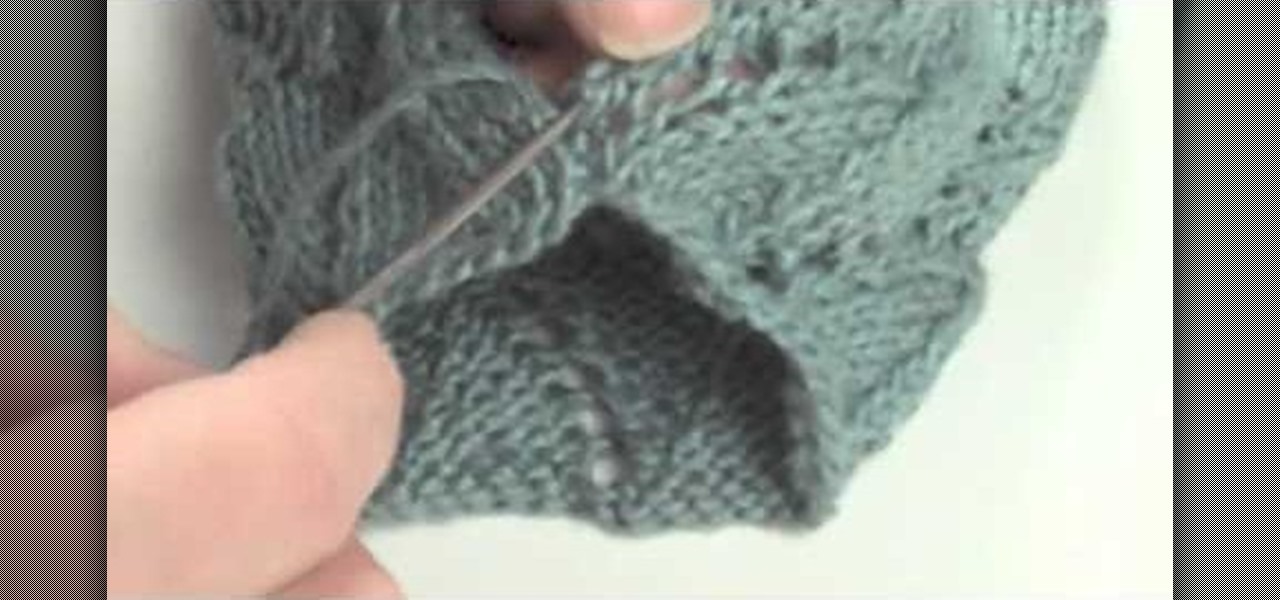
In this tutorial, we learn how to pick up stitches along a curved edge. You can see the slope on your fabric that you can work with. If you slip the first stitch you can avoid this. First, slip the first stitch and then bind off the next stitch as usual. This will create a nice curve. To pick up stitches, you will use a circular needle and then poke it through the area in the last row. Find a 'v' shape and then push the needle through this. Pull through just like you are normally knitting and...

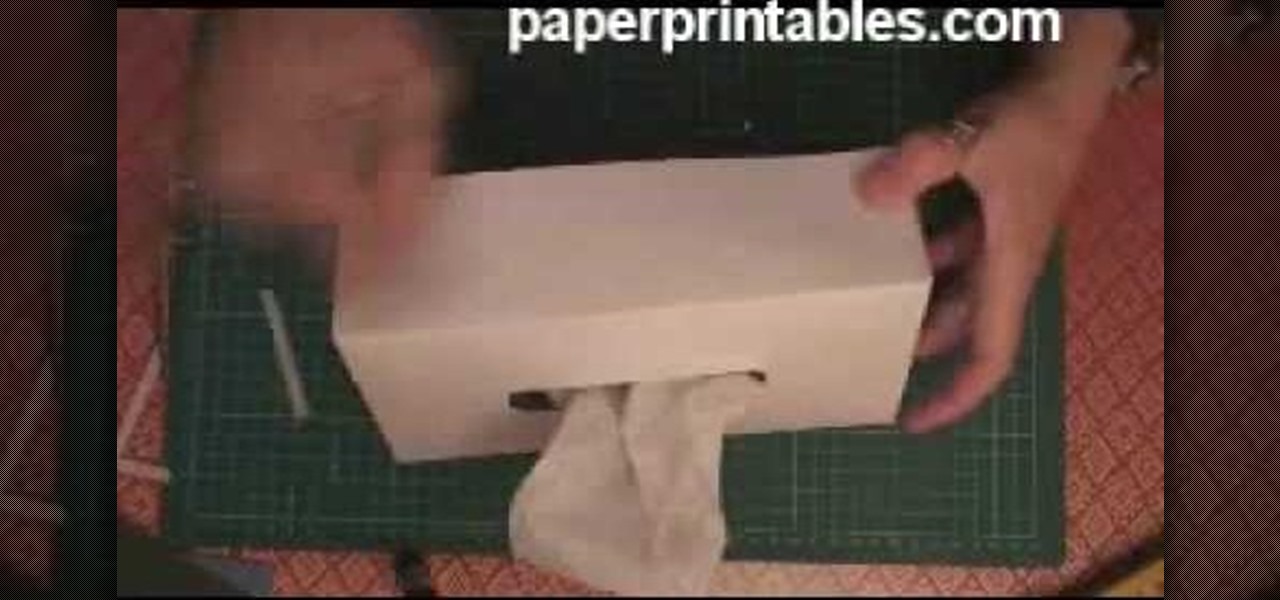
In this video, we learn how to make a decorative tissue box cover. First, you will need to get a piece of paper in your choice of color and set your tissue box on top of it. Use different colors of paper to trace out the edges of the box and then you will tape them all together. Make edges off the paper when you trace them so they fold over. When finished, you will put this onto the tissue box. You can also decorate this with any accessories that you would like to add a personal touch to the ...

In this tutorial, we learn how to scribe break an acrylic sheet. You just need a Stanley knife and a straight edge to do this to any acrylic sheet. First, put some gloves on and safety glasses. From here, level out the area you want to cut on your sheet, then clamp the angle while laying down. Next, use your knife to cut along the edge, going over the same spot several times. Press down hard to ensure it's completely cut. To finish, all you have to do is to bend the excess piece down and it s...

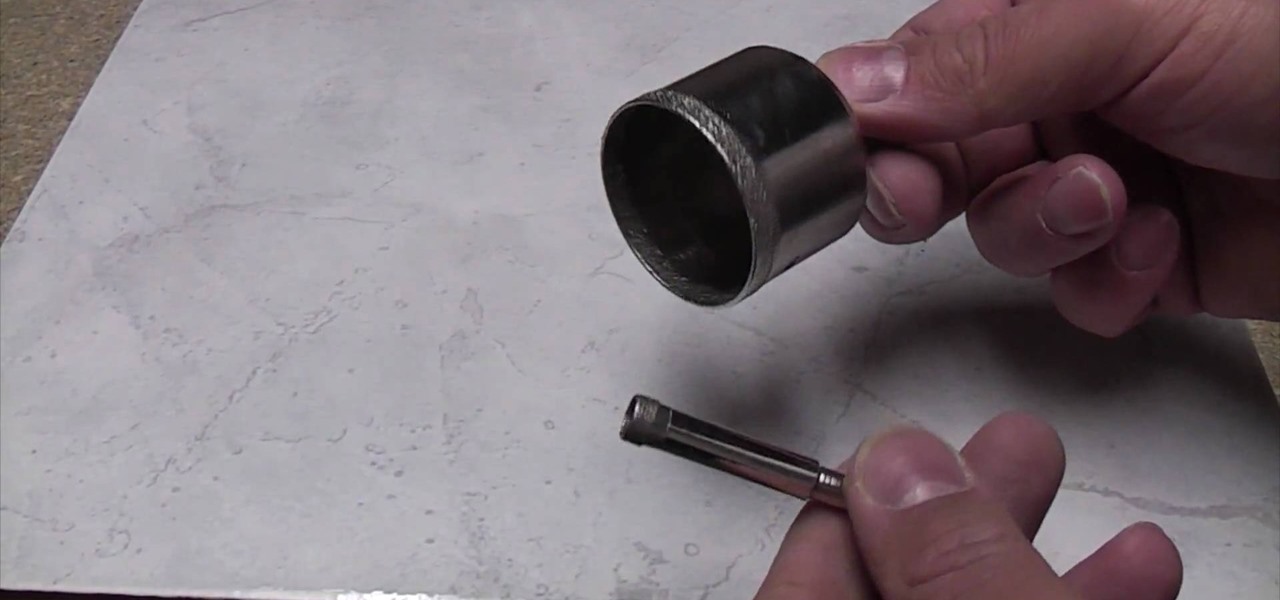
In this tutorial, we learn how to drill porcelain tile like a professional. You will first need to get a blade that is round and very sharp. Place this on the porcelain and then gently rock the blade back and forth until it cuts the tile all the way through. Make sure you place tap underneath this to catch any of the dust and debris that flies away from you while you're cutting. Remember not to use really strong force to the drill while you are using it, to prevent any wrong cuts on the porce...

In this video, we learn how to make a prop Michael Myers knife. You will need: six pins, a pen, a sharp knife, black paint, hot glue gun, cardboard, thin cardboard, and medium foil. First, print out a picture of the knife that's given in the video. After this, cut out the pieces and tape them together so it looks like a real knife. Then, cut off the points from the pins and draw the handle of the knife out on the regular cardboard, making two layers. Then, cut out the large part of the knife ...

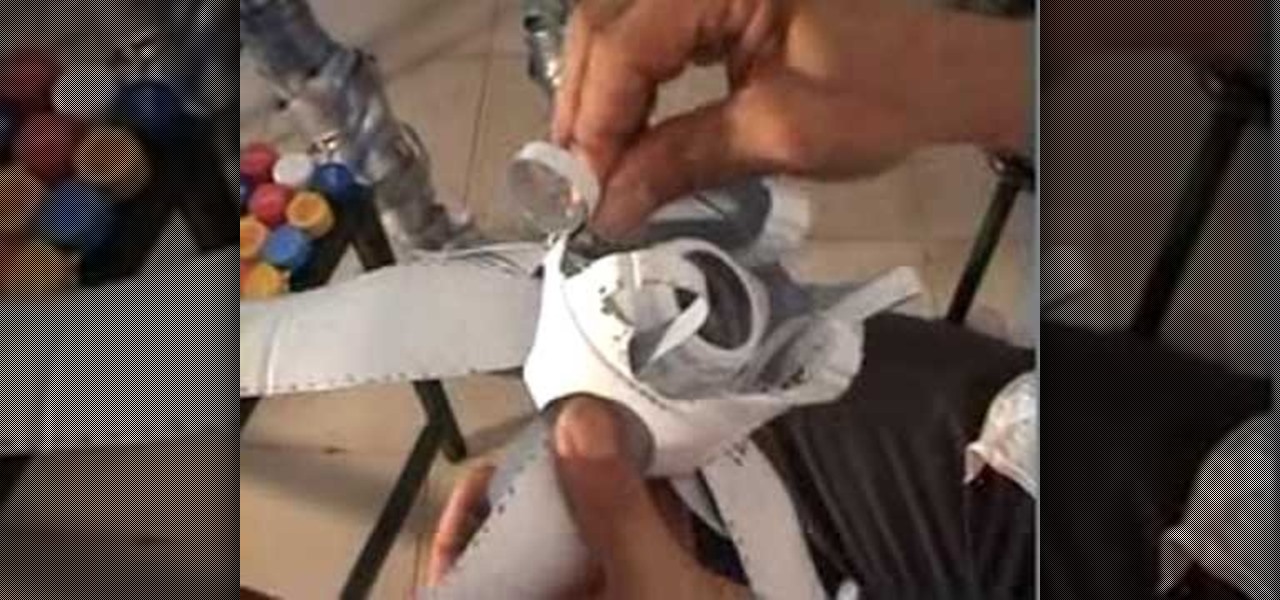
With this video, we learn how to recycle milk bottles to make decorative flowers. First, mark eight coupled marks on four sides of the bottom of the bottom. Then, poke holes into them and cut into them with sharp scissors. From here, you will continue to do this all the way around the bottom of the bottle until you have created petals. Then, cut above these to make long oval types of shapes and then spread the petals out on the bottom and on the top. Pull the longer petals into the open areas...

In this tutorial, we learn how to install a zipper into your knit. The first way you can do this is to take it to a tailor and they will do it for around $15. To do this by hand, grab your piece that needs a zipper and then steam the edges. After this, take a sewing needle and start to sew the zipper underneath both sides of the edges of the piece. You can also use pins to place into these so it stays in place. Do a backstitch also, to help make the zipper more sturdy and stay on longer.

In this tutorial, we learn how to do the mattress stitch. First, lay the pieces flat and thread yarn tail onto the needle. Next, you will anchor the yarn to the bottom edge of the opposite piece. Then, go back through the side and find the tunnel of horizontal bars, one stitch in from the edge. Continue to do this around the stitches to combine them together. Keep alternating sides and just do one bar at a time to get the best results. You can do two bars at a time if you are comfortable with...

Build a spear for boffer larping! This video is aimed at Dagorhir, but you can use it for any boffer larp. You'll need foam, duct tape, a sharp bread knife or saw knife, a Sharpie, a Nerf football, cloth tape and fabric to cover it.

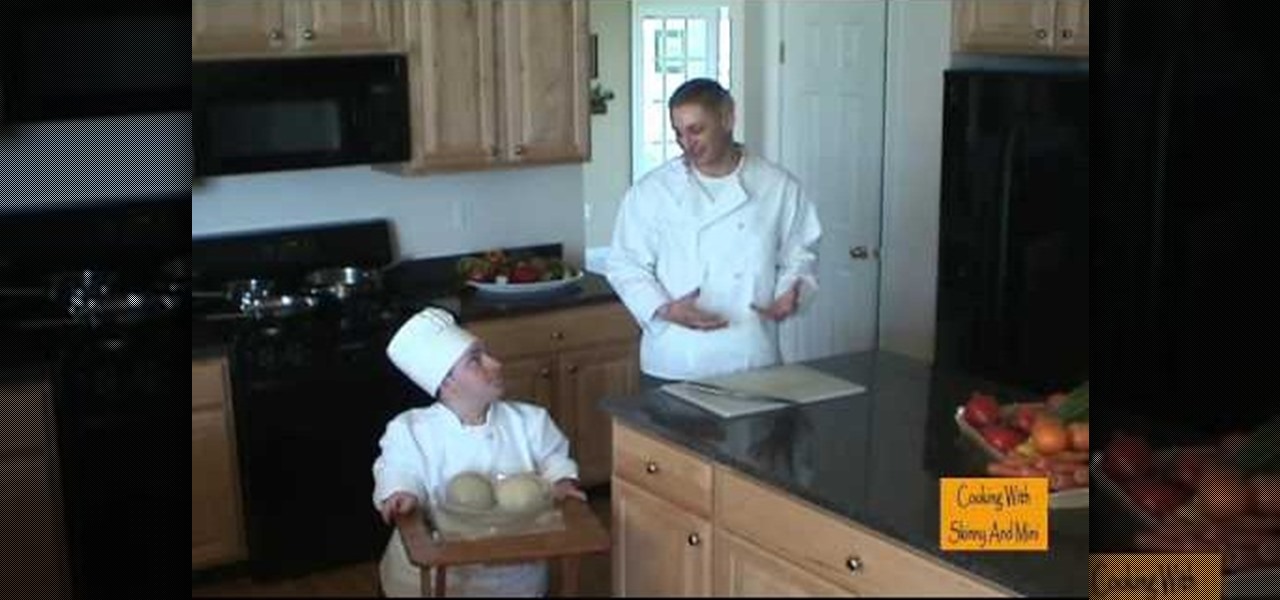
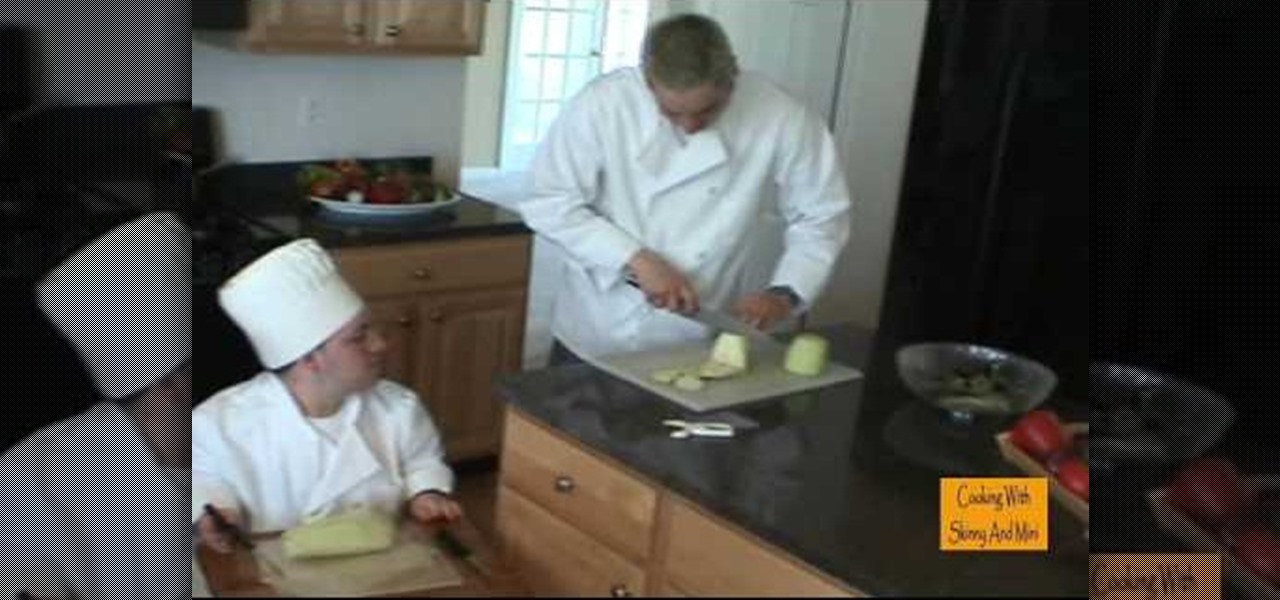
In this tutorial, we learn how to prepare celery with Skinny and Mini. First, you will clean your stalks of celery and dry them off. Then, remove the stalks one by one from the bunch and chop off the tops of them so there are no more leaves. Next, cut the stalks of celery in the middle and then chop them in half. Now, bunch the celery together and cut them into small cubes with your sharp knife. After this, repeat the process with the rest of the celery in the bunch. Use this chopped celery i...

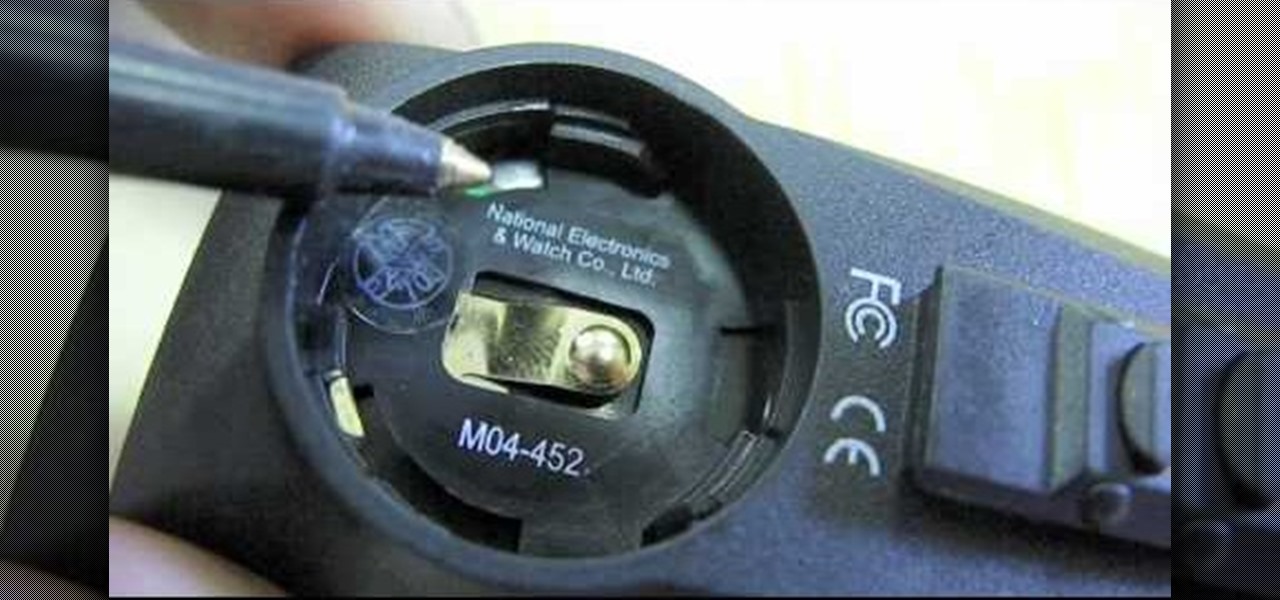
This video tutorial is in the Sports category which will show you how to reset a Mavic Wintech. After you have installed the battery and you notice you have a blank screen, use the reset button inside the computer to reset it. This is not mentioned in the Mavic Wintech operating manual. For this, remove the battery and you will see a little compartment with a little silver button. It looks like a starter, but that is the reset button. Press the button with a sharp object and place the battery...

In this tutorial, we learn how to prepare a cantaloupe. First, cut the top and the bottom off of the cantaloupe. After you have these cut off, take a sharp knife and cut from the top to the bottom of the fruit. Cut just the skin off, making sure you get the least amount of orange left on the skin when it's cut off. Continue to cut all the way around the cantaloupe until there is no more green or skin left on the fruit. After this, cut the fruit in half and then scoop out all the seeds. From h...

In this tutorial, we learn how to apply red eyeshadow with glitter eyeliner for a party. Start by applying a red shadow all over the eye, out into the outer corner of your eyes. Next, add a black color to the outer edge of the eye and blend in with the red in the crease of the eye so there are no hard edges. From here, apply a pink and white shadow underneath the eyebrow to create a highlight. Next, you will take a glitter eyeliner and apply it to your upper lash line, then take a small brush...

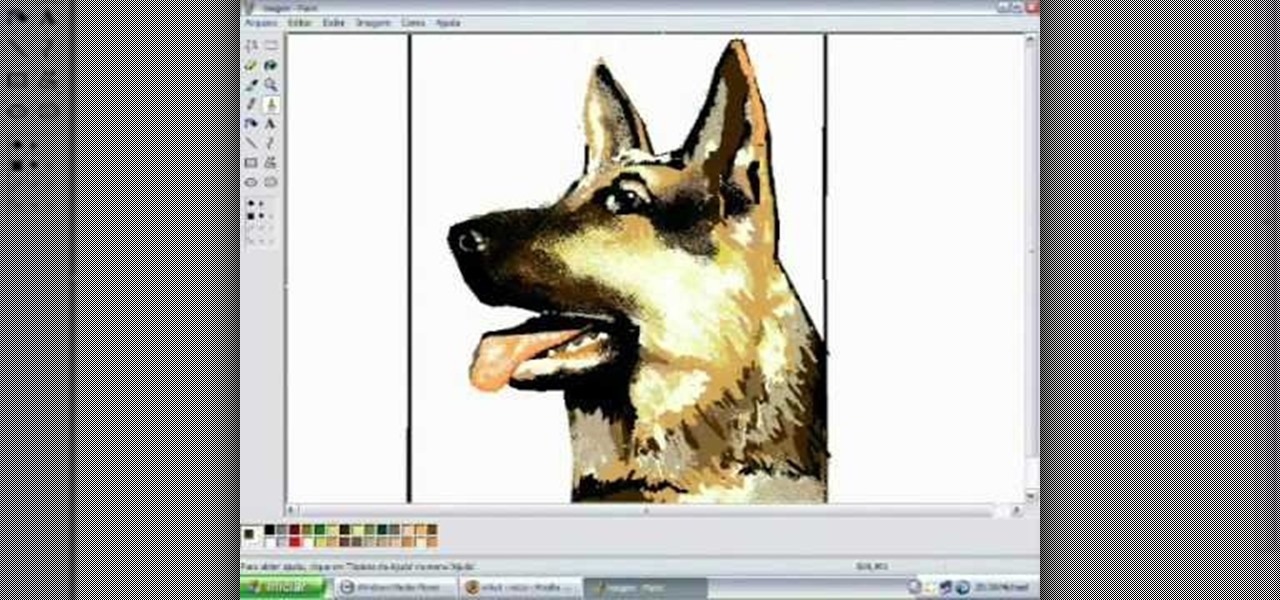
In this tutorial, we learn how to draw a dog in MS Paint. You will do this by using Paint and your mouse, not using a tablet or a pen on the PC. Start out by drawing the outline of the dog in the middle of the page. Next, fill in the nose, mouth, and eyes with black. Then, color the tongue and draw on the ridges of the teeth in the mouth. From here, you will spray paint the color of the dog onto the edges. Spray brown around the edges, then add in white, tan, black, and other colors to make t...

In this tutorial, we learn how to carve a turkey. After your turkey has came out of the oven and sat out for around 10 minutes, grab your sharp knife. When you are carving this, you want to carve around the bones so you are getting the most meat off of the bird. Start off by removing the thighs from the turkey and cutting it in half. After both of these are off, but the wings off of the turkey and set on a serving plate. From here, you will use the knife to cut the middle of the turkey and pr...

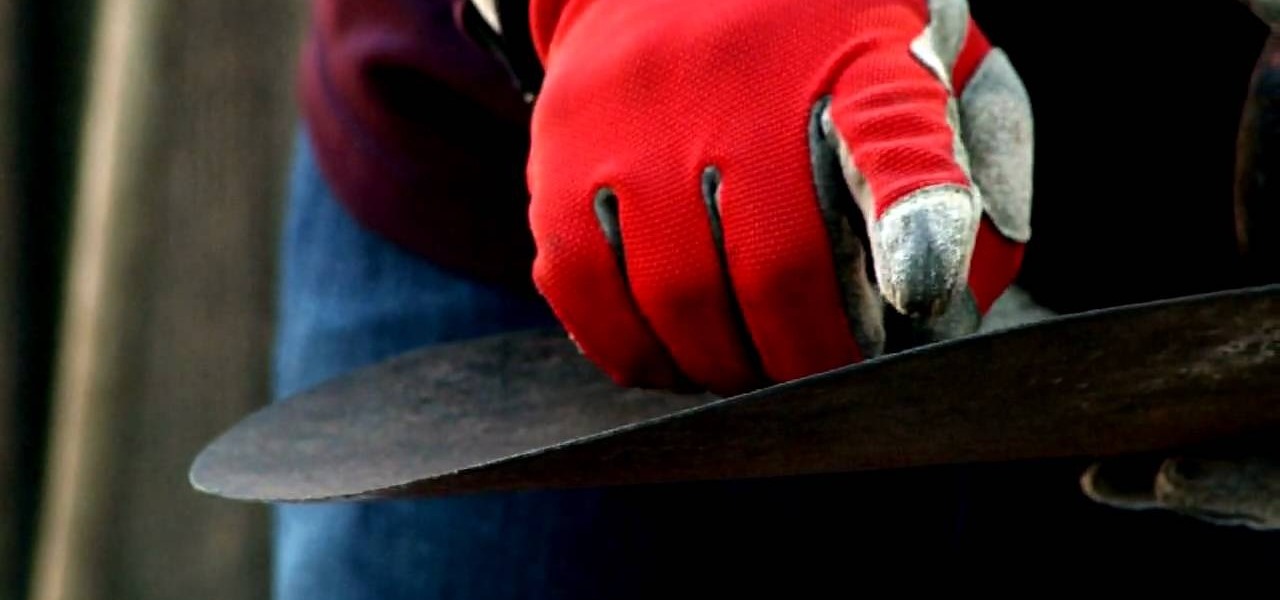
In this tutorial, we learn how to maintain your tools for extended usage. First, get a good sturdy brush to clean off all the crusted on dirt from your tool. The dirt will promote rust and deteriorate your tools. Once it's cleaned, also make sure it's dried off from anything that is wet. Also set the tool on a flat surface or table to remove rust off of the tool. You can also sharpen the sides of the tools or shovels so you are pulling out any kinks and making it sharp and more useful. Once f...

In this video we learn how to make a decorative paper rose. First, take a piece of paper and cut several heart shapes out of it, making them different sizes. Once these are cut out, curl the edge over with a toothpick, pencil, or by hand. Set these aside, then use a grab a green sheet of paper. Roll the edge of the paper up and then cut the rest of the paper from it. Create a leaf in this and then tape it all around. Now, twist this tightly and place the curled ends of the heart shapes away f...

In this tutorial, we learn how to prepare eggplant. First, cut the top and the bottom off of your eggplant. After this, grab your eggplant and hold it so it's standing up. Then, grab a sharp knife and cut down from the top to the bottom so the skin comes off of the vegetable. Go all the way around until you remove all of the skin from the eggplant. You can also use a peeler to do this to speed up the process. When all the skin is off, use your knife to cut the eggplant into slices and then cu...

You'll be the queen of the jungle once you don this sexy and cute lioness makeup look for Halloween. This makeup look is a costume in itself, with a cute pink black nose and incredibly large eyes with mega thick lashes and sharp feline tearducts.

Contouring your nose is your knife-free alternative to plastic surgery. True, the results don't last as long as going under the knife, but contouring, when done correctly, can make your face go from puffy to sharp and angular.

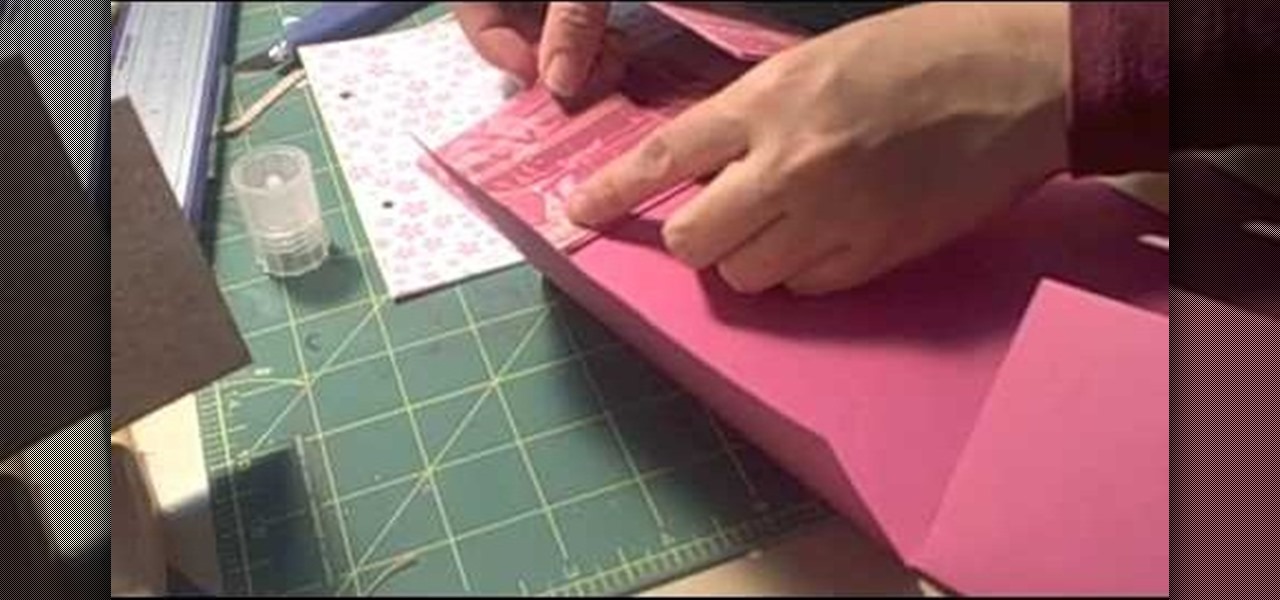
This video tutorial is in the Arts & Crafts category which will show you how to make a flip square album. Take a 12 x 12 inches square cardstock and make a score line at 3 inches on all 4 sides of the paper. Now cut along the score line at the top and bottom of the paper up to the 3 inch line. Next you fold along all the score lines inwards and you have all the flaps ready. Then mark along the edge of the center part of the sheet and punch two holes for tying the album as shown in the video. ...

In this tutorial, we learn how to draw Electivire from PokŽmon. Start out with a very sharp pencil and lightly draw the outline of the body of the character. After this, use a firmer hand to draw a darker line on the outline of the body, then start to add in details of the face and the rest of the character. Next, draw the details on the body to give it more of a personality and make it look more realistic. Continue to draw on the rest of the body parts, using lines and shading where appropri...

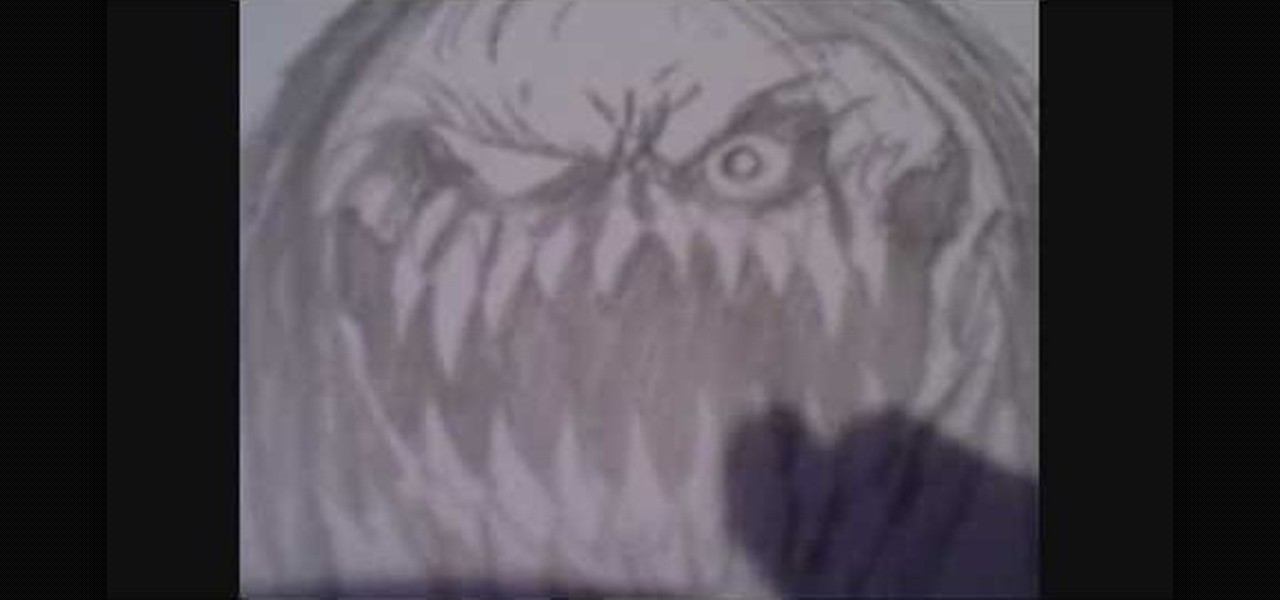
In this tutorial, we learn how to draw a scary demon mother. Start off by drawing a circle for the face with huge sharp long teeth and small evil eyes. Add in details around the face to create a more realistic feel and creases in the eyes. Next, draw in the hair by using your pencil and just drawing in straight and straggly hair. After this, add in additional details to the eyes and the rest of the face, creating a nose and other features you want. After this, draw in lines on the bottom of t...

In this tutorial, we learn how to create a Kim Kardashian-inspired cat eye makeup look. Start by using a nude color eyeshadow on the eyes and tape to create an edge on the outer corner of the eye. After you do this, apply a white shadow underneath the eyebrows to create a highlight. Now, take a gray eyeshadow and apply it to the entire eye up until you reach the crease. Blend this out to the corner of the eye. Then, take a thick black eyeliner and apply it to the upper eye, creating a cat eye...

In this tutorial, we learn how to draw bat/demon wings. Start out using a light pencil marking to make the outline of the wings. You will want to draw wispy lines and make them light to create a light effect on the ends. Once you have the outline finished, use a hard pencil mark to draw over it. Create large wings with hard edges and mark in lines along the middle and the edges of the wings. After you have done this, make sure there is another wing on the side of the wings and then shade to f...


