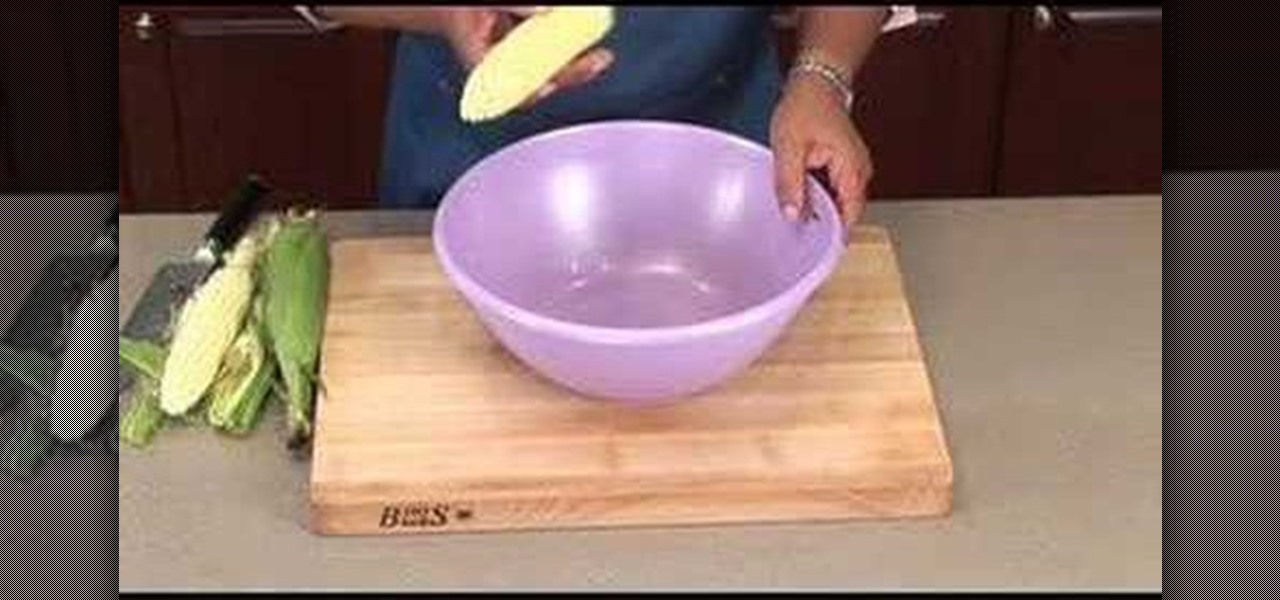
Toni Tanner Scott from Family Digest Magazine demonstrates the process of removing corn from the cob. First, it is recommended that you cut away the pointed tip of the corn. Then carefully remove the husk and all silk from the corn. Hold your shucked corn upright in a large shallow bowl. Using a very sharp knife and remembering to always cut away from yourself, remove the corn kernels by cutting downward as close to the cob as possible about three or four rows of corn at a time. Continue to r...
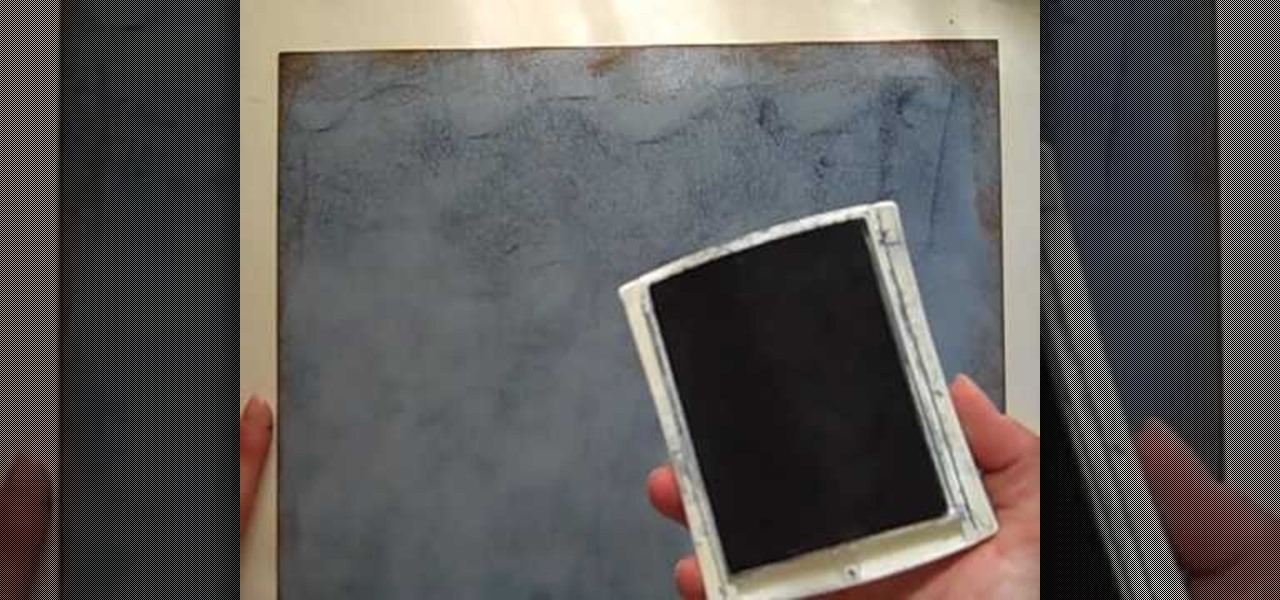
StampinMama1 demonstrates how to add ink texture effects to your scrapbook projects. When creating backgrounds for your scrapbook pages, you can use ink to both create texture and create interesting effects on the layout. Press the ink on the paper to use a direct to paper ink application technique. You can create cool effects like waves using this technique. Don't swipe the pad around or smudge it onto the paper. Instead, drag the ink pad in a motion of waves across the page. Start at one ed...

Here is a lady tuning her ukulele with a Korg tuner that she has picked up at her local music shop. Turn on the tuner and you will notice that the lights come on. The green light is going to let you know when the note is in tune and each one of the red colors will let you know which way you are out of tune. The notes on the ukulele are from lowest to highest are, ‘A, E, C, G.’ When the red light shows on the left side of the green then it is flat so you should tune up. If the red light shows ...

Scott Todd demonstrates waxing a snowboard, which is basic maintenance that assures good speed for a snowboarder. He starts by applying a thick, even layer of wax on the base of the snowboard using an old iron to melt it down. He sweeps the board with the iron to spread out the wax.
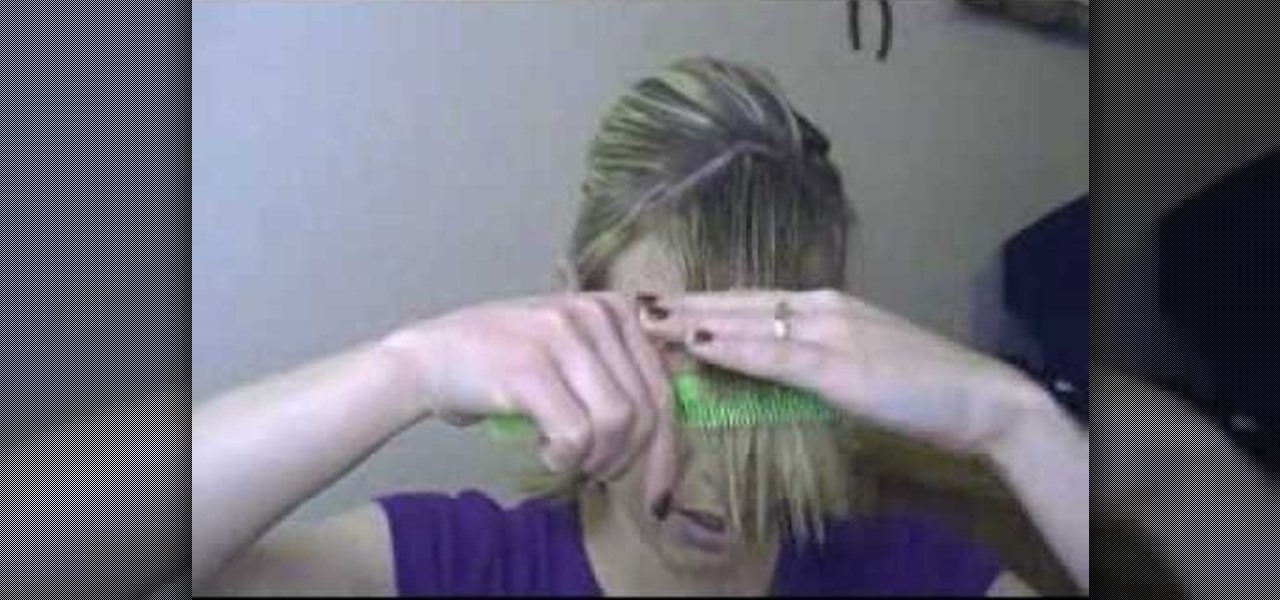
This video is about how to easily trim side swept bangs at home. You will need a plastic grocery bag, a spray bottle, a clip or ponytail holder, a comb and some sharp scissors. First put your hair behind your ears so you can see where your bangs start and comb your bands straight down and comb the rest of your hair back and clip the back of your hair back. Get the bangs wet with your water bottle. Decide what length you want. Make sure to cut them a little longer than you want them to be beca...

In this how-to video, you will learn how to make and decorate cookie pops and bright bouquet cookies. First, you must have your cookie already baked and ready for decoration. Take a star tip and decorate the cookie in a zig zag formation with the icing. Go around the edge until it is entirely complete. You can do a straight star if you want instead. Once that is done, fill in the inside for the center with another color. Fill in the empty area with the icing used for the edges in spots. Conti...

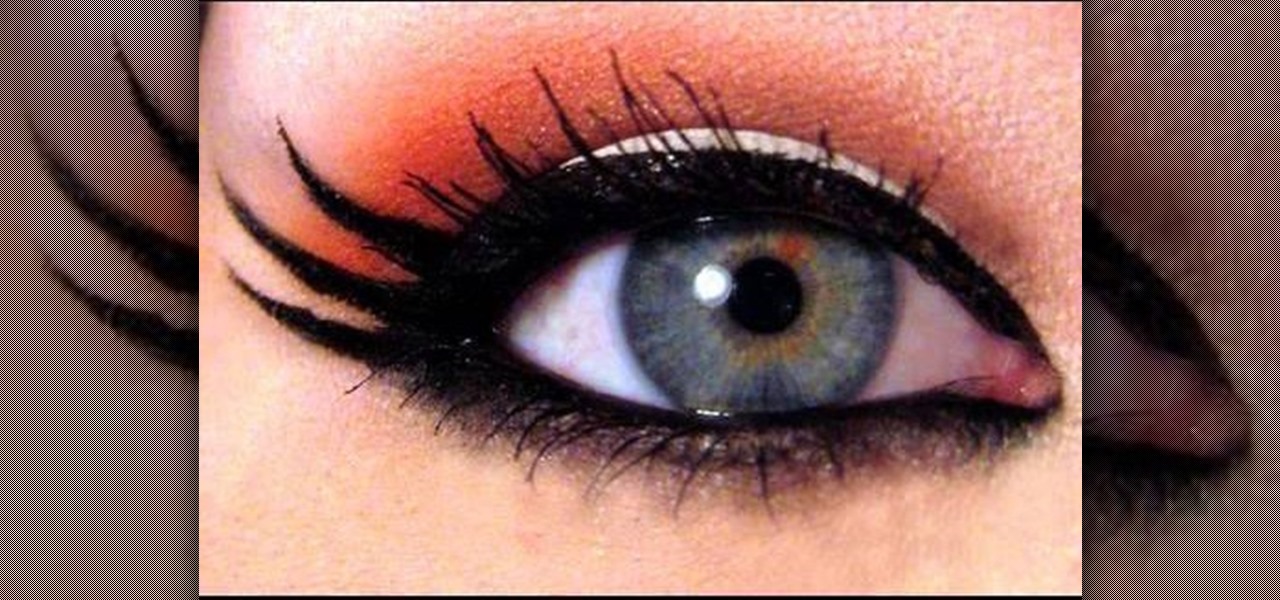
Goldiestarling teaches you how to apply a modern gothic Valentine pin-up makeup look. Start with a milky white pencil that you apply on the eyelid. Use a small haired brush with red powder and apply on the edges of the eye. Use a liquid eyeliner to do the outer eye part. Also use the eyeliner to make a contour around the red edges of the eye. Use a black pencil for the inside of the eye and also add mascara for the eyelashes. Finally, use a pink lip liner and a bright red lipstick to finish t...

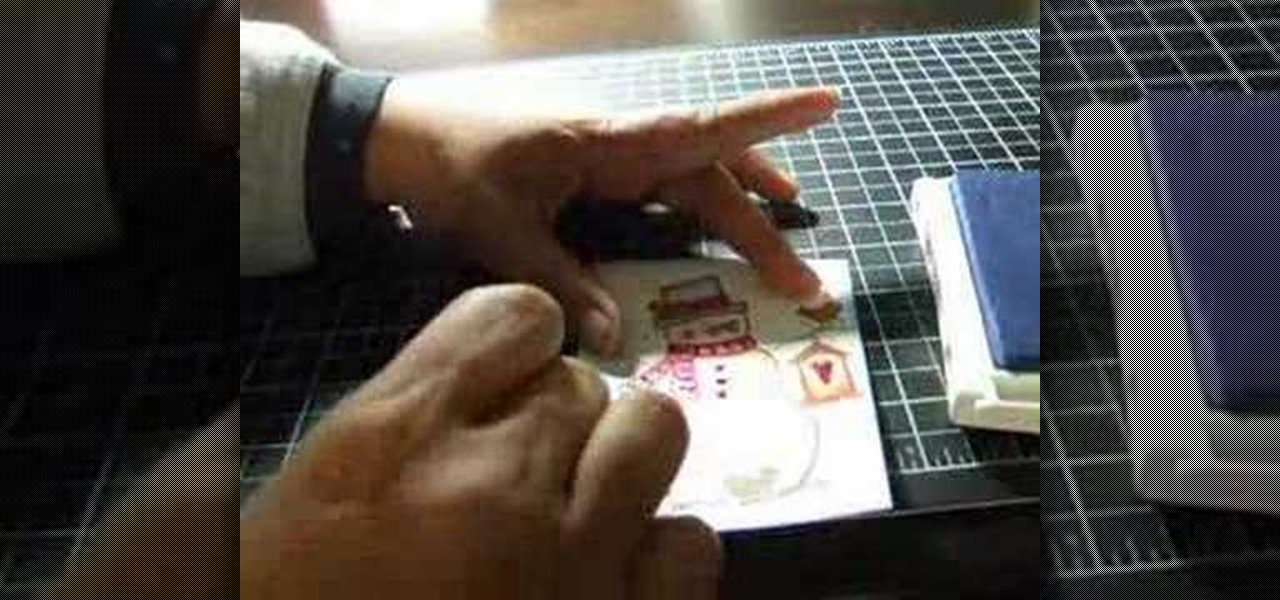
In this video tutorial, viewers learn how to shade and color the background of an image. This video explains all the materials required to shade and color the background of an image. The materials required are: a stamped image, a spoon dauber and an ink pad. Start by inking the sponge dauber and rub the edge of the cardstock. Continue to color the edge. Add more ink if you want the color to be darker. Color the background with the sponge dauber. Add link to the sponge dauber. Dab and rub the ...

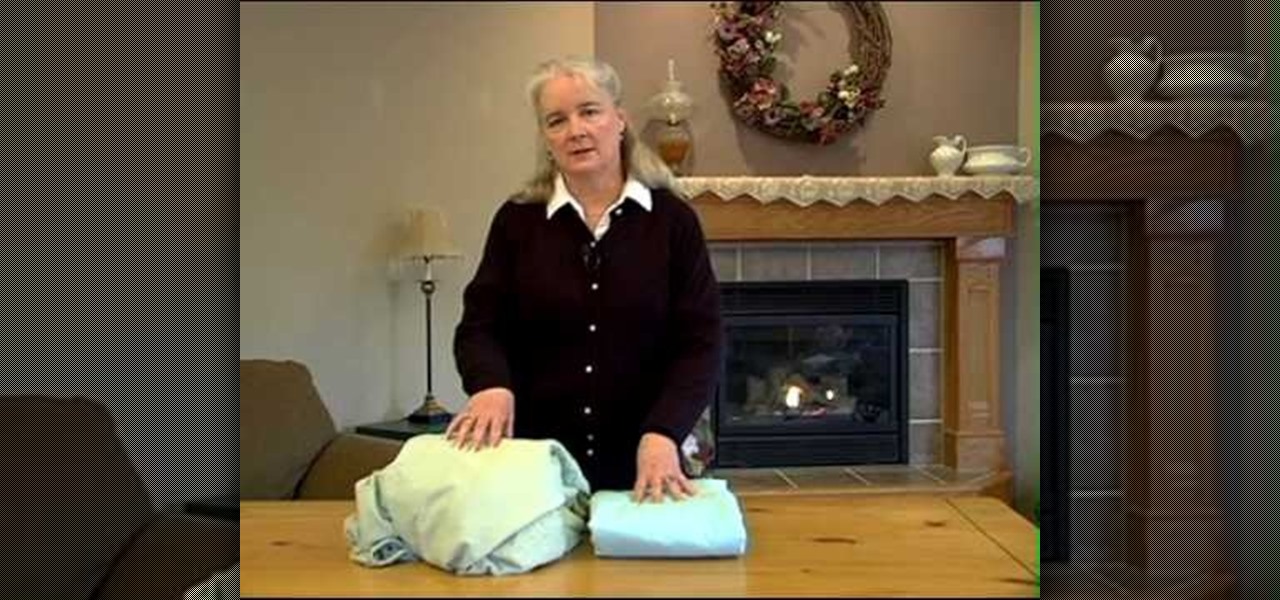
This video shows the way to fold a fitted sheet for maximum storage. Folding a sheet can save a lot of storage space. The time taken for folding the sheet is less than the time taken for searching through unfolded sheets to find the right match. Start by holding the sheet lengthwise with the right side towards your body. Fold corner number one over corner number two. Slide down the edges and tuck corner number three and four in. Straighten the edges and place it on the table. Fold the sheet i...

This video helps in making a bow and arrow using pencil, pen and rubber band. You can get these from school, stores, house etc.

Eric with Real World Green explains how to make your lawn more environmentally friendly. First, let your grass go dormant in the summer and don't water it as much. When you mow your lawn, consider using a push reel mower. A mower with a gas engine pollutes more than modern cars do. If you are going to use a gas engine mower, keep the blades sharp for a more efficient job. Use a mulching mower, because yard waste takes up a lot of space in landfills. Consider tearing up some of your lawn and p...

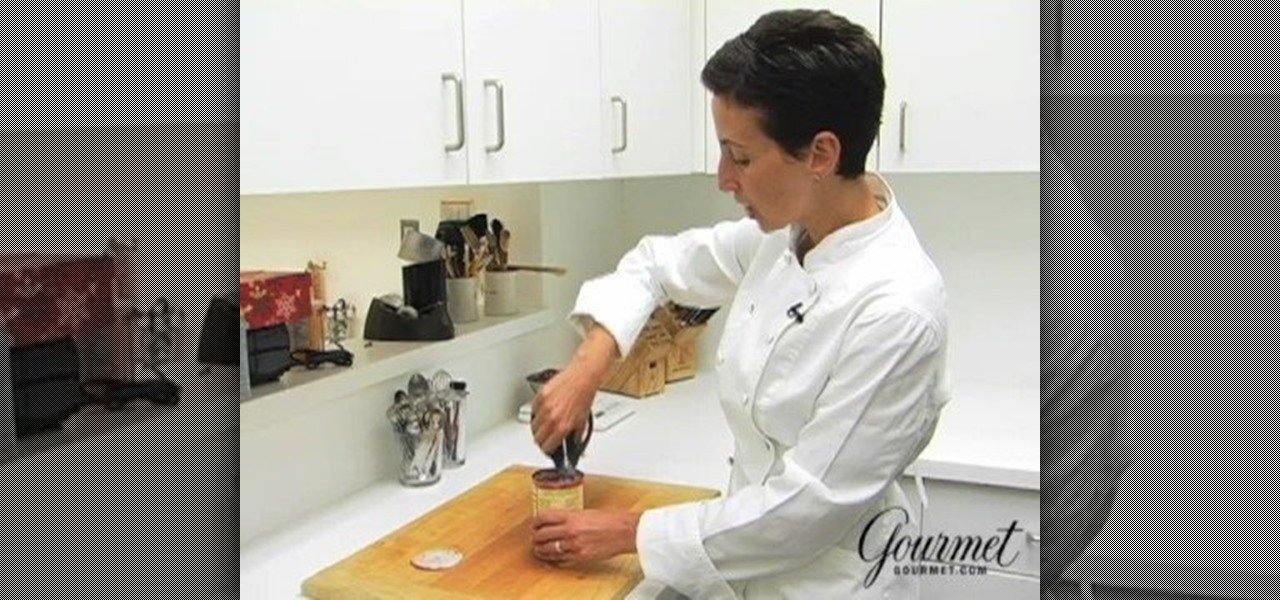
In this how-to video, Gourmet Magazine editor Melissa Roberts shows you a quick and simple way to cut canned tomatoes. This technique will help decrease the usual mess. For this, you need kitchen shears or very sharp scissors, and obviously a can of whole tomatoes. Melissa suggests OXO kitchen shears, which you can take apart for easy post-cooking clean-up.

The Food Corner brings us a unique idea – enchiladas cooked in a crock-pot. The ingredients needed are tortillas, cooked hamburger meat, pinto beans and black beans, some water, a can of tomatoes with green chilies, cumin, pepper, chili powder, Monterey jack cheese and sharp cheddar cheese.

This video shows how to crave a whole chicken. You will need a sharp chefs knife. Cut off the legs of the chicken. Slice them where the thigh meets the chicken breast. As you look at the chicken breast you should notice that there is a large breastbone that travels the length of the bird. Place your knife on one side of that bone and slice it down and out. We now have the breast with the wing still attached. Repeat on the other side. Now that we have four main pieces we need to slice them int...

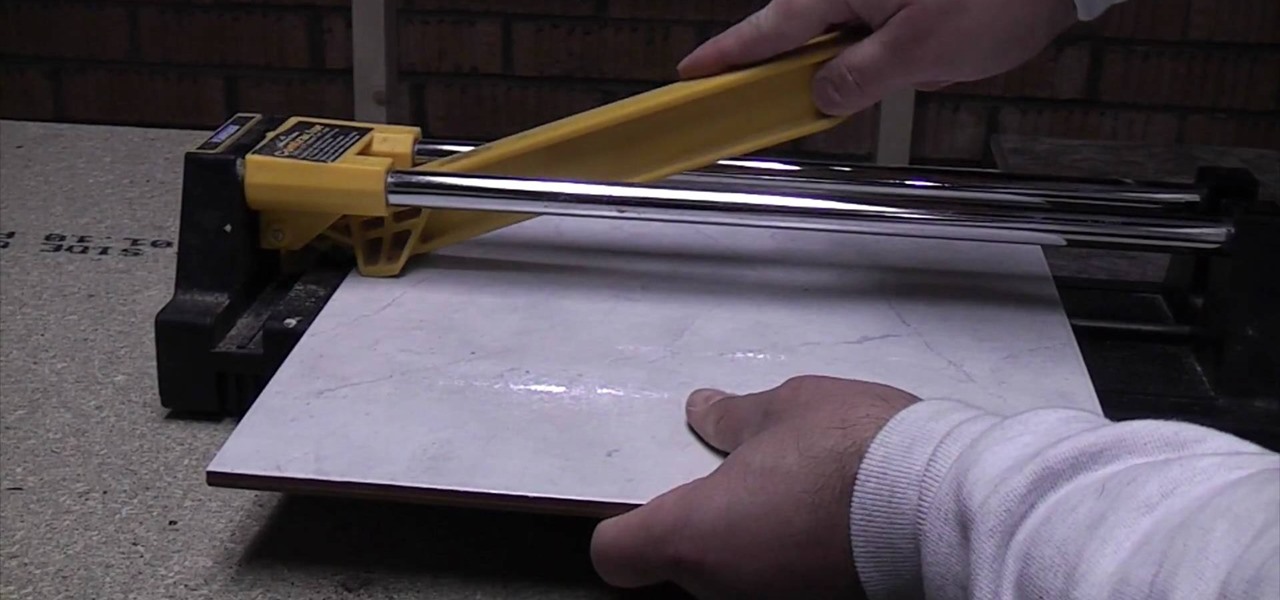
A standard tile cutter will cut ceramic and porcelain tiles but not natural stone tiles. To use the standard tile cutter adjust and lock the guide. Then, slide your tile into position in the tile cutter. Next, position your cutter on the edge of the tile. Push down on the cutter while sliding the cutter across the tile. When the cutter gets to the end of the tile, press down. The tile should then break into two smooth, clean pieces. Run a tile file over the edge of the tile to reduce the shar...

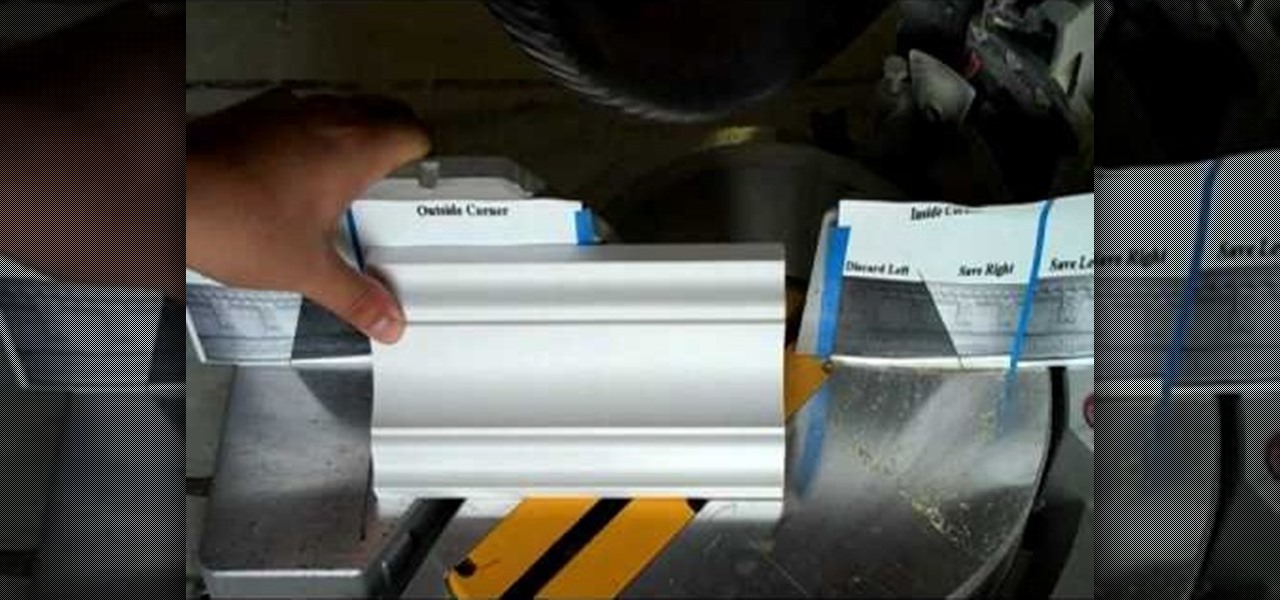
This video, from Superior Building Supplies, demonstrates the proper technique for cutting the inside corners of crown molding. The presenter suggests downloading several diagrams from the Superior Building Supplies website. These diagrams show the correct position of the miter for several different cuts. When using a miter saw think of the fence as the ceiling and the table as the wall. Cuts for inside corners will always be made using 45 degree angles on your miter saw. Using these techniqu...

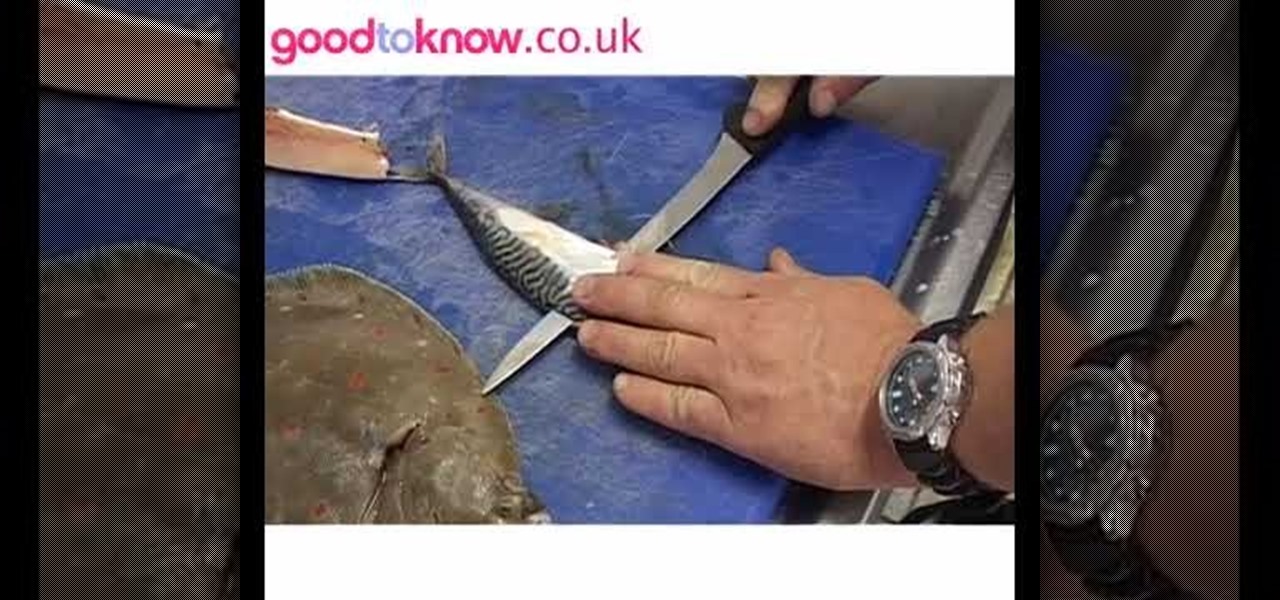
There are two classical fish cuts. There is a flat fish and a round fish. Having a sharp knife is important, because a work done by a blunt knife does not look good and it might look like a laced curtain at the end of the day. You cut a line parallel across the fish's gills. Then you dig in a little bit and cut across the body of the fish down to the fin. Then you take that piece aside and trim off the stomach area. Thus, you have one piece of fillet! Do the same procedure for both sides of t...

Follow this video to learn how to make your own paper airplane that can really fly. Acquire a sheet of A4 paper and fold it in half. Afterwards fold two of the edges towards the center line set out when folding. These should be folded in the form of two triangles. After doing so fold them downwards, towards the center line lower down. Fold another two triangles towards the center, one from each side. At this point a small edge will be formed at the tip of the two folds. Simply fold it upwards...

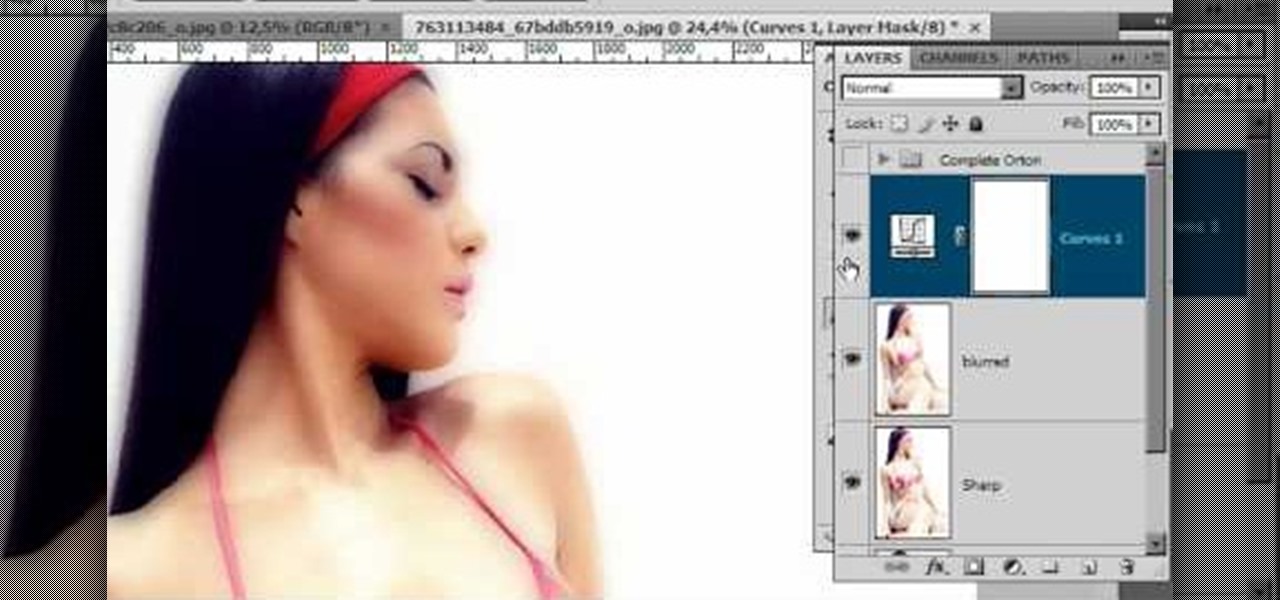
In this video tutorial, viewers learn how to create the Orton glow effect using Adobe Photoshop. The Orton glow effect is achieved by combining a sharp image with a duplicate that is deliberately blurred or softened. The overall result is often characterized as a dreamscape, diffusion, or softening glow. It is an effect used for landscapes and portraits. This video provides voice narration and step-by-step instructions for viewers to easily understand and follow along. This video will benefit...

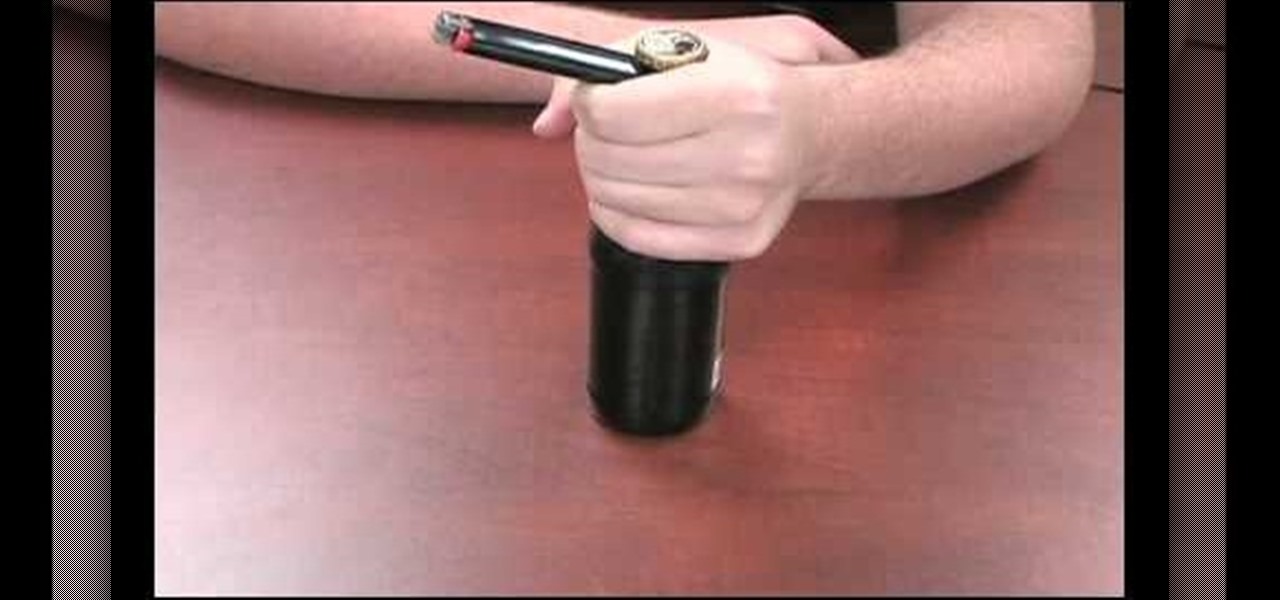
This video shows us how to open a glass bottle with your lighter. To open a bottle using a lighter: Hold around the top of the bottle using your left hand. The key is that the index finger must be around the top of the bottle. Hold the lighter with your right hand and place the blunt end of the lighter solidly between your lowest knuckle and the edge of the bottle cap. Hold the lighter perpendicular to the bottle. Tuck the lighter so that the edge is under the teeth of the bottle cap. Squeeze...

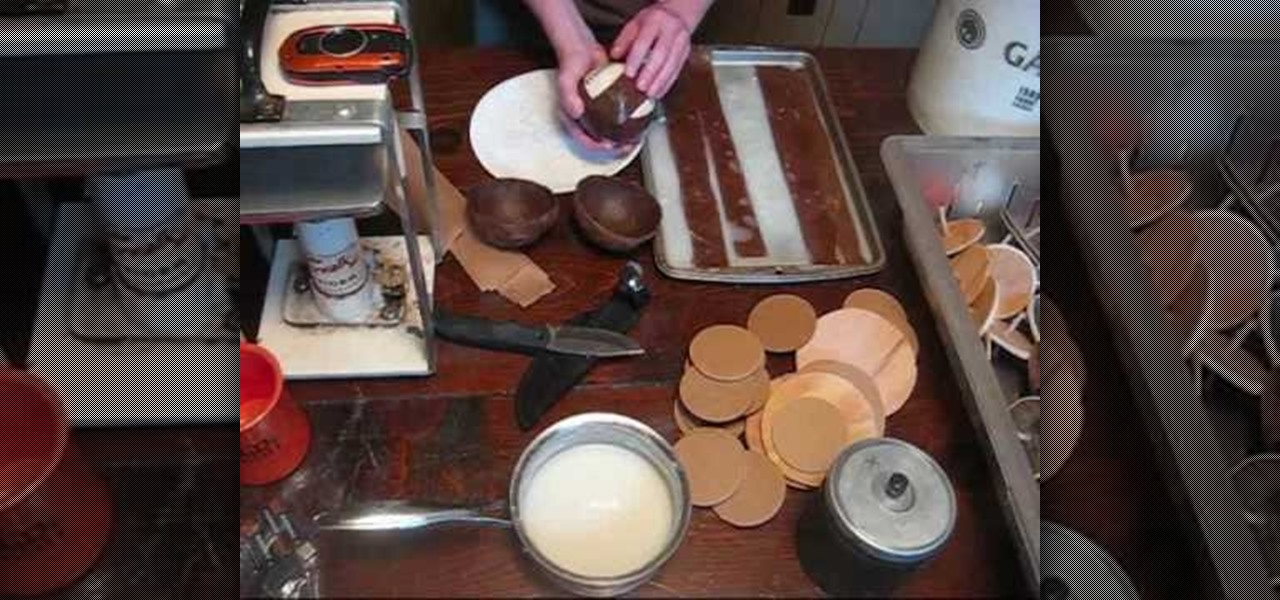
Nighthawkinlight teaches you how to make firework hemispheres. You start with a softball that will be the basis for the strips of paper you construct the hemispheres from. You take craft paper about an inch wide and soak them in a thin wheat paste. You start applying them on the softball in a pattern that doesn't create a lot of layers on top of each other. You need to spin and squeeze the shell to let all the air out. After you've added two layers of paper, clean off the excess wheat paste w...

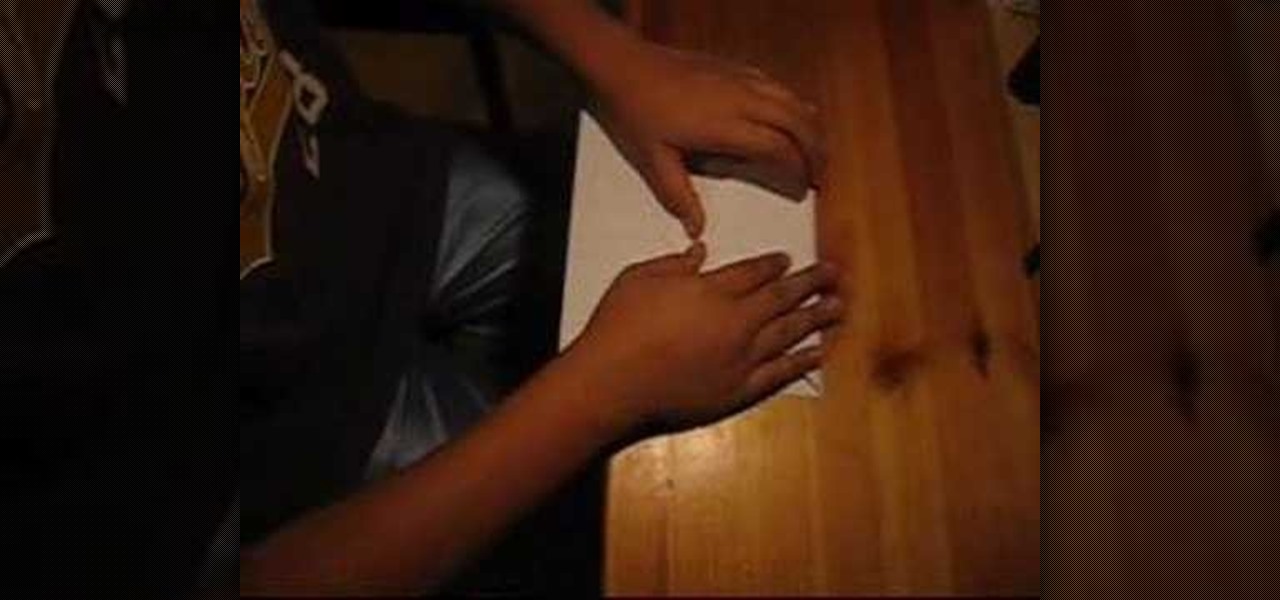
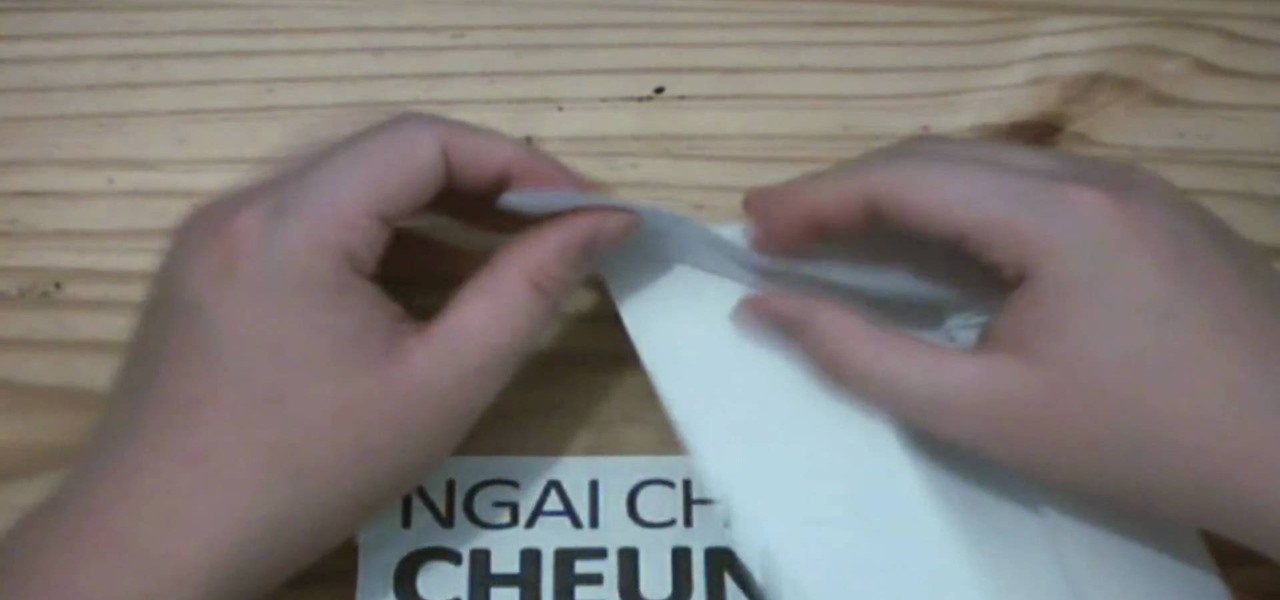
This video is about creating a CD case by using Origami, the art of folding paper. This video, which lacks any audio, starts by using a CD in the center of a piece of paper. The paper's edges are folded over the CD to get the correct width. Then, the presenter starts on the edges of the case, which are folded similarly to wrapping a present. The presenter finishes one side and places the CD in the case. Then he proceeds to the final side which folds down over the CD and tucks into the first s...

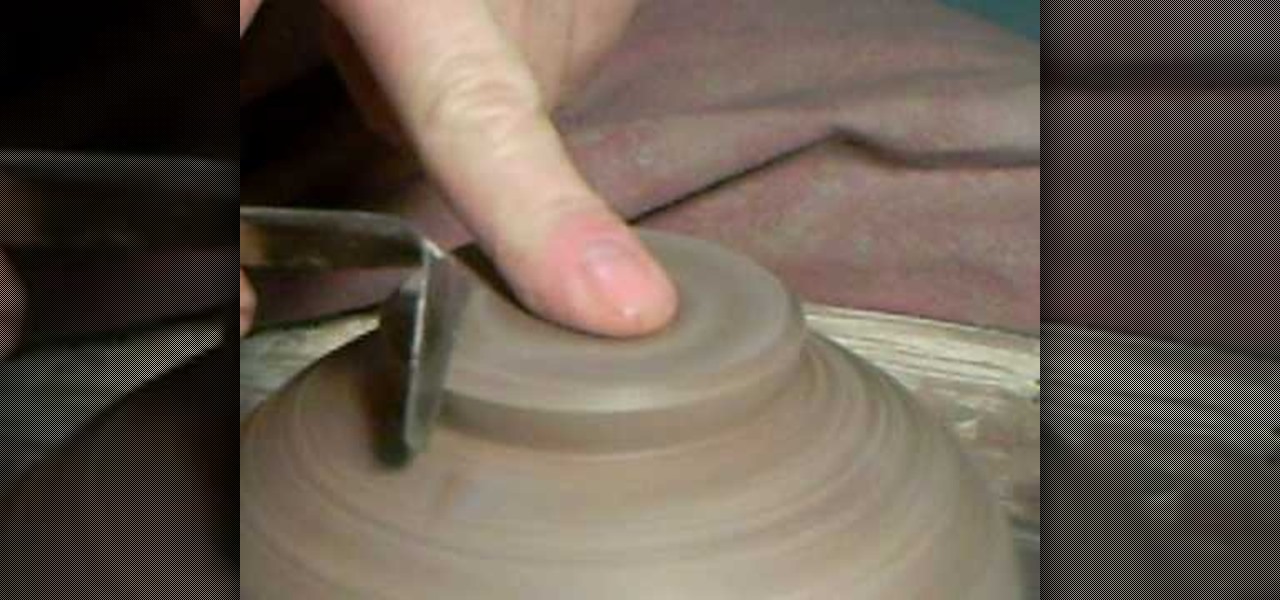
Simon Leach teaches you how to do ceramic trimming and sealing. You wet the top of the pot and place it on the wheel. You push down on the bottom, sealed side, when the wheel is spinning. You use the trim tool to cut into the base side. You do this at an angle and make sure you hold the trim tool like a stake knife, not like a pencil. You empty out the leg until you are pleased with it. You round off any sharp corners and you have to put the last piece, the seal. On the bottom you take a piec...

In this video from C4Bimbos we learn how to cut a cantaloupe. This also works for a watermelon, she says. Slightly cut off each side - top and bottom - so that you can stand it up. Now you want to shave each side down. Using a sharp knife is the best way to go! Get all of the green part off. Now, turn it over to get the rest of the outside off. Now, cut it right in half. With a large spoon, scoop out all of the seeds and put them in a bowl. Cut the cantaloupe in perfect slices and you are rea...

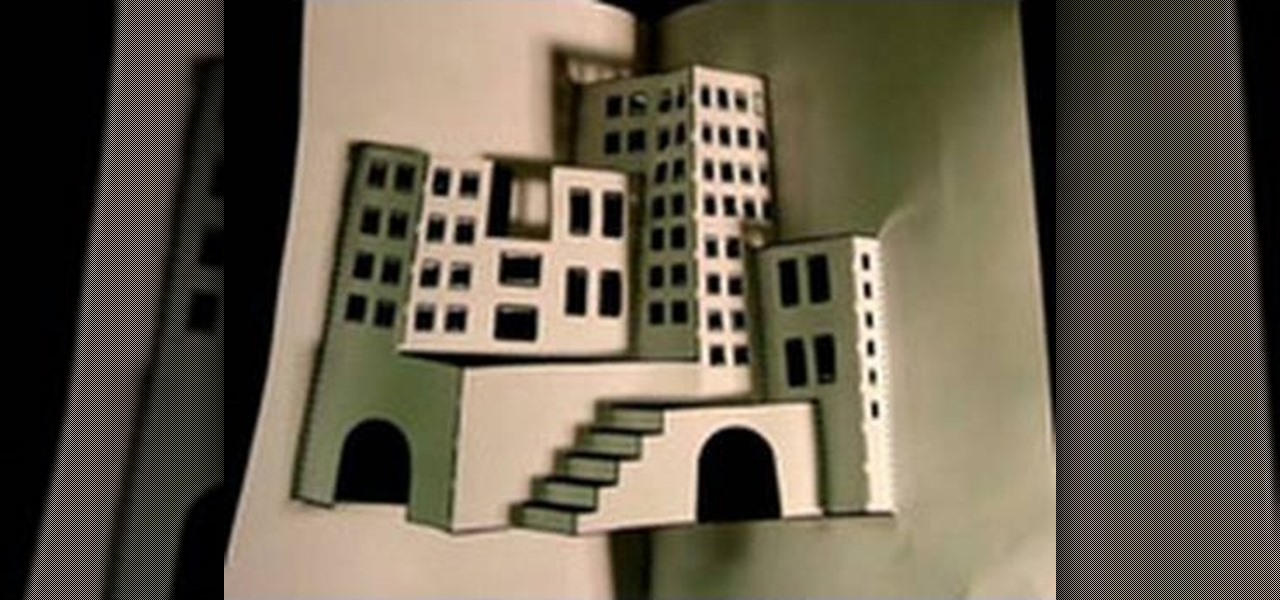
Learn how to make a three dimensional city from a sheet of paper. Start with a flat drawing of a city scape and a sharp X-acto knife. Cut along each vertical line of each window. Cut along each horizontal line of each window. Be very precise and do not cut past the end of the line. Cut out arches of doorways. Make incisions along horizontal lines of buildings. Cut along horizontal lines of stairs. Do not cut along any dotted lines. Once done cutting, begin folding. Fold along dotted lines. Cr...

Simon Leach teaches the secret to glazing the inside of a bowl. You will need: brush, glaze, sponge, water, stick or whisk. Using a brush, dust the inside of the bowl to be glazed. Remove any clay that remains stuck on the bowl by using a blade or knife. Stir the glaze from the bottom using a stick or whisk Add water to the glaze if it appears too thick and stir again from the bottom. Pour the glaze into the bowl, careful not to get any over the edge. If any glaze goes over the edge of the bo...

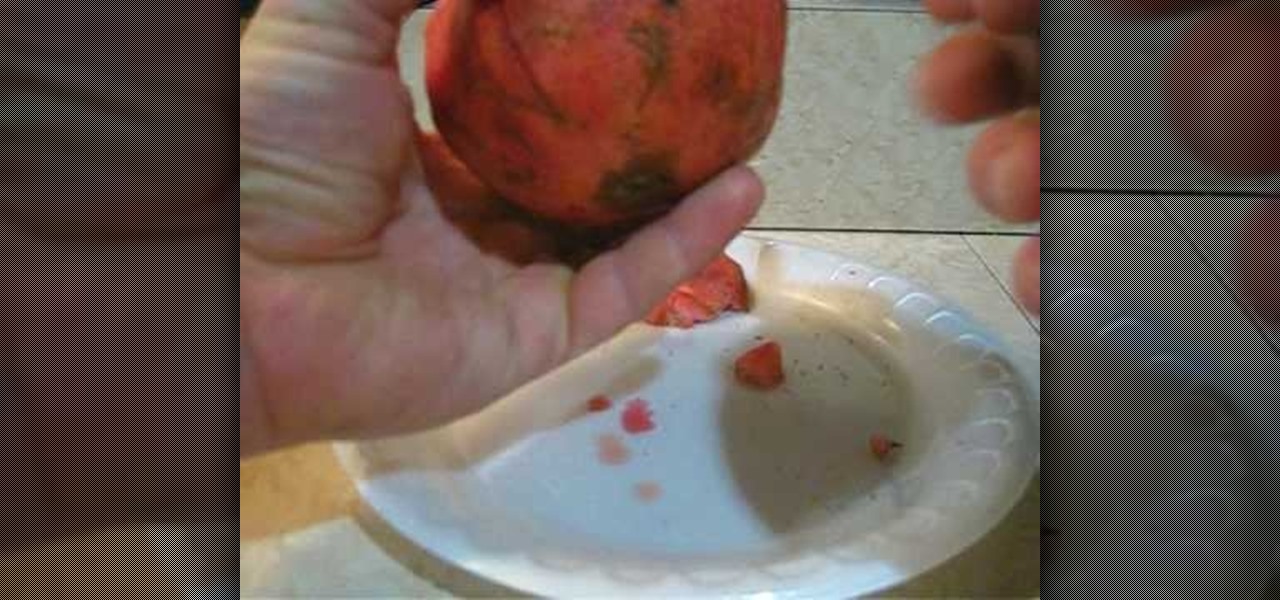
Ever wanted to enjoy the sweet taste of pomegranate but were confused about how to actually get to the fruit? Use this simple method to cut open your fruit. Take a small, sharp knife such as a paring knife or pocketknife. Slice a thin round off the top, stem end. This will leave several tops of fruit sections visible. Cut a small cone shape out of the center about 3/4 of an inch deep. Use the knife to slice from one end of the fruit to the other along the white pith dividing the segments of t...

Watch this video to learn how to sew by hand! You need scissors, thread (or floss), a needle, and fabric. First, stick your threaded needle through the cloth and pull the thread through. To make a running stitch, push it back through to the opposite side. Your stitches should look like a dashed line. For a whip stitch, keep pushing the needle through the fabric from the same side each time, near the edge. It will wrap around the edge. To tie it off, push the needle back through the loop of a ...

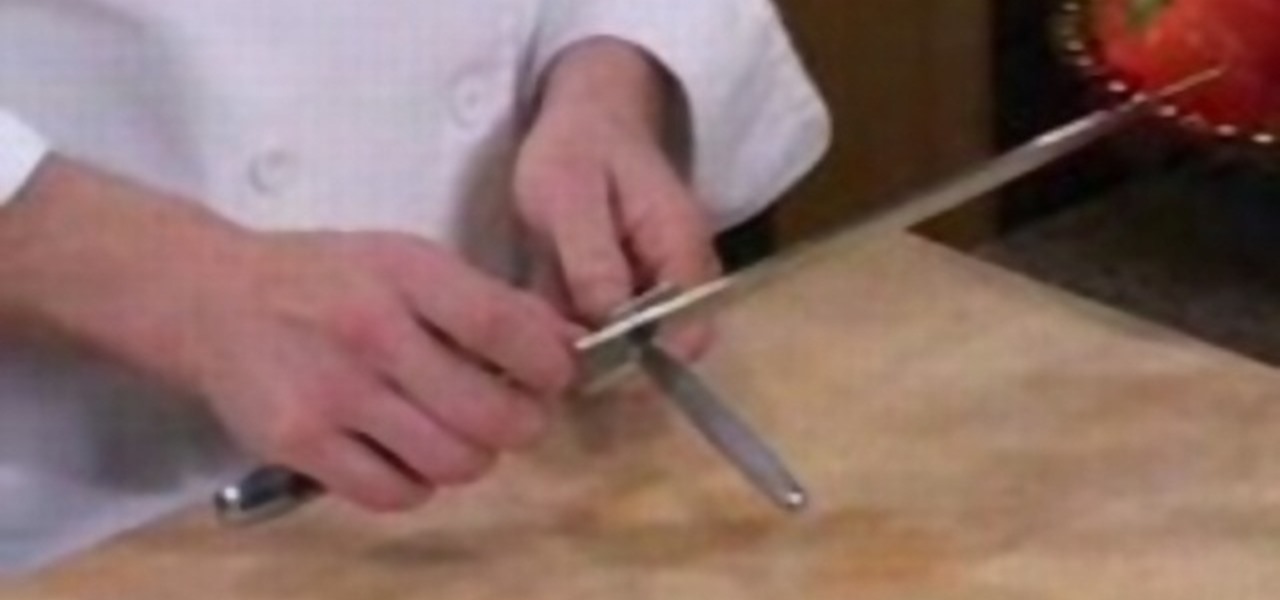
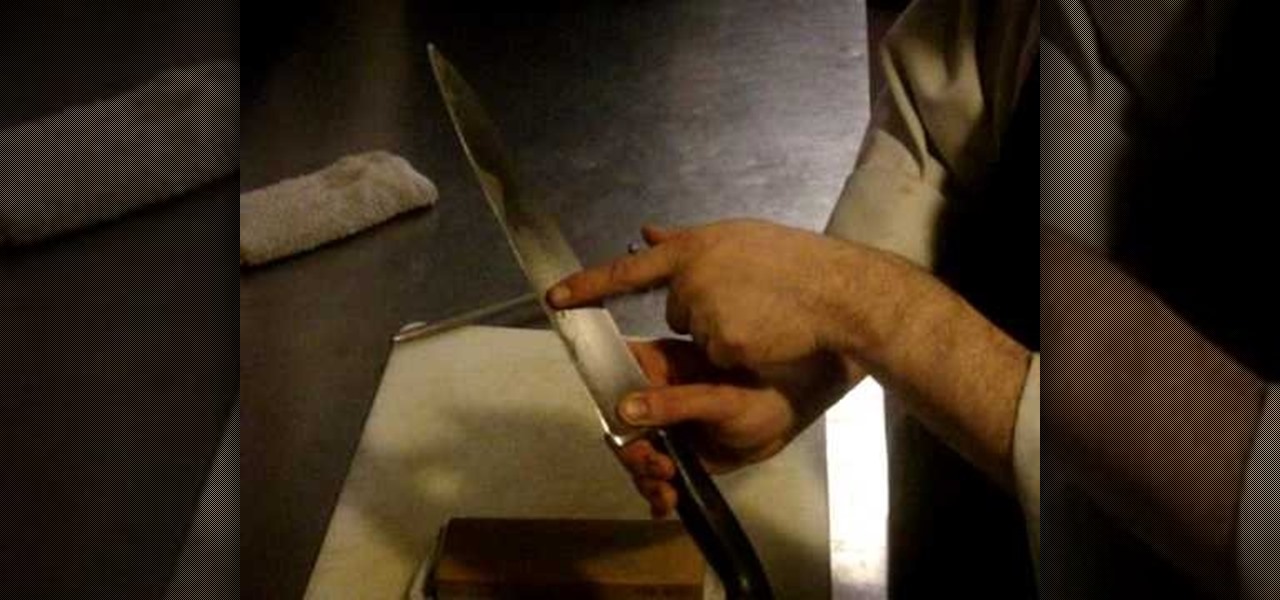
Work fast and safely in the kitchen and keeping your knives sharp with a steel sharpener. Is important to repeat this regularly, this way we will make our knives live longer, as well as more precision when we use them. Rub the knife over the steel sharpener few times and then cheek with your thumb how is it going.

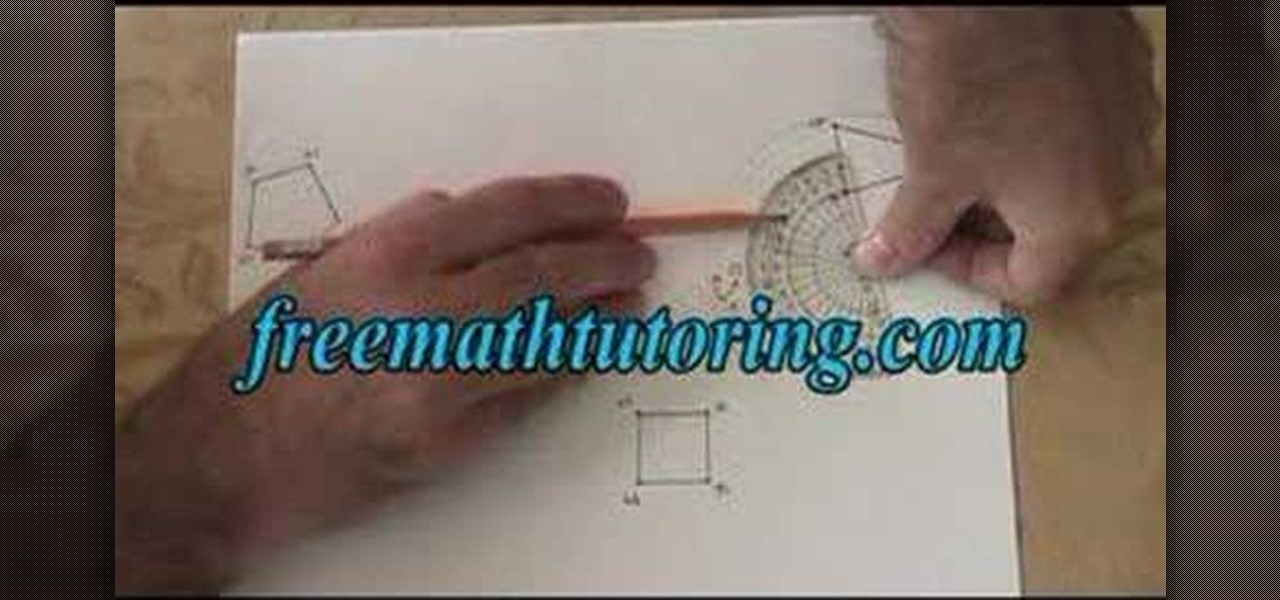
Learn how to do a rotation in geometry with this video! First step is to pout the pencil into the compass. Adjusting the pencil and compass needle is same. Suppose you want 165 degree size circle. Measure the reading with compass in protractor. Note the point and adjust the compass. After place the sharp end of the compass at the point and rotate the compass the circle will enabled. Next use protractor. We see 75 degree acute angle. Place the protractor on the line and mark the reading we wan...

Although the title of this video may sound scary, Chickpearl shows how to cut layers into your own hair and makes it seem easy enough for anyone to do.

This video goes through the steps needed to sharpen a kitchen knife using a sharpening steel. The presenter goes through sharpening various knives, using two different sharpening steels. He shows the proper technique of how to use the steel, how to hold it and how to move the knife across the steel. He also shows how to check how sharp the knife is, by carefully moving your thumb down the blade, rather than across the knife, and also how to use a tomato to check for sharpness.

Sharpening a knife can bring a dull edge back to life. This video tutorial shows how to sharpen a knife using a whetstone. Soak the whetstone in cold water for about 5-10 minutes and set it on a clean towel. Starting with the coarser side, push the knife against the stone while applying downward pressure. Apply more pressure on the forward stroke than on the back. Wipe down the knife and flip the stone over to the fine side. This will smooth out the knife and make a sharper, finer edge.

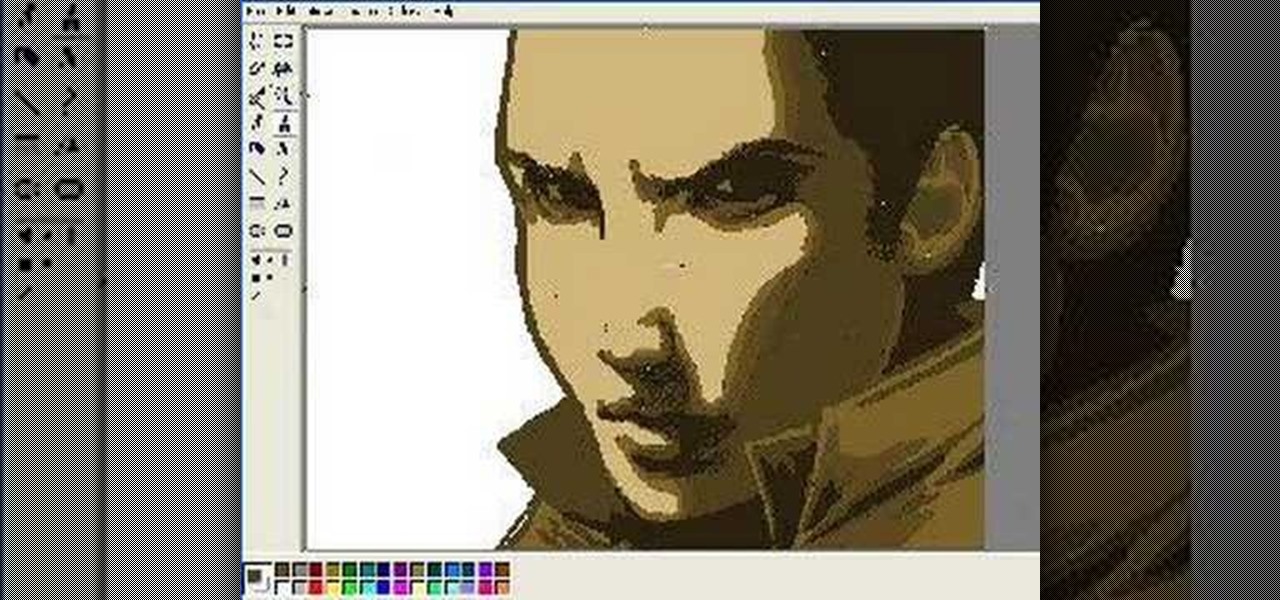
How to draw a face in MS Paint. The video is obviously made by a professional, it shows a sped up replay of a man using MS Paint to draw a very well done face. He starts with the basic outlines, then moves into coloration and shading. Notice all of the shading is done in unison and correlates with a particular direction that remains the same with all shading properties. Also take note of the fact, that the colors and lines are blending together, that the detail isn't as sharp as a high resolu...

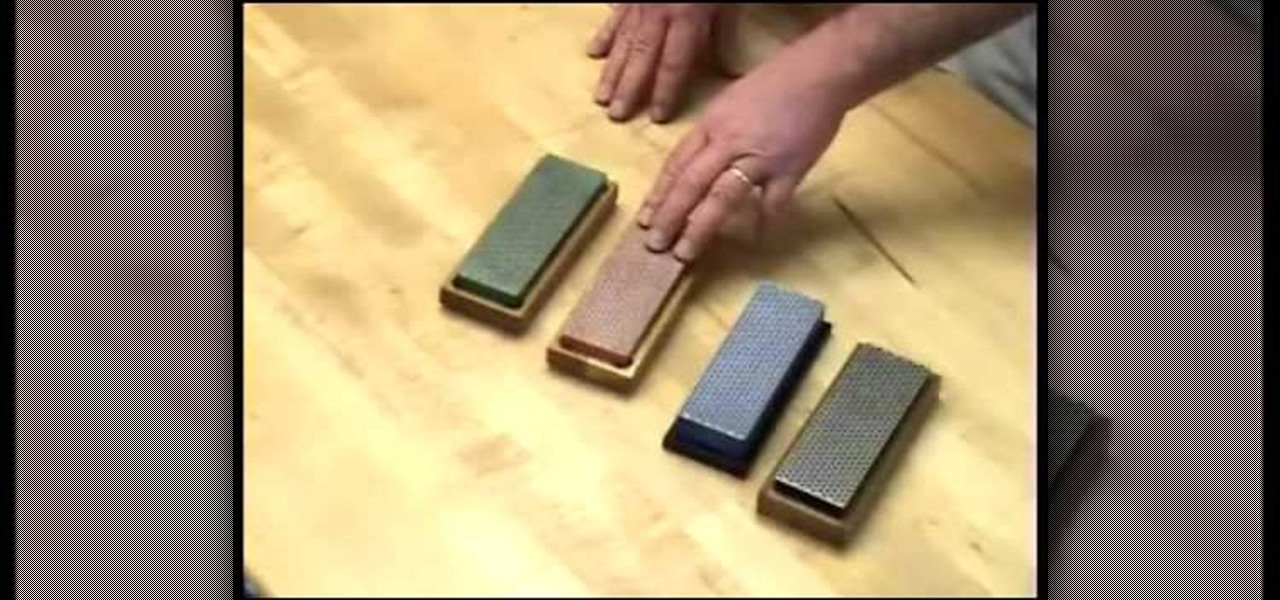
Did you know that you can use a diamond stone to sharpen up your knives? Straight edge blades have a tendency to get dull unlike serrated knives. Diamond stones are better than the typical sharpeners because they can put a nice even edge on your blade and not leave burrs. After your knife is sharpened you can test it out on a piece of paper to see how well it is cut. Knives do need to be sharpened because the duller the knife the more likely you are to cut yourself.

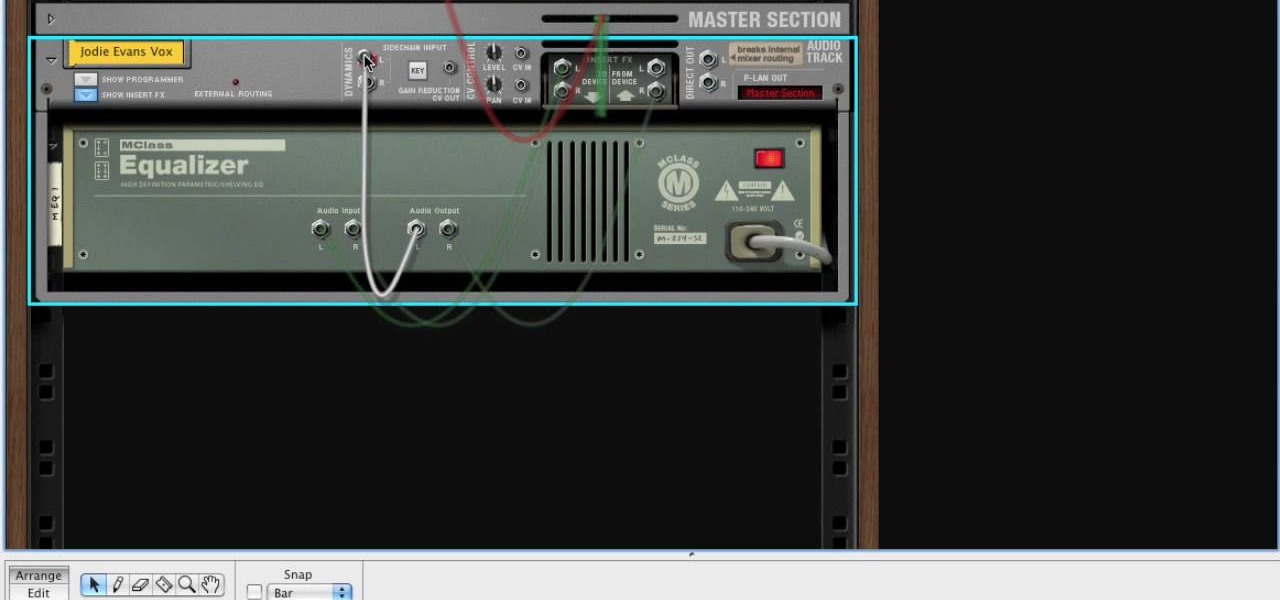
This how-to video shows you how to reduce the "s" sound in a certain recording software program. They play a line a music where the singer emphasizes on her "s" sounds. The tutorial shows you how to reduce the "s" sound so that it clear and sharp. It also shows you how to change the frequency and the compression of the "s" sounds. The video explained that if you make the compression too high, than the "s" sounds will sound like a lisp.

This video is all about how to make a bow tie within a few minutes. This bow tie is just to give an amazing look and a royal personality. In this video we are shown as how to wear a bow tie. Firstly, just wear a tie simply on the neck and take one edge and fold it now take another edge and pass it through the folded one such that it shows two wings on two sides and it will give a perfect look.

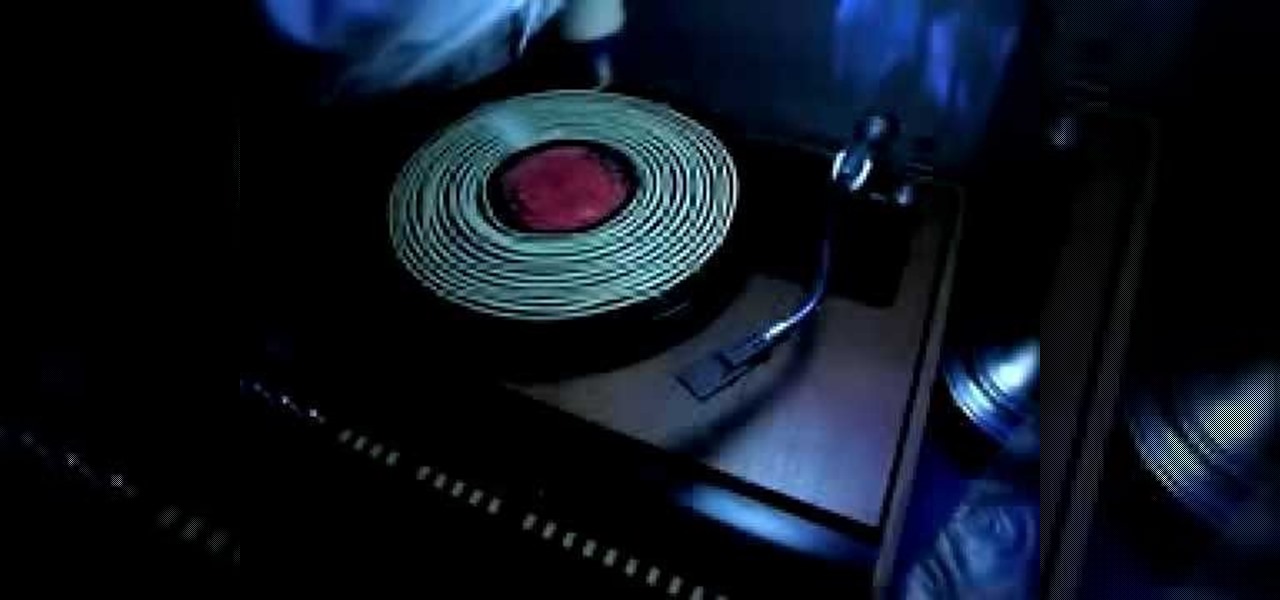
This video shows how to clean old records using Titebond II wood glue. He has the record turning slowly on the turntable, and while it's turning, slowly squeezes a line of glue around and around onto the surface of the record, starting from the middle. He explains that it takes between four and twelve hours for the glue to dry completely. After the glue is applied to the entire record, he takes an old credit card and spreads the glue evenly onto the record, all the way out to the edge. When t...

This video shows you how easy it is to cut and make holes in cement backer board. The first thing you want to have is safety glasses to protect your eyes. To make a punch out hole you have to draw an outline of the hole with a pencil or pen. Use a drill to make several holes inside your outline. A jigsaw will cut out your punch hole. Push the punch hole out. Make a straight cut by marking the front of the board with a pen and a straight edge and use the scoring knife along the straight edge t...

This video will teach you how to make a white board at half the cost and a better quality than you can buy and it will last a lot longer. You start with an 8x10 piece of Plexiglass with only surface scratches and spray paint. Try not to touch the side that you're going to paint. Remove only one side of the Plexiglass protecting plastic. Sand any sharp areas and paint in a well-vented area or outside. Paint lightly with the color of your choice and let it dry before adding a second coat. You c...


