Add some pizzazz to your yard with some decorative edging. Watch this video tutorial to learn about the various garden fencing/edging options from Nature's Garden Magazine's editor James Baggett.

Improve you crocheting skills by learning different edging techniques. This how to video is a tutorial that will show you how to crochet a single crochet edging. Watch, learn and create your own decorative crochet edgings.
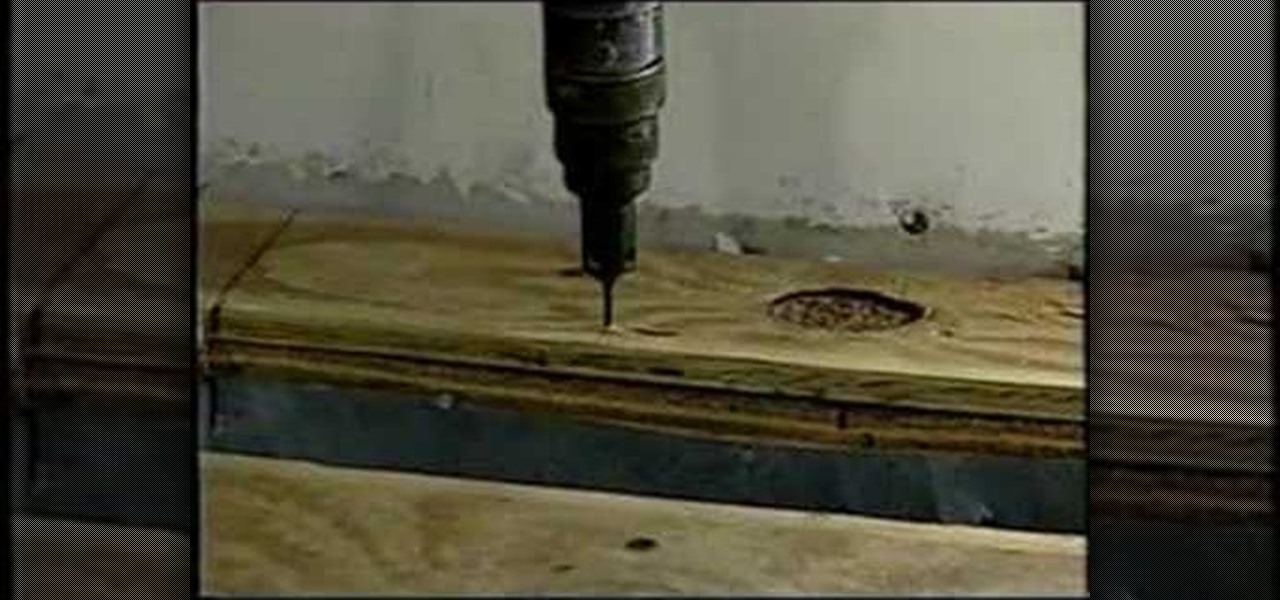
Tim Carter, of Ask the Builder, demonstrates tips you should know before installing ceramic tile over plywood or OSB. Following these tips will make your looking sharp and beautiful, and practical.
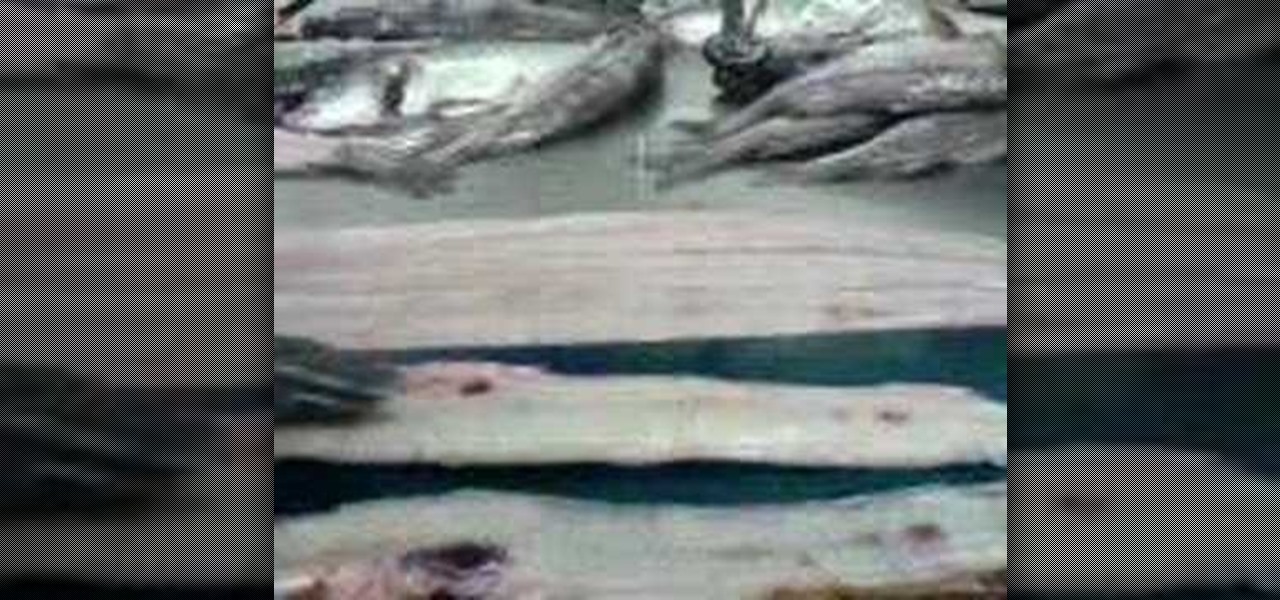
Check out this video to learn how to fillet an eel. They aren't very easy to fillet. You must have an EXTREMELY sharp knife.
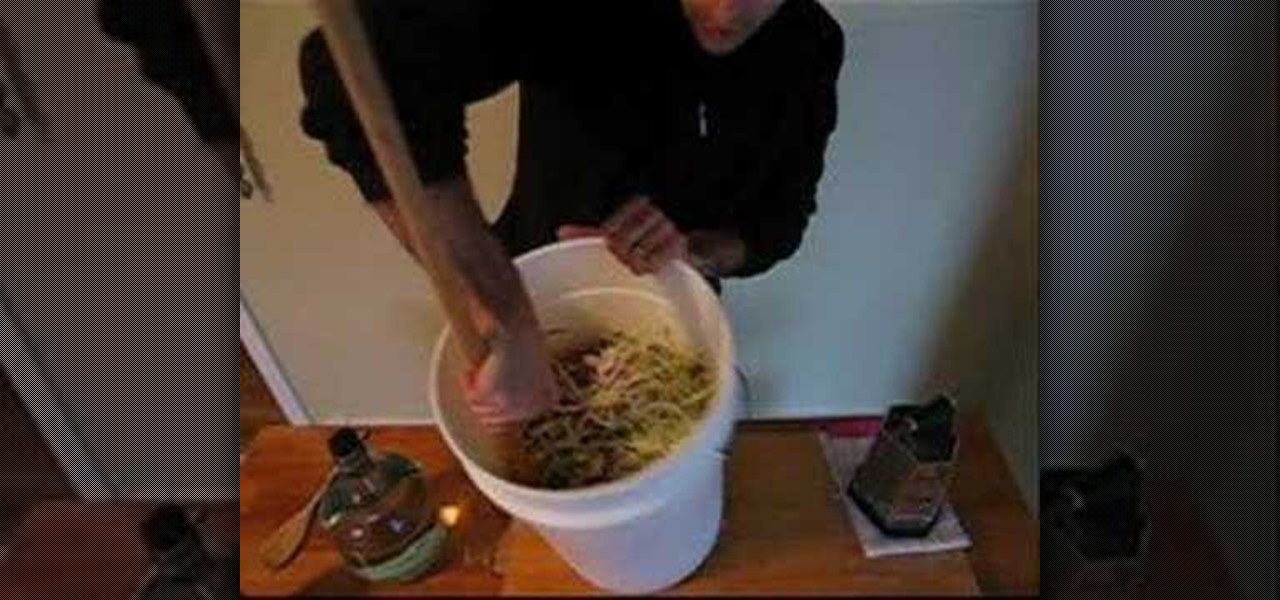
Make delicious and nutritious sauerkraut at home. Use cabbage and salt. To cut the cabbage, use a sharp knife or food processor.
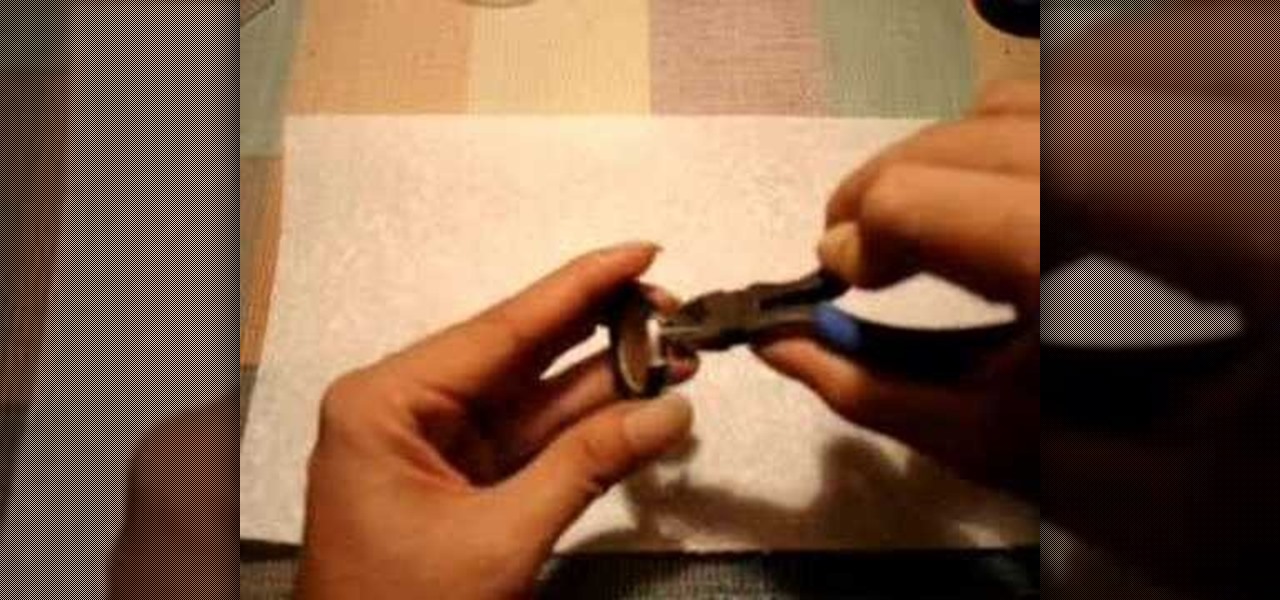
Here's a quick, easy, and safe way of depotting your favorite eyeshadow or blush without burning your fingers or inhaling toxic fumes from melting plastic. Remember, safety first- so be careful when handling sharp objects.

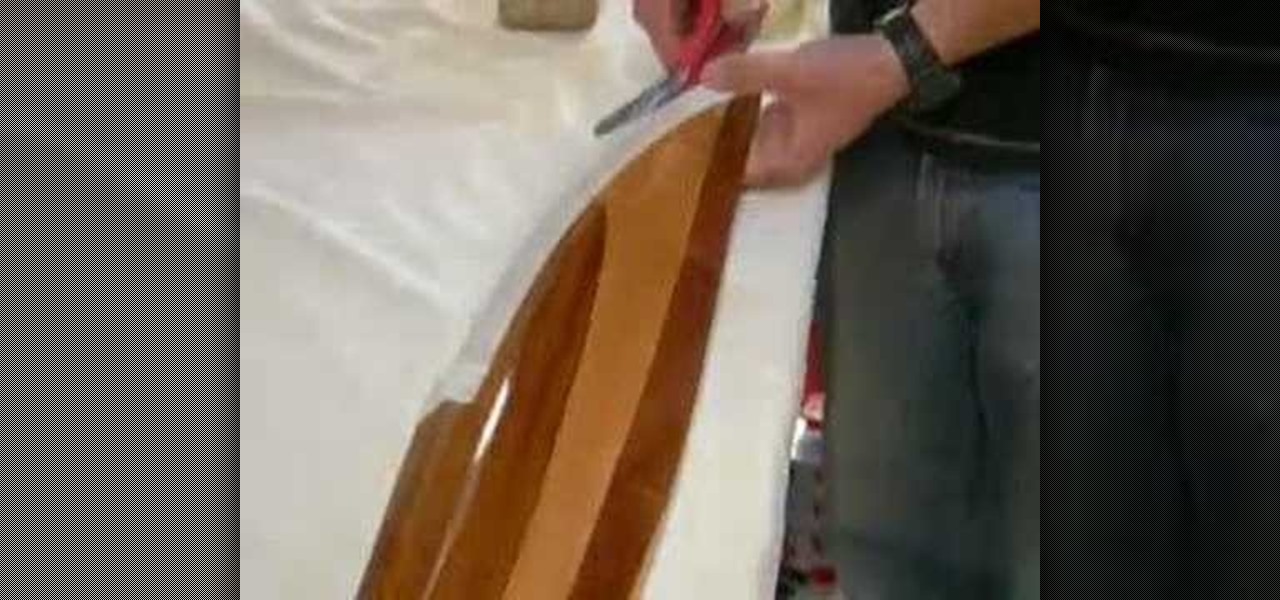
This video will show you two different methods of repairing the leading edge of a wooden aircraft propeller. Learn how to properly apply epoxy, clean the area of the repair, and make the edge look like it was never damaged!

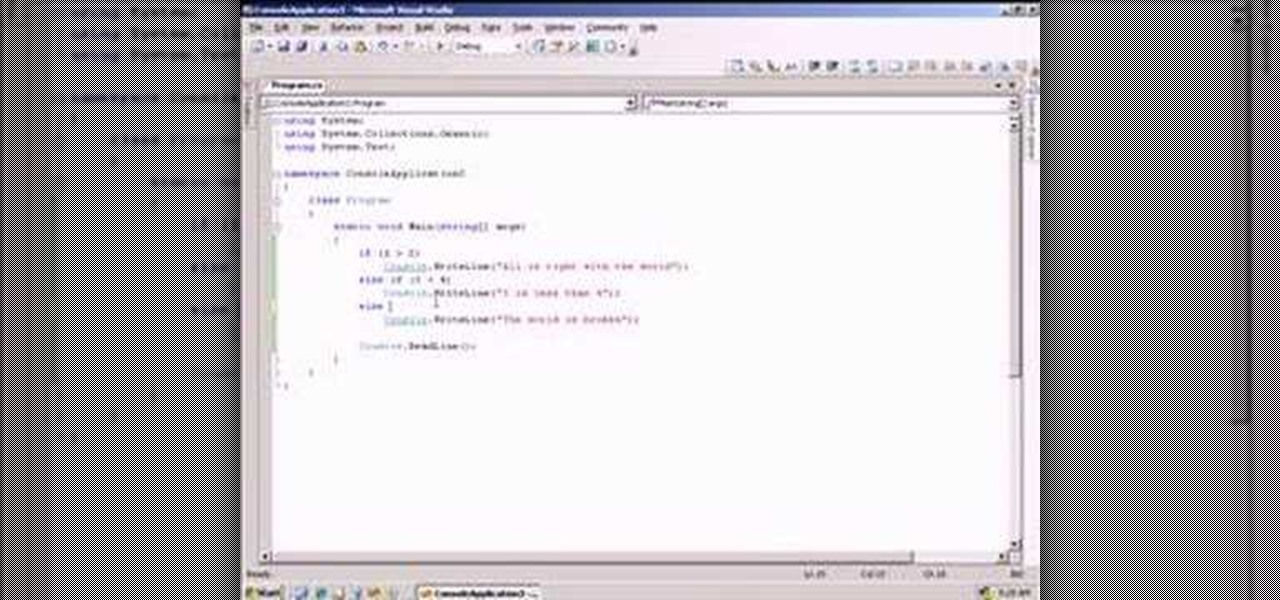
A C# (C sharp) programming tutorial on creating if, else, and elseif statements as well as boolean tests.

This video shows you how to make your item photos looks sharp and professional. From backdrops to cropping, learn how to make those JPEGS sparkle and shine! This is great for those who sell on Ebay or have an Etsy shop.

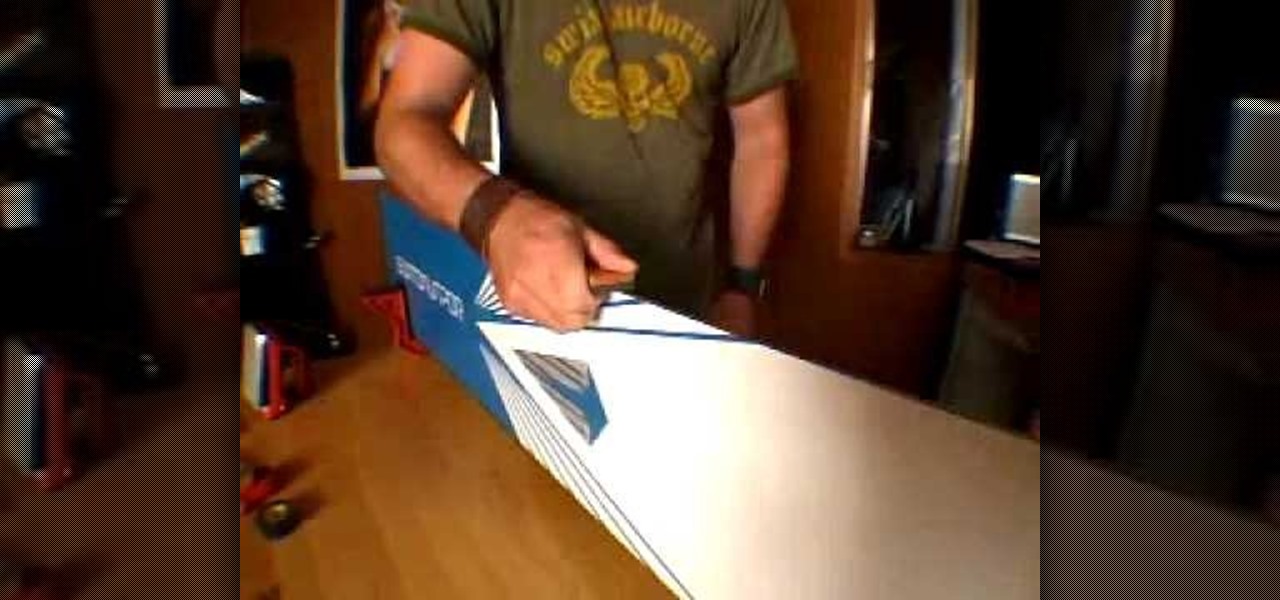
Frank Crow talks about keeping the edges of your snowboard in shape. Edge maintenance is crucial to preserving your ride.

You can use any cheese in this dish, of course, but a nice sharp cheddar is the way to go. Chef John used a beautiful hunk of English Farmhouse Cheddar and it was great. Especially with the apple and shallot reduction that went over the pork loin he served with these potatoes and used low fat 1% milk for this dish.

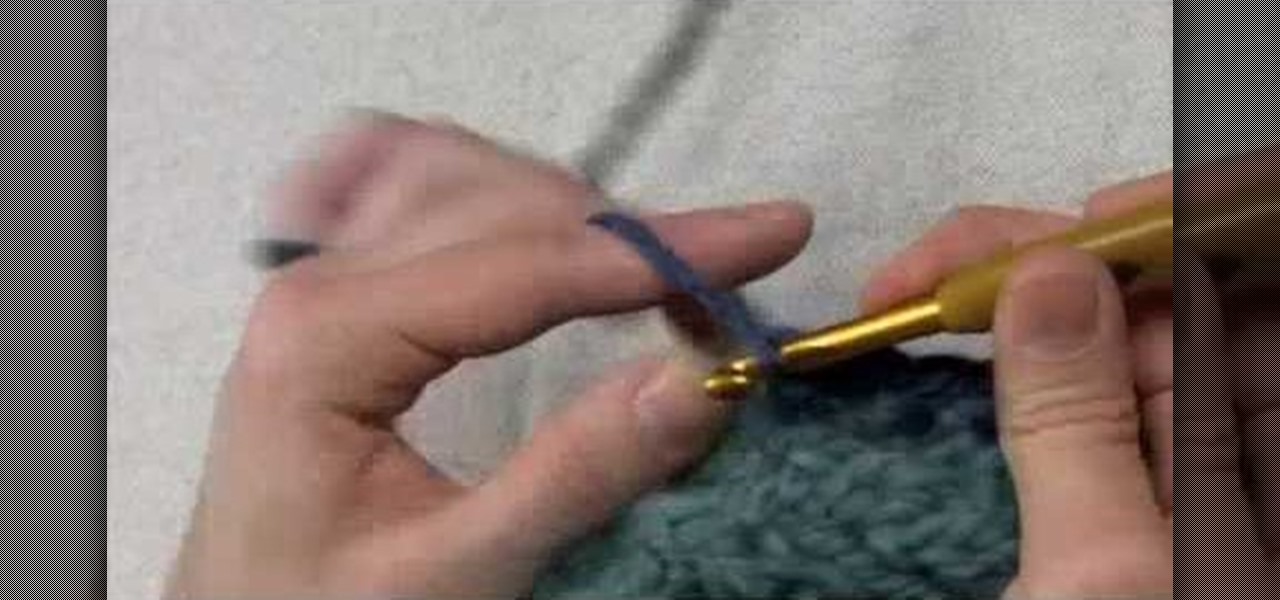
In this tutorial we learn how to edge a knitted piece with a single crochet. Start to attach the yarn to the right side, working in a forward direction. Now, work a slip stitch at the edge. From here, stick the hook in the fabric and pull through one loop. The, yarn over again and pull through both loops with the hook. After you do this, do it over again! You will repeat this process until you reach the end of the row. Once you're finished with the row, you will be finished with the edge and ...

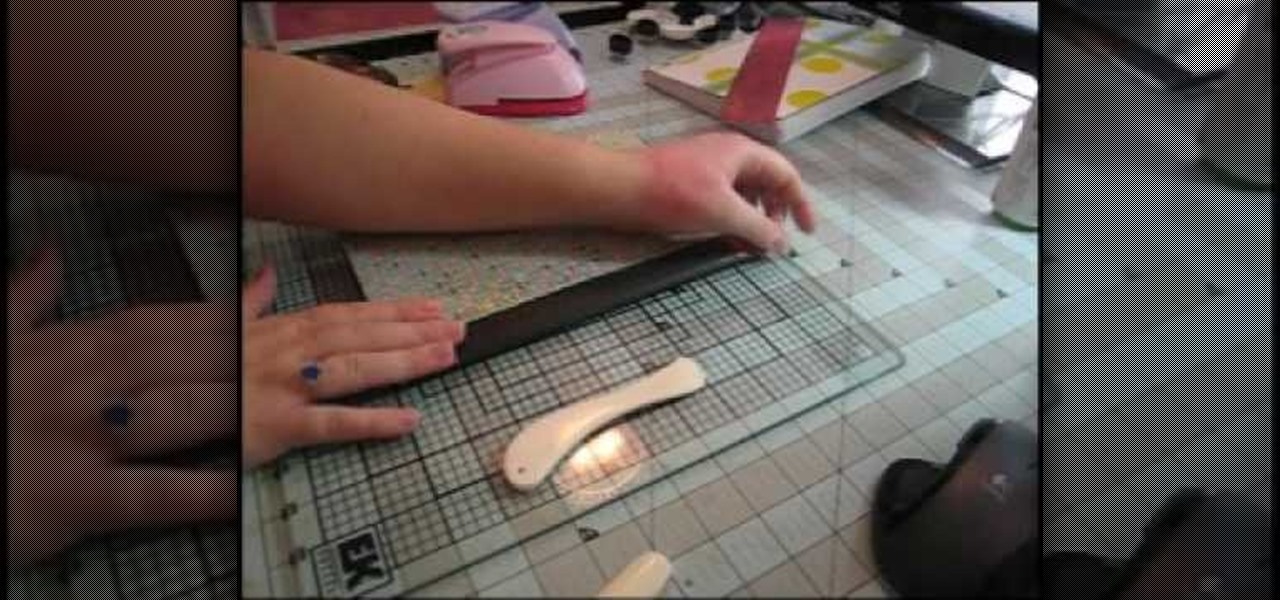
In this video, we learn how to turn a composition book into a decorative notebook. First, measure your composition book, then measure out that same size on a piece of decorative paper. Next, put adhesive on the back of this on all four edges, then diagonally. Now, you will have a solid attachment for the paper to be placed on top of the composition notebook. Use a straight edge to push it down and it's completely flat. Then, use scissors to cut any excess paper off of the edges and corners. Y...

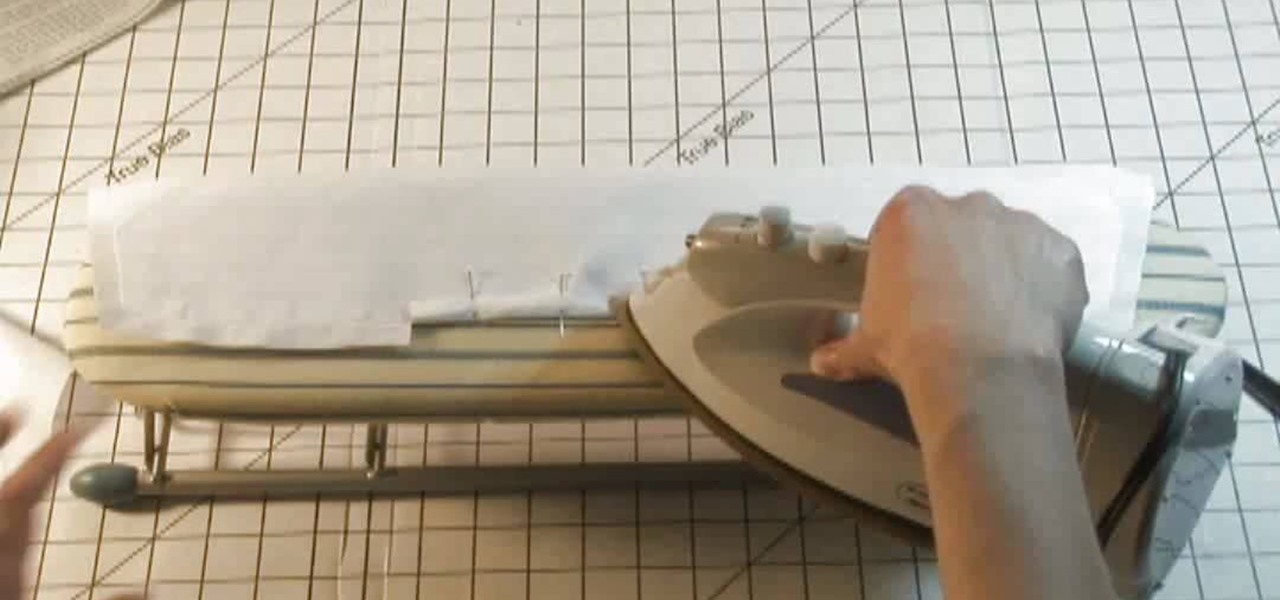
By using sewing pattern Simplicity 4670, the author of this tutorial video takes you through the steps needed to produce a great shirt collar. First you should attach interfacing to one piece of the shirt collar. Here you will be using fusible interfacing and taking the facing to the shirt collar iron the interfacing to the wrong side of the fabric. Sew a guide line that is 5/8ths of an inch wide along the notched edge of the shirt collar's facing piece. At the dot markings of the collar clip...

Missa shows how to ‘Distress Jeans’ in this video. She lays a pair of jeans to be distressed on a table. Next, the creases near the top, which are formed by bending the leg portion of the jean, are marked with a white pencil or chalk. A hard rock is then placed inside the jean, near the knee area. That portion of the jean is graded using sand paper to make holes. The pocket areas are graded next, using a nail file. A pair of scissors is scraped along the edges of the pockets to make cuts. (Al...

Now that we've had significant time with Samsung's Oreo Beta for the Galaxy S8, many interesting features have come to light. As we continue using the new software, we have uncovered more subtle changes. The home screen already received a few new customization features, it's only fitting that the edge screen get some love, too.

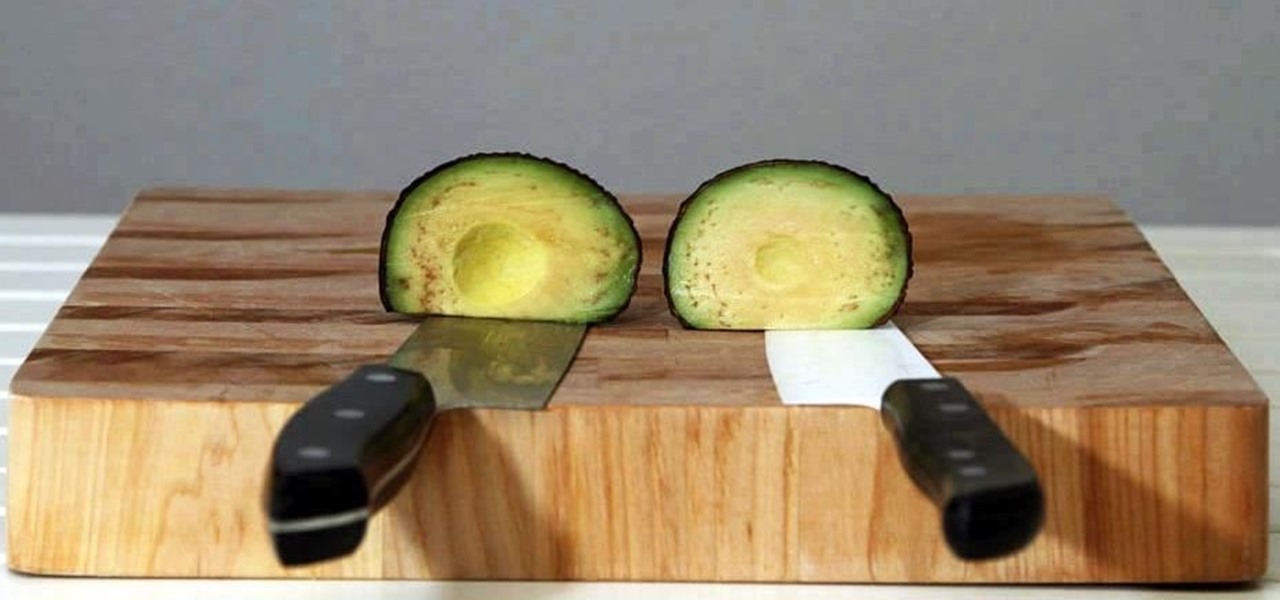
Keeping apples or avocados from browning after being cut is impossible; within minutes of being exposed to air, these fruits (yes, avocado is a fruit) begin to brown. No matter what you try—adding lemon juice, keeping the pits in place, immediately sealing the produce in an airtight bag—brown discoloration always occurs. However, air is not the only reason that foods like apples, avocados, and lettuce brown: it's also due to the knife you're using.

Today was a big day for Samsung at IFA 2014, with announcements of two new devices as successors to the Galaxy Note 3: the Galaxy Note 4 and Note Edge.

In this video we learn how to knit a scalloped edge. This forms a shell along one edge! First, attach your needle to the yarn on the right edge. Then, make a slip stitch and yarn over. Then, stick then needle through the fabric and yarn over again so you have three on the hook. Then, yarn over and pull through the first two loops in the hook. Then yarn over and go into the fabric and over again. Pull through a loop and then yarn over through all the loops on the hook. Now, do another one foll...

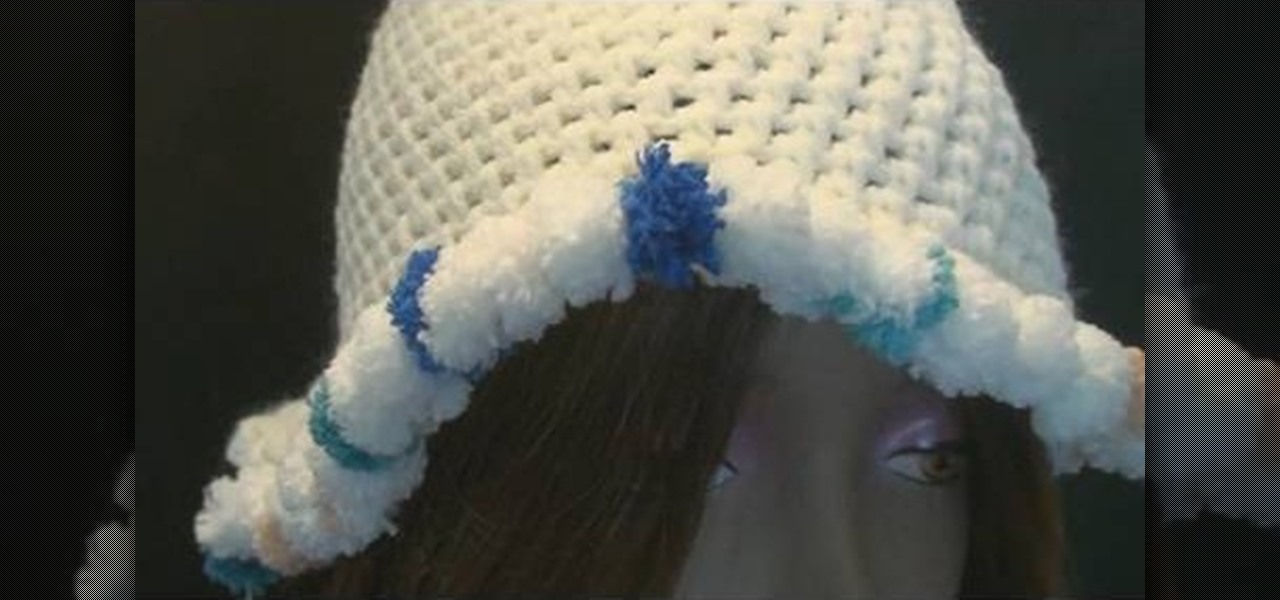
Despite what you may believe, making a crochet cap doesn't end at the last knitting row. In fact, crochet caps can be embellished in a number of different ways, including this Pomp-A-Doodle trim.

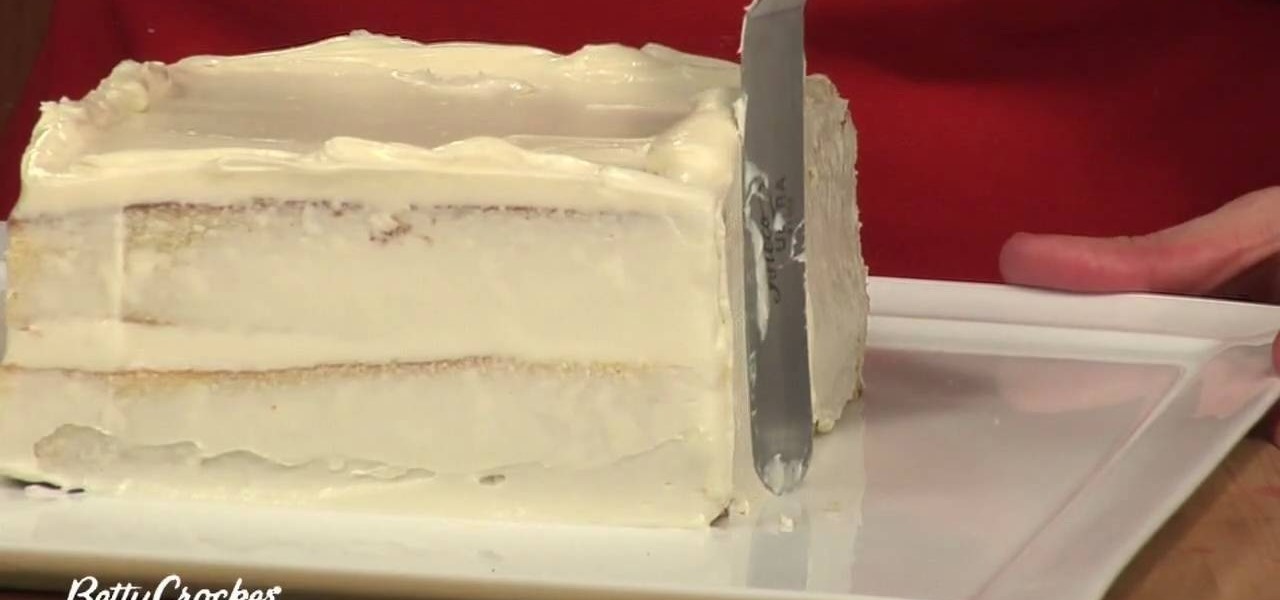
Leif Hanson for the Betty Crocker Kitchens shows how to crumb coat a cake. This is when you put a thin layer of frosting on the cake to hold the crumbs in. She starts with a square cake with exposed edges. First, you take a big scoop of frosting and put it on top of the cake. Next, you spread it around with a spatula. As you spread it evenly you want it to go over each edge and corner, but don't let the corners sag. Next, she loads the spatula, fills it from the top edge to the bottom edge, w...

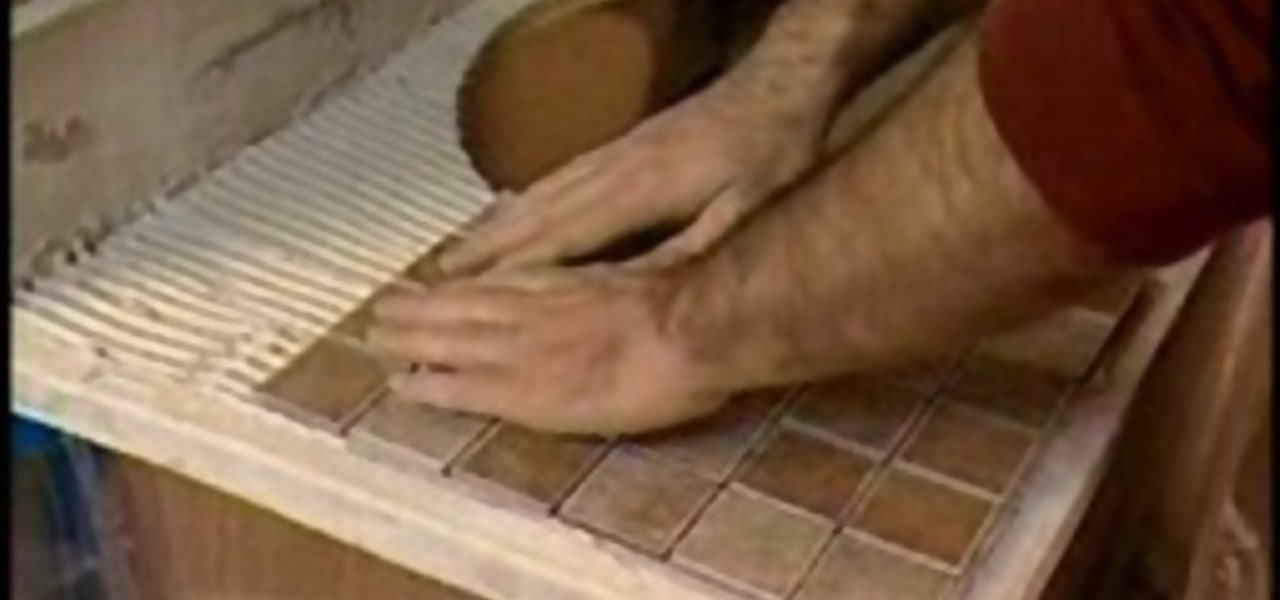
In this Home and Garden video you will see how to install mosaic tiles in your bathroom vanity using mesh pack sheets of 1 inch mosaic tiles and cap edge tiles. Hold a cap tile against the edge of the vanity and draw a line along the edge of the vanity. This will be the first joint line. Lay off the mesh pack mosaic sheets over the vanity top. The edges should be aligned with the line you drew. Mark the line near the joint on the last full sheet near the back splash. Also draw reference lines...

Watch this step by step tutorial to learn how to make a paper bird. Fold your paper in half so that it forms a long rectangle. Ensure you really fold down the crease--run your finger or a pencil along the top of the crease. Unfold the paper, turn it 90 degrees and repeat the fold. Your square should be divided into four squares by the creases. Flip the paper over to the other side and fold it into a triangle. Again, make your creases tight. Turn the paper 90 degree and fold again. You should ...

1) Create a rectangular sheet of paper by folding the left side in, like a book, about 1-inch and remove this excess paper. 2) Fold the rectangle in half, bottom to top like a newspaper, and then unfold and lay flat. Now take the bottom edge and fold it up (again like a newspaper) to meet the center crease that you made with your first fold. Unfold again. You will now have two creases in the bottom half of your paper. 3) Lift the bottom fold (bottom forth of the rectangle) up and line it up w...

Not sure what bottle of wine to get your wine-loving friend for their birthday? Don't sweat it. Get them a wine bag, and save money by making it yourself from old clothes!! Why spend money on wine gift bags when you can craft your own from stuff you already have in your closet?

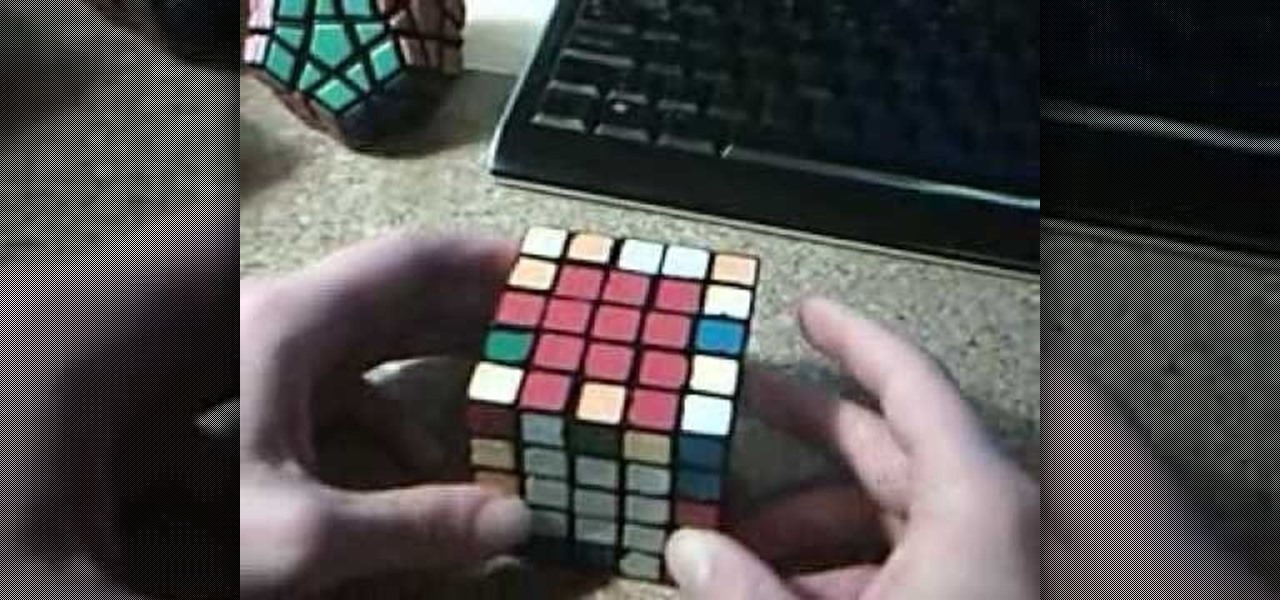
Find out a new way to solve the Rubik's Cube made famous by Erno Rubik, master puzzle maker. Try to get the edge pieces on the last layer using a new method called partial edge control. Just watch this video tutorial to see how to solve with partial edge control on a Rubik's Cube.

BD Quikheel Safety Lancet The BD Quikheel Lancet is a safety-engineered product designed for heel sticks on infants and premature babies. It features a sweeping surgical blade that permanently retracts after creating an incision. Additionally, it offers a tapered window providing the healthcare worker with the ability to accurately position the lancet.

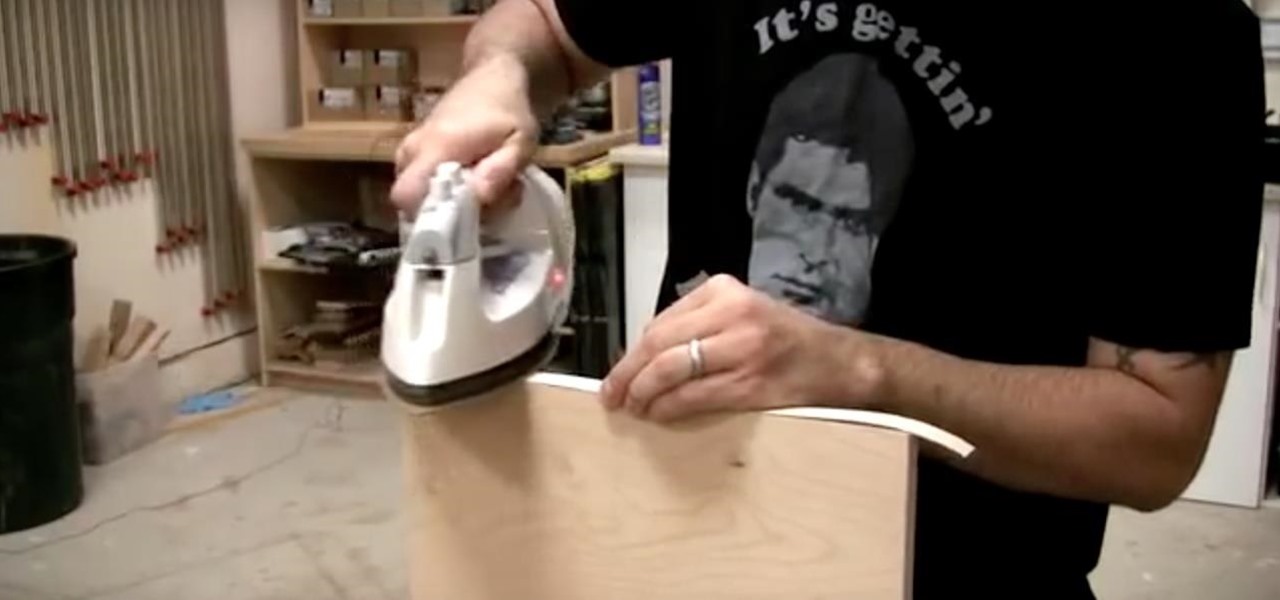
Plywood is flat, stable, and comes in lots of varieties. You can even use your plywood as a base for exotic veneers. But there is a consistent problem with plywood: how to treat the edges. This how-to video teaches you how to apply edge banding so it will hold up to wear and tear. All you need is iron edge banding, roller, sandpaper and an utility knife.

See how to pair the edges of the Olympicube (V-cube), the Rubik's Cube of all Rubik's Cubes! Watch this two-parter to help you on your way to brilliance, because you know you can't get there yourself.

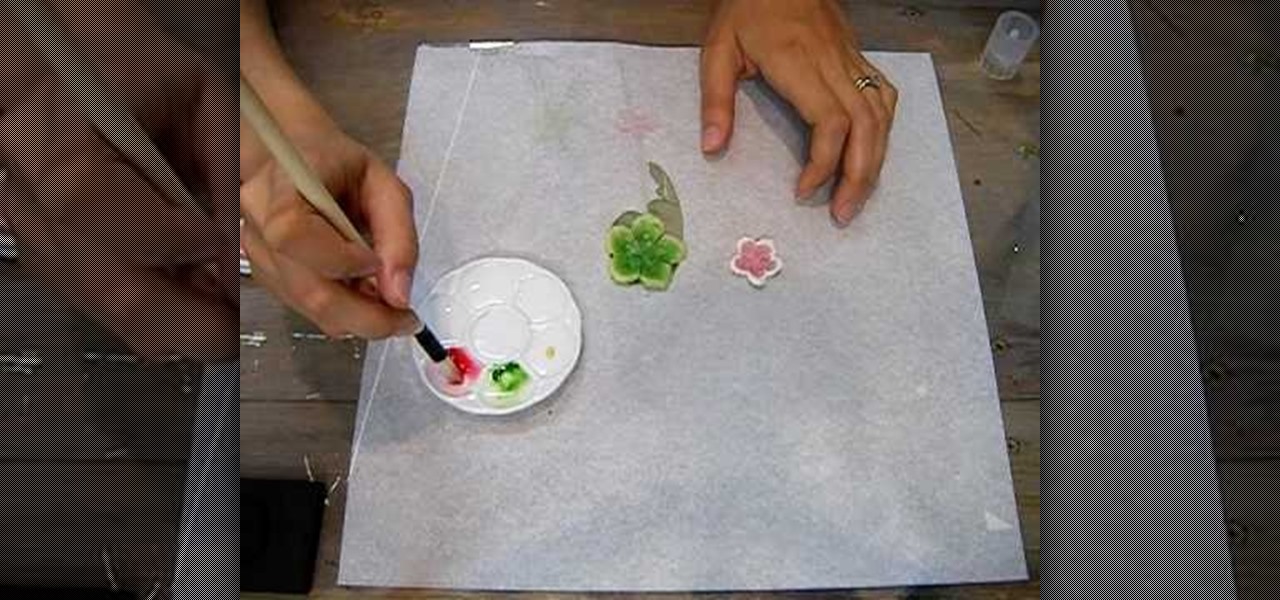
Supplies needed1. flower cut outs (you can buy them from A Piece of Craft)2. Water colors3. paint brushes4. clean water5. heat gun5. Water color pallet

Turn that dusty old tome into something you will actually use – a sneaky stash for your best stuff. You Will Need

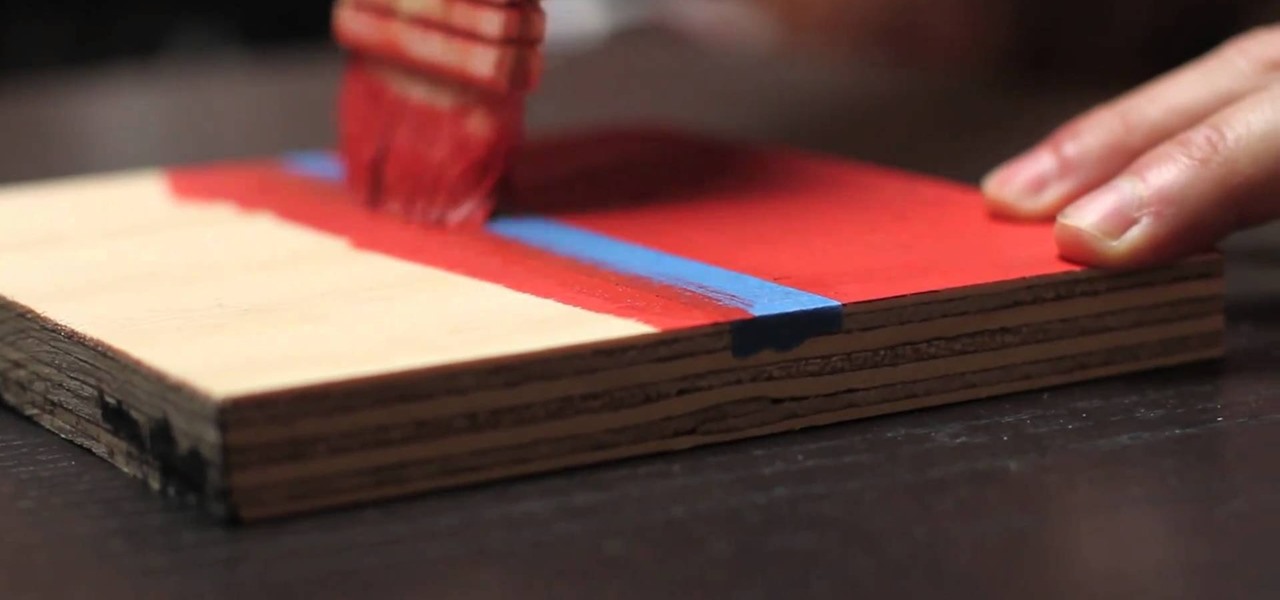
Most home interior painters, professional and ameteur alike, rely on painter's tape to get around edges without splattering paint everywhere. But painter's tape allows for little air bubbles to form, meaning paint can easily seep below and ruin your work.

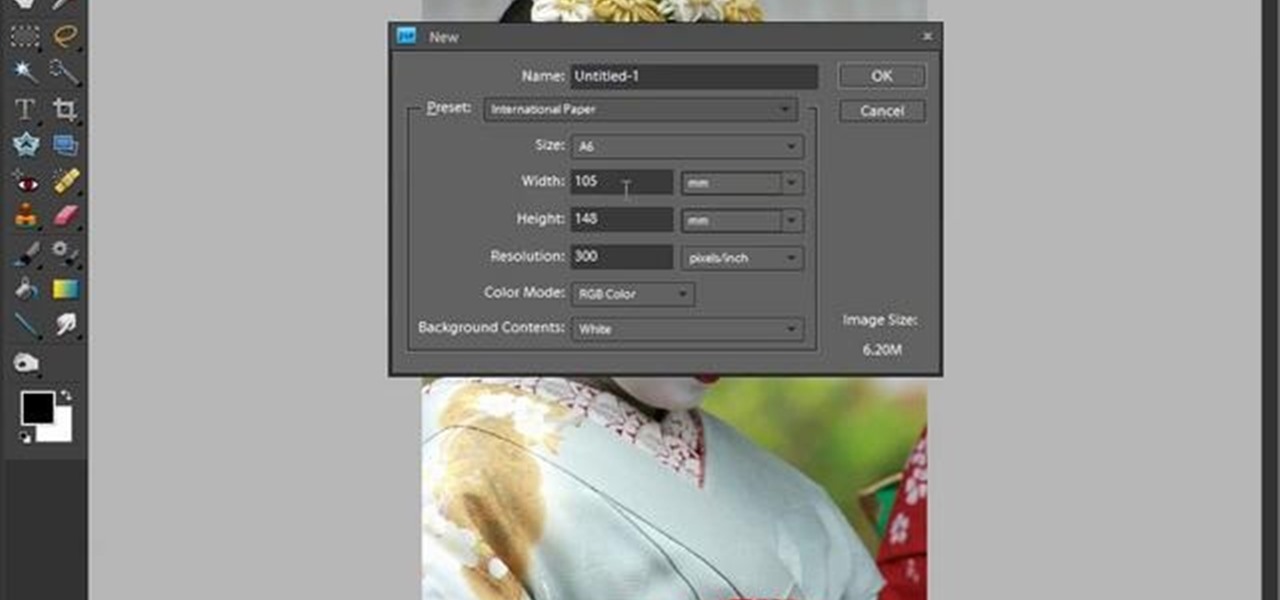
Want to create a rough edge mask in Adobe Photoshop Elements? This clip will teach you what you need to know. Whether you're new to Adobe's popular raster graphics editing software or a seasoned professional just looking to better acquaint yourself with the program and its various features and filters, you're sure to be well served by this video tutorial. For more information, including detailed, step-by-step instructions, watch this free video guide.

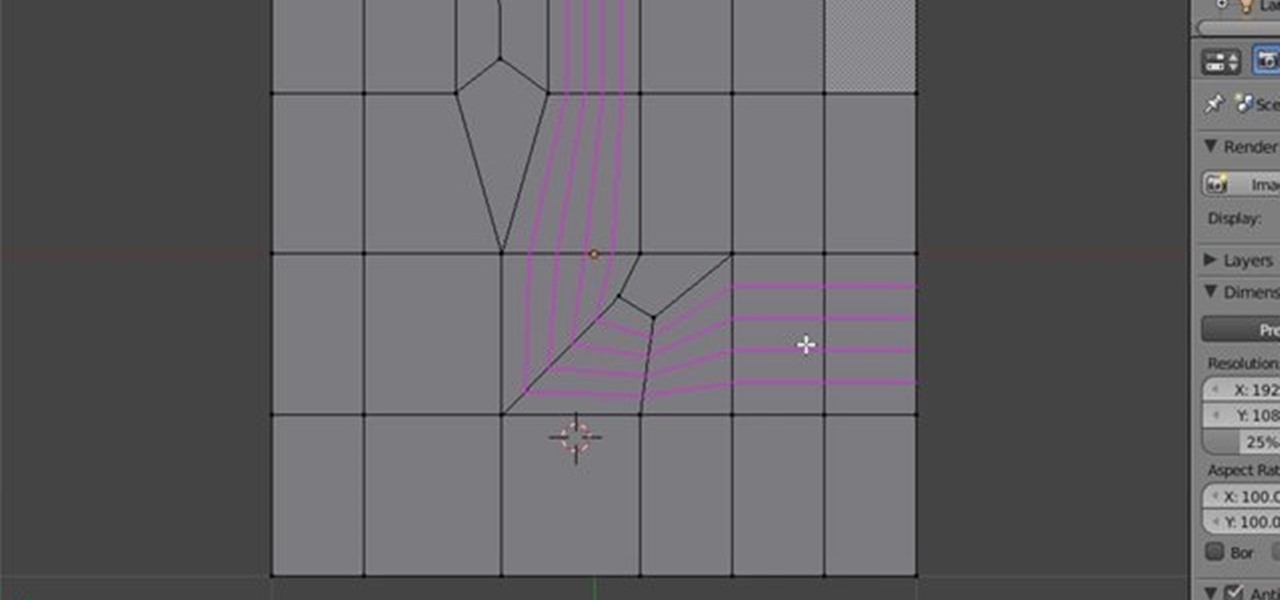
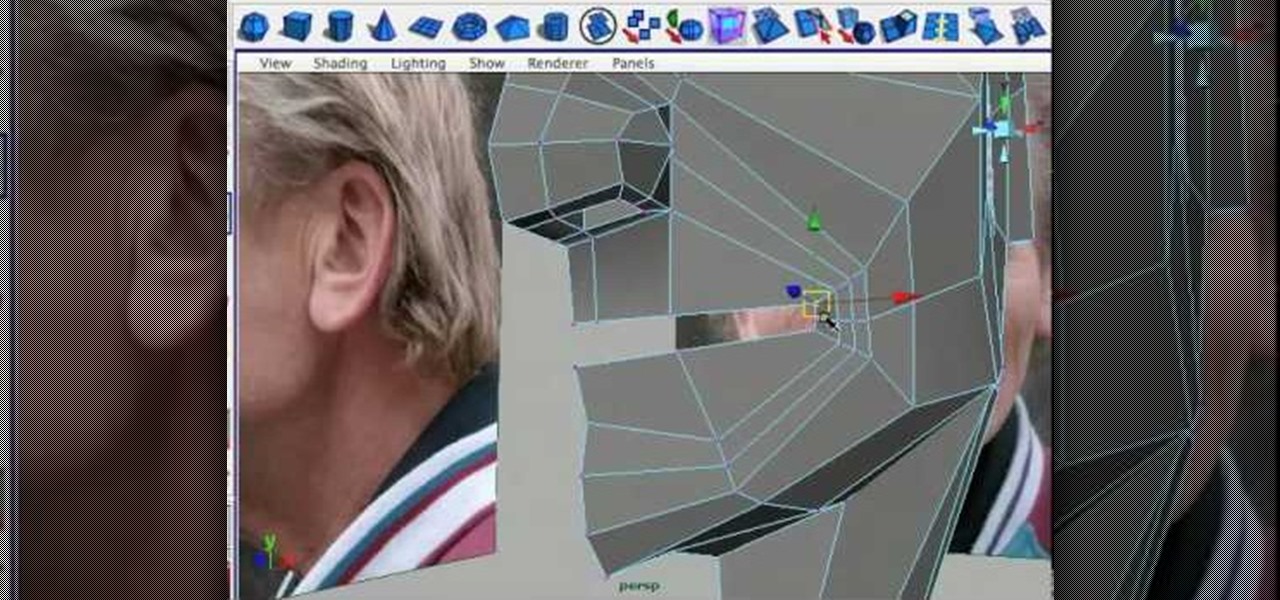
This video offers a few quick tips on tricks on redirecting edge flow (or edgeflow) when working within Blender 2.5. Whether you're new to the Blender Foundation's popular 3D modeling program or a seasoned graphic artist just interested in better acquainting yourself with the application, you're sure to be well served by this free video tutorial. For more information, including detailed instructions, take a look.

Learn how to change the focal plane of images and check out tips on creating custom edges! Whether you're new to computer graphics, new to Adobe Photoshop CS4 or a seasoned design professional just looking to pick up a few new tips and tricks, you're certain to like this free video software tutorial. For more information, including detailed, step-by-step instructions, and to get started using these tips in your own Photoshop, watch this guide!

Want to know how to work with edge loops in Maya 2011? This clip will show you how it's done. Whether you're new to Autodesk's popular modeling software or a seasoned 3D artist just looking to better acquaint yourself with the Maya 2011 workflow, you're sure to be well served by this video tutorial. For specifics, watch this free video guide.

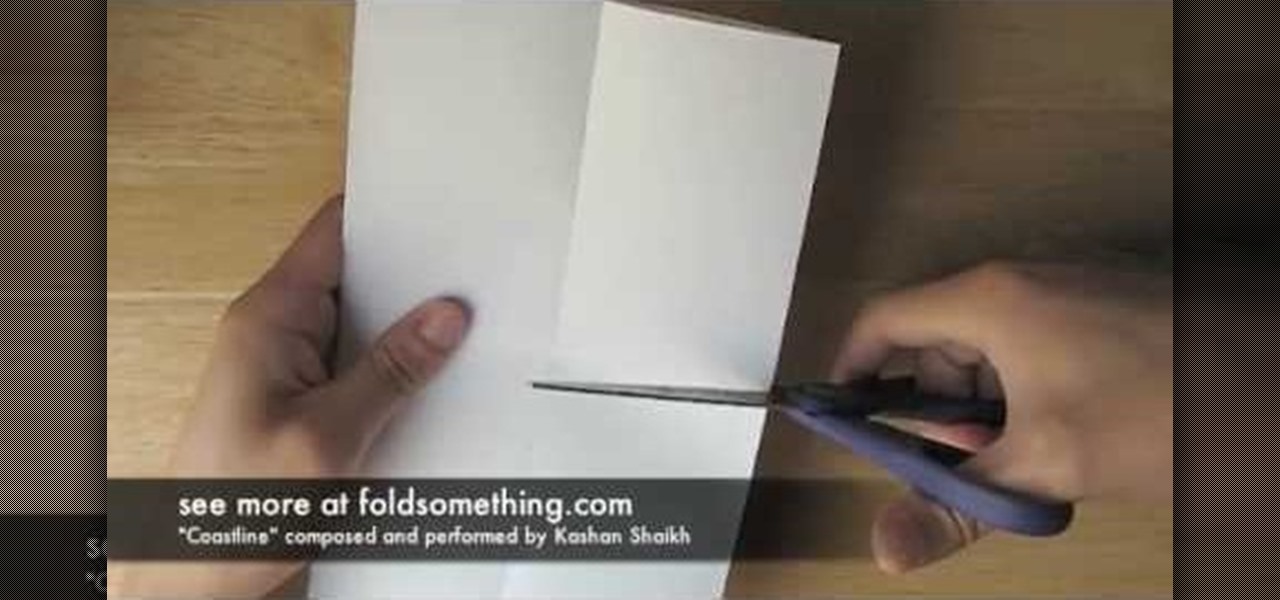
It is simple to make a booklet from one piece of paper. Take one A4 size paper then fold it to equally, then unfold it and you can fold it to right of edge and left of edges both sides are equal. Then unfold you can see like zigzag and cut it to middle point of the paper and fold it to use booklet. It is comfortable and easy to use it.

Learn the most efficient and quick way to model a head with polygonal modeling. The proper edge flow is easy to achieve this way.

While it remains unknown how exactly augmented reality will make its way into the mainstream (the Microsoft HoloLens sitting at $3,000 isn't exactly accessible), many brands have been trying to integrate the tech into their mobile apps, mimicking the success of Snapchat and its popular AR filters. One of those brands going all in on augmented reality is Shazam.

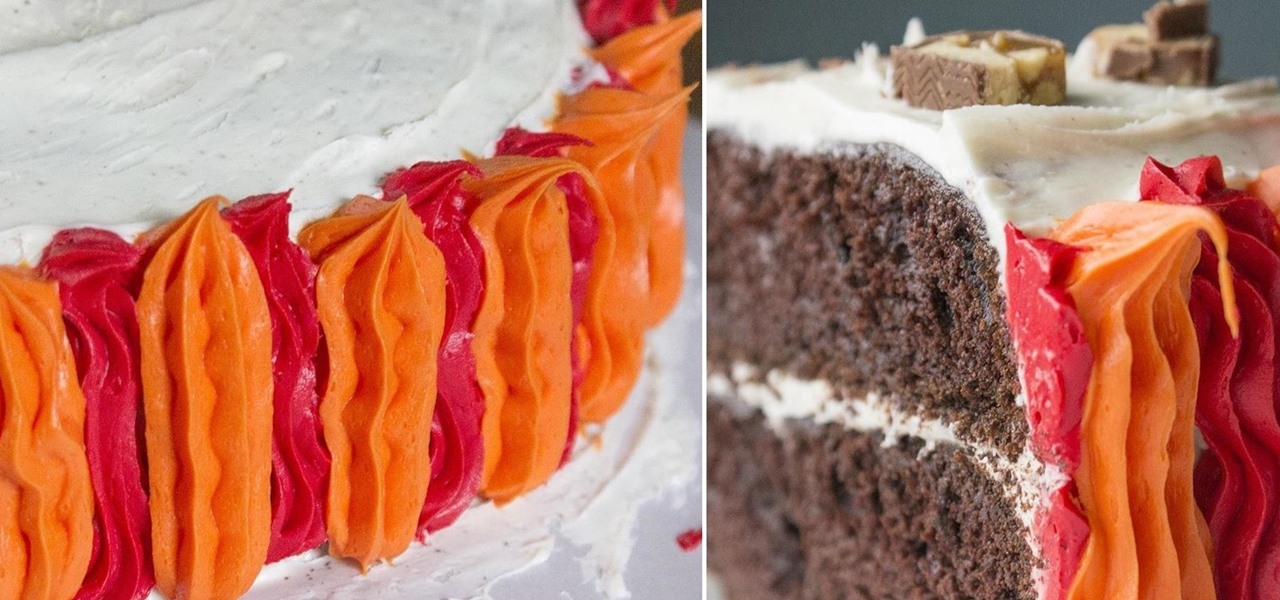
Cake decorating is one of those activities that used to leave my hands sticky and my spirits dampened. No matter what I seemed to do, the final result always ended up looking like a preschool art project.


