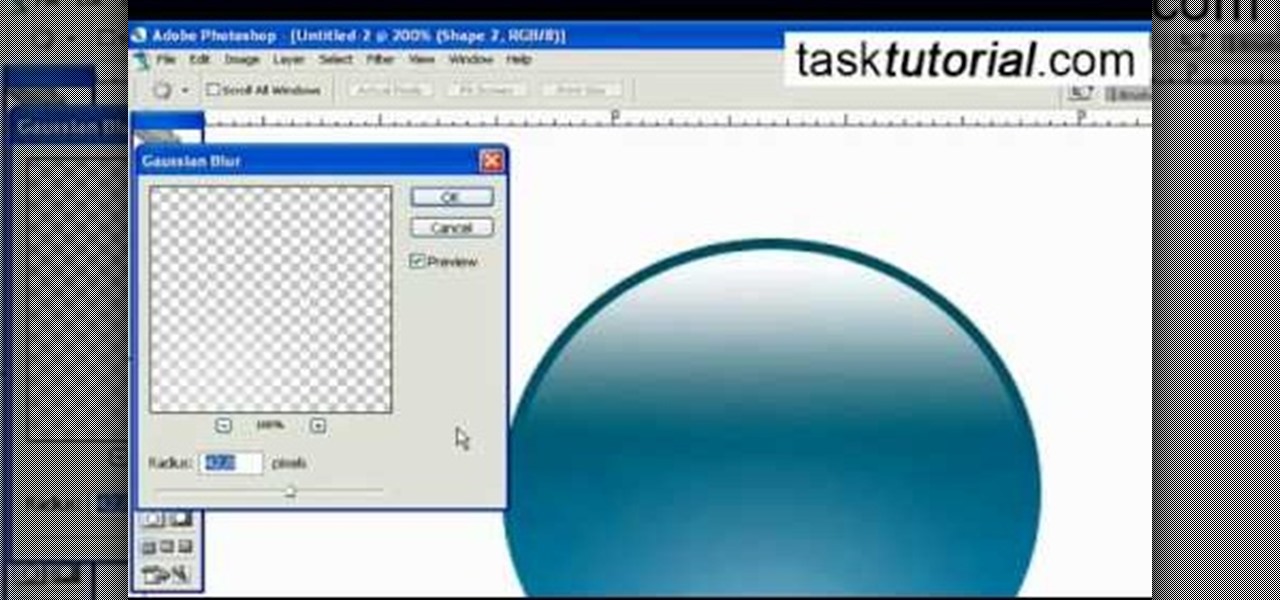
This video describes how to create an easy glossy button in Photoshop. This is done by "simpleretouch.com" website. First select the "Ellipse Tool" from the Photoshop tool bar and then drag it on the layer; it will give the ellipse shape in the layer. Select the "Blending options" from the "Layers" Menu by double click on the layer which is right below corner. From the blending options choose only the "Gradient Overlay" and in that we can choose color and its gradient as your wish. Now take a...

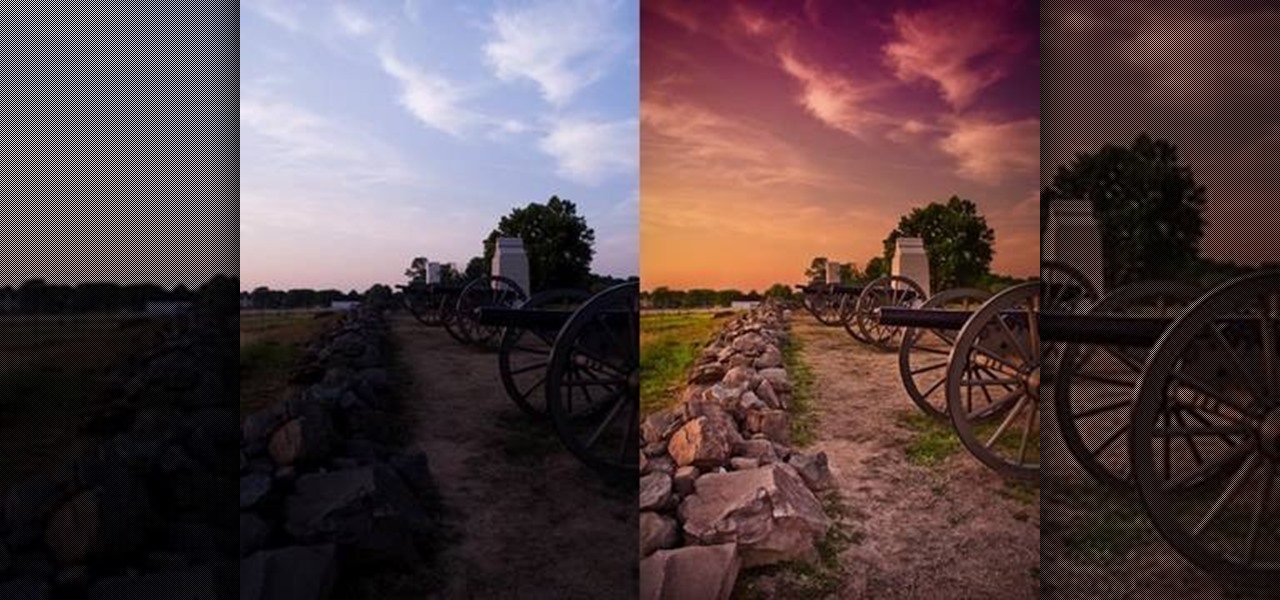
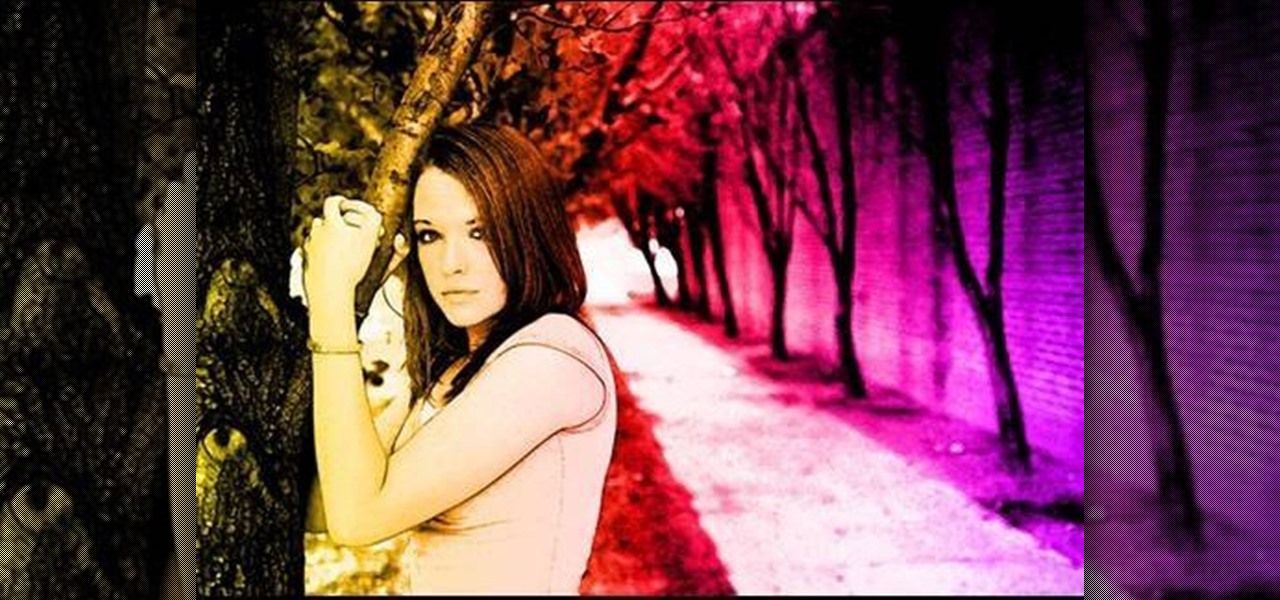
Tutvid shows you how to add flare and dramatic color to your raw camera images (usually the format of a DSLR). In a step-by-step guide with narration, Tutvid takes you through the process of using CameraRaw (used as an extension of Photoshop but never really brings it in photoshop) to add desired colors to your picture. Pull up your raw file in CameraRaw, and press "Command" or "Ctrl + R" to open up the editing panel. With an example, he shows you how to bring out lights in underexposed (dark...

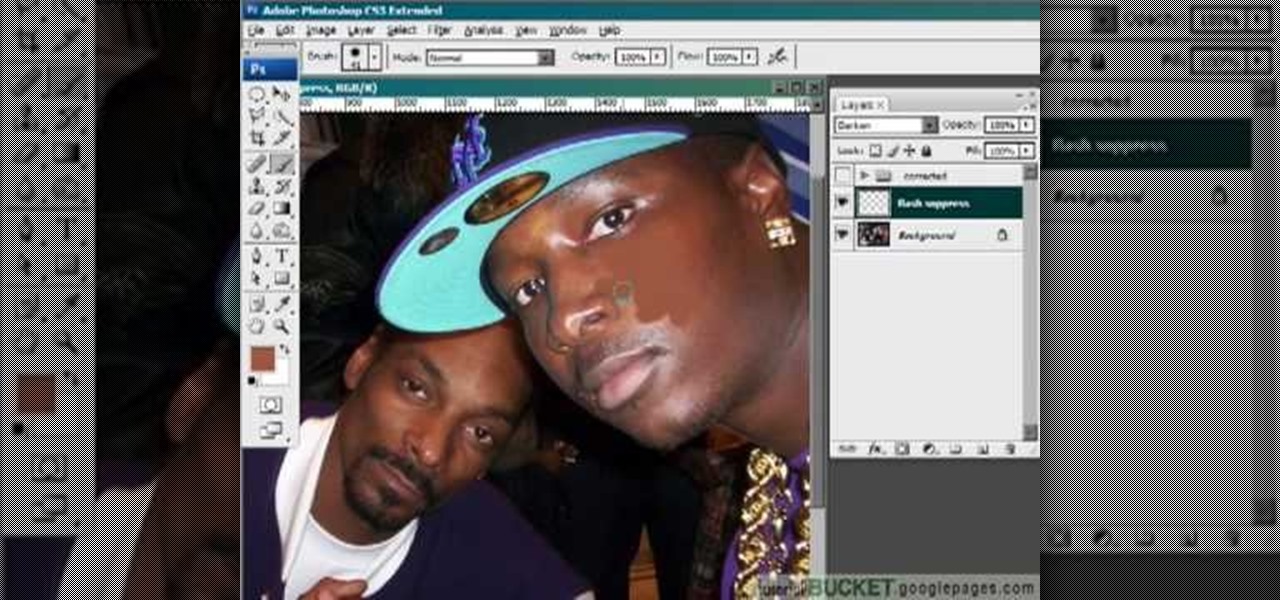
This video gives detailed instructions for removing a hotspot or flash reflection in a photo by using layers and masks. Start by adding a new blank layer and naming it something like Flash Suppress. You will use a special blending mode for this layer called darken. With your paintbrush you will loosely paint out the hotspot, having selected the color tone that you need with the eyedropper tool. Later on you can use layer masks to clean this up. Adjust the opacity of the layer until you have t...

This video is about sliding an object from left to right in Flash. We will be creating a simple, core animation in Flash. First, let's import an image to our scene. Place it here. Now, let's convert our image into a movie clip. Change the frames per second value. Now, go to the frame and enter the key frame. Bring the image here. Let's rotate our image a little bit using the free transform tool. That will give more dynamic animation. Go to frame 30 and hit F6. Now, we need to add motion. Chan...

Check out Systm's calibration lesson to make your HDTV a great as it was intended. PCMag's HDTV expert, Robert Heron, teaches us top notch HDTV calibration tricks using tools anybody can afford!

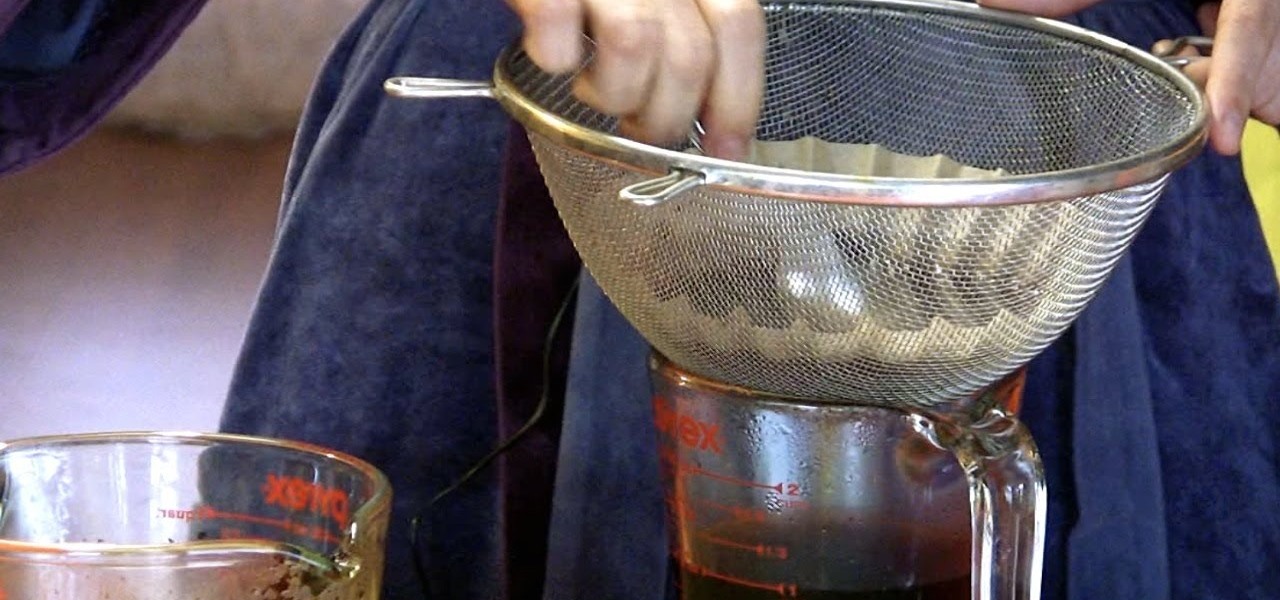
To make instant hot ice or sodium acetate, first pour two jugs of vinegar minus one cup into a large pot. Then, slowly add baking soda to the mixture and stir it. When the vinegar and baking soda no longer react, stop adding baking soda. Next, add the rest of the vinegar to the pot. Boil half of the solution off and cool it down to room temperature. For better filtering, add charcoal to the mixture. Filter out the charcoal with a wire sifter. Heat up the solution again and filter it through c...

In this video from AppleGenius0921 we learn how to export videos using Screenflow in HD. Launch Screenflow, make sure you're editing is complete and go to File, then Export. A window will come up asking the name you want to save it as and where you want to save it. Make a good title that is relevant to your video. Now click customize. Then click settings. Now go to compression type and double click H.264. Set the quality on Best. Click OK and use no filter. Now go to size and click 1280x720 H...

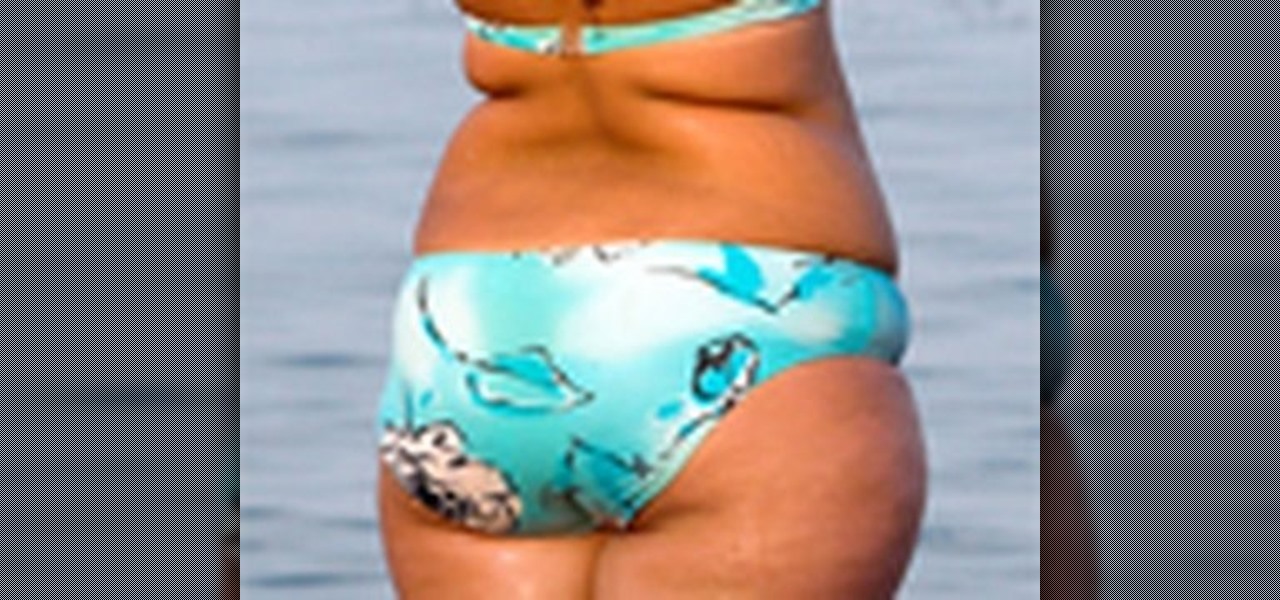
This video shows the method to do weight loss using Photoshop. Open the image and go to 'Filters' and 'Liquify'. Click on the 'Forward Warp Tool' on the left. Zoom into the back area and drag the mouse in towards the body to make it thin. Keep the 'Brush Pressure' high to get a sharp result. 'Brush Size' determines how large the brush is and the area affected by it. Use the 'Pucker Tool' and click on the ass to reduce it. Reduce the sides of the ass with the 'Forward Warp Tool' and reduce the...

If you want to learn how to add a fake depth of field in Photoshop this is for you. First start off with a picture that has clarity throughout the picture. The first thing to do is add another layer. To do this you must grab your first layer and drag it to the bottom right where it says new layer. You will now have two layers to choose from. The next step is to blur the top layer of the photo. To do this select the top layer go to filter at the top of your window and scroll down to blur. Sele...

In this Software video tutorial you will learn how to create shock style text in Photoshop. Go to the text tool and select it. Then select the font and a large size. Select white color and type in your text. Now create two copies of this text and select the original text. Then click on image > rotate canvas > 90 degrees clockwise. The text will turn by 90 degrees. Now go to filter > stylize > wind. Make sure under ‘method’, ‘wind’ is selected and under ‘direction’, select ‘from ...

Open the picture you want to edit. Right-click on the main picture layer in the box and then select "Duplicate Layer". Then, in the same box, go to the drop-down menu that says normal, and change it to "Overlay". Then, select Filter>Other>High Pass. In the box that comes up, set the radius to 7.4 pixels. Next, go to Layer>New Adjustment Layer>Gradient Map. Then, when the box comes up, click OK. Then click on the main gradient in the Gradient Map. In the new box, there is a bar that goes from ...

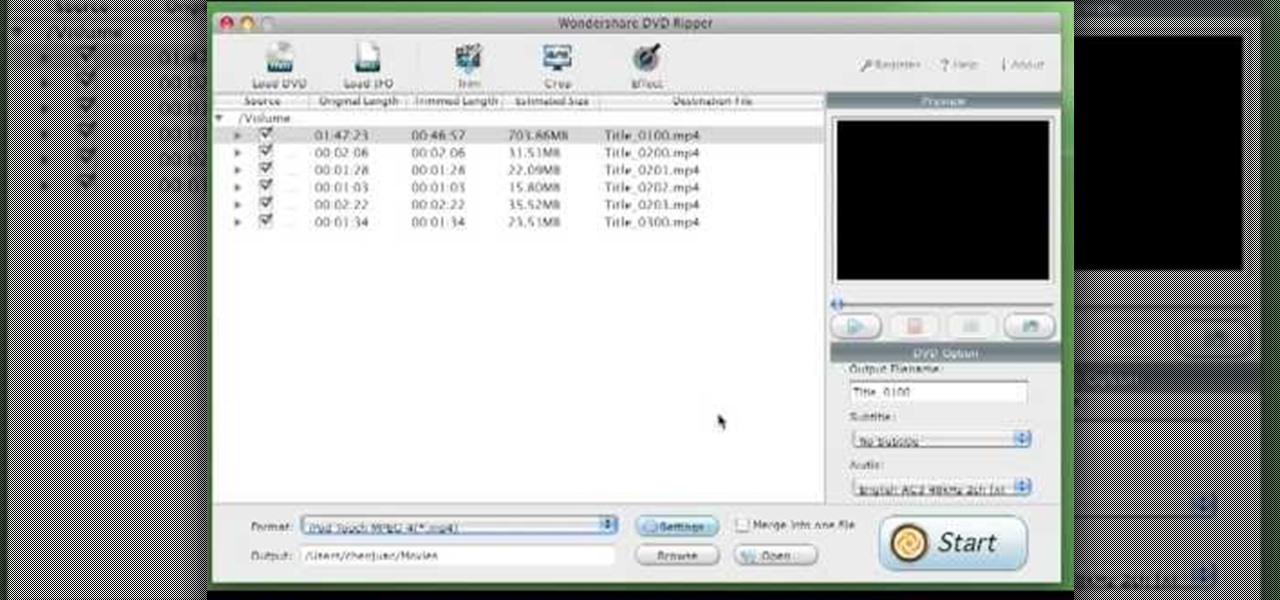
This video tutorial from burnworld shows how to use Wondershare DVD ripper on Mac computer. To start, open the application. Click Load DVD. Browse for DVD you want to rip.

Howard demonstrates how to control sharpening on your image in Photoshop. First, you want to copy your layer by dragging to down to the new layer icon at the bottom of the box. Next, go up to the menu bar at the top of the screen and click Filter, select Sharpen, and go to Unsharp Mask. A dialogue box will pop up so that you can adjust the how sharp your image is by using the sliders. Click OK when you are done. If you want adjust where you sharpen the picture go to the right side and click o...

In this how-to video, you will learn how to make grain textures in Photoshop. First, click add layer mask to an open image. Add a filter to this mask and by going to the texturizer option. Adjust the settings to your liking. Click okay to continue. The mask will make the texture transparent. Go to image adjustments and levels to adjust the intensity of the grain. Click okay to save the settings. Select the layer and then choose the color you want the grain to be. Make sure to lock transparent...

In this how to video, you will learn how draw a '56 Chevy truck with flames. First, draw the outline of the car. Next, go into it with the windshield and driver side window. Next, draw the two wheels on the side. Also draw the lines for the fenders of the car. Add in the grill and head lights of the car in the front. Finish the basic outline with the vents on the hood of the car and the details of the back of the truck. Next, draw the flames in with a red marker. Outline the flames with a yel...

In this how to video, you will learn how to liquify an image using Photoshop. First, open the image in Photoshop. Next, go to filter and select liquify. Use the forward warp tool to press pieces of the photo. Use the reconstruct tool to bring the image back to the original state. The twirl clockwise tool can be used to twirl pieces in the photo. You can adjust the pressure to twirl more. The pucker tool can be used to push sections into the image. The bloat tool can be used to pinch sections ...

In this how to video, you will learn how to make a reflection in water using Photoshop. First, open the image in Photoshop. Select the crop tool and select the whole photo. Click and drag the lower part down. Select the rectangular marquee tool and select the picture. Click on the selection and select layer via copy. Click the move tool and drag the upper point in the picture to the bottom of the document. Go to filter, blur, and select motion blur. Choose a -90 degree angle with a 35 pixel d...

1. First of all select 'filter' at the ‘top tool bar’. Now select the 'artistic' from the ‘drop down’. Then select 'fresco' and then click 'ok'.

In this how to video, you will learn how to swap faces using Photoshop. First, find two images that you want to swap. Select the lasso tool and trace around the face in the first image. Copy and paste it into the second image. From here, line up the eyes to the face. Next, you will have to match the face to the head by going to the hue and saturation window. Check the clipping mask before changing the settings. Next, adjust the settings until the face matches the skin color. Next, go to the b...

In this video, Kevin and Annmarie Gianni show us how to make almond yogurt. The raw almonds need to be blanched first to remove any bacteria. This is done by pouring boiling water over them for a few seconds. To make the almond milk, put the almonds into the blender and add water, using three parts water to one part almonds. Add a little honey or any sweetener that you like. Blend it and then filter it through a nut milk bag. The mixture needs to be lukewarm so heat it a little on the stove i...

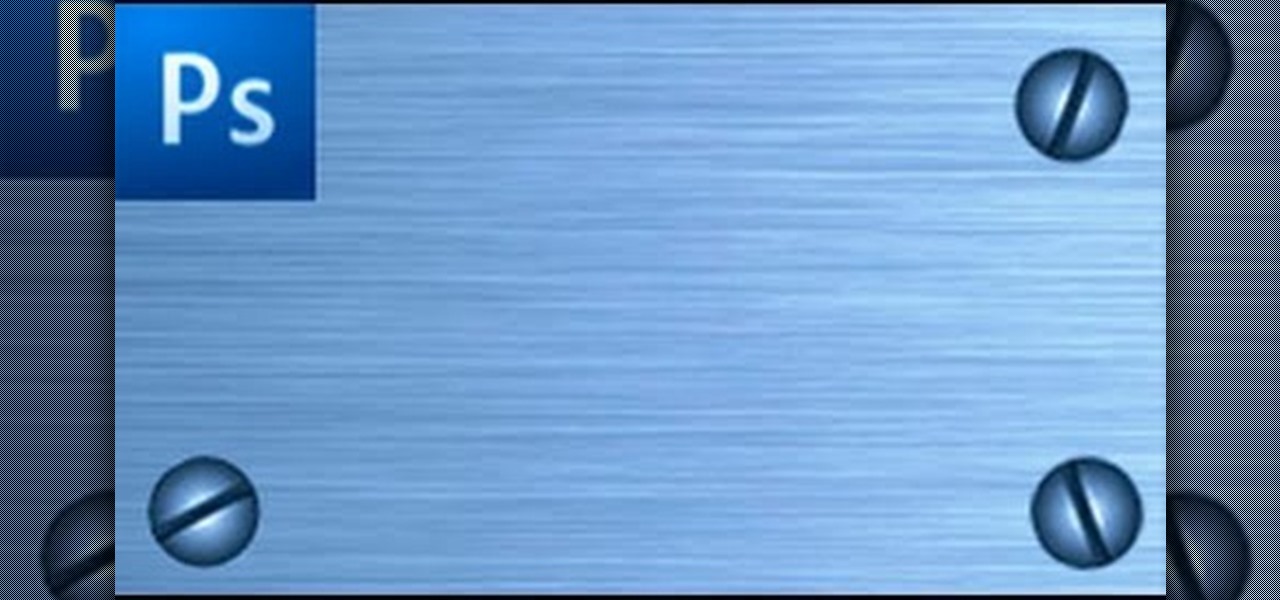
In order to make a brushed metal effects in Photoshop you should first go to your gradient tool and select a dark grey or a black and click okay. Shift and drag your mouse to create the gradient. Next, go to filter, Noise, and then add noise and change the percent to 40% and click okay. Now, go to blur and ocean blur and change the angle to 0 and distance to 100 pixels. Now, for the sides to look like brushed metal, crop those sides out. Now you have a metal effect. To make a screw, click on ...

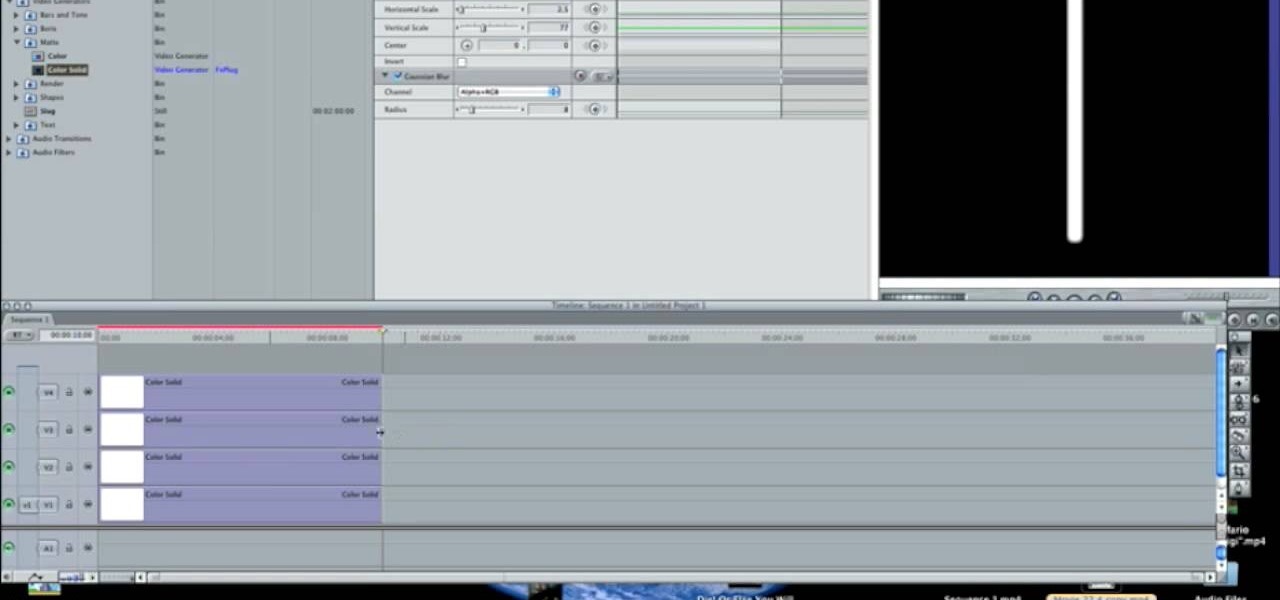
In this how-to video, you will learn how to make a light saber or similar image in the Final Cut Express program. First, go to the effects tab and go to video generators and select color solid. Drag this to the viewer. Go to the control tab and select the blue color. Now drag it to the time line. Double effect the color solid and go to mask shape. Select filters and change the effects settings to 2.5 horizontal scale. For the vertical scale, select 75 to 85. Go to the effects, video effects, ...

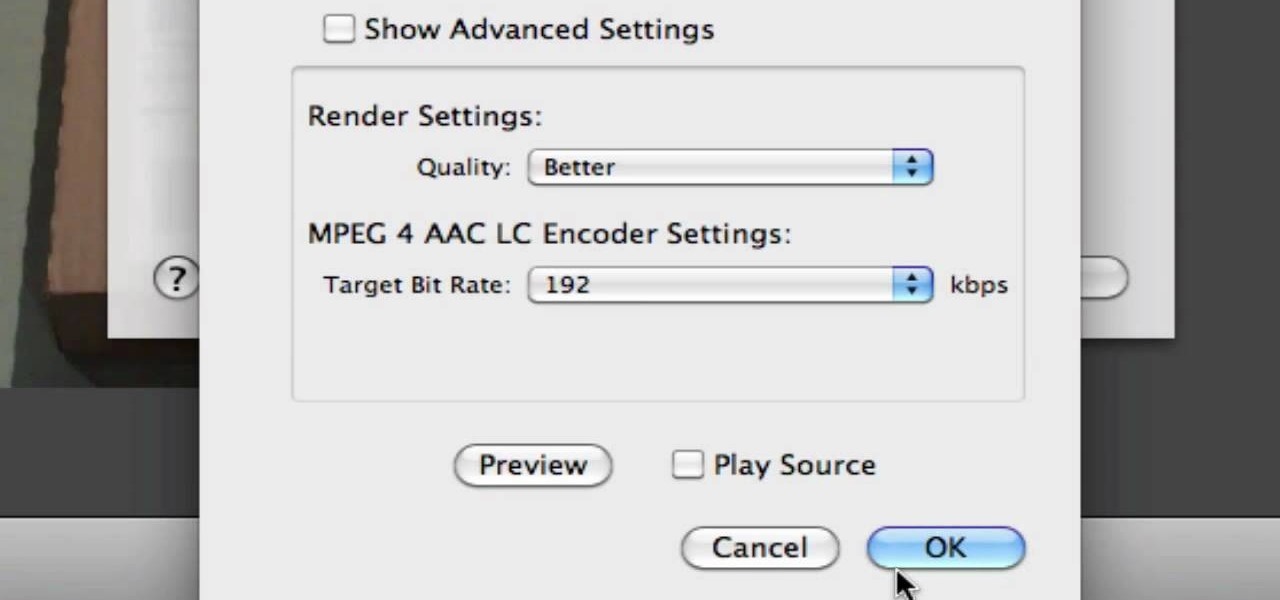
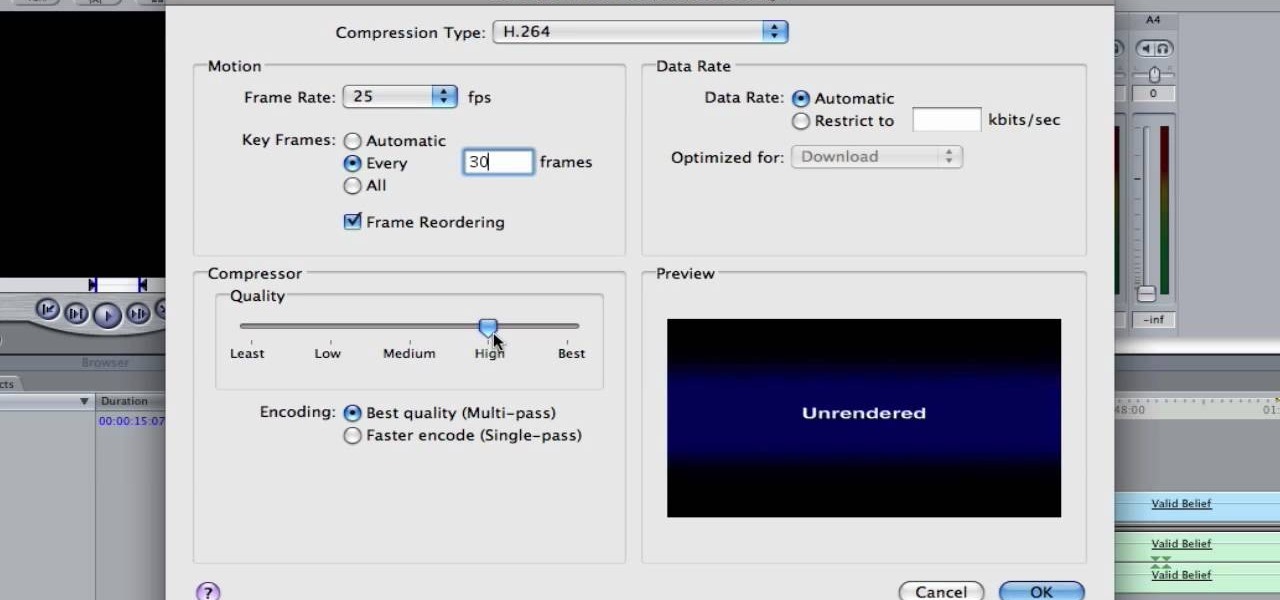
In this how-to video, you will learn how to get 720p quality videos in Final Cut Pro HD. This is useful if you want to take advantage of the higher quality video settings found on YouTube. First, have your film ready. Go to Export and press QuickTime Conversion. Now, name the file. Next, click options and uncheck internet streaming. Go to sound settings and change the format to AAC with a quality of Best. Now, go to the video settings. Change the size to 1280 x 720 HD. Change the frame rate t...

This video demonstrates how to prepare Iced Coffee. For this recipe, you will need the following: ½ cup of cold water, sugar, 1/3 cup measuring cup, coffee grinder, and coffee beans.

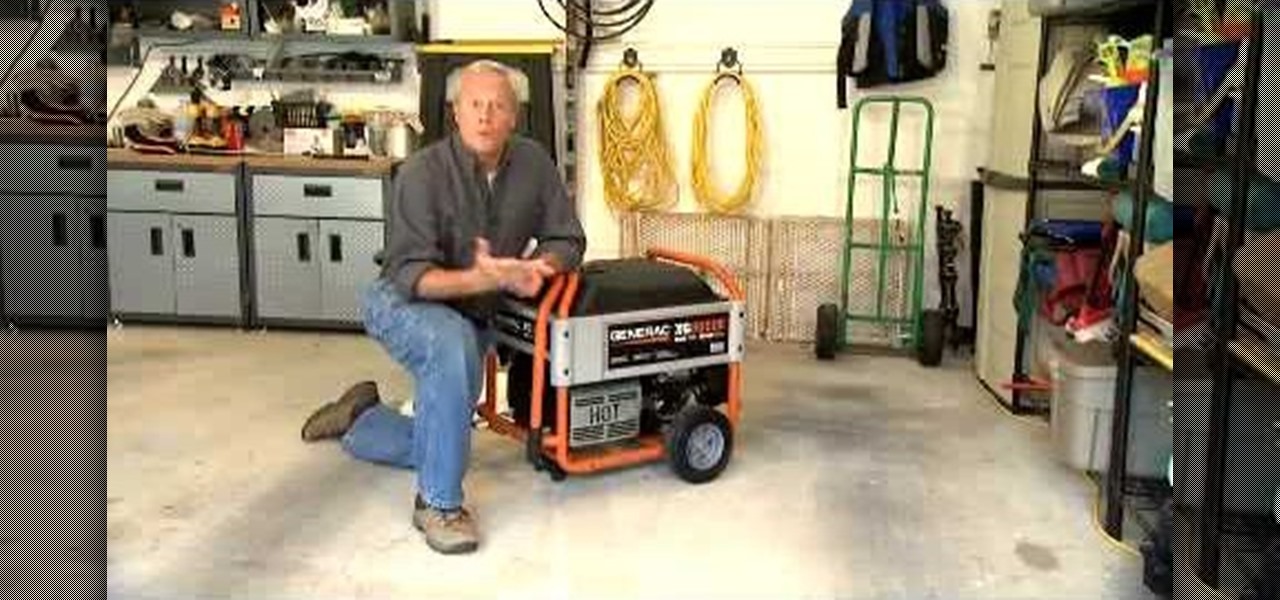
Danny Lipford gives us tips on setting up and maintaining a portable generator. Set-up usually includes assembly of things like wheels and handle kits. Most portable generators come without oil so you will need to add it. Be sure to check the owner’s manual for the proper type of fuel to use.

There are a lot of things that a flash can do for you when you are taking pictures. It can be used to fill shadows, light up subjects, and much more. The video demonstrates the various tilt and pan settings that the flash can be used in for bouncing light in various circumstances. Ceiling bounce tends to add unwanted shadows under the chin and eye brows when doing portraits. The side bounce from a pan adds light from a specific direction. Flashes have different modes to offer including pre-fl...

This is a video demonstrating how to make Thai Iced tea. The presenter explains that Thai tea mix can be bought at a local Asian market. She explains that it costs about 5 dollars. She says that one package can last a long time. Sugar and boiling water, ice and half and half is also necessary. A large pot is then filled with water and boiled. The tea leaves are then placed in the boiling water and are then mixed with a large spoon. The heat is on high and the tea is allowed to boil for 15 min...

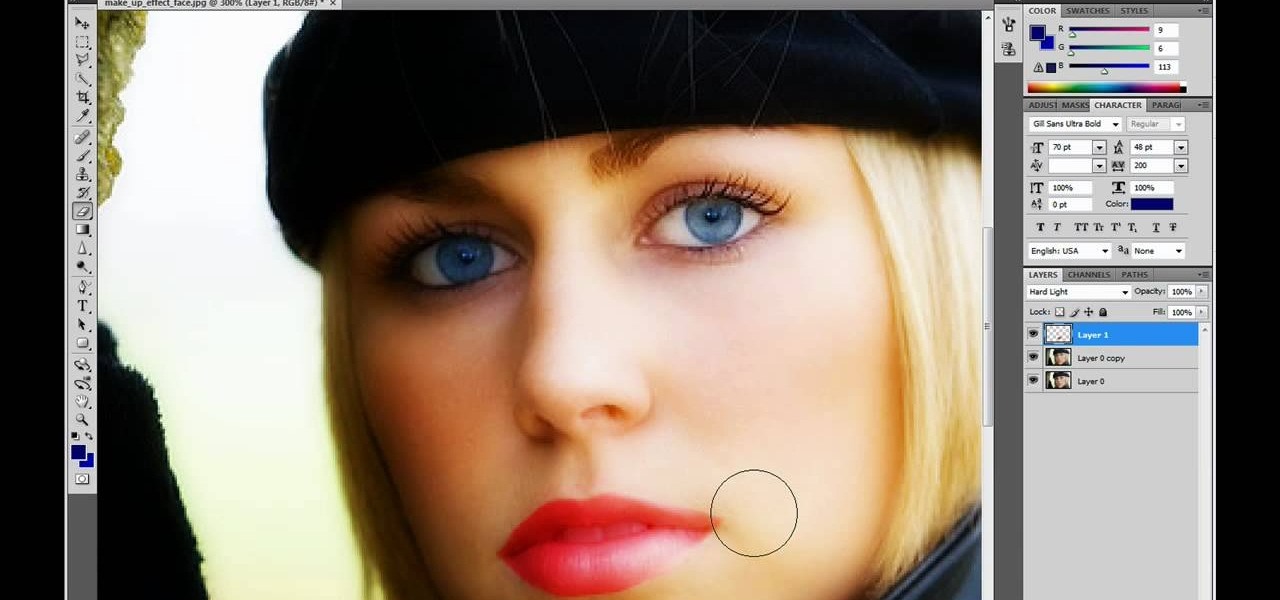
This video is describing how to retouch a photograph by using Photoshop CS4. The first step is to get a photo that you would like to edit, preferably of a person's face. Then make a new layer that duplicates the background, go to Gaussian blur, then go to hard light for your layer blending. Then draw lipstick on the model by using the polygon lasso tool and the hue/saturation tool. Then chase the hue and saturation to the correct color, then erase the edges that you accidently missed with you...

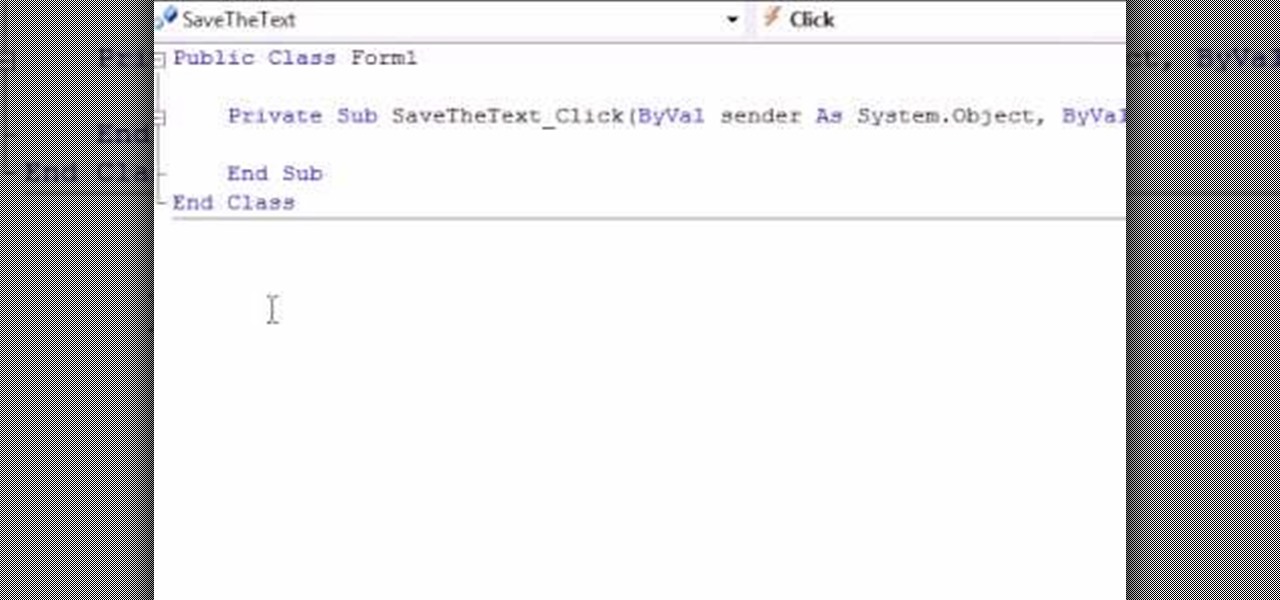
This video takes us through the process of using the Stream Writer and the Save File Dialog Step 1

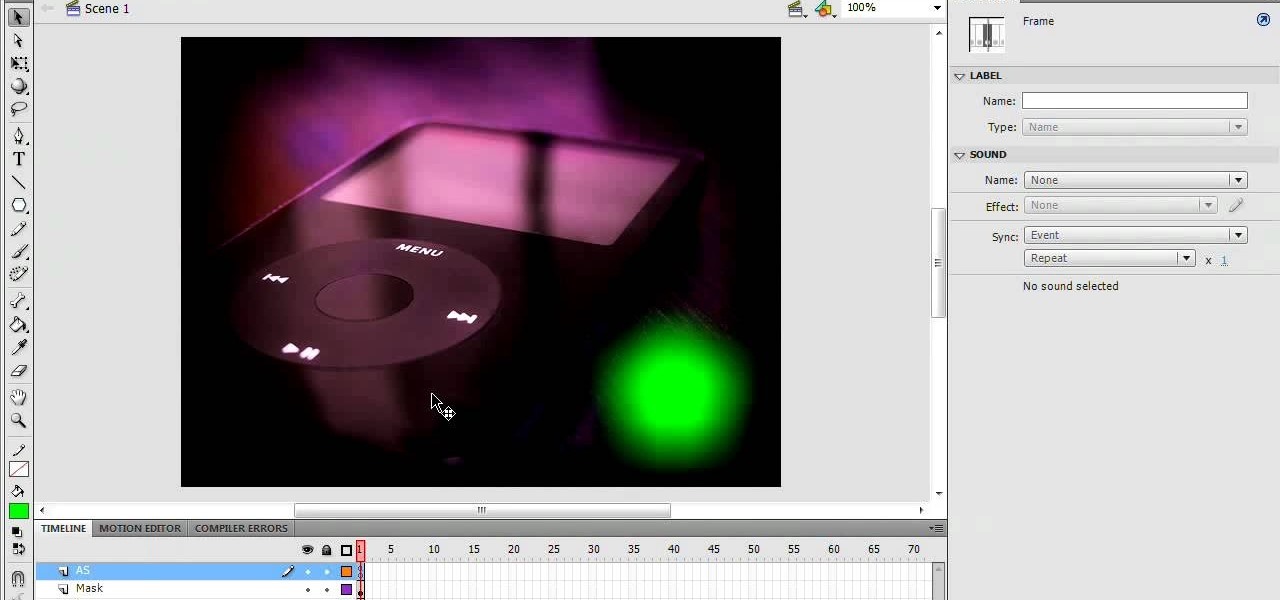
1. In the Flash Application go to new and select Flash File ActionScript 3.0. 2. Change the stage size to 600*450(width and height) in the property section. 3. Then goto file import image and select the background image. 4. Rename the layer1 to image and go to modify->convert to symbol and name that as mac-clip 5. Create two new layers namely Mask and As. 6. In the Mask layer draw a poly star image and convert it to movie clip symbol 7. Select As layer go to windows-> action, then add the eve...

Learn how to create a cell phone icon in Photoshop with this video tutorial. Draw a rectangle of radius 30 pixels by holding shift key. Right click on the toolbar and select Stroke button. It will open Layer Style dialog box. Set stroke color and set size to 2 pixels. Select Stop Color set little light red color and click on OK. Now, check on Inner Color option change size to 4 and Capacity value to about 60%. Now select Ellipse tool which will draw a ellipse and cover half of rectangle. Sele...

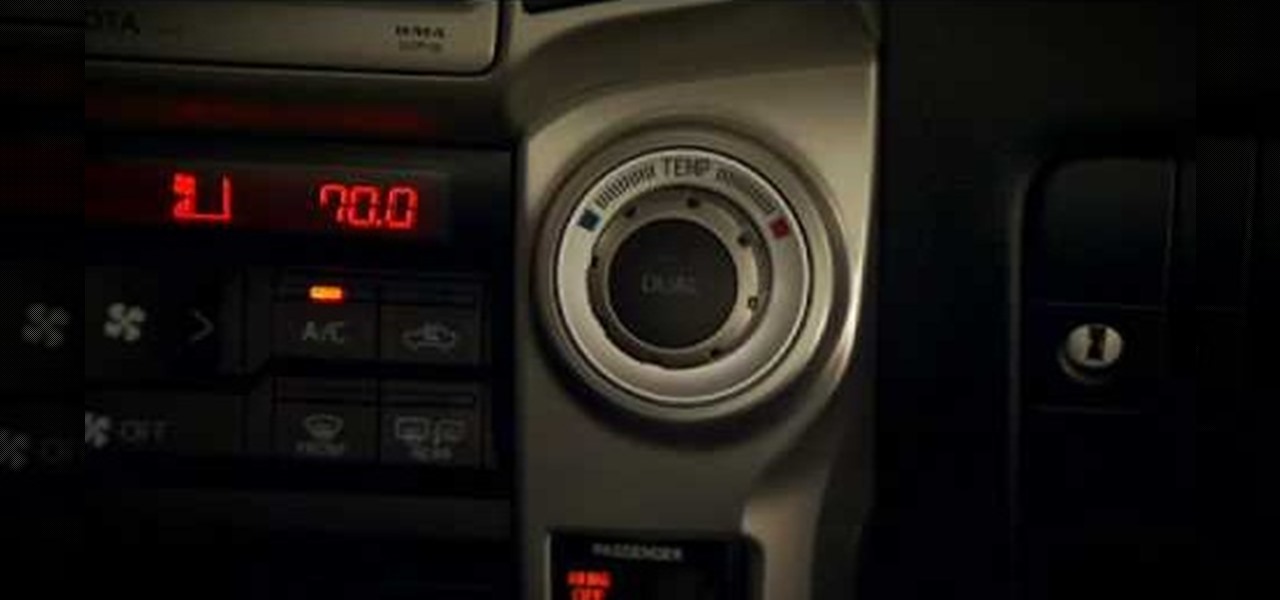
On 4Runners equipped with the automatic climate control system, the left and right hand knobs control the temperature settings for the driver's side and passenger's side. To use it, switch on auto mode by pressing the ‘auto’ switch on the left hand knob so the amber light is illuminated. Then press ‘dual’ on the right hand knob so its amber light is illuminated. Rotate the left hand and right hand knobs to set your temperatures. The system will maintain those temperatures. If you want the who...

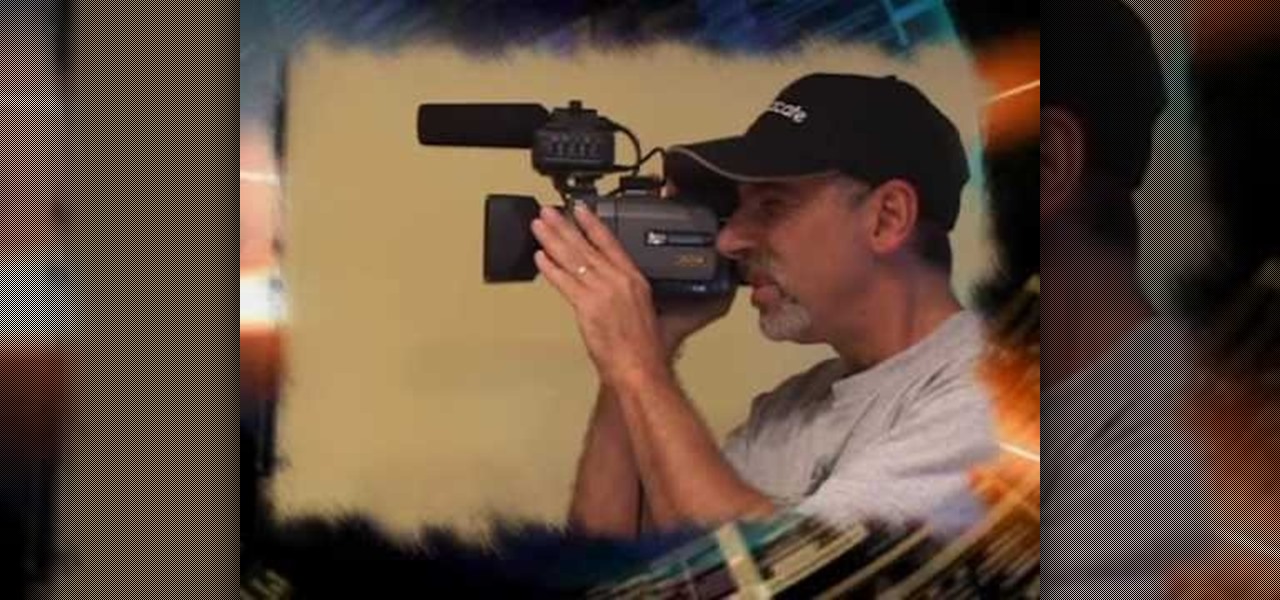
Understand basic video tricks. A great way to prop up your camcorder when you don't have a tripod and you want a low angle shot from the ground is to use a rubber doorstop. It stays put and you can move it up and back to set the shot higher or lower.

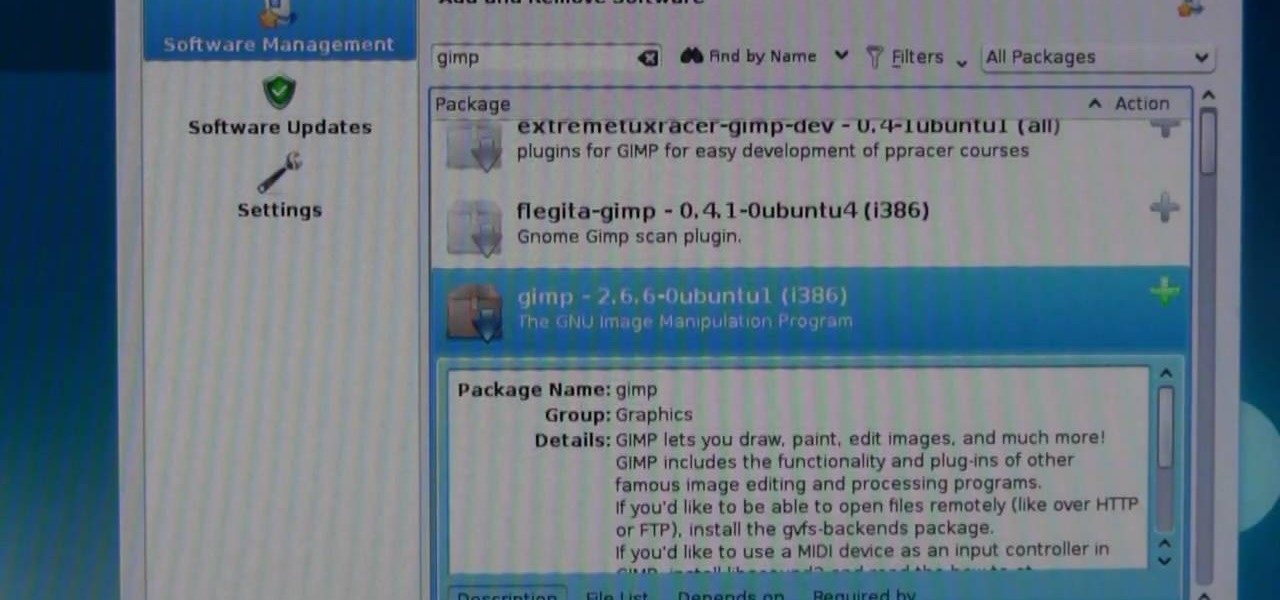
Finding Linux hard to handle after using Windows? Well this should help, here is how to install software on Linux. Start off by clicking on application launcher. Here go into applications, then into 'system' where you should find software management. In this program go straight into the settings and then edit software sources. Under 'downloadable from internet' make sure every option has a check against it. Now press the software management tab on the side. Now this is where you can get which...

If you ever wondered how you could make your internet web browsing faster, then this video will give you a crucial tip. The loading speed of web pages and web sites is greatly influenced by the type of web browser you are using. The narrator in this video suggests that you search for other types of web browsers besides Internet Explorer or AOL. The main web browser that is advocated by narrator in this video is Firefox. He explains how Firefox is able to load pages faster than Internet Explor...

Sick of spending your hard earned money on the bourgeois bubbly water? Why spend extra money on bottled seltzer when you can make it at home? Plus, by using fewer plastic bottles, you can reduce your carbon footprint.

Need to sort a ton of data in Excel? Why waste time cutting and copying cells? In this tutorial, learn how make Microsoft Excel automatically sort columns or rows alphabetically.

Want a perfectly clear ice cube for your beverages? While it doesn't change much besides the look, it can impress your house guests.

Professional camera cleaning is expensive and usually more than you need. Follow these simple steps to keep your lenses clear and smudge-free.

Impress your friends and become an expert mixologist with drinks that are "stirred, not shaken." You Will Need
