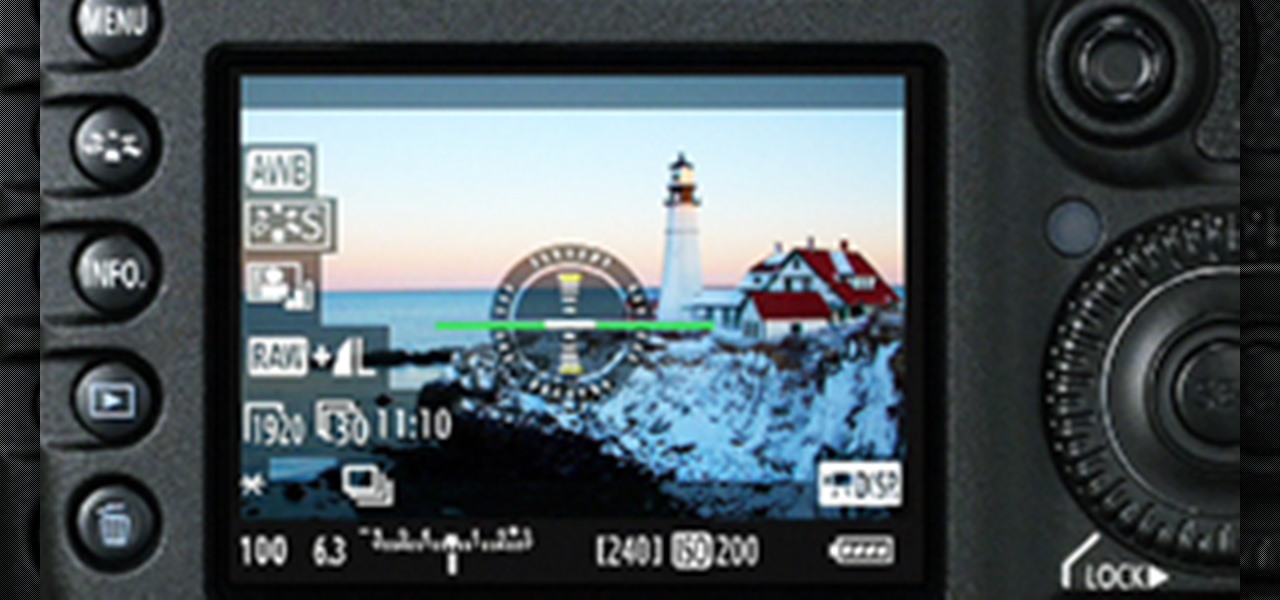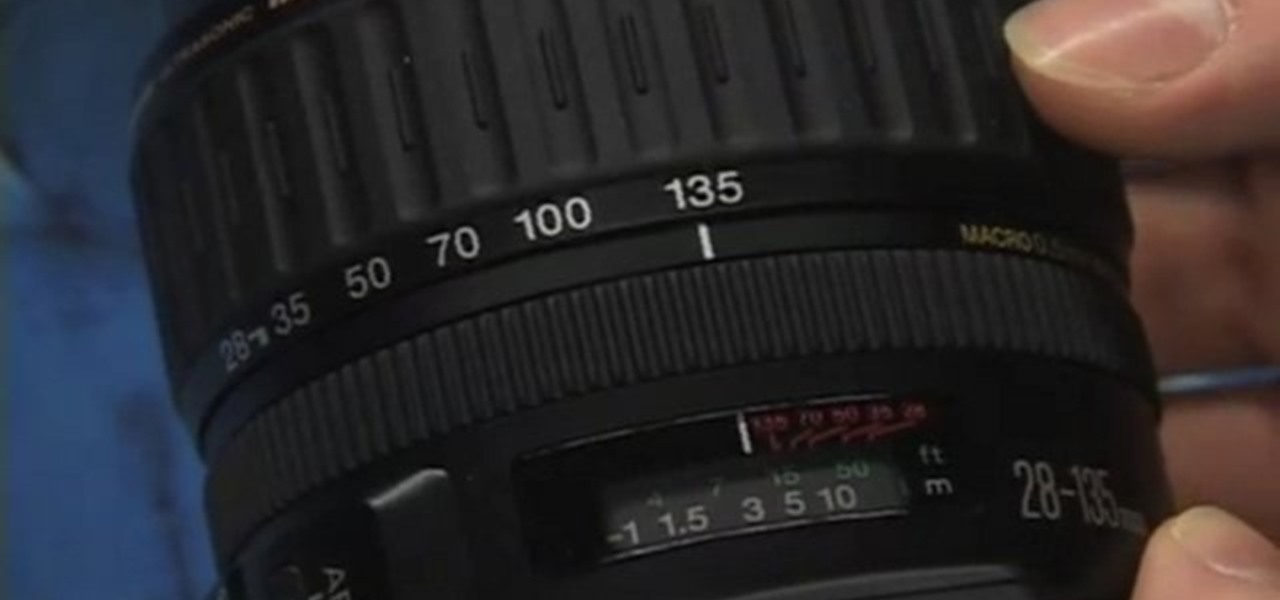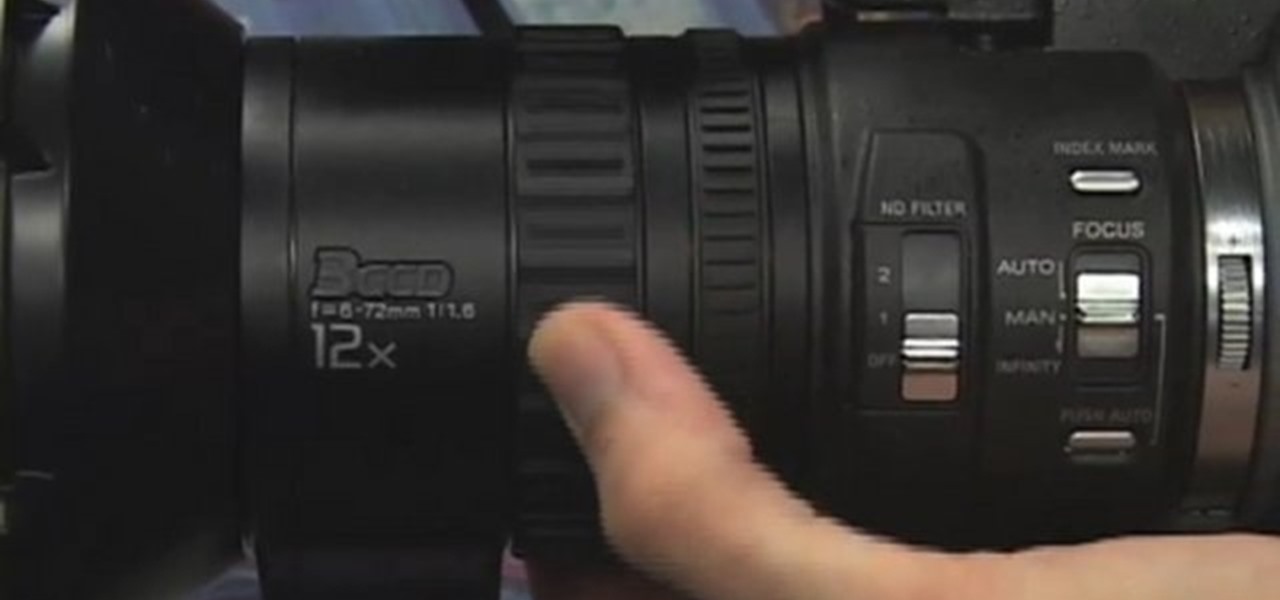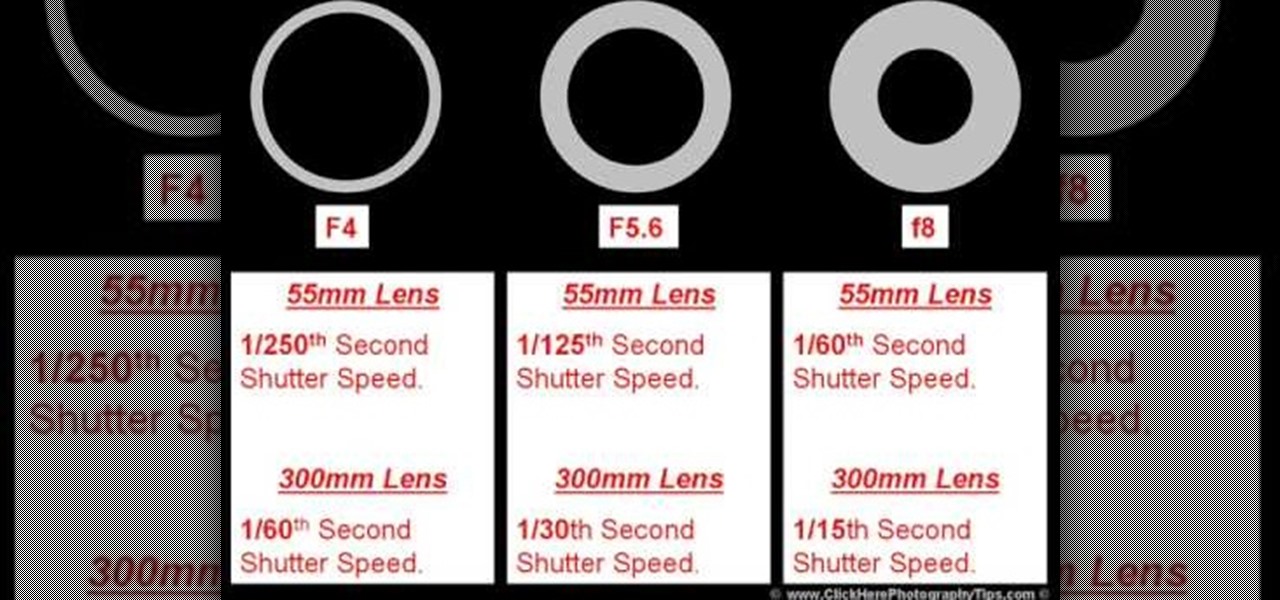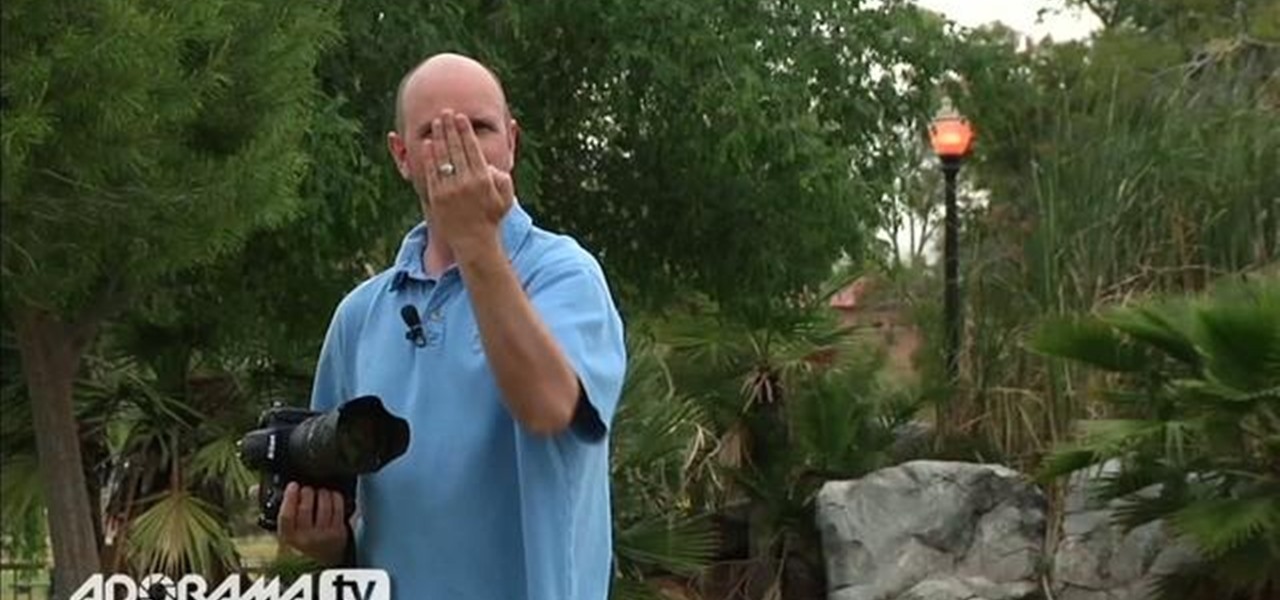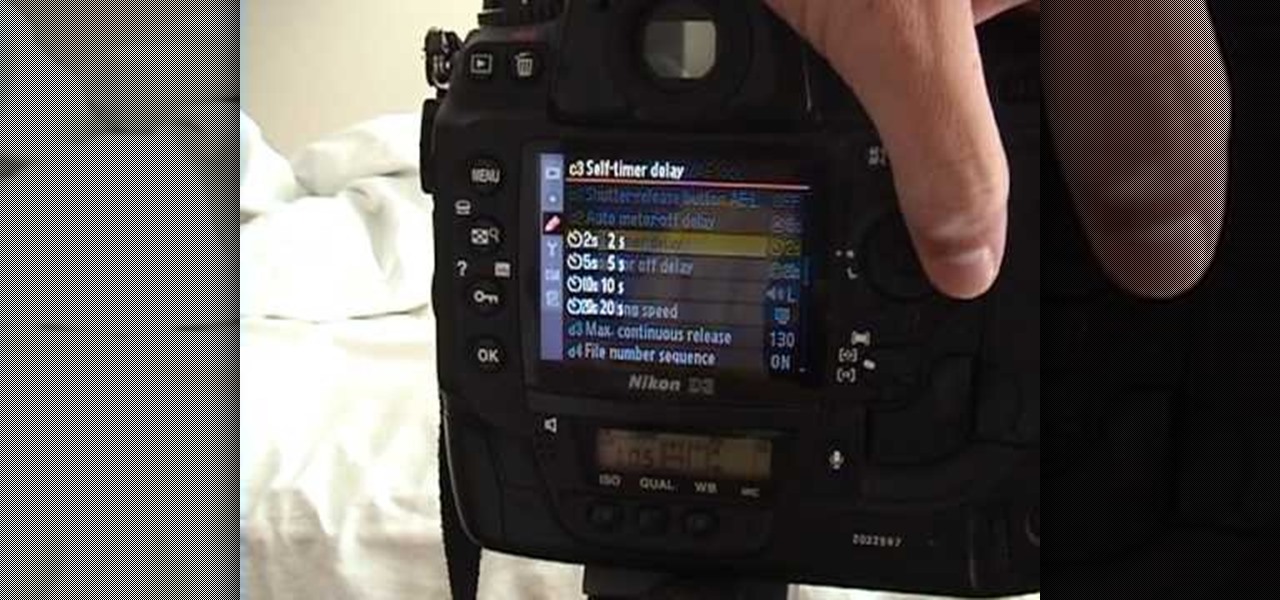
This video gives viewers an overview on how to use the manual settings of your DSLR camera. Aside from the Auto setting, your DSLR camera has the P-mode which is the program mode, S-mode which is the shutter priority mode, A-mode which is the aperture priority mode and finally the M-mode which is the complete manual mode. P-mode or program mode is more like the Auto-mode in your camera. You can't control your shutter speed and f-stops (aperture) however; you can manipulate the other settings ...
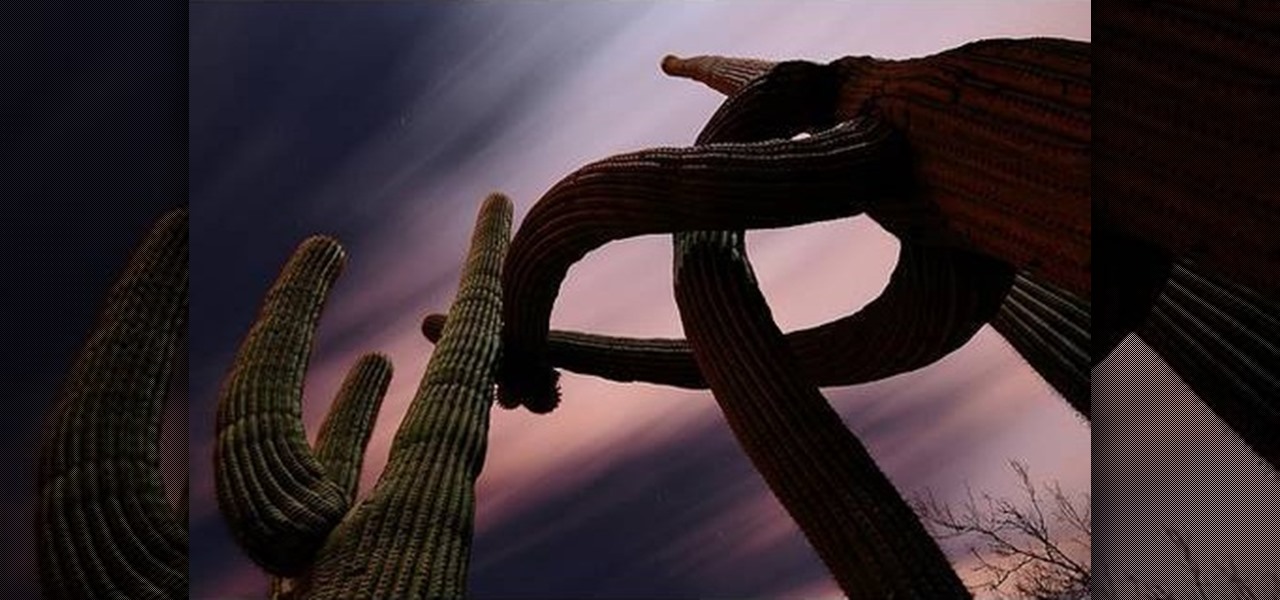
In this tutorial we learn how to take photographs using bulb photography. First, set your mode to manual and then you can adjust your shutter speed to thirty seconds. Once you go down this far, you an go into bold mode. When you hold down the shutter in this, it will constantly take this picture until you remove your finger. But, you don't want to do this for an entire 20 minutes. The easiest way to do this is to buy a remote control for the camera. This will allow you to press the shutter on...
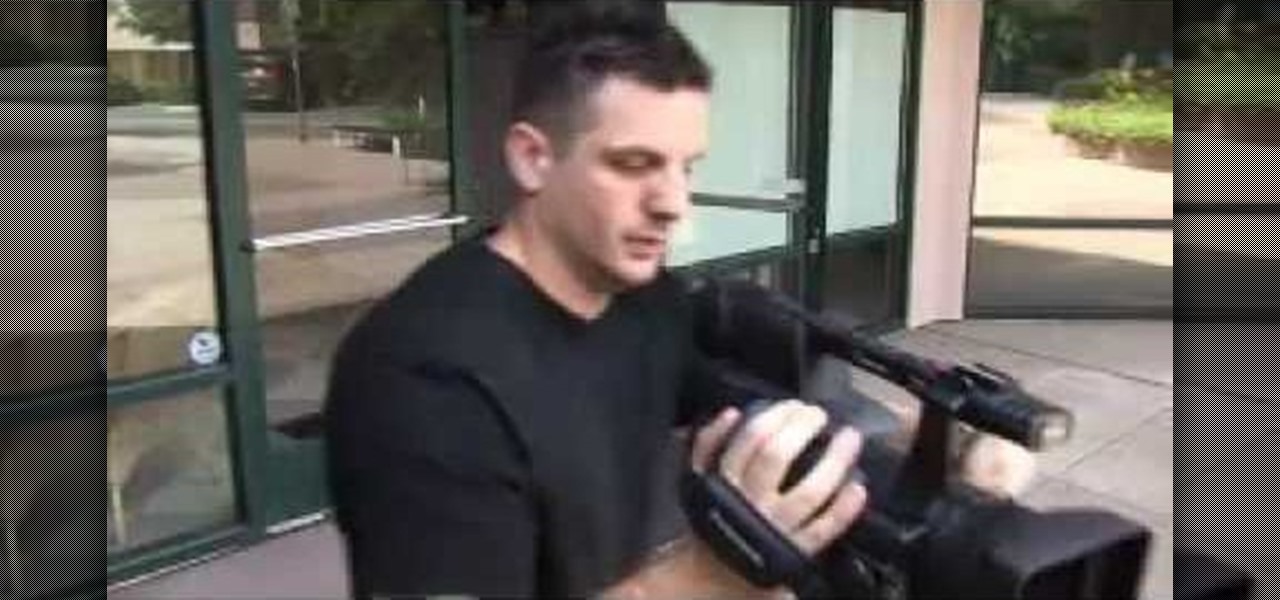
In this video, Tom Skowron introduces the use of 24p and several important editing techniques. Using 24p can make your film projects look like genuine films. Another way to improve the appearance of your film is to adjust the shutter speed. You should set the shutter speed at twice that of the frame rate. This will decrease the level of motion blur and give the film a clean and crisp appearance. If you use 24p and adjust your shutter speed to the appropriate level, it will look like you spent...
A light meter can prove to be an invaluable tool on any film set, allowing you to quickly and efficiently set lights and know the correct exposure values of those lights. Light meters were initially designed for still photographers and cinematographers can easily calibrate them to a given film stock speed for shooting film. But what about today’s digital cinematographer? I’m glad you asked. In this video tutorial you'll see how you can use a light meter to quickly and efficiently light a scen...
See how to shoot a time-lapse video using a DSLR and intervalometer. This video tutorial covers everything from settings you should use to making the time-lapse video in QuickTime.
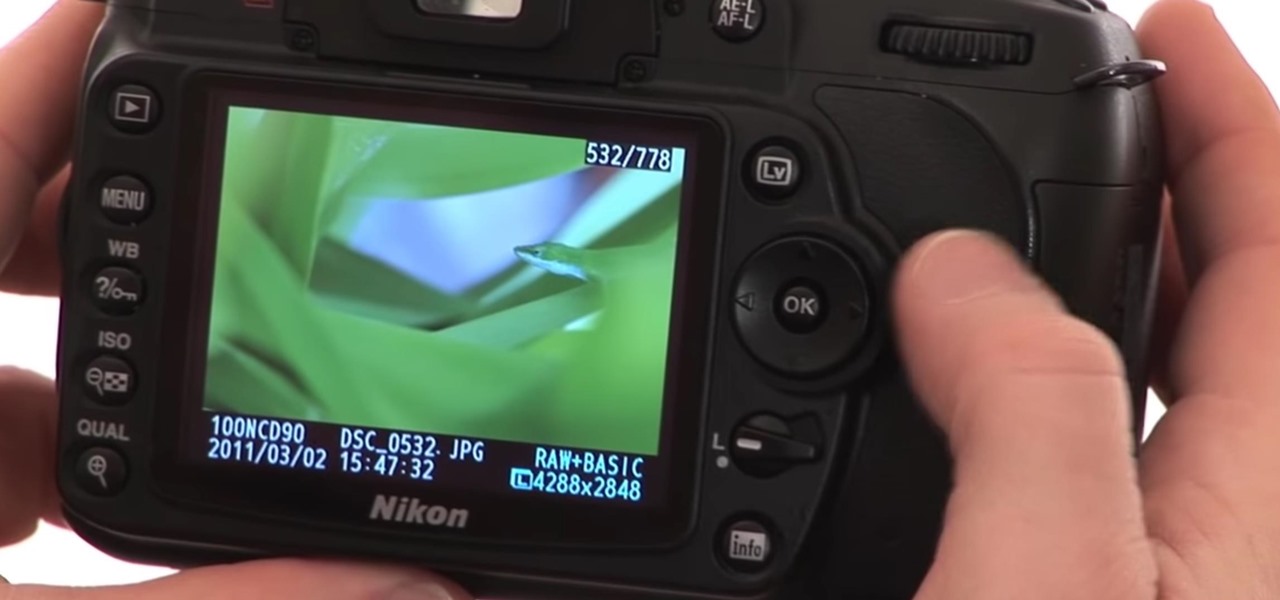
Watch this instructional video brought to you by Richard Berry to learn how to operate the Nikon D90. This Nikon D90 video tutorial demonstrates how to use the control dial (auto mode, scene modes, program [P], shutter priority [S], aperture priority [A], and manual [M]); read the display and viewfinder; adjust the aperture, shutter speed, focus, spot meter, matrix, exposure compensation, etc.; use the back command dial; and more. Use this Nikon D90 tutorial to familiarize yourself with your ...

Mark Wallace explains shutter speed, sync speed, and key shifting by explaining basic flash photography.

In video shooting, it's always best to select manual focusing on the Canon OES 7D digital SLR camera. If you need to adjust focus during filming, then you can manually refocus when needed, but there are also powerful autofocus options available. Watch this to see how to change the movie mode settings for your needs.

Check out this video tutorial to show you how to use a Canon Rebel digital SLR camera. This video was made by the equipment room at CUNY Journalism School in New York.

Check out this video tutorial to show you how to use the Sony DSR-PD170 MiniDV camcorder. This video was made by the equipment room at CUNY Journalism School in New York.

Systm is the Do It Yourself show designed for the common geek who wants to quickly and easily learn how to dive into the latest and hottest tech projects. We will help you avoid pitfalls and get your project up and running fast. Search Systm on WonderHowTo for more DIY episodes from this Revision3 show.

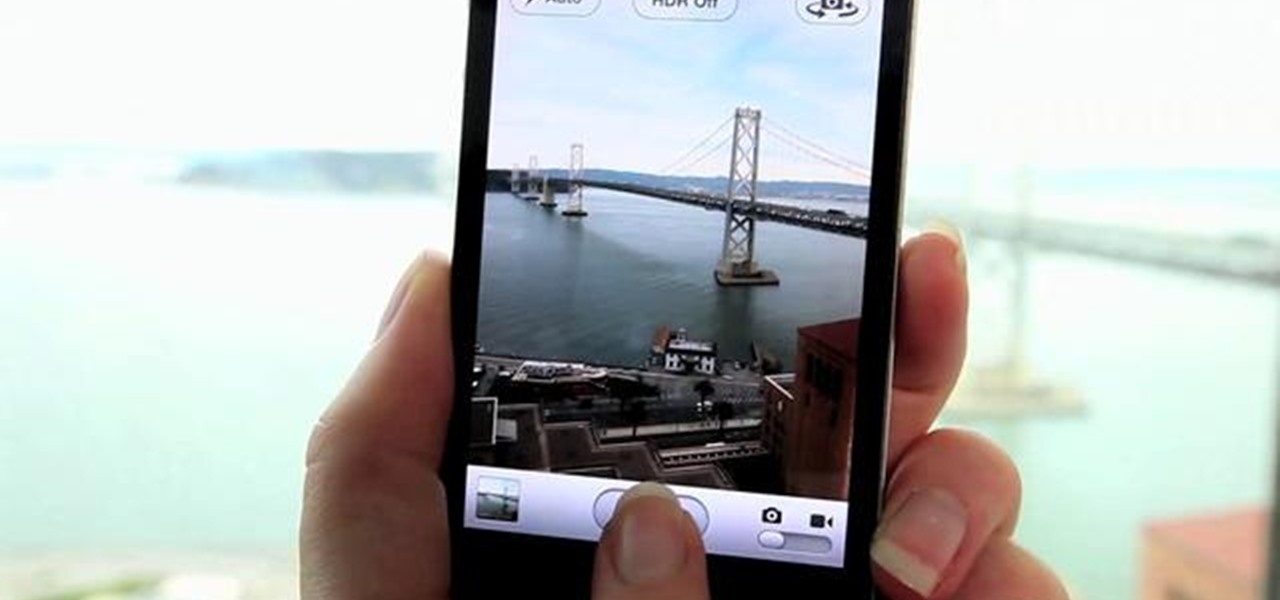
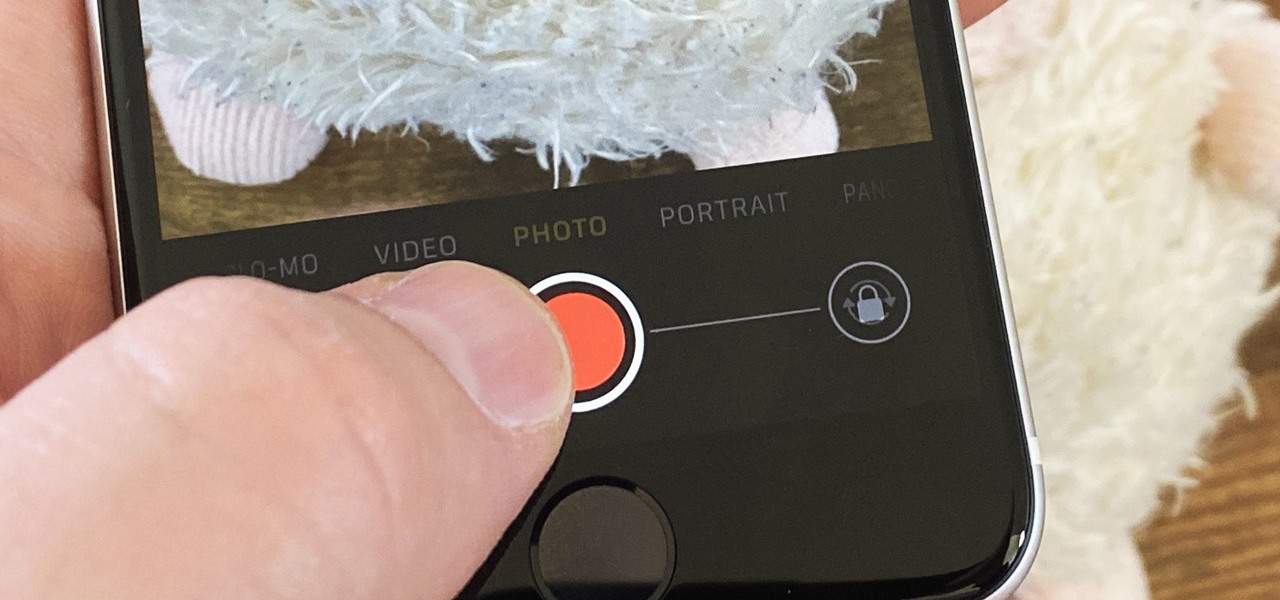
Here's a quick, easy and useful tip: The next time you go to take a picture on your Apple iPhone, try holding the shutter button down as opposed to tapping it. The reason? Tapping can destabilize the camera, resulting in motion blur. Whereas holding the button will ensure that you get a great shot.

There are four variables a digital photographer must keep in mind when shooting pictures to ensure correct exposure: ambient light, shutter speed, f-stop and ISO. Also, keep all your images crisp and sharp, even if you're shooting in a low-light setting.

Have you ever found your video images over-exposed? Or under-exposed?

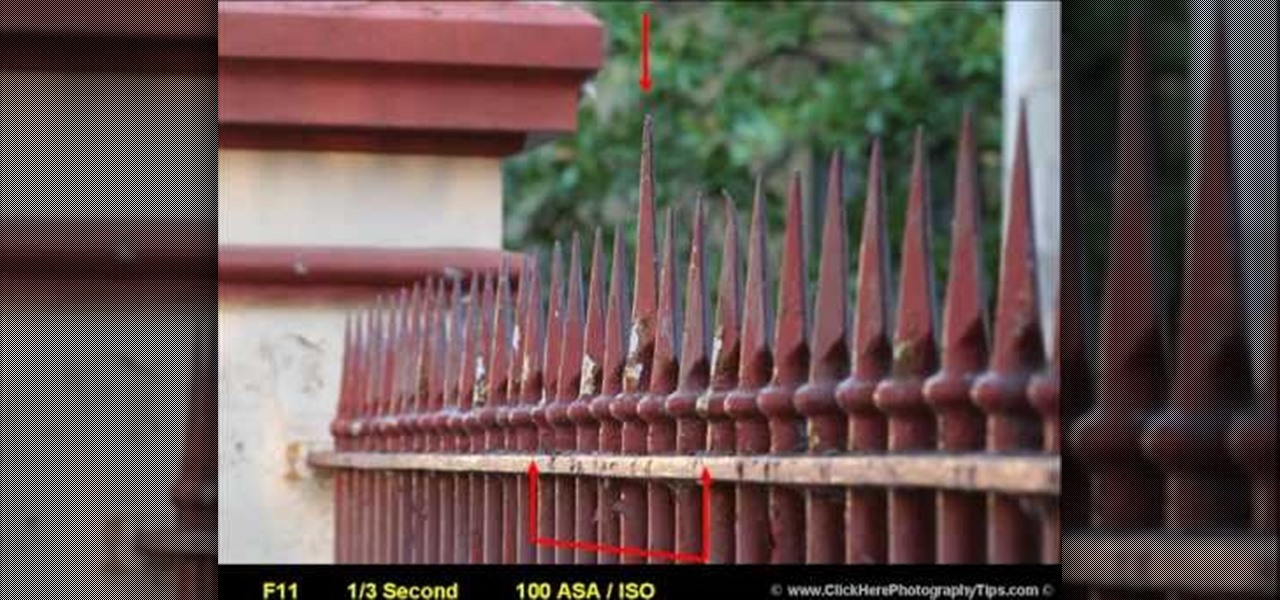
To understand and use depth of field you should realize that depth of field is the area behind and in front of your focusing point - the thing or object you are shooting. Depth of field is determined by apreture or f -stop, the shutter speed of your camera and the focal length of the lens. If you have the right combination of shutter speed and the f-stop, your picture will have the right exposure. If you change either the f-stop or the shutter, you need to remember to adjust the other! Differ...

In this tutorial, we learn how to create stop motion light painting for animation

When shooting action shots such as runners, bikers, cars, or sports shots, a cool effect that you will see in a lot of professional photography where the person is nice and clear, but the background is blurred to give the intention of being in motion and having a lot of speed. A slow shutter speed is a part of it to capture the image while still showing motion in the photo. In this video you will get tips on how to create the panning effect that will create the desired effect.

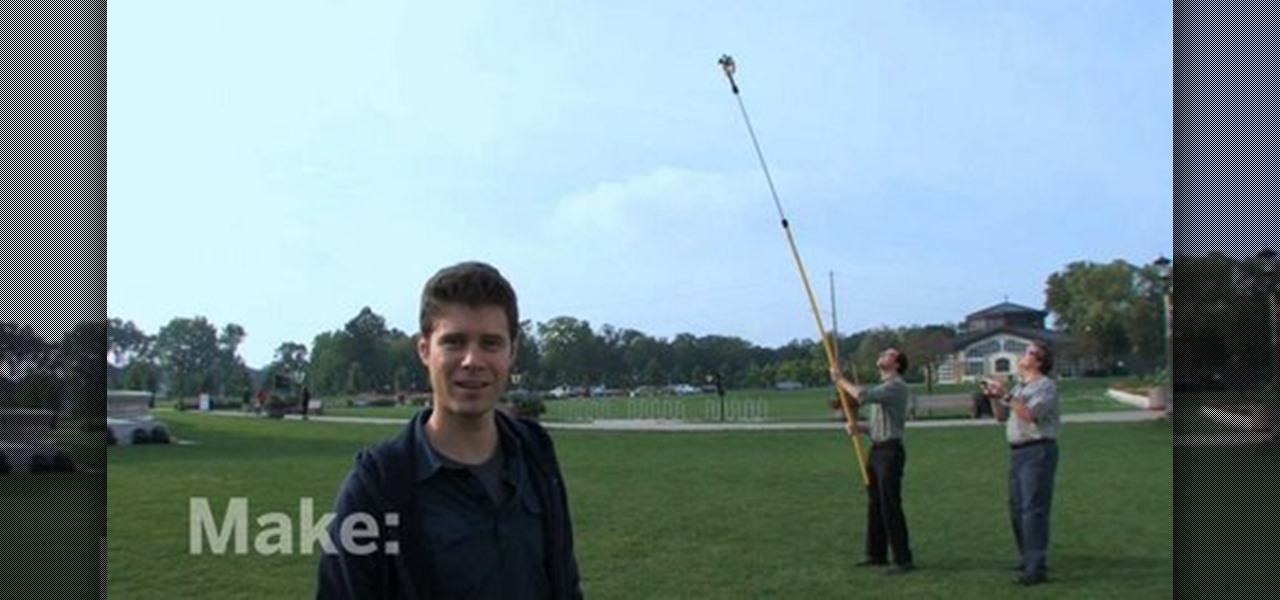
In this tutorial, we learn how to make a pole camera with John Park. You can take some amazing pictures by just using a pole to mount your camera onto and take pictures with. Most cameras will work with a general pole as long as they have a tripod mounting pole. To help you press the shutter button the camera while it is up in the air, you will need to create a rig that will press it when you trigger it to press. After this, you will need to build an inner frame that tilts up and down to take...

If you're starting to use your digital SLR for the first time, it can be quite confusing to determine what all its functions mean as well as where to find them and how to use them.

Got a Canon Powershot whose resolution or functions are not cutting it for you? Then amp up its abilities - without flat out buying a new camera - by checking out this digital camera hack video. By modifying the camera's firmware you'll be able to add games as well as a manual mode for ultimate control of how you produce your images.

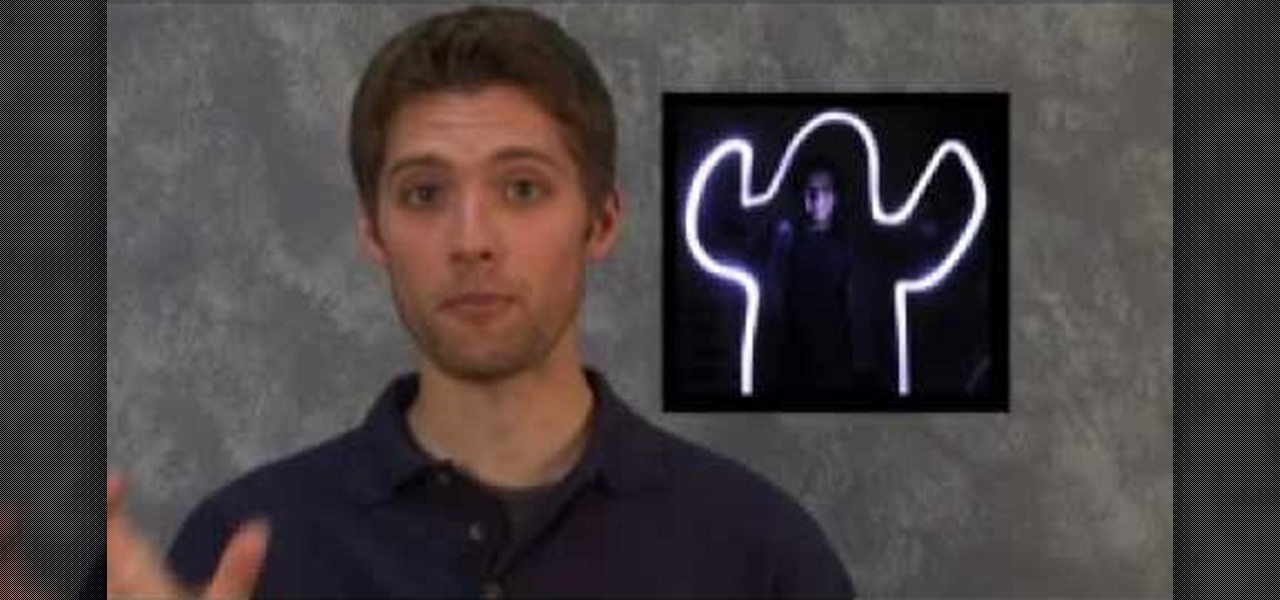
This video shows you how to light a bottle with long exposure in photography. The end result is to have a picture of a bottle with glowing edges with a black background. For starters you set your SLR camera settings to a 30 second manual shutter speed and a f5. 6 set aperture. Put the camera on a tripod for steadiness and set up your subject. For the subject, on a table, place your bottle in front of your chosen drop cloth. It is best to choose a color similar to the bottle. Then you use a li...

Attention photography lovers! Put down the digital camera for a day and try this DIY project out, constructing a camera that dates back to as early as 4th century BC.

This software tutorial shows you how you can blend three differently exposed images using Photomatix, and then demonstrate how to use some basic Photoshop techniques to touch-up the resulting image. [Note: the Flash overlay in this video doesn't sync completely with the audio; pausing for a second and then resuming it fixes the problem.]

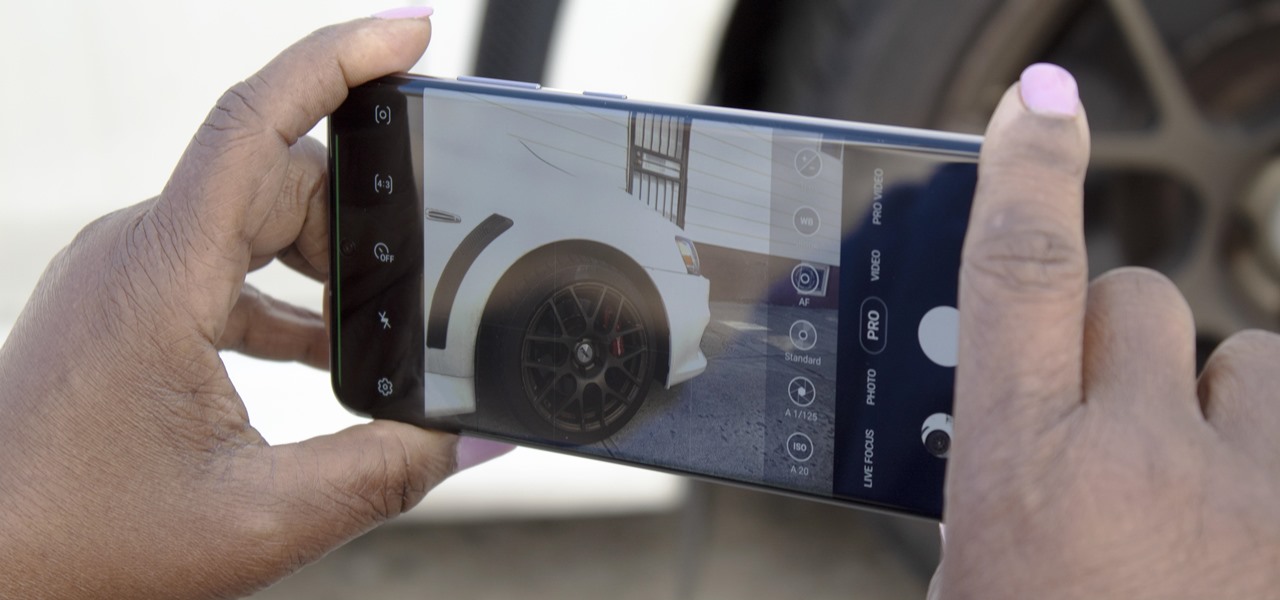
No matter how many camera improvements a phone adds, you're always better off using manual mode. Known as "Pro Mode" on the Galaxy S20, this feature can remove Samsung's pre- and post-processing from photos, putting you in total control.

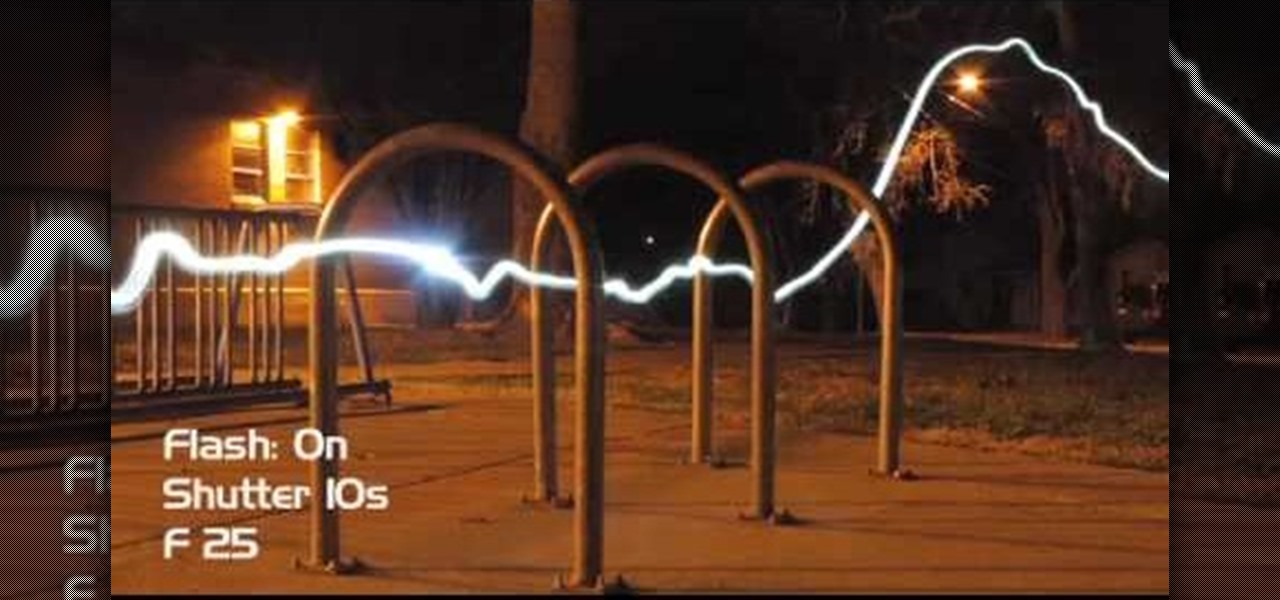
Make sure your camera is set to the Manual Mode. Then, adjust your camera to your desired shutter and aperture settings. Make sure the pop-out flash button in your camera works. Prepare night lights such as sparklers, glow sticks, and flash lights as props.

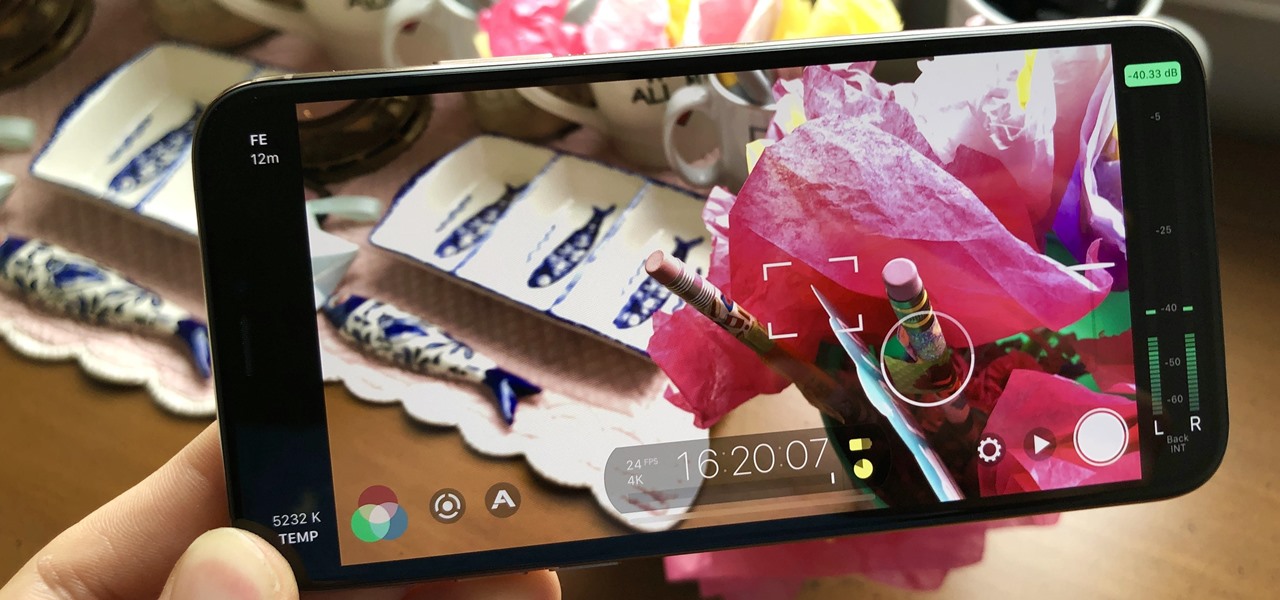
If you have a modern iPhone, you have an excellent video recorder at your disposal. Every iPhone since the 6S has the ability to shoot in 4K resolution, and each new iteration has brought new capabilities to the table. But even the best mobile shooter can use a little extra help. That's where these video recording apps come into play, to ensure the footage you capture is as good as can be.

Learn how to use depth of field with help from this photography tutorial. Although it may seem that depth of field is a confusing factor in photography, it's actually quite easy to understand & adjust once you've gotten the hang of it. Depth of field (or, DOF) is a great way to experiment with your photography & improve your skills as a beginner photographer. When taking your photograph using DOF, it is imperative to remember that the shutter speed and aperture (or F-stop) need to change at e...

Try "unfocusing" your photographs for some dreamy, evocative and somewhat abstract takes on life. Check out the two tutorials (here and here) from Michelle Geoga of Lights! Camera! Photoshop! for tips on unleashing the blur-power of your camera. You can see plenty of example images there to help you out.

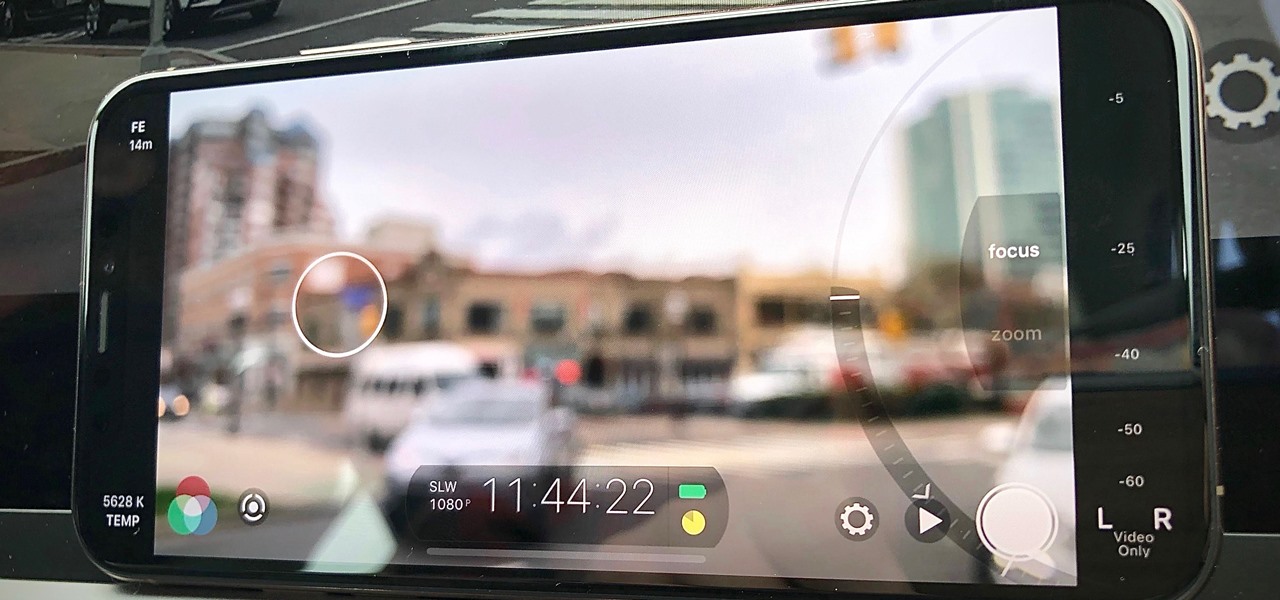
There are many reasons to use Filmic Pro if you're a mobile videographer. Chief among them is its automated controls, called "pull-to-point" sliders. These pull-to-point controls not only allow you to manually adjust focus, zoom, exposure, ISO, and shutter speed before and during the action, they also let you set start and end points to automate each function, leaving you free to focus on filming.

Go through a six-step checklist to cover shutter settings, white balance, setting your ISO (depending on indoors or outdoors), choosing a good picture style, picking an appropriate shutter speed and lastly, check your focus! Now that you've gone through this checklist, you are ready to start shooting!

In this video, we learn how to do night photography with your kids. Glow sticks. flash lights, and ghost images are great for night time! First, put your camera in the manual mode and then learn how to set the shutter once you're in manual mode. Put the pop up flash on your camera, then get started taking pictures! Use glow sticks to take pictures of the children, giving a cool effect on the photos. Use different shutter speeds on the camera to capture the sparks on the glow sticks and with s...

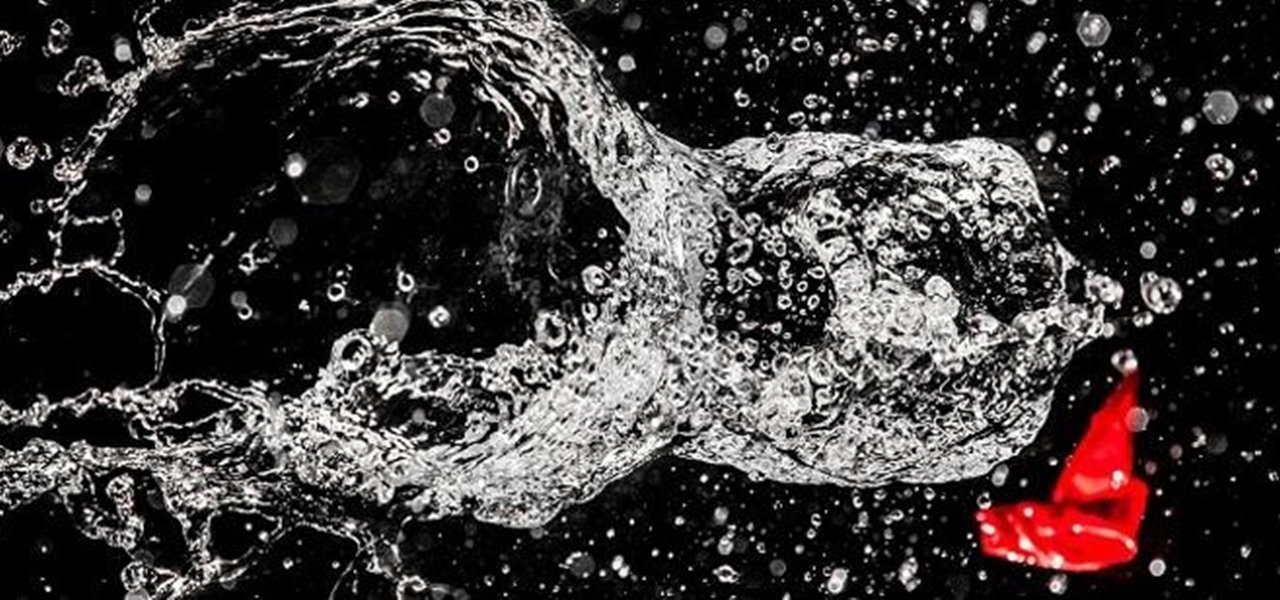
To freeze motion in photography, you need three things. First, you need a good camera, triPod, and a subject to photograph. One thing to keep in mind is your shutter speed. For example, if the subject is moving towards you, you want the shutter speed between 1/100th to 1/250th. If you are capturing the subject going from side to side, you want it set at 1/250th or more. Keep in mind that the more you increase the shutter speed the less light you will have in your picture. Next, move the camer...

If you need to capture a still image of some high-speed action, Burst mode is the way to go. Burst shots take photos in rapid succession, providing a range of pictures to choose from and ensuring that at least one great shot comes out of it. You might notice, however, that your new second-generation iPhone SE doesn't seem to sport Burst mode as your old iPhone did. Is it gone? Not at all.

Burst mode on iPhone is a great way to ensure you capture the photo you truly want, especially when your subject is moving too fast. You'd be forgiven for thinking that Apple ditched the feature entirely on iPhone 11, 11 Pro, and 11 Pro Max, since a long-press of the shutter button now records video instead. However, burst mode is alive and well on your new iPhone — it's just hidden.

There are some pretty incredible camera techniques out there, but the biggest problem that amateur photographers run into is that they don't have the equipment to try them. You can still get some great shots, but there are some things that are really hard to do if you don't have the money to drop on expensive lenses and accessories.

In this tutorial, we learn how to use AV mode & High Speed Sync (flash). First, go to AV mode and change the settings to 2.8. When you do this, your shutter speed will blink at 250. To fix this, hit the lightning bolt with the "h" and change it to the high speed setting. Now, your camera will be able to use the high speed shutter with the flash as well. Now, take some shots of your subject in the sun and you should be able to see a huge difference. The background should come in crystal clear ...

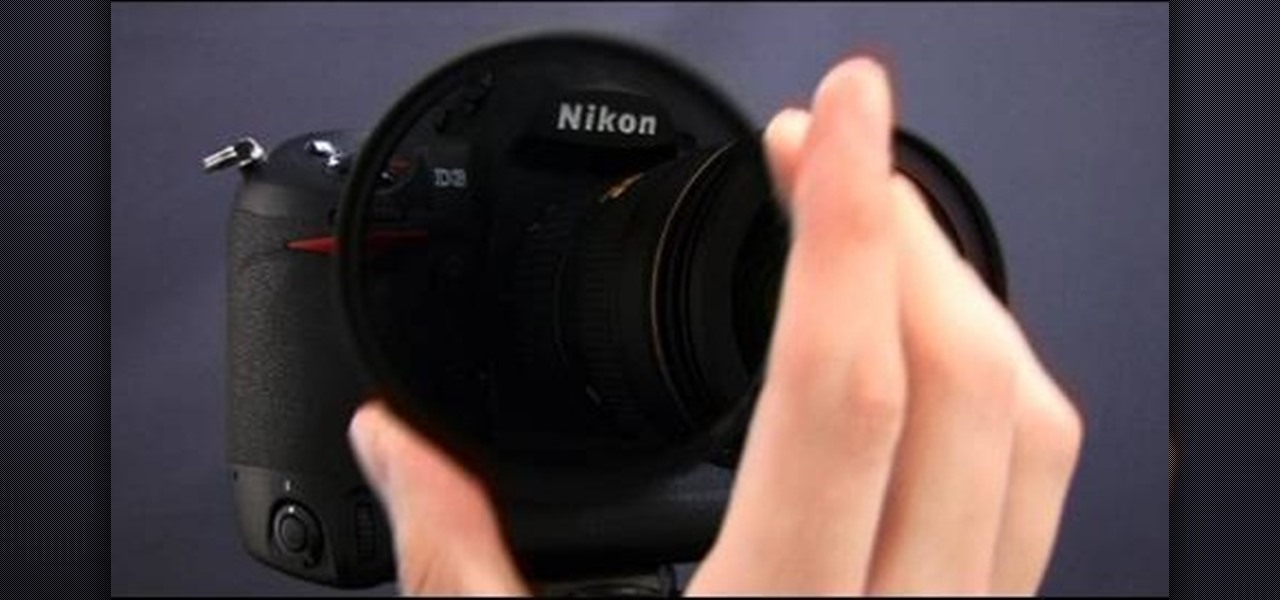
Photography is a fast growing hobby with the relative drop in prices of high grade equipment. The use of different filters in photography is a very common thing, and different filters have very different uses. The neutral density (ND) filter reduces the amount of light reaching the film or sensor. This allows the photographer to create different effects with the available light, allowing slower shutter speeds and larger apertures. The video helps explain the differences in shutter speeds and ...

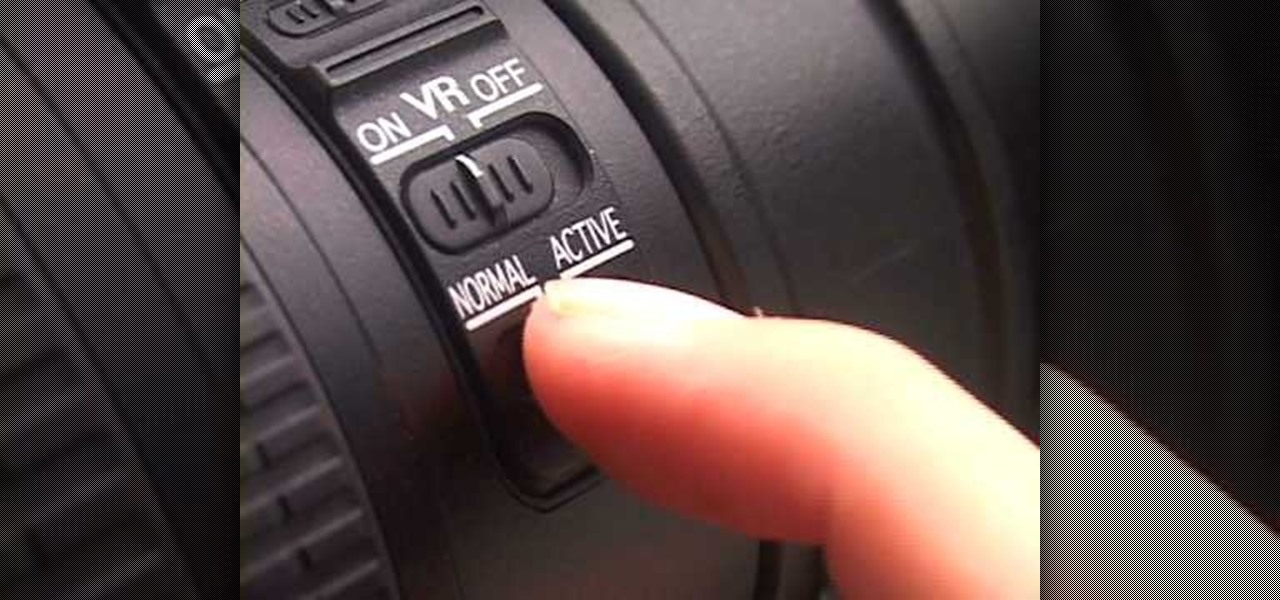
In this video tutorial, viewers learn how to use Vibration Reduction (VR). Vibration Reduction is the name if an image stabilizer engine that helps estimating unwanted blurriness when using slow shutter speeds or panning shots. VR has two modes: Normal and Active. Normal mode is designed for hand holding or panning shots where it estimates camera shakes when holding at a slow shutter speed. Active mode is designed for using on rapid moving surfaces. This video is very descriptive and gives gr...

This video shows you how to photograph lightning in the daytime. Set the ISO to 100.The aperture set at f32 and set for half of a second. Meter should be showing averaged. Photograph in the manual mode so that the setting won't change between photographs. Manually focus lens to infinity so you won't have to wait for the focus to lock on. A remote shutter to just hit the button. Be safe and keep camera safe when taking lightning photographs. Don’t get under trees. When lightning starts strikin...

This tutorial demonstrates how Twixtor Pro can be used to create slow motion special effects when editing video in After Effects. Learn beginner to intermediate VFX, specifically slowing down footage shot at a very high shutter speed. Twixtor allows the user to manage blur and warping when creating a slow motion effect.


