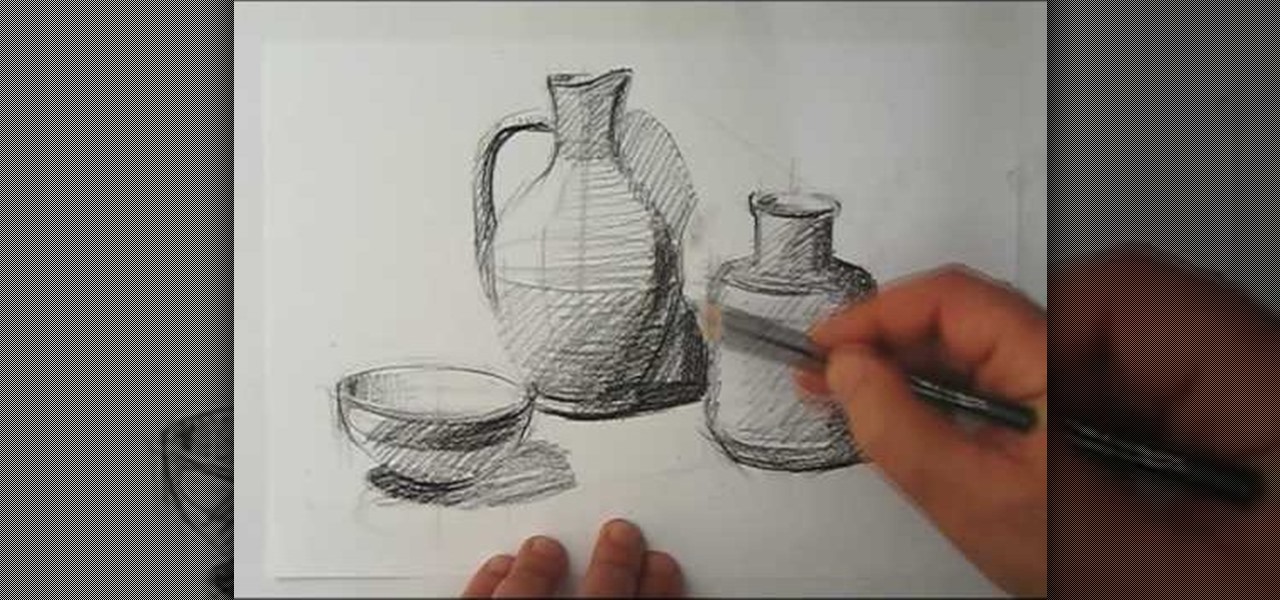
In this tutorial, we learn how to draw a still life. First, you will use the side of the pencil to draw the outline for the still life drawing. After this, continue to draw the outlines for all the objects that are in the model. Start to slowly add in the details, using the light touch of the pencil. As you continue, use the side of your pencil to shade and then use your eraser to blend. Continue to add in additional details as you go, then erase any background lines when needed. Enjoy drawin...
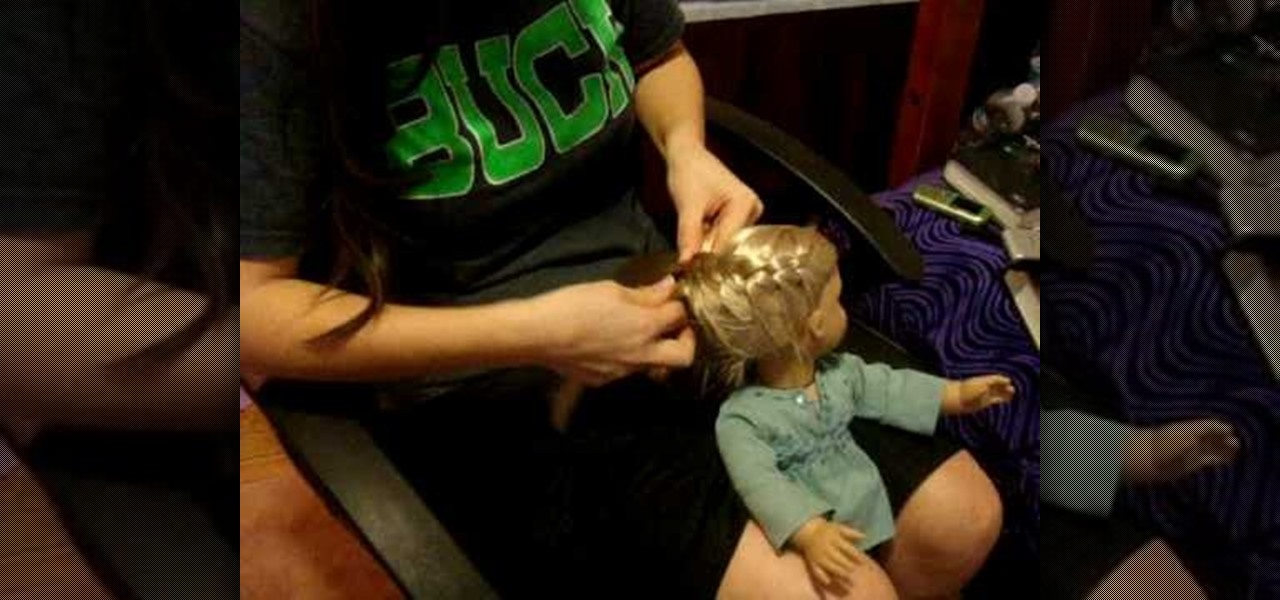
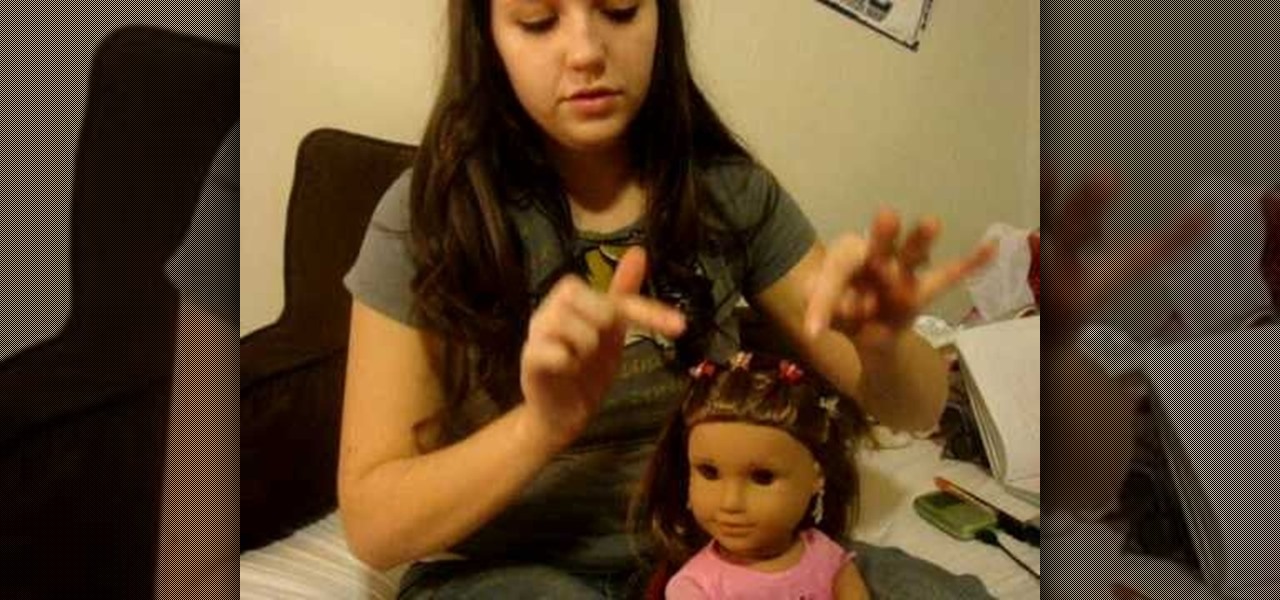
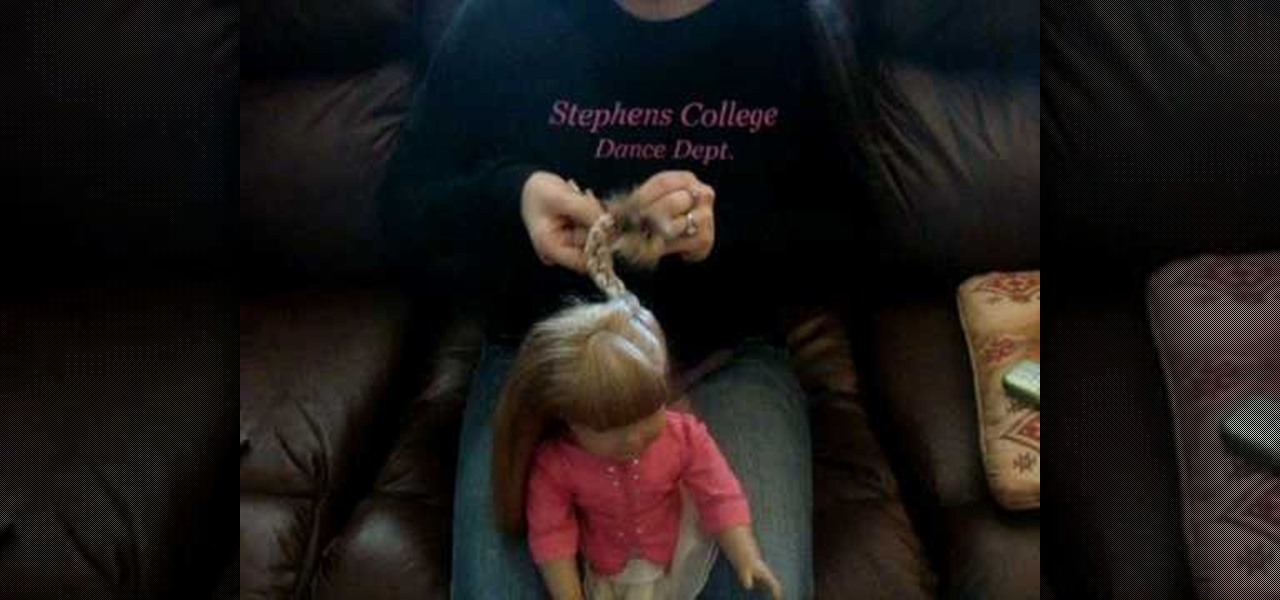
In this video, we learn how to do a French braid wrap around on your American Girl. First, brush the hair out and then grab the section on the right side of the hair. Split this into three sections and then start to braid down four times. After this, you will start to French braid the hair, adding more hair in as you go down. Incorporate the middle strands in and go to the other side as you continue to braid. Pretty soon, you will incorporate all the hair into the braid. Finish this off by ty...
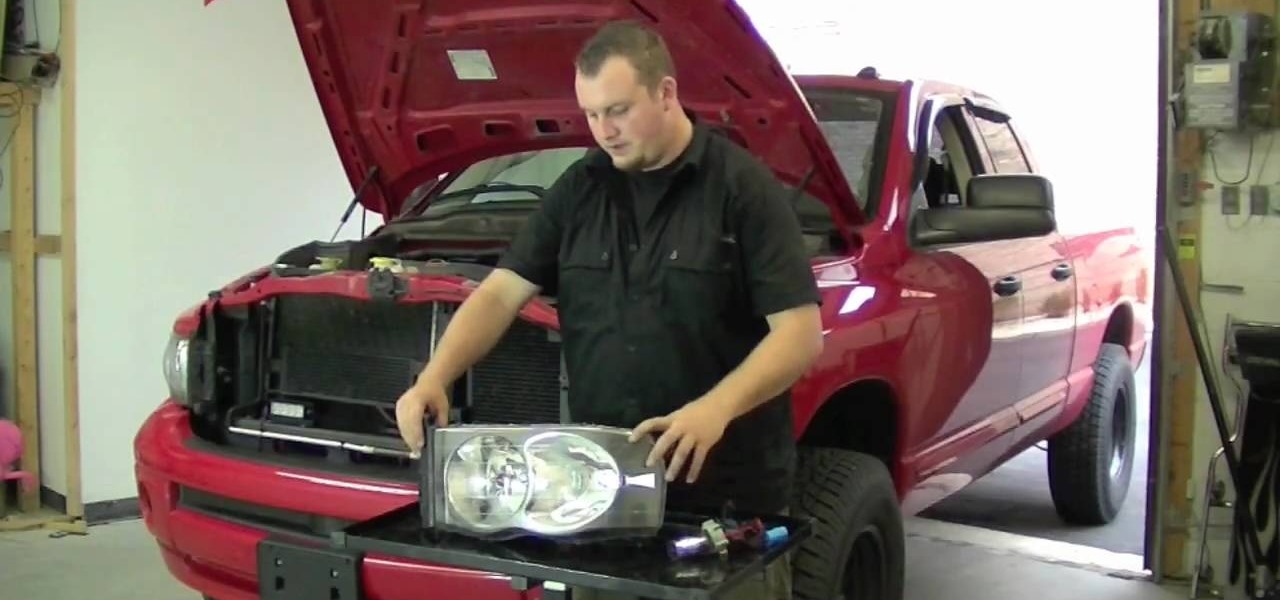
In this tutorial, we learn how to install Recon LED Strobes and HIDs on a truck. You must first learn where each of the tires need to install and make sure they are placed in the right direction for what you want the lights to look like. After this, you will connect one side to the white wire on the positive. Then, you will leave the white disconnected on the other side for the flash to alternate between each of the lights. These will look great on a big truck! Just make sure to follow the di...

In this video, we learn how to cook fried pumpkin. You will need: pumpkin, beaten egg, flour, and hot oil. First, take the pumpkin and place it into the egg. From here, pour the flour in a bag and then put the pumpkin in side the bag and shake it until it's coated. Next, place the pumpkin pieces into a skillet that has hot oil in it. Cook the pumpkin on both sides until it's dark golden brown everywhere. Place these onto a paper towel to drain the excess oil. Sprinkle on some salt and enjoy t...

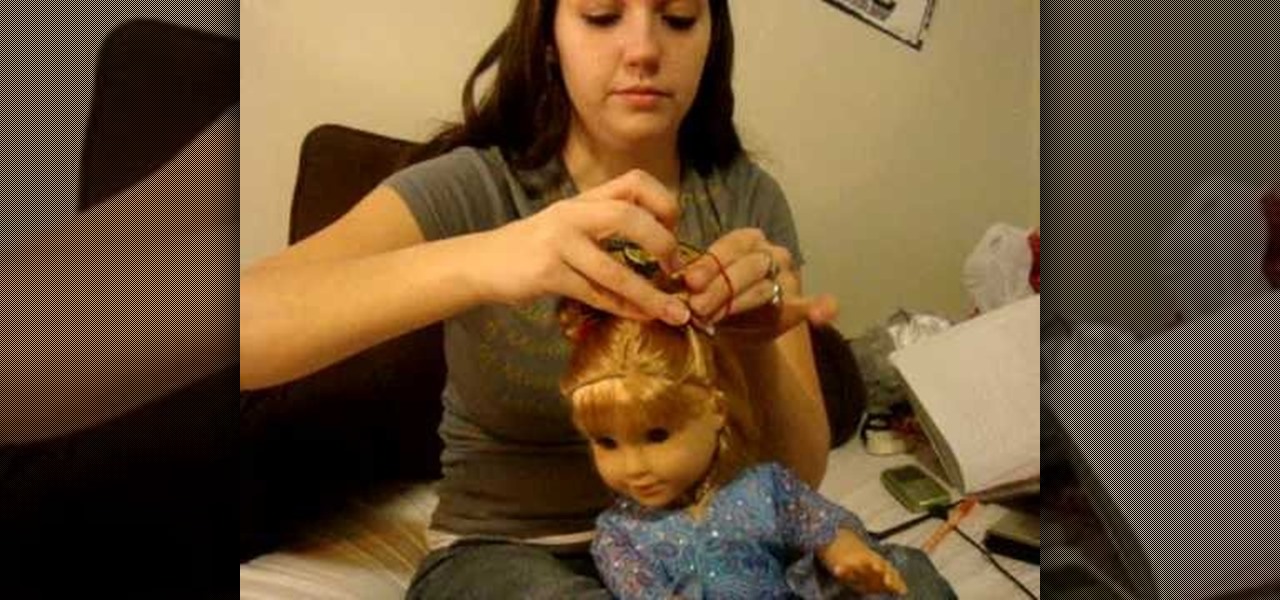
In this video we learn how to do a ponytail veil on your American Girl doll. To start, you will take the top front section of the hair, then brush it back. After this, you will tie it in a rubber band and then repeat these steps on both sides of the head. Then, you will take the hair that's in the ponytail of each one and split it into two. From here, you will tie these with another piece from another side and then tie together with a rubber band. do this once more on the very back and then t...
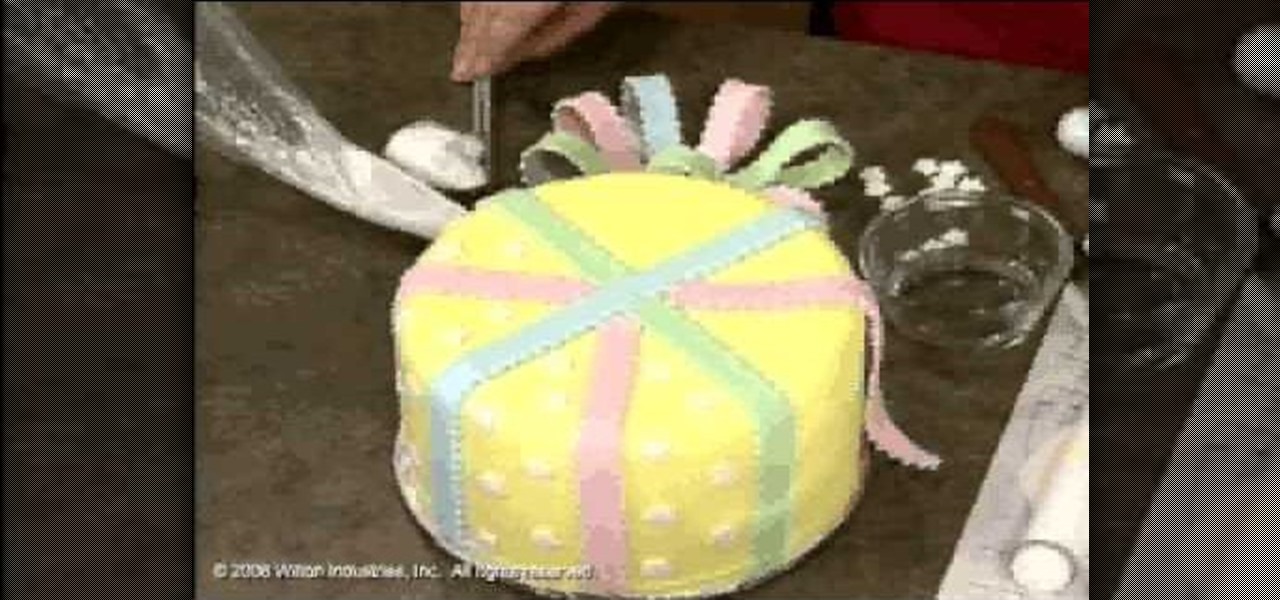
In this video, we learn how to use fondant when making & decorating cakes. Fondant is a dull type of sugar paste that you can form different shapes with and add colors to. When you add the color to the fondant, simply work it with your hands until the color runs all the way through and is smooth. Roll it out when finished, then you can apply it to the cake. To apply it, you will simply drape the fondant over the cake so it's hanging off on the sides. Then, flatten it out on the top and sides ...

In this tutorial, we learn how to recycle an old t-shirt into a no-sew head scarf. First, lay your shirt out flat on a table and download the paper pattern from the video. From here, measure sixteen inches from side to side on the t-shirt that you are using. After this, follow the paper pattern on the shirt and cut out the pattern with scissors. Once you have finished this, use a fabric bonding agent to make the edges less frayed and fold them into each other. This is great for the environmen...

In this tutorial, we learn how to create a nice drawing composition. First, use your pencil to sketch a light outline of the still life objects that you're drawing. After this, you will add in lines on the side of them for their shadows, then shade the area in between the lines in. Next, you will darken up the sides of the shapes to make them appear more in-depth and make them look more real. Use your pencil to blur the pencil markings and make everything look more realistic. When finished, y...

In this tutorial, we learn how to cook fried chicken breasts. First, place your chicken on a paper towel and then hit it with a meat tenderizer. From here, you will salt the top and bottom evenly. Finish this off with some black ground pepper and any other seasonings that you would like on the chicken. From here, you will put potato starch on both sides of the chicken until it's evenly coated. Now, beat an egg and place the chicken into the bowl with the egg. Then, dip it inside a bath of pan...

In this tutorial, we learn how to make a paper flower using napkins. First, roll the paper over to one side and then start to roll it up with the other side as well. As you do this, the napkin will start to roll into the shape of a rose. When finished, you will pull out the edges to create different lengths with the petals. After this, use a green napkin to create the stem of the flower, making a small leaf in the stem by ripping it. When finished, continue to make these to create a beautiful...

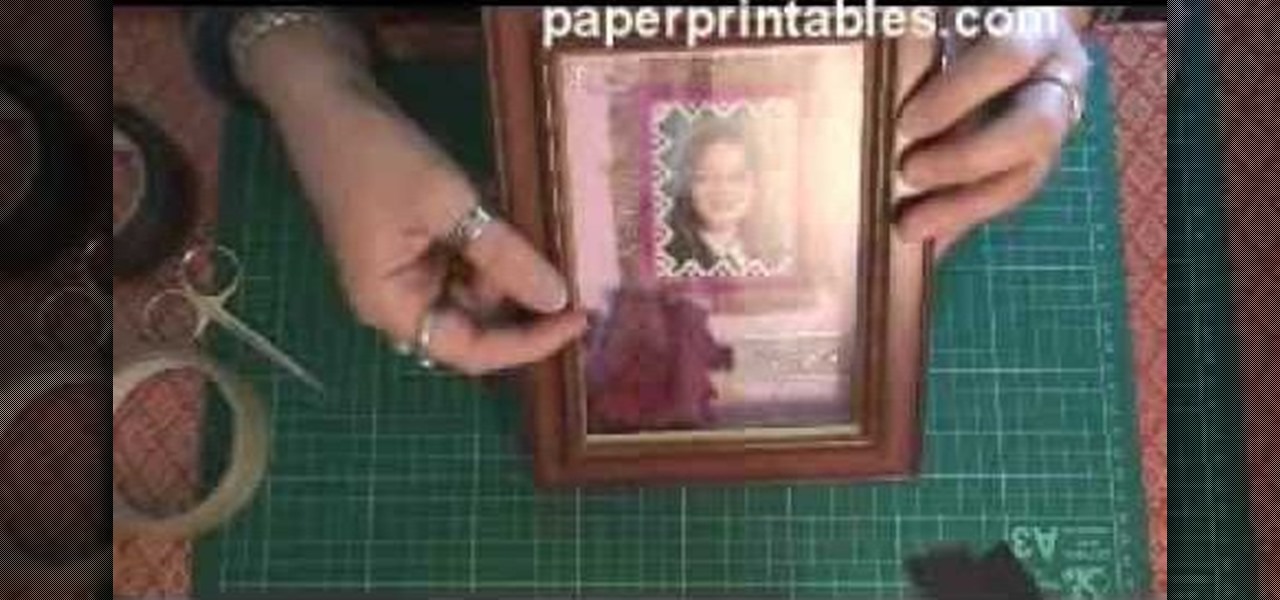
In this tutorial, we learn how to make a shadow box frame. First, grab a regular picture frame and remove everything from the frame. Next, remove the metal pegs that are around the sides. From here, grab a piece of card stock and draw the outline of the glass onto it with a pencil. Then, extend the edges of the box out on the paper. From here, you will cut it out and then bend it into a box. From here, add the picture and anything else you want inside of the box. Stick double sided tape insid...

In this video, we learn how to do mini buns on your American Girl doll. Firs, you will grab a section from the top half of one side of the head. Then, you will put a rubber band around the hair. From here, you will twist the hair around the make a bun, then secure it with another rubber band. Repeat this on the other side of the head so there are two buns on the top of the head. This will look cute on the front and the back! If you want, you can keep going and make two more so you have four m...

In this video, Sarah teaches us how to do a spider web hairstyle on your American Girl. You can do this with any doll, even if they have short hair. To start, you will pull the hair from the front of the head back and then clip it in the middle. Next, take the sides of the hair and do the same process. Repeat this on the other side of the hair, doing the same process. Next, you will split the hair in half from each clip and then meet it up with the half of another piece. Continue to do this a...

In this tutorial, we learn how to make a miniature table. Materials you will need are: a wood slat, 4 popsicle sticks cut in half, paint, paintbrush, and glue. Heat up your hot glue gun and then grab your popsicle sticks. Glue one stick to the side of every corner of the slat. After this, you should have two on each side of all four corners of the wooden slat. After you're finished placing them on, let the glue cool and then harden. To finish, you can paint this and decorate it and use it ins...

Quadratic equations are easy to solve when they can be factorized. This video teaches another method of solving a quadratic equation when its not easy to find factors for it.

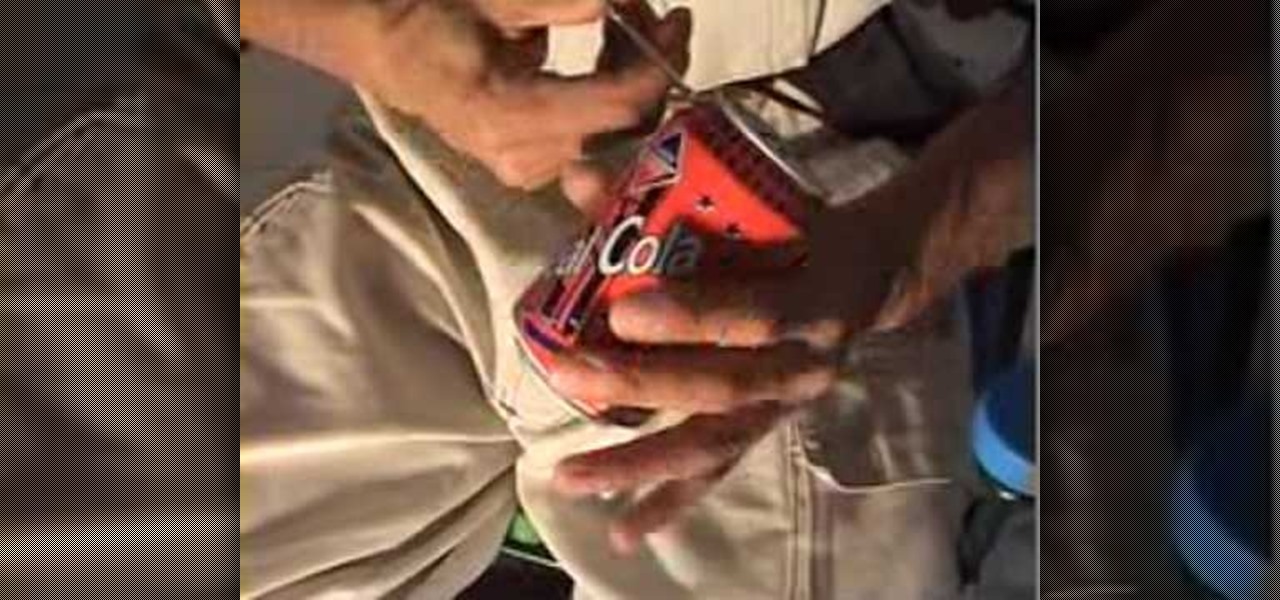
This is a video tutorial in the Home & Garden category where you are going to learn how to recycle an old can to make a candle votive. Take an old can and cut it vertically along the side without cutting off the edges. Now cut along the top and bottom edges starting at the vertical cut and going outwards on each side. Cut up to about half of the circumference of the can. Now pull out the cut halves and you have the basic stand for the votive candle. Now you got to straighten out the jagged ed...

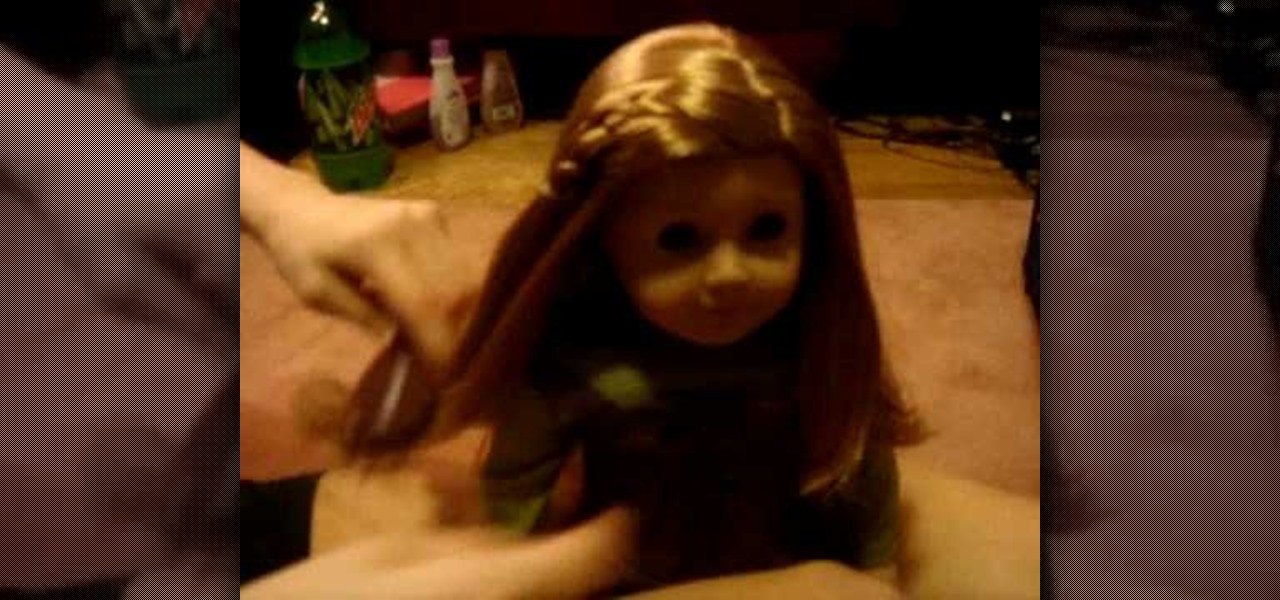
In this video, we learn how to do a cute easy hairstyle on your American Girl Doll. To start, brush your doll's hair and then part the hair in the middle. After this, break the side of the hair into three pieces and then start to braid it from top to bottom. After this, repeat the same process on the other side. Tie the bottom with rubber bands and then you will be finished with this hair style! It looks really cut on a doll that has long hair with bangs, but can also work on short or layered...

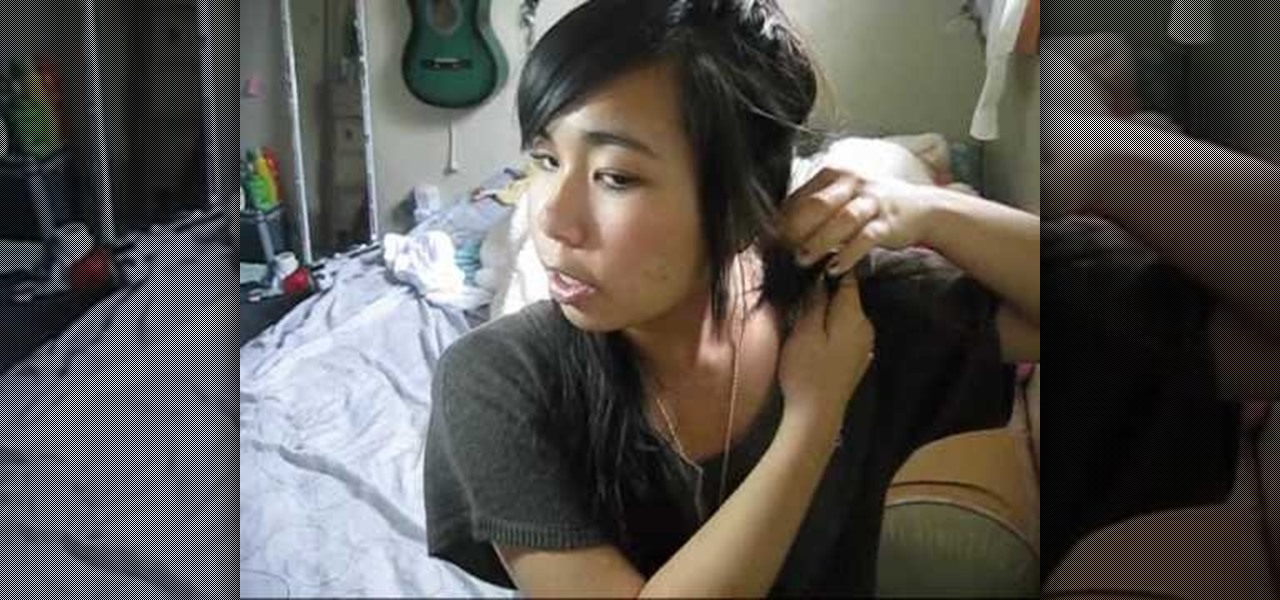
In this tutorial, we learn how to get wavy hair with a wide-toothed comb and no heat. First, spray some waving product all over your hair and then comb it out. From here, you will combine the top half of your hair and then twist it into a bun. After this, clip it to your hair with a bobby pin. After this, grab the right side of the hair and then twist it up into the head. From here, you will repeat the process on the other side of your hair. Leave this in your hair overnight and then take out...

In this tutorial, we learn how to style short hair for an edgy look. You will need to apply a heat protector on your hair first and then blow dry it. Blow dry it against the grain so you get greater volume and it sticks up more on the back of your head. For the front, blow dry your bangs to one side and then use a straightener to pull them to a side. If you want an even more edgy look, you can make a fauxhawk with your hair, which would involve putting gel in the bangs so it holds up in the a...

In this tutorial, we learn how to build a catapult out of rubber bands & a wire hanger. To do this, you will first need: one wire hanger, plastic spoon, rubber bands, small marshmallows, and measuring tape. Now, hold your hand in the center of the hanger and pull up both sides around it. After this, fold back the front for balance and straighten it up so it's stable. Next, you will take one rubber band and put it around the sides. Then, take the spoon and put it in between the rubber band and...

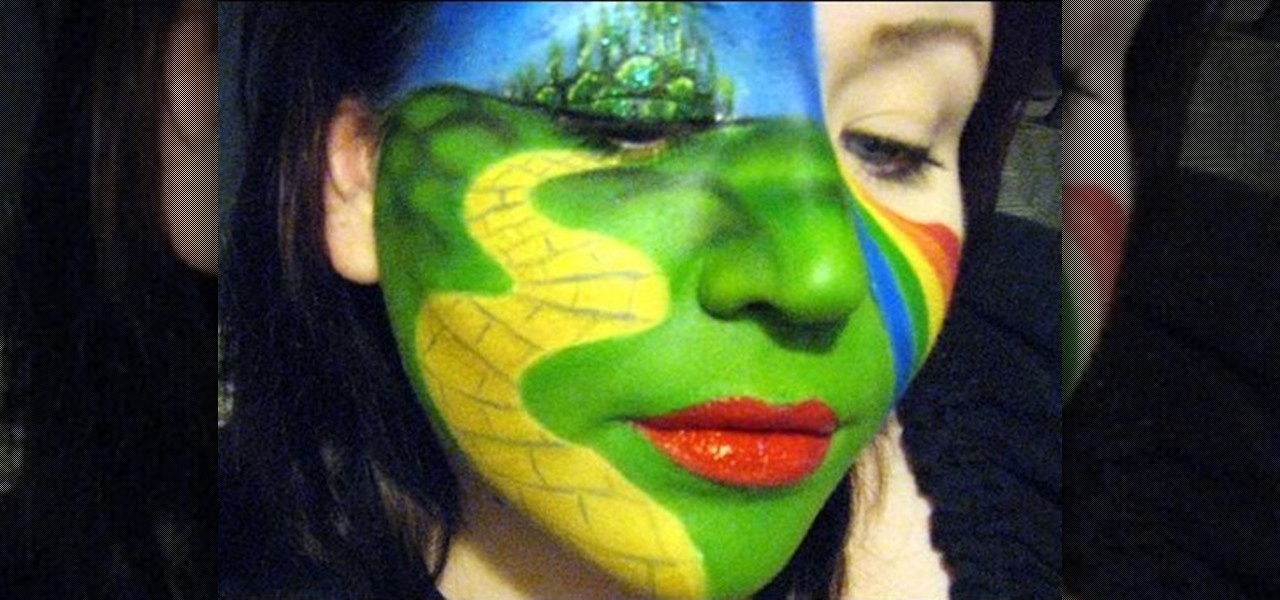
In this video, we learn how to do Wizard of Oz Inspired Makeup for MakeupbyTiffanyD's Co. When you are making this design, you will draw the emerald city on your right eye and then green hill around it. From there, you will draw the yellow brick road going down from your eye to the bottom of your face. The green will mimic the Wicked Witch as well. Your lips will be ruby red for Dorothy's red shoes and then create a rainbow on the other side of the face. Just apply mascara to the other side o...

In this tutorial, we learn how to draw a sphere in 3D. First, draw a circle and a square around it with a light pencil. From here, you will use the side of the pencil to shade in the sides of the circle. Then, draw a half circle next to the circle to make it look like it's shadow. Shade that in and then add in more dark markings to the circle, leaving a small white area on the top of it. After this, draw in the outline of the circle and erase any stray lines. This will complete your sphere, e...

In this video, we learn how to do a cute hairstyle on an American Girl with layered hair. First, brush the hair back until it's smooth. Then, pull the front section of the hair back, going off from where the eyes end. Then, you will pull it up into a ponytail. After this, you will take a section from the side of the head on both sides. Then, you will bring these together in the back of the head and tie together with a ponytail holder. Now, take another section lower down on the had and repeat...

In this tutorial, we learn how to redo American Girl doll, Mia's, braid. First, you will need to brush out the hair for the doll. After you do this, you will take a little section of the hair from the front and split it into three. Then, take another little section from underneath this and clip it away. From here, you will start to braid the hair, clipping off the sections underneath separately so they don't get mixed together. Then, you will take the rest of the hair and put it into a ponyta...

In this tutorial, we learn how to recycle cans to make garden decor. First, use small scissors to poke a hole in the top of the can, then cur around the top of it until you have removed the mouth. After this, cut a rigid design in the top of the can and then cut five slits going down on all the sides. Push these down, then cut the sides of them so they are slightly rounded. From here, you will attach these to another can that has been spread out with tons of different slits. Place this on a r...

In this video, we learn how to make a paper flower with a simple piece of paper. First, fold the paper in a triangle shape from each side. Then, fold the paper in the middle and then fold it into a square on all the sides. Next, you will fold the outer tabs into the square to make a triangle. After this, you will flip it over and to the same thing on the outside. This will complete your flower and make it look fantastic! Have fun making this and if you do mess it up just try again with anothe...

In this tutorial, we learn how to do a Y braid on your American Girl doll. First, brush your doll's hair out and then put the hair in pig tails. From here, you will split the tail in half on both sides. Then, you will combine the two middle pieces and start to braid the hair like normal. Do this all the way down until you reach the bottom of the hair. When finished, tie the end with a rubber band to keep in place. This will finish the Y braid look for your American Girl doll, enjoy! Decorate ...

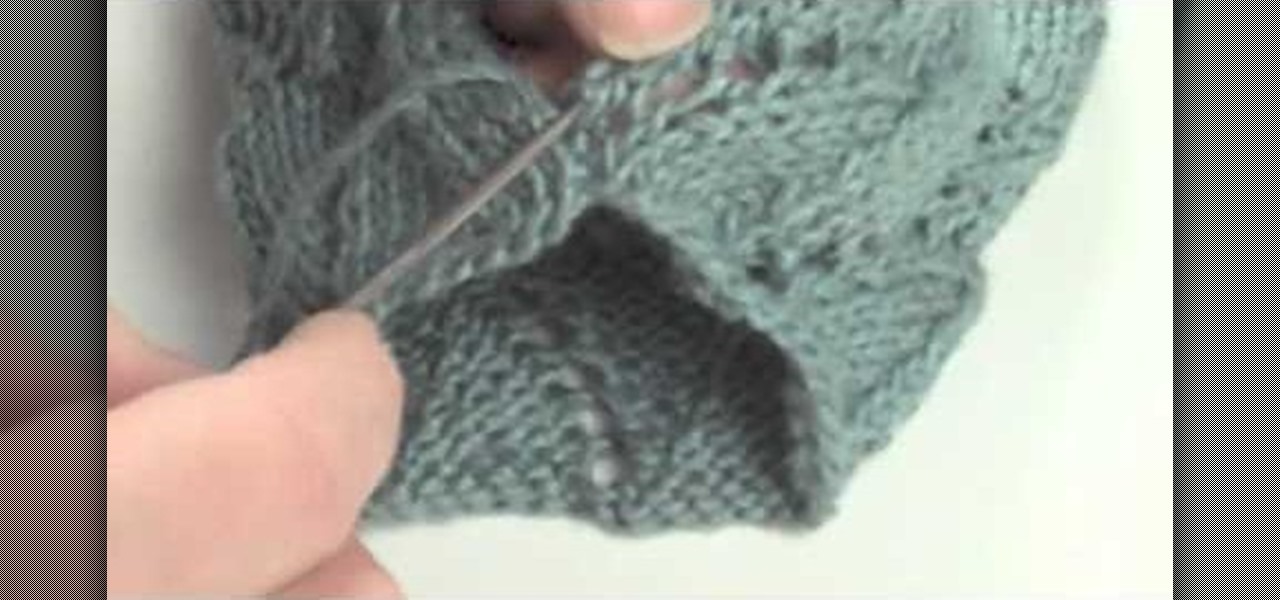
In this tutorial, we learn how to do the mattress stitch. First, lay the pieces flat and thread yarn tail onto the needle. Next, you will anchor the yarn to the bottom edge of the opposite piece. Then, go back through the side and find the tunnel of horizontal bars, one stitch in from the edge. Continue to do this around the stitches to combine them together. Keep alternating sides and just do one bar at a time to get the best results. You can do two bars at a time if you are comfortable with...

Do you have a beanie and just can't figure out how to wear it? Then this video is the right one for you! With this, we learn how to wear a beanie 18 different ways! The first way is to wear it flat on your head. Or you can wear it as a fedora. A girl can wear it with her bangs hanging out, then you can wear it with the cap sticking out for a "robin hood" look. You can pull up the sides of it to create a half hat or you can wear it to the side. Any way you choose to wear the hat, just let it w...

A bun is usually thought of as severe and uptight, but it can be quite sensual and carefree if you style it right. Take a look at this hairstyling video to learn how to create a very easy yet impactful low side bun for school.

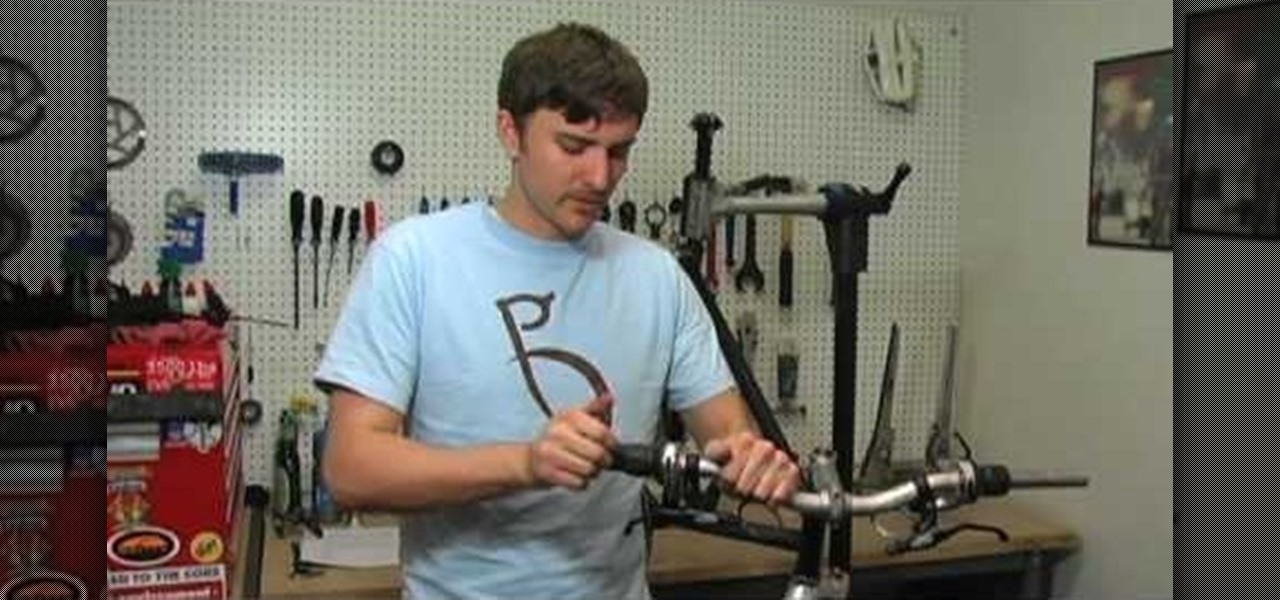
In this video, we learn how to install brakes, shifters, and grips. You will need: Allen keys, grease, a knife, and a grip to do this. First, attack the brakes onto the handles, then the shifter and the bolts. Make sure to grease the bolts before you place them onto the handles. Do this on both sides of the bike. Make sure you have everything on the correct sides, then slide the grip in. Customize the grip so it's the right length and cut it with the knife to do this. Once finished, connect a...

In this tutorial, we learn how to cook buttermilk fried chicken. First, take your chicken and marinade with black pepper, paprika, salt, and cayenne pepper. Use any other seasonings you would like. After this, pour buttermilk over the chicken and then let it sit for a couple of hours in the fridge. Now, combine flour with salt and pepper and any other seasonings you would like. Cover the chicken in the flour, getting as much flour on them as possible. Then, let the chicken sit for a few minut...

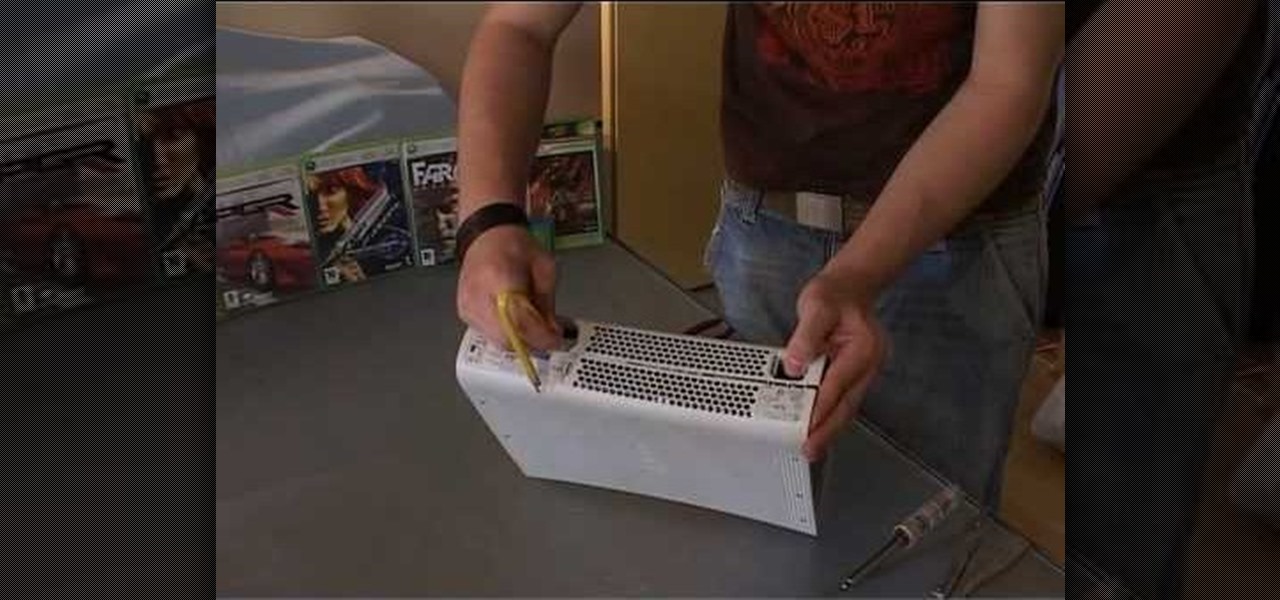
In this video, we learn how to open an Xbox 360 with a pocket knife. First, take the bottom stand off of the console. Then, take the faceplate off of it and then grab your knife. Use the knife to push the edges of the console up in the top and bottom. Poke the clamps that are underneath the lid to help you leverage the console open. From here, do this on the other side of the Xbox. Then, go to the side and press down in the clamps to release the case from the console and you will be inside!

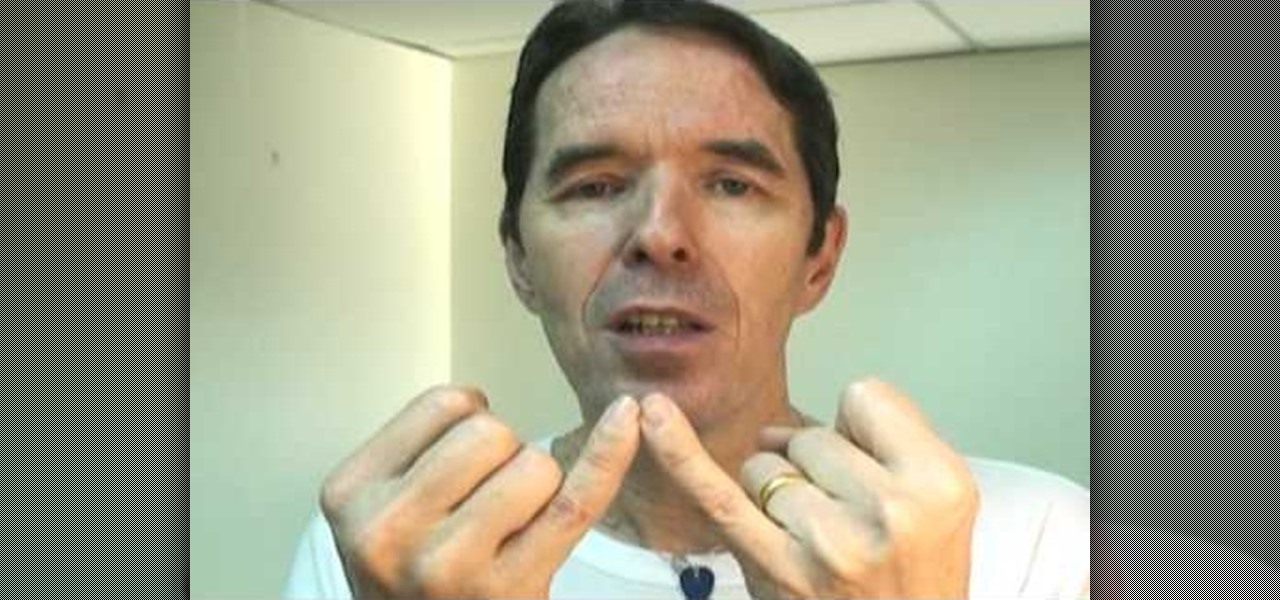
In this tutorial, we learn how to whistle with your fingers in your mouth. First, you will grab your two pinkie fingers and place them inside your mouth on either side. Seal them with your tongue and blow across the remaining hole that is in your mouth. From the side, you should be able to see just one area where the air is coming out of from your mouth. The air should blow across the top and will control the pitch of the note that you are playing. From here, you can learn how to play songs a...

In this tutorial, we learn how to make your own high waisted skirt. First, you will need to sew the skirt on the sides. After this, you will need to cut some additional fabric that is the same color. Then, you will need to sew the waist of the skirt onto the skirt on the top. Once you have sewed this so there are no frays on the side or on the top, you can wear it! Make sure the fabric is all the same size all the way around. When finished, enjoy wearing this with a simple tank top or dress s...

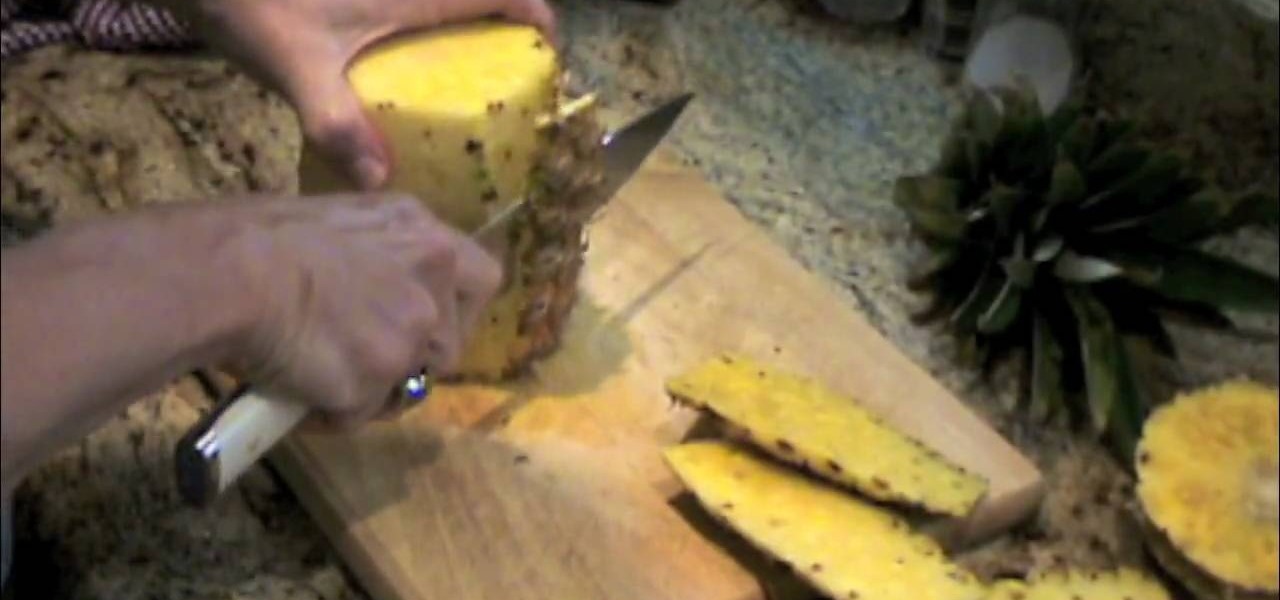
In this video, we learn how to cut a pineapple. First, take your pineapple and remove the leaves from it. Then, using a sharp knife you will cut off both ends of the pineapple. From here, turn the fruit on one side and gently cut the edges off of it with the sharp knife. Continue to do this all the way around the pineapple until there is no more skin left on it. After this, you will place the fruit on it's side and cut it into thick slices. After this, take each individual slice and cut the r...

In this video we learn how to make Christmas bows. First, take the ribbon and then tie it into two separate one sided bows. Connect these together at the bottom and then continue to make these shapes and connecting them to the same brad. Once you are finished, put double sided tape on the bottom of it and then you will be finished with the bow! You can do this several times to make a whole bunch of bows or you can make it larger to create a huge bow. Have fun making these and use your own sty...

In this video, we learn how to cook Cajun fried chicken. First, season your cut up chicken with salt, then inject a Cajun marinade into the pieces. After this, take 5 tbsp of Louisiana chick fry and place it into a bowl with water. Now, dip your chicken into the batter sauce and then some flour. Once this is finished, you will be ready to fry the chicken. Heat up some oil in a large pot until it's around 350 degrees. Place the chicken in the pot and fry on both sides until golden brown and co...

In this video we learn how to open an Xbox 360 case. You will need some screwdrivers out first. Then, pull out from the USB port so the cover comes out from the console. After this, turn the console over and push a driver inside the tabs to remove the bottom vent from it. After this, do the same to remove the side edge from the console using the same tool as before. Then, remove the bottom and the top side using screwdrivers. Once you have these all removed, you will be able to access the ins...

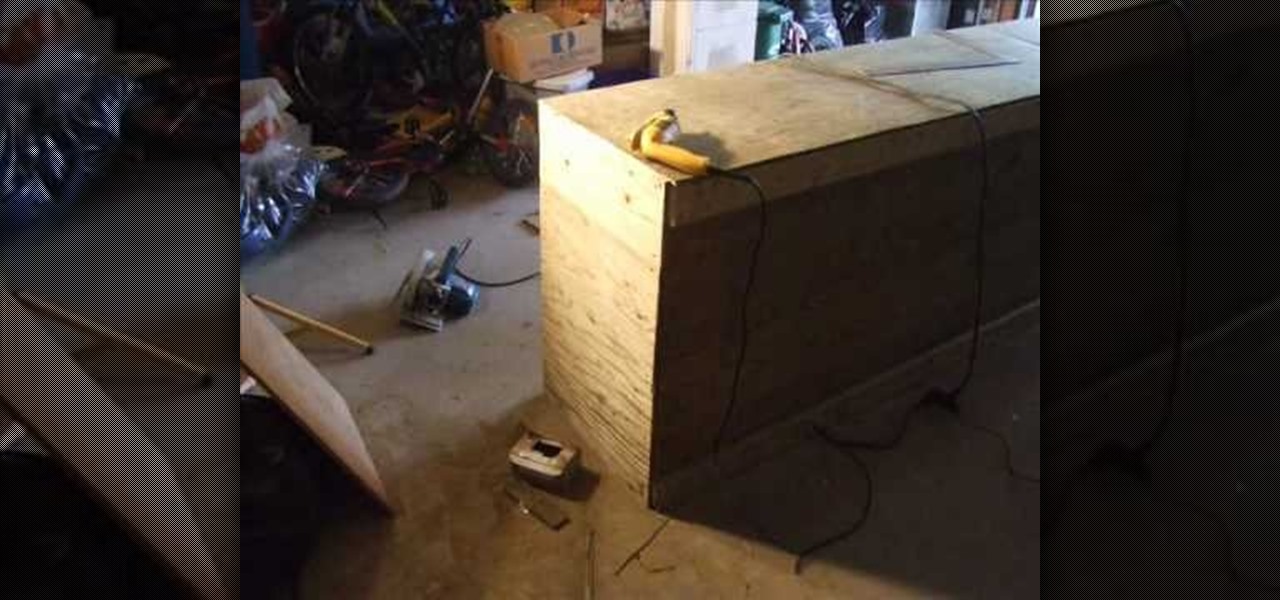
In this video we learn how to build a snowboard box. First, decide on a size for your box and write out the dimensions. Then, buy your frame for the box and follow the structure of the box with it having four sides. After you have built the frame, put on the wood to complete the sides and make the box enclosed. Use screws placed into the frame to make sure it's completely secure. You may also want to install handles so this is easier to handle. Once you're finished with your box you can paint...


