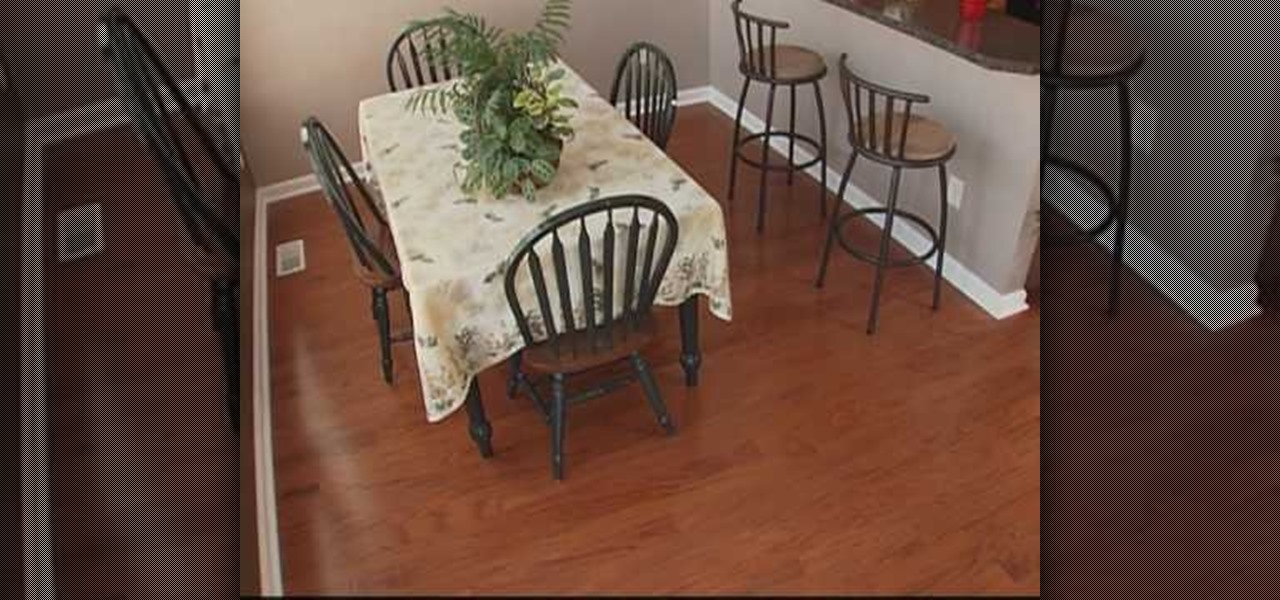
In this video, we learn how to install a locking hardwood floor with Lowe's. First, prepare the sub floor before you begin installing the floors. After this, grab all of the tools you need to install the flooring properly. Place spacers between the flooring and the walls and start to lay it down. Lock the planks together on the first row. Then, lock the sides to the next row and use weights to keep the floors from moving. The ends must be 6 inches apart on each row. For a locking floor, cut o...
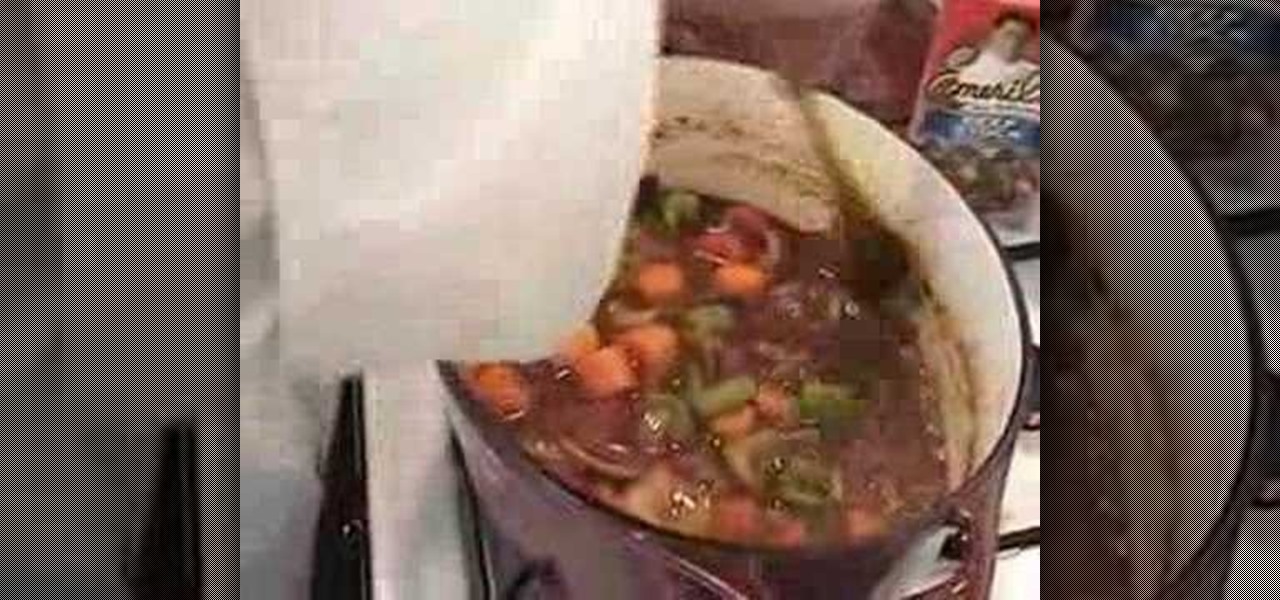
In this video, we learn how to cook succulent roast beef with gravy. First, grab some back and your roast. Poke holes into the roast and stuff them with pieces of bacon. Now, place the meat in a plastic bag and cover with red wine. Seal this and let it sit overnight in the fridge. From here, grind white pepper and chop celery and carrots. Chop up an onion, then take out your meat from the plastic. Place the meat into a large pan, then braise the meat on both sides. When finished, place this i...
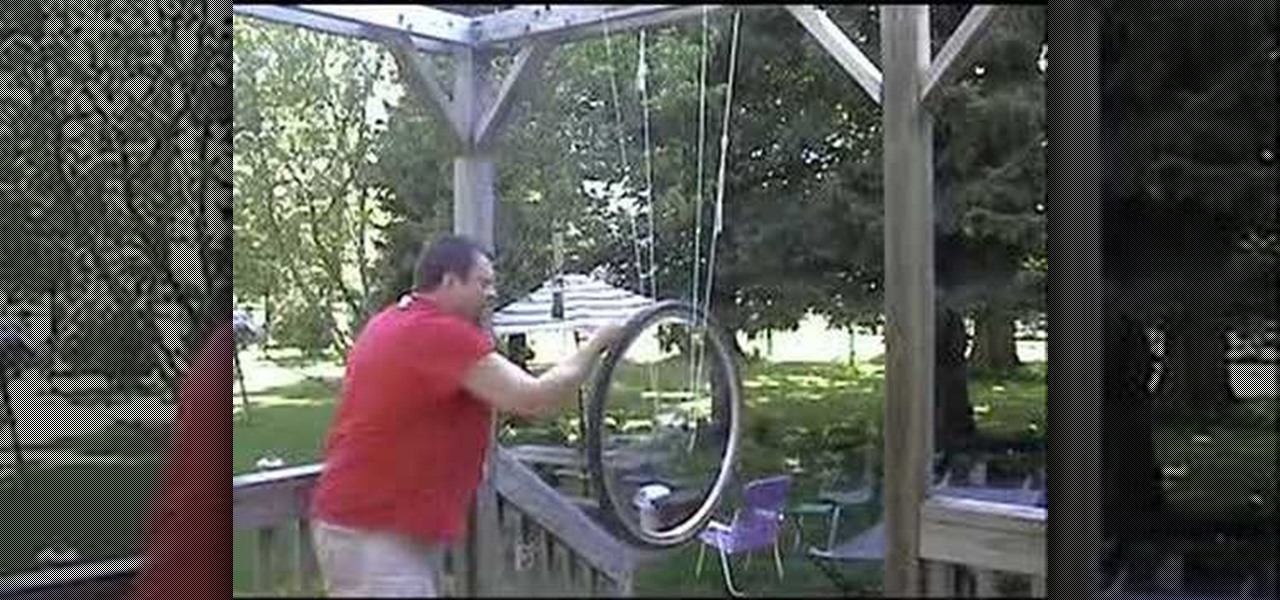
In this video, we learn how to make a wheel spin with angular momentum & inertia. You will need: a bicycle wheel, a lighter, and a couple of strings attached to the top of a deck. Now, take the bicycle wheel and hang it on the strings on both sides of the wheel. When you turn the wheel it will fall off of the strings. Start the wheel spinning again, then light one of the strings on fire. When you do this, the string will fall off but the wheel will keep on spinning while rotating. Do this exp...

In this video, we learn how to make a photo/ATC carousel for cheap. First, take clay in a cylinder circular box and let it set. Then, insert in a long object to create the spine of it. Push the clay around this after spraying with water. Then, fold trading card stock as well as card stock for photographs. Cut these out so you create little pockets where you can insert your photos into. Then, once you have all of these cut out and your photos inside, you will adhere the sides of them to the ce...

In this video we learn how to make a big pink heart out of balloons. Start out with one side being a cuboctahedron. If you don't know how to make this, try checking out previous videos to make the shape. Once you have done this, you will use another balloon to connect and make the inside of the heart shape. Throughout the shape you will need to twist several bubbles inside the balloon, so make sure there is enough room left to do this. After you're finished, you will have a cute heart shaped ...
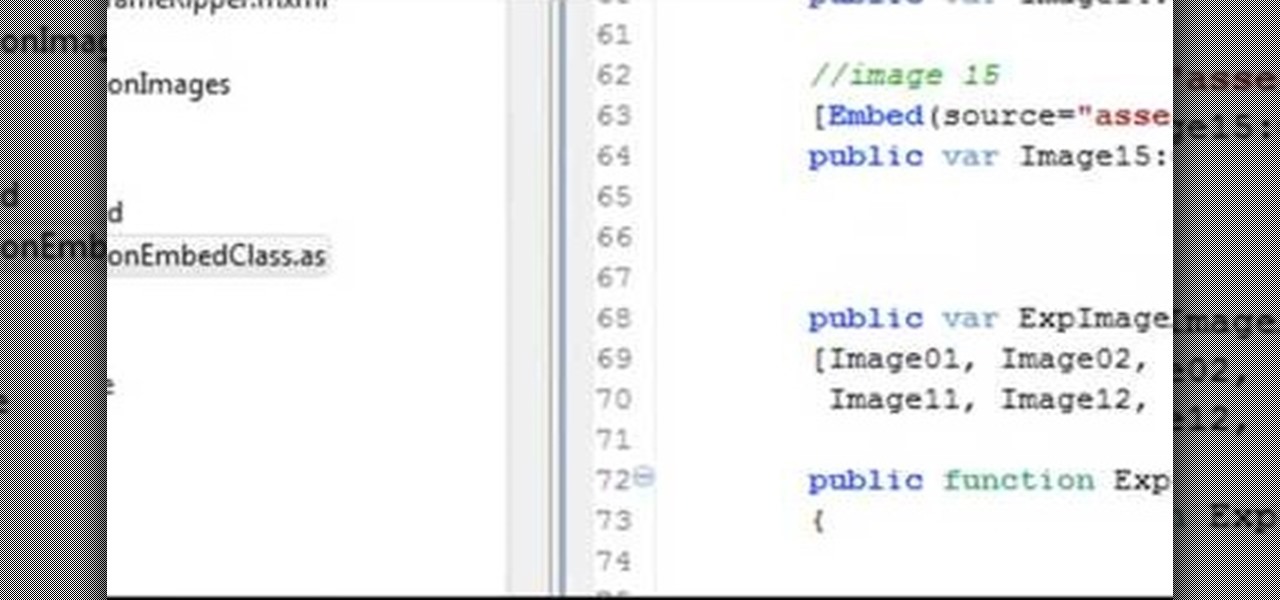
Make a Spark frame ripper

In this video we learn how to do a heelside sideslipping in snowboarding. Keep your head up and your eyes looking straight ahead. Bend your knees and maintain a straight upper body. Apply pressure to your heel edge and pull up on your toes as you ride. Maintain even weight on both feet with your arms at the sides of your body. As you continue to learn the tips and tricks on how to ride better, you will get more comfortable while on the board. Try to relax and remember how to do all the moveme...

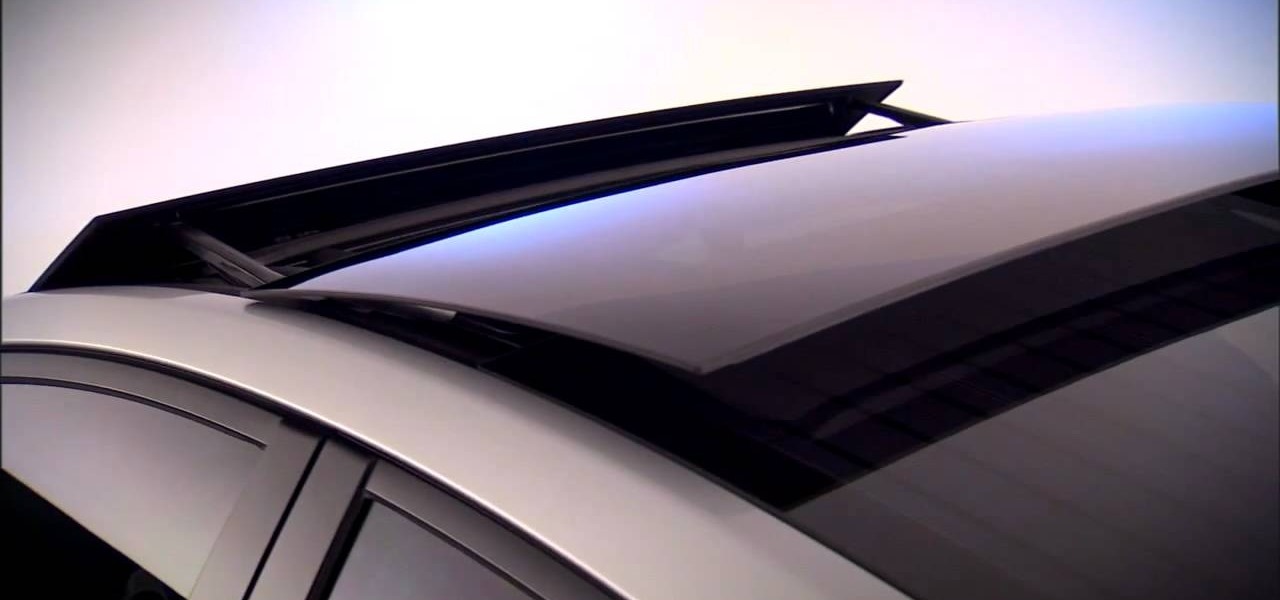
In this tutorial, we learn how to operate the solar powered vent system in a 2010 Prius. Prius models that come with a moon roof also have a solar powered roof. The control switch is on the left hand side of the steering wheel. With the ignition on and the switch turned on, you can exit and allow the ventilation system to start to clean the air out of the car. Since this doesn't rely on power, it will not drain your battery. This is not only eco-friendly, it's also great for your health and c...

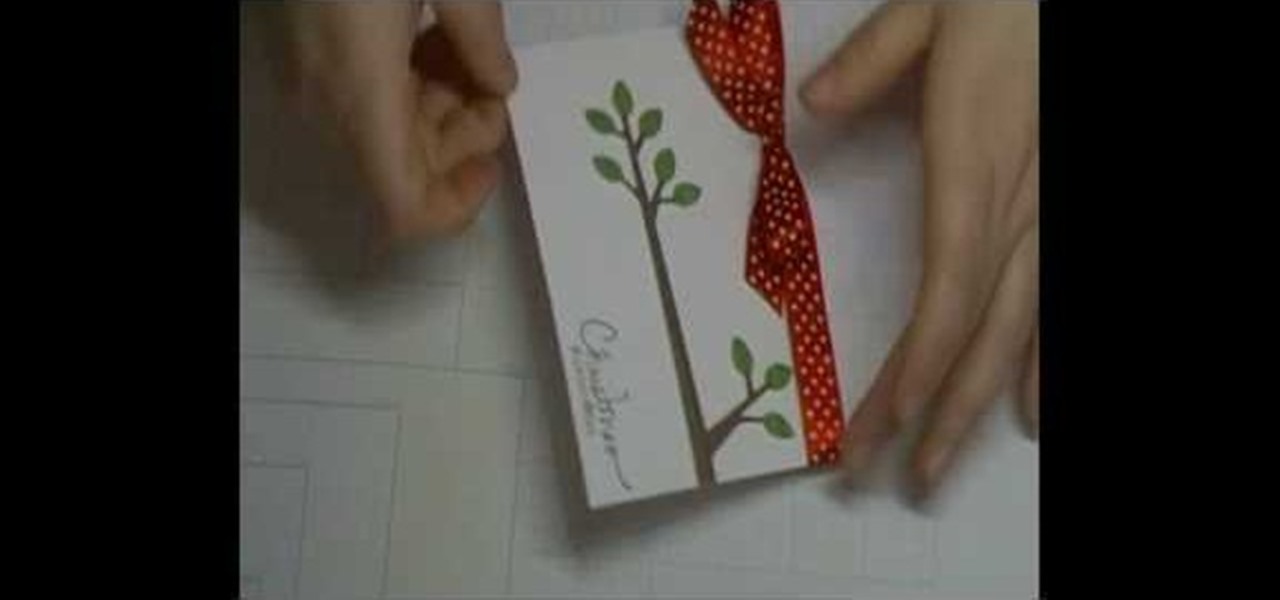
In this tutorial, we learn how to use Cricut Serenade & Joys for a simple Christmas card. First you will need to take a piece of white card stock and tie a red and white polka dot ribbon to the top. After this, you will need to take a tree branch stamp and stamp it on the side of the card like it's growing out of it. After this, make sure the color on the leaves is green and the branches are brown. Now, you will cut out another piece of card stock in a punch out to create the ornament that wi...

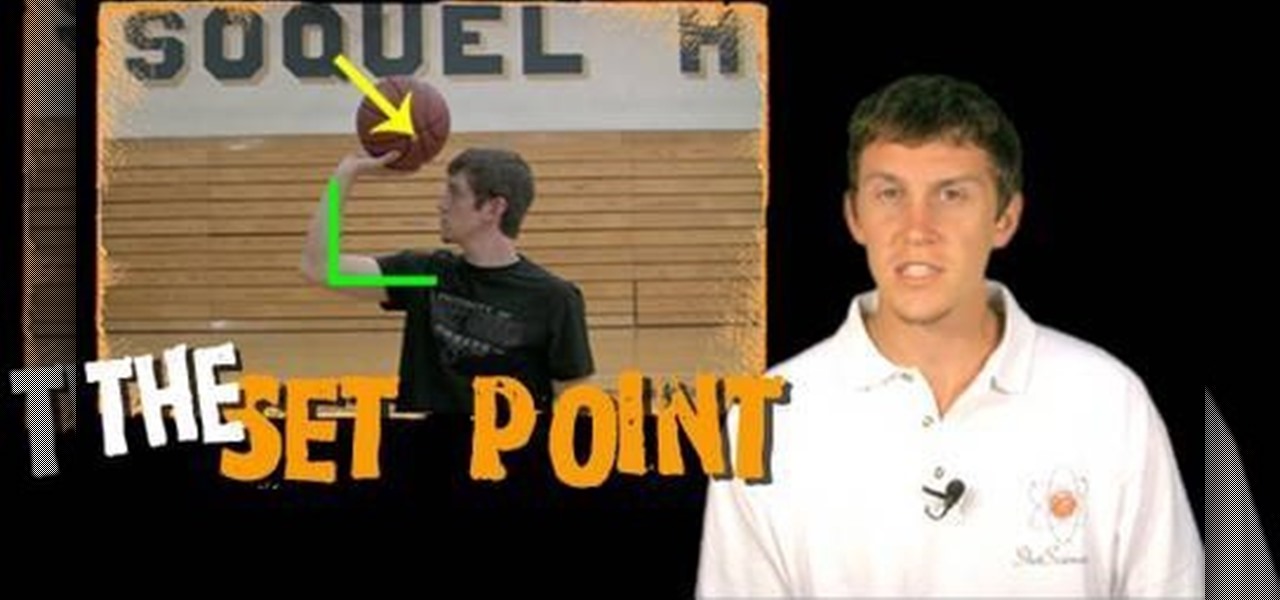
In this tutorial, we learn how to establish the set shot in basketball with Chase Curtis. The set point is the location of the basketball just before you shoot it. The execute the set point, make an "l" shape with your arm, your elbow should be aligned with your shoulder. Your wrist should be cocked and you should be able to see underneath the arm from a front view. The other hand should be lightly touching the side of the ball, giving it a small amount of stabilization. Follow these tips to ...

In this tutorial, we learn how to make prosciutto eggplant calzone with Guy Fiore. First, take dough and work it out on a flat floured surface. Then, mix the pine nuts with the cheese mixture, and cut up your prosciutto. Add on the eggplant and other ingredients into the center of the dough alone with a generous amount of parmesan cheese. After this, push the calzone down and twist the side to make it into a pocket shape. Place this onto a baking sheet, then wash it with an egg. Place into th...

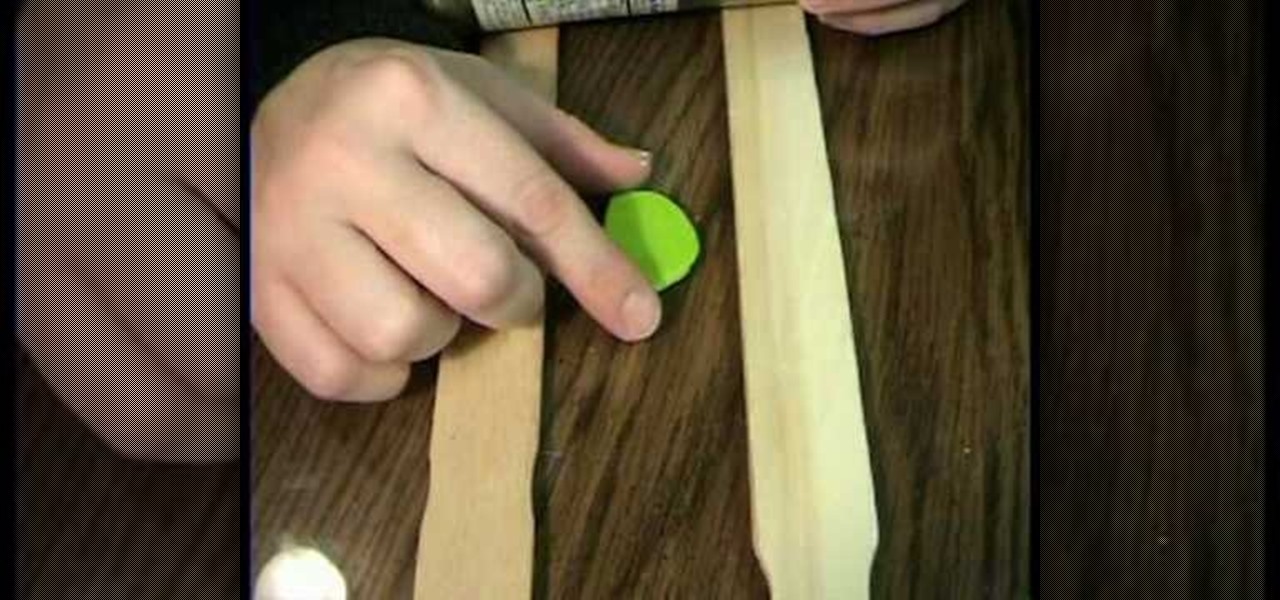
In this tutorial, we learn how to roll clay without a pasta machine. First, warm up the clay in your hands and put them between two flat sticks. Next, use a glass bottle or cup to roll out the clay. Make sure the bottle is on the paint sticks as you are rolling. This will leave your piece of clay thick but flattened out. You can make this as thick or as thin as you would like to be. You can do this several times and use different types of sticks or side holders to change how the clay looks, e...

In this tutorial, we learn how to use the Quintile Formula in Statistics. To find the quintile rank of a formula that is in a certain set, you will first need to count the number you are given. Then, read the equation so you understand what the R, N, equal side, and other numbers mean. Once you understand what all of these mean, fill in the formula with the correct information. Use the information you are given in the question to fill it into the equation. When finished, you will apply the ru...

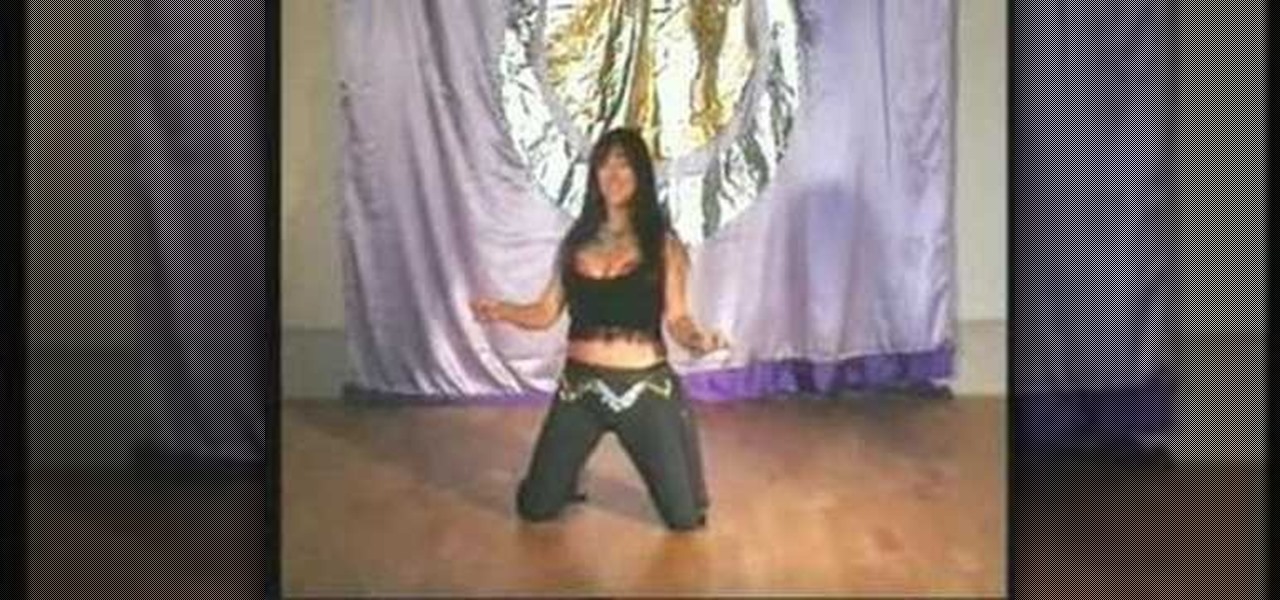
In this tutorial, we learn how to do basic floor work in belly dancing. you will want to move your body like you are in waves until you reach the floor and are sitting down. Move slowly and feel your entire body. You can also jump down and put your arms over your head, then end up with your legs crossed on the floor. Next, drop your arms to the side of your body and then move your hair around to rotate. Do a figure eight on the floor, moving your bottom, thighs, and hips. The key with this is...

There's no better way to warm up after a nippy fall day outdoors than by taking a bite into a delicious slice of tender and moist roast beef. Served with a side of green beans and mashed potatoes it truly is an incomparable comfort food and one we will never get tired of.

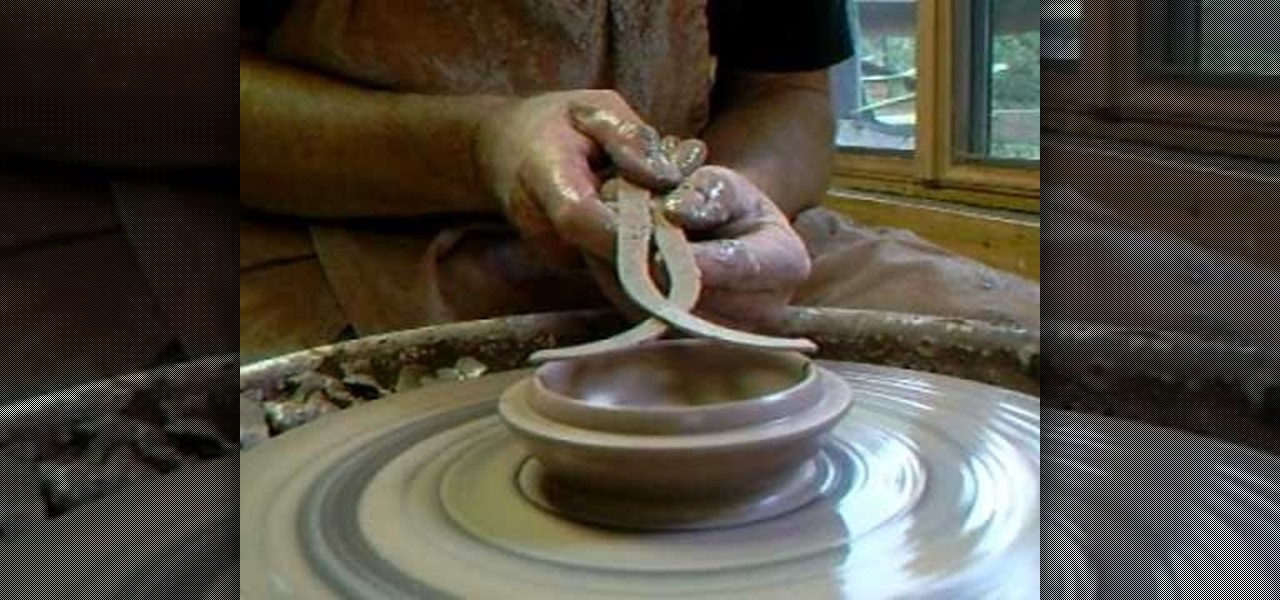
In this tutorial, we learn how to make simple pot stands. Start with your clay on the table and use water and your hands to start to shape it. Press down on the ball until it forms into a low bowl shape. Then, start to add more clay and water to the sides of the pot so that it's thicker on the edges. After this, place the pot stand onto a ceramic drying area, then you will be able to glaze it and fire it. Clean off your spinning table after you are finished, then enjoy your pot and pot stand!

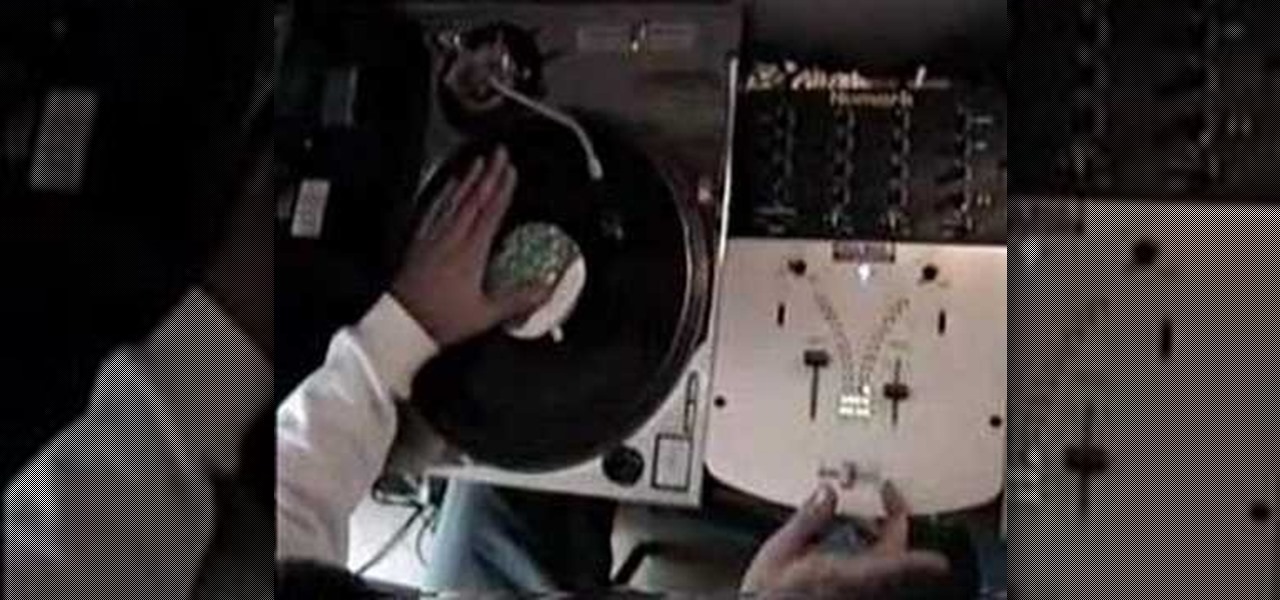
In this video, we learn how to DJ the 1 click flare scratch. When you are ready to DJ, you must first make sure you have all the proper equipment. You will want to put an album into the player and then learn the proper technique on how to scratch the music without hurting it. As you do this, you will want to push the album back and fort on the spinning table as you are using the knob on the right hand side to control the level of sound while scratching. Record this to use when switching up mu...

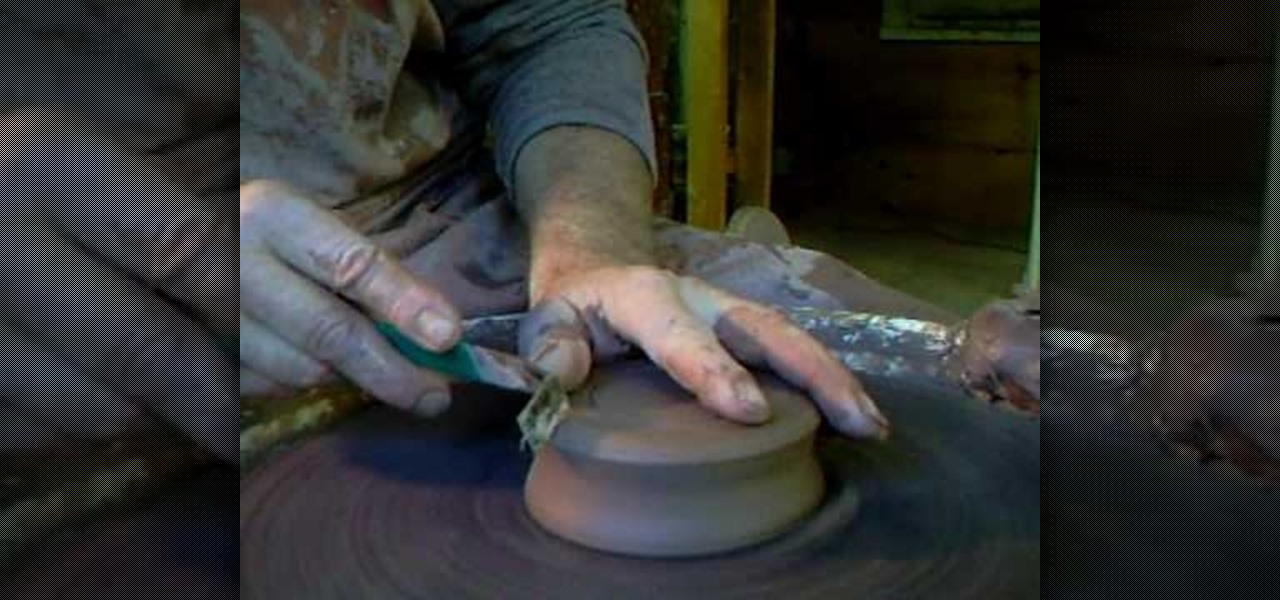
In this tutorial, Simon Leach teaches us how to make lidded boxes. First, grab your pot and dip the top of it into water to get it wet and soft. Now, grab a small amount of clay and set it on your spinning table. After this, get your hands wet and start to craft a lid out of the clay. Make an inner base as you are spinning the clay by carefully placing your finger on the side of the top. When finished spinning, place the top down and see if it's the correct size for the pot, then glaze and fi...

In this tutorial, we learn how to create a warm grunge background in Photoshop. First, create a large circle on a burnt orange background in Photoshop. Now, go to layer, adjustment layer, then levels. Hit "ok" then the level's adjustment layer will be masked. Now, go grab the bottom black slider and brighten up the middle. Use the overlay to create a center glow. Next, bring in texture using a brushed metal texture from this photo. Now, even the image out by going to image, then image rotatio...

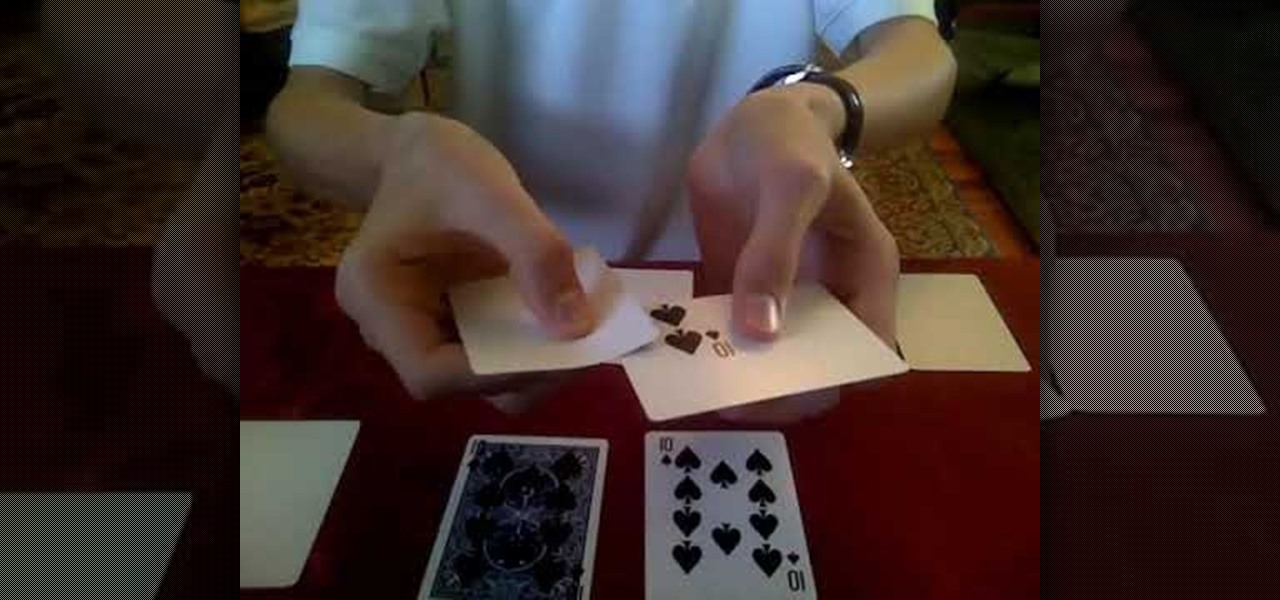
To do the Presto Printo Card Trick, you need to begin with a deck of standard cards and a deck of plain white cards, which have been cut to the same size as standard cards. You will need to print the effects that you want to achieve on the cards in advance. You will need extra blank white cards to conceal.

In order to make a multi-colored paper cube, you will need the following: 6 pre-made folded squares, which can be found separately.

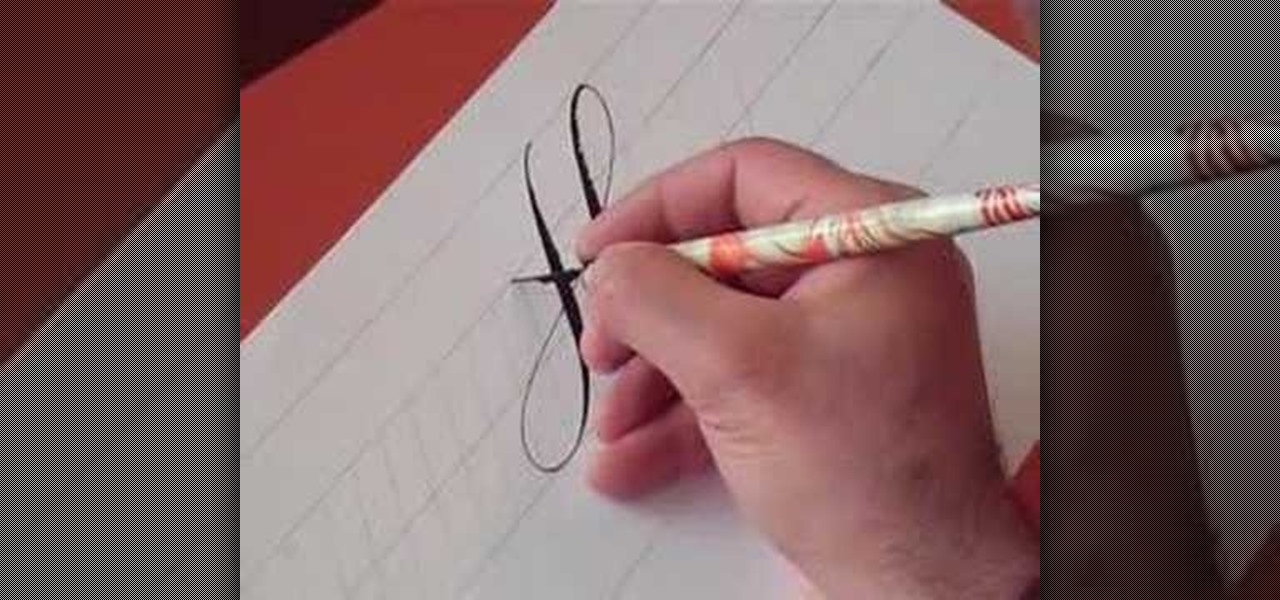
In this video, we learn how to write numbers in calligraphy copperplate. To write the number five, you will simply make the shape of the number, but add in a thick edge to the bump and curved edges to the end. To write the six, use a thick line on the side of the number and a thin line for the circle in the middle. To make the seven, the top should be curved and thick, and the lower line should be very thick with a straight edge. To make the eight, draw the number so that the left edge is thi...

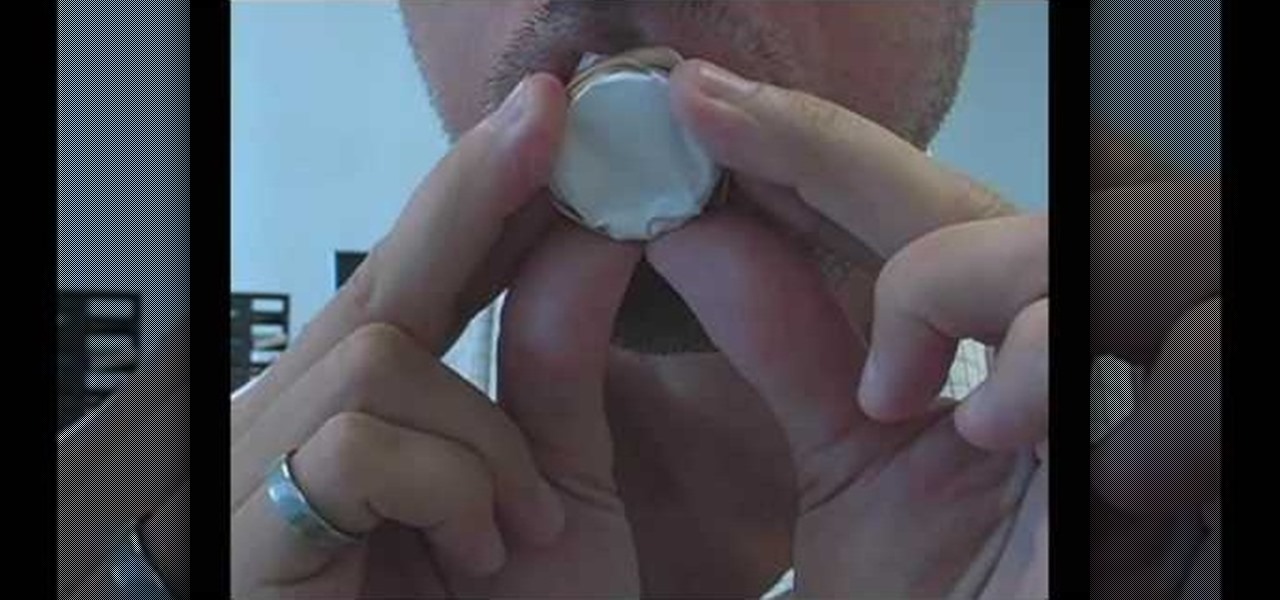
In this video tutorial, viewers learn how to make a realistic goose call. The materials required for this project are: a plastic bottle cap, scissors, rubber band and a piece of paper. Begin by making a small hole in the bottle cap. Then wrap the paper around the other side of the bottle cap and secure it with the rubber band. Now just blow in the hole and make a humming sound to create a goose call. This video will benefit those viewers who enjoy goose hunting, and would like to learn how to...

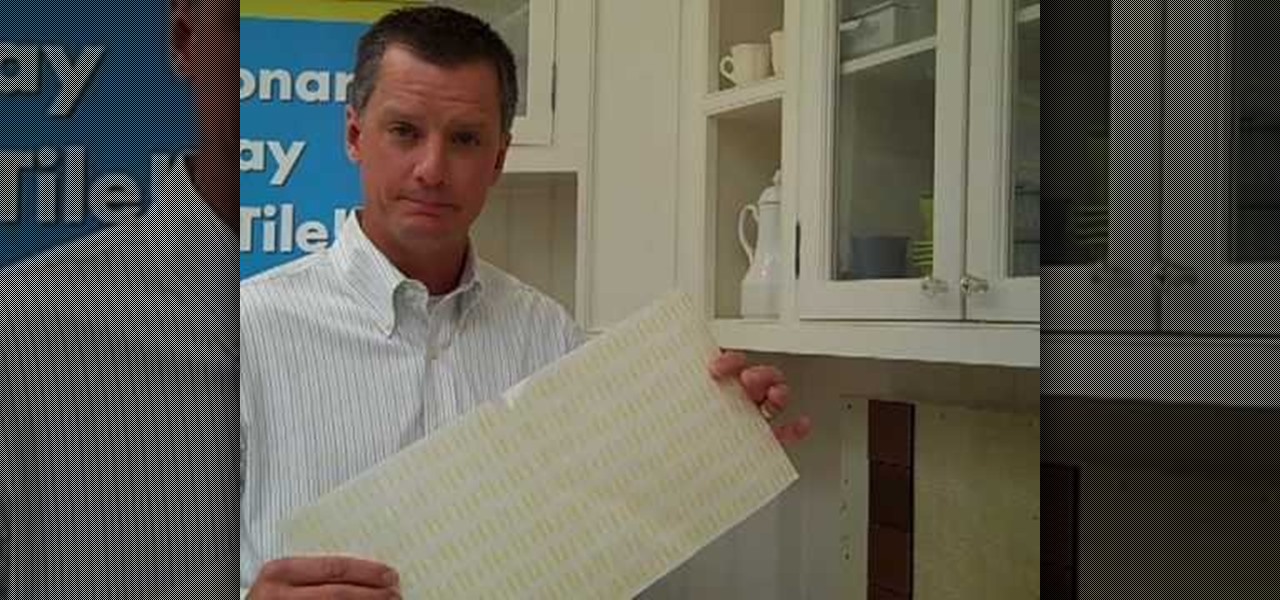
In this video, we learn how to install tile in your home using SimpleMat. SimpleMat is a double sided adhesive mat that is designed to set tile on an existing counter top. Adding tile is a very easy way to add value to your home or give it a quick face lift. To apply, first remove the back of the adhesive, then apply it to the surface. Next, you will remove the protective tile and you can start to lay down your tile to the adhesive. Press it down where you want them and adjust them if needed....

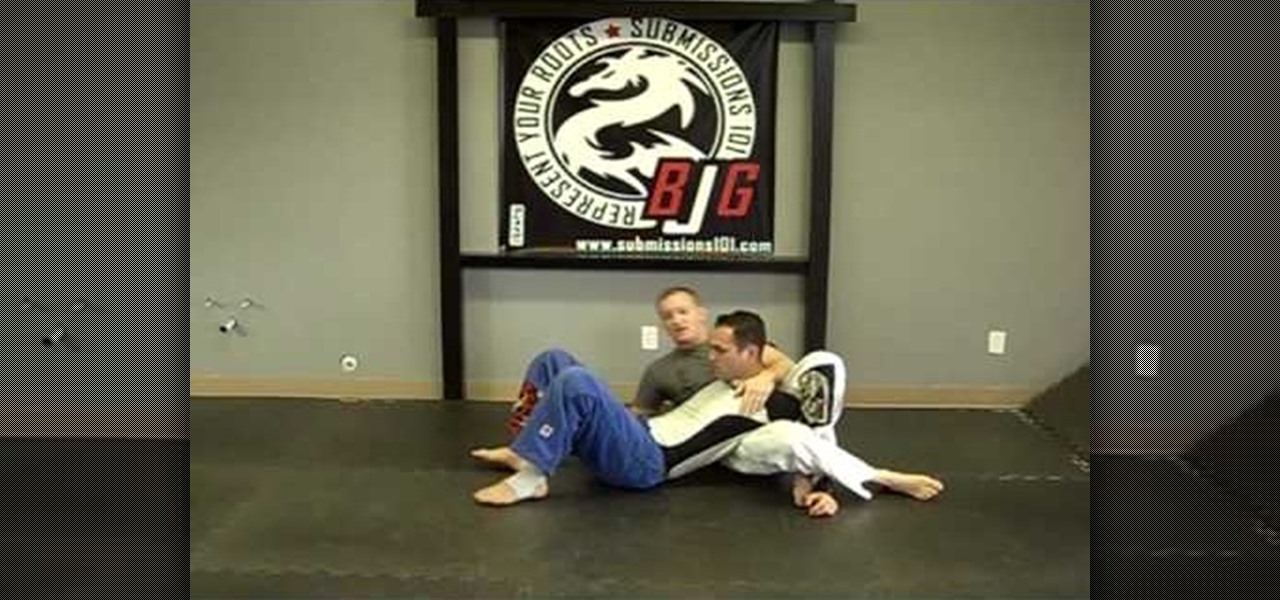
In this video, we learn how to do the rack and crucifix jiu jitsu position. Start by starting in the cross position with your grip around the opponent, pushing their arm up. Now, lift up your forearm and it will prop them up to their side. Now, swing your legs over and catch over top the arm on their body. Now you can swivel to perform a neck crank. From this position, there are a lot of submissions you can do. To get the crucifix position, shift your leg back and fall backwards. Triangle you...

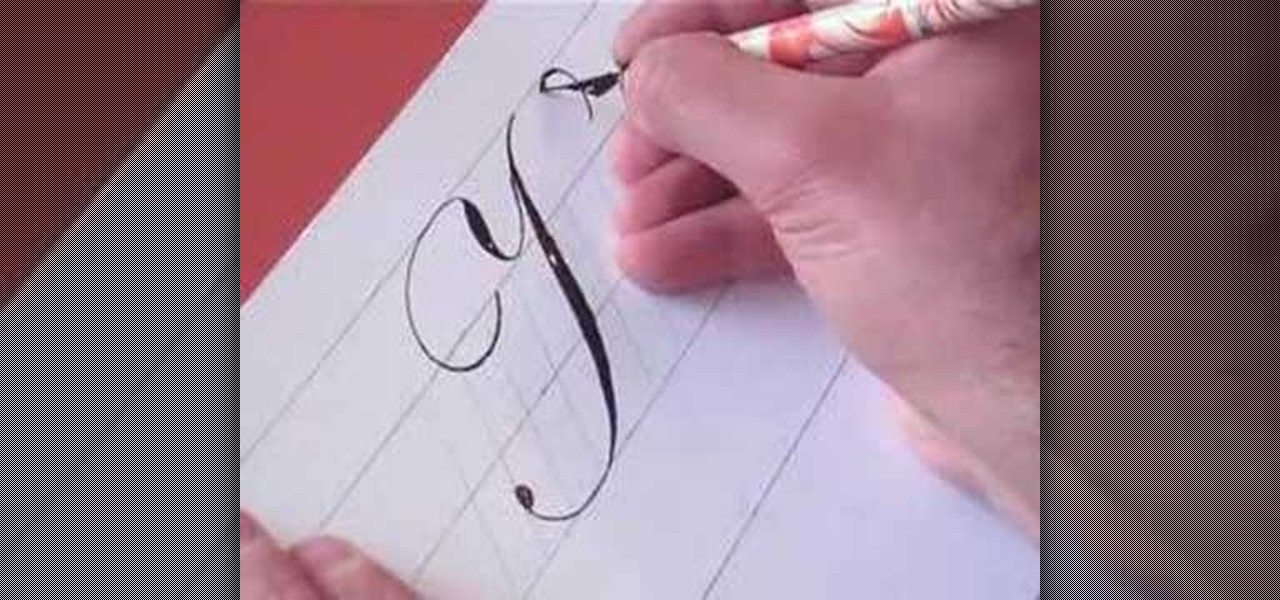
In this video, we learn how to write the letter H in calligraphy copperplate. To make the upper-case letter, start off drawing into a thick line, with a curve at the end of the letter. Make the curve end touching the line, then draw it out to the right side of the letter, bringing it back down to a line to make the "h" shape. Next, draw a line across the two lines with a curve at both ends. To make the lower-case letter, start by drawing a thin line to make a loop at the top, then bring it do...

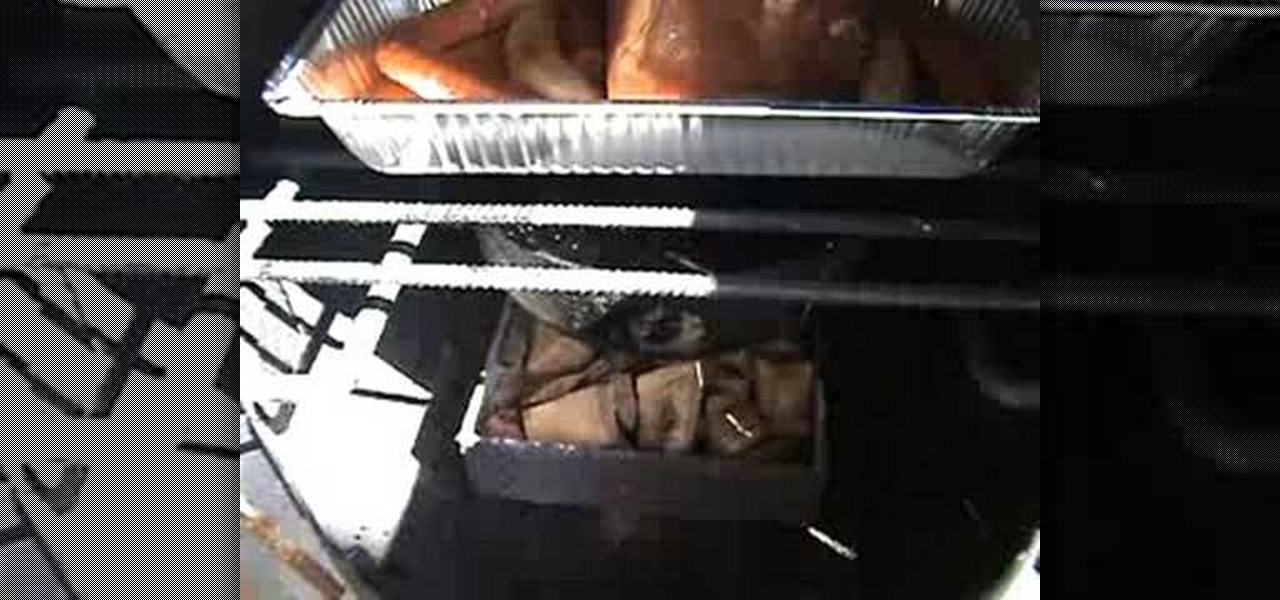
A recipe for an authentic brisket, smoked Texas style. Start with a flavorful dry rub, then stock your smoker with hickory wood chips and leave it in for several hours. Halfway through, turn your brisket over and smoke it on the other side. At the end of it, you'll have a delicious barbecue brisket!

Watch and learn the secret behind knitting a simple garter stitch scarf. Garter stitches are great for scarves because all you do is knit every row and both sides are the same. Cast on the number of stitches that you want and just start knitting! Judy Graham, Knitter to the Stars, shows you how it's done!

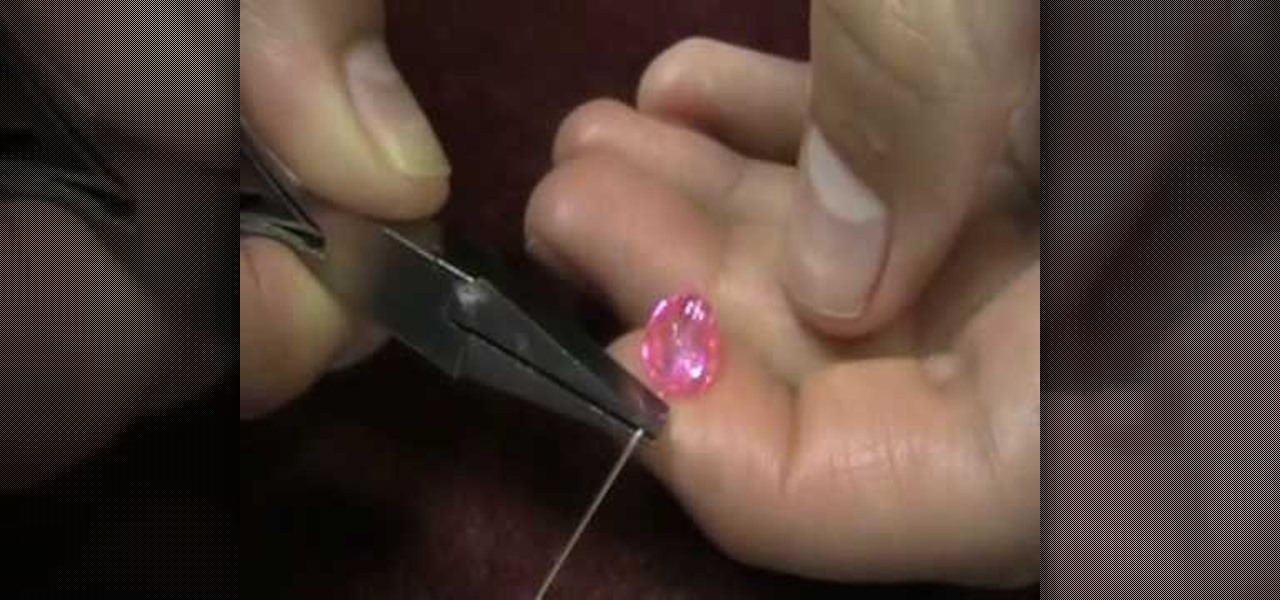
In this video tutorial, viewers learn how to wire wrap a head pin loop. Begin by placing the bead on the head pin, or on a 5 inch piece of wire. Then make a bend on the head pin approximately 1/8 inches above the bead to a 90 degree angle. Now wrap the pin around the jaw of the pliers, pulling it slightly to one side. Holding the bead and wire, rotate the pliers back to form a loop. Finish by wrapping the tail of the wire around the exposed part of the headpin as many times as possible. This ...

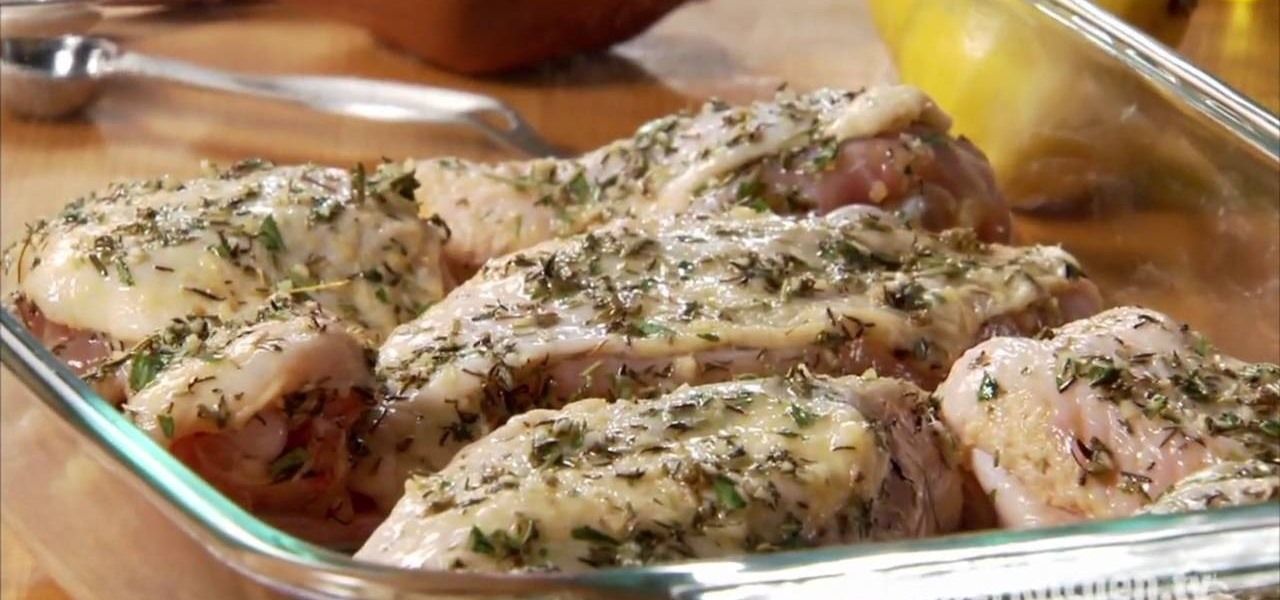
In this video, we learn how to prepare chicken for grilling. First, lay the chicken down onto a baking dish and pour over your favorite type of marinade and place it in the fridge overnight with plastic. A good marinade includes: onions, red pepper flakes, salt, sugar, soy sauce, and salt. You can include any more spices or seasonings that you would like, then mix it all together. After you have your chicken marinated overnight, you can start to grill it and cook it thoroughly. Serve during t...

In this video, we learn how to write the letter K in calligraphy copperplate. Start by running your calligraphy pen on the paper going from a thin line to a thick, making a line curved to the left ending with a dot at the end of a small loop. Next, make a loop to drag out across the top on the right hand side and curve it down to make the K letter. Do the same to make the lower case letter, except making a loop for the top of the letter instead. When finished, let the ink dry and you've got y...

In this video, we learn how to make photo magnets. First, clean your glass with vinegar, make sure it's small enough for the magnet. After this, cut your preferred image to fit in the glass, then apply adhesive to the image. Apply the glass with the texture side down, then push it around to work out all the bubbles. Clean the glass off with a damp towel before it dries. Next, apply Diamond Glaze to the back of the magnet and then allow it to dry completely. When finished, attach a magnet to t...

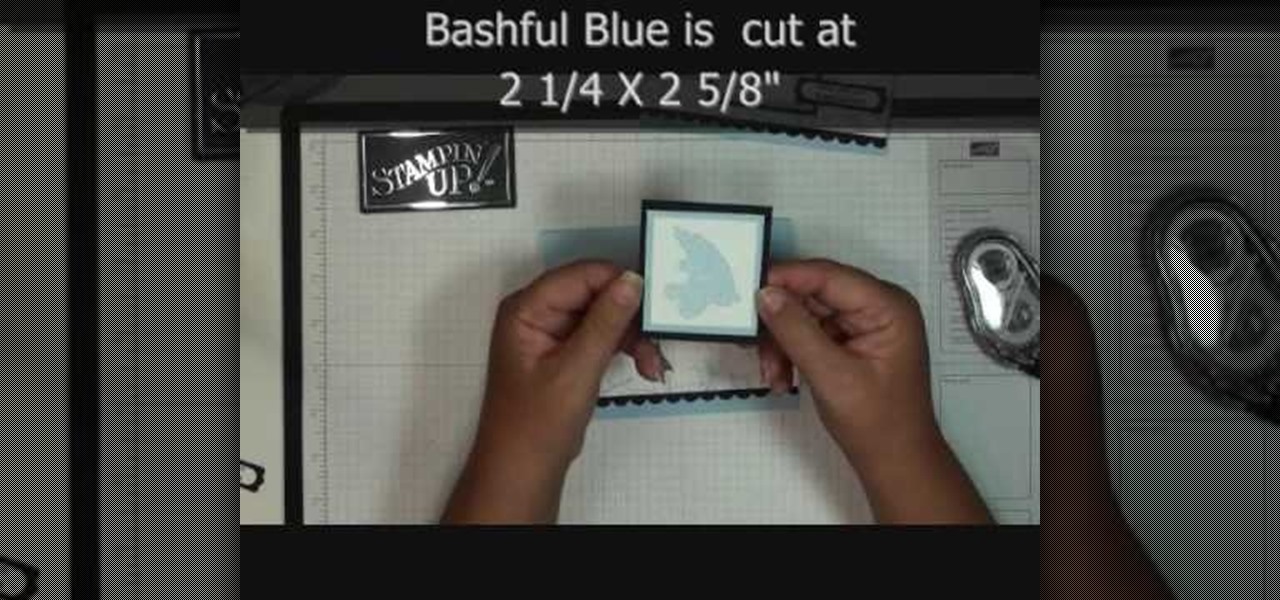
This video tutorial is in the Arts & Crafts category where you will learn how to use the rolling marble technique in scrapbooking. Take a piece of 2" x 5 1/2" whisper white. Then take the stamp set container with three marbles in it and add 4 -5 drops of color from a bashful blue refill inside the container. Then shake the container till the marbles get coated with the ink. Put some dotto on the back side of the whisper white and stick it to the inside top of the container. Flip it over and r...

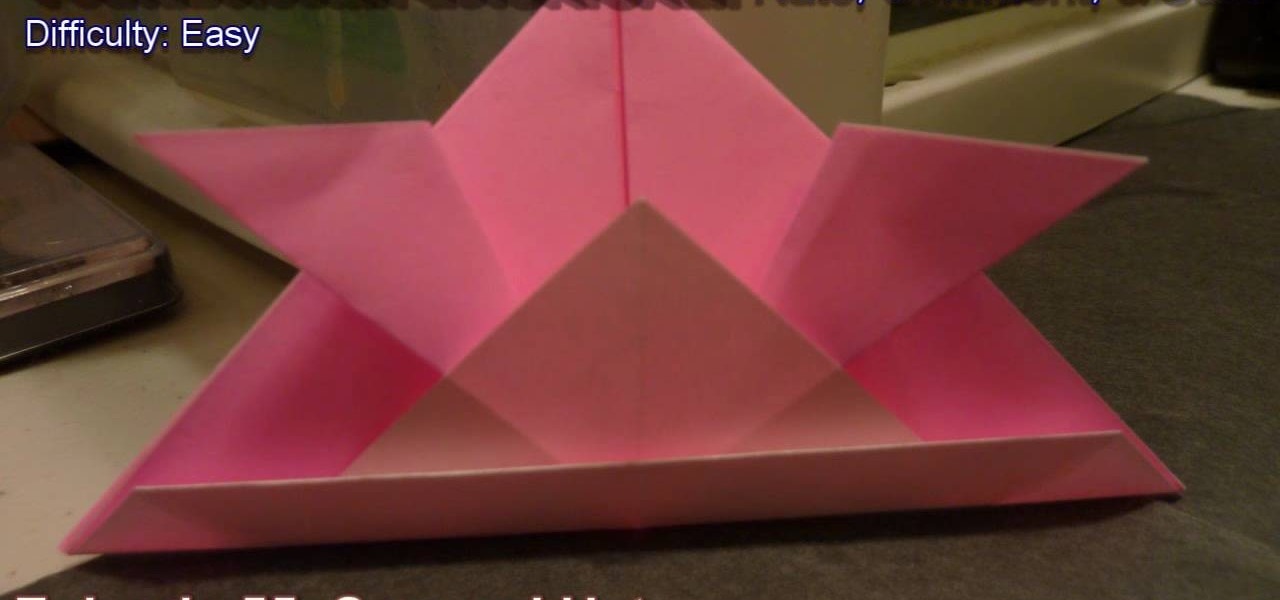
Japanese samurai warriors weren't all ferocious. In fact, many warriors prepared for battle by taking long, luxurious baths in concoctions of steamed rose petals so that in combat, their enemies would be taken off guard by the delightful scent just long enough for the samurai to plunge a well-placed katana into his loins.

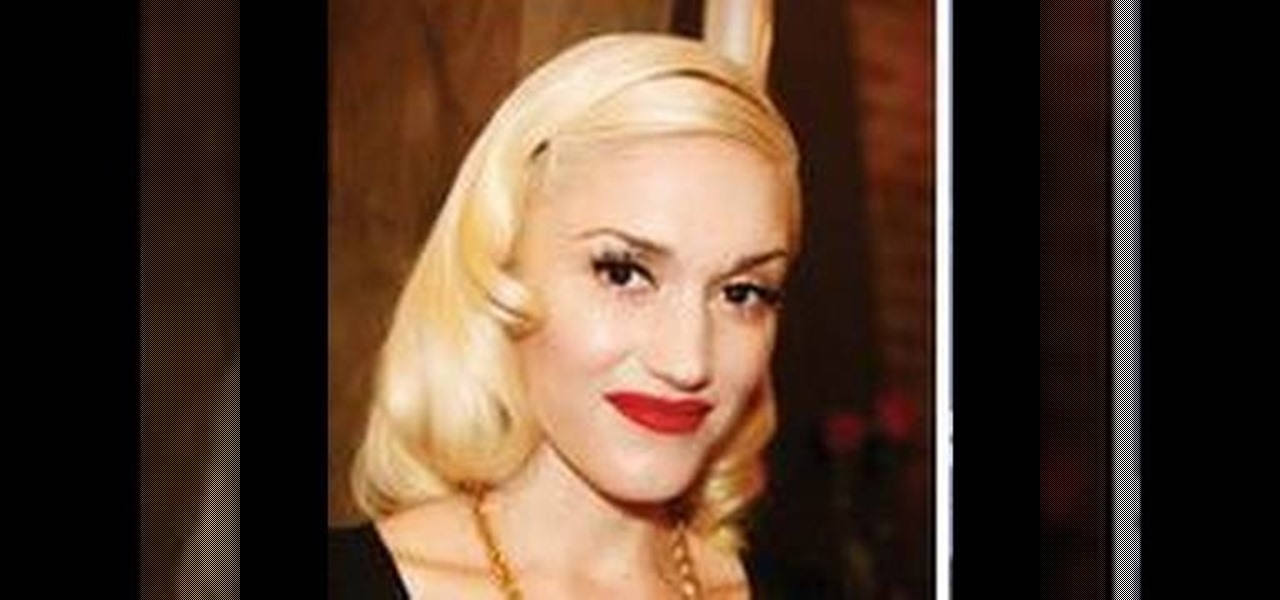
In this tutorial, we learn how to create a Gwen Stefani inspired pin-up hairstyle. Start off by brushing your hair out, then use a curling iron to curl individual section of hair, then when you are done with each section, pin it up in a cylinder like shape. Continue to do this throughout your entire head of hair. When you are done, take your hair out of the pins and gently brush through it. Make sure to brush easy to avoid making your hair too frizzy. After this, use hair gel and comb through...

In this video, we learn the basics of Irish dance. First, you need to tie your shoes onto you tightly, then make a cross and go underneath your foot with the strings. You will see a lot of pointing with the toes when you are dancing, and you should never be able to see in between the legs. Your arms should be right by your side and not flared out. When you lift, bring the other right in front of it immediately. Another popular movement is to do a skip with a hop and a jump in between. After y...

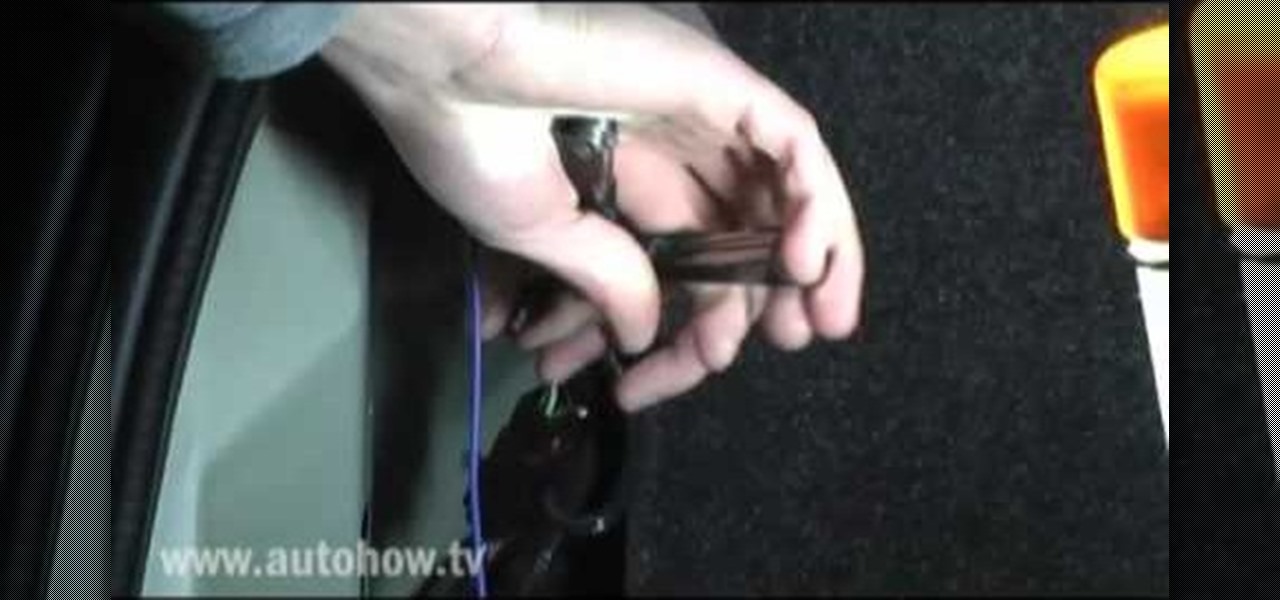
In this video, we learn how to install chase tail lights on a Mustang. First, you need to remove the rear trunk panel and trim piece. Next, prepare your tail light kit by following the directions that are given to you with the package. Next, cut the tail light wire. Now, put on your turn signal and take note of which light it still blinking, then mark it with electrical tape. Now, swap that light into the in board position and run the new wires by rewiring the new lights into the tail light. ...

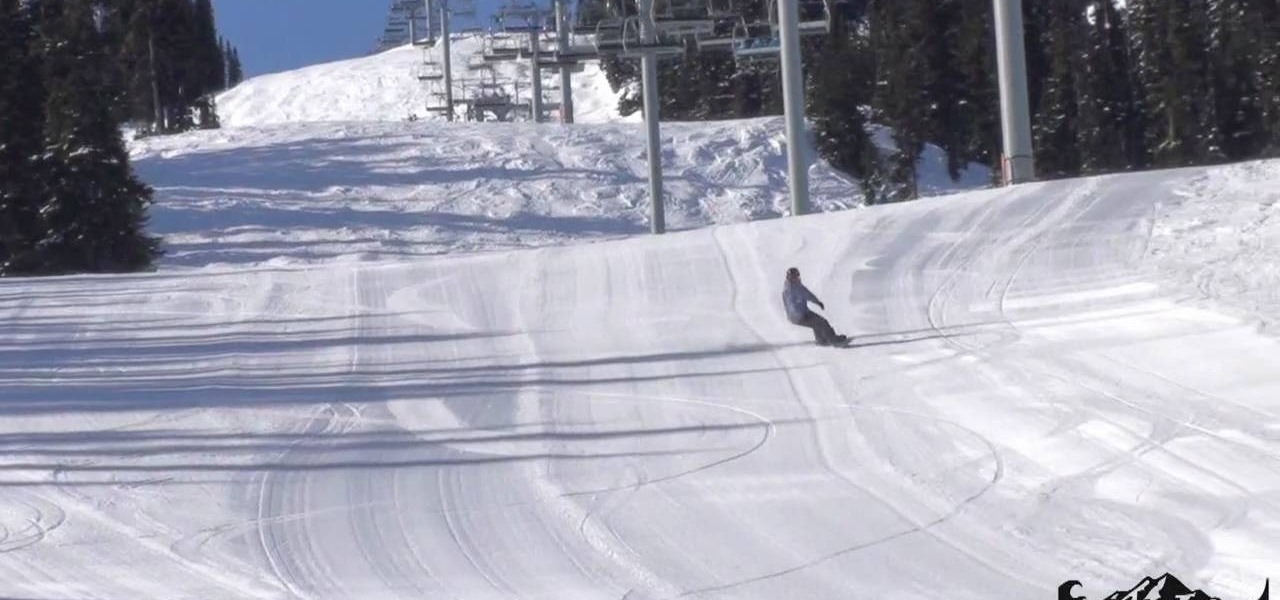
In this video, we learn how to carve in snowboarding. While you are riding the snowboard, you will want to move your body weight so you are making a carving motion with your board along the side of the mountain and down the slope. Make sure you pay attention to where your legs are placed so you are properly pushing your weight on the ends of the board. If you fall, make sure you try to fall with your rear end so you don't break your knees or hands when you go down. With practice, this will ge...

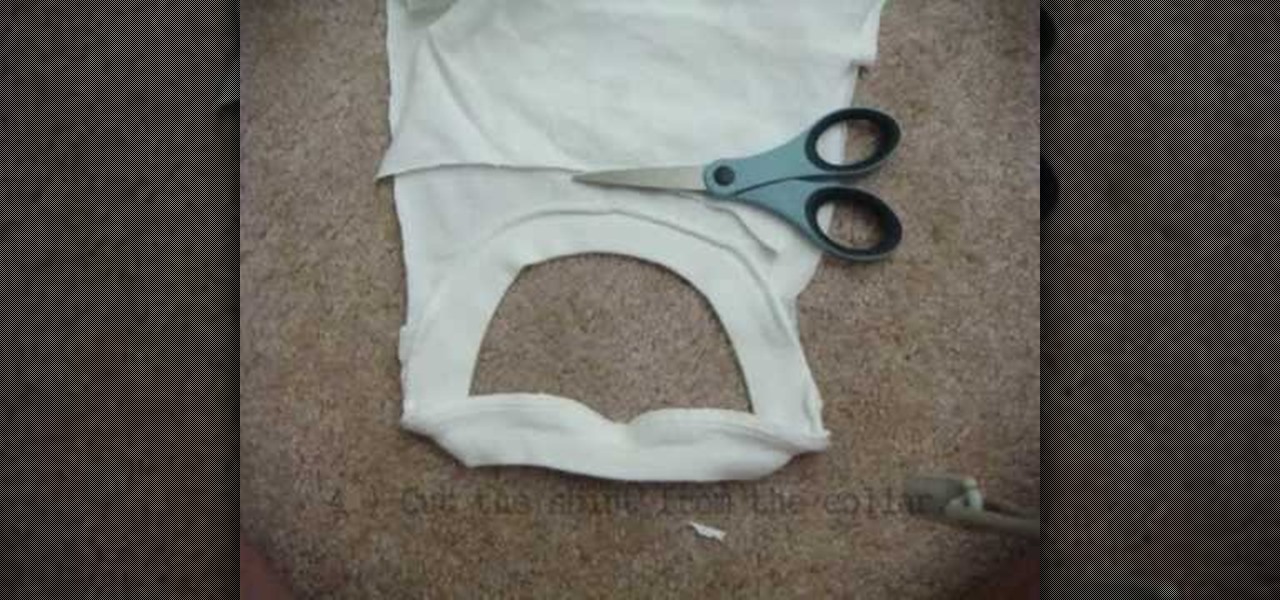
In this video, we learn how to create a knotted tank top. First, you will need to take a shirt that is too large, the cut off the sides of the two sleeves down to the bottom. Next, cut the shirt from the collar and make strips out of the excess fabric. Tie the strips on the back of the shirt going to the front of the shirt and tie it. You can also make a chain shape to make this look more unique. When you are finished with this, you will wear a tank top underneath it, then you can wear this c...

In this tutorial, we learn how to make a snowflake with beads. You will need: clear crystals, beads, and thread. First, string six beads onto the thread. After this, string a crystal next to the beads. Now, tie this and start to repeat the process on the left side of the beads. Continue to do this process until you have created a shape that looks like a snowflake. You can do as many or as few of these as you would like. This creates a beautiful necklace, or you can use it as a bracelet if you...


