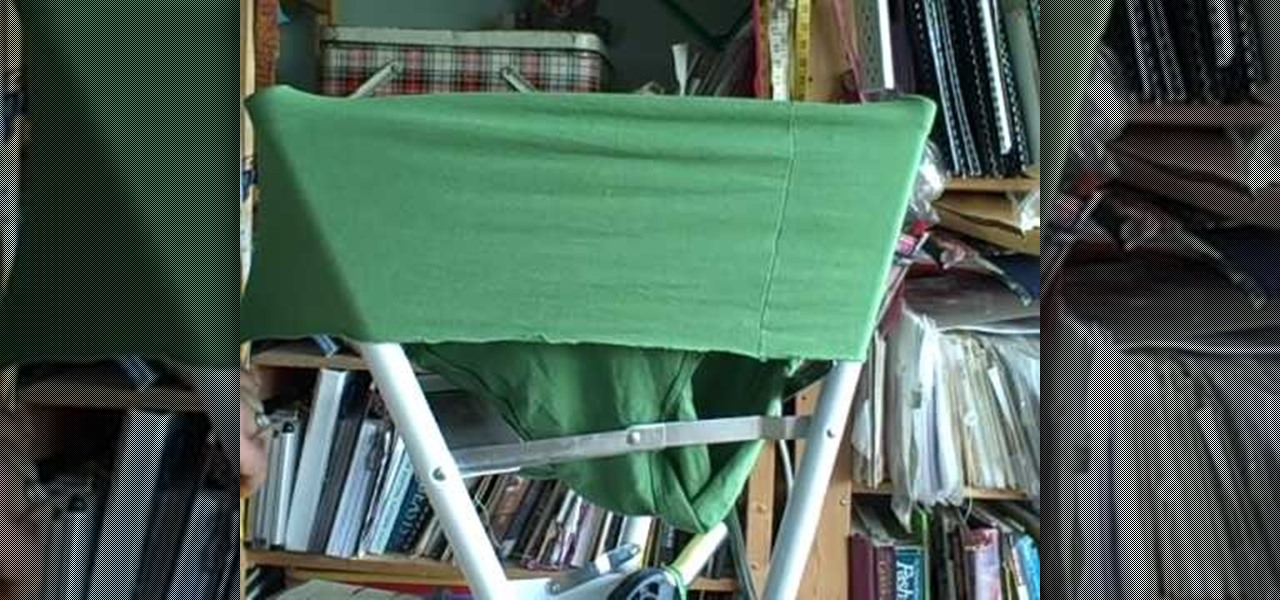
In this tutorial, we learn how to make a window valance. If you have a drop down shade, a valance will help cover up the hardware that is located underneath it. Start out with your choice of fabric, then add in 1 inch to the top, bottom and sides. Next, line the fabric and place Velcro on the top. Now, use a wrap around and mark where you want to fold the fabric in at. After this, sew the valance and then use the Velcro to stick it onto the metal part of the drapes. When finished, enjoy your ...
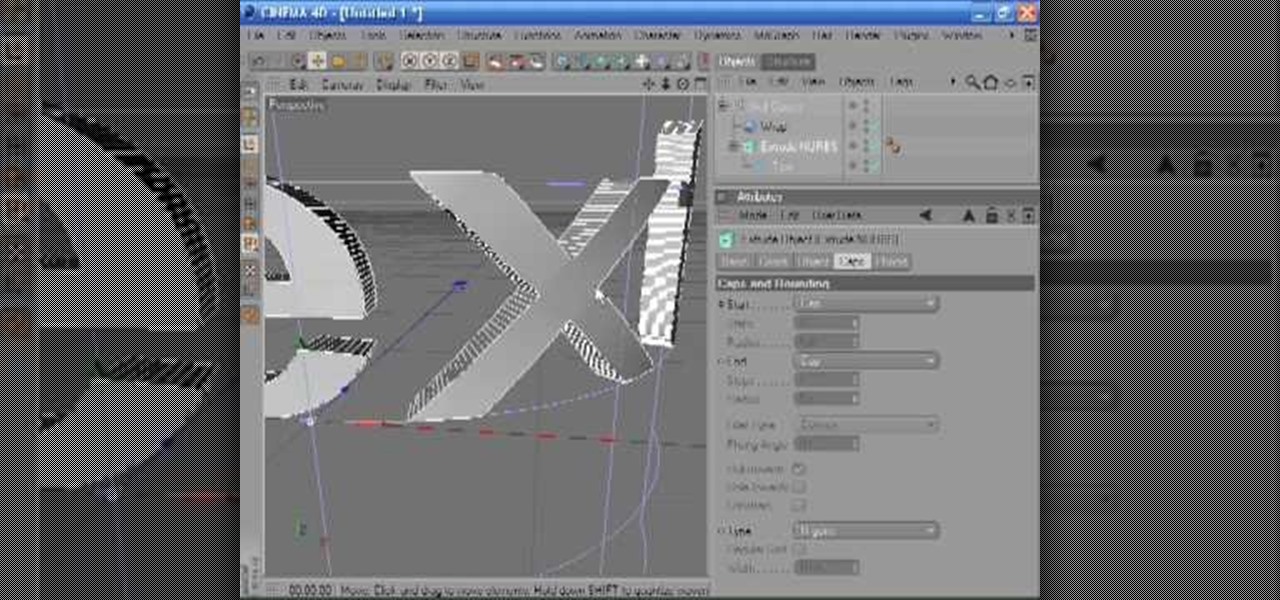
Occasionally you can run into problems when you try to wrap, bend or twist 3D text. This is usually because the faces or sides of the text need more segments so that the text can be deformed cleanly. This tutorial shows you the main controls for getting clean text every time. Whether you're new to MAXON's popular 3D modeling application or are just looking to get better acquainted with Cinema 4D and its various features and functions, you're sure to enjoy this free video software tutorial. Fo...
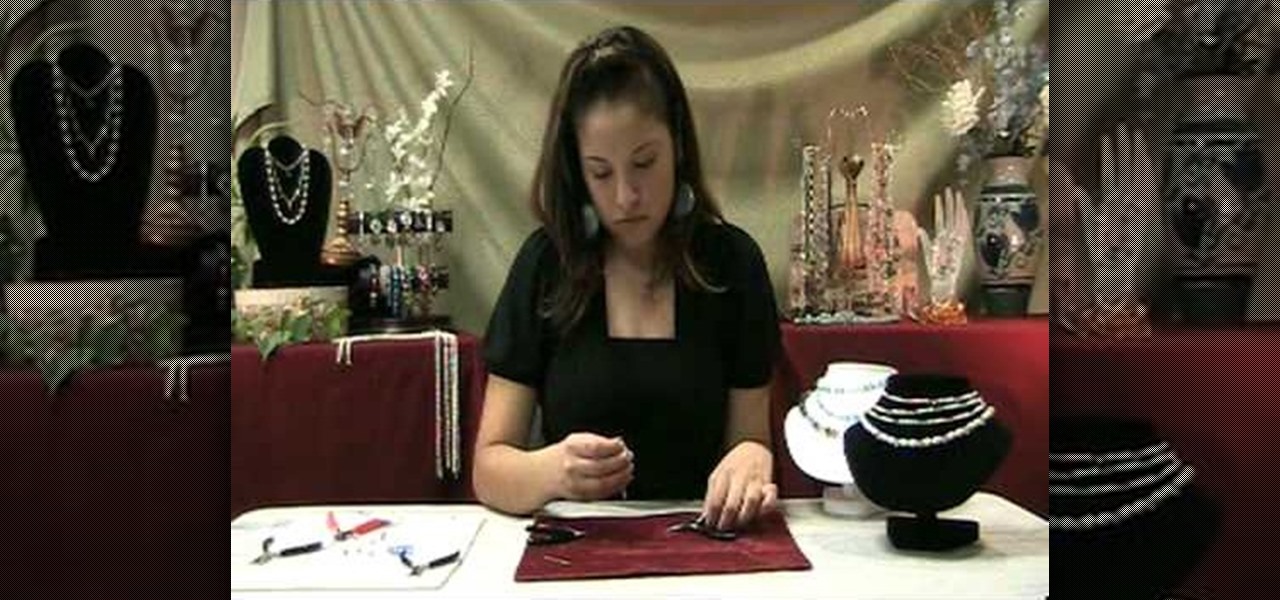
In this tutorial, we learn how to attach a charm on a chain with Anna. To begin, grab a pair of pliers in each of your hands. Now, pick up the chain with them and gently lift up one side of the flap. After this, pick up your charm and attach it onto the chain. When finished, attach the chain onto the larger chain (bracelet or necklace), then gently close the chain link back up. You will want to gently press the opening back down leaving no gaps in it, or the chain will come loose and you will...
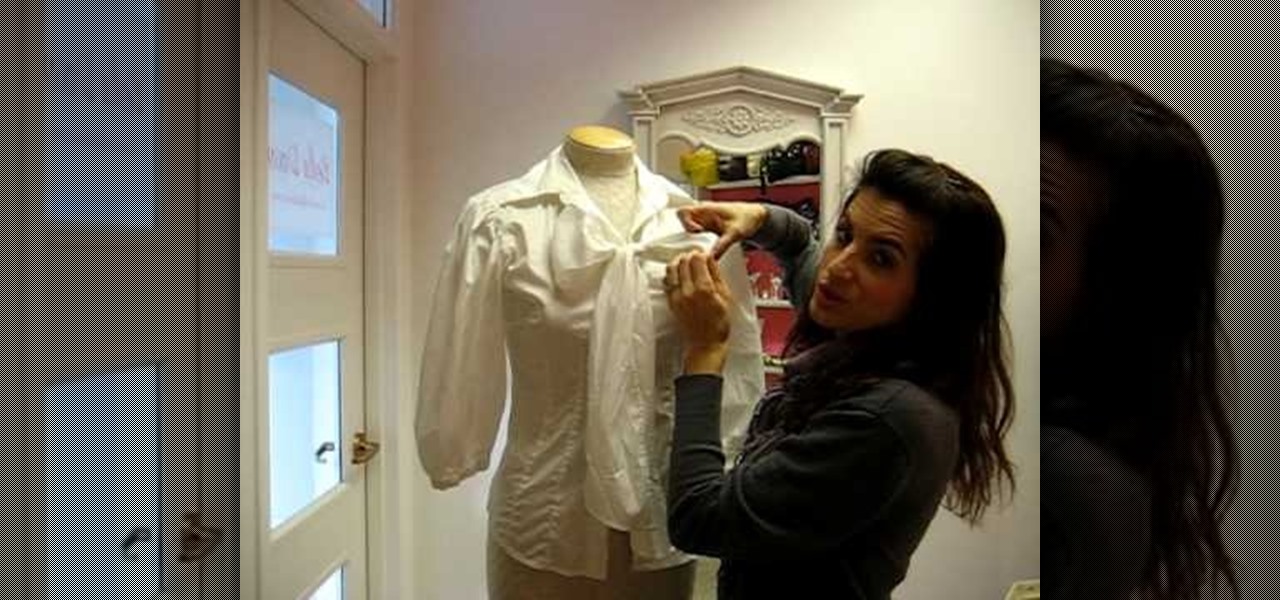
In this tutorial, Dawn teaches us how to wear a classic button down blouse. The first blouse you can have has a round collar with a ruffled sleeve and a pleated front. Look for something that has more detail which gives it a more feminine look. Also, look to find a shirt that has an extra panel on the side so you can't see your skin in the middle of the buttons. Also, make sure shirts have a little bit of stretch in them so they fit and contour to your curves. This type of shirt can be worn w...
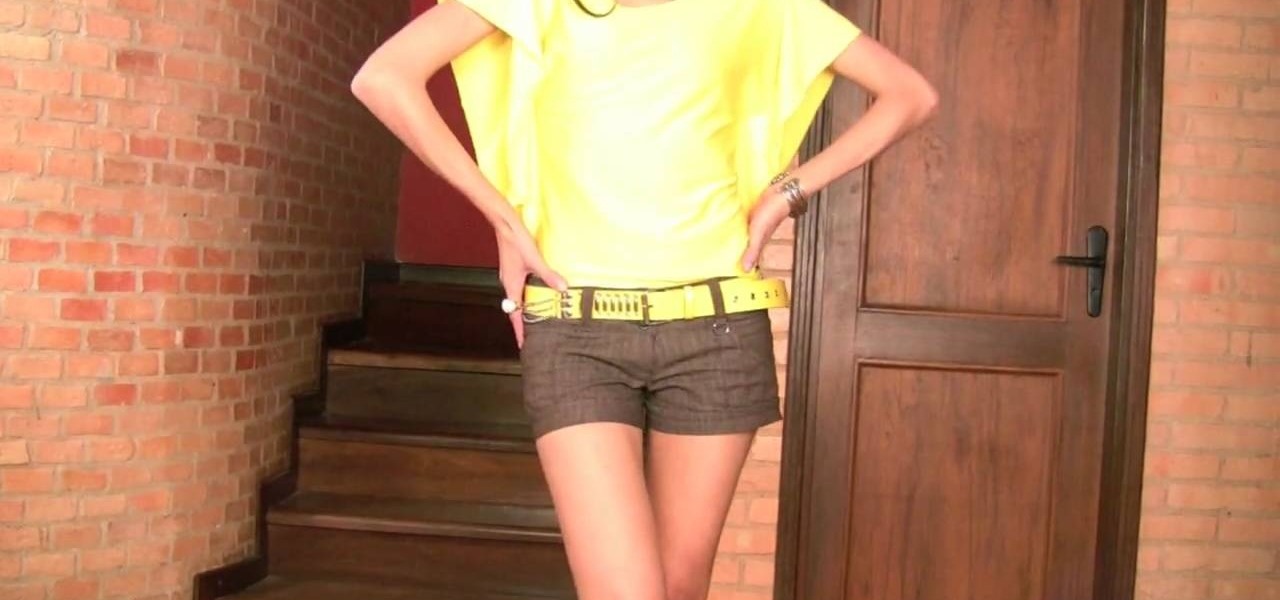
In this tutorial, we learn how to make a stylish bat sleeve. First, take a large piece of fabric and measure it from your shoulder to the armpit on the other arm. Now, fold the fabric up and mark pins where you want the cuts to be. Now, sew the seams where you placed the pins. Do this for both sides and when you are done you will have bat sleeves on a blouse in just a few short minutes. You can do this on any color of fabric and use different types of fabrics as well. Just make sure to measur...
In this video, we learn tips on how to prevent cakes from sticking to a baking tin. The best way to do this is to butter up a piece of bread and rub it onto the entire baking tin. Make sure you get both the sides and the bottom of it. If you want to be healthy, use margarine instead of butter so you won't get the extra calories. This is a great way to grease your baking tin and won't lead to cakes that stick on them and won't come off. This avoids messes and makes for terrific cakes that are ...

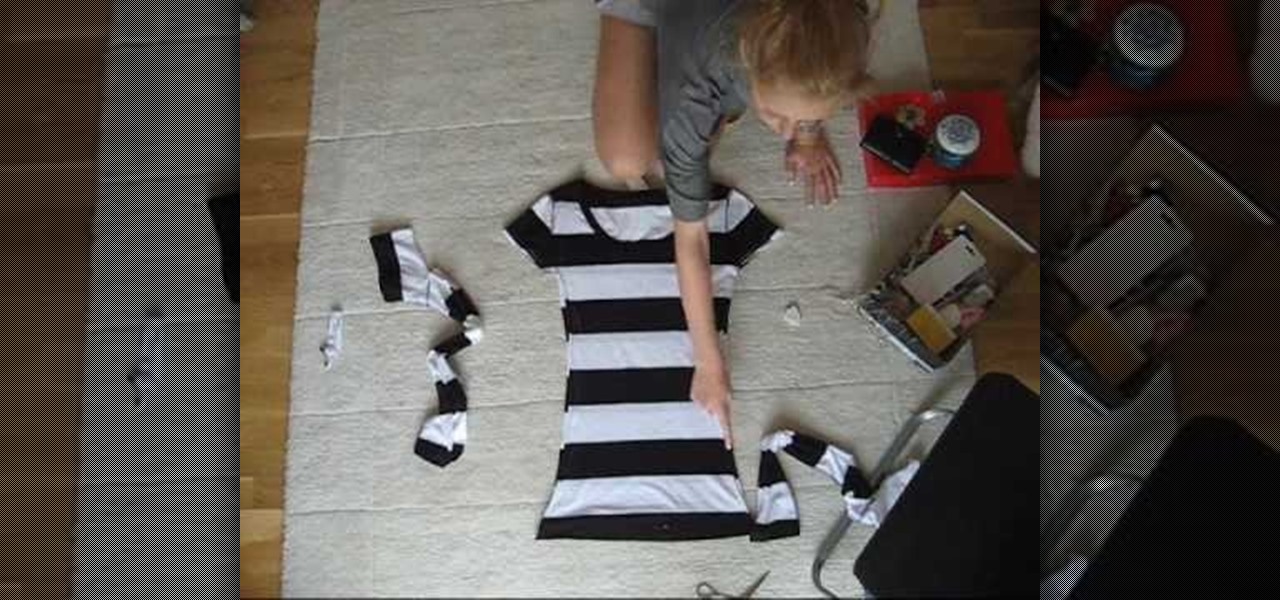
In this tutorial, we learn how to make a t-shirt. First, measure around your waist and your bust, as well as around the hips. Now, take your old boxy t-shirt and flip it inside out. Now, place your measuring tape on the shirt and pin it where your measurements are. Draw out your measurements so you know where to cut. Once you have the new shirt drawn out, Cut out an inch out of the lines and toss the rest of the cloth in the trash. After this, sew the shirt on all the open sides. To finish, t...

In this video, we learn how to create an elegant band look for curly hair with Liz Muller. To start, you will take a comb and brush the front of your hair to flatten it out and make it straight. Push your hair to the back of your head, then take pins to pin the hair back on the head. Make sure it's tight so the hair doesn't become loose. Continue to pin the hair on the bottom, then bring your hair to the front. Do this on the other side of your head, again brushing the bangs back to make them...

Got a bag of old t-shirts that have been with you too long that you don't want to throw them away, but are piling up too fast that you're tempted to toss them on the counter at the Salvation Army? Keep your old t-shirts by your side without compromising storage space by making tarn.

In this tutorial, we learn how to make a paper football. First, take a piece of copy paper and fold 1/3 of the paper and crease it. Next, do this again until you reach the top of the paper, you should have three folds in total. Next, fold one side into a triangle shape, and then keep folding in until you get to the bottom of the paper. Once you reach the bottom, fold the excess paper into the pouch that you created when folding the triangle in. You will end up with a triangle shape. Now, you ...

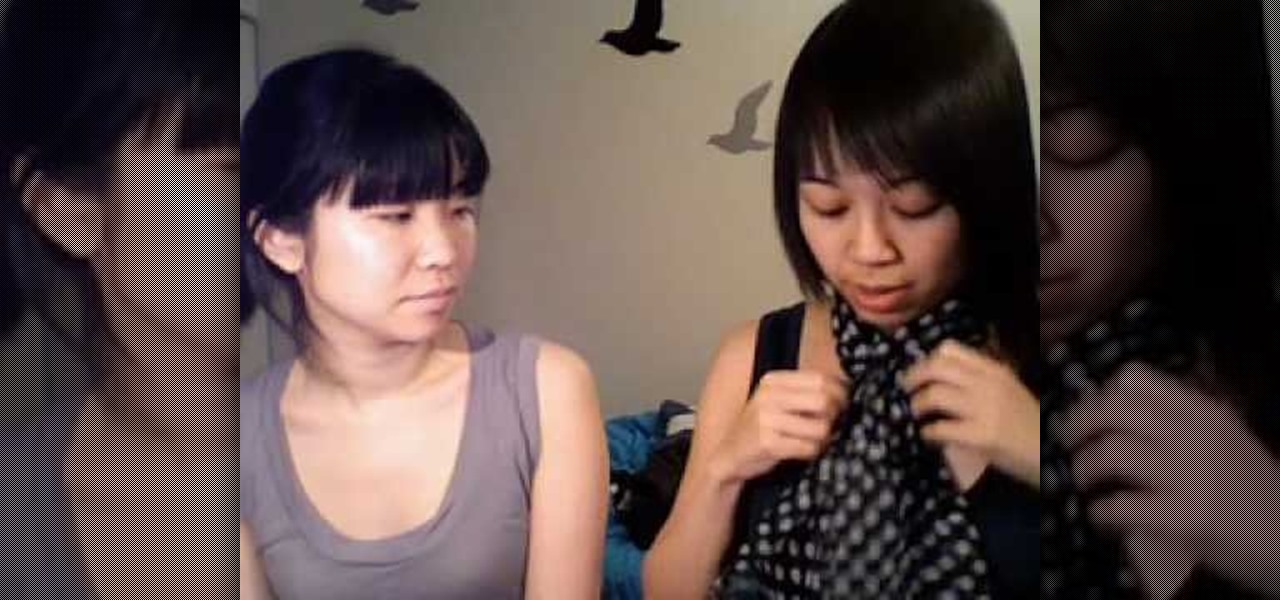
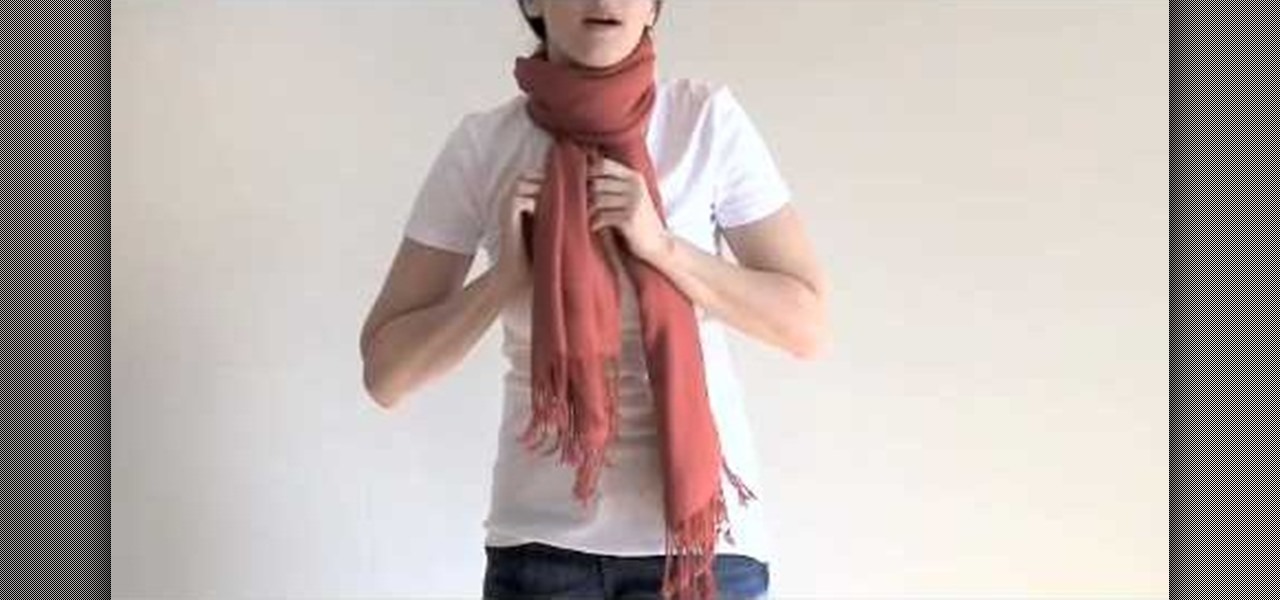
In this video, we learn how to tie scarves. The first way is to wear a scarf with tassels that is wrapped once around the neck with it's sides hanging down in front of you. With a skinny scarf, you can tie it around your head to make a headband or fold it in half and wrap it around a pony tail. If you have a rectangular scarf, you can tie it in a loop around your neck, or make a loose knot on your chest in front of you. If you want a polished look, tie a bow in front with the scarf. A square ...

This video tutorial is in the Arts & Crafts category which will show you how to fold a circular teabag paper. This is a simple process and doesn't take much time to do. First fold the circular paper in half to get a semi-circle and then fold it in half again in to a quarter. Unfold the last fold and fold one quarter back to the halfway mark. Then turn the paper over and fold the bigger side of the paper along the fold line exactly matching the edge as shown in the video. Now you get a little ...

In this tutorial, we learn how to cut up a raw chicken. First, start with a very sharp knife and a complete whole chicken. First, cut the legs from the chicken by pulling the skin taut at first between the drumstick and the breast. Next, remove the wings by holding the chicken on its wing and looking for the armpit. Slit into this, and bend back the wing, then cut through. After this, remove the back from the chicken and then you will be left with your chicken breast halves. Turn it over skin...

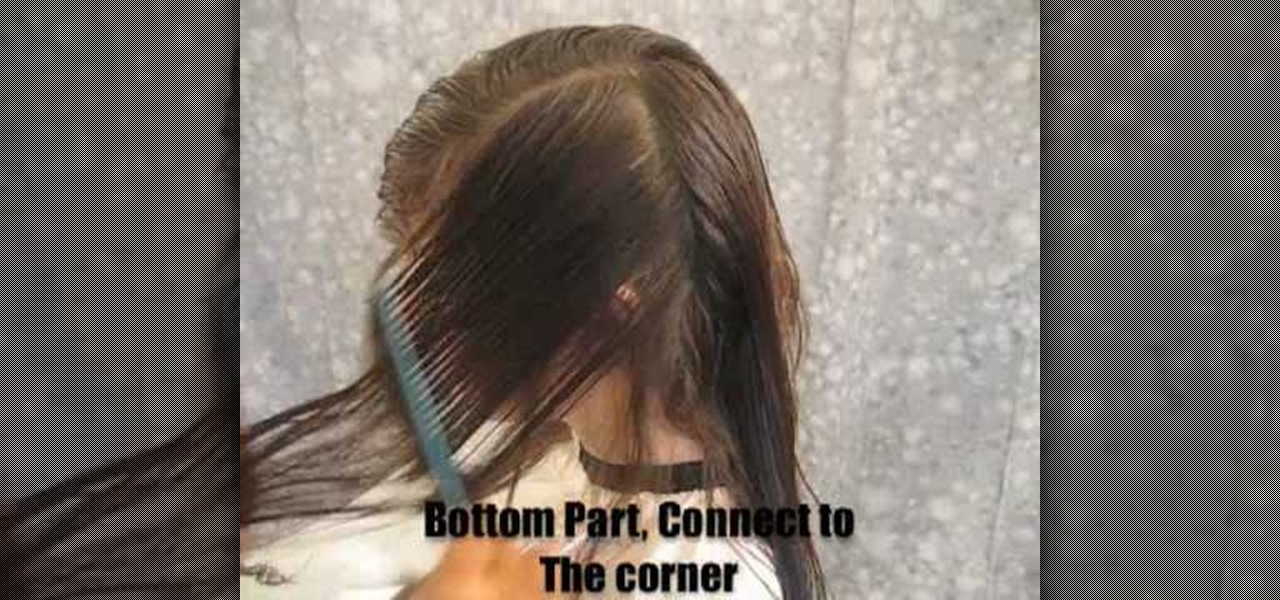
In order to cut a long layer haircut, you will need a good pair of scissors. You must stay in the exact same standing position the entire time. Bring all of the hair together on each side, in order to cut it.

In this video tutorial, viewers learn how to make paper footballs. Begin by cutting a straight strip of paper. The wider the width, the larger the football will be. Then fold the edge into a right triangle shape and continue folding the strip in the right triangle pattern. Once you have reached the end of the strip, tear off the end at an angle and tuck it in the side of the football. This video also shows viewers how to play a game with the paper football. This video will benefit those viewe...

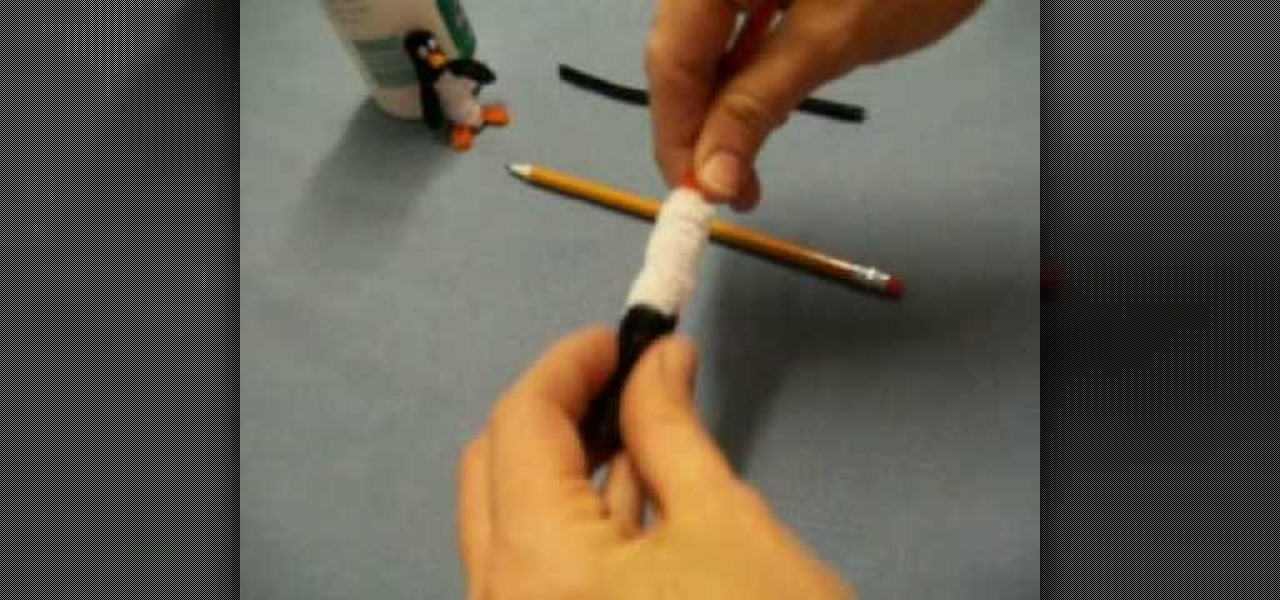
In this tutorial, we learn how to craft a penguin out of pip cleaners. First, grab a pencil and wrap white pipe cleaner around the top. Now, wrap black around the pencil as well, and squish them both together. Slide them off, then take an orange pipe cleaner and fold it in half. About 2 rings from the top of the black, poke the orange through that will be the beak. On the bottom, twist the orange pip cleaner together to make penguin feet, then clip off any excess pipe cleaner. Now, take black...

In this tutorial, we learn how to tie a turtleneck knot. First, take your long scarf and find the middle. Next, wrap the scarf behind the back, and bring the ends to the front. Loosen the scarf up on the neck, then make a knot. Try to get the scarf to lay as flat as possible, then tuck the knot into the neck cover. You can let it hang loosely, or flare it out on the sides. This is a great way to wear your scarf in the winter, because it will keep your neck warm as well as your body! You can a...

This video tutorial is in the Home & Garden category where you will learn how to install an interior door set on a pre-bored door. For this you will need a tube latch, straight plates, door plates, two knobs, two sets of ring guides and a spindle. You will also need a tape measure, ruler, screwdrivers, a drill and safety glasses. A pre-bored door has a face and an edge bore. First install the tube latch through the edge bore ensuring that the angle side of the tube face is towards the door ja...

In this tutorial, we learn how to scratch records like a professional DJ with Eric Roman. First, go to your DJ equipment and move your hand back and forth to scratch the record that is inside of it. Make sure you aren't too loud so you don't over power the song you are currently playing. You can use the normal way, which is using the left player. Or, you can use the right side to open up the left player. Either way you choose to do, you are doing a back and forth movement with the record and ...

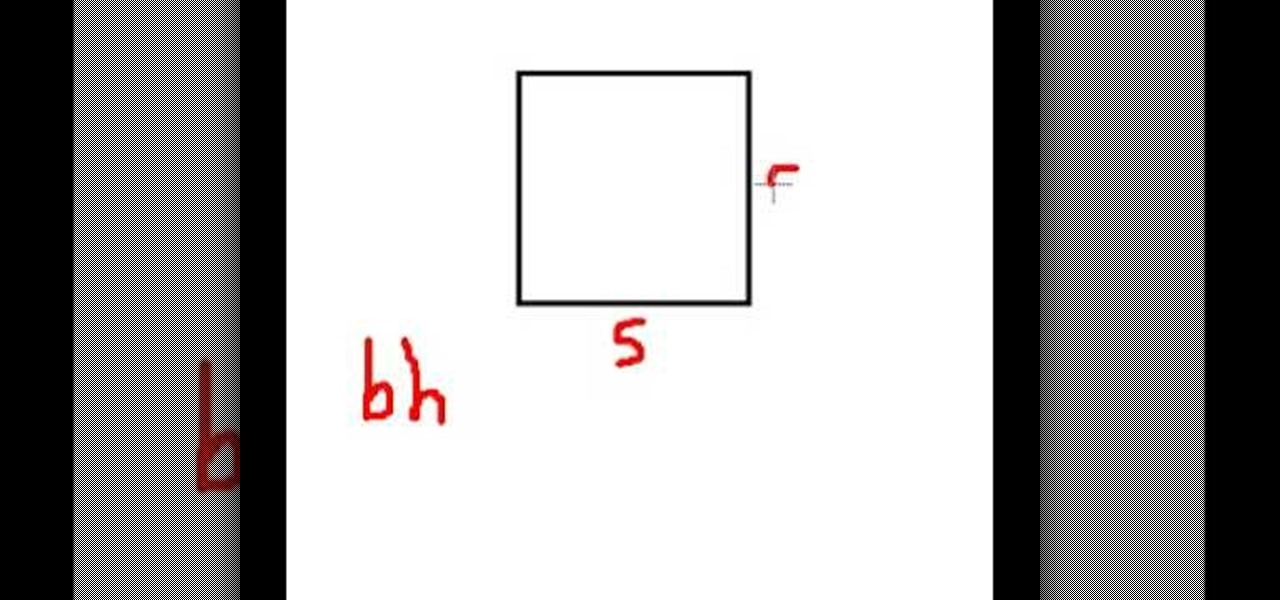
In this video tutorial, viewers learn how to find the area of a rectangle. The formula for finding the area of a rectangle is: A= b x h. The base is the horizontal bottom lie of the rectangle and the height is the vertical straight line of the rectangle. Whenever working with area, users must square the unit of measurement. To find the area of a square, multiple the side of the square twice (square it). This video will benefit those student viewers who are struggling with math, and are in nee...

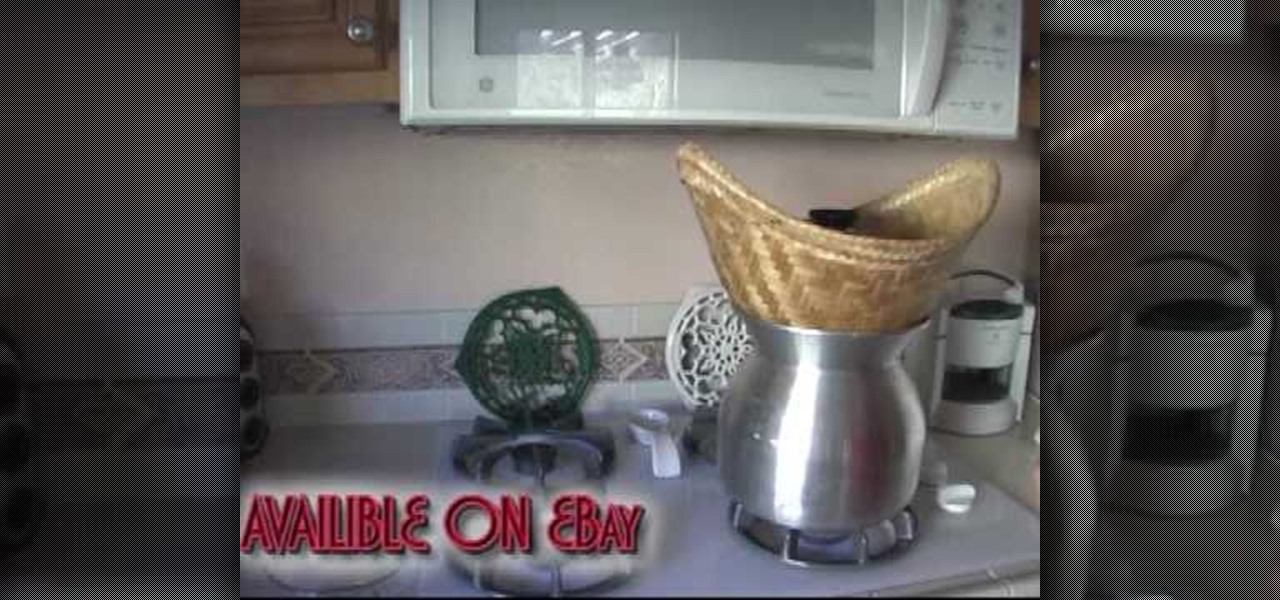
In this tutorial, we learn how to make Thai sticky rice. First, soak your rice for a minimum of two hours or overnight in water. Make sure the water covers the rice by an inch or more. After the rice has soaked, fill a pot with two inches of water, then place your rice into a steam basket. After this, place the pot on medium heat and bring it to a boil. Then, place your basket on top of the pot with the rice inside of it and then place a lid over the basket. Let this steam for around 10 minut...

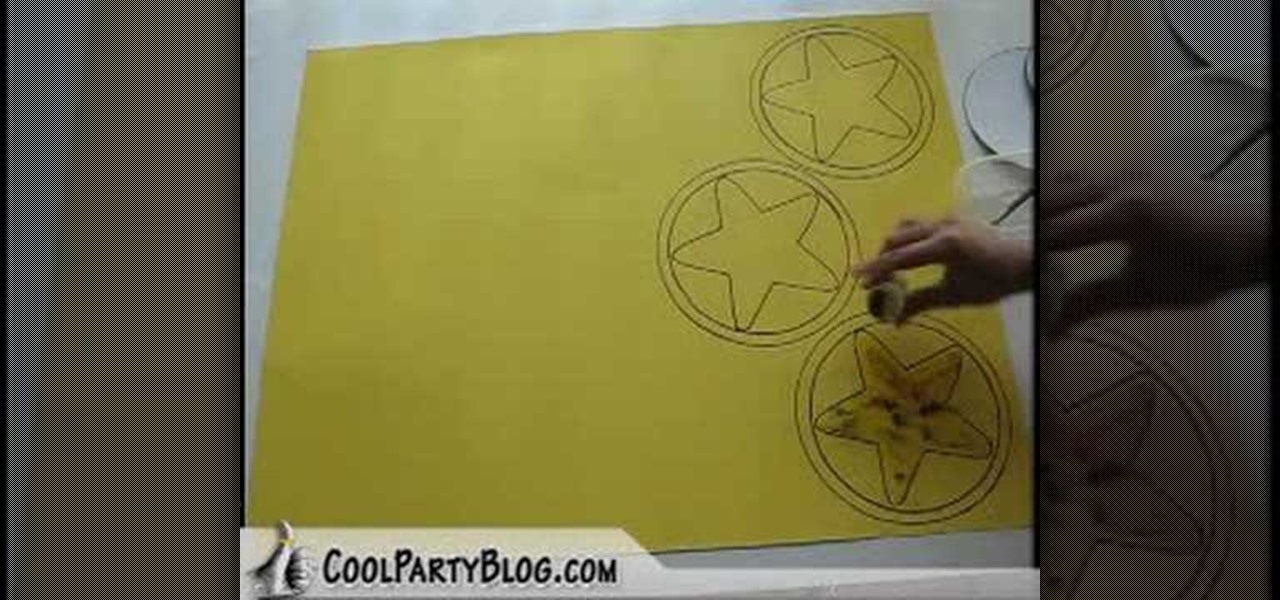
In this video, we learn how to make Mario Party star coin decorations. First, trace templates for the star coin onto a large piece of gold paper. You can get these templates from CoolPartyBlog. After you have traced the entire outline, retrace using a permanent marker, you want your lines dark and full. Continue doing this for all of the coin stars. Now, take the star template and trace it into the inside of the circles with the permanent marker. When finished, add glitter paint or loose glit...

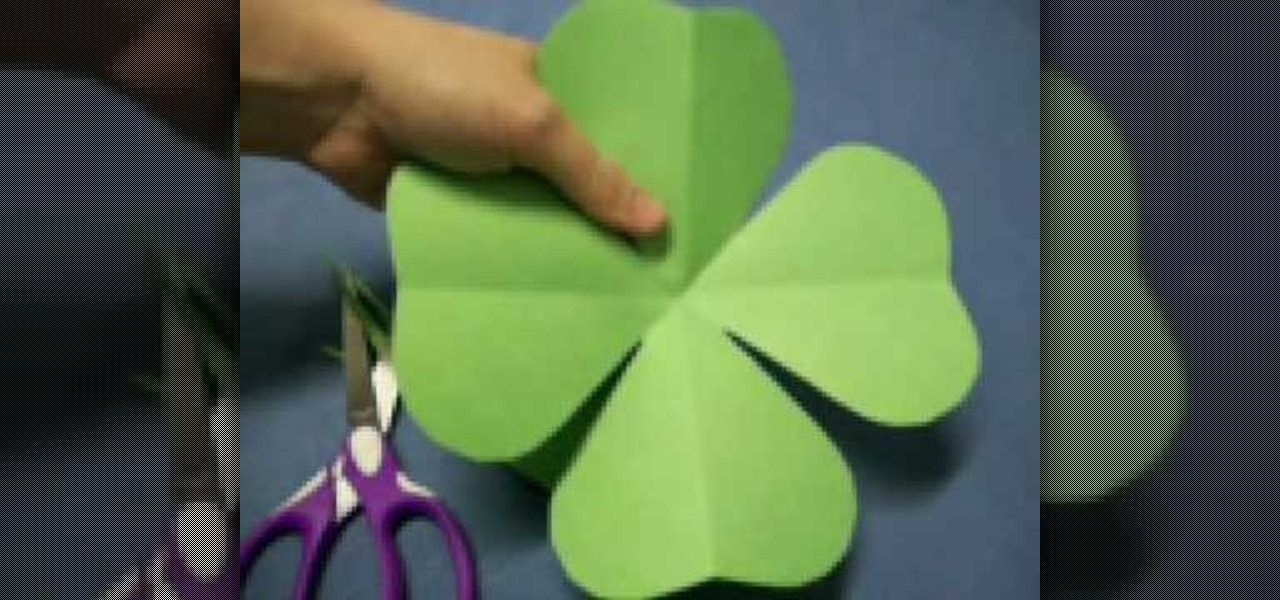
In this tutorial, we learn how to make a four leaf clover pattern. First, fold your paper in half, then fold it in half in the other direction. Next, fold the edges making a point and then cut a half an inch along the edge, making a cone shape. end the shape on the right side, making a heart shape. When you unfold, you will have a four leaf clover! You can use any size of paper to make this, just make sure you use green paper to keep the theme Irish. This is a great project for kids to learn ...

Wilson Bickford teaches us how to paint believable rocks in this tutorial. To begin, you will first start with an easel and several paints. Wet your small paint brush with a mixture of brown and black and paint a rock shape on the paper. You will do this by drawing many lumps and bumps to make it look like a natural rock. Use white paint on the side of the rock to give it a light glare where the sun would naturally hit it. To finish the rock, paint on browns to it, to add a dirt color and mak...

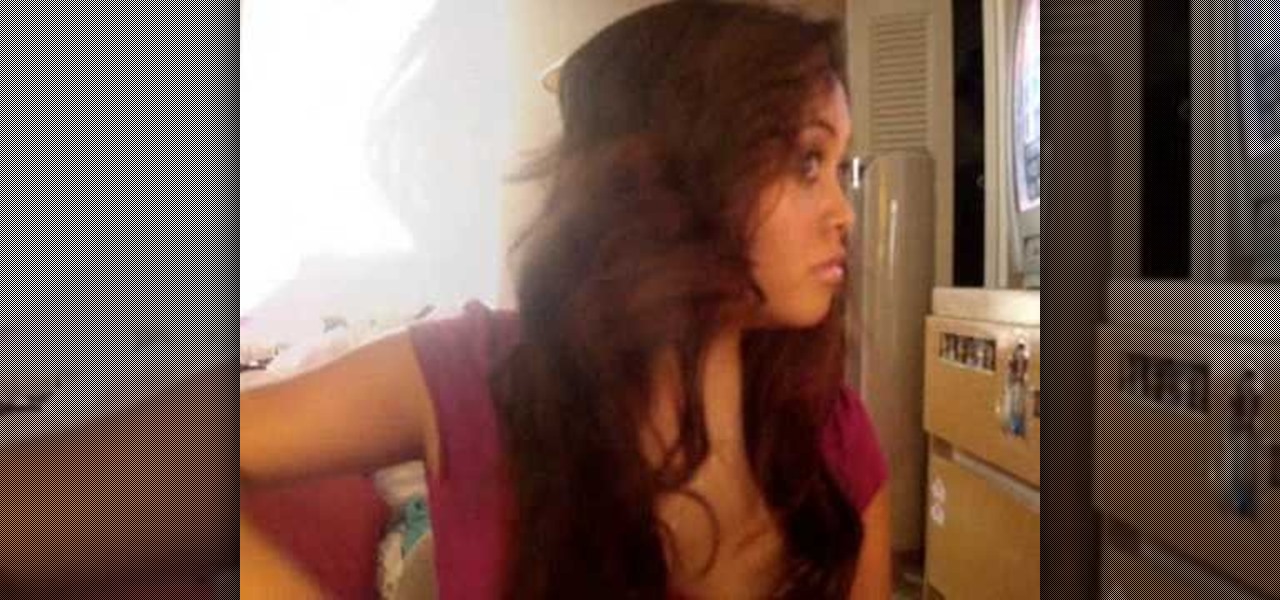
In this tutorial, we learn how to get wavy hair in less than five minutes. First, apply silk hair serum to your entire hair, avoiding the roots. Next, take a curling iron and curl your hair from the bottom up. Only curl around 1 inch curls, or smaller if you want tight curls. If you want your hair to be shiny, flatten it with a straightening iron before you do this. Curl your entire head of hair, sectioning off sides as you go. When you are finished, your hair will be curly and sexy! Use flex...

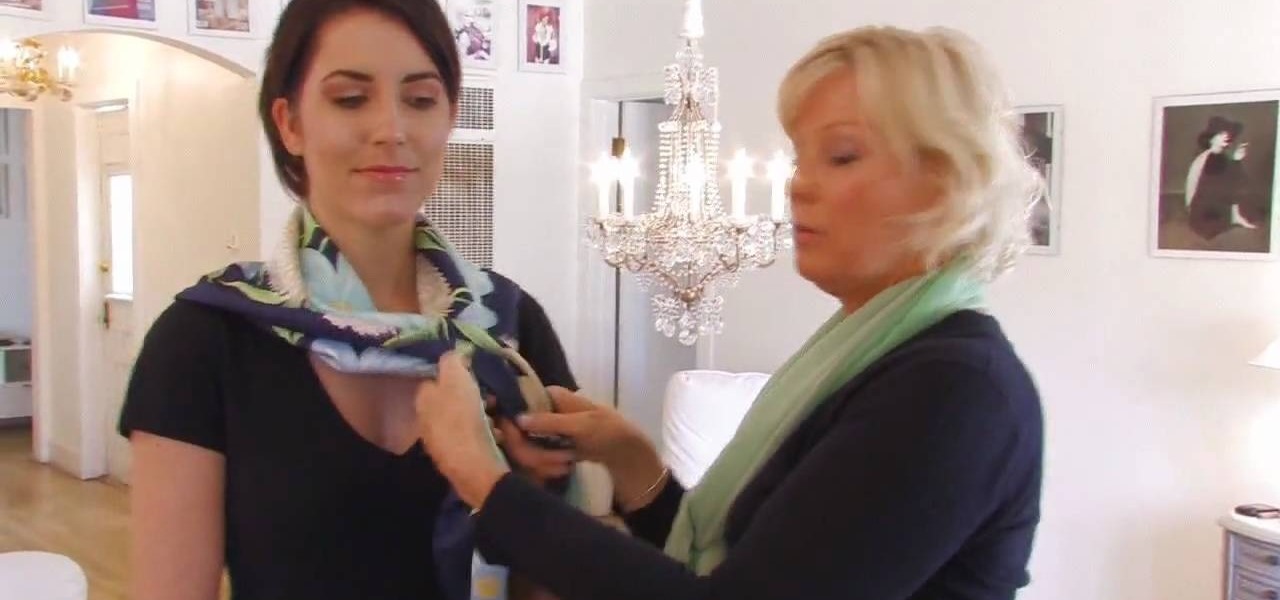
Cate Adair shows us ways to wear a square scarf in this tutorial. The first way to wear this is the classic, which you will wrap the scarf around your hair and wear sunglasses. The next way to wear it is to fold it around your neck, with a jacket over it, to keep you warm during cold months. You can also double wrap the scarf around you, letting the triangle side lay on the front of your shirt. This can be a fun statement with many different outfits, no matter what you are wearing. Wear acces...

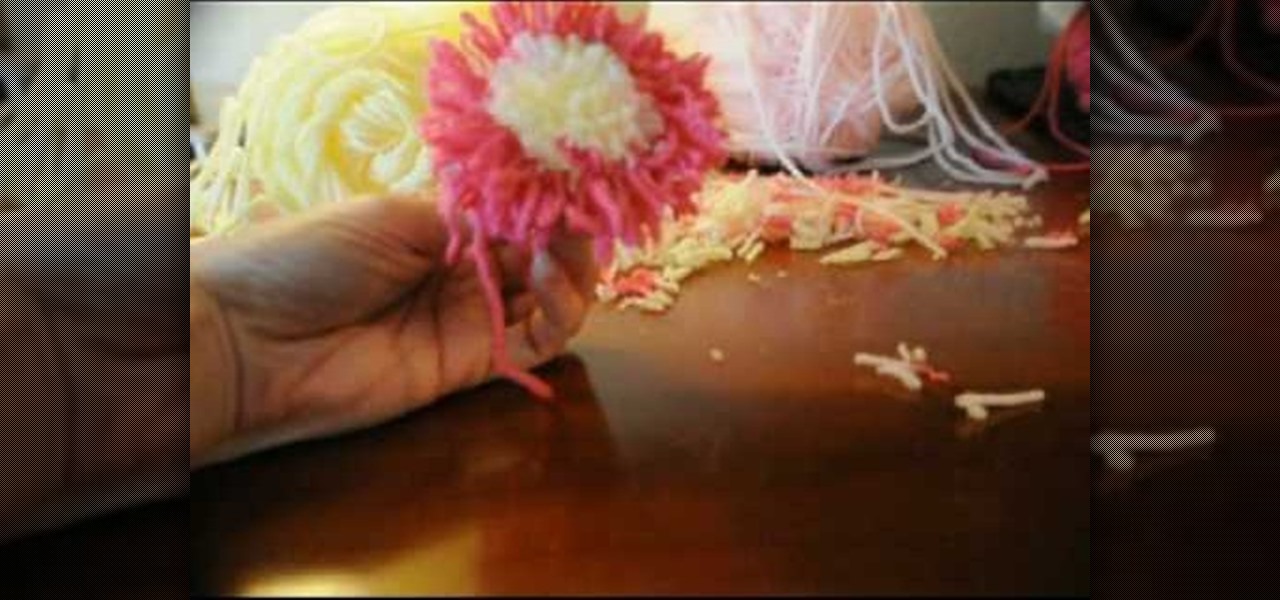
Tracey shows us how to crochet an easy pom pom flower in this tutorial. First, wrap your yarn around four fingers several times, and then wrap another color around as well. Last, wrap one last color on top of the middle color still wrapping around your fingers. Now pull the yarn off your fingers and tie a piece of yarn down the center of the wrapped yarn. Pull this as tight as you can and make as many knots as possible with this piece of yarn. Now cut your loops open with scissors through the...

This tutorial teaches us how to touch up eyes while using Photoshop. First, open up Photoshop and zoom into the eyes on a picture you want to touch up the eyes on. First, select the adjustment layer icon and brighten the image. Next, invert the mass and select the "v" key, then pain the eyes on both sides. Next, click "filter" and then click "blur" so you will soften the edges so the picture doesn't look fake. Now, you can click on "before and after" to see what the picture results look like....

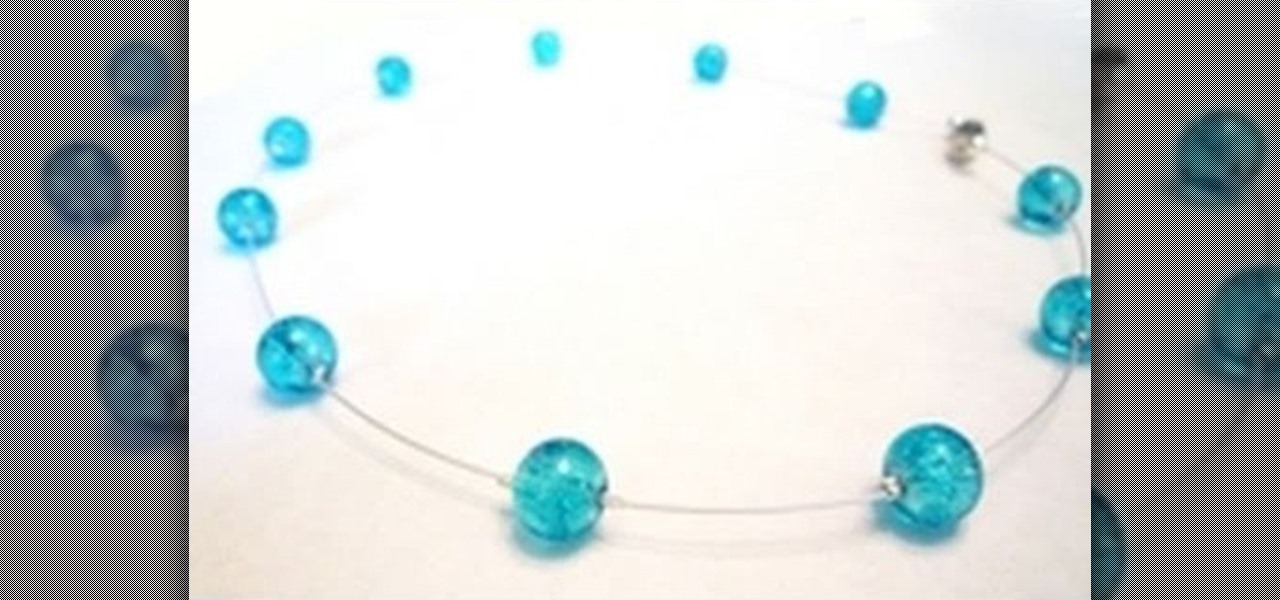
In this tutorial, we learn how to make a floating illusion style necklace. You will need: beading wire, crimping pliers, wire cutters, beads (your choice), crimp beads, crimp covers (3mm), and a clasp (barrel clasp). First, cut your beading wire to the length you want your necklace, add 3-4 extra inches. Next, space your beads out on a beading board evenly, 1 1/2" apart. Now string a crimp bead onto your wire and take the end of the wire and string it through the crimp bead on the opposite si...

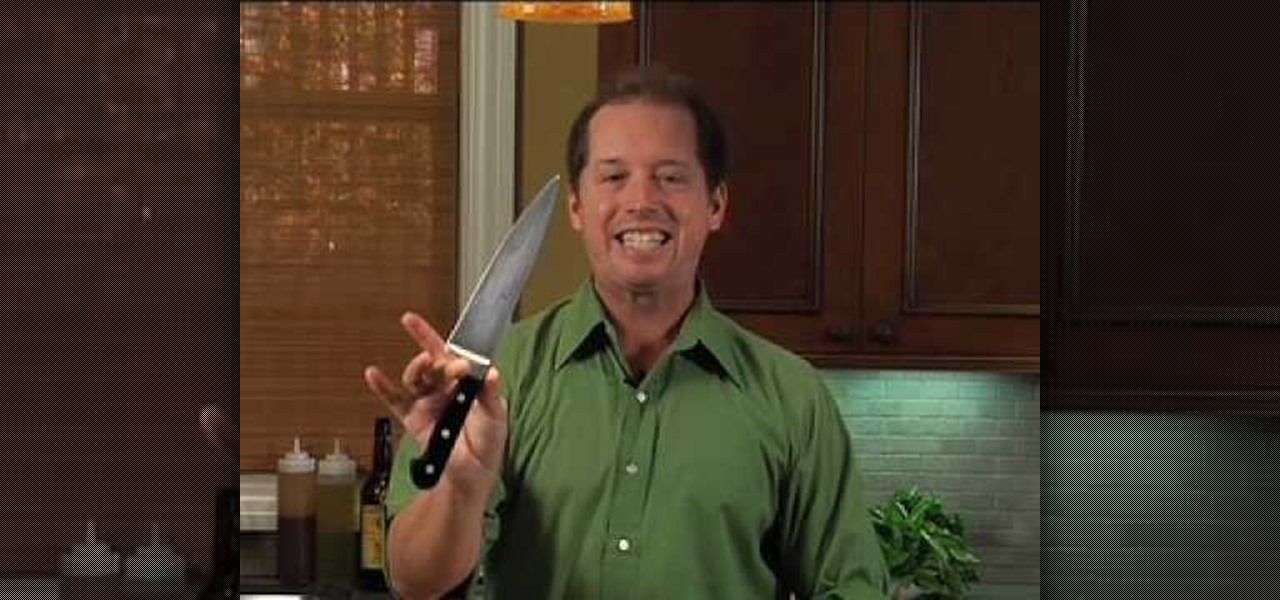
In this video, we learn three different ways to sharpen a knife. The first way is to grab a traditional stone and place either some water or oil on it and sharpen it my scratching it against the stone. Another way to sharpen your knife is to scratch it on a diamond tip, which does the same thing as a stone, takes some of the metal off of the knife. The last way to sharpen a knife is to buy a product called an AccuSharp. It has a sharpener that is built into the side of it. All you have to do ...

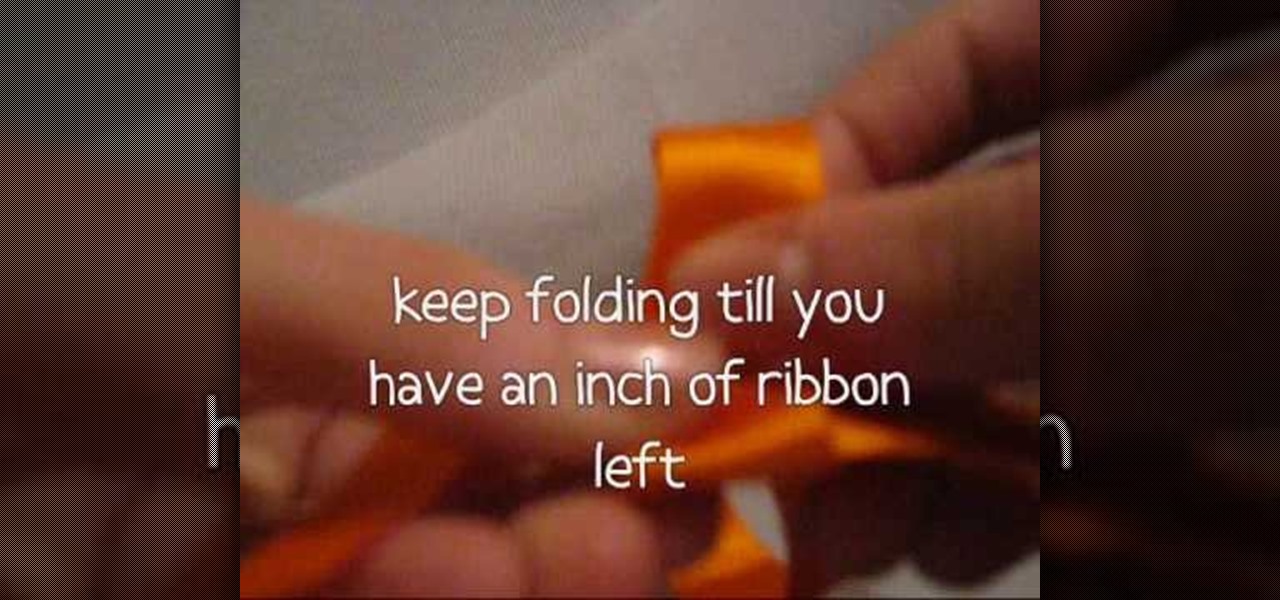
In this video tutorial, viewers learn how to make a ribbon rose. Users will need approximately 60 cm of 16 mm of satin ribbon. Begin by folding your ribbon in half and then pinch fold the end. Now fold the front half sideways and pinch it in place. Then turn it over and fold the ribbon to the opposite side. Keep folding until there is only about 1 inch of ribbon left. Users should end up with a pile of little folds. Pinch the two ends together and let go of the pile. As you pinch the ends tog...

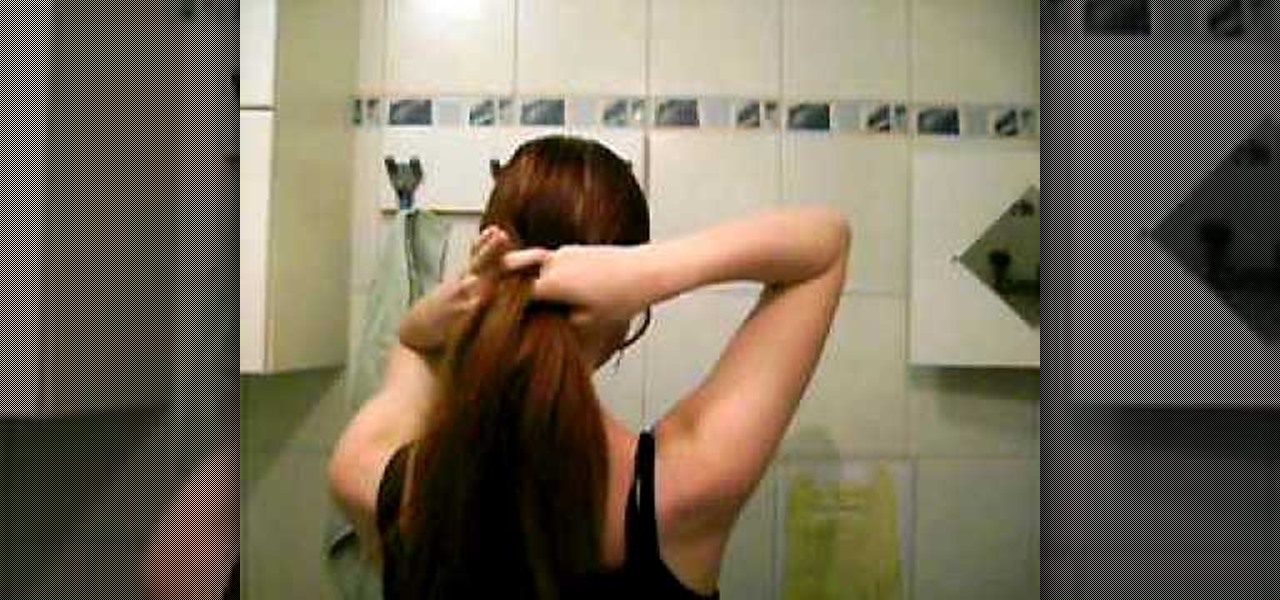
In this video, we learn how to perform a flat four string braid on your hair! First, you want to start off with either wet or dry straight hair that has just been brushed out. Next, you will grab the top three piece of hair on your head and perform a regular braid by placing the right section under the middle, then the left under the middle, and so on. Keep doing this for about 4 braids, then start adding in hair on the right and left hand side each time you get to them. Repeat this until you...

In this tutorial, we learn how to get curls from using a hair straightener. First, prep your hair with a heat protector, which will also help smooth the hair. Next, apply a curl activator mist evenly throughout the hair. Next, section your hair from ear to ear using your fingers, then secure one side so it's out of the way. Now, take about an inch of hair in your straightener then turn it 180 degrees, then pull straight down. Keep doing this for your entire head of hair, and you should get be...

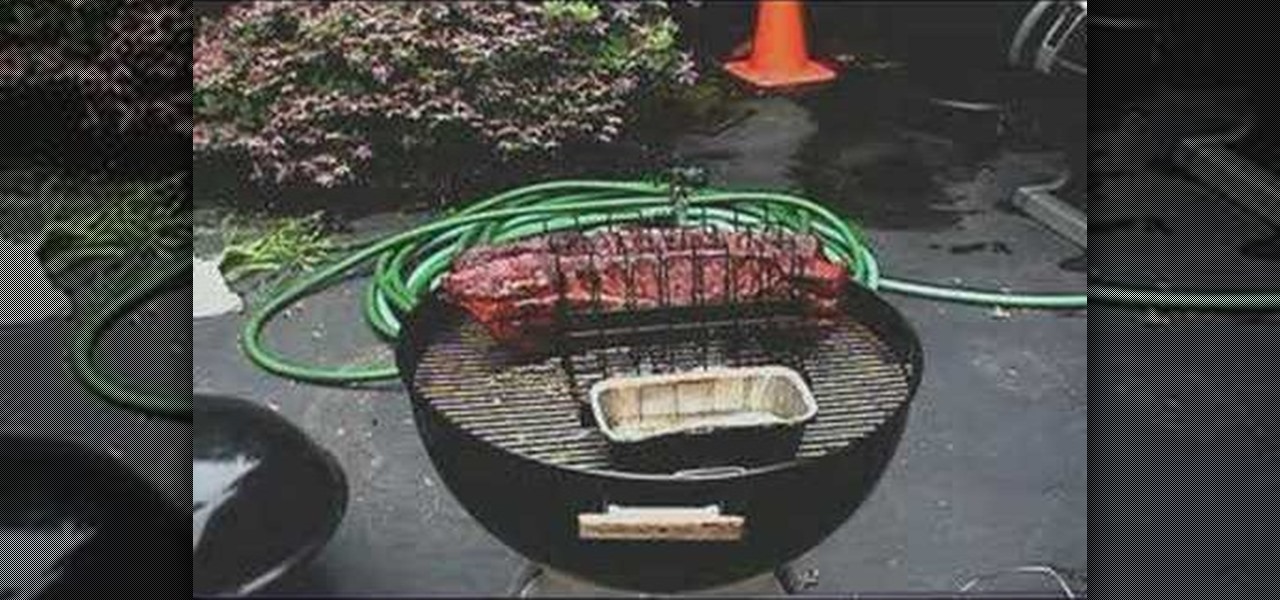
In order to prepare Kosher BBQ ribs, you will need the following ingredients: ribs, wood chips, and a good rub.

In this tutorial, we learn how to do a yoga parsvottanasana to stretch the hamstrings with Dina Prioste. First, place your hands against the wall with your feet stretch out 3 feet apart. Press your hands to the wall and stretch your legs out, you should feel a stretch through your hamstrings when you are doing this. If you want a deeper stretch, bring blocks on either side of your front foot and push your hands onto the block as far as you can while folding your body into the leg. This is a g...

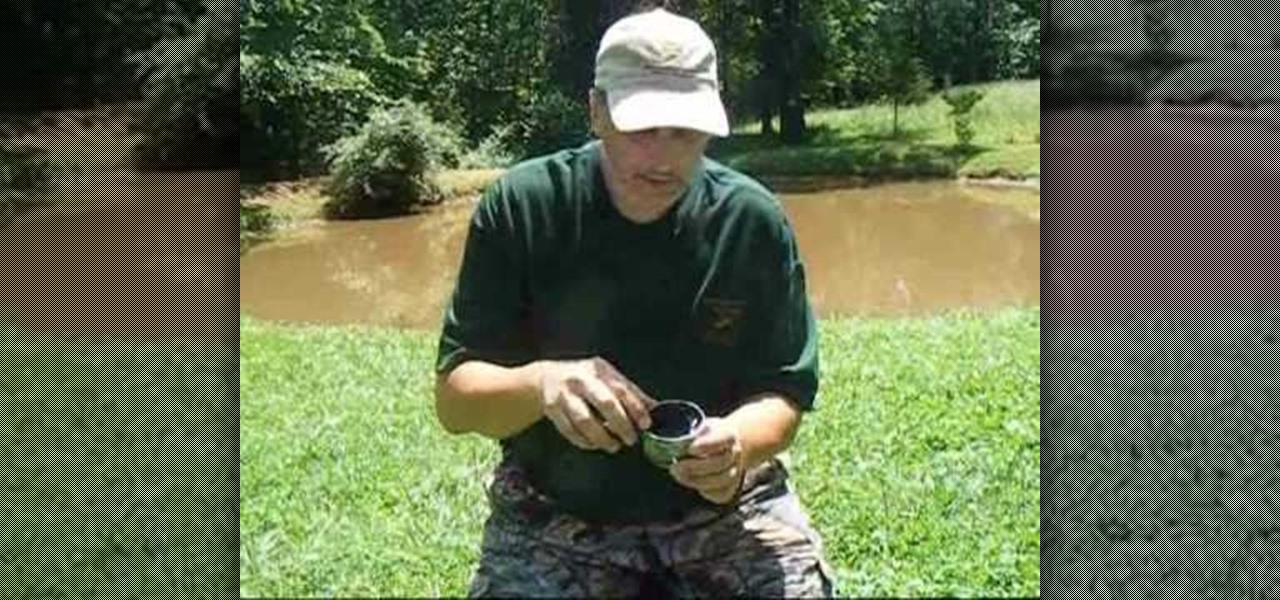
In this video tutorial, viewers learn how to make a tinder carrier that will keep the tinder dry. To make a tinder carrier, users can simply by a small cheap tin can. Then cut an X-shape in the side of the can to allow you to burn and blow on the winder. Now place the tinder in the can. The tin can can be used to store the tinder for dryness, and conduct fire with the tinder. This video will benefit those viewers who are planning to camp, and would like to learn how to make a tinder carrier t...

In this tutorial, we learn how to make coconut chicken and rice. First chop up an onion, peppers, and thyme. Now, take coconut milk and mix it with your favorite juice. Cut up your chicken and season it with curry powder, then place the chicken in a hot pan with oil. Brown your chicken on both sides and then add in your onions, peppers, thyme, and any other seasonings along with coconuts and milk. Let this dish simmer for about 45 minutes and while it's cooking, add another can of coconut mil...

This video tutorial is in the Software category which will show you how to insert clip art with Microsoft Office Word 2007. Open a word document and click on 'insert' tab on the navigation bar and then click on 'clip art'. The task pane will show up on the right side of the page. Here you type in the subject of the clip art you are looking for in the 'search for' box. For example, type in 'tiger' and then click 'Go'. A list of images is displayed. Click on the one you like and it will be disp...

In this tutorial, we learn how to make stacked hair bows. Start off with three separate bows: red, white, and blue. Make sure there is a string still hanging from the red one, but the strings on the white and blue are cut off. Now, put glue from a hot glue gun and place it on the middle/side of the blue ribbon, the glue the white one where the glue is and hold together. Next, take the red bow and glue it to the center of the blue and white bow. Hold the red bow in place until it's completely ...

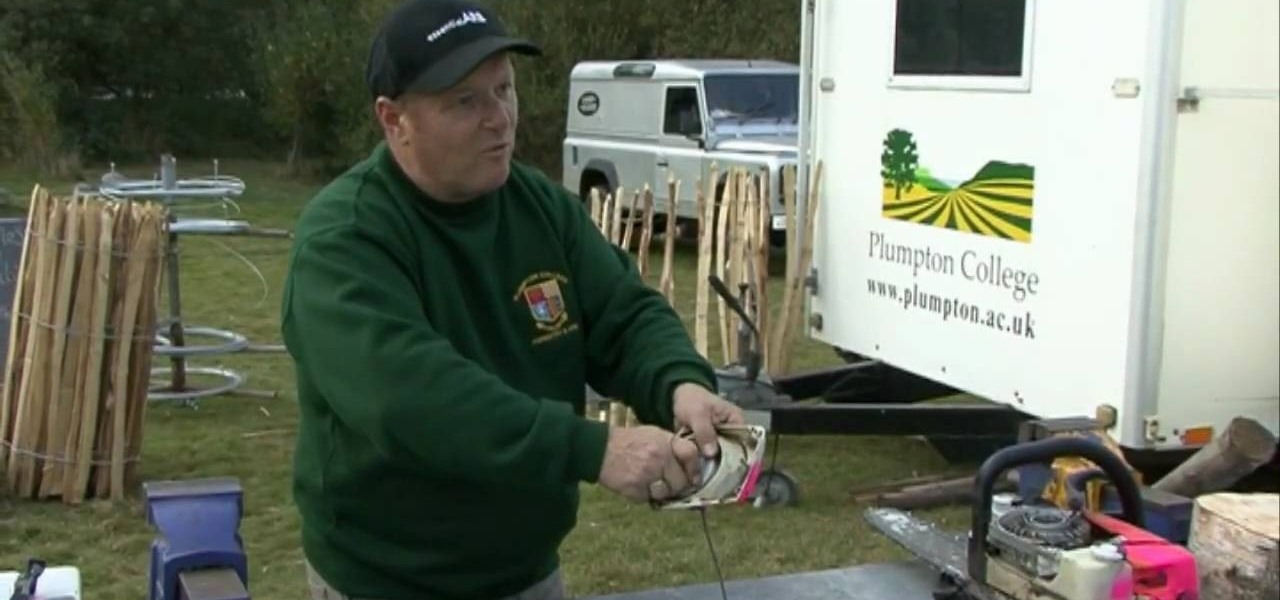
In this video tutorial, viewers learn how to fix a slack recoil starter on a chainsaw. Begin by removing the bolts off of the side casing. If you leave the cord hanging out, it will make the saw much more difficult to start and can be caught onto things. To put more tension on the spring, wind the cord around the nylon spool and retract the cord. Make sure not to put too much tension in the spring or else the spring will break. This video will benefit hose viewers who have and use a chainsaw,...


