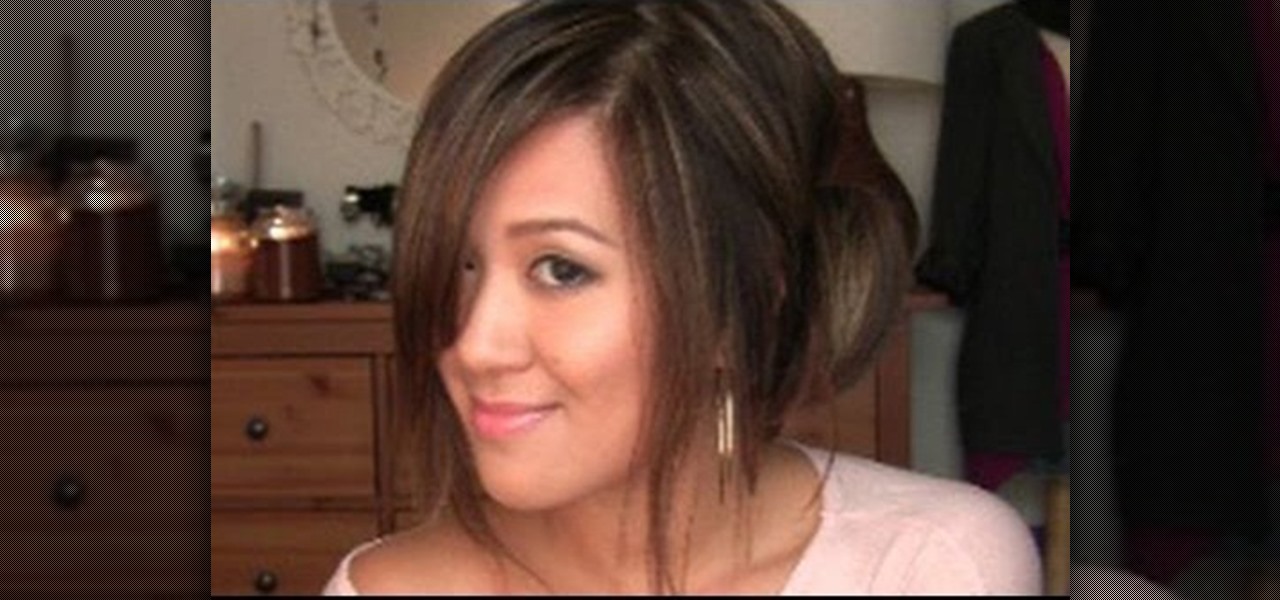
In this tutorial, we learn how to fake side swept bangs. First, straighten and brush your hair. After this, you will take the hair from one side of the head and use a comb and brush it to the opposite side. After this, grab hair spray and spray it onto the bangs. After this, comb the hair again and then work the bangs with your fingers. Next, use more hair spray to make the bangs more firm and stay in place. Continue to do this process until your bangs are completely to the side and they are ...
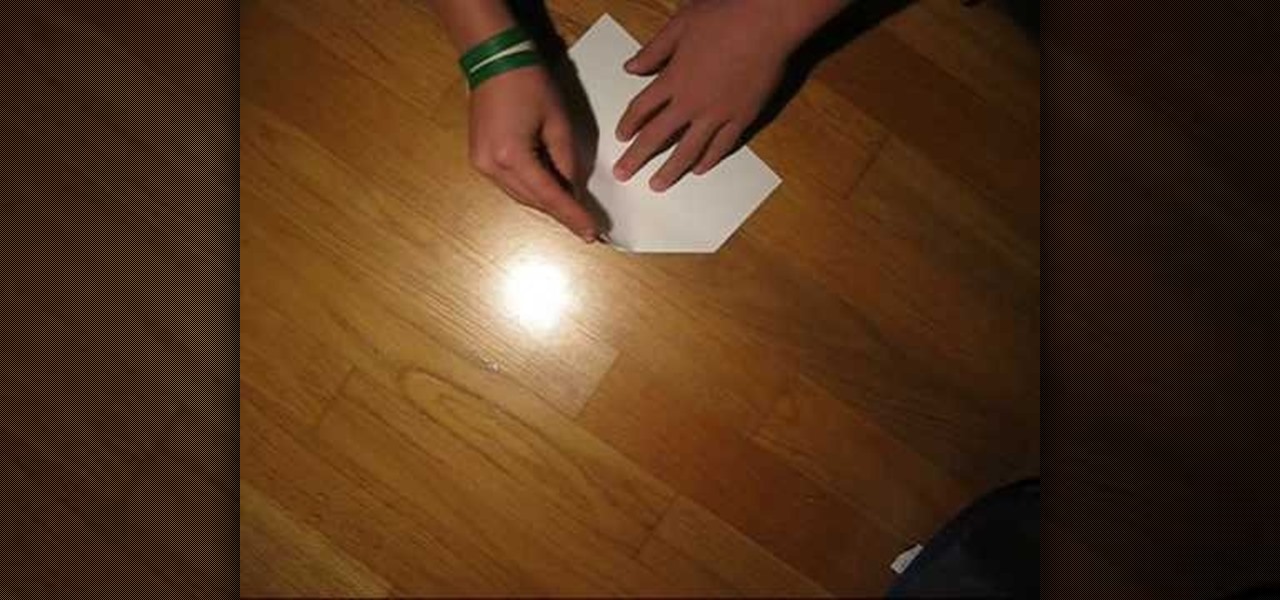
This video shows viewers how to make a paper airplane. You should begin with an 8.5 x 11 piece of paper and fold one corner to the opposite side, making a triangle. This should be repeated on the other side, so that a cross is formed on your paper. Folding down opposite sides of the creases, you should have a triangular flap on your paper. Fold both sides of the flap upwards and then flip the paper over. You should then take the tip of the paper and fold backwards. Fold the paper in half so t...

In this video, Caroline gives you a few tips on how to lose your love handles easily, Caroline herself lost her love handles during a 9 day cleanse in which she lost 2 inches off her waist. In order to do this exercise, you need to first stand with your legs about shoulder length apart. Then, placing one of your arms at your hip, extend the other one far above your head, touching your ear on the same side. Begin to stretch to the opposite side, stretching your side until you are at about a 45...
Two dimensional objects are measured in terms of perimeter and areas. A perimeter of a two dimensional object is the distance around that object. If you want to find the perimeter of an object, all you need to do is add up each one of the lengths of sides of that object. If you have a small figure like triangle, first compute the length of the three sides. Now adding these three sides gives you the perimeter of the triangle. A larger or more complicated shape might have more number of sides. ...
This video demonstrates how to square up a quilt block. Once you have your quilt blocks made up you have to square them so that they are all even sided and the same size. Take your most uneven sided square and lay it down. Place a square ruler over it. Line the ruler with the sides. Once you've measured the square determine how much should be cut from each side. Use a rotary cutter to cut each side down so it is even. Then lay the square ruler over the square again to measure your success. Re...
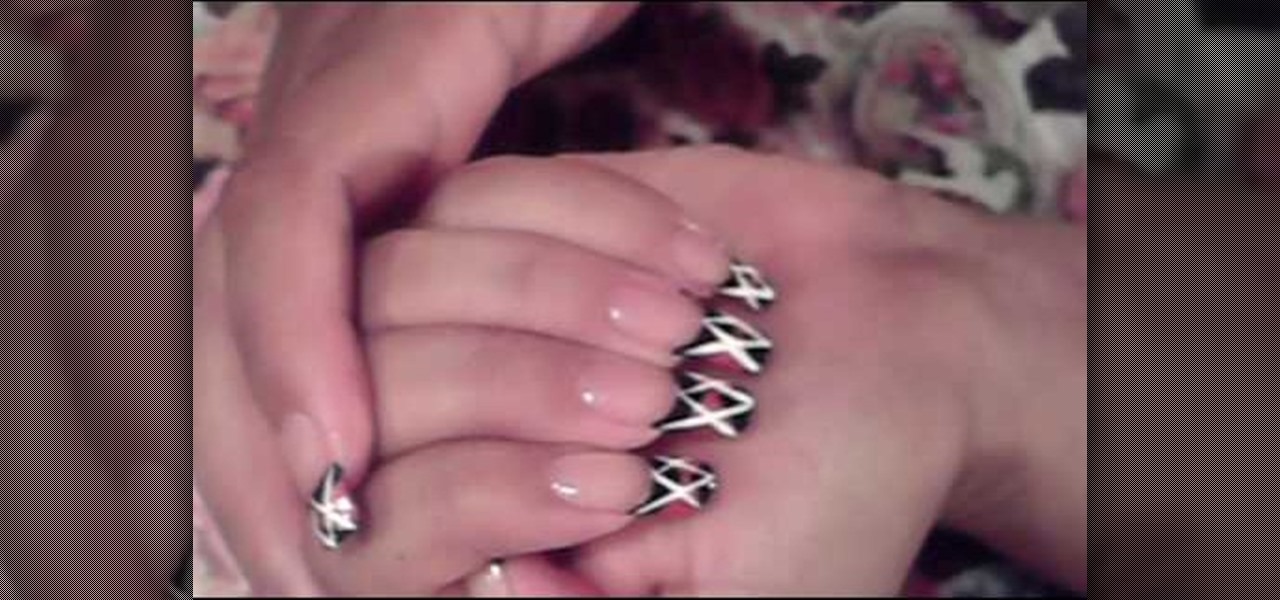
this short video shows how to paint nails in a black, pink, and white art design. The steps are simple and easy to follow. The first thing to be done is a regular black, French tip manicure. Once the black French manicure is completely dry, a pink thin tip nail polish is taken. From the middle of the nail , on the black tip, draw a V mark facing sideward on both sides. The next step is to fill the two "V"s, inside with the pink color. Once dried, with the white thin tipped nail polish, a line...

Jarvis from Skate Warehouse demonstrates how to do a front side flip on a skateboard. A front side flip is a kick flip with a 180 degree turn. Stand on the board with your front foot by the front bolts like a kick flip. Place your back foot on the right side of the tail. When you pop the skateboard by putting pressure on it, the board will scoop around to get the front side flip. Remember to keep your shoulders facing the direction that you're going but at an angle. Swing your shoulders while...

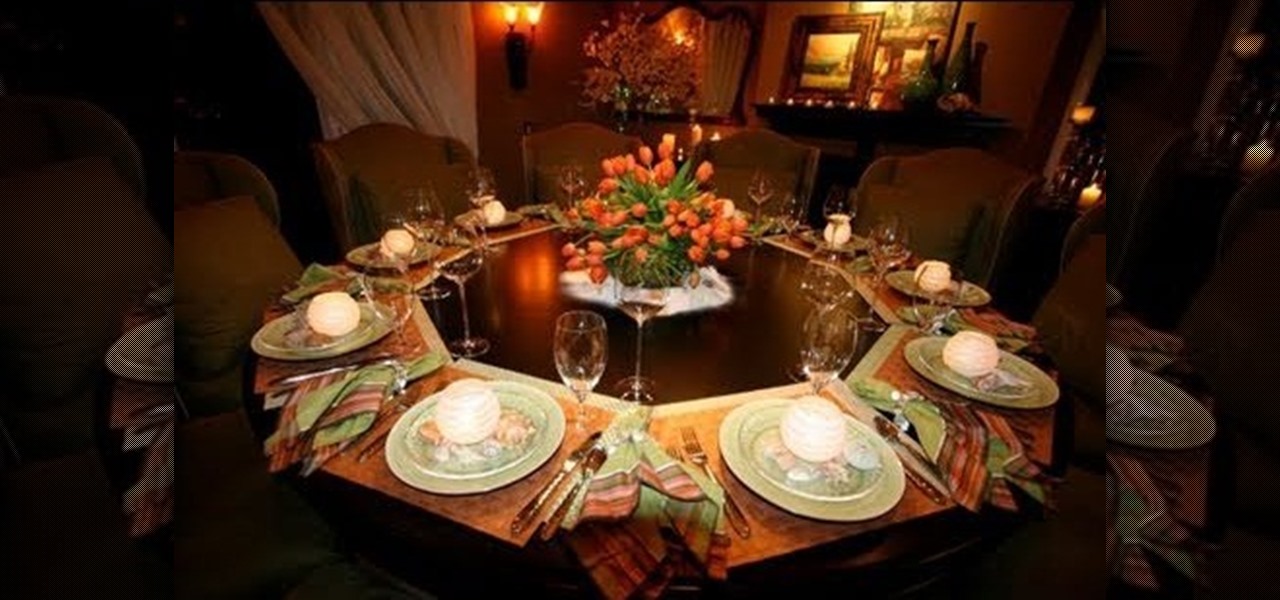
Rebecca Robeson shows you how to remember which side of the plate to put the fork, knife and spoon. To set a table the correct way, follow these steps: The word 'fork' has four letters, as does the word 'left'. So, the fork goes on the left. The word 'knife' has five letters, as does the word 'right'. So, the knife goes on the right. The word 'spoon' also has fiver letters, so it goes alongside the knife. Remember that the safe side of the knife, the dull side, faces out to anyone sitting nex...

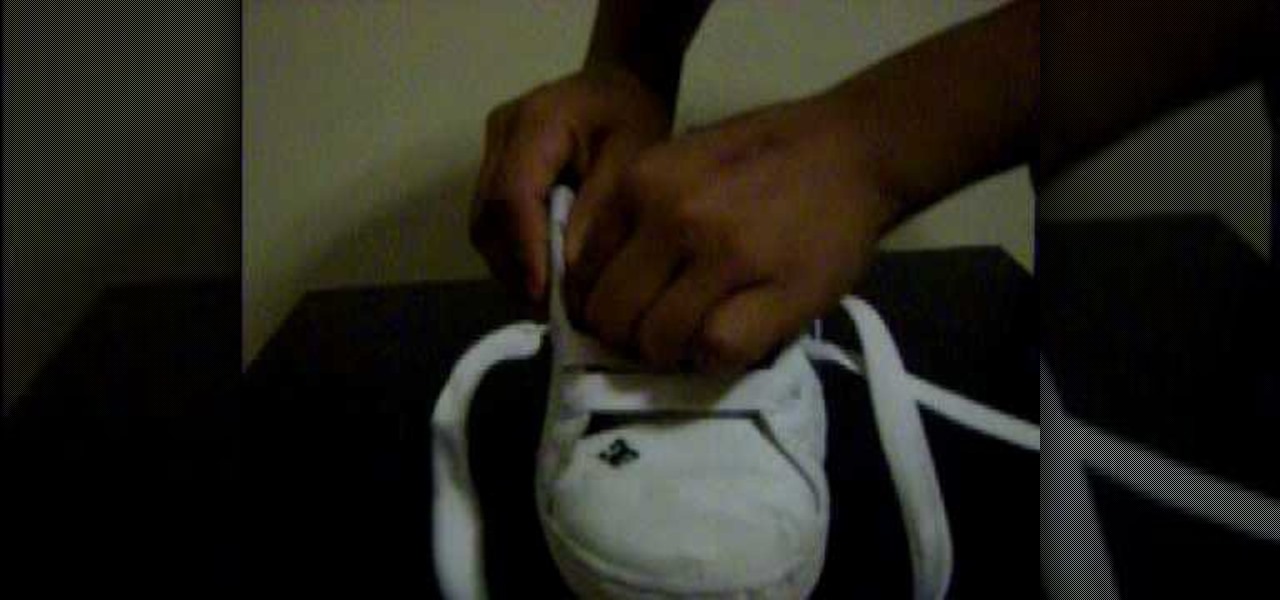
The first thing to do is to untie the laces as they have come, and then remove the laces from the shoe. Begin by lacing at the bottom, lacing in, so that the lace is above the flaps on the side. You then take one side of the lace and put it in the hole above the one it has come out on, on the same side, and lace it through. You will then pull it directly over and lace it through the second hole on the opposite side. You will repeat with the other side in the next available hole, all the way u...

Learn how to draw a cube in 3D with two point perspective in simple steps. First draw a simple cube on a piece of paper by outlining it using a pencil. Now darken the right front side and its top side by sketching the area with the pencil. Now sketch out an image coming out from right side of the cube like a shadow. Sketch the insides of the shadow part and darken the right side of the cube. When finished sketching draw a line to the left and right side of the cube in its middle.

Lucky Levinson of Brittons of Columbia demonstrates how to tie a bow tie. First drape the tie around the neck. Make one side shorter. Cross the longer side over the shorter side, then bring the longer side back through to make a basic knot. Take the short end (which emerges from the bottom of the knot), and make a loop with the indentation under the chin. The long high side comes straight down the center of the indentation, the back trough the hole. Tighten both loops, then adjust the flat en...

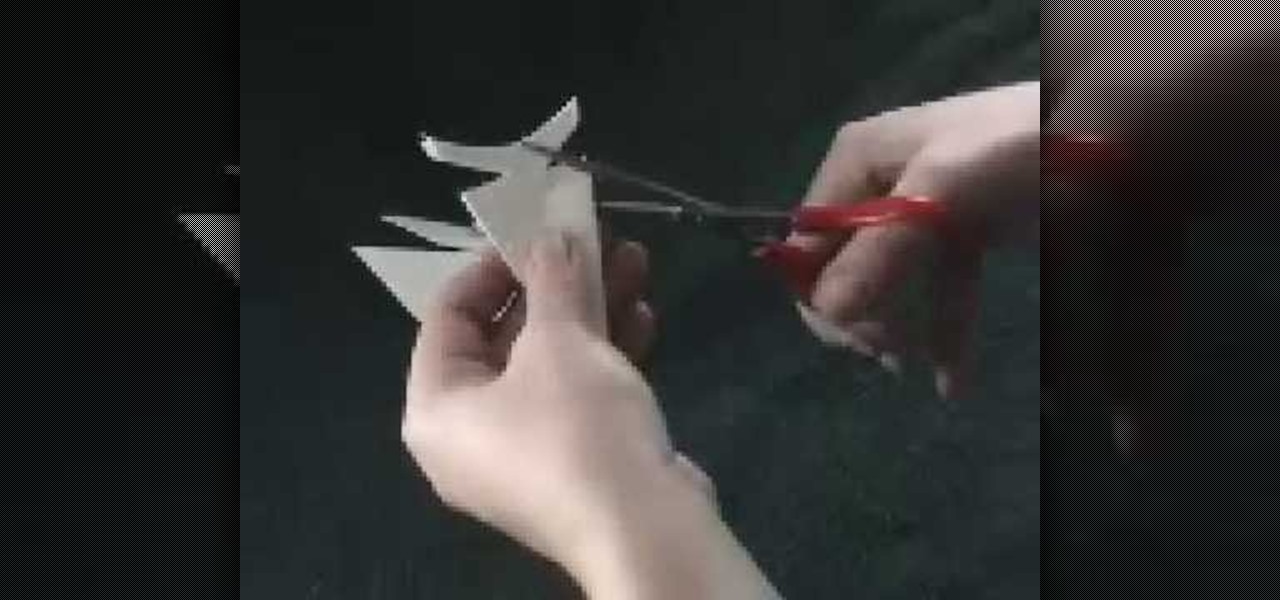
Most paper snowflakes are not representative of the proper 6-sided shape of snowflakes. This tutorial will show you a method which will allow you to make a beautiful and symmetrical realistic six sided paper snowflake. You will need to start with a square piece of paper, which you will then fold over diagonally to make a triangle shape. Taking the inner edge towards yourself, you will then need to fold the paper over into thirds and cut off the excess on an angle. After this, proceed as you w...

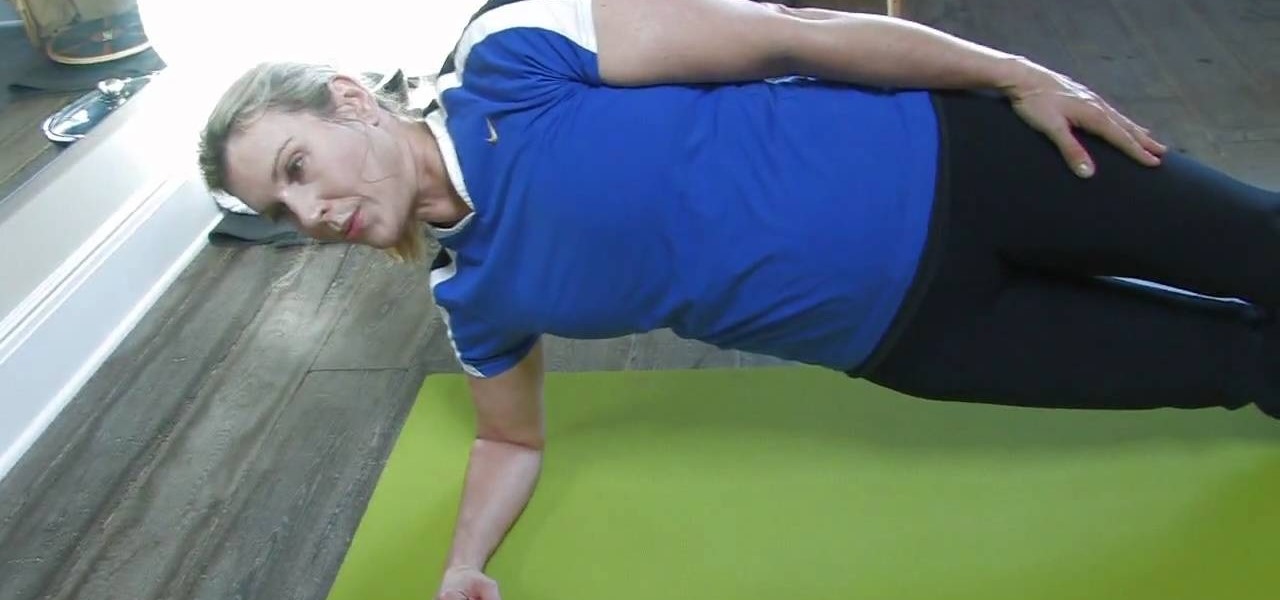
Kathy Kaehler, author, celebrity trainer, spokesperson and mother, gives us a rundown of the best exercises for fellow women and moms on how to target their belly fat and love handles, and specifically the best ways to tighten these areas. Kathy first does advise us that if you're going to be targeting like this the most important thing first will be cardio and general fitness. Then, she offers us first the side plank, where you place one elbow to the ground, lying on your side, and then elev...

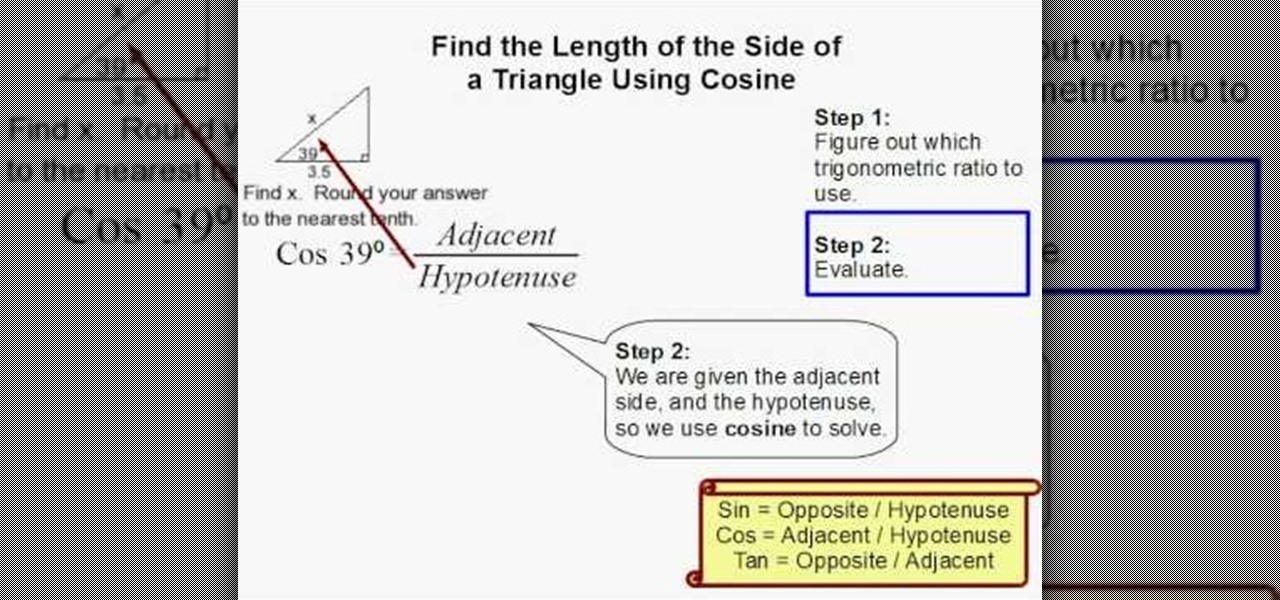
To find the length of a side of a triangle using cosine, you first need to find the angle and which sides are given. After you determine the angle and given sides, you'll need to figure out which trigonometric ratio to use. If you are given the adjacent side and the hypotenuse, you need to use cosine to solve. The degree equals adjacent divided by hypotenuse. In the example, Cos 39=3.5/x. After simplifying the equation, we found x to be 4.49. If the directions ask you to round, be sure to rou...

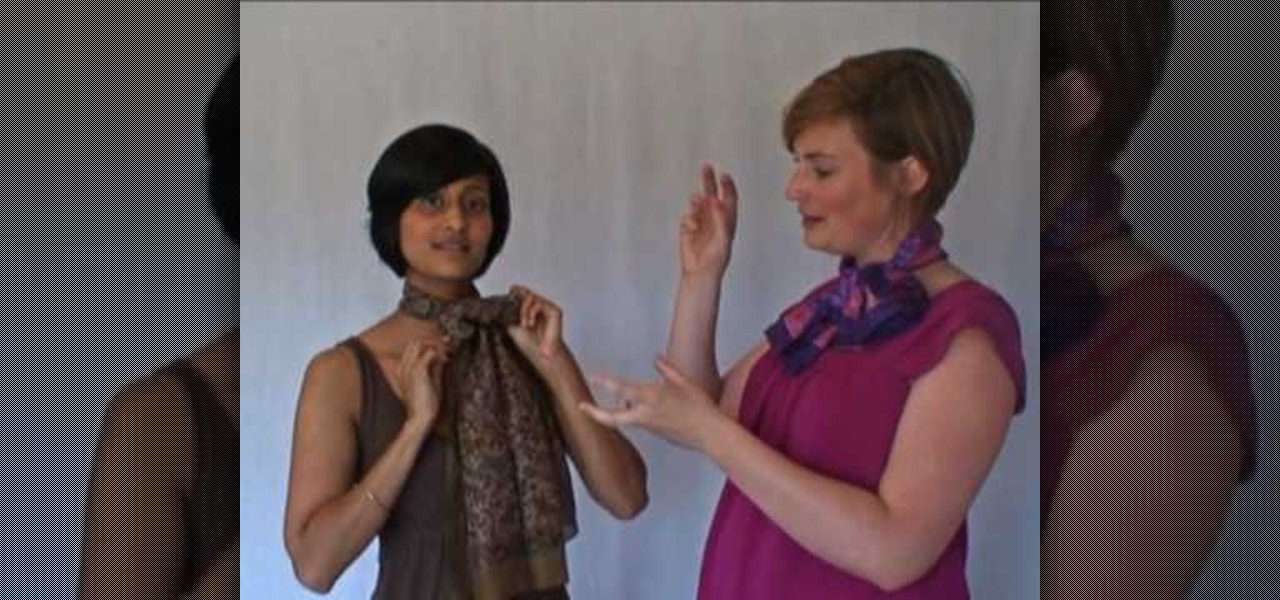
Wendy Woods from The Refinery teaches you different ways to tie a scarf. The three things to consider when buying a scarf are: size/shape, fabric, and pattern. First style: Fold scarf in half, put around your neck, pull ends through the loop, pull to the side and fluff out ends. Second style: Wrap scarf around neck (with right side twice as long as left), cross long side over short and pull up through loop, pull short side down until tight, pull to the side and fluff out. Third style: Wrap sc...

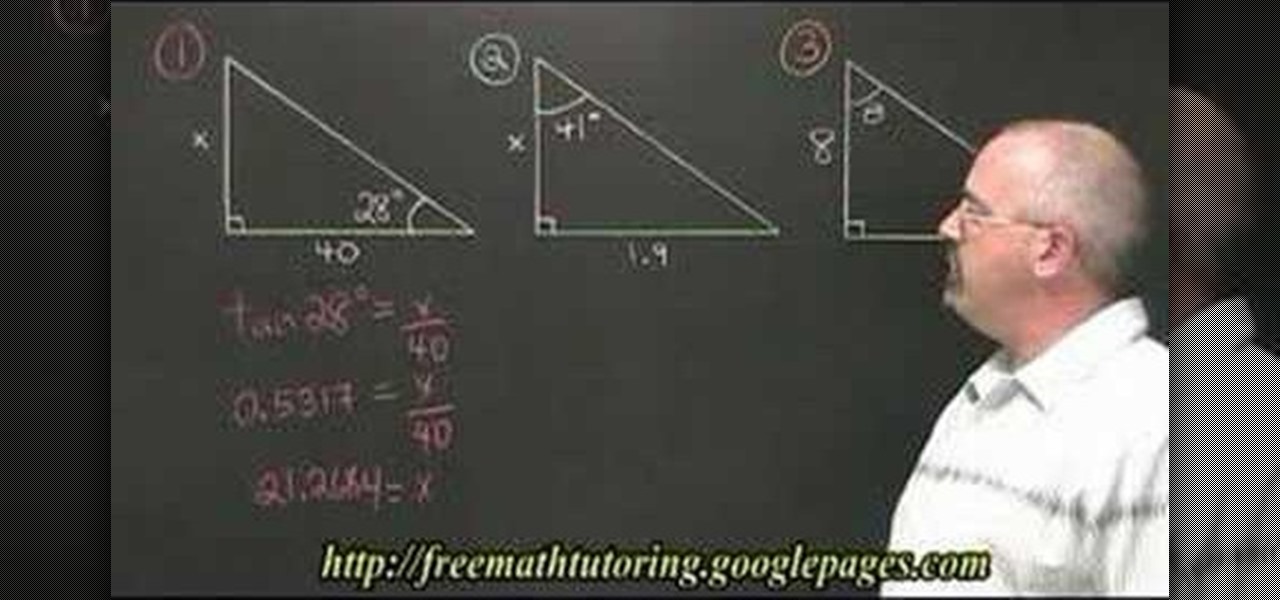
The video is a tutorial in trigonometry. The teacher teaches that the tangent or the tan of an angle is the ratio of the opposite side to the adjacent side of a right angled triangle. If one side and one angle is given then the value of the unknown side can be found by solving the equation tan of angle is equal to opposite upon adjacent side. If the angle is to be found then the tan inverse of the value is seen in the calculator.

This video teaches you how to tie a bow tie. Take the tie over the collar and make sure that one side is sticking a little lower than the other.

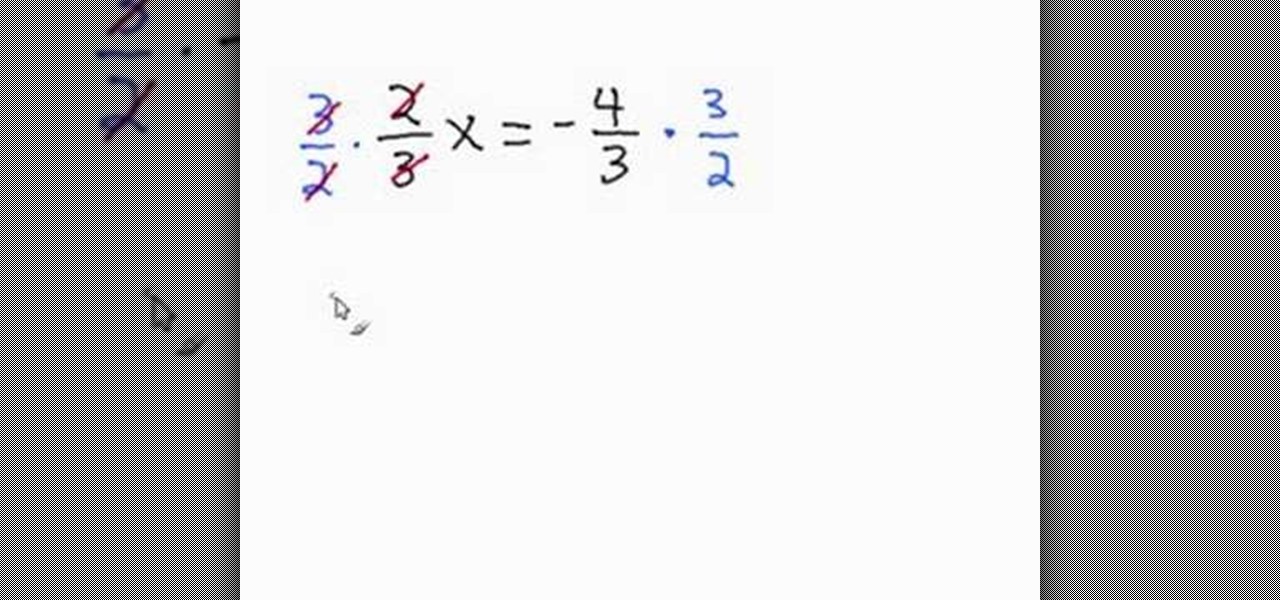
In this video tutorial the instructor shows how to solve a single-step equation by taking the reciprocal. He says that in the equations of fractions containing a variable on the one side, you multiply the reciprocal of its numerical constant to it so that only the variable x stays out. Similarly we need to multiply the reciprocal value that we used on the left hand side on the right hand side too to maintain the equality. Now after simplification as only x is left on the one side we get its v...

It's Magic 101. Can you mimic the master? This magic how-to video will show you the trick. Effect: Taking two matches from different matchbooks (one black, one brown), you cause them to visibly switch places...right under their eyes. It's demonic; it's the Quicksilver Matches.

Some babies like to be carried on the hip, but arms can tire quickly, and most carriers function either to the front or back. This how-to video demonstrates the process of tying a hip cross carry out of a long baby wrap. Find the middle marker. Place the wrap behind you. Make one side of your cross the short side. Bring the longer side under the short side then around your back making a cross on your hip. The longer side is the tail. Make a slip knot around the tail on your shoulder. Grab you...

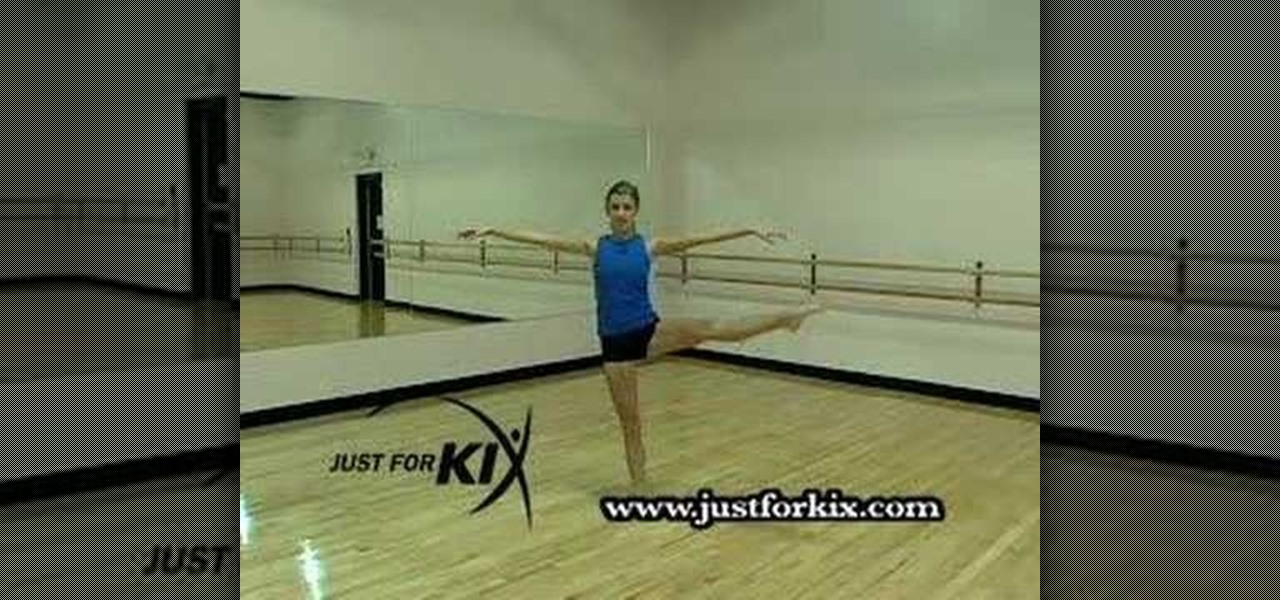
Learn how to do a perfect open side leap.

Well, I've had a bit of a clear out and sold an accident damaged Triumph t595 Daytona motorcycle, a dilapidated Austin Healy Sprite and I swapped a Velocette MAC for an almost brand new Triumph Bonneville. With the other money I acquired I've bought a Watsonian Palma sidecar to put the kids in! I now need to fit the two together.

Is there a black or yellow mustache stripe? This is just one of the physical characteristics you will need to know to determine what kind of meadowlark you are looking at. Take a minute to enjoy the outdoors while identifying the distinct sound, look and location of meadowlarks.

Are you a champagne lover? While the bubbly, airy light honey drink is delicious on its own, you can spice things up a little by pouring the drink into a cocktail of sorts.

In this tutorial, we learn how to fold a basic paper airplane. First, fold the paper in half and make a crease. Next, unfold it and then line the corners with the middle line you just made on one side of the paper. From here, you will fold the paper down until you reach as long as the crease can go. Next, take the point on the side and fold it an inch over next to the point. Then, repeat this on the other side, touching the other point in the middle. Now, take the tip and fold it over. From h...

Is it possible to look put together without actually, you know, having to put in the work to look put together? We're glad to tell you that there is.

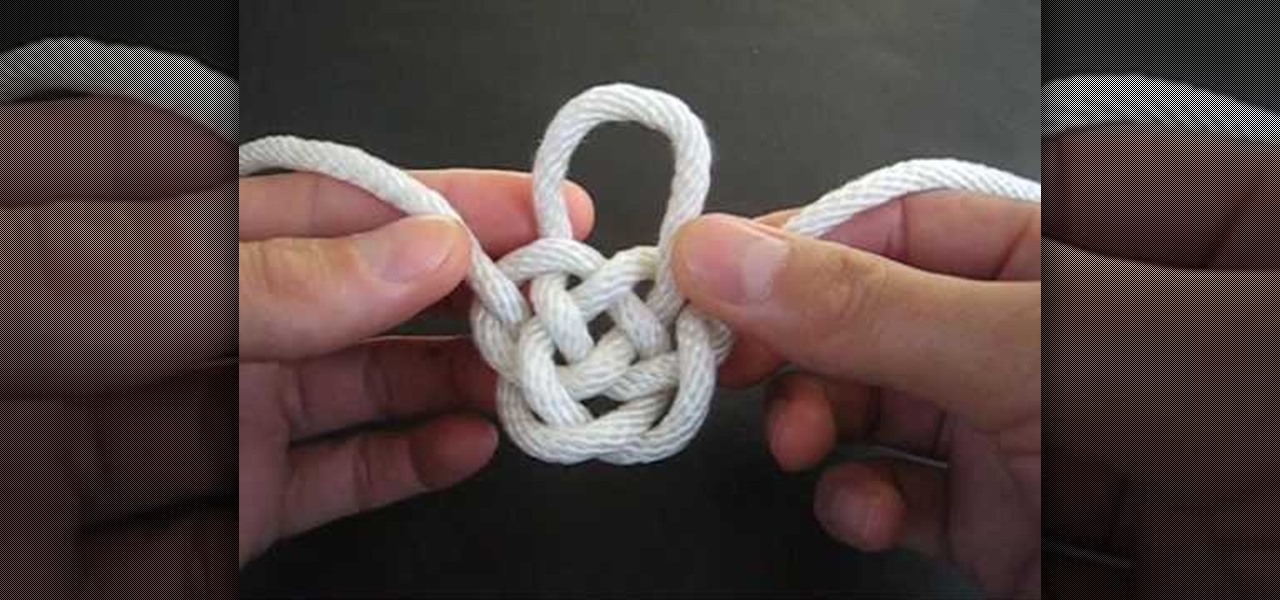
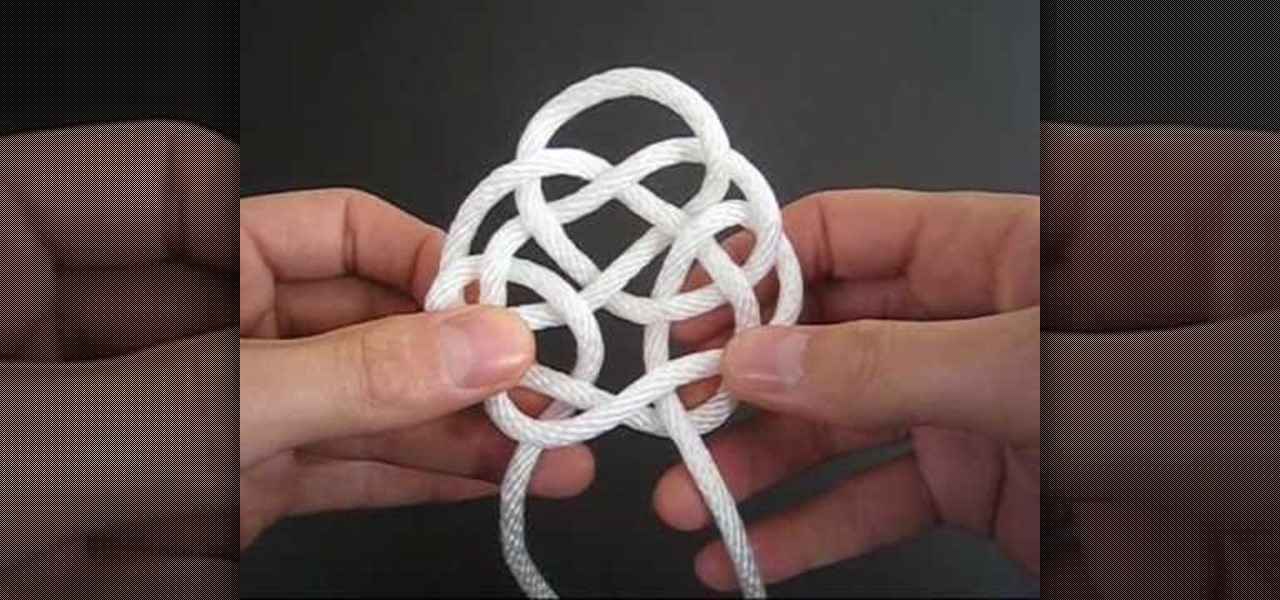
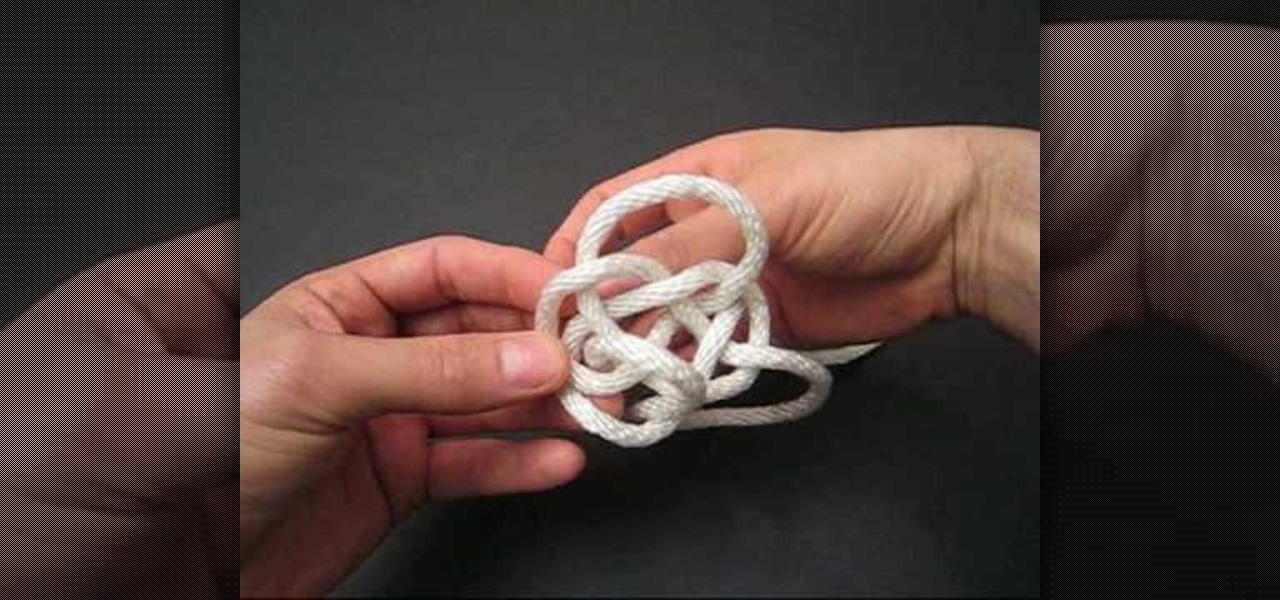
In this tutorial, we learn how to tie the Djinn bottle decorative knot. First, make a loop on the left side of the string, then bring the other side around it and pull the top up. After this, twist the two strings underneath the bottom of the knot and push the right string through the side of it. Then, push the left string into the left side of the knot through the back. Pull on the top, then twist it into a loop and push the left string through the back, making a loop, then pushing the right...

In this tutorial, we learn how to tie the rising sun decorative knot. First, loop your string on the left side, then pull the right side over the top. Now, bring the bottom of the right side over and place the end into the first loop going over the other string. Next, remove the string from the last loop it was in, then bring the right over to the right loop and push through to the bottom. Next, bring the right string over to the left side and thread through the left loop closest to it. Next,...

In this video, we learn how to tie a cloud knot. Start by making a loop in the middle of the string on the left side, then wrapping the right side around it and pushing it through the middle. Next, do the under-over weaving technique by bringing the string over one loop and weaving it into another. Continue to do this several times until you have done about four or five weaves. After this, pull the sides of the string out on both sides and you will have your finished knot! Pull tighter to hav...

In this tutorial, we learn how to make a paper Christmas tree. Start out with a square piece of paper, then fold corner to corner and open it, then fold it on the opposite corners and open it. Now, turn it over and fold it side to side on both sides. Now, the paper will automatically fold into it's shape because of the creases you made. Now take each of the four flaps and flatten them out with your finger. After this, cut your trunk out of your tree at the bottom, then cut slits on the side o...

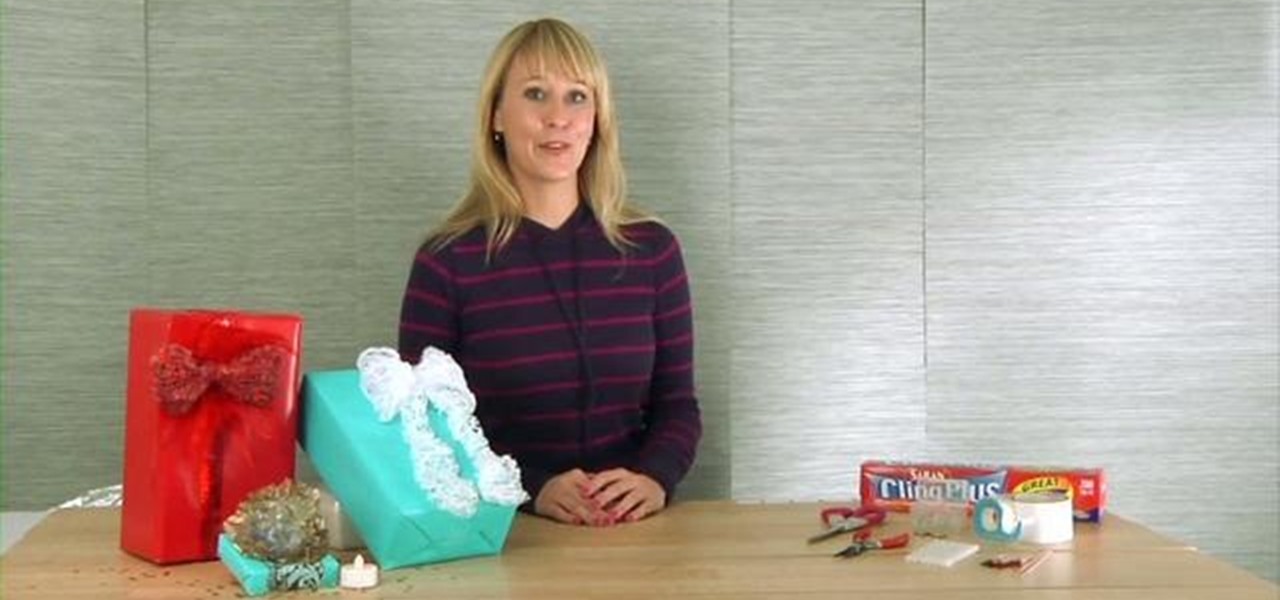
What a unique bow. Your gifts will be beautiful under the Christmas tree. Materials you will need are: plastic wrap, hot glue, LEDs, scissors, pliers duct tape, glue gun and glue, toothpicks and 3 volt batteries. First you take the plastic wrap and cut it about 5 times the size your bow is going to be. Take the end and push it together. Now make one side of the bow, push together, and make the other side of the bow. Keep going back and forth until the plastic wrap is at the end. The left over...

In this Arts & Crafts video tutorial you will learn how to tie a Padlock style decorative knot. Padlock knot is a clever way to achieve the look and function of a padlock without having to bother about the key. Take a piece of rope, bend it in the center and make two loops on either side of the rope. Ensure the working end is over the rope in the left side loop and under the rope in the right side loop. Now overlap both the loops so that the left side loop is over the other loop. Now pass the...

Friendship bracelets are a fun gift, and important part of your school years. In this video, learn a new bracelet style.

To create an origami buckyball, you must start with a piece of paper cut into a triangle with each side about two inches long. Fold the corner of each side into the middle of the opposite side and then unfold to create creases that will be your guide. Next, fold a side up to the midpoint of the creases and repeat on all sides. This will create a star-like shape. Now, fold two sides in and pinch out the extreme, outer corner and repeat on all sides. This will create a small star inside your pa...

Chef Bibby Gignilliat of Parties That Cook will demonstrate the best way to cut a large mango. First, look at the mango and determine which side is the wide side and which is the thin side. Then, lay the mango on it's thin side, and proceed to cut the mango avoiding the pit. Next, you want to take the piece you just cut off and score the mango. Lastly, you want to fold the scored section of mango inside out so that it looks like a porcupine and hold it over a bowl while you cut off the sectio...

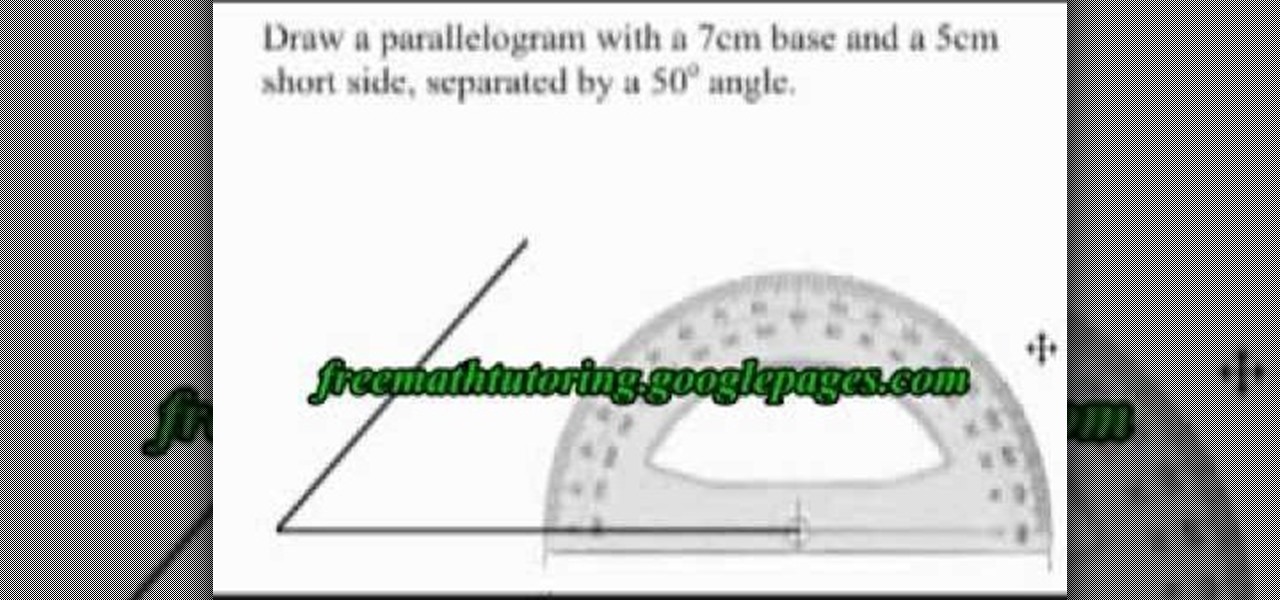
In this tutorial the tutor shows how to draw a parallelogram using a base, a short side with a given length, and the given angle between them.

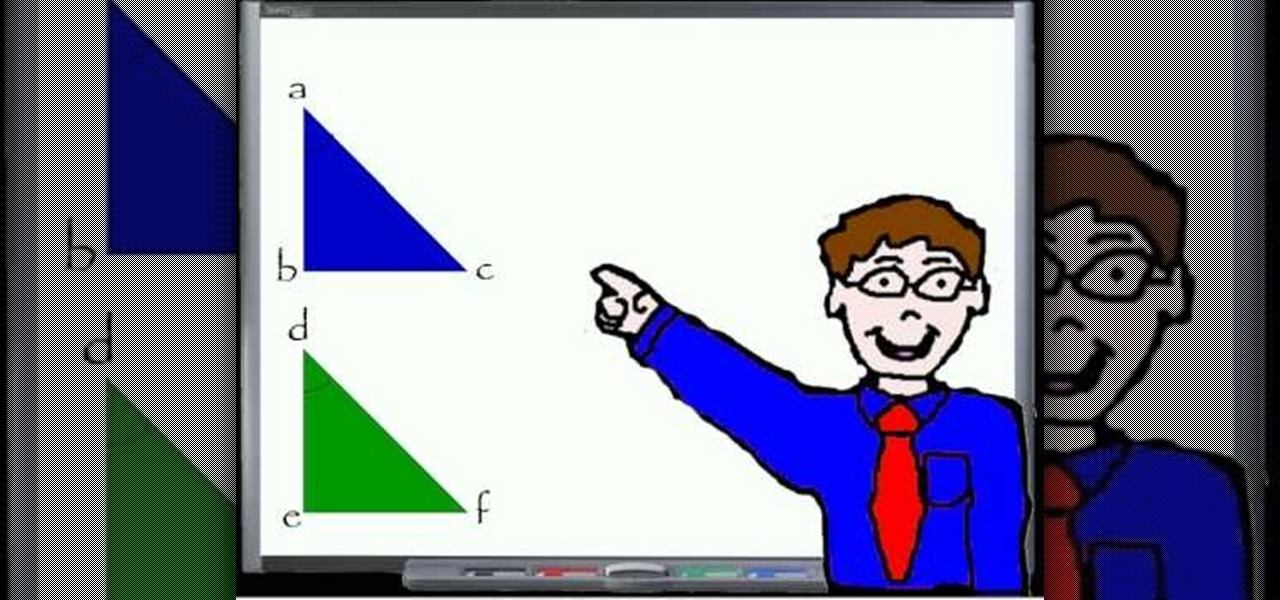
In this tutorial the author shows how to find out the missing part of a triangle that is similar to another triangle. He explains the concept of similar triangle diagrammatically by showing that similar triangles have similar angles and parallel sides. Now he labels sides of similar triangles and marks the value of unknown side as variable x. Now in similar triangles as the lengths of sides of proportionate he shows how to write a equation of proportion and solves it finding the missing part ...

This is a tutorial about how to prove the congruency (equality) of two triangles when the values of two angles and an included side of each triangle is given. The author of this video instructs the viewer that it should be first determined whether the values of two angles of one triangle are the same as those of two angles of the other triangle. Then one must seek to determine the equality of sides included in those angles in both the triangles. When it is found that these three values in one...

Tying It All Together presents a video on the Etyszkiety knot, a decorative Polish knot worn by mounted brands. This knot also has connections to other cultures, where it is called the prosperity or the prolong knot.

Following a kind of silly little skit, this video will teach you how to make a double-sided, origami version of a shuriken throwing star. Shuriken are the throwing star weapons you've seen ninjas use in the movies. If you've already made the single-sided shuriken, this is a good follow-up project. But while they are made of paper they do still have sharp edges, so be very careful about where you throw them.


