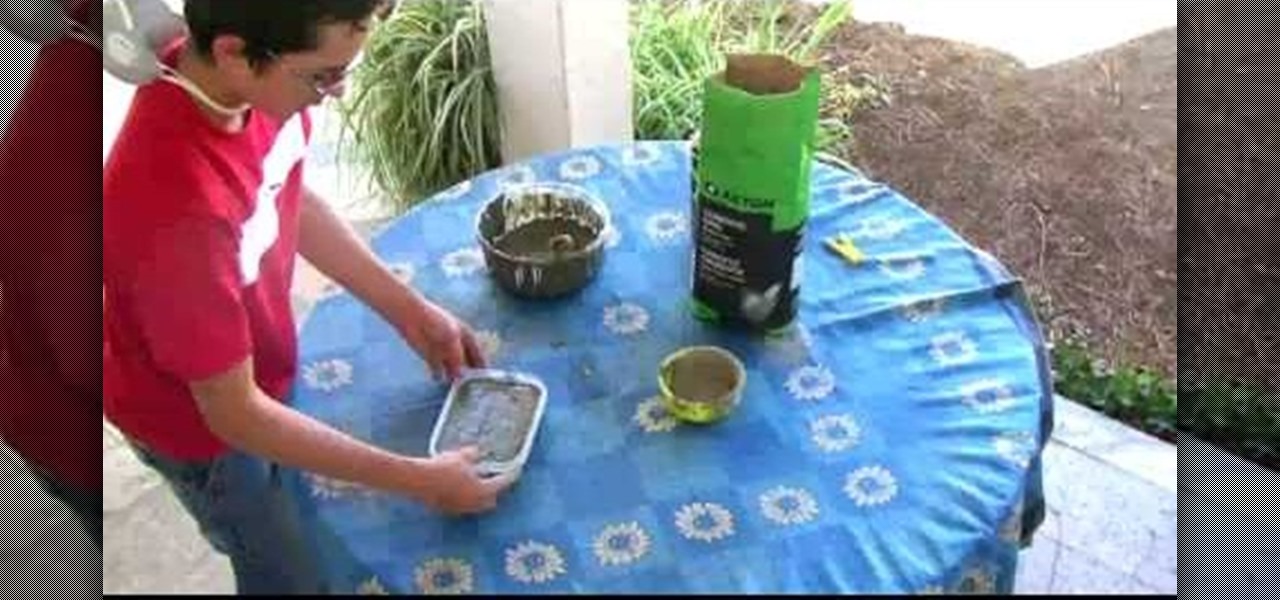
In this Home & Garden video tutorial you will learn how to make a concrete obstacle. Materials required are cement, 1 big receptacle, 1 small plastic receptacle, a cup for measuring, a spatula, 1 mold, WD40, paper towels and protection mask. Wear the mask, spray WD40 on the small receptacle and the mold, and wipe off with paper towel. Pour two cups of cement in the big receptacle, add one cup of water and mix slowly with the spatula. You can add more cement, water and make it to a watery cons...

Chef Donald demonstrates in this video how to make grilled tuna steaks topped with red pepper sauce. The tuna steaks are marinated with pepper and extra virgin olive oil. He avoids salt as it draws out moisture and adds it later. The steaks are cooked on a hot frying pan. For the pepper sauce, he blends the roasted bell peppers in a food processor to a smooth pulp. The pulp is transferred to a sauce pot and heated for about 2 minutes with a little bit of butter and lemon juice. Olive oil or m...
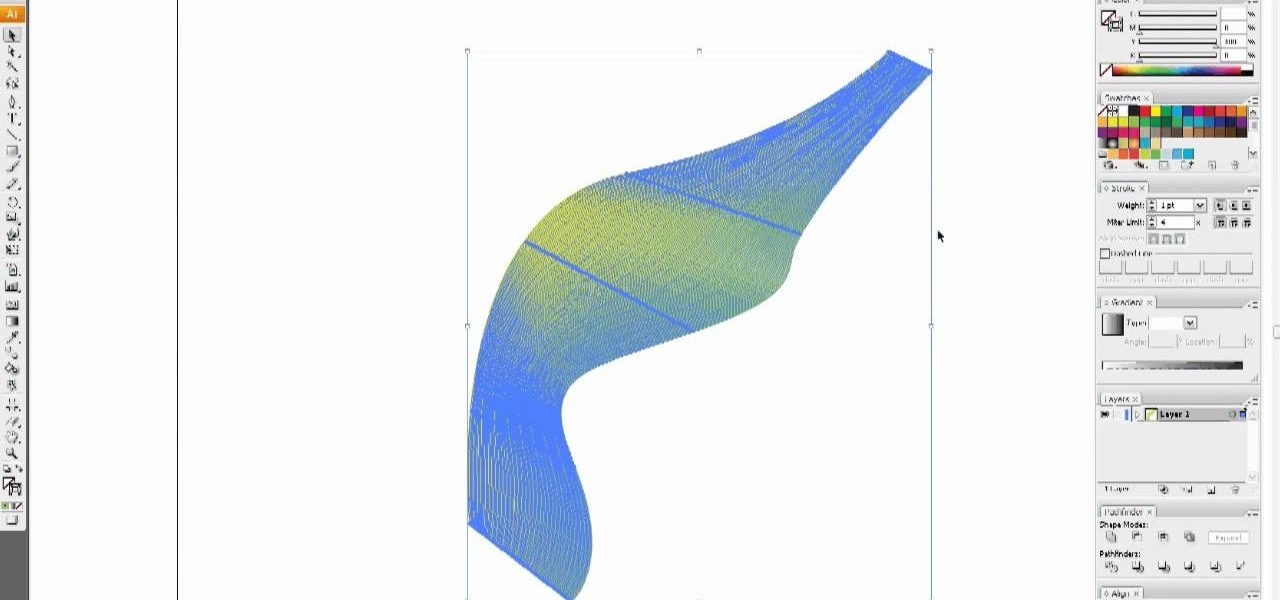
In this video tutorial, viewers learn how to use the blend tool in Adobe Illustrator. The blend tool will allow users to create objects between two strokes or filled objects. When you double-click on the blend tool, there will be 3 options to select from. Select the spacing and press OK. The three spacing options are: Smooth Color, Specify Steps and Specified Distance. Users are also able to select the amount strokes between the two objects. Now select the points of the two objects and it wil...

In this Family video tutorial you will learn how to make a spiral sun catcher. Take a contact paper and draw a spiral on it starting at the center and drawing out wards. Now remove the backing of the contact paper and lay it down sticky side up. With markers, color in the spiral. Then take the contact paper and lay it on top of the backing and smooth it out. Now cut along the line of the spiral with scissors. Tie a piece of ribbon to the inside end of the spiral and now you have a spiral sun ...
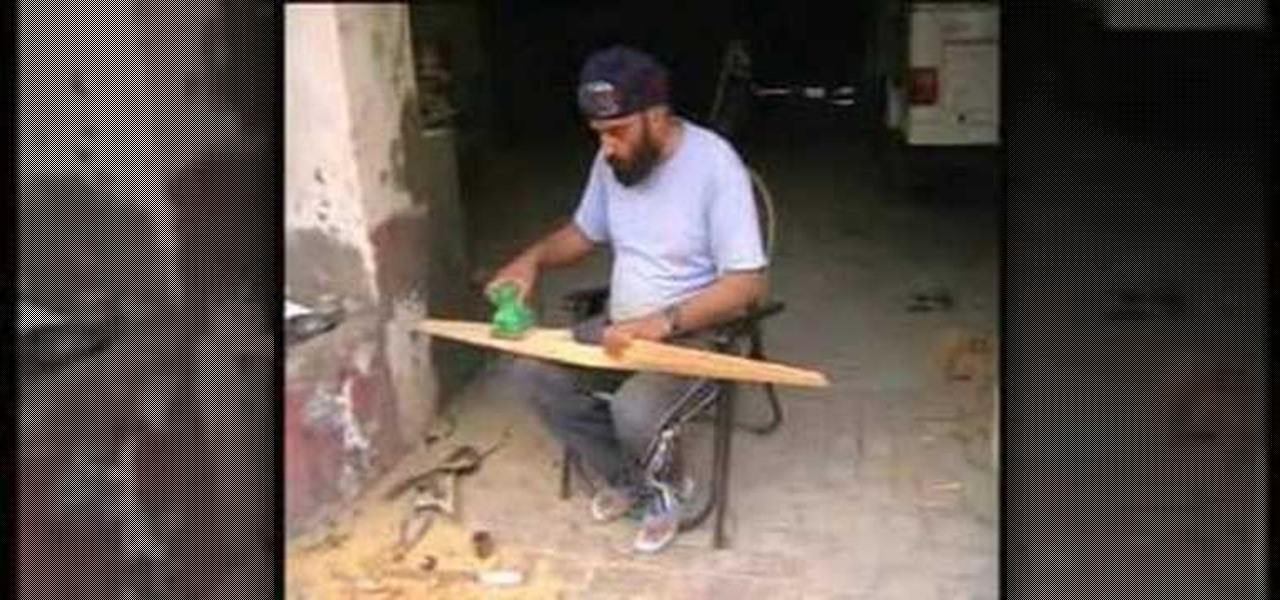
To carve a wooden propeller first join six pieces of wood together to form a block. Mark the outline of the propeller on the block in pencil. Use a hand chisel and hammer to form the rough shape of the propeller. Once the rough shape is complete use a motorized hand grinder and then a motorized hand held sander to make the propeller smooth. After the sanding is complete you will need to finish it off with a coat of polish. Finally, you will need to balance the motor before fitting it into pla...

Try to use the same brand of spray paint throughout the project, read the instructions, follow them. Different brands may have different instructions, this is why we advise against mixing brands. Begin by lightly sanding your project with 600 grit sand paper, anything lower can potentially scratch your project. Use a sturdy tape to cover the parts you want to leave unpainted. Use a very light coating of primer, sand it with 600 grit sand paper (lightly). To add 'special effects' to the job, u...

This video illustrate us how to tape and butt joint on drywall.Here are the following steps: Step 1: First of all take a wet tapering knife,tape,mud and cement to coat.

In order to mud and tape the corners with new drywall you, you will need spackle, a sturdy ladder, and a putty knife. Scoop out a dollop of spackle (i.e. mud) with your putty knife. Place your putty knife where the ceiling and the wall meat. Spread the putty evenly, as you extend your arm left to right or right to left. Make sure that you apply putty all the way up to the corner.

In this video, a professional hair artist shows how to make a quick French twist hair style. Lift the hair up and backcomb it a little at the neck. Smooth the rest of the hair down over that. Gather the hair like a ponytail and twist it while moving it upward. Put a bobby pin at the top and another at the bottom. Twist the ends of the hair that are at the top so they fluff out, and add another bobby pin to hold them in place. Spray hairspray all over to hold the style in place. This is a simp...

In this Disaster Preparation video tutorial you will learn how to gather & prepare wild edible foods. Autumn olives have golden dots on a red berry. The leaves have no spikes on the edges, are smooth on the top and are dark on the top and white on the bottom. You can use a basket hung around your neck for berry picking. Use a reaching stick made out of the branch of a tree as shown in the video to pull branches towards you for berry picking. Put all the berries in a bowl, mash them up with a ...

The moonwalk has been written in history and will go down as one of the most well-known dance crazes next to the Macarena and the jitterbug. In order to moonwalk like Michael Jackson, it's important to focus on the pivot and push of the feet and legs while sliding. Make your moonwalk smooth with the tips and tricks given in this free dance lesson.

In this video, Karen shows us how to decorate cupcakes in different ways. You can use McCormick frosting in a bowl, add neon green food coloring and mix this together. Put some frosting on the cupcake and smooth it out onto the cupcake. Another great thing is to put frosting into a small plastic sandwich bag, cut the corner of the bag and you now have your own icing bag! You can use this to make any design you'd like on your cupcakes. Make the clip on the corner bigger or smaller, depending o...

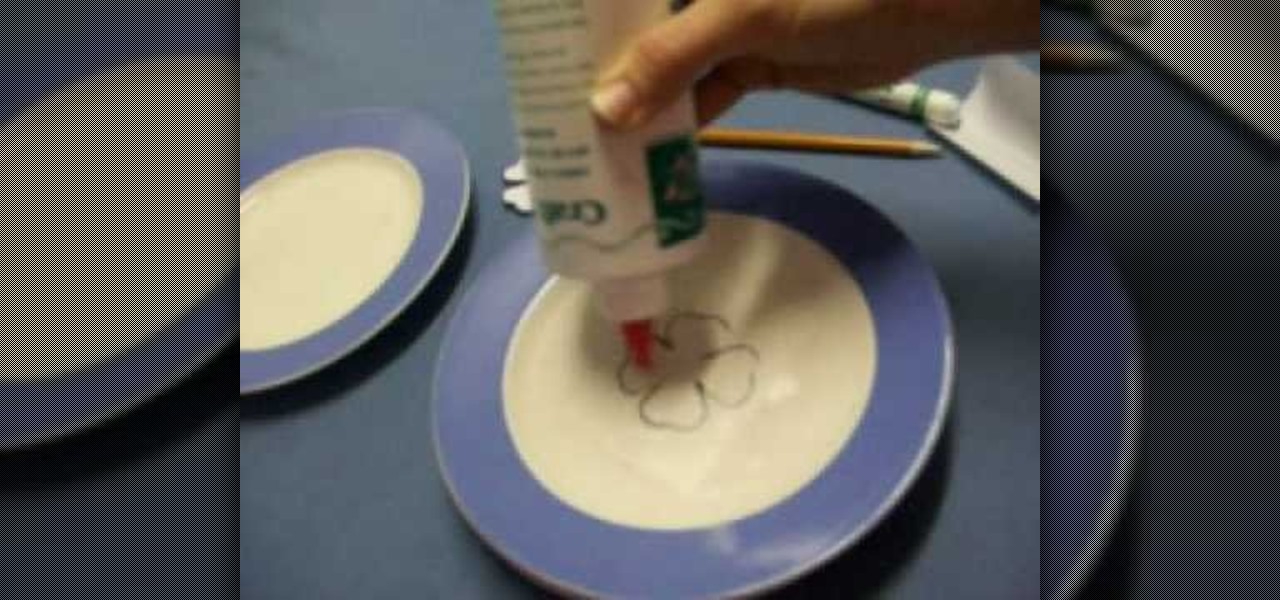
In this how-to video, you will learn how to make a four leaf clover pendant. Start off with contact paper and place it on a smooth flat surface, such as a large plate. Trace a four leaf clover shape onto the paper using a pencil or pen. Fill the entire shape in with glue. Once it dries, you can color the pendant with a green marker. Finally, you can peel off the contact paper. The four leaf clover shape will come right off with it. Viewing this video will show you the fastest and easiest way ...

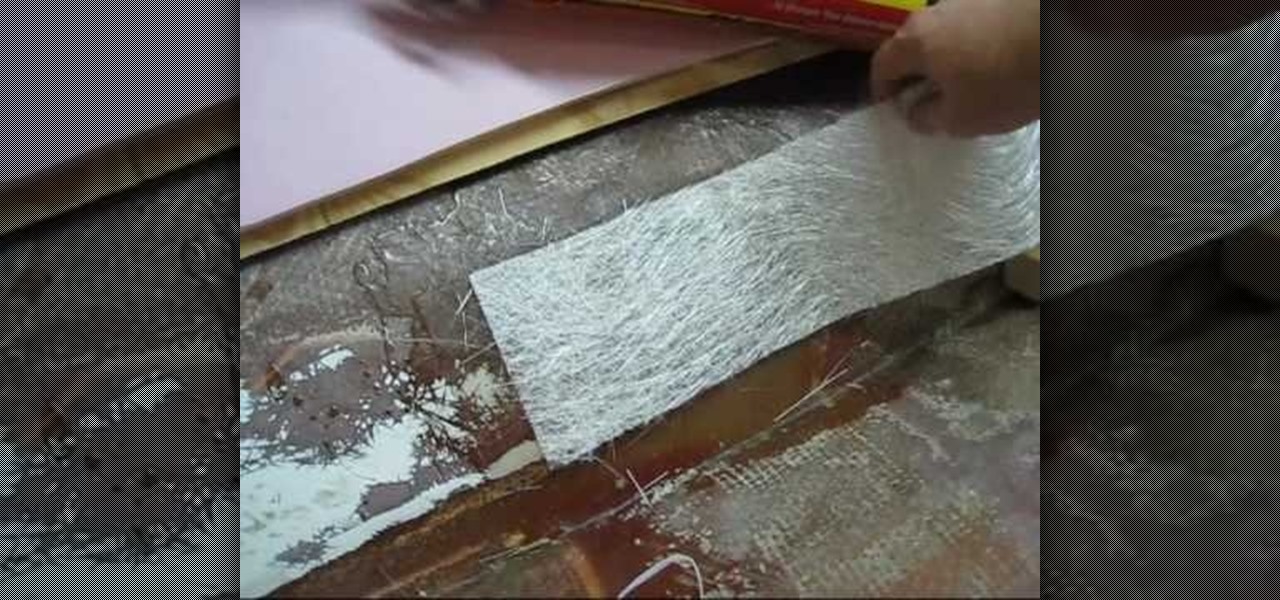
LowkeeLT demonstrates how to patch a hole in a fiberglass boat hull. First, grind around the edge of the hole to make it smooth. Make an angle that goes towards the hull so that the resin won't get caught and create air pockets. Attach kitchen wax paper to the boat as a non-stick material for the poly resin to set against. Then, put down a flexible cutting board by duct taping the two layers on the outside of the hull and pulling it taut. Attach three layers of fiberglass strips with resin to...

In this video Pro Rider Matt Crowhurst talks about the wake jumps and what needs to be done to execute them. At the beginning of the video Matt says that in order to execute them one has to mater the perfect riding position, being in ease with moving left and right, inside and hillside edge, crossing and execute smooth turns. For executing wake jumps one has to concentrate on three major areas-1. Starting out wide, cruising along and a flat board.2.A progressive edge3.Holding that edge and po...

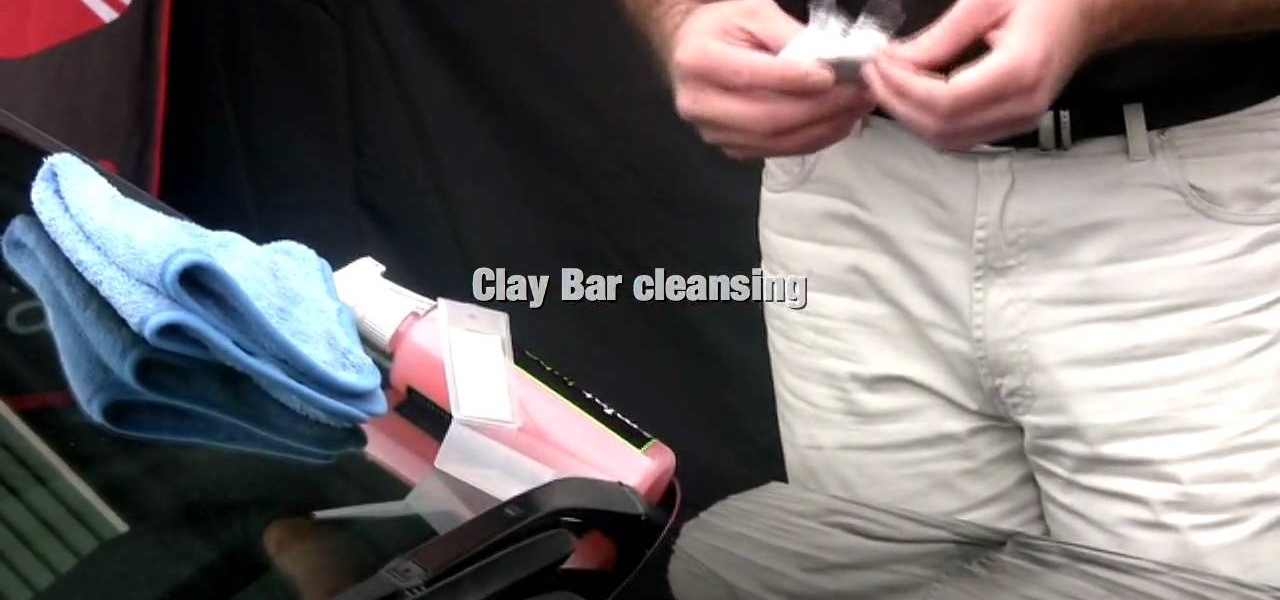
In this how-to video, you will learn how to clean your car paint with a clay bar. This will help you clean contaminants, bug parts, and other debris from your paint. First, you will need a car to clean, a clay bar, and a lubricant for the clay. Split the clay into a smaller piece and mold into a bottle. Spray the lubricant on the area you are going to clean. Move from left to right and up and down over the section two or three times with the clay. Once this is done, wipe off the lubricant wit...

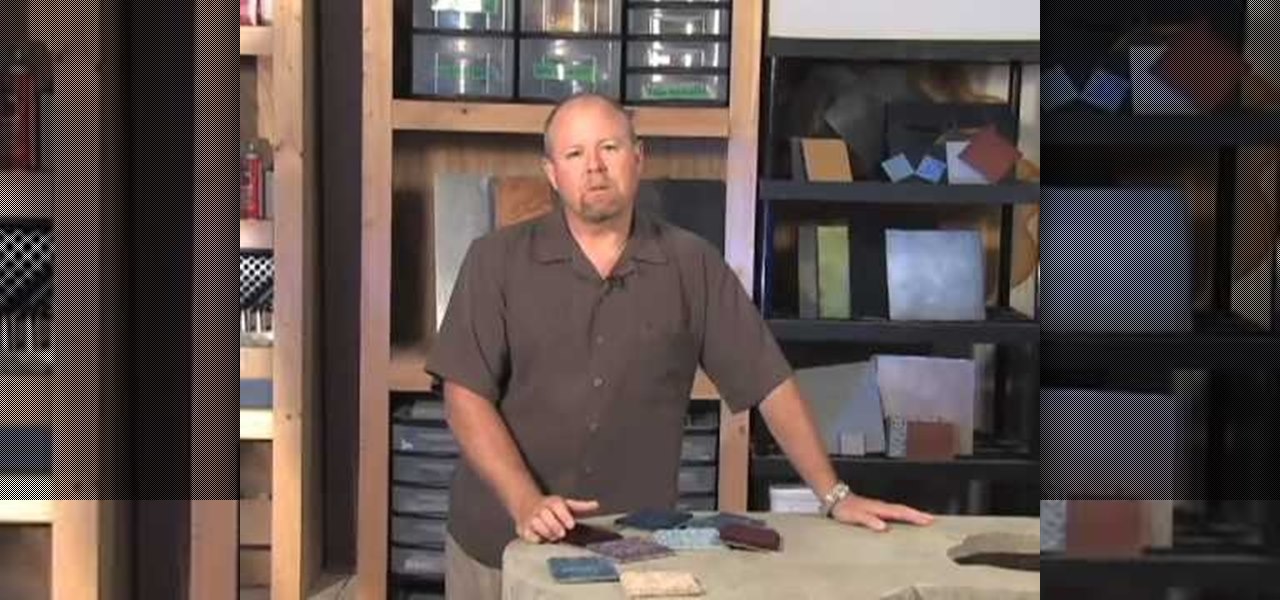
Bob Harris of decorative concrete institute explains how you can remove your tiled or carpeted flooring for a concrete substitute. He suggests when your removing carpeting that it can be very heavy and advises you to hire someone who can lift and carry it out, or rent a dumpster for easy take away. He states that after the carpet is removed you'll need to remove the adhesive from the floor. You can do this by stripping or grinding, and at other times the use of harsh chemicals may be needed. ...

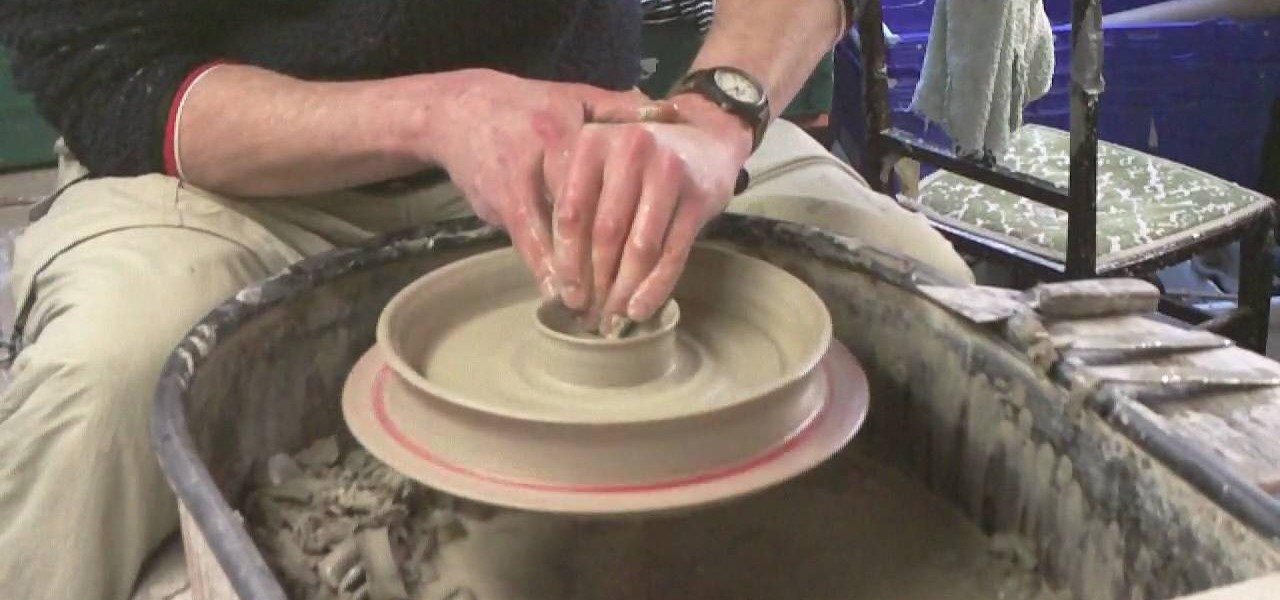
Ingelton Pottery demonstrates how to throw a chip and dip pottery plate. First, well a ball of clay and put it on a pottery wheel. Use your hands and ample amounts of water to depress the sides of the clay forming an indented rim with a raised center. Use your thumb to define the center hub. Create a thin side to the plate. Wet your hands and press down on the center hub, creating a depression. The plate should now have a two bowls with one sitting inside of the other one. Use a blade to scra...

Dr. Jailbait shows the viewers a new device called Smoothboard. With Smoothboard installed the Springboard will not lock while scrolling through your apps. It allows you to scroll and stay in between pages for your apps. You can scroll through multiple pages in one swipe, as opposed to it freezing on each page. To get this, open up Cydia. Go to search and type in Smooth B. Smoothboard from Big Boss will appear. Click on it and then click install. Once it finishes installing, your device will ...

In this video tutorial, viewers learn how to tie an ascot. Begin by placing the ascot around your neck. Make the right side just a little bit longer than the left. Then cross the left side over the right side. Now bring it up and over through the middle. Fluff it out to spread out the ascot and then tuck it inside your shirt. Make sure that it is flat and smooth inside the shirt. This video will benefit those viewers who are preparing for a formal dinner, party or special occasion, and would ...

Fimo expert Corinne Bradd and Emma Ward with The Crafts Channel and magazine Craft Beautiful demonstrate how to create a striped cane in 5 minutes. To create the stripes, cut out rectangles of black and white clay and stack them in alternating colors. Then, roll out a cane in a nice, bright color so that it matches the length of the stacked clay rectangle. Then, cut the rectangle into slices. Then, press the rectangle stripes onto the bright cane so that it completely wraps the cane. Squeeze ...

The bob is a historical beautiful hairstyle that has never gone out of style and it seems like it will not go out of style anytime soon. This video is about how to create the classic bob. To begin creating this style the hair is given volume first by parting it on the side and a piece is sprayed followed by backcombing it slightly. This process is repeated approximately four times on the side, four times in the back and four times on the opposite side. After teasing the hair, a boar bristle b...

To achieve Taylor Swift's hair start off using a heat protectant spray and brush evenly through your hair. Part your hair the way you want to wear it letting your hair down in little sections. Use the wrap around method to curl you hair. This should create a nice spiral curl. Make sure to curl away from your face, do this all over your head. For the top layers use should hold the curling iron above your head while continuing to use the wrap around method. For the hair framing the face you sho...

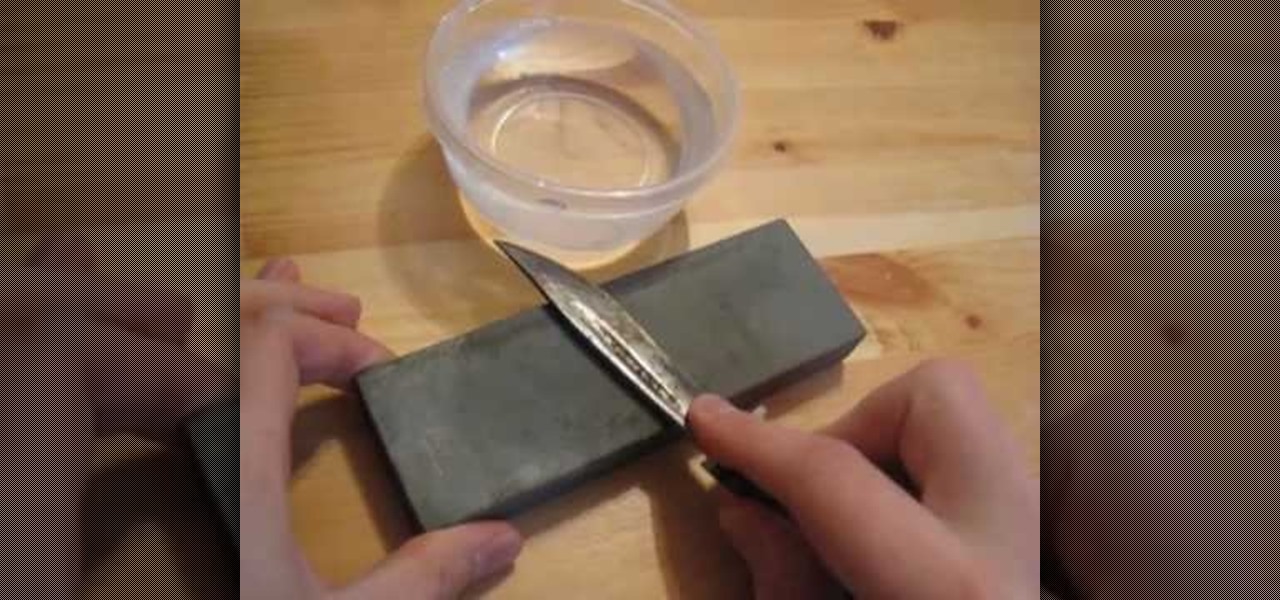
In this video tutorial, viewers learn how to sharpen a knife. The materials required are: water or oil, stone and the knife. Begin by dipping the blade into the water and start grinding with a rolling movement on the rough side of the stone. If it gets dry, add some water. Grind on both the sides of the stone. Now flip over the stone and grind with a pulling movement on the smooth side. Then finish the sharpening with a leather belt. This video will benefit those viewers who need to learn how...

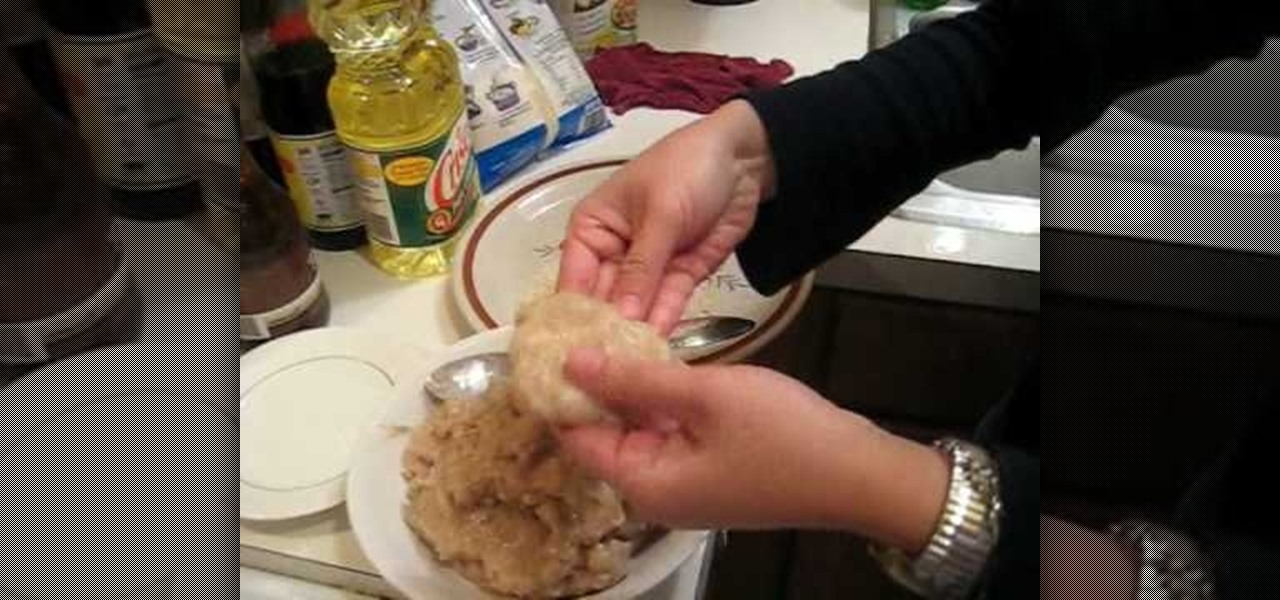
This video is about how to cook Thai shrimp cake. The first step that you will have to do is to peel the shells of the shrimps off. After peeling the shells, the next step is to blend the shrimps. Then the next step is to stop the blender once the shrimps have become smooth enough. And just simply put the salt, sugar, and pepper. Then blend the shrimps again. After blending, place the blended shrimps in the freezer for fifteen minutes. After 15 minutes, prepare the frying pan. Before dipping ...

Danielle Proud shows you how to make a beautiful Christmas table centerpiece for your Christmas dinner! Your guests will be amazed at how incredible your table looks. This amazing display catches light and looks simply magical. All you need is an old pair of deer or elk antlers, some sticky-backed crystals, and a little time and creativity! First, take your antlers and sand them until they are smooth and the color you like. Then, take different sized crystals, even different colors if you pre...

In this video, Blair describes how to fix oily hair with Fakkai dry shampoo. First, she brushes out her dry hair so it's smooth and evenly parted. Next, she puts several drops of the dry shampoo onto the roots of one side of her hair. After this, she rubs the dry shampoo into her hair in a circular motion. She then repeats this on the opposite side of her head as well as the back portion of her head near the roots. After rubbing in all the solution, she grabs the hair brush and brushes the en...

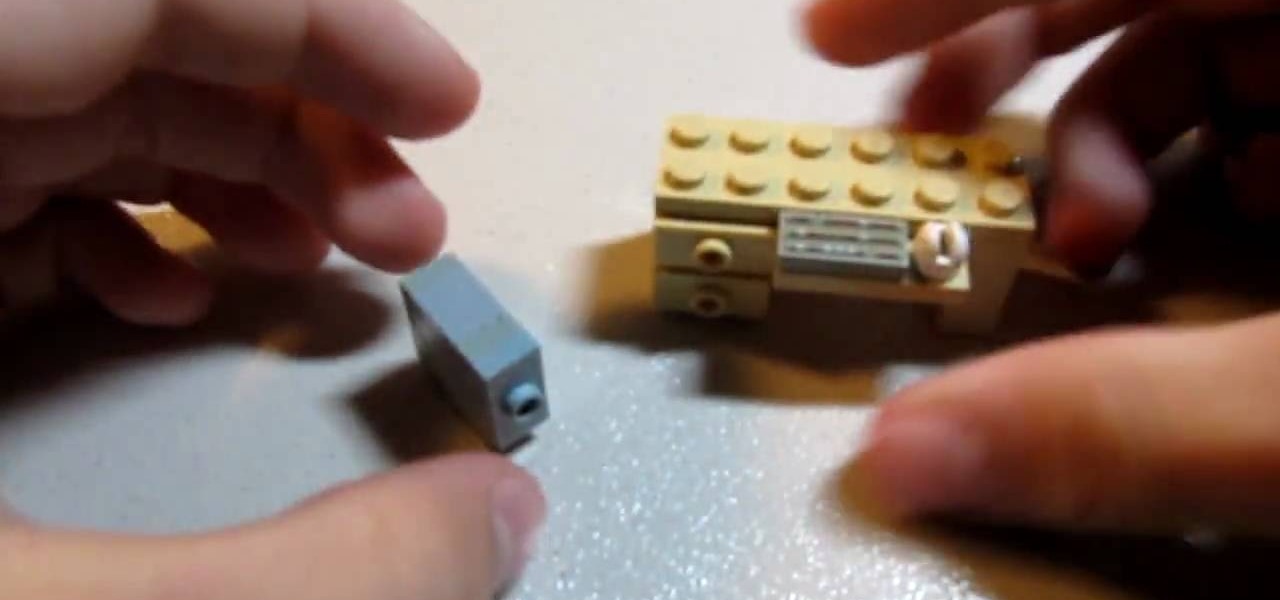
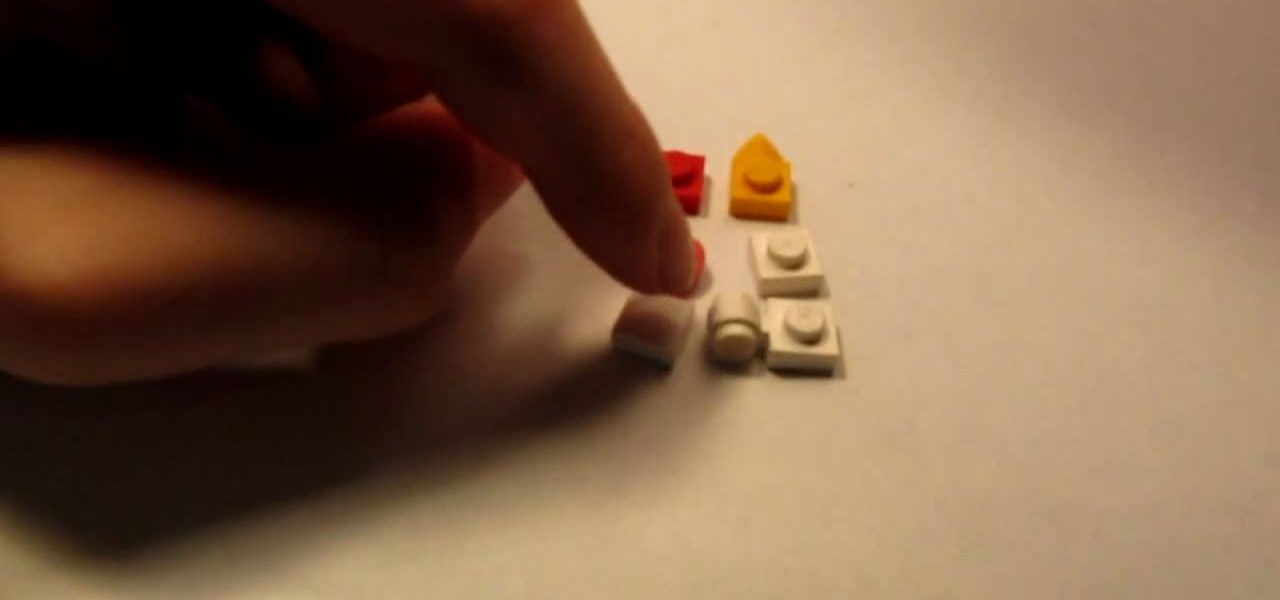
In order to construct a LEGO computer tower case, you will need 6 bricks: 2 1x2 smooths with the dot in the center, 2 1x2 thins, 1 1x1 chunky, and 1 1x1 with a hole in the middle. First, take both of your 1x2s and stick them on top of the 1x1s. You'll want the hole facing outwards on the side. Next take your other 1x1 and snap that on top. Now take the 1x2 with the dot in the center and attach that to the front. Then take your remaining 1x2 with the dot in the middle and connect it into the h...

This video demonstrates how to make small cuts on ceramic tile by using Tile Nibblers. The video starts with a quick overview of the tile nibbler tool. It looks like a pair of pliers that have been sharpened. The presenter stresses that a tile nibbler should be just that; nibble away at the tile. If you try to cut out bigger chunks it will result in cracking. Once you get the cut close to how you want it, the presenter uses a tile file to remove the remaining tile and smooth the edges. This v...

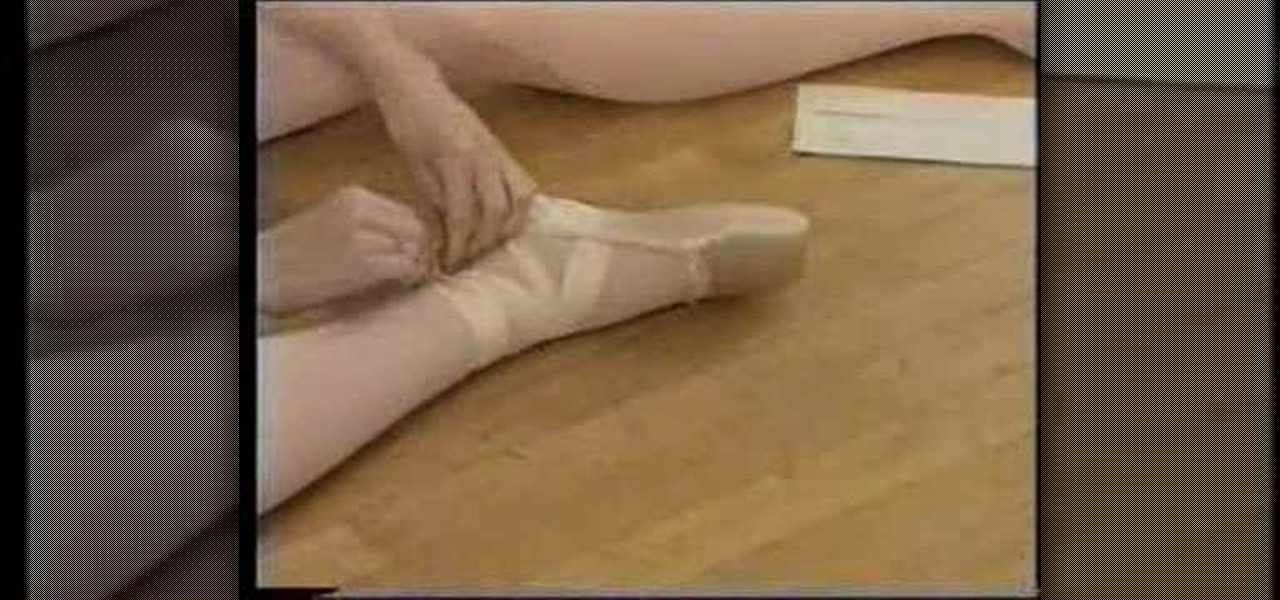
This video demonstrates how to properly tie ballet shoes before doing ballet. First, in addition to the ballet shoes, some paper towels will be needed for padding. Fold about three paper towels together until they form a rectangle approximately 3" by 4". This will be used to pad the toes. Now, pulling the show onto the foot, pull the strap over the top of the foot and place the folded paper towels around the toes and top of foot to pad. Pull the shoe snugly onto the foot. The side straps shou...

This tutorial is about how to fix your nails after artificial nails have fallen off. When acrylic nails eventually come off they leave the nail uneven and soft. This video also explains what acrylic actually is and what happens to them when put under a UV lamp. The woman speaking is a nail technician and is able to give the viewer the tips and tools she will need to fix the nail problem. With the use of a nail file the nails will once again be one smooth even layer. When satisfied apply nail ...

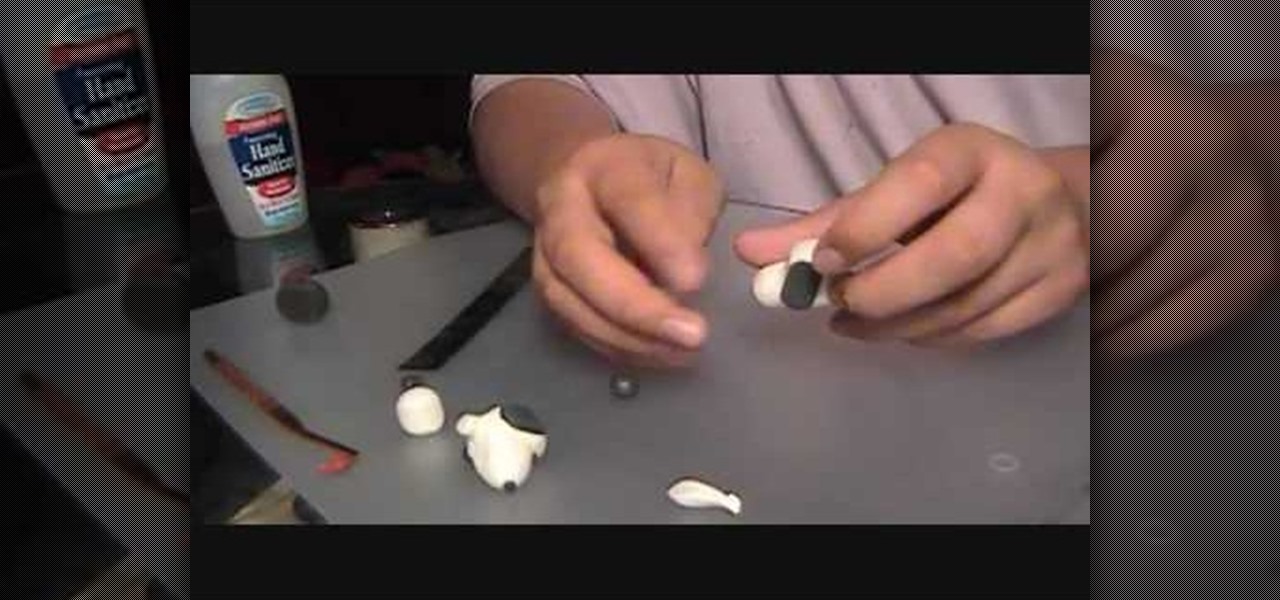
This video describes how to make a snoopy head from a type of polymer clay. You will need both black and white polymer clay, a blending tool and a ruler. It begins with the main part of the head and moves onto creating the correct structure using a blending tool. It advises using your thumbs to smooth away the creases and cracks from the surface of the snoopy head. After the main part of the face is made, it describes how to create the eyes and ears using the black clay. The eyes and ears are...

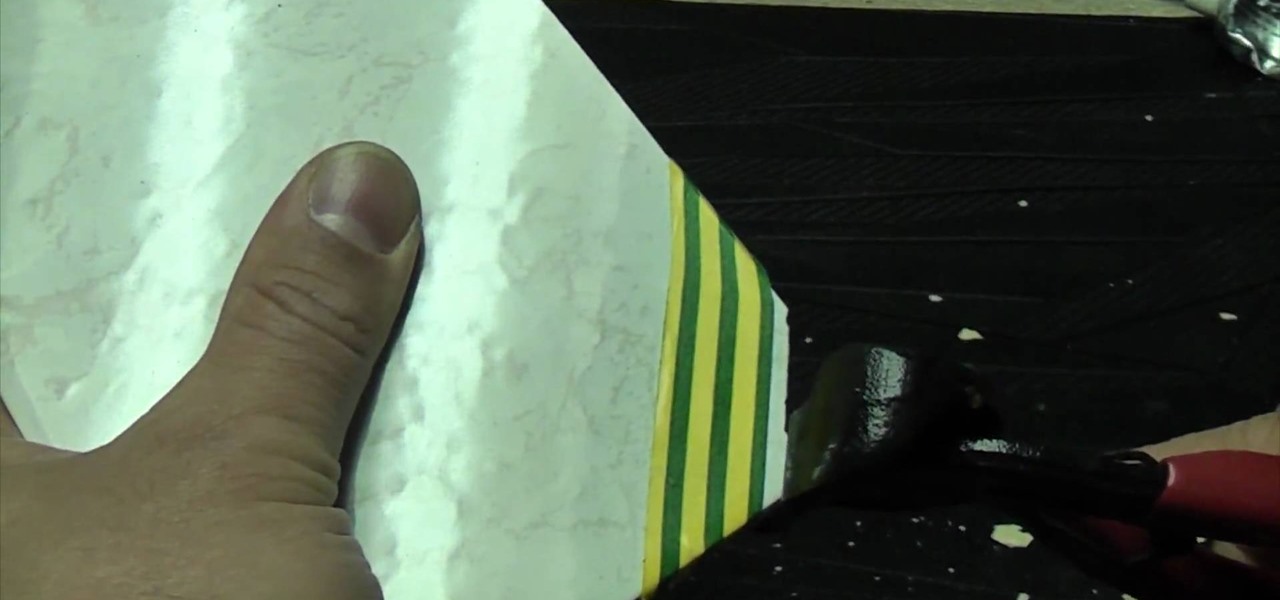
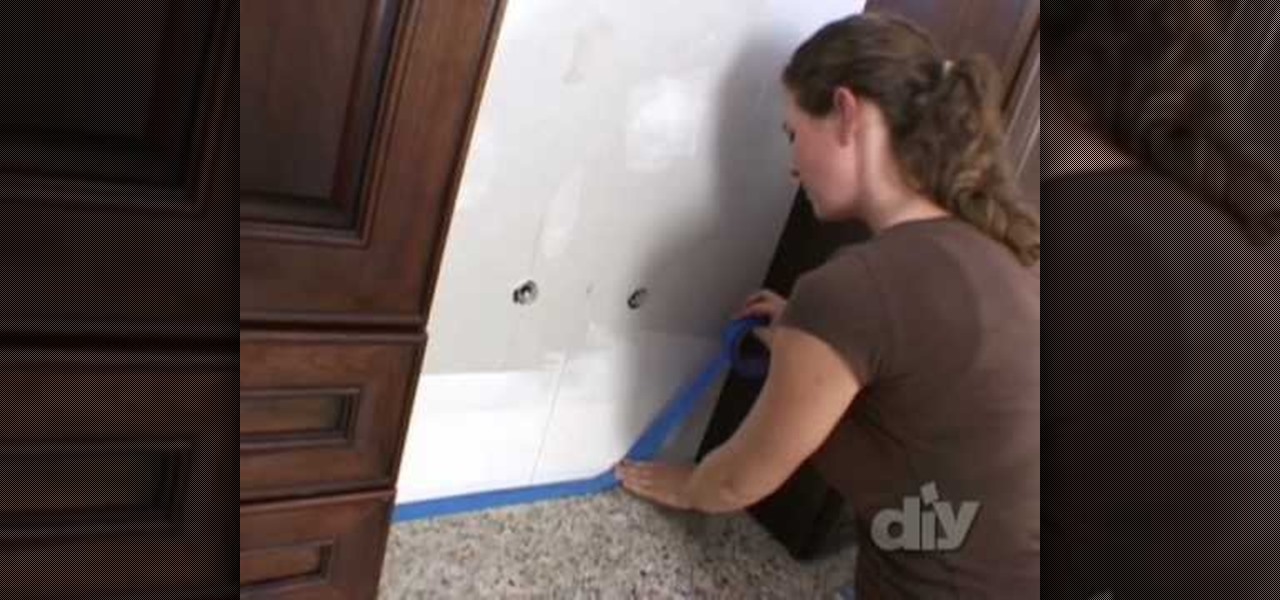
This video is to show how to install a glass tile backsplash. Because installing glass is a little different then installing ceramic, knowing what to do is important. Use painter's tape to protect your surroundings wherever you are installing your glass and use only a white thin set mortar recommended from the glass manufacturer to adhere your tiles. Since the glass is see through, unlike ceramic tiles, you need to make sure there is no discoloration and smooth out the ridges on the mortar fo...

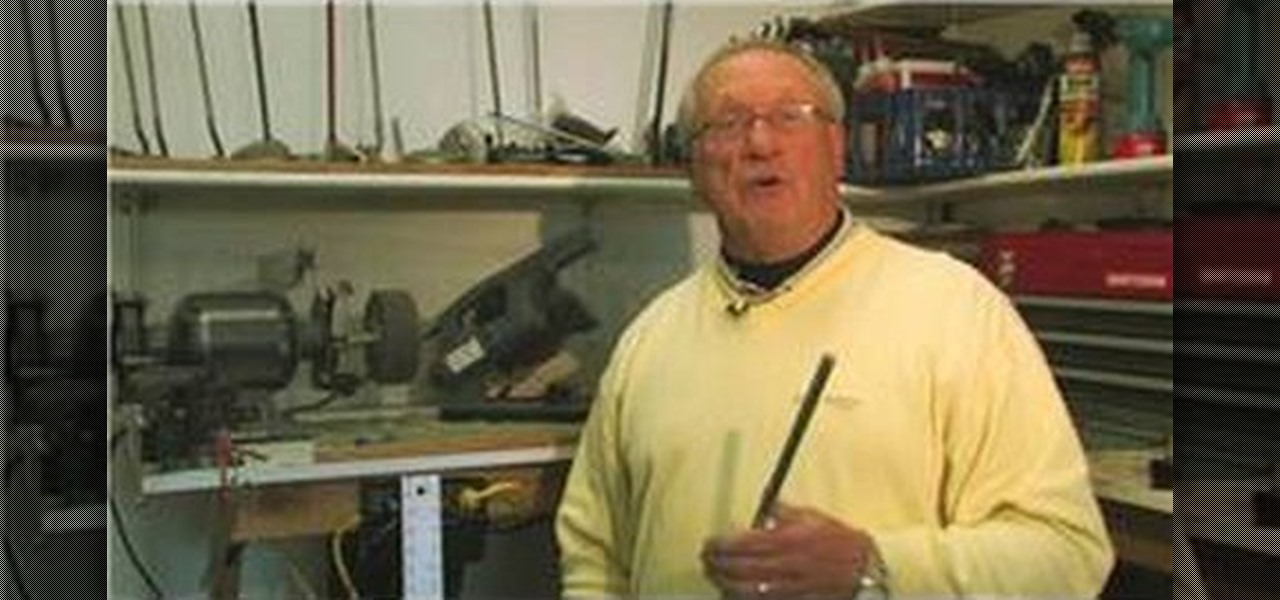
In this video tutorial, viewers learn how to trim golf club shafts. The materials required are: a golf club, yardstick, marker, chop saw and grinder/buffer. Begin by determining how long you want your golf club to be. Measure and mark where you want it to be cut. Now place the shaft in the chop saw holder and tighten it. Make sure that it's lined up with the blade and cut the shaft using the chop saw. Now smooth the rough edge with the grinder/buffer. This video will benefit those viewers who...

This video demonstrates an easy hair poof for a different hair style. First, section the hair to create the desired width of the poof. Section back about two inches from the forehead. Smooth that section of hair taut with a comb and twist it one and half to two times. Instead of pushing the poof forward and creating an uneven style, place the finger of the hand not holding the hair on top of the taut hair. Then push forward gently with both hands. Then where the twist is held against your sca...

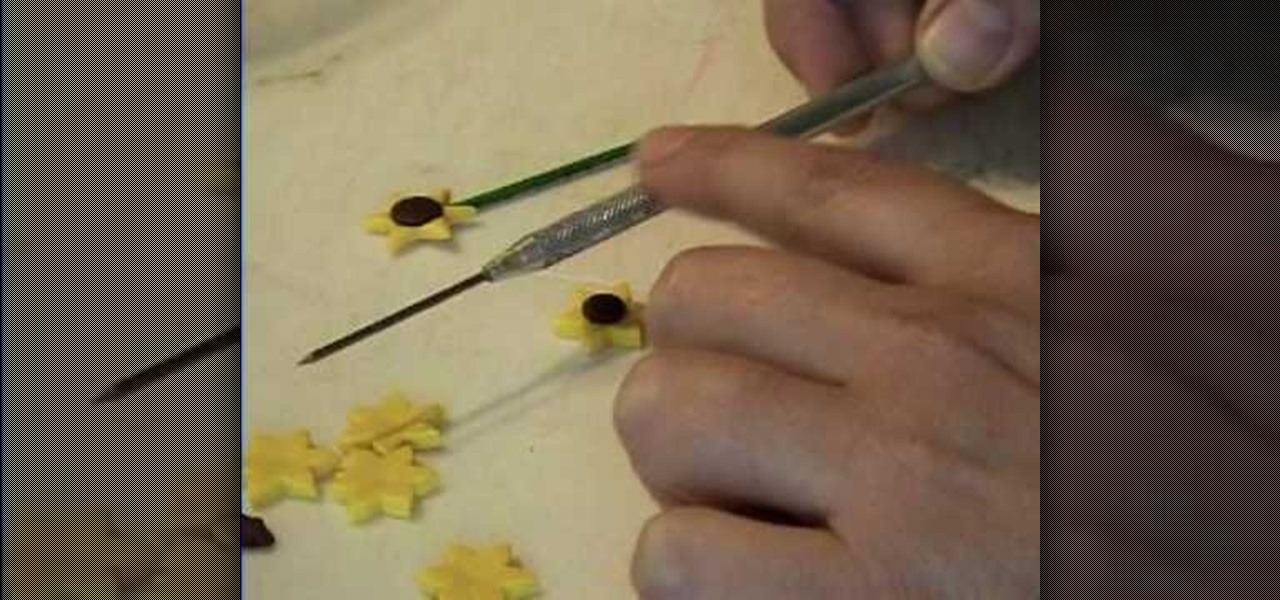
This video shows how to make a tiny sunflower from polymer clay. Start with some yellow clay and roll it out using a pasta machine using the number 1 setting on the pasta machine. Wilton cake decorating supplies makes a flower shaped cutter that is designed to cut pieces of fondant, but works well for polymer clay. Make some of the flower shapes and even out the cut edges. You can texturize the flower petals so they are not left completely smooth. Add a piece of brown clay to the middle of th...

Tammy Cornan, the iPhone chef, teaches us how to make beer batter onion rings. She shows us every step of the process from all of the ingredients needed to how long you should fry your onion rings in order to give them that golden brown tasty flavor. The video demonstration contains information that you just can't get in a recipe book. For example, the iPhone chef tells us which beer is the best choice for flavor, how long to leave your batter in the refrigerator in order to get a smooth crea...

In this video tutorial, viewers learn how to make an LCD viewing hood from a slide viewer. This hood will prevent any shining or glaring of light when looking at the LCD screen. Most LCD covers are expensive or just get in the way. This viewing hood is inexpensive and only cost $6. 95. Users will simply need a slide viewer. Pull off the diffusion screen and cut off the ledge so that it is flat. Sand it to make it smooth and add some felt to cushion it on the screen. This video will benefit th...

This video in the Fine Art category will show you how to use the refine edge in Photoshop. This video tutorial is from Yanik Photo School. This feature is available in Photoshop CS3. If you are shooting objects in isolated background and you want to cut that object out and put it on a different background, the object will have jagged edges. Refine edge will help in smoothing those jagged edges. First select your object, then go to ‘select’ and click on ‘inverse’ and you have selected your obj...

If you've ever wanted to learn how to build a LEGO chicken, today is your lucky day. First you'll need a 1x1 red LEGO stud, flat square with claw, smooth white, orange with a tooth, flat square, and a flat square with a circle coming out of the side. Starting with the claw, but the stud on top. Now take the piece with the claw and attach that to the opposite side of the claw. Put your flat square on top of that, then the flat with the tooth and another flat square goes on top. Now you're done...


