
How To: Make your own silver wire wrap earrings
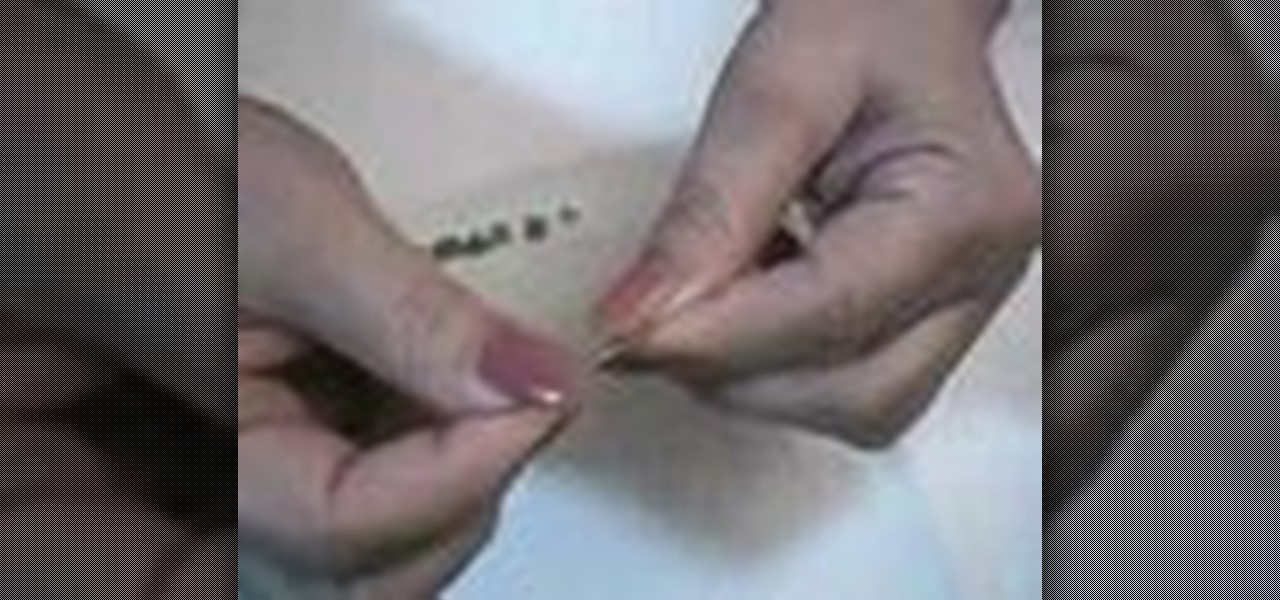
In order to make your own silver wire wrap earrings, you will need the following: sterling 20-gauge wire, chain nose or small round nose pliers, fine sterling wire, and multicolored crystal beads.


In order to make your own silver wire wrap earrings, you will need the following: sterling 20-gauge wire, chain nose or small round nose pliers, fine sterling wire, and multicolored crystal beads.

Disney star, Selena Gomez, always has stunning makeup and hair. Steal her look with help from this makeup tutorial hosted by Beechbum06. This look uses browns & silvers and is applied with all affordable makeup products! Wear this exact look with the following:

This video explains how to paint your nails in a red, black and silver art theme. The instructor begins by showing off her finished nails and the different colors she had chosen to use for her own nails. The instructor asks the user to choose the solid color and highlighting color to use, it is also necessary to choose various types of glitter to use as well. The color red is first used to color just the part of the nail away from the finger and then rhinestones are then used to decorate the ...
Marianna takes us through the process of creating a beautiful set of earrings! For this project you will need two sterling silver head pins, four fresh water pearls, some gemstones of your choice, two sterling silver ear wires, round nose pliers, flat nose pliers, and a cutter. Take your head pin and string your beads and gemstones on the head pin. Next using the flat nose plier, bend the end of the head pin to create a 90 degree angle. Then make a simple loop where the ear wires will be plac...
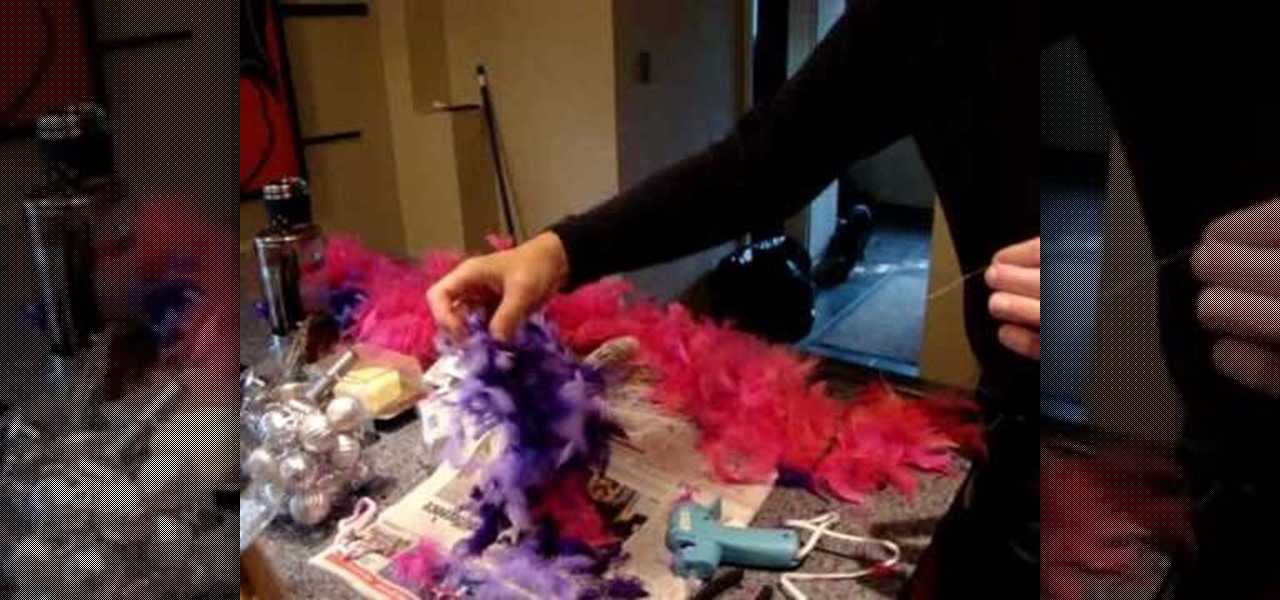
This tutorial demonstrates how to make very cheap Christmas tree decoration using feathers and Christmas silver balls. Here a violet and pint feathers are used. The best way to buy feathers is to buy feather bows in which feathers will be fixed together using some wire or string. Now an inch long section of feather is cut from two different bows of violet and pink and the ends are glued. It is left to dry for a few seconds. Some copper wire and the silver ball are taken. Connect the wire to t...
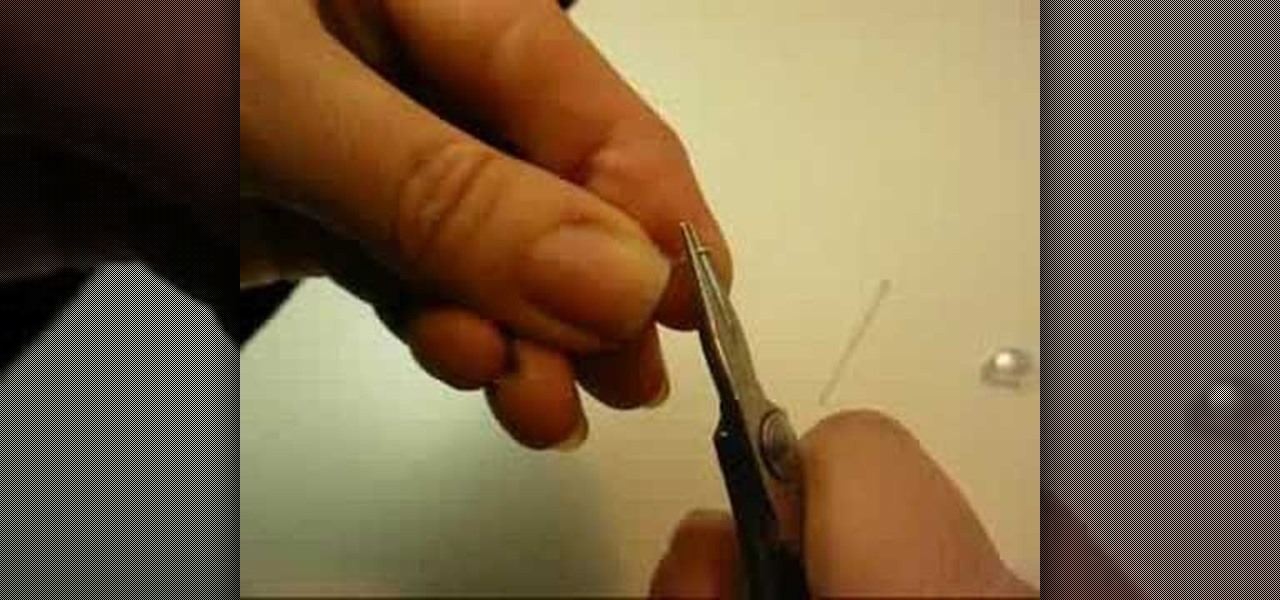
This video explains how to create a pair of Swarovski crystal earrings. You will need a tooth headpin, two pear-shaped crystals, two spacers, two diamond beads, and sterling silver ear hooks. First, slide the pear-shaped crystal onto the head pin. Follow with a spacer, a bead, then use a pair of pliers with a side-cutting edge to cut the wire and bend at a 90 degree angle. Use round-nose pliers to then create a circle at the end of the wire, then 'squash' a bit with the other pliers. Then ope...
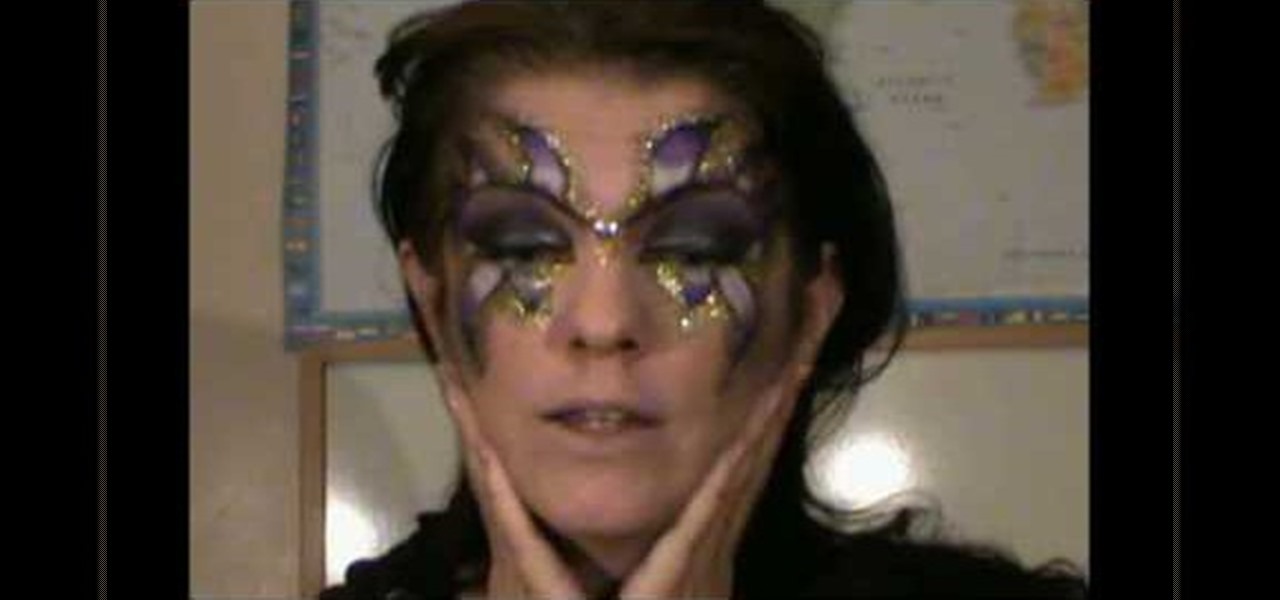
This is a great Halloween look for those of you who do not one to wear masks are a bunch of gory effects. You can even use this look for other dress-up parties. Princess Pinkcat shows you how to do her evil fairy makeup look.
Are you bent out of shape over damage to your clothes caused by wire hangers? Don’t buy new ones – follow these easy steps to modify hangers you already have. Watch this video to learn how to turn a wire hanger into a cloth one.
Learn how to sew a button by hand. Not wearing your favorite shirt because it’s missing a button? Don’t worry—sewing on a new one is simple and fast.
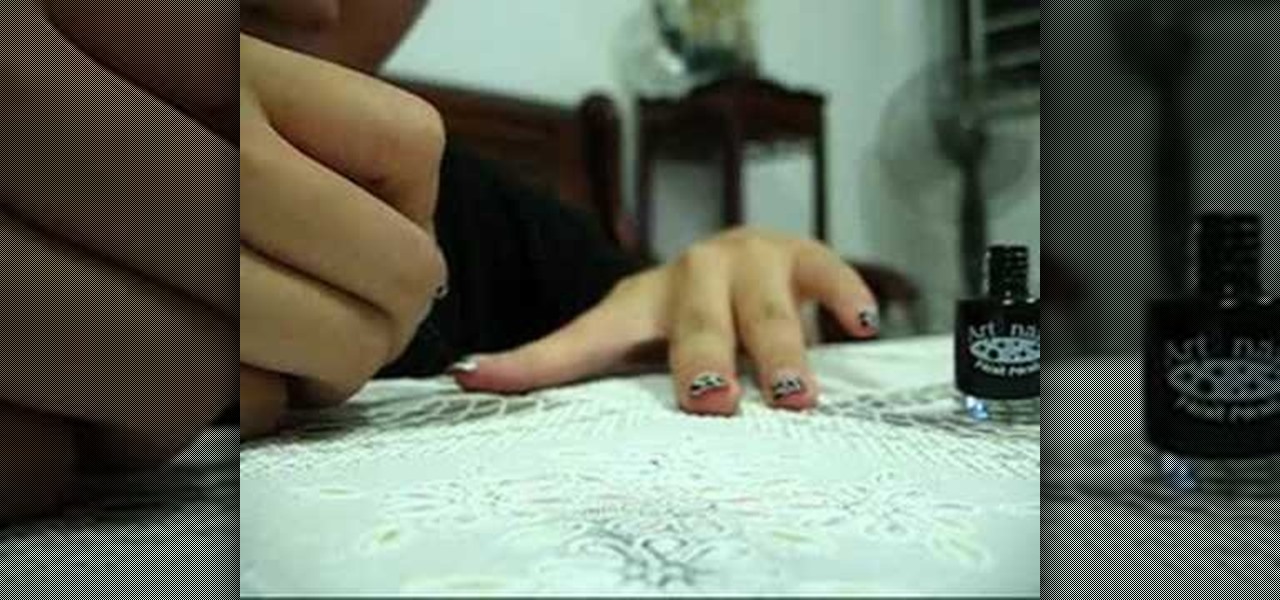
Need a change from your boring French manicure? Learn how you can paint this glittery leopard print nail art with this tutorial. You will need a base coat (Orly calcium base coat,) normal plain transparent tape or you can use those premade french manicure nail stickers, white nail polish, black nail art polish
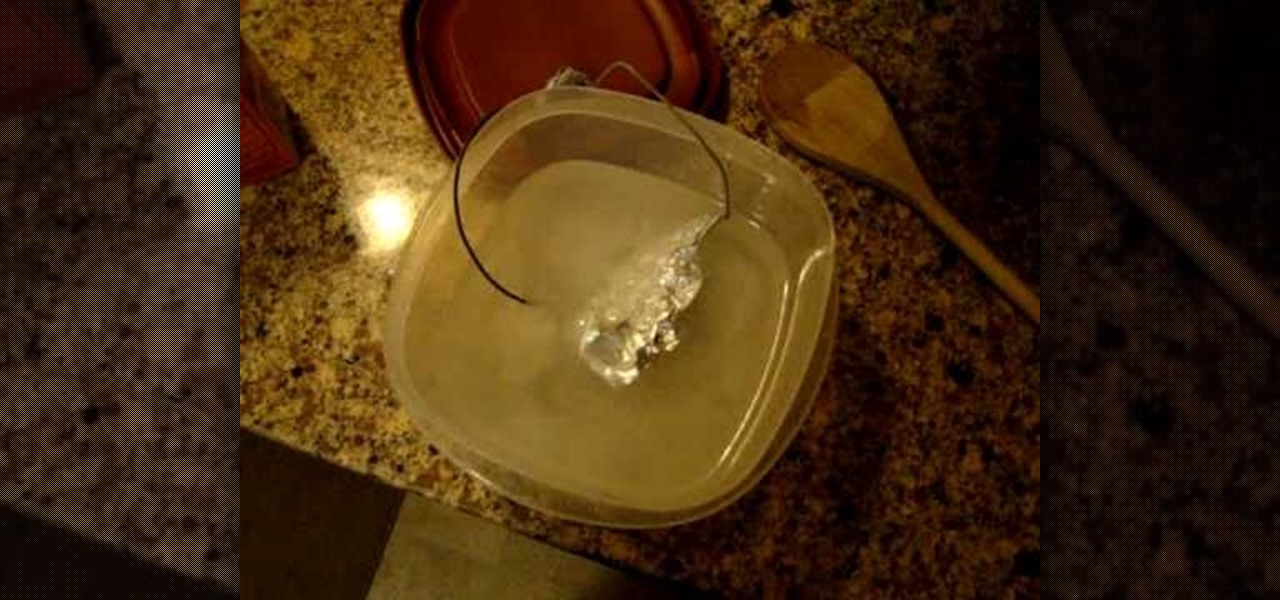
Redneck Productions teaches viewers how to clean silver and coins. This shows you how to clean coins with electricity! This process is good because you do not have to rub or scratch your coins and silver in the process. First you will need to get a battery (AA) and wire. Connect the battery and wire with the wire connected to each side of the battery. Next, you will need to get a plastic Tupperware dish. In this dish mix the solution of equal parts baking soda and Iodized salt and mix this in...
Here is a step by step tutorial for making a swimmable mermaid tail. Check out Video #2 for a demonstration of the tail in use!
For a no-wax batik dying method for your own clothes designs, you will need the following: a T-shirt, foam stamps, a medium, dye, parchment paper, fabric marker, cold water, a microwave, plastic wrap, and a pen.

In this how-to video, you will learn how to sew a cape. The pattern is made of three pieces. The main part is made of a circle with a hole in the center. There is a cut made from the center to the edge of the circle. The diameter is about 145 centimeters. The hood is two half circle pieces, with a diameter of about 62 centimeters. The two parts will be sewn together along the green marks shown. Fold the rest fabric above the seam and sew it to the fabric next to the seam. Next, sew at where t...
In this how-to video, you will learn how to make your own hand-crafted snowman. You will need two Styrofoam balls, tooth picks, a white sock, plaid fabric, orange pipe cleaner, black fabric paint, pins, hot glue or tacky glue, twigs, buttons, red baby socks, and any other decorations you want. Place a tooth pick to connect the two balls. Insert the balls into the sock and cut the excess. Next, pin the sock to the balls. Cut the scarf from the plaid fabric and wrap around the snowman. Now, cut...

The procedure was adopted to build a waterfall in Oregon Coast Garden Center, Wald-port. 1. A level pad was cut to arrange the first row of blocks

Mark Nelson shows how to make a very simple ring using a squiggle technique in this video tutorial. You will need 6 inches of 16 gauge silver wire (or whatever type of wire you want to use). You will also need 6 inches of copper wire (16 gauge), which will act as the template. Take the ring sizer and bend the copper wire to make whatever size ring you need. Use clippers to create the template. Use pliers to straighten out this template. Place this template in the middle of your silver wire ma...

In this video, Meg will show you how to make your own wreaths. You’ll be creating two scenes on your wreaths : a woodland and an aromatic one. You’ll need 2 cardboard rings (one slightly smaller) cut in wreath forms, green moss, a hot glue gun, a knife, some pretty fabric, and a handful of old corks.
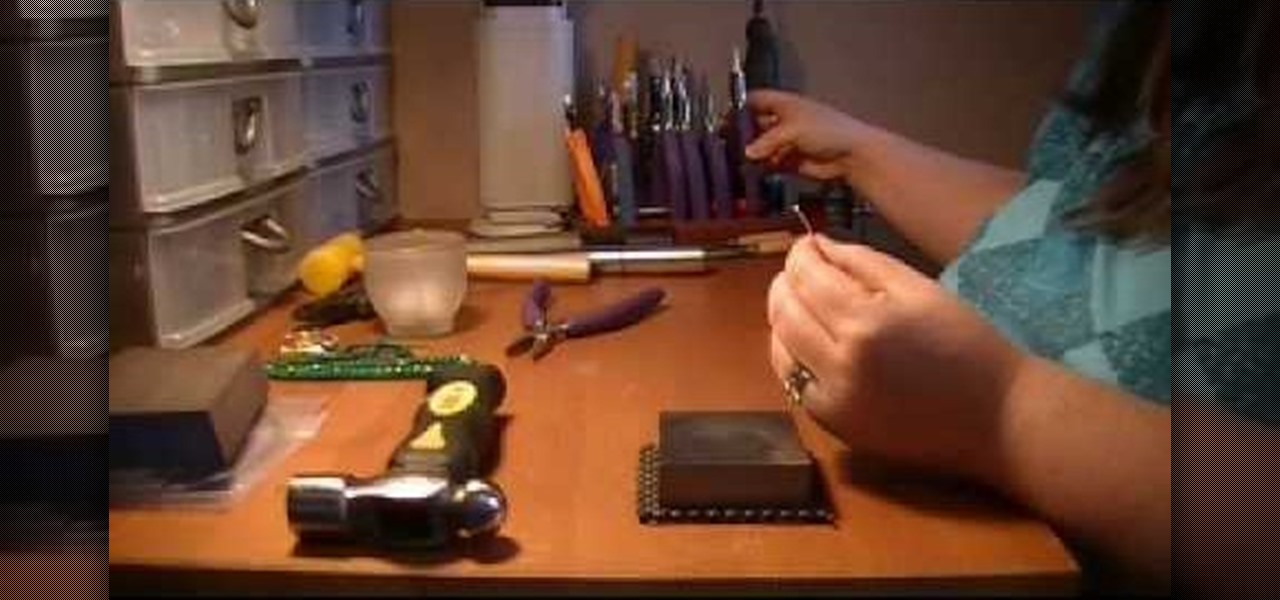
The video helps us to make sterling silver hoops earrings. It is one the popular style of earrings. These earrings can be made of different sizes, shapes, forms whatever we like. This art and craft work is shown by Natalie.
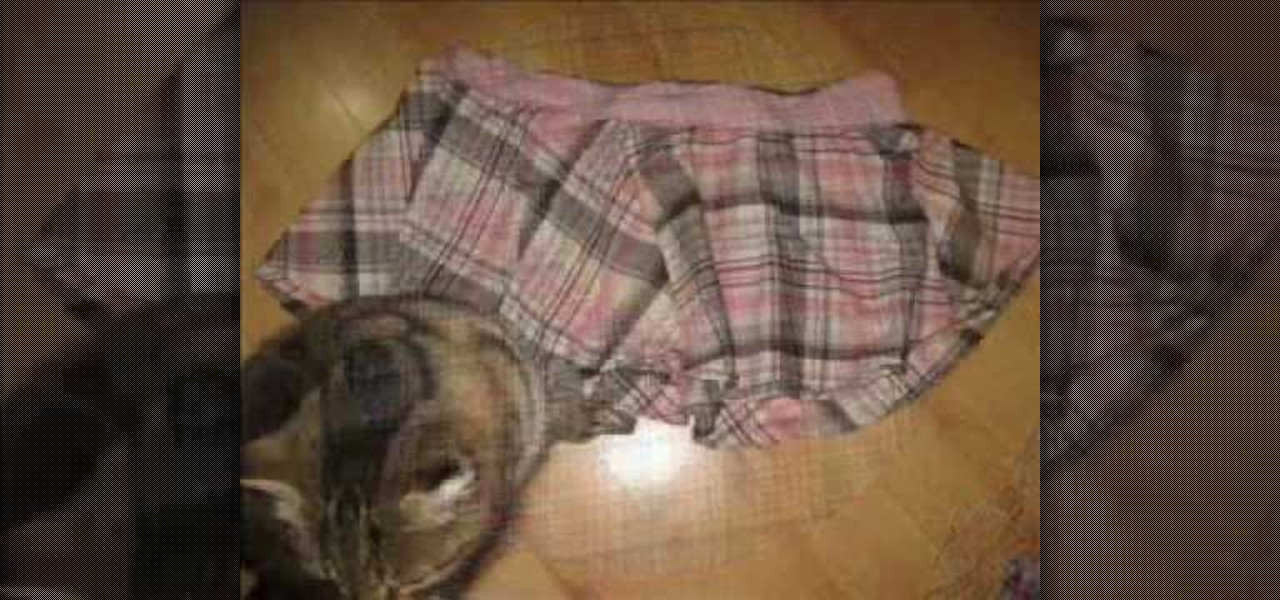
If you want to know how to make a circle skirt easily, you should watch this video. To make an easy circle skirt: Lay out the square of fabric and use the measuring tape to make a circle as large as your hips. Trace another circle around the edge of the fabric. Trace the largest circle that will fit inside of the fabric square, going all the way to the edges of the sides of the square. Cut out the inner circle and cut around the outer circle. Measure your waist to get the length of your elast...
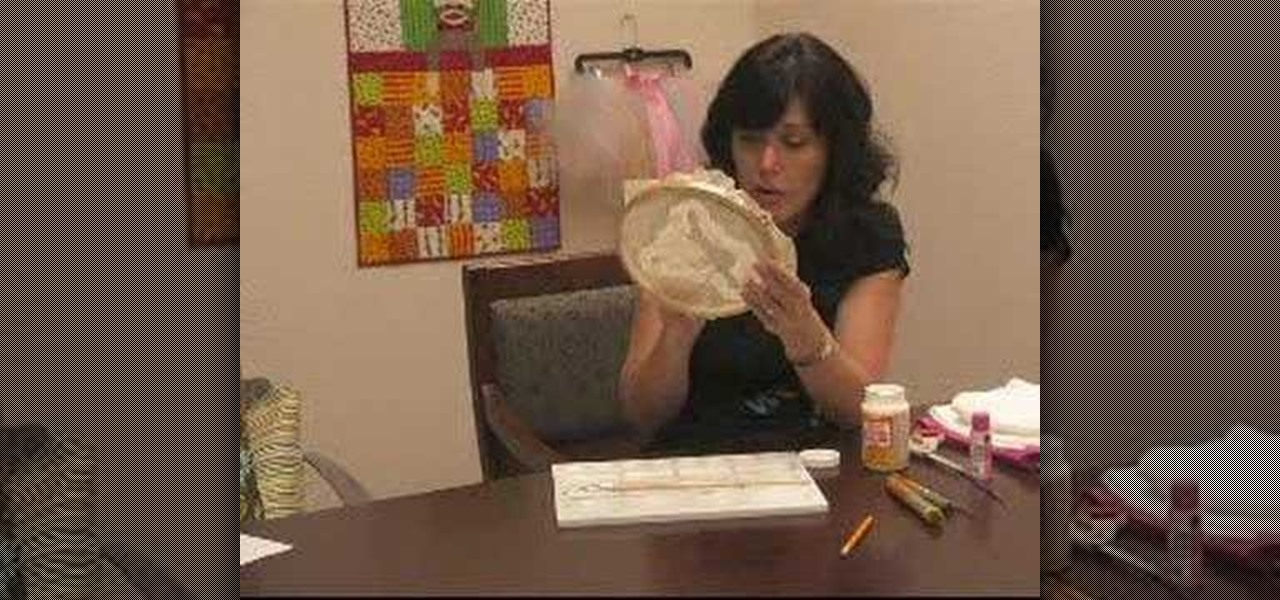
This video by Wowzzydot shows us an easy way to silk screen/stencil a garment. Using either a t-shirt or baby onesie, you can decorate it in the style of our choice. She clearly tells you the supplies you will need, embroidery hoop,sheer fabric, such as a curtain panel, paint and stencil brushes, scissors, Mod Podge or any water solvable glue. Also textile paint or ink and of course, the garment to be decorated. The first step is to cut the sheer fabric about an inch larger around than the ho...
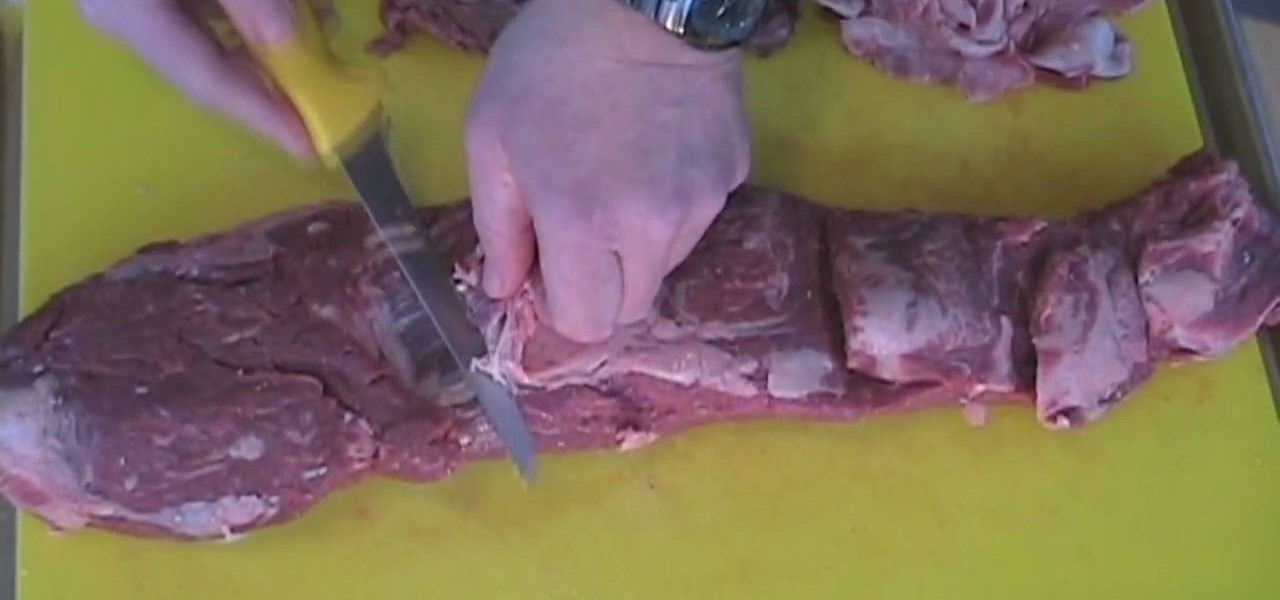
BBQTalk shows how to properly portion a whole beef tenderloin. Your beef tenderloin may come already trimmed, but you may have to trim away most of the sinewy silver skin and outside fat yourself. After cutting away the fat and silver skin, a lengthwise natural cut called the cap will be revealed. This cut should come away by hand easily with minimal cutting. This cut is ideal for beef tips and stir frying after trimming. Turn the tenderloin over and trim away any extra fat or silver skin on ...
A TFU was set up to review Navy service uniforms. This uniform is approved for E6 and below. It will replace the summer white and winter blue uniforms. This is how the female uniform should be worn.
Sure, buying a quilt is fun, but making your own is much cooler! Learn how to design and sew your own quilt by watching this informative video.
Whether you're a sinner or a saint, making a nun costume for Halloween requires no divine intervention.
Wearing vintage clothing is one of the best ways to reduce the environmental impact of your fashion choices—short of walking around naked.
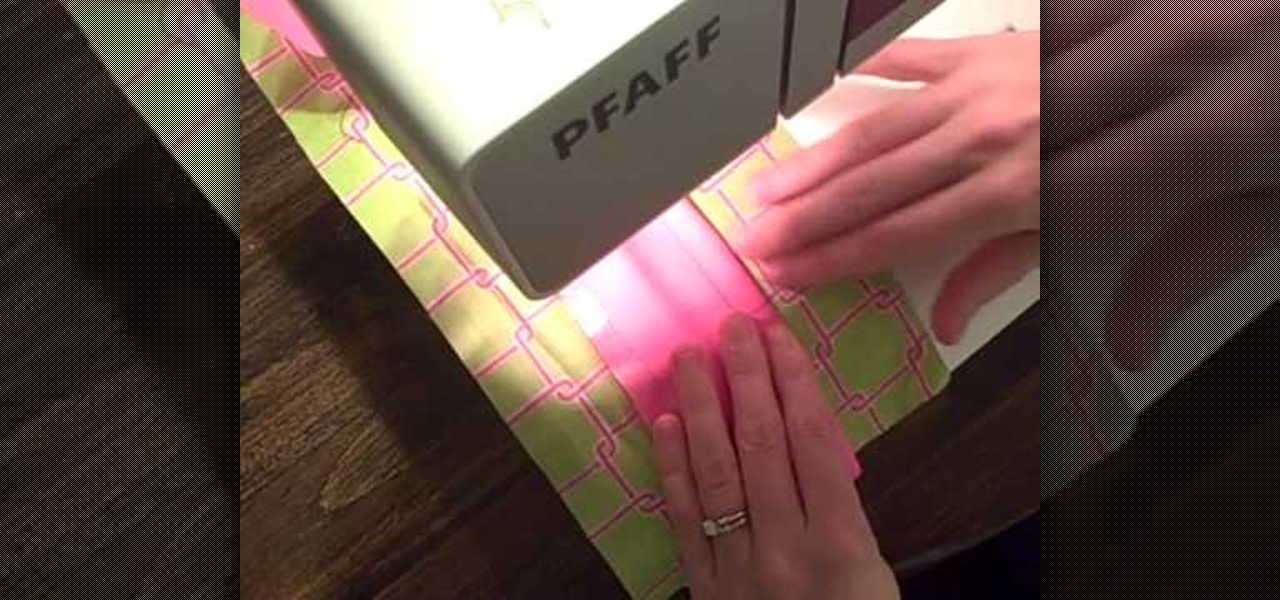
A welted pocket (also called a jetted pocket or piped pocket) is a pocket where it appears just to be a thin slit in the fabric of the garment. Ideal for when you are making something you want to have pockets, but don't want to necessarily draw much attention to them - such as tailored suit jackets or streamlined dresses. All you need to learn this technique are some basic sewing notions (scissors, pins, etc) and either bias tape or the ability to cut your own bias tape from your fashion fabric.
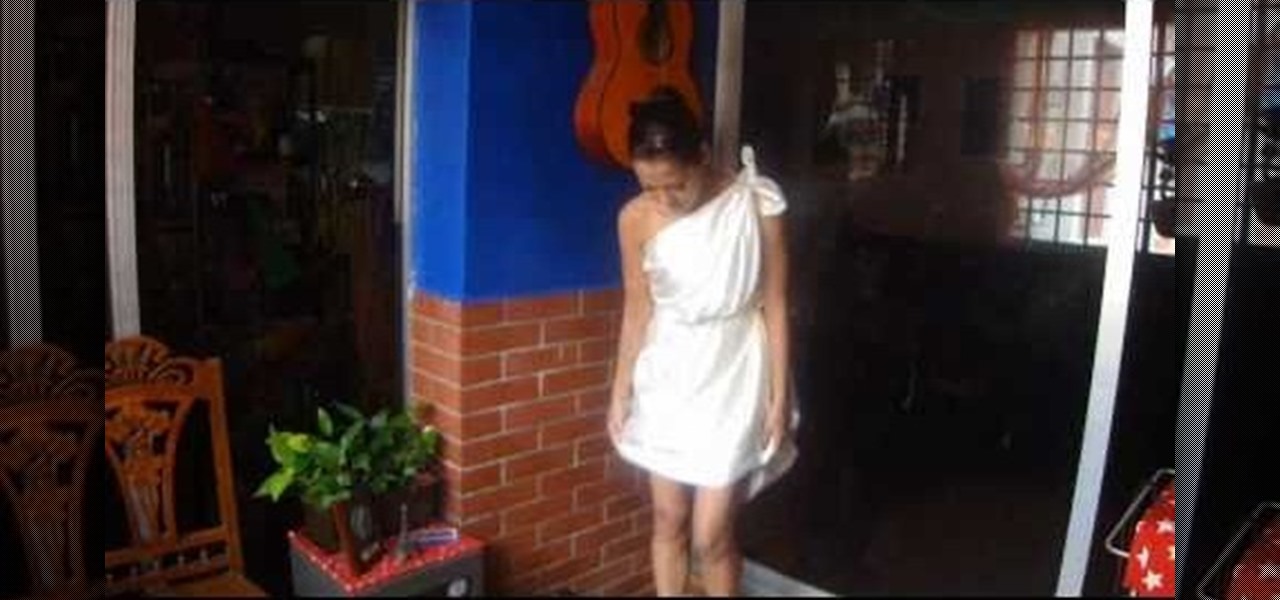
All hail Caesar, it's costume time! OK, if you're a woman, or a girl and you're looking to make a cool toga costume, look no further as this video will show you what you need. Basically you'll want some white fabric, either cotton or satin or whatever you have in your sewing box. You'll need some rope, twine or ribbon to make the belt. Follow the steps to wrap the fabric and tuck it into a tube top to hold it, then use your belt to complete the girl toga costume. Toga! Toga! Toga!
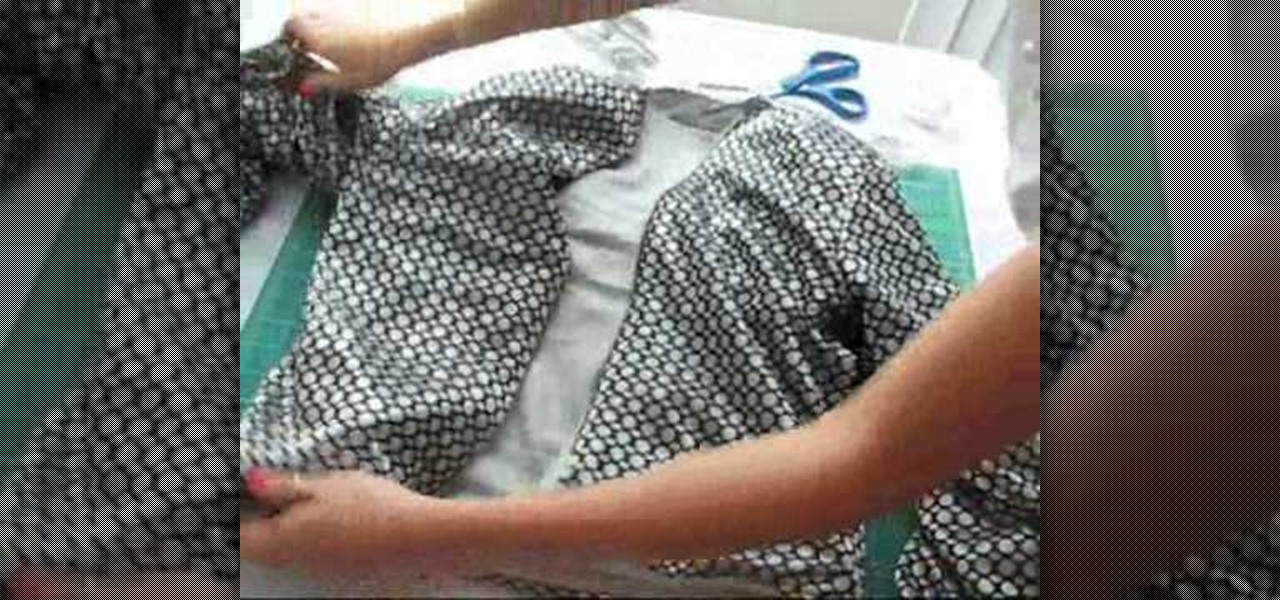
Plain hoodies are among the most versatile pieces of clothing you can own. But while they're comfortable and chic, plain hoodies can also look a little dull, especially if all you're wearing is sweats or blue jeans with them.
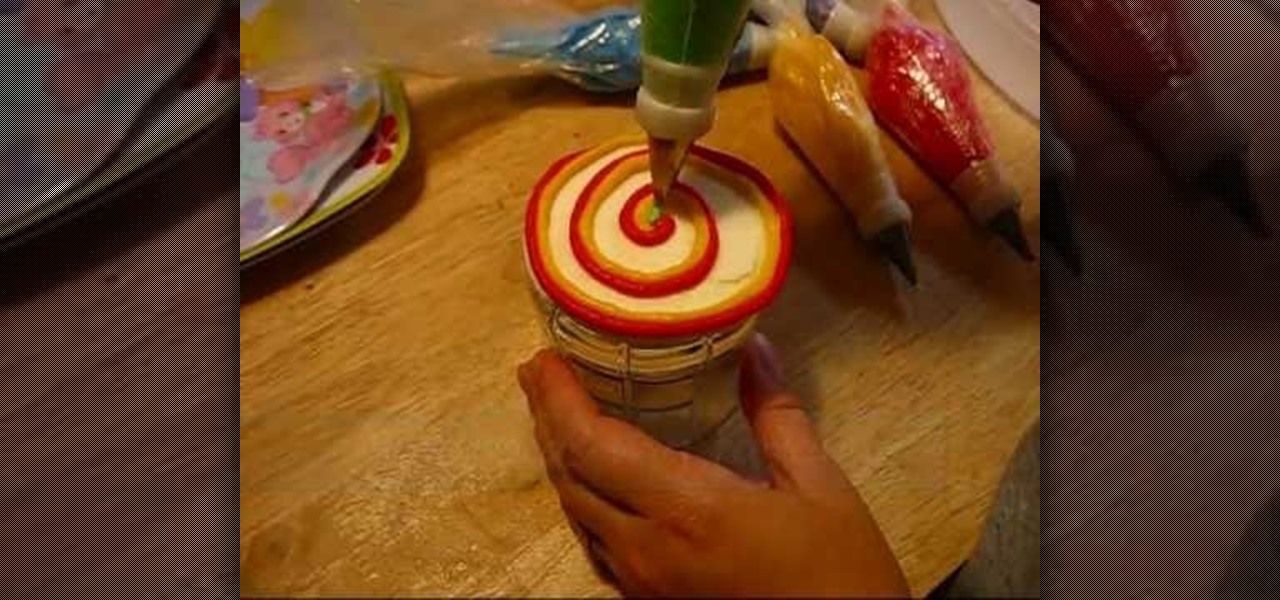
Before this video we had no idea you could tye die cakes (sort of). While tie dying t-shirts, linens, and other wares requires several colors of fabric dye and scrunching up the fabric, tie dying cake involves no toxic chemicals.
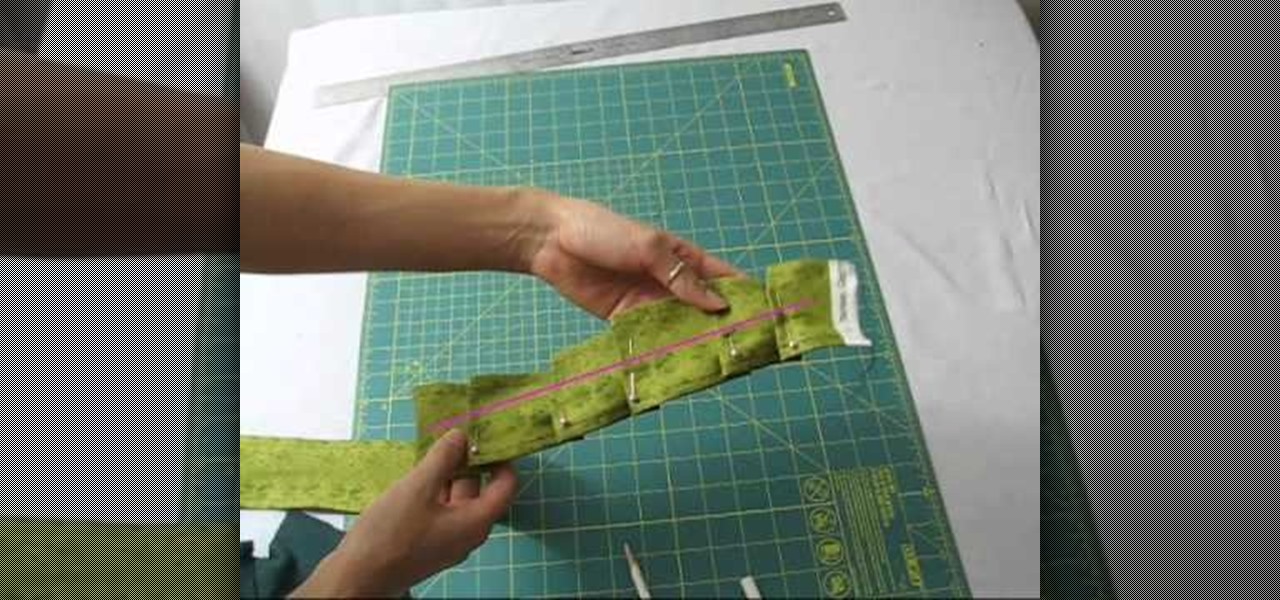
Before Christian Bale and Christopher Nolan there was the original "Batman" with with George Clooney as the masked hero and Uma Thurman as the villainous Poison Ivy. While the movie is ranked as one of the worst superhero flicks of all time, Uma Thurman's getup was probably one of the most fascinating and beautiful superhero costumes we've ever seen.

In this tutorial, we learn how to make a hedgehog plushy. First, choose a fabric to use, then cut out the shape of it. Once you have done this, cut it out again and pin the two pieces of fabric together. After this, use a sewing machine to sew all of the sides together, leaving a hole in the bottom. Now, turn the hedgehog inside out and then iron him flat. Place some stuffy cotton into the plushy until it is as full as you would like it. Then, sew the hole together so none of the stuffing can...
This crafty project is inexpensive, it's easy to do and it's really handy for attaching things like letters, photos and to-do lists. This isn't like a cork memo board, because you won't need any push pins or cork pins! Watch and learn how to make this French memo board. This is the pretty alternative to drab store-bought memo boards.
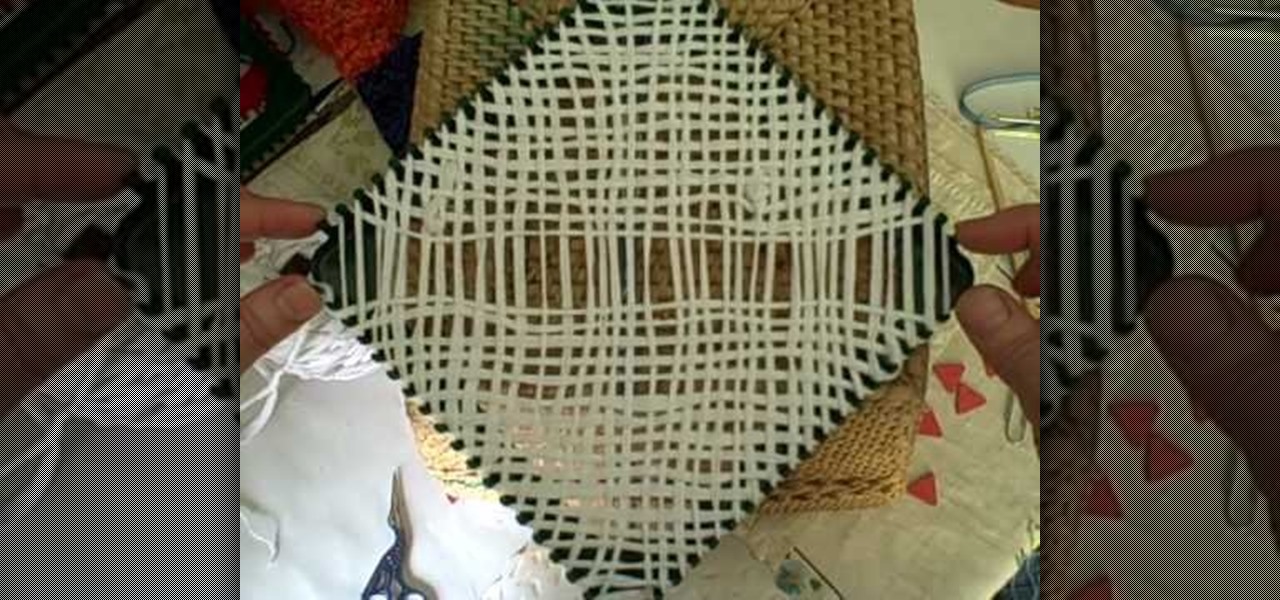
A potholder loom is a square-shaped loom that allows you to weave thickly woven fabric, but often if you're not careful you can create gaps in between the yarn. But that problem will be completely solved in this video, in which you'll learn how to bypass the gaps. The result will be a basket weave-type fabric that's thick yet lightweight enough for summer scarves.
Due to the downturn of the economy, many smart shoppers have turned into smart crafters instead. Whether it's making crafts for your home or for friends, crafting saves money (we're talking a $2 craft versus a $50 present for a friend's birthday present).
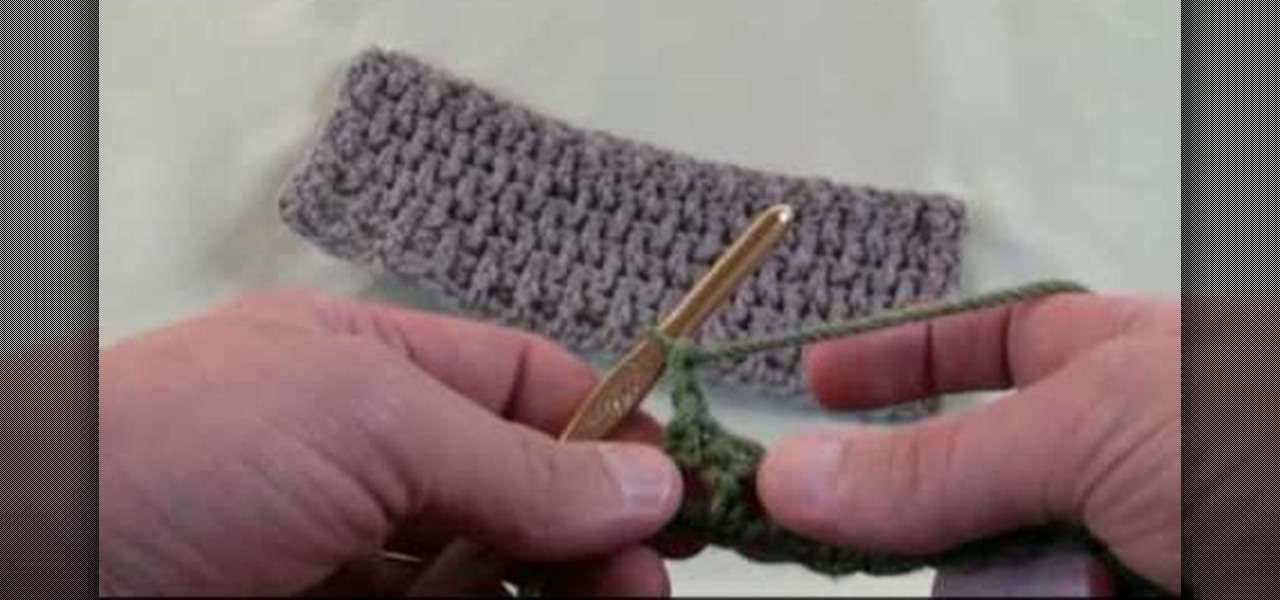
Expand your crocheting repertoire by learning how to crochet a crinkle stitch, which does indeed replicate fabric crinkles. With very hole-y yet tightly woven vertical lines of yarn intersection with horizontal ones, this type of stitch creates excellent warm fabric for scarves and cold weather gear.
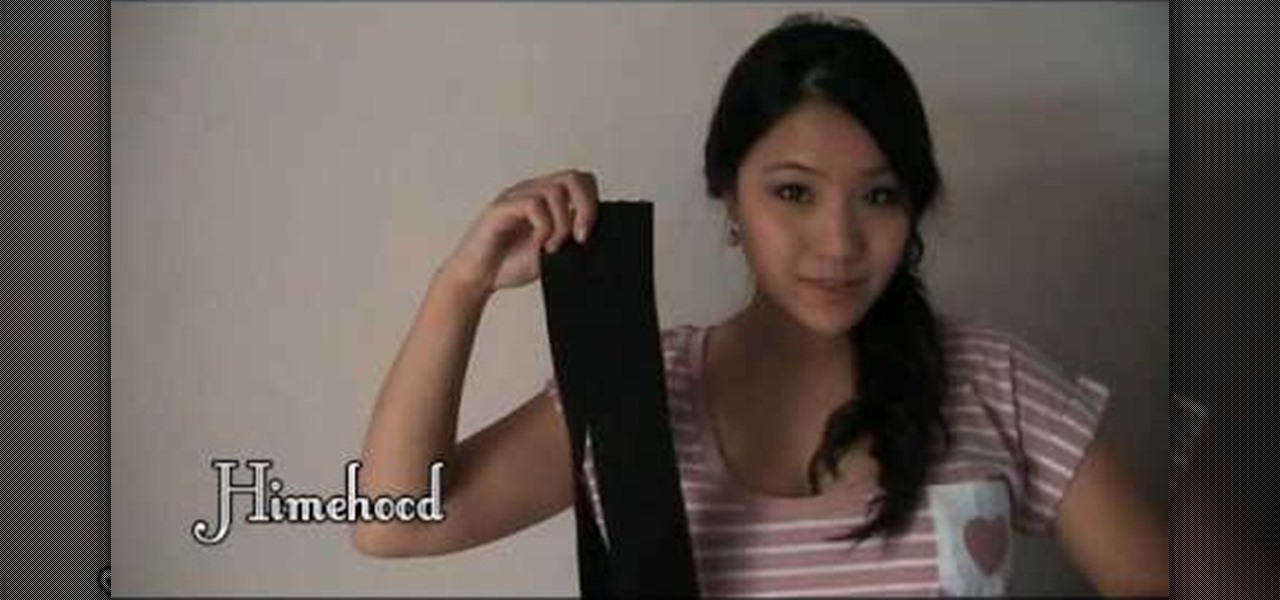
Belts make almost any outfit look better, especially dresses that are a little too loose in the midsection or need some extra tucking in to really underscore your beautiful hourglass shape. Belts come in all sorts of colors and shapes, but a scrunchy belt is among the most comfortable belts to wear.

Tired of carrying that purse around while you are trying to have a conversation or dance the night away? How about a cute little handbag to swing around while you maintain your social life.
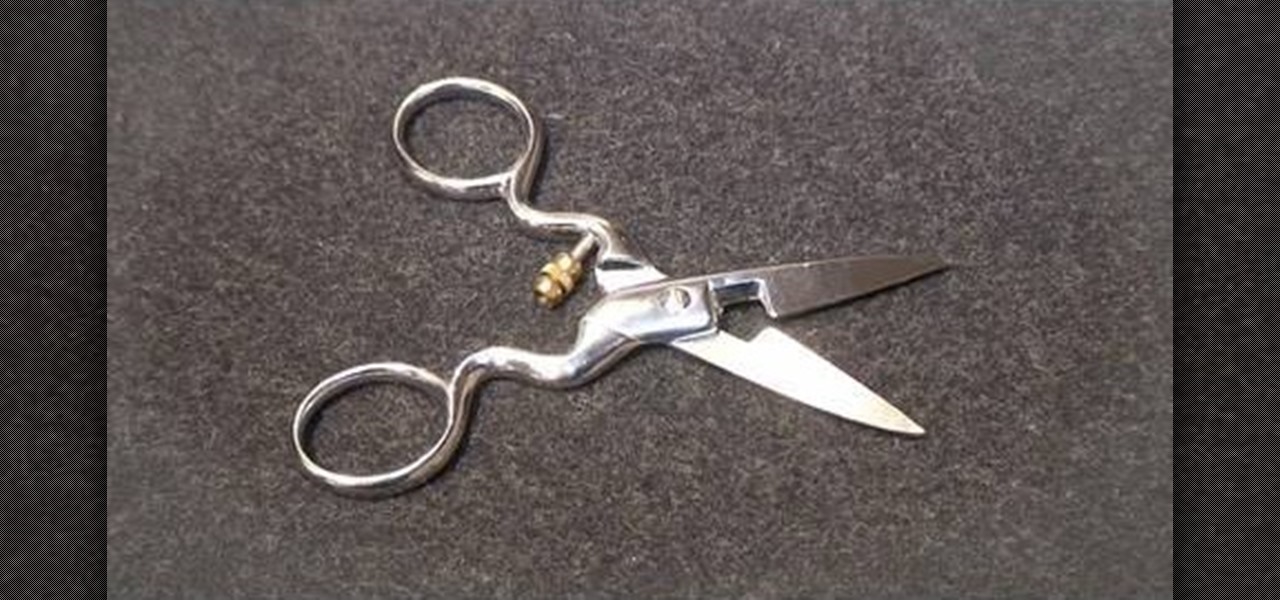
Couture designer Kenneth D. King is an expert in what you would need to fill up your sewing box. Here, he discusses buttonhole scissors. Buttonhole scissors are made for making buttonholes without stretching or damaging the fabric. By watching this video you can learn how to adjust your buttonhole scissors so that you can make different size holes. Make sure to never to use these scissors to cut through paper as it will make the scissors dull and make it a lot harder to cut through fabric.
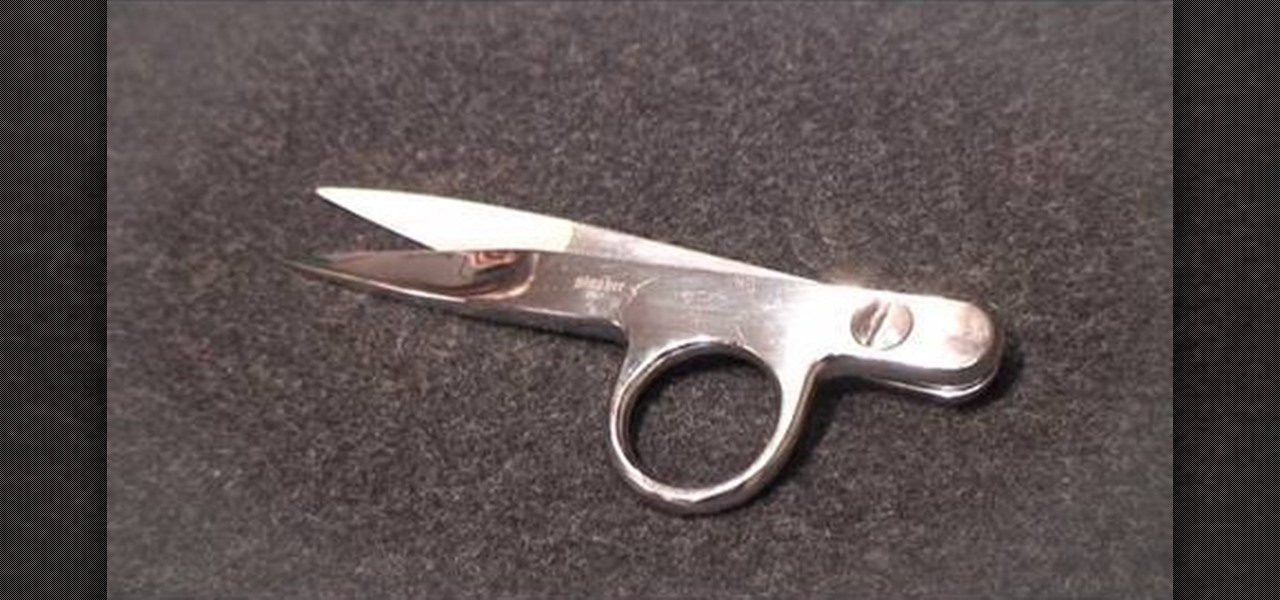
Thread banger, Kenneth King shows you how to save your good fabric scissors by using thread snips, a simple but important tool you must always have in your sewing workshop. Thread snips are small pairs of scissors that are specifically used for trimming off any excess thread in your material. Kenneth explains that using fabric scissors to trim these excess threads eventually causes them to wear dull spots. Always keep your thread snips handy and do all your thread trimming at the machine.