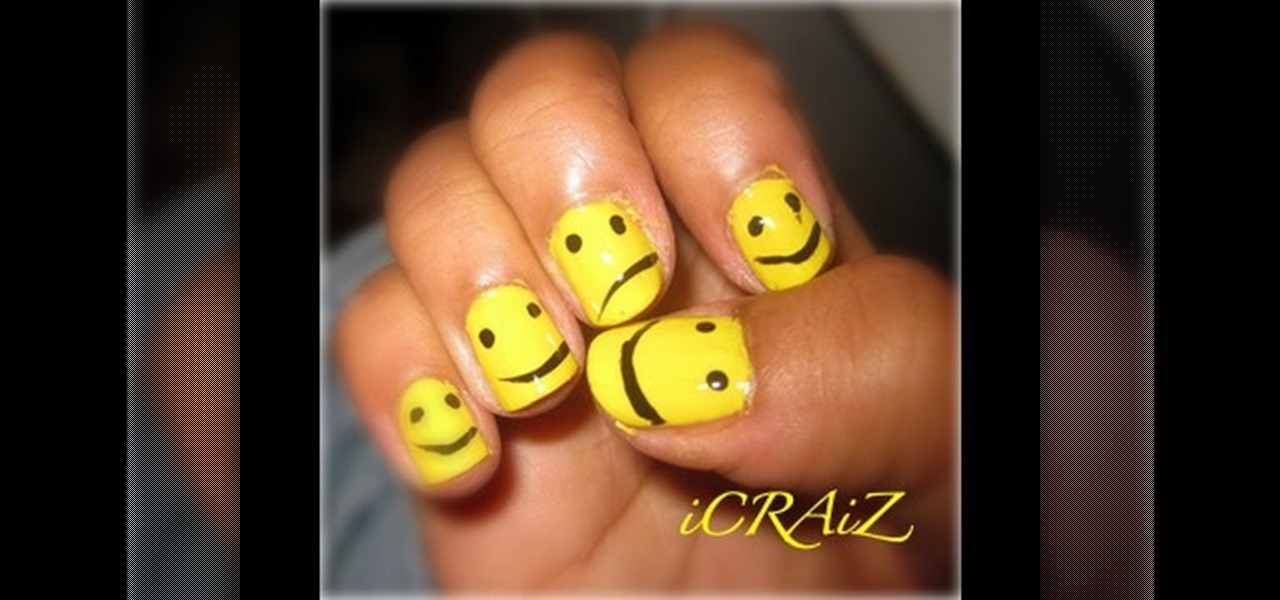
For those who would like to have fun, interestingly designed nails, this video shows how to paint smiley face nails. After applying a base coat, mix a plain matte bright yellow and a plain matte white nail polish together on a piece of paper. This will create a lighter shade of yellow. Apply the lighter yellow mixture to the nails. After applying two coats and allowing them to dry, use a black nail polish to draw the eyes and mouth of the smiley face. This will give you a cute and stylish des...
After seeing many posts online about dry ice removing car dents, we put it to the test. It worked pretty well. The heat versus cold forces the panel of the car to constrict and suck out the dent. This is great for avoiding ridiculous costs of auto paint and auto body repair companies. DIY dent repair is as cheap as buying some dry ice. You can also look into using canned air (Dust Off) as it has a similar effect.
Go beyond the traditional 3D workflow to an immersive creative experience with the software Modo, created by Luxology. Modo is the next evolution of 3D modeling, painting and rendering for Mac and PC. Modo includes 3D sculpting tools, animation and network rendering, and advanced features such as n-gons and edge weighting.
Check out this interesting video to make photorealistic stencils for t-shirts, bags, and other accessories. This video documents how to make a Nikola Tesla shirt. With Adobe Photoshop, it is possible to simplify a found image into a graphic format perfect for stenciling. You can then print out the altered image into mylar or another water resistant paper. After carefully cutting out the stencil, place the mylar over an ironed t-shirt. Complete the stenciling process by dabbing paint into all ...
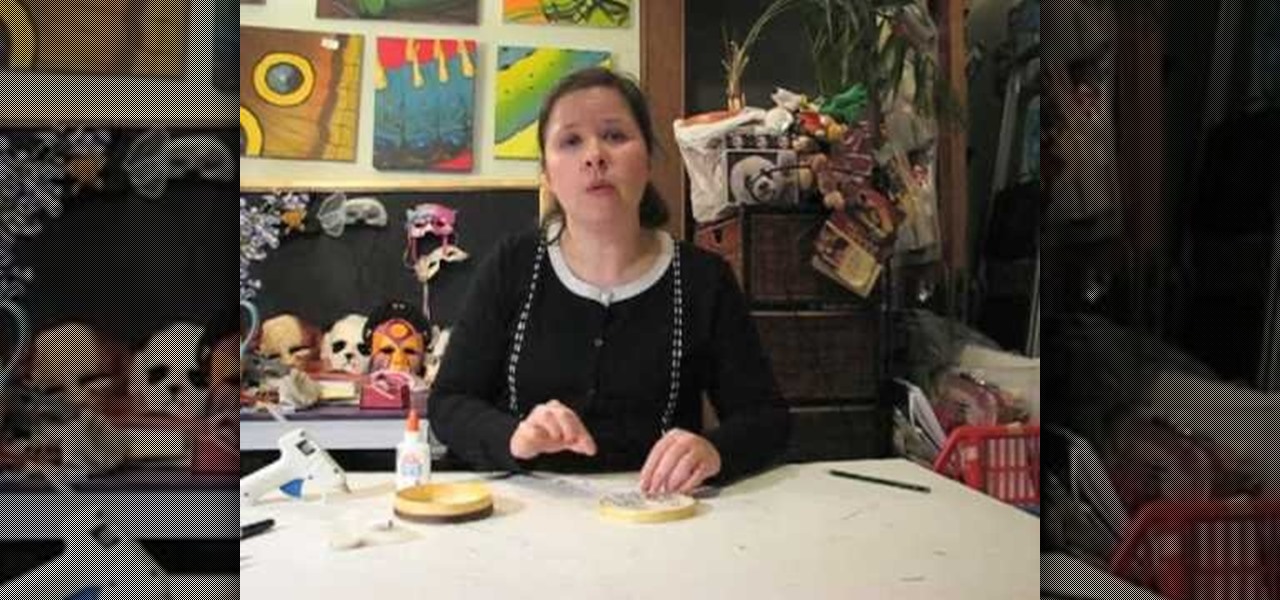
This video shows how to make a cute vintage looking jewelery box. A cardboard cheese box forms the body of the jewelery box. Other items you will need include mod podge, white glue gesso, masking tape, ribbons, a mirror from a compact, some fabric, and some faux pearls and flowers. Begin my removing the labels from the box. Paint the inside and outside of the walls of the box and the lid. Paint the areas of the box that you just primed with gold metalic paint. Now use the box to trace three c...
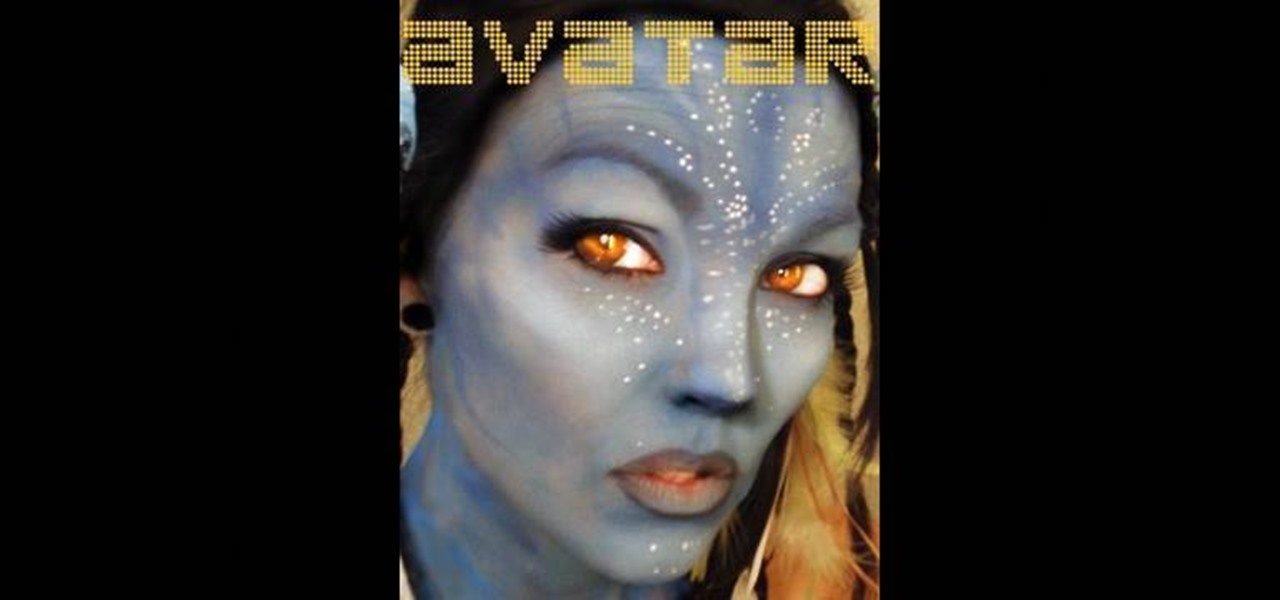
The Na'vi don't have eyebrows. While you could just paint your makeup on over your brows if you don't have prosthetic appliances to cover them, a neat trick is to take a giant glue stick (or the spirit gum) and go over your eyebrows with it, rubbing the stick in the opposite direction of eyebrow growth. Let it dry and then do it one or two more times (depending on how thick your brows are). With your brows flat against your skin with a layer of "glue skin" over them, you can have a nice, flat...

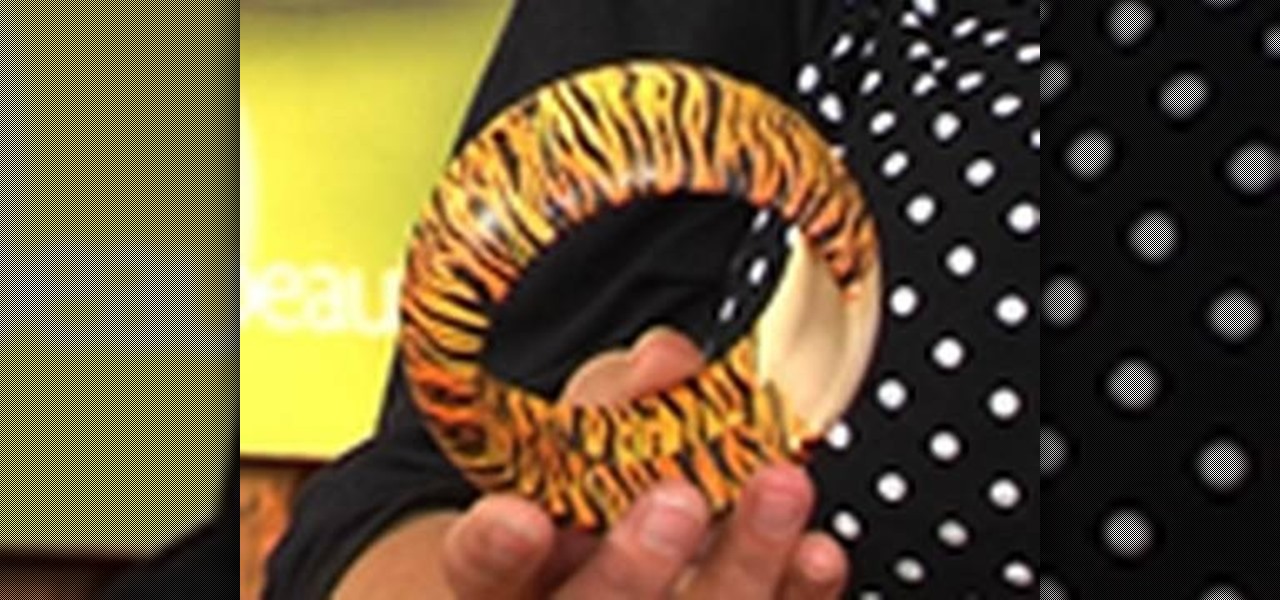
Two ladies are discussing how to prepare to decoupage a wooden bangle bracelet. They are using a broad wooden bangle crafted from birch wood that can be purchased at a local craft store and printed tissue paper, for example, one in an animal print. This is part one of a three part series.

This five part Houdini 9 video series covers an entire rigging workflow using the H9 Quadruped Auto Rig shelf tool. Take an in-depth look at setting up joint controls, creating proxy geometry, generating animation and deformation rigs, and painting weights. The concepts presented in this tutorial series will apply equally as well to a Biped Auto Rig set up.

Faux bois is a fancy schmancy French term for fake wood. And faux bois prints on furniture, pillows, as wallpaper, and even as ingrained barks of chocolate are all the rage right now.

In this video, we learn how to do an Easter basket art activity with your kids. First, grab some white paper bags and have the child cut a line across the top of the bag. You can also use decorative scissors for more of an Easter effect. After this, let the child use paint, cookie cutters, glue, glitter, crayons, and markers to paint all over the bag! Let them make any design that they would like for the upcoming season! Once finished, let these dry and then open them up! These can be used fo...

This video explains how to make Vincent Valentine's arm guards in under 20mins. The supplies needed to complete this task include card paper, tape, gold spray, pencil and scissors. A ruler must be used to measure the length of your hand and fingers so you can correctly size the arm guards. Card paper is the cut into many small circles and placed around all of the fingers and then painted with gold spray. The hand portion is created by wrapping your hand with card paper and pulling tight befor...

The first part of the video shows examples of completed Spartan leg guards. The materials needed for this project include boxes of cardboard, two liters of soda pop, gold paint, masking tape, scissors and wire. you must first print out the template shown by the narrator and use it to cut out the leggings to the appropriate size. Now use the two liters to fold the cardboard around the two liters to give the legs their shape. Once the cardboard has shape use the wire to hold to the paper in it'...

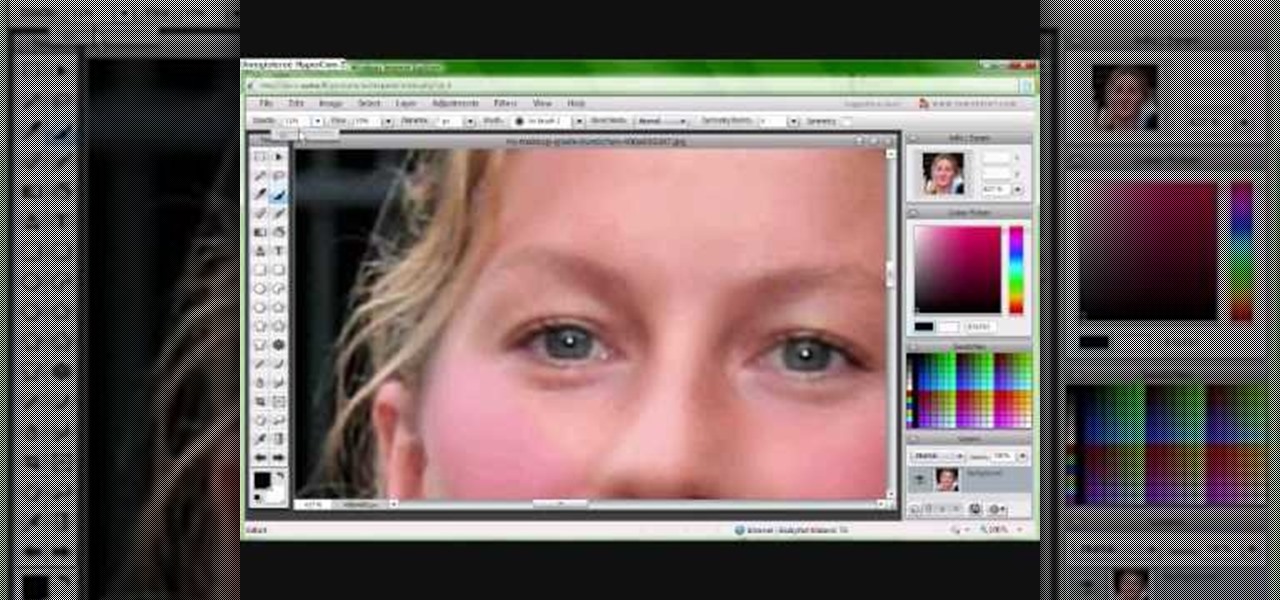
In this tutorial, we learn how to put makeup on photos with Sumo Paint. First, load your photo to this website and then open up the editing options. You will see a display of different colors on the right hand side that you can use to color the photo. On the left hand side are the tools you can use to do different effects to the pictures. Use the smaller drawing tools to apply makeup to the eyes on the photo and make different things appear. When you have finished the photo and adding on diff...

In this tutorial, we learn how to make a Deadpool sword. To do this, you will need: a marker, scissors, hard plastic, cardboard, silver spray paint, duct tape, saw, electrical tape, sandpaper, and hot glue gun. First, cut the plastic into three thin knife shapes. Then, use sandpaper to smooth edges. Then, use the cardboard to create three layers of a rectangle. Make the corners round and then tape around them with duct tape. Put a hole in the middle and then put it into the plastic. Now, glue...

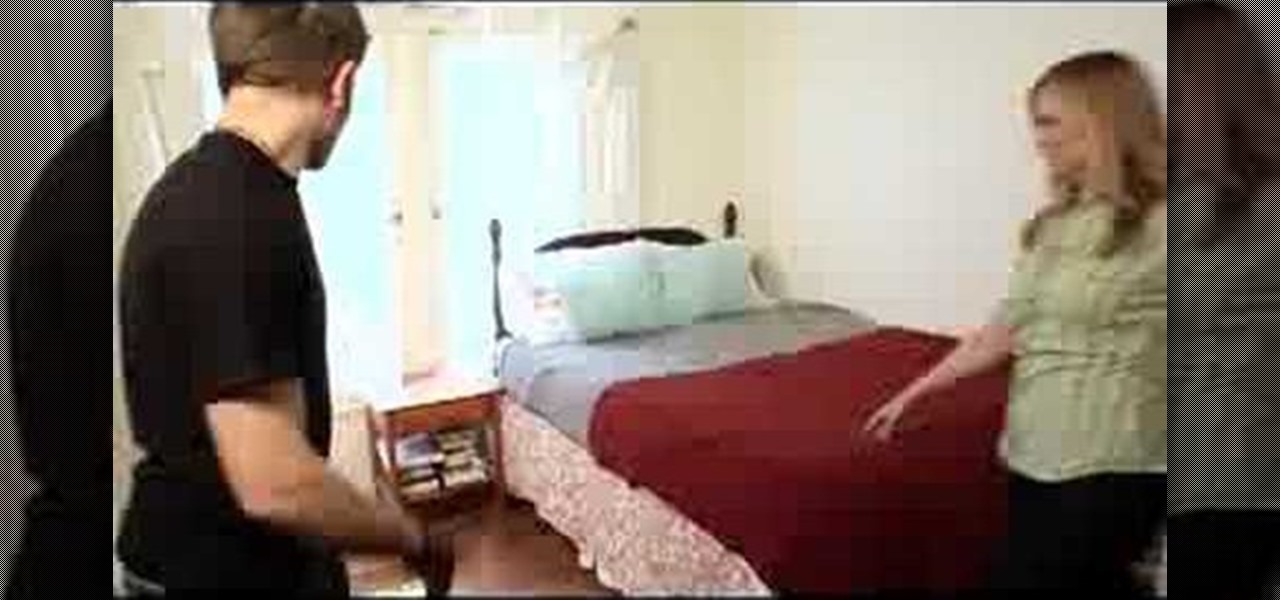
In this tutorial, we learn how to make your man propose with feng shui. Having a room with the proper arrangements, it can help your man propose. Your focus room should be in the far right hand corner by the front door facing in. First of all, don't have a bed shoved up against the wall or have a drab painting on the wall either. To fix this, place a bed in the middle of the room and give it calming colors. Then, place a relaxing painting on the wall with minimal items around the room. This w...

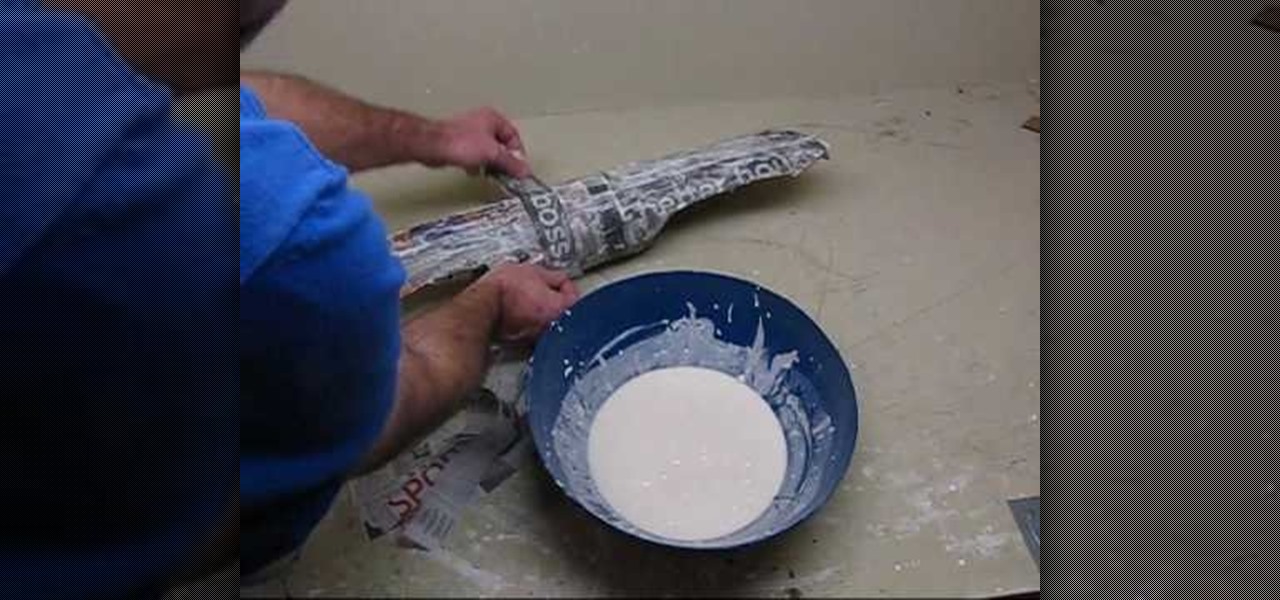
In this tutorial, we learn how to make a Spartan 300 shield. You will need: paper mache, durable cloth, gold spray paint, newspapers, cardboard, nuts and bolts, and the cap to a trash can. After you have these, cut out a large piece of cardboard and place it over the trash can cap in a circle shape. Then, dip newspaper strips into the paper mache mixture and apply it to your shield, taking your time to make it smooth. Let this dry, then cut two strips of cardboard and place it in a 'v' shape ...

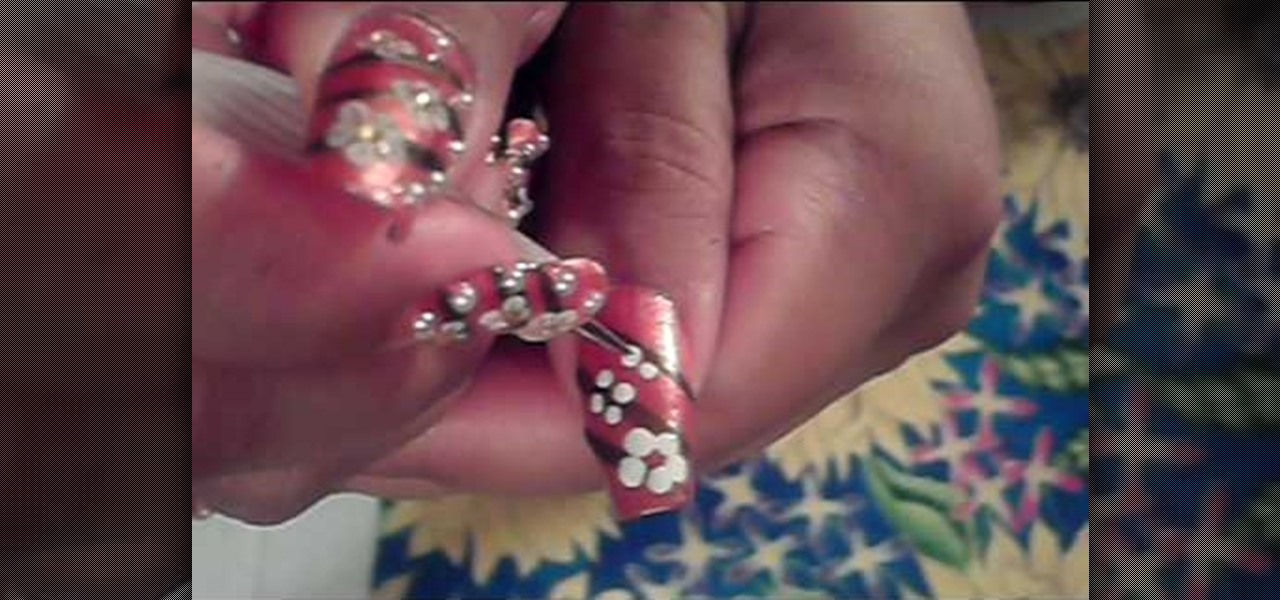
In this video, we learn how to paint nails with an orange, white, and brown theme. First, apply an orange shimmer polish from the top to the bottom of the nail. After this, let them dry and then grab a brown nail polish with a pointed brush. Then, draw on three stripes from top to bottom with the brush. After this dries, use another pointed brush to draw three flowers in a row on the nails. Use the brown to create the details for the petals. Then, you will finish this off by applying four sma...

In this tutorial, we learn how to paint nails with a black and gold fading effect. First, polish a sponge and dab this onto your nails. Then, apply black on the bottom of your nail and gold on the top of our nail. Apply a gold glitter polish to the top of the nail and wait for it to dry. Next, you will apply gold rhinestones onto the gold and the black from the top to the bottom of the nail. When all of the polish has dried, apply clear gloss to the nail and wait for it to dry to finish this ...

In this tutorial we learn how to make a Universal Soldier eye. You will need: old head set, cardboard, hot glue gun, screwdriver, pen, flash light, knife, saw, black paint, and masking tape. First take the cardboard and cut it out into two rectangles. Place these around the headset and stick a rectangle in the eye piece. After this, you will connect the flashlight to the side of the head piece. Once finished, you can spray paint the entire eye piece and then wait for it to try. When done, wea...

In this tutorial, we learn how to recycle a plastic bottle to make a toy bottle rocket. First, take a large plastic bottle and a sharp knife, then cut it in half. After this, take the side with the cap on it and then paint on the inside of the bottle. You can paint whatever you want on the inside, feel free to use different colors and get as creative as you want! From here, take some bottle caps and poke holes in the center of them. Then, string these together by pushing a string in the middl...

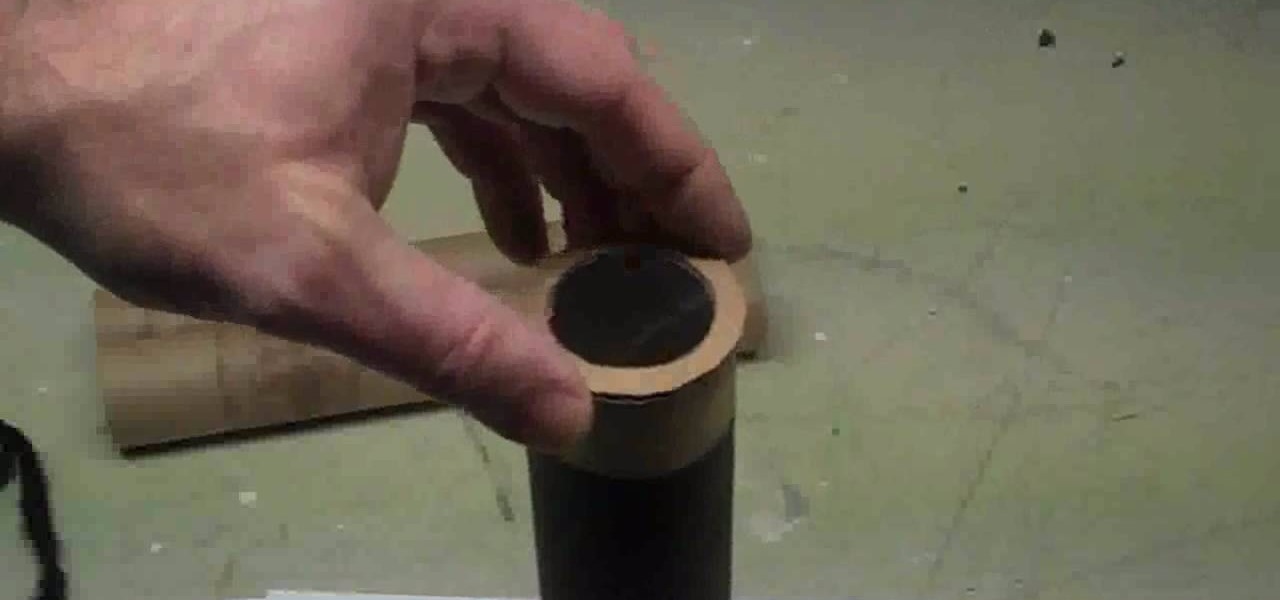
In this tutorial, we learn how to make a small, easy, functional telescope. First, glue a lens in place with glue underneath a piece of cardboard with a circle cut in it. Then, cut this into a circle and tape it to a paper towel holder. Then, you can wrap this in some paper mache around the cardboard. Then, wait for this to dry and spray paint it with gold and black paint. When finished, you will have a functional telescope ready to go and use! This is cheap and a fun project to make with chi...

In this video, we learn how to resize an image in MS Paint without losing resolution. First, you will go to the file menu and then open. From here, open up the photo you want to resize. After this, go the 'image' section on the toolbar and then click 'stretch and skew'. From here, change the vertical and horizontal stretches until you have the size of picture that you want! Continue to play with it until it's right and then save this over again. This should only take a few minutes and will ke...

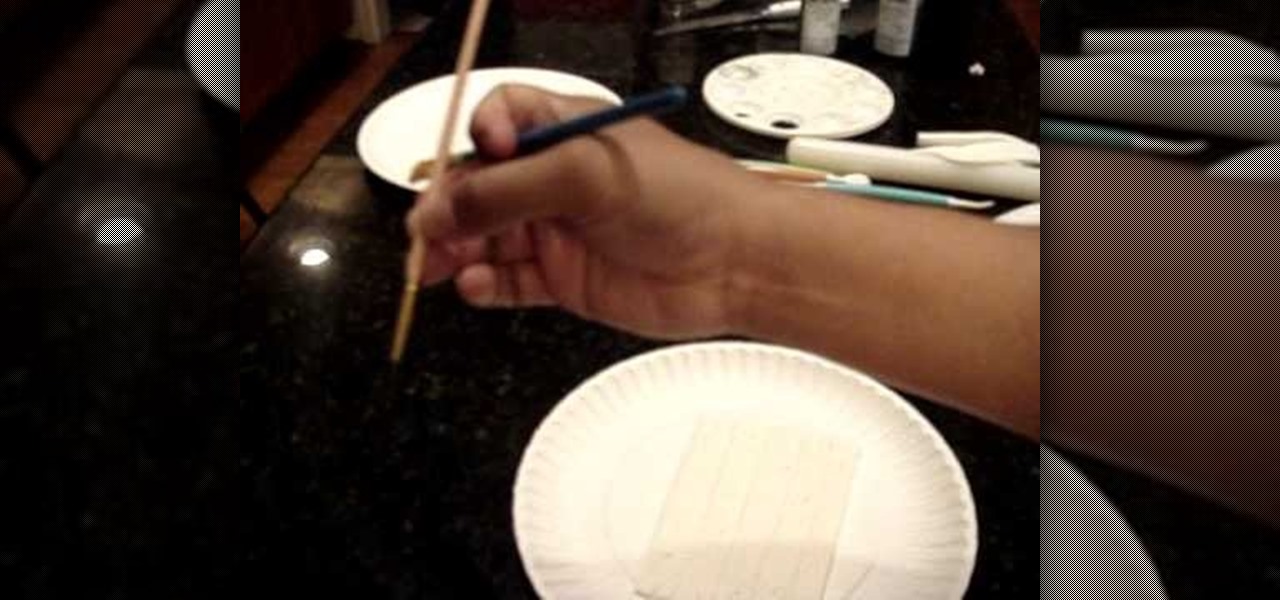
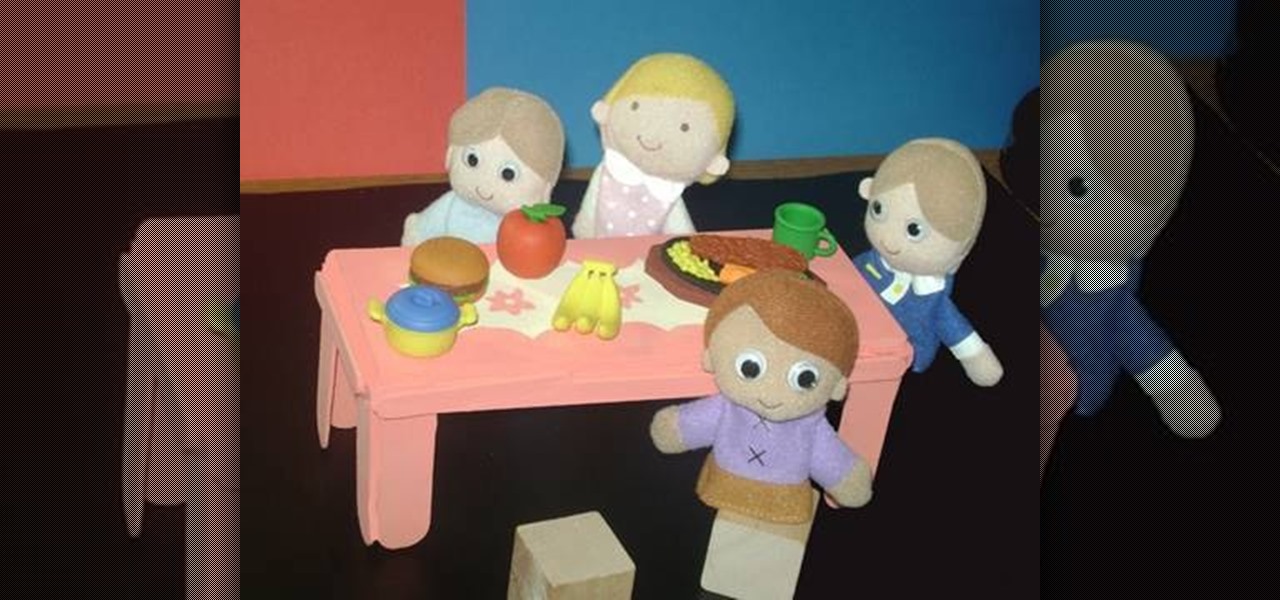
In this tutorial, we learn how to make a miniature table. Materials you will need are: a wood slat, 4 popsicle sticks cut in half, paint, paintbrush, and glue. Heat up your hot glue gun and then grab your popsicle sticks. Glue one stick to the side of every corner of the slat. After this, you should have two on each side of all four corners of the wooden slat. After you're finished placing them on, let the glue cool and then harden. To finish, you can paint this and decorate it and use it ins...

In this tutorial, we learn how to make Splinter Cell prop goggles. You will need: goggles, a saw, pipe, a brush, black paint, duct tape, batteries, chop sticks, glue, a ruler, and a pen. First, mark three cuts on the pipe to 3 cm and 5.5 cm. Now, use the saw to cut these. Then, use sandpaper to smooth all the edges. Next, place these onto the goggles and glue them with a hot glue gun. Next, grab two batteries and wrap them in duct tape. Place these with them and then paint these all black. Af...

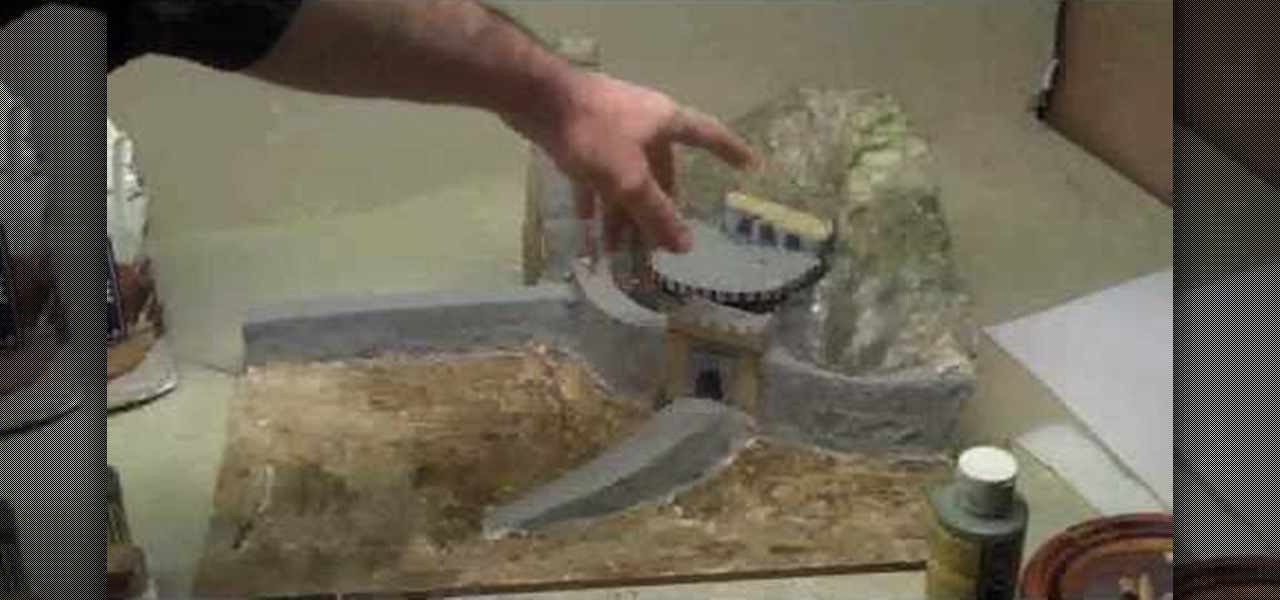
In this tutorial, we learn how to make a paper mache Helm's Deep. You can make a pretty good one just using paper mache if you don't have the professional materials. Build it on a cardboard surface and then use cut outs from cereal boxes to make the structures and building features. The paper mache will go over the buildings, so you can make different types of structures. You can also use crumpled up news paper to make the terrain so it will maintain its shape. After you put the mache on, it ...

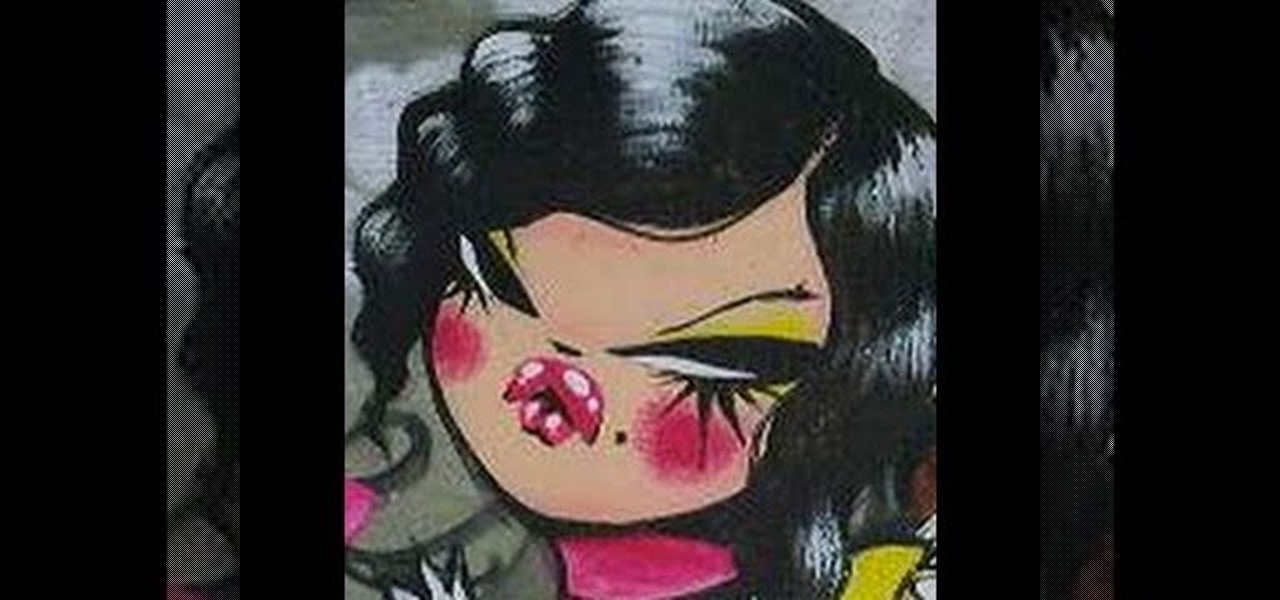
You may not recognize her name, but graffiti artist Miss Van draws and paints some of the most pouplar urban characters of our day. The French artist started wall painting when she was just 18, depicting snarky, bosomy girls with various expressions and Betty Boop lips.

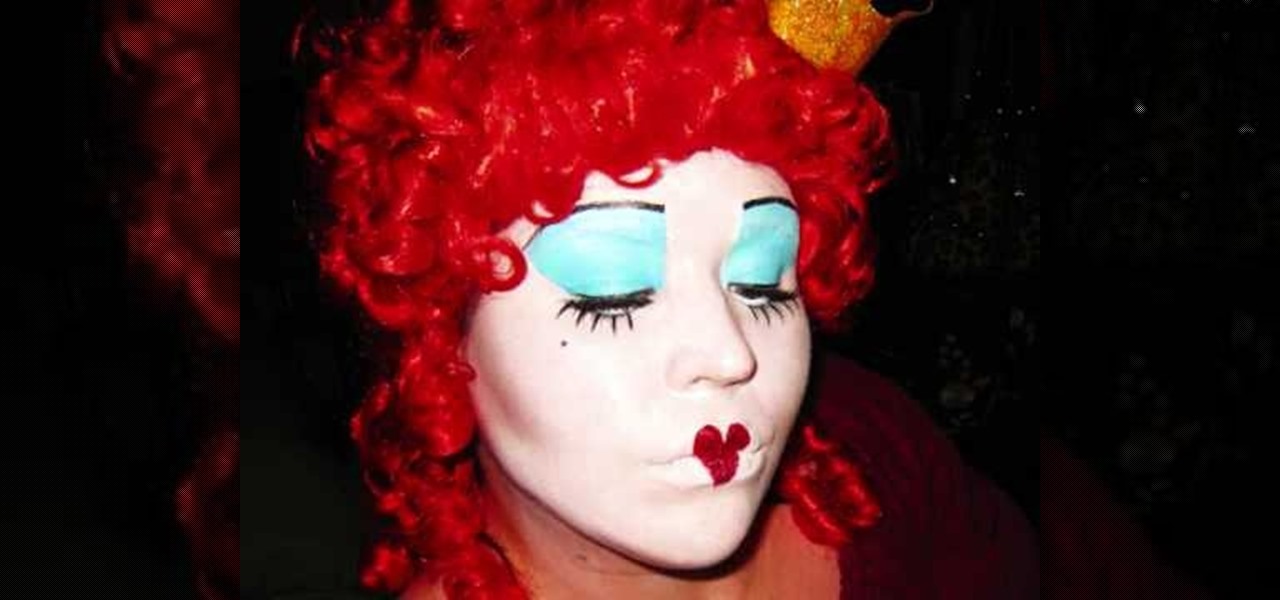
In this video we learn how to create Alice in Wonderland's Queen of Hearts makeup. First, color the face white with paint and then apply blue eyeshadow to both of the eyes going up and over the eyebrows. Paint in black where the blue stops to create a new brow at the top of the head. Then, draw on a red hear to your lips and apply glitter over it. After this, apply false lashes to the top of the eyes and on the bottom. Then, apply eyeliners and blush to the cheekbones. When finished, go out a...

In this tutorial, we learn how to make fur suit eyes for a mask. First, grab a simple paint pallet that has dips down in it for the paint. Then, cut the dips out of the tray they come in with a small saw. Then, grab a hot glue gun and melt down the middle of the dip so it's hollow. Then, apply hot glue to the top of the hollowed out eyes. Then, apply felt around this and cut it out so you can see the eye. Push the material through the bottom to create the pupil, then your eyes are finished.

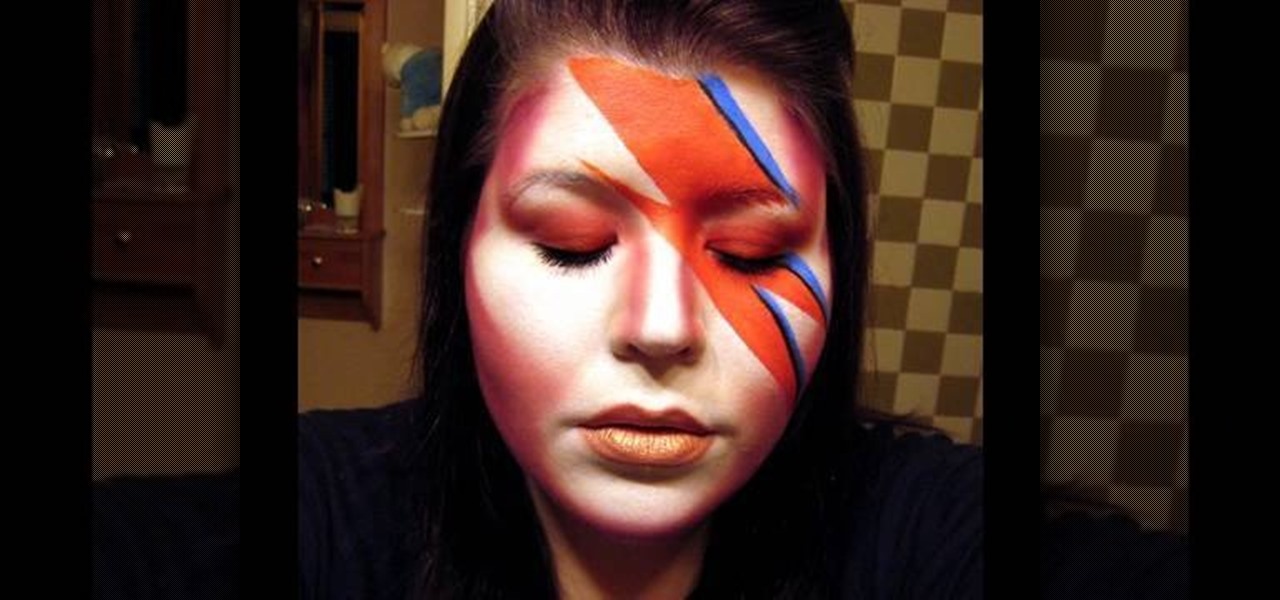
In this video we learn how to do Bowie-like inspired makeup. Start off by applying white makeup to the face all over around the lips and on the bridge of the nose. From here, apply red color to the side of the face and on the right eyelid going up to the corner of the face. Then, contour the nose with this same color, connecting the sides to each other. Now, apply red paint and blue paint to the face to create the design that is on the left hand side of the face. Once your design is finished,...

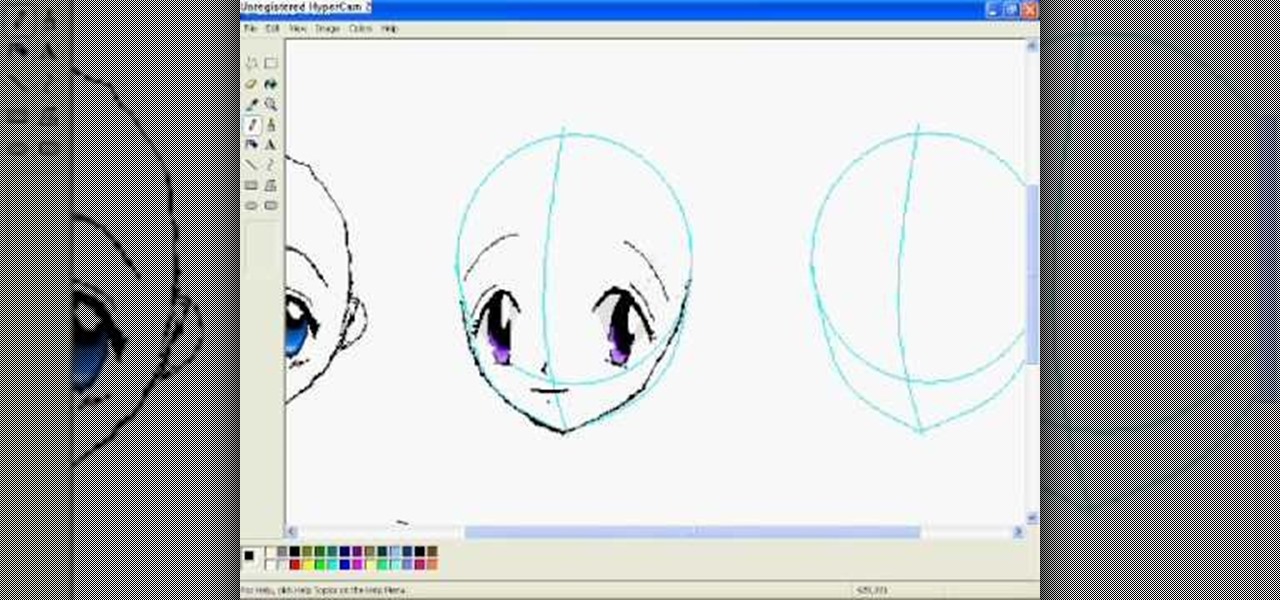
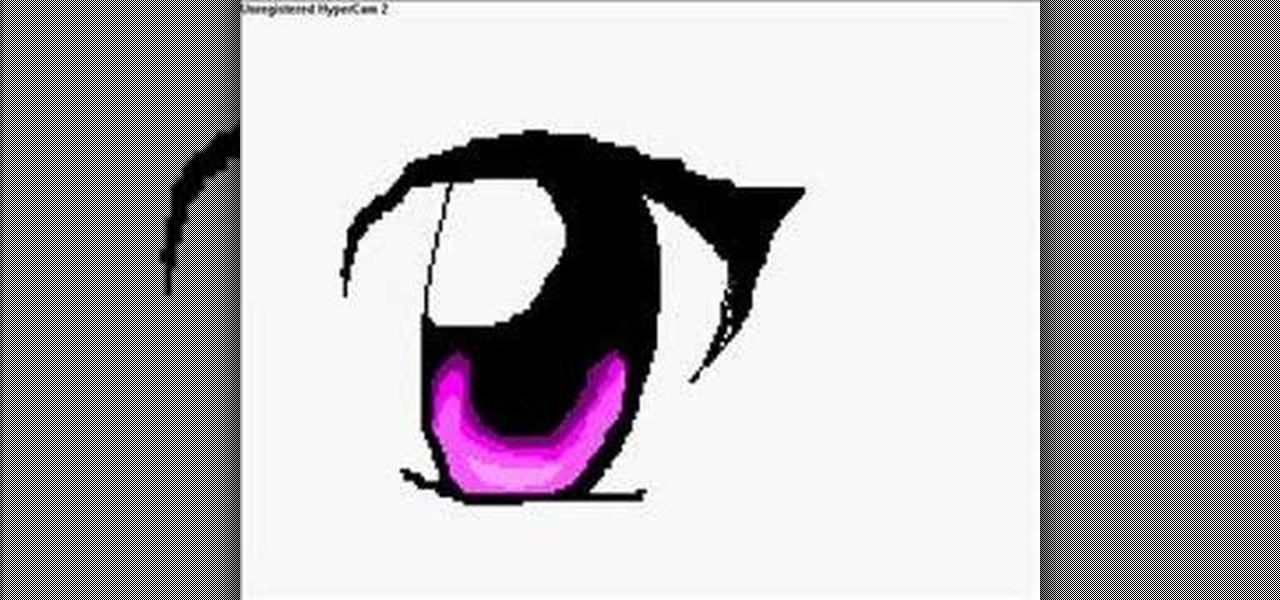
In this video, we learn how to draw anime eyes in MS Paint. First, draw the round circle for the head and draw a line in the middle for reference of where the eyes will go. To draw large eyes, draw two round circles and then a small pupil at the top. Color the pupils in black and color the rest any color you'd like. For female eyes, make the pupils much larger and add in eyelashes on the eyelids. Shade in underneath the lids and add white to show they are glossy. These are both great looks fo...

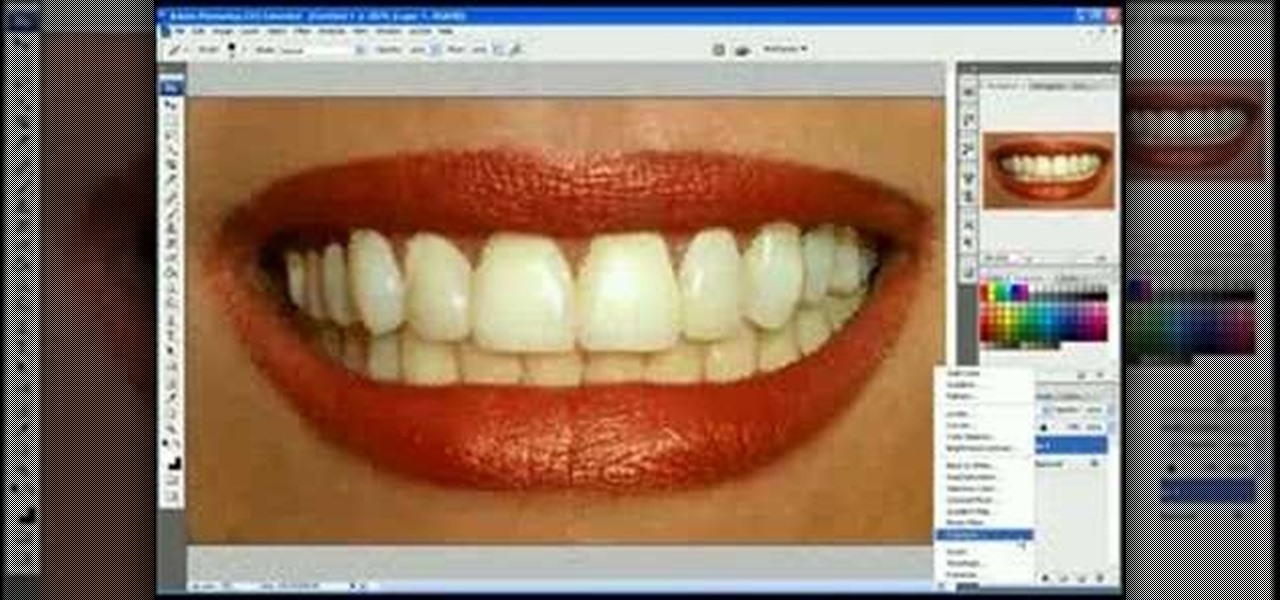
In this video we learn how to whiten teeth in Photoshop like a professional. Start off by opening up Photoshop and zooming in on the teeth in your photo. Start out by selecting a hollow brush and then paint the selection onto the teeth. Paint around them carefully and make sure you don't touch the gums in the middle and on the top of the teeth. Once you have selected the entire area of the teeth you will see them all covered in red. Then, go to "select" and "inverse", then press the button fo...

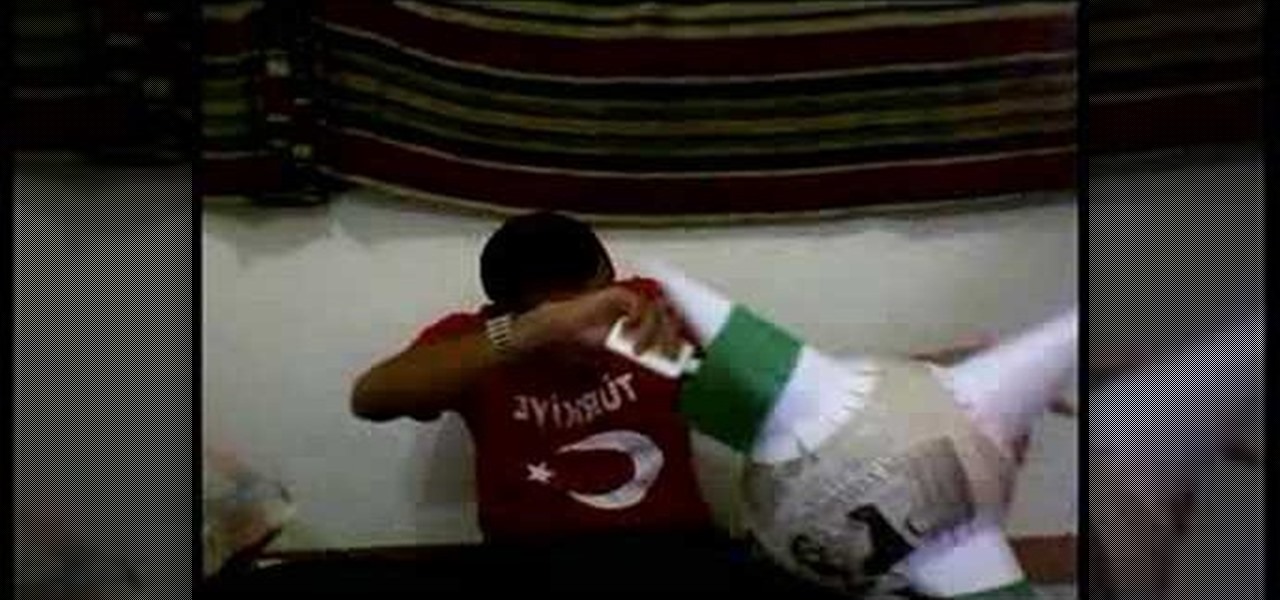
In this tutorial, we learn how to make a simple spiky pi–ata. First, you will need to blow up a balloon and grab some pieces of newspaper. After this, cut out pieces of the newspaper then use paste to stick them onto the balloon. Make a thick wall of this newspaper throughout the entire balloon. After this, add the spiky parts of the pi–ata and then allow it to dry. Once finished, paint the entire pi–ata the colors you would like. When the paint is done drying, fill the pi–ata with candy and ...

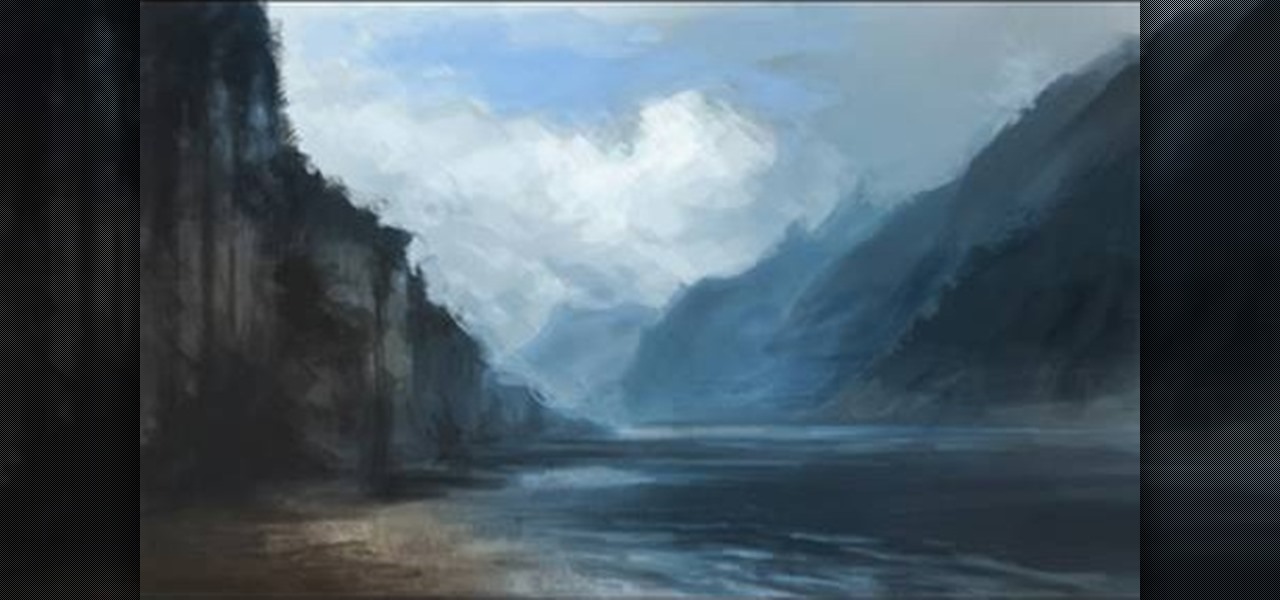
Want to draw a quick scene in Photoshop that contains mountains, clouds and water. Just watch this video.

In this tutorial, we learn how to draw manga in MS Paint. Start by drawing false eyelashes to case the eyes inside of. Next, draw the false eyelashes underneath the eye, then draw the actual eyes in. Make sure to give them large pupils. Add in a bright color for the rest of the eyes, then add a lighter shade of the color at the top for a highlight. You can copy and past one eye, then flip it to make them both exactly the same. After this, draw the nose and the mouth underneath, making them mu...

In this video, we learn how to apply stripes and add lines to RV cars. You can do curved lines or straight lines, depending on the look you want. For straight lines, you will take tape and mark from the hood to where you want the tape to end. Use different sizes to create the look you want to achieve. To get the lines straight, place the tape on a straight surface as a guide with the clear top that goes over the vehicle. Once you do this, you can paint around this to form opposite colors. The...

In order to paint nails with funky hot pink design, you will need the following: a base coat, a purple nail polish, a nail plate, stamping nail polish, a stamp, a top coat, gold glitter nail color, and a scraper.

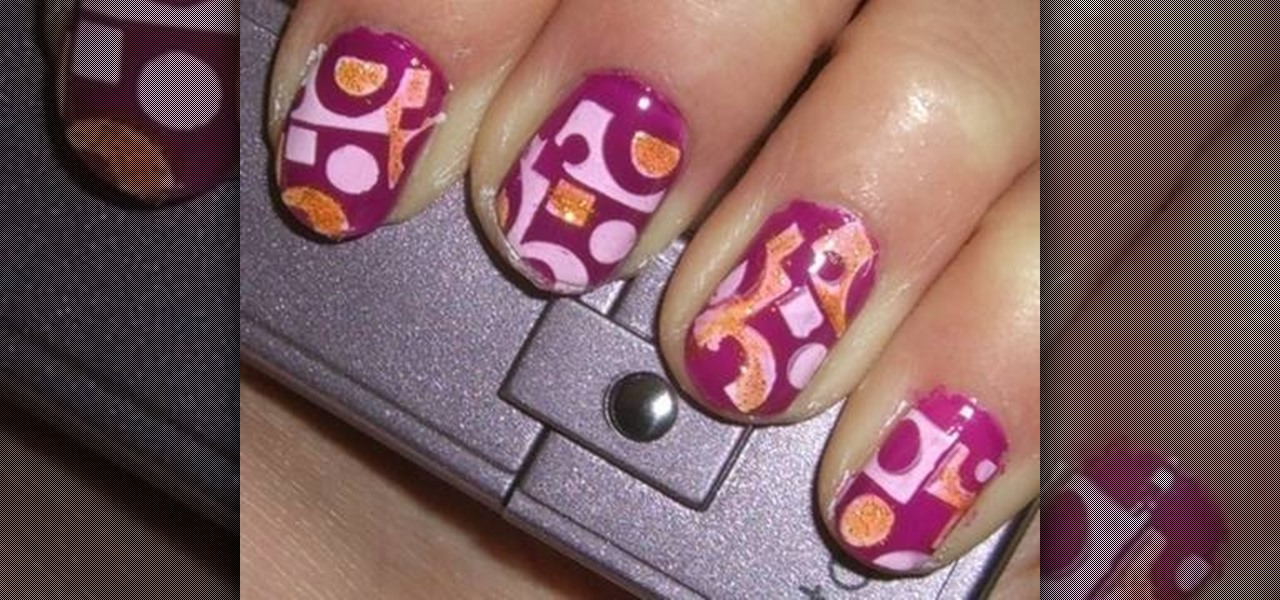
In order to paint a geometric, tribal, ornamental design for your nails, you will need the following: base coat nail polish, hot pink nail polish, a gold/brass/copper nail polish, a dark nail polish, and a clear top coat or a shimmer.

In order to paint palm trees on your nails, you will need the following: white matte base nail polish and a variety of other colors. You will need toothpicks, if you do not have fine brushes in your polish.

In this tutorial, we learn how to draw a cartoon critter. Start out by drawing a little fat body with two arms and two legs. Next, draw on two large bunny ears on the head and create eyes that are giving a mean look. After this, create the mouth to be open with sharp teeth inside. Next, use a dark paint brush to outline the image and draw a gun in the bunny's hand. Draw details onto the critter by making hair and a belly button. After this, paint in any colors you would like, then save and pr...

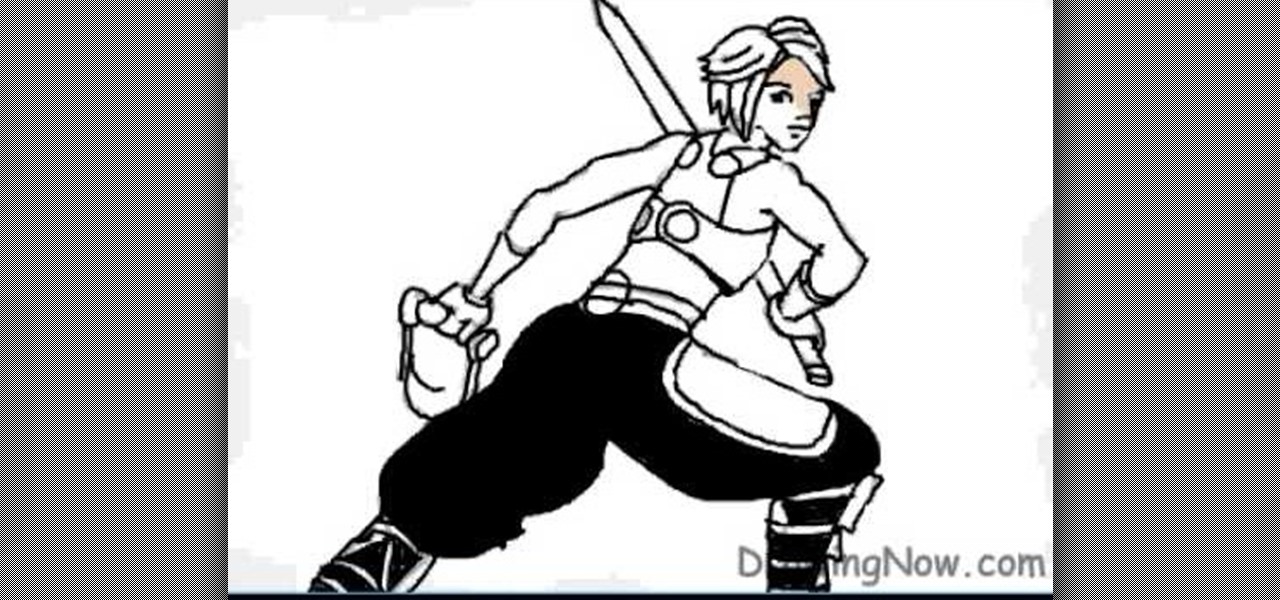
In this video, we learn how to draw a Final Fantasy character. Start out by drawing a rough outline of the entire body, starting with the head then doing the rest of the body and ending with the hands and arms. After this, draw over the initial markings with a black paint brush. Draw in eyes and hair, then start to draw in the details of the body armor and clothing. Make sure to draw on pants and make a sword that the character is holding. After this, fill in the painting with different color...


