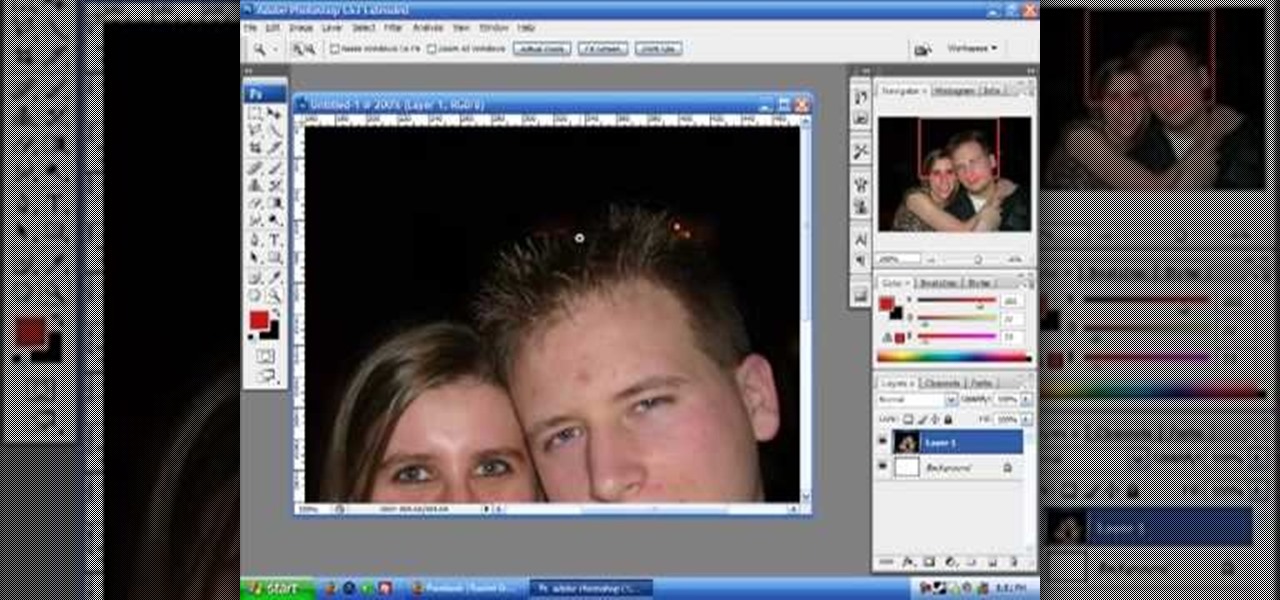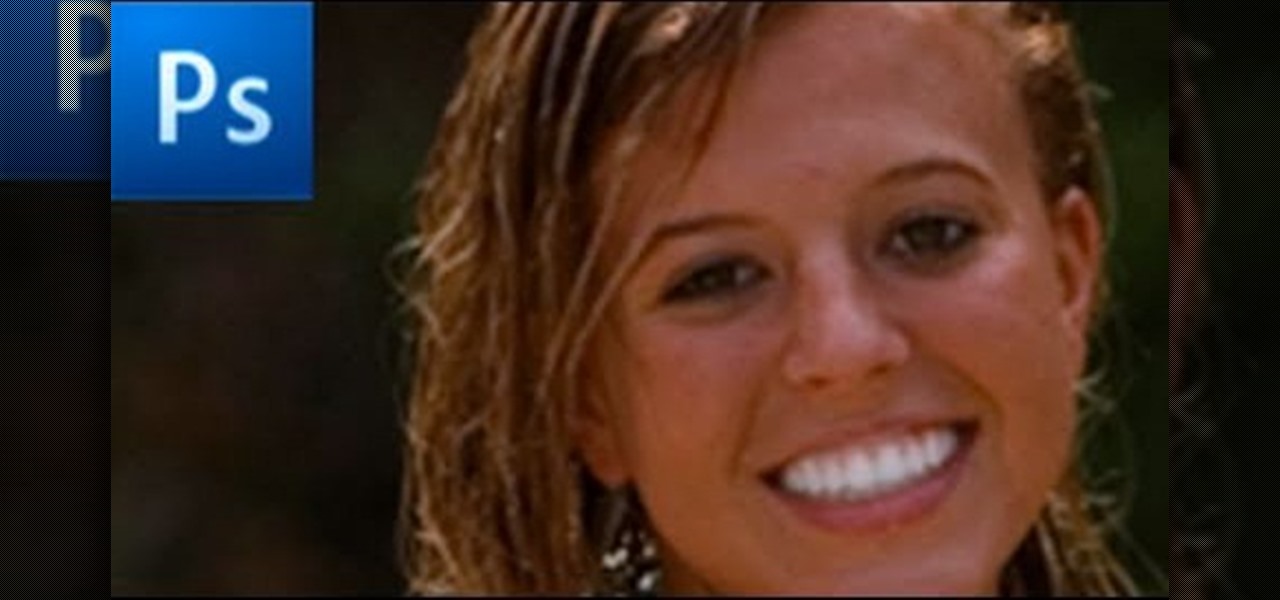
In this how to video, you will learn how to whiten teeth in Photoshop. First, open an image that you want to edit in Photoshop. Zoom in to the teeth as much as you can. Next, go to the brush tool and set the diameter to 21. Hold shift and q to put you into quick mask mode. Now paint over the teeth with your brush. Whatever is red will be your selection. Once you are done painting the teeth, select press shift and q again. Go to select and choose inverse. Next, go to image and adjustments and ...
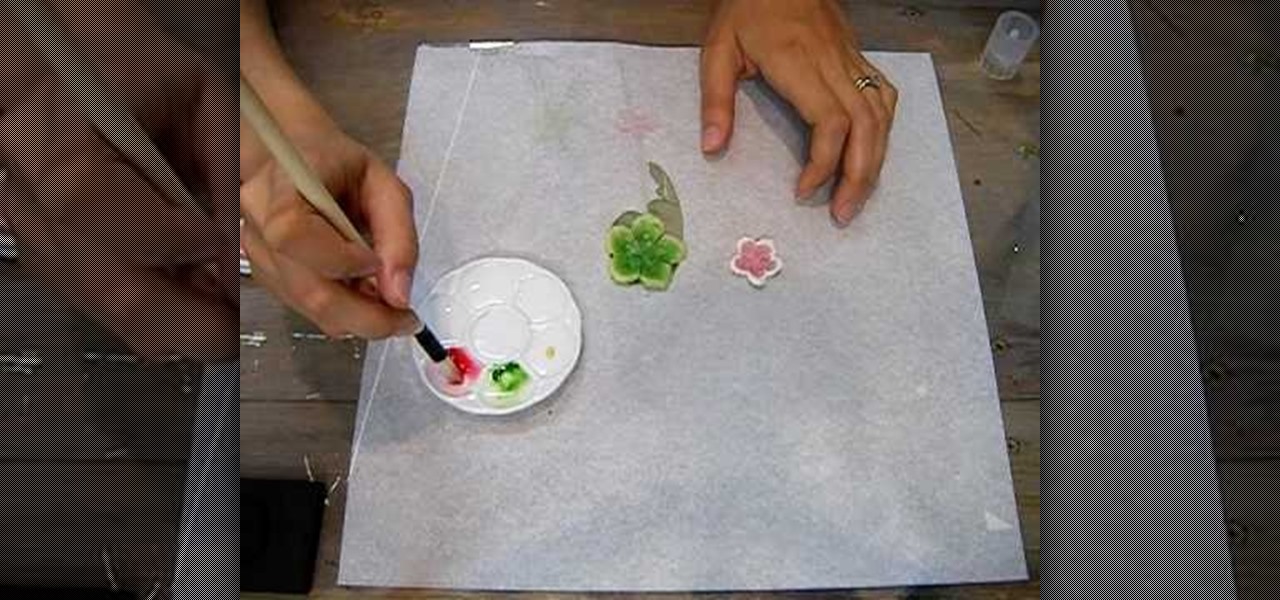
Supplies needed1. flower cut outs (you can buy them from A Piece of Craft)2. Water colors3. paint brushes4. clean water5. heat gun5. Water color pallet
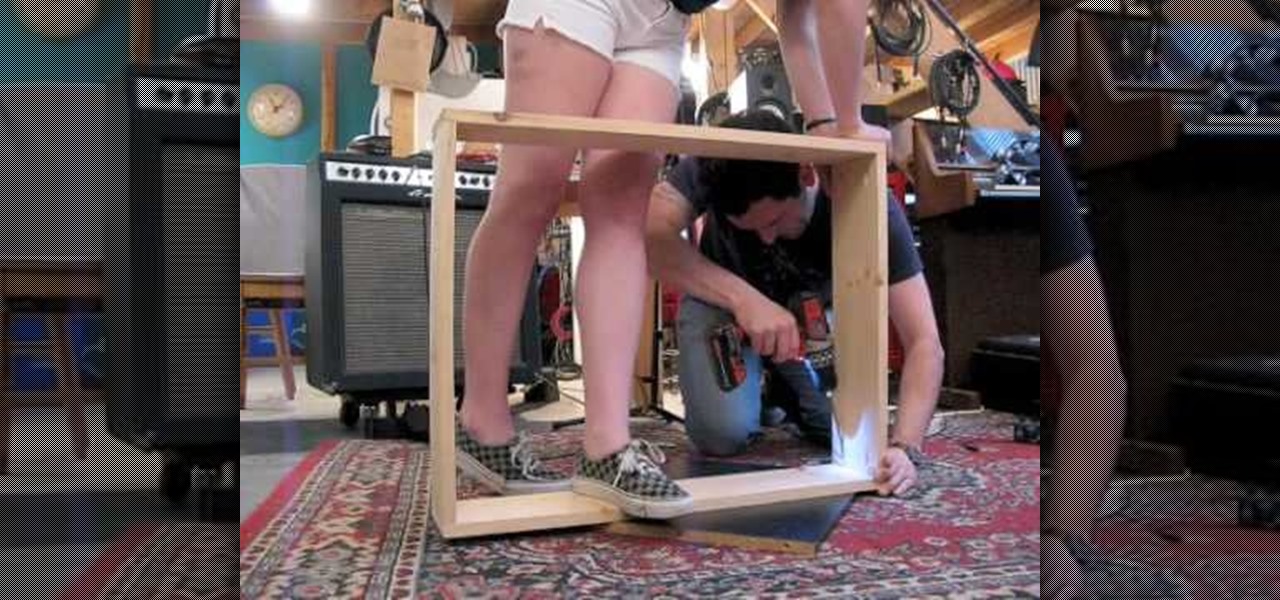
Josh Copp and Madeline Donahue show us how to build a light table from pine wood and plywood utilizing two fluorescent light fixtures as the light source inside the box. The frame of the box is fashioned out of two 1X8 planks cut into four pieces so that two sides are 30 inches and two sides are 22 3/8 inches. The base of the box is made of plywood or OSB and is 30X22 3/8. Once the pieces are cut and assembled using a pocket hole jig and wood screws, the inside of the box is painted with whit...
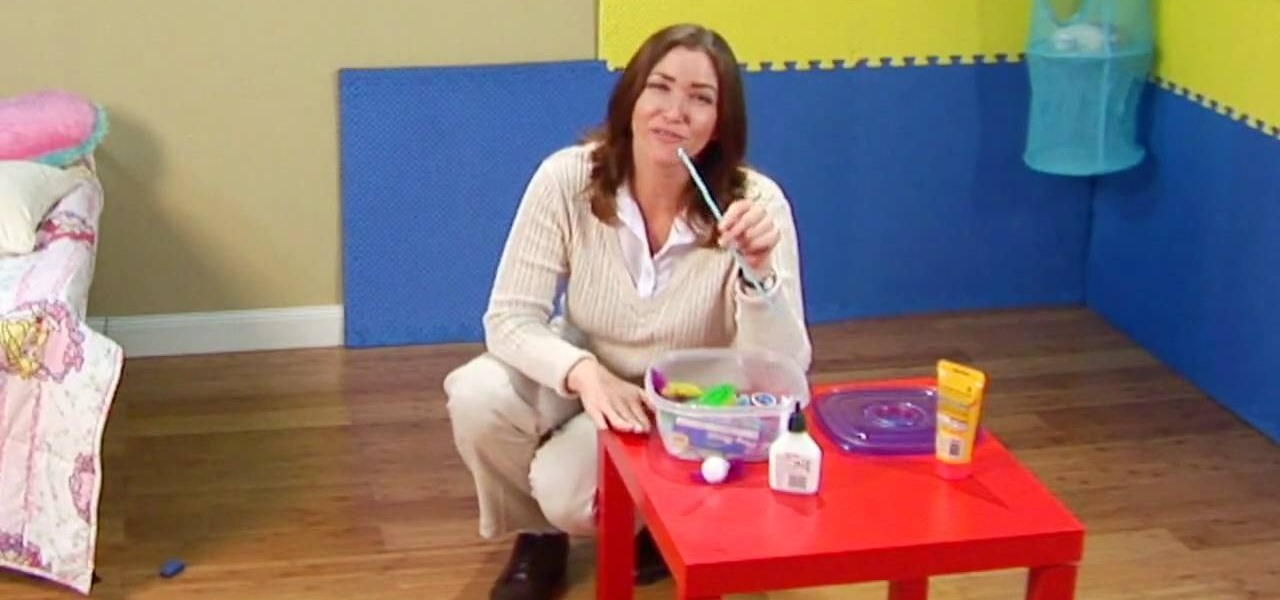
Nancy Stone, a Parenting Coach, shares some Excellent ideas for helping children express themselves and learn new things through doing simple crafts.
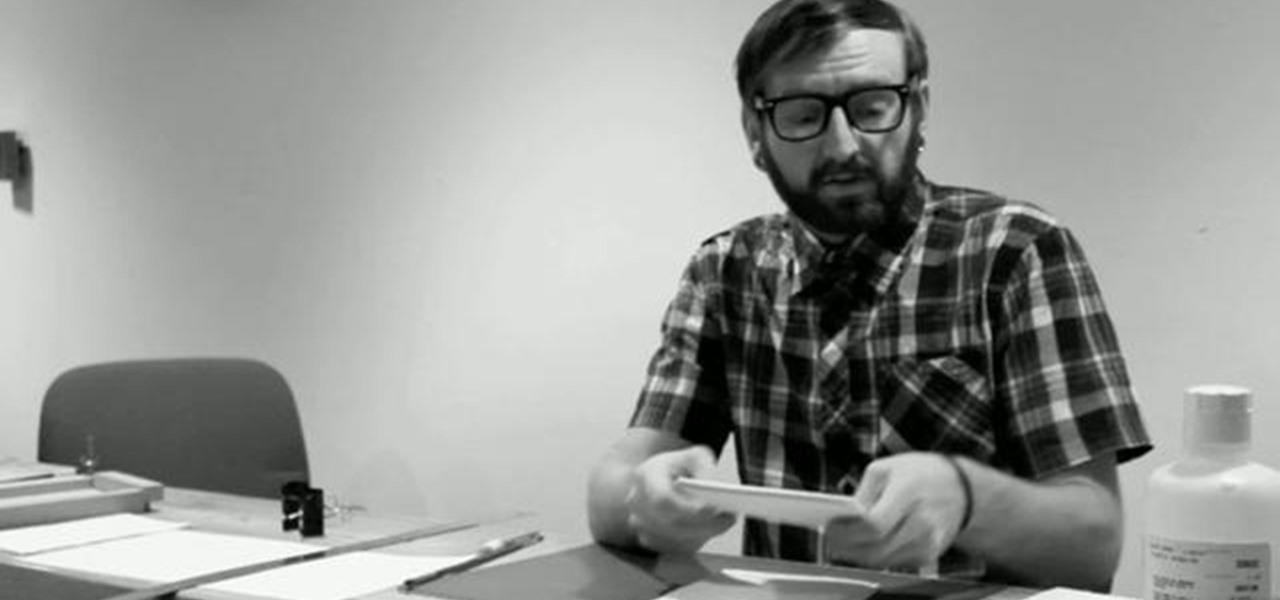
Demonstrator Andy Hirsch offers a tutorial on how to perfectly bind a book using two different methods. The first method is with binding clips the second with a binding jig. You will need and cutting mat, X-acto knife, paint brush, ruler, binder clips and binding glue. Use use 8 1/2" X 11" paper folded in half for the book pages and 11"x 17" page for the cover. In the 'Binder Clip Method', you make all the pages and cover flush and use the binder clips to keep everything together. Ad glue to ...

To fill a gouge on a table edge you start by using auto body filler. Auto body filler is a two part substance. The catalyst is red and the resin is grey. When they are properly mixed it will be a uniform pink color. To keep the substance from spilling out of the damaged area put a piece of tape on the side of the table. Take some filler and force it down into the cavity formed by the tape along the side of the table. Let it dry for 3-4 minutes. Take the tape off and use a knife to trim off th...

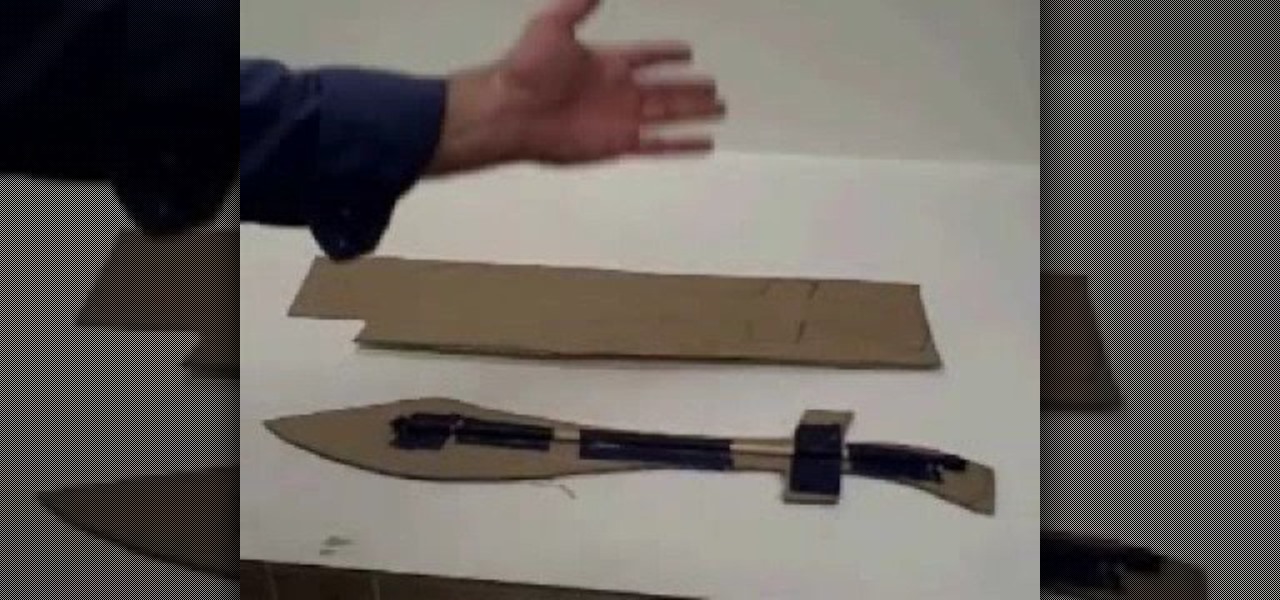
Learn how to make a sword out of cardboard with this video. Materials:

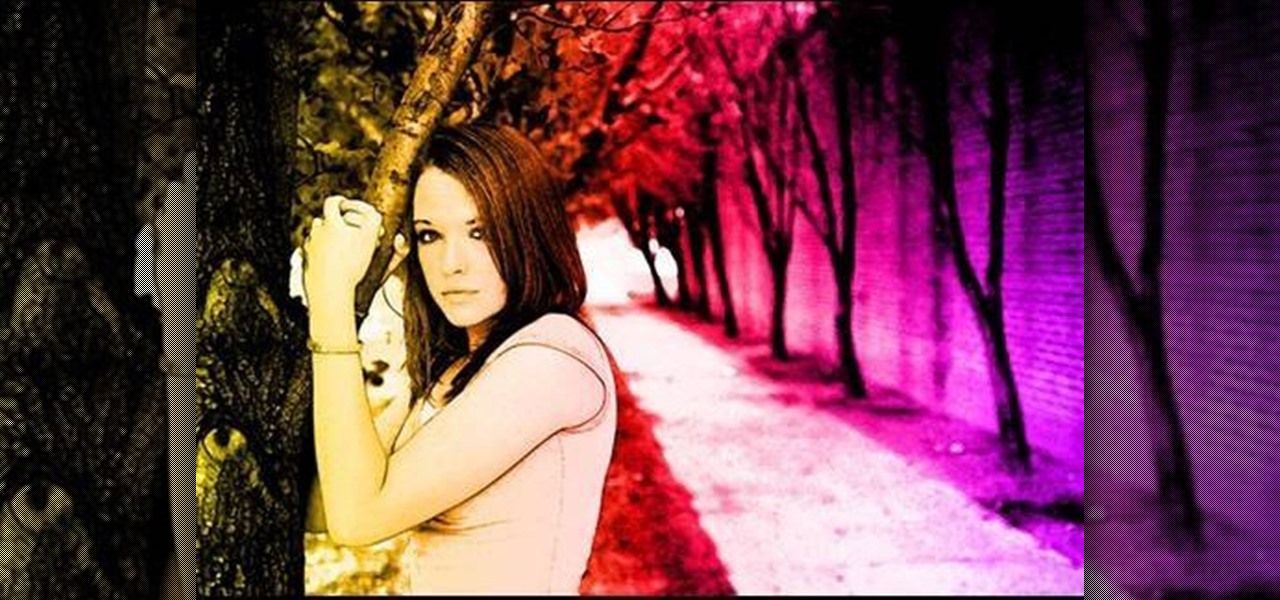
pbj746 is here to teach you on how to create a glossy rainbow effect using Adobe Photoshop CS4. This can be easily done in a matter of minutes and you can try experimenting with other colors and effects to get variant number of sassy backgrounds.

Find out the solution to the 5th puzzle in Assassin's Creed 2. For set one, the hint here is “cut,” so pick the five paintings that feature swords. For set two, what do the people in these paintings lean on? That’s right – pick out the images that feature staffs. For more info, watch the whole gameplay.

Getting bored, or need some sort of car that costs practically nothing? This three-part video tutorial will show you how to create a life-sized foam and clay automobile model. You'll learn how to build an automotive clay model. Why would you want to build an automotive clay model? Well, for the fun of it, or because you're an automotive designers or modeler and you need to design and build a prototype of a new vehicle.

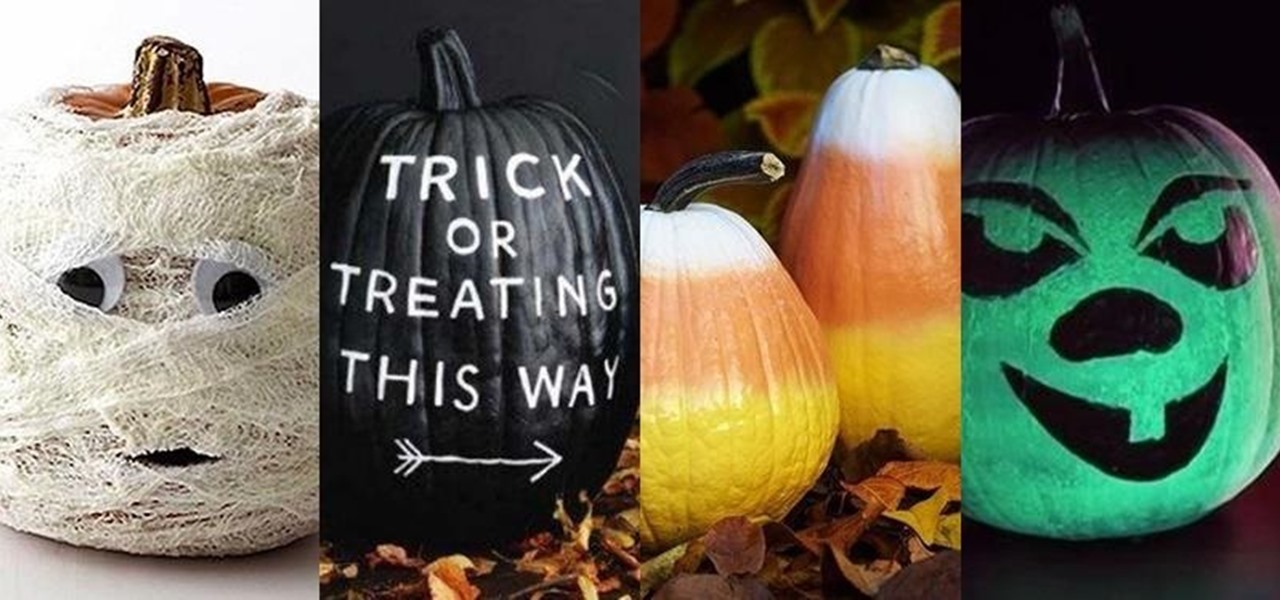
A well-executed jack-o'-lantern can be pretty damn impressive, but some of us lack the carving skills necessary to pull it off and end up disappointed. Sometimes you just don't want to put in all the time required to cut open a pumpkin, gut it, and chisel an elaborate face or cool design into it.

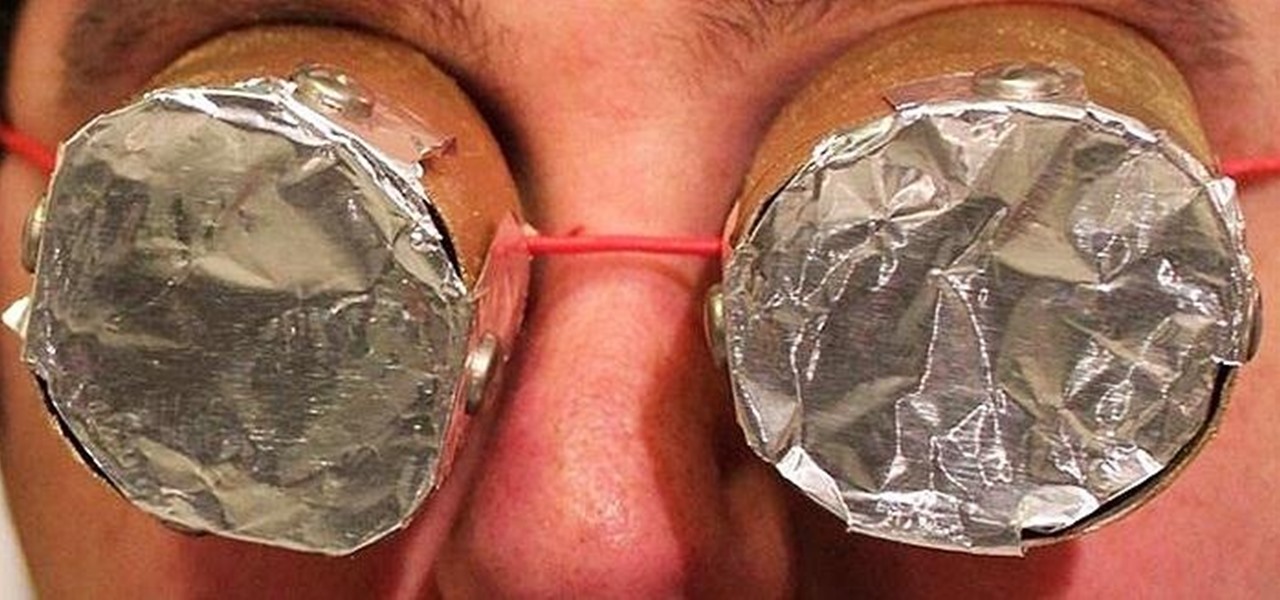
As you know, it's impossible to be a Steampunk without a pair of goggles. In fact, there are entire communities dedicated to judging other Steampunks based solely on their goggles. A Steampunk without goggles is like Samson without his hair, or a duck without a beak—totally powerless. As I'm sure you also know, the right pair of goggles can instantly render any outfit Steampunk, no matter what it looks like.

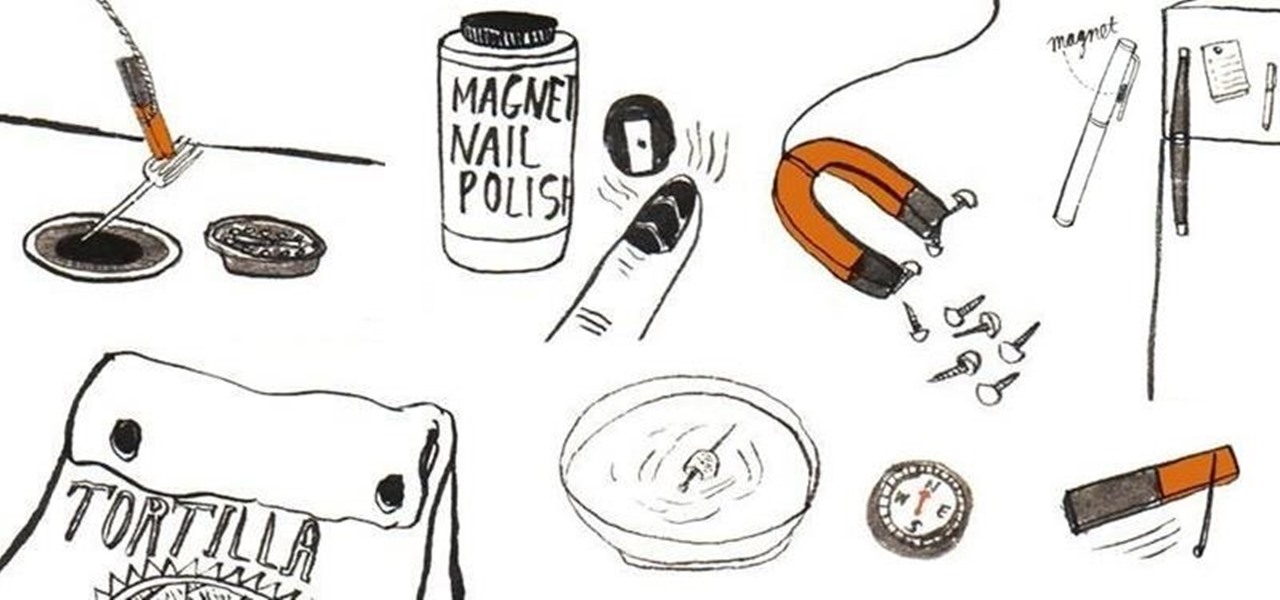
Other than sticking your crayon drawings onto your refrigerator door, magnets have a variety of unexpected and sometimes surprisingly practical uses, ranging from keeping your chip bags sealed to creating weird patterns on your nail beds using magnetic nail polish.

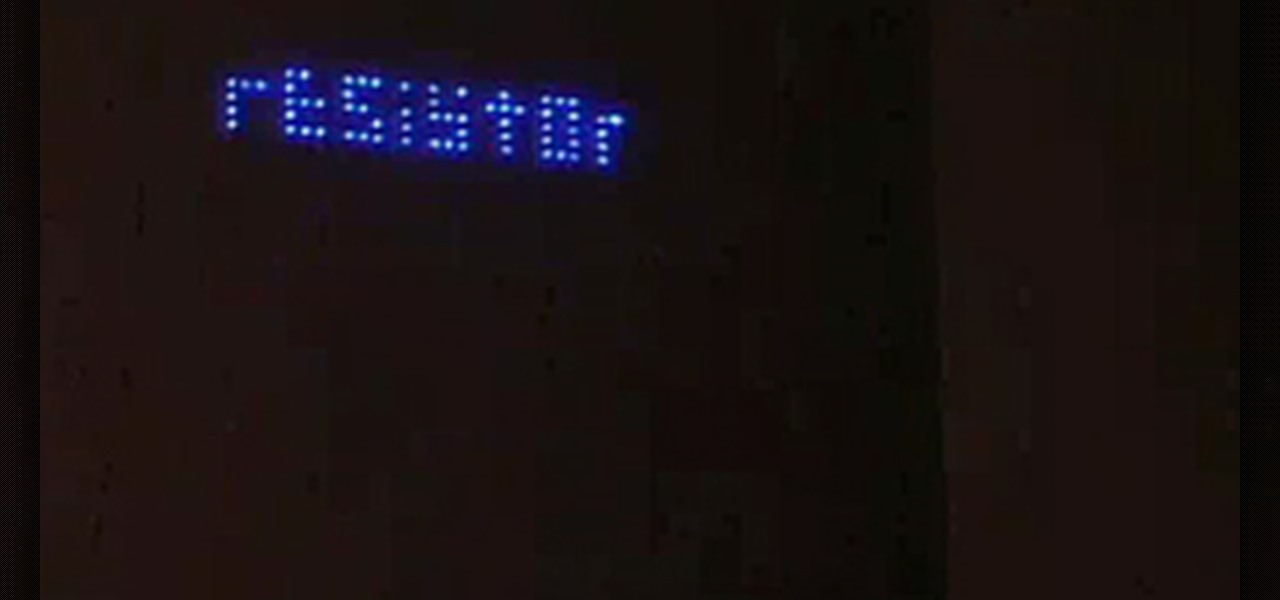
This is a complex process, but the guys at Graffiti Research Lab have armed you with detailed written instructions and this video on how to create a night writer. This is a more complicated version of their LED throwies that allows you to catch a tag in lights. You'll never need an airpline skywriter again!

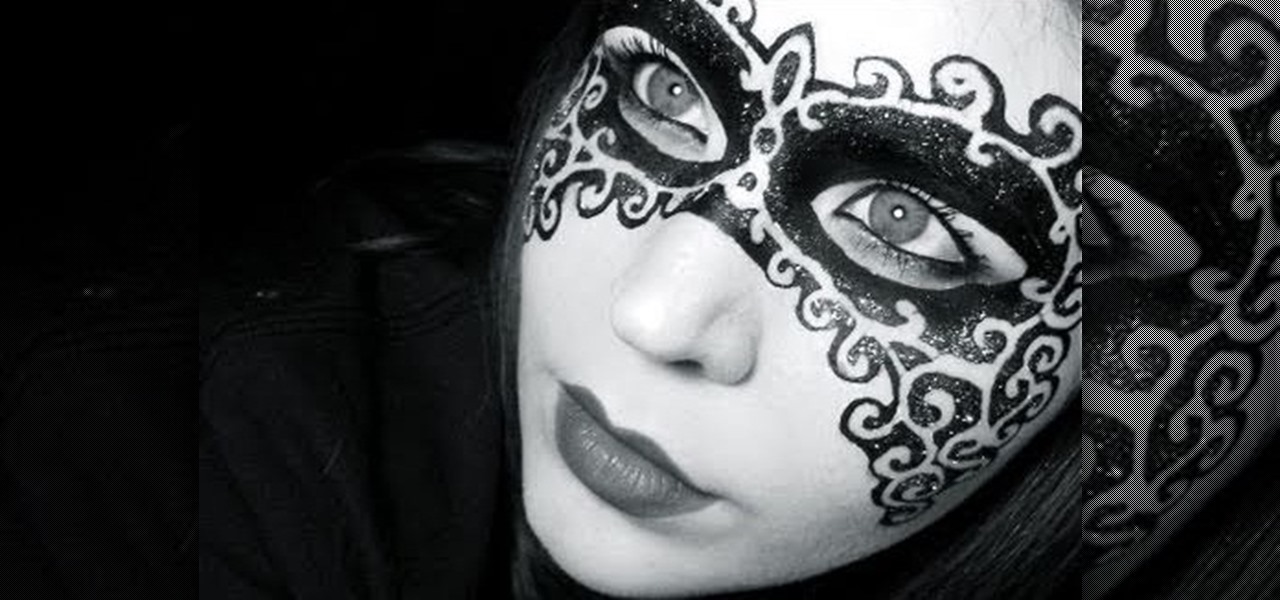
What we love about this "Mask of Mystery" is that you can use it for a large variety of Halloween costumes. Delicate scroll patterns ending in curlicues and dubbed over with glitter make this painted on mask perfect for dark fairies, Moulin Rouge can can dancers, Mardi Gras participants, and even sorceresses.

In order to make your own designer brads, you will need the following: clear or colored ultra thick embossing enamel, brads, glitter, ink, acrylic paint, a heat gun, and tweezers.

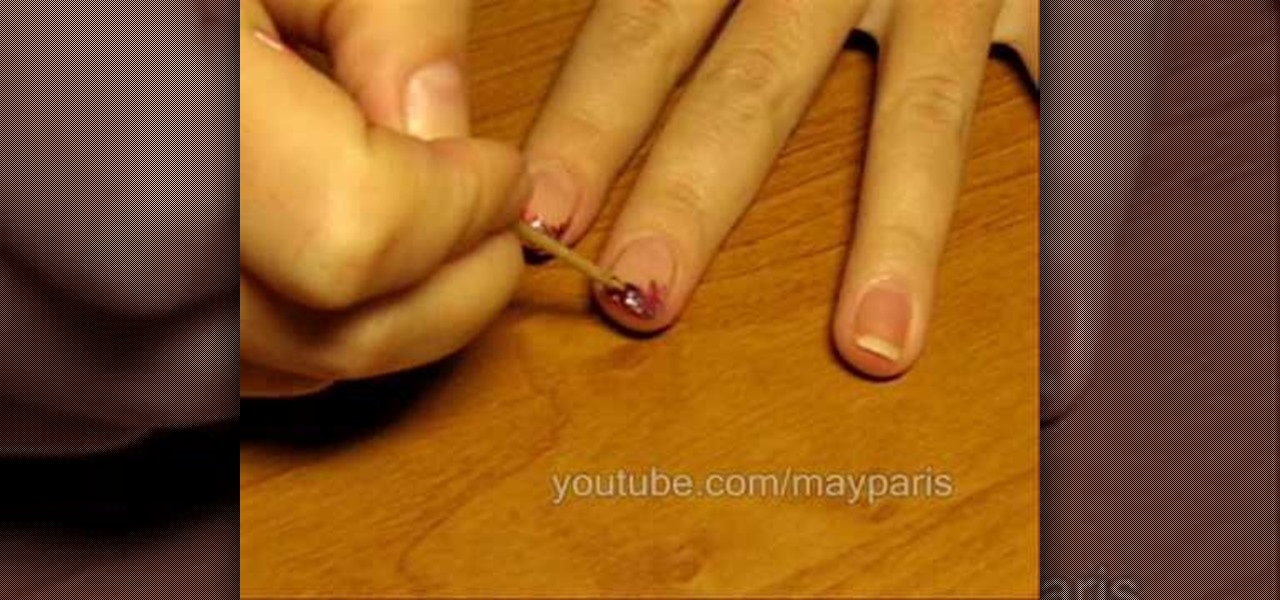
In order to create/paint a vintage French manicure, you will need several different nail polishes and a toothpick. You can use any combination of color that you want: e.g. neutral and purple and golden rose 10 and golden rose 31.

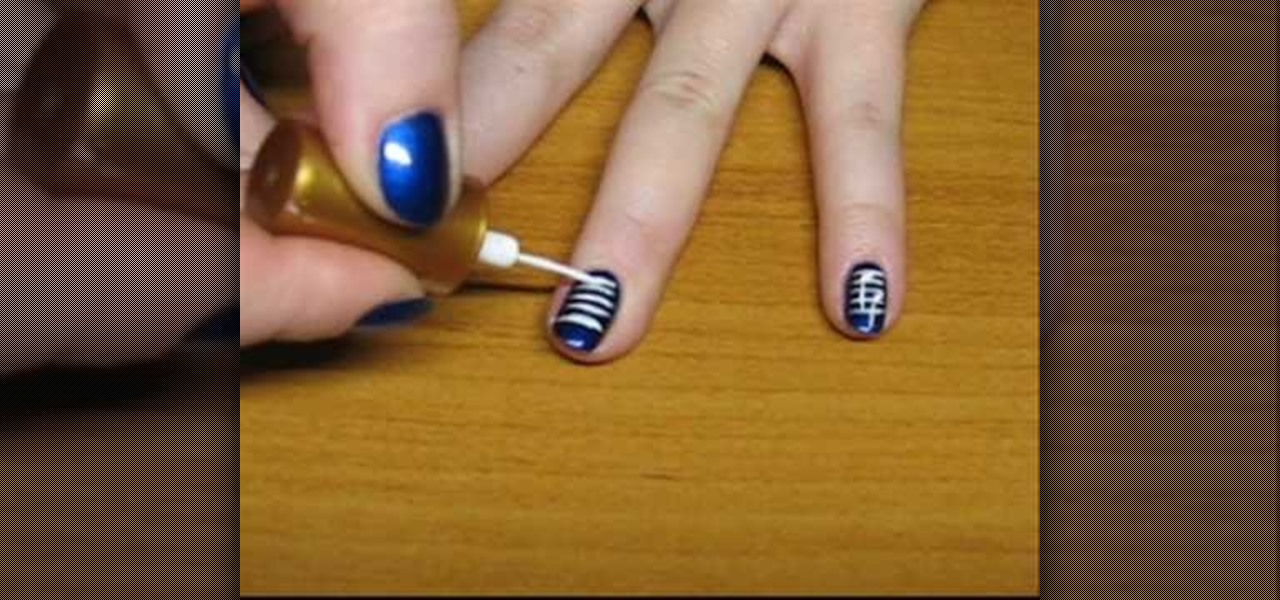
In order to paint musical notes on your nails, you will need the following: a base coat, a matte polish, topcoat, and a colored polish.

In this tutorial, we learn how to make a stylish Halloween bag tag. You will need: ink blending tool in black soot color, black paint, orange paint, white card stock, stencils, cutters, scissors, and glue. First, place your white card stock underneath the stencil, then cut out the shape of a house. After this, mark lines in opposite directions onto the shape. After this, you should have the shape of a spider web. Next, add the ink pain on the top to highlight the spider web and you will be ab...

Take your dessert from bland and boring to something special for your next dinner party with help from this video! In this cooking tutorial, learn from Sue McMahon, cookery editor at Woman's Weekly, how to temper chocolate. To complete this recipe you will need the following:

This video tutorial shows you how to paint an interesting design on your nails using pink, white, and blue polish. Begin with a base color. Pink polish is used here. Next do a side swipe using blue. This swipe starts about halfway down the nail and comes up to the top of the nail. Then add a little blue shimmer to the blue polish. Next use white polish with a thin brush to outline the blue. This line can be a little thicker. Then add a shimmery dark blue line next to the white line. Now place...

This how to video will show you how to remove blemishes and do other touch ups in Photoshop. First, open the image you want to touch up in the program. Now, choose the polygon tool and select the background of the image. Now, go to adjustments and change the brightness and contrast. You can also add a blur in the filters. Use the smudge tool to touch up any errors from using the blur filter. To fix blemishes, use the patch tool. Select the area you want to fix and drag it to an area of simila...

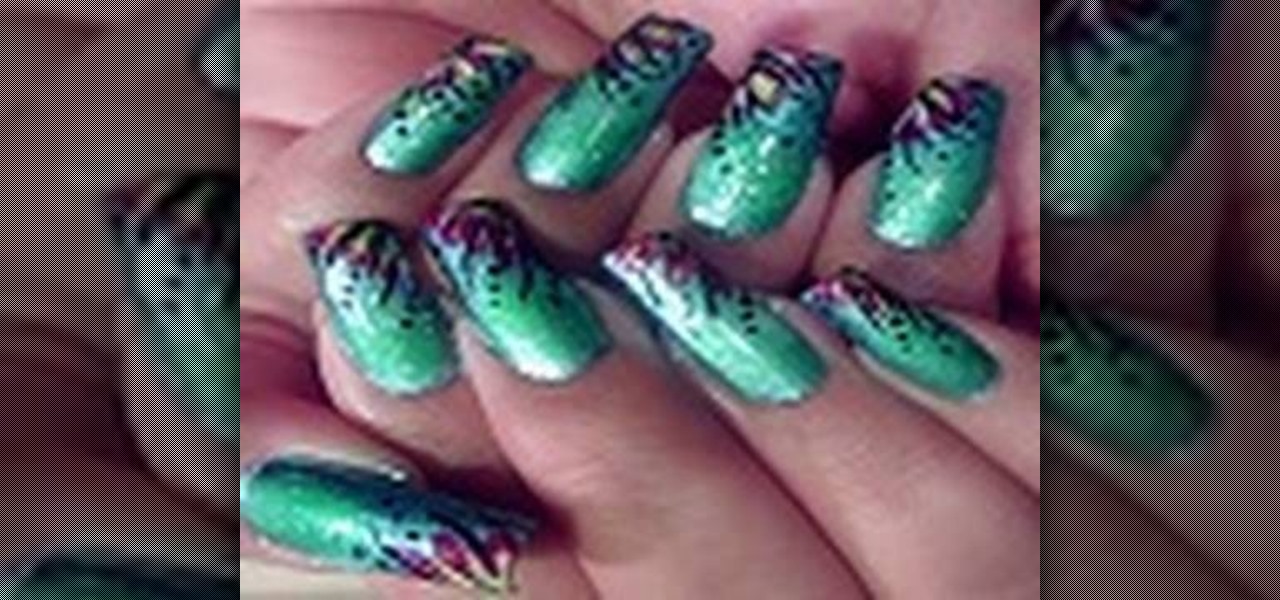
If you want to get tiger style nails first you need to paint a clear base coat on your nails. Now, you should take a vinyl shine nail polish that is a gold-ish color and pant this on each nail as a single coat. You should try to get a nail polish that dries fast - so let this coat dry. Now, get an orange nail polish and dot this color on your nails in random spots. You do not have to do this in any particular design. Now let this dry. Next, with a black Art Deco nail polish, paint and draw th...

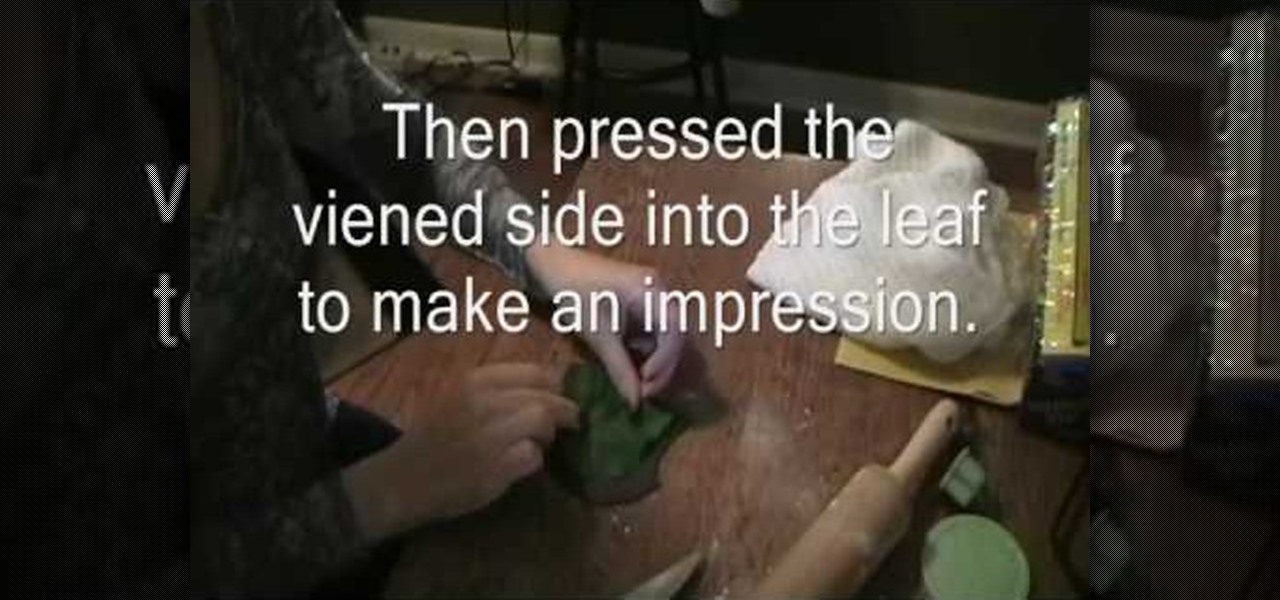
This video shows how to make wine-themed cake decorations.We can see Courtney and Ceasey's birthday cake in this video. The bottles, apples and the grapes are made of fondant. The leaves are made of modeling chocolate. We can make decorations. First take a piece of modelling chocolate. Roll it out. Dust the surface with confectioners sugar or cocoa. Use plastic leaf as a model. Then press the viened side into the leaf to make an impression. We nead 8 leaves to cover the sides of a 9 inch thre...

This is a video tutorial showing its audience how to draw an anime mermaid. The first step in drawing an anime mermaid is to gather your supplies. For this drawing you will need a photoshop type of program. Next you can open up the program. First you will need to open a new window and color it white. Then you can begin drawing. Then you can draw the head and the eyes and mouth first. Next you should draw the body. Next you should draw the mermaid's fin with your drawing tool. When you are fin...

1. First of all select 'filter' at the ‘top tool bar’. Now select the 'artistic' from the ‘drop down’. Then select 'fresco' and then click 'ok'.

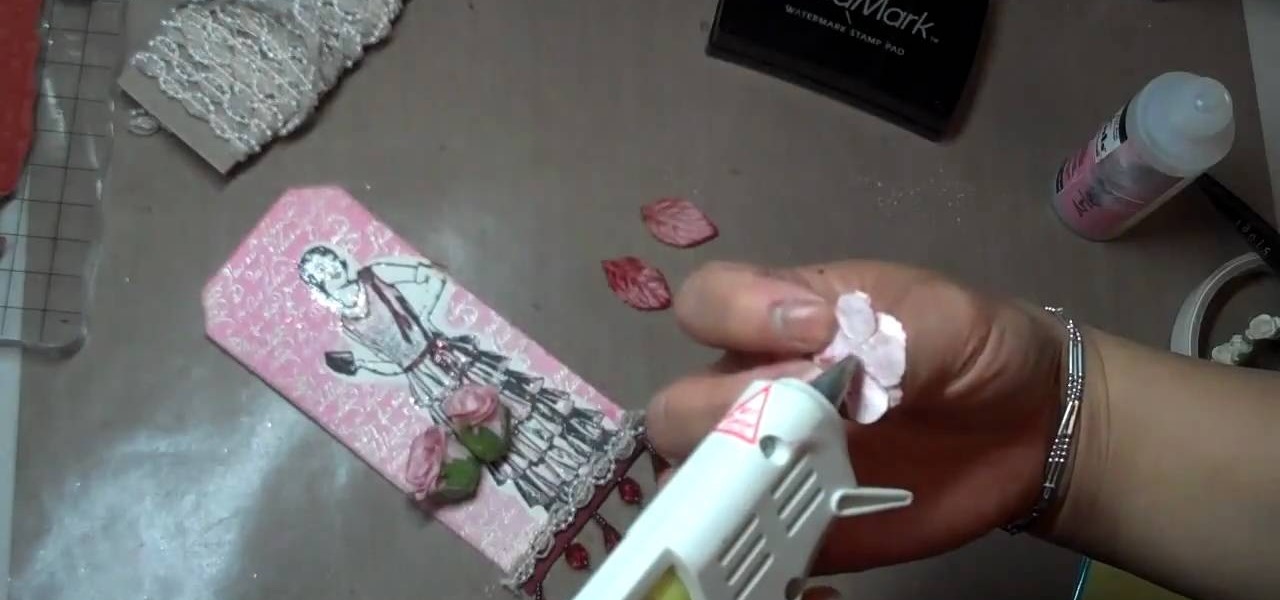
Mybutterflykisses12 shows viewers how to make a vintage lady tag! First, You will need a stampof a vintage lady and some cardstock. Dab your stamp with black ink and stamp it onto card stock that is shaped like a tag. Next, you can stamp on vanilla script above the figure. Next, apply clear embossing powder to the tag and then heat this with a heating gun so it can set. Next, place an opaque stamped image of the same woman over the original on the tag. Cover the stamped image before you apply...

Love4Nails shows viewers how to paint nails with an aqua bohemian flower design. First, you want to apply a light blue nail polish as your background. Next, get a makeup sponge and brush green nail polish on this sponger. Place this green on the bottom part of your nail only. Now on the top, use your same makeup sponge and apply white nail polish on the side top of your nail and a little over the green. Next, use a shimmer polish and apply this over both the green area and the light blue area...

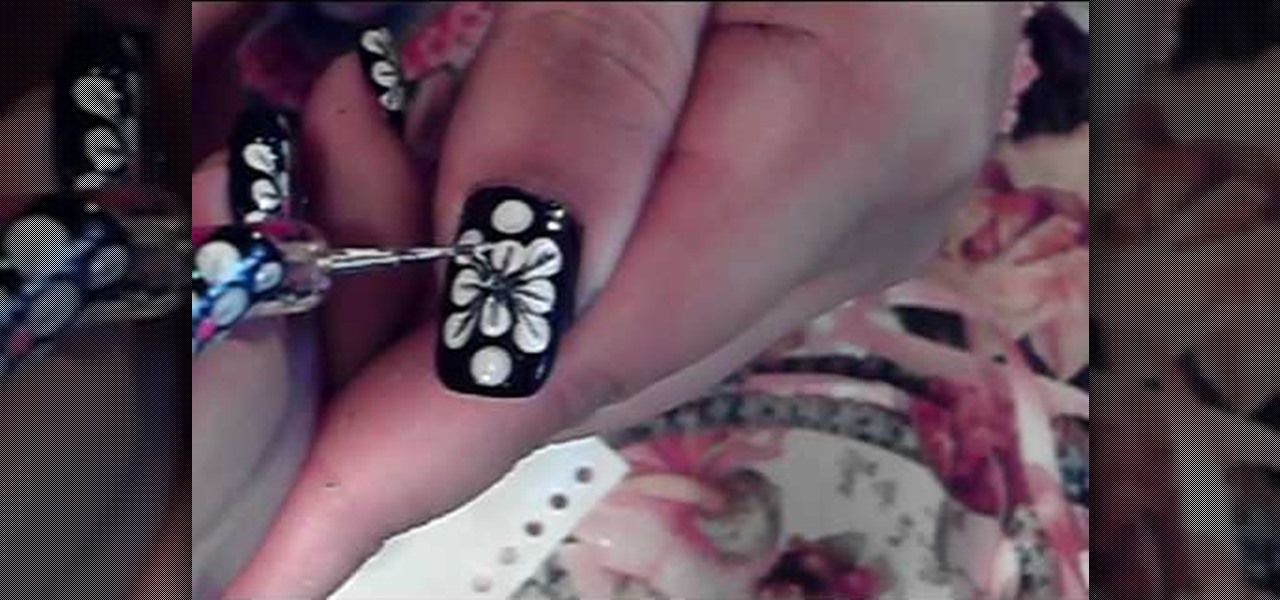
This video is about how to paint short nails with a white flower art design. The first step that you will have to do is to apply any background color on you nail. After applying the background nail polish, get a piece of paper and place the white nail polish on. After wards, use the dotting pen to start dotting the nail. Make four dots in the middle of the nail forming a flower. Then, just simply add another 3 more dots to both ends of the nail. After adding all the dots on the nail, the next...

This video is about making a marble greeting card. The materials required for making them are marabu marble starter kit which consists of six marble paints,a marabu konturf paste, a polyester ball, a bowl, kebab sticks, a pencil, a cutting knife, a glue, sweat pieces of card, three cards of different colors and a bucket of water. The video starts by folding one piece of card into half and then cutting the ball into two pieces. Keeping the piece of ball as the center draw a flower around it on...

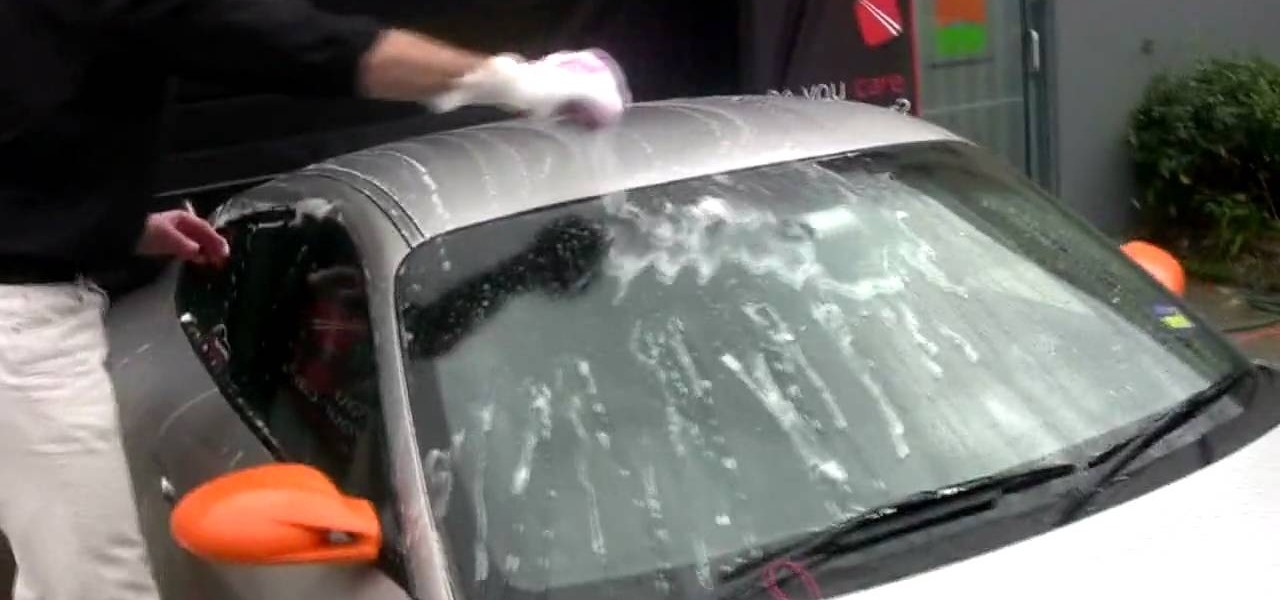
Every time people wash their car paint can easily be scratched off on accident. To avoid that CarCareProducts (CCP) demonstrates how to clean your car in a safe and efficient way using the two bucket method. In the first bucket add a small amount of PH Neutral wash shampoo and in the second bucket should be filled with clean, clear water to refresh your mitt as you wash your car that way all the dirt is collected into that bucket and not the one with shampoo. The first step to cleaning your c...

In this how-to video, you will learn how to make your own hand-crafted snowman. You will need two Styrofoam balls, tooth picks, a white sock, plaid fabric, orange pipe cleaner, black fabric paint, pins, hot glue or tacky glue, twigs, buttons, red baby socks, and any other decorations you want. Place a tooth pick to connect the two balls. Insert the balls into the sock and cut the excess. Next, pin the sock to the balls. Cut the scarf from the plaid fabric and wrap around the snowman. Now, cut...

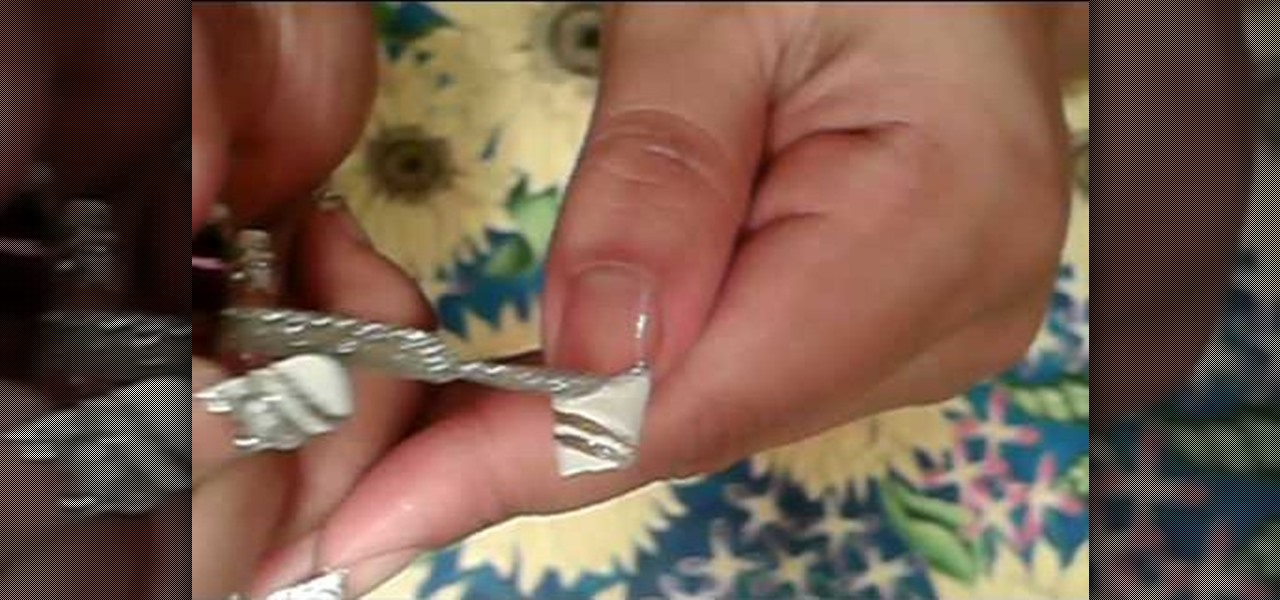
The process of painting your fingernails, with a French manicure with silver accents, is a multi-stepped process. Before you begin, put a hydrating base-coat on your bare nail, and let it dry. Then take white nail art polish, and draw three parallel diagonal lines across the nail, starting from the top of the nail (where the white meets the skin" to the bottom. Once you have completed the three lines, take white nail polish and create a French manicure, filling in the nail from the skin line ...

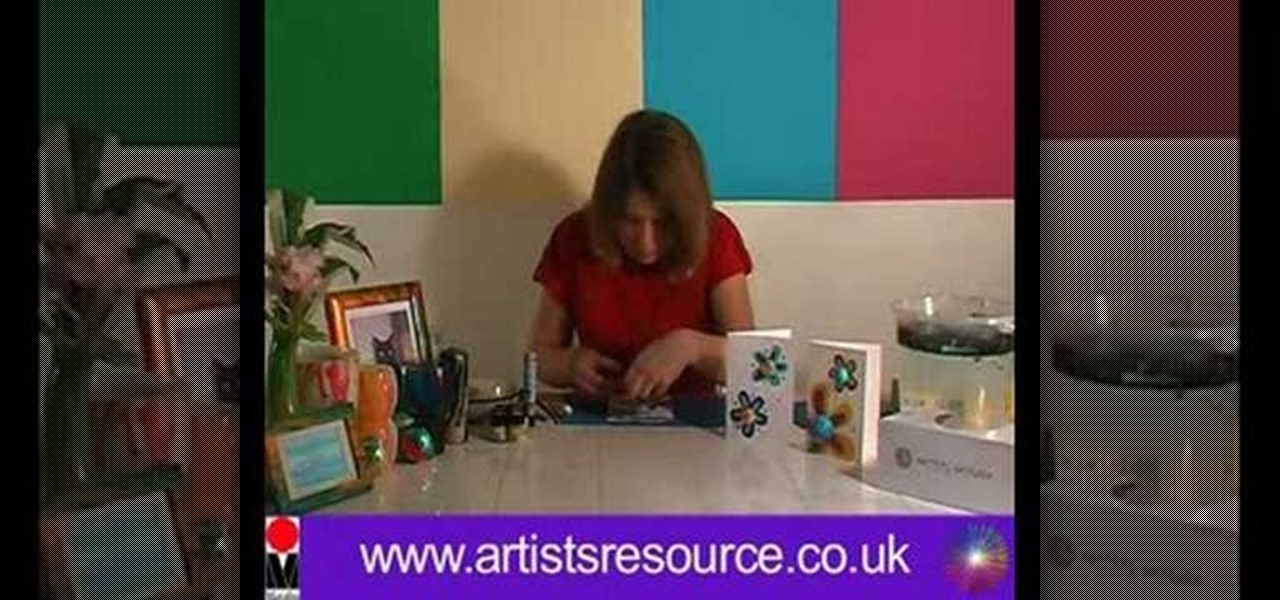
In this Arts & Crafts video tutorial you will learn how to make a stained glass picture frame. This video is from Artists Resource. You will need a Marabu GlasArt kit, some white spirit, a china graph pencil, scissors, a ruler, sheets of scrap paper, lead tape and a picture frame. Take the frame and remove the clips. With the ruler and china graph pencil mark off and draw 6” squares. Rub off the center lines with a tissue. This is where the photo will fit. Next you fill the squares with the g...

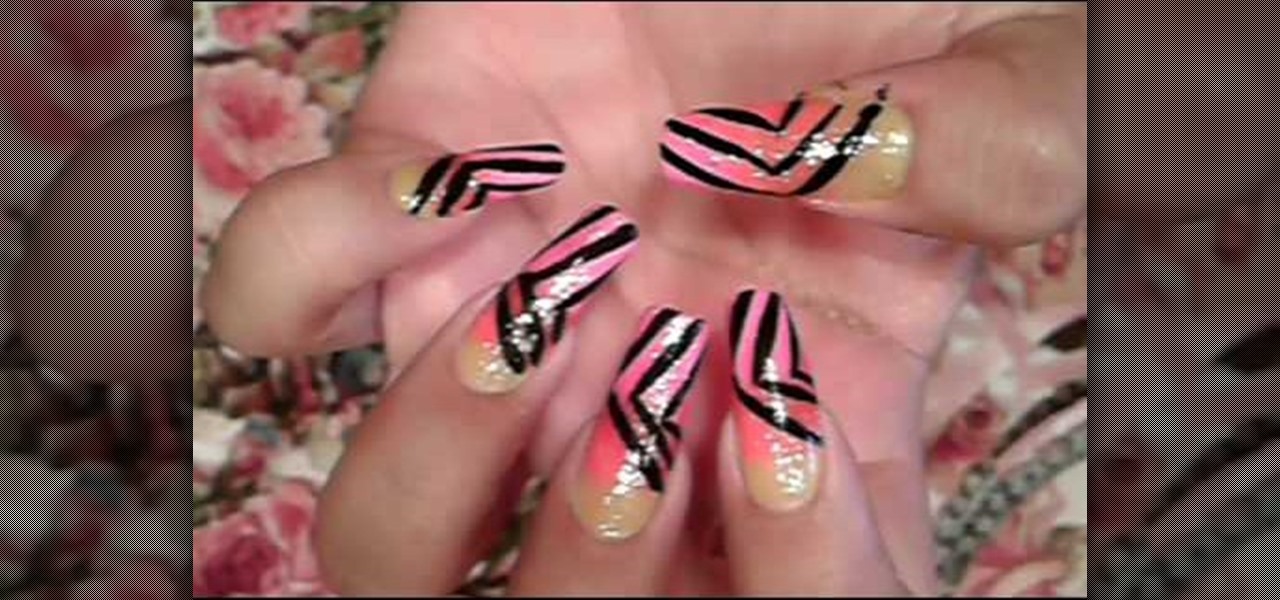
This video on nail art shows how to paint your nails with a summer rainbow stripe design. The nail colors needed for this design are yellow, orange and pink, a glittery color, a transparent clear polish and a black thin nail polish. The first step is to color only the bottom of the bare nail with yellow, here neon colors are used. Next the middle portion with orange and the tip with the pink color. Quick drying polishes can be applied one after the other or else the colors are applied after d...

This video shows us how to make lilies for a dollhouse just in time for Easter. First you take a toothpaste cap and some copper metallic paint and paint it. This is your flower pot! Make the flower heads and set aside. Take some clay and stick it into the flower pot. Then take some wire, the length of what you want for stems, and stick one end into the flower bloom and the other into the cap. To make these flowers, you take some clay and roll it into a ball. Lengthen your ball into a cone lik...

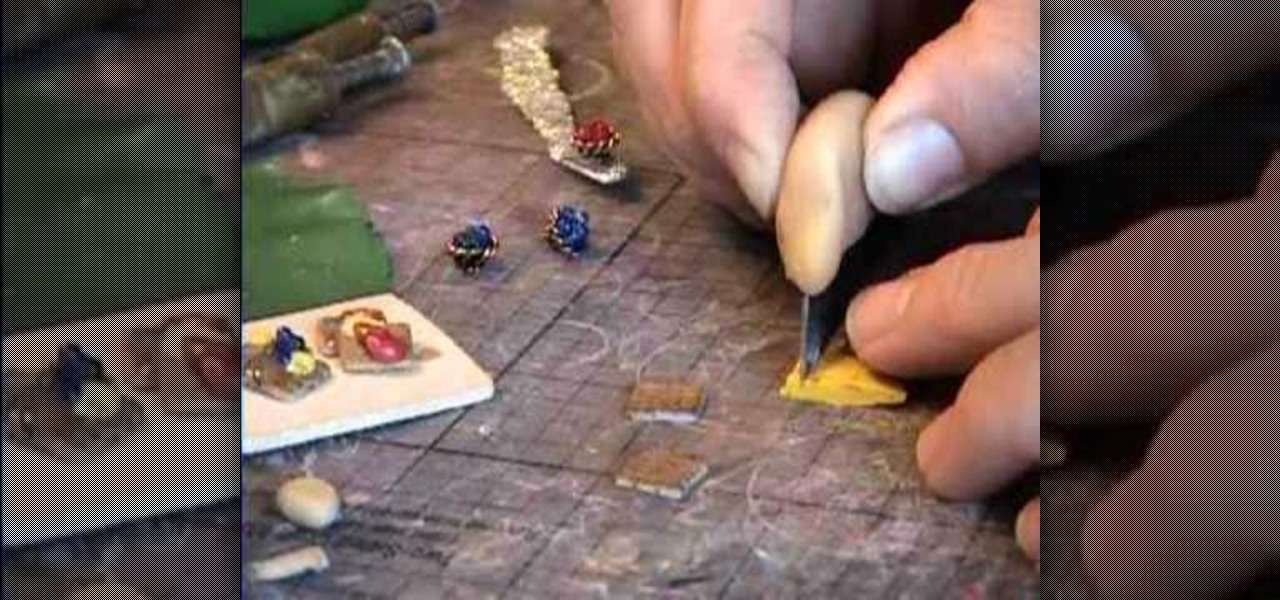
Garden of Imagination demonstrates how to make miniature blueberry polymer clay waffles for use in a doll house. Starting with a small ball of either ecru-colored clay, or pearl-white, you can blend in tiny black glass pebbles to resemble blueberries or raisins. The ball is then pressed onto a small strip of dry-wall tape that has an open weave to it, to make waffled impressions. The strip with the clay on it is run through a pasta-maker at a setting of “four” to flatten the clay into the mes...

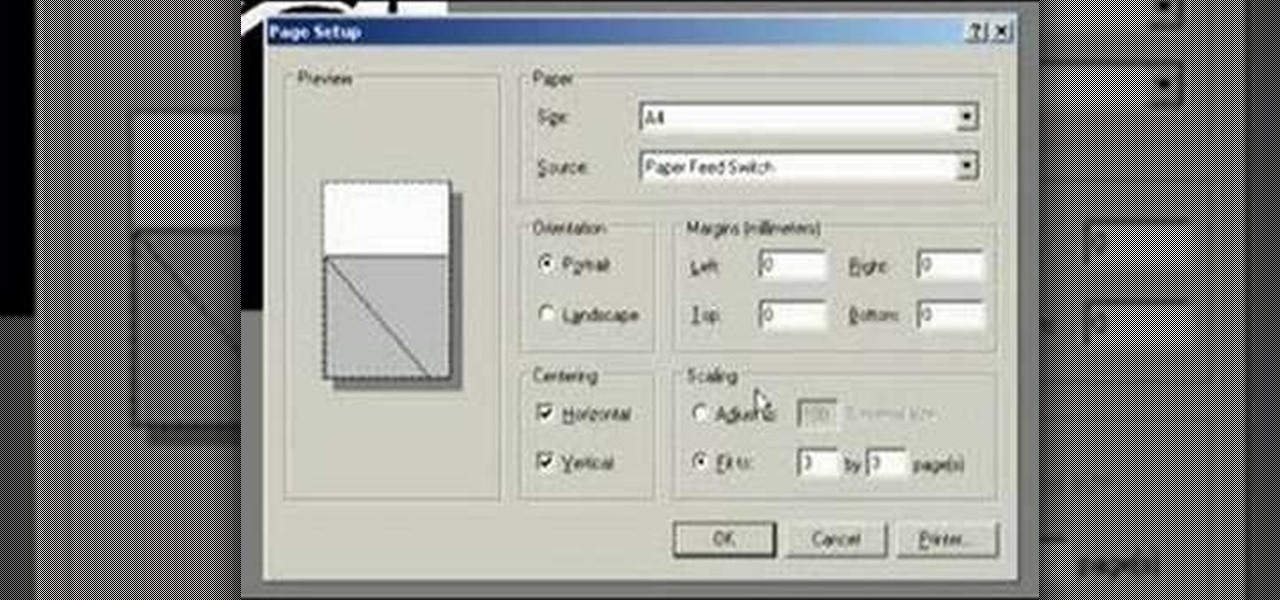
This video demonstrates how to change the Page Settings in Microsoft Paint for you to be able to print multiple page stencils. The first step is to open your stencil drawing. Then, go to File > Page Setup. In the Page Setup dialogue box, change the Top, Left, Right, and bottom margins' value to zero (0). Under the Scaling option, select "Fit to" and change the Pages values to two (2). Under the Orientation option, select Landscape. Switch back to Portrait and adjust the Pages values to three ...

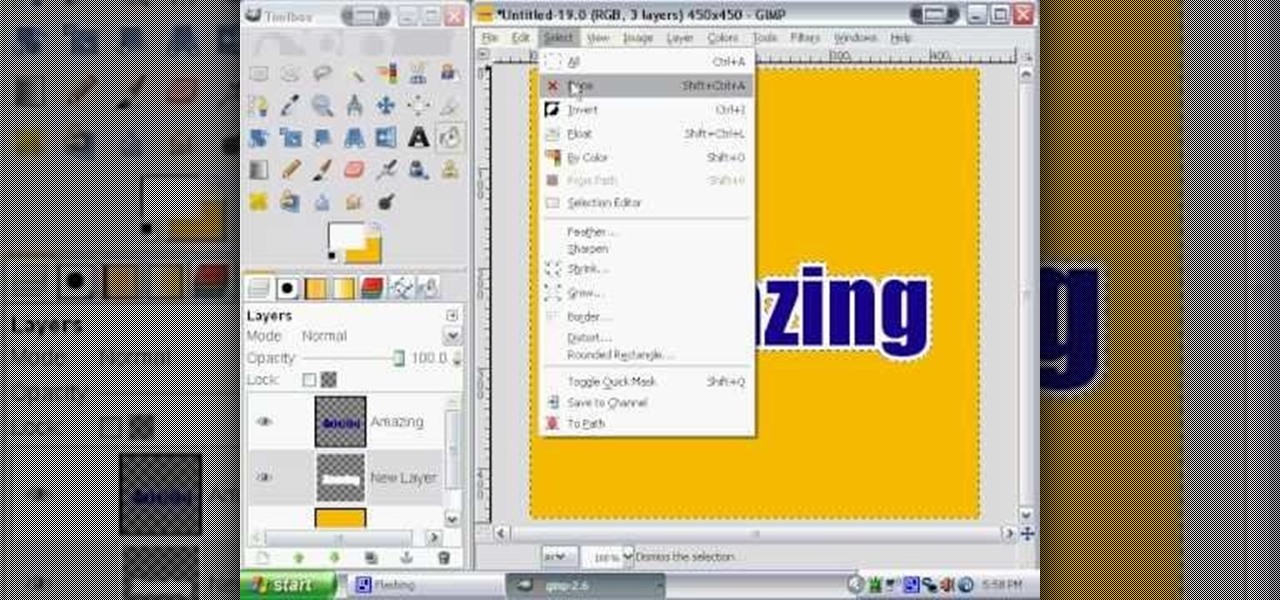
Click in File and New to create a new document, press OK and select the text tool and click once on your file and write something, then close the window. Click in move the active layer to make easier to move the text. Go again to the text tool and click on the Color to change the text color. Press Crtl+O, select the background layer and change the color to the one you want, now select the bucket tool and click on the background to paint it with the color you have selected. Go back to the text...

The video deals with a clear step by step process of making a plastic airplane. He asked us to select the model of the airplane we are going to make first. He has selected the North American F86A SABRE model in this demo.


