This is a wonderful gift to give away for the holidays! Find a clear glass jar and the ingredients for your favorite cookie. Gently layer all your ingredients in the jar, and then attach a recipe tag to the neck.

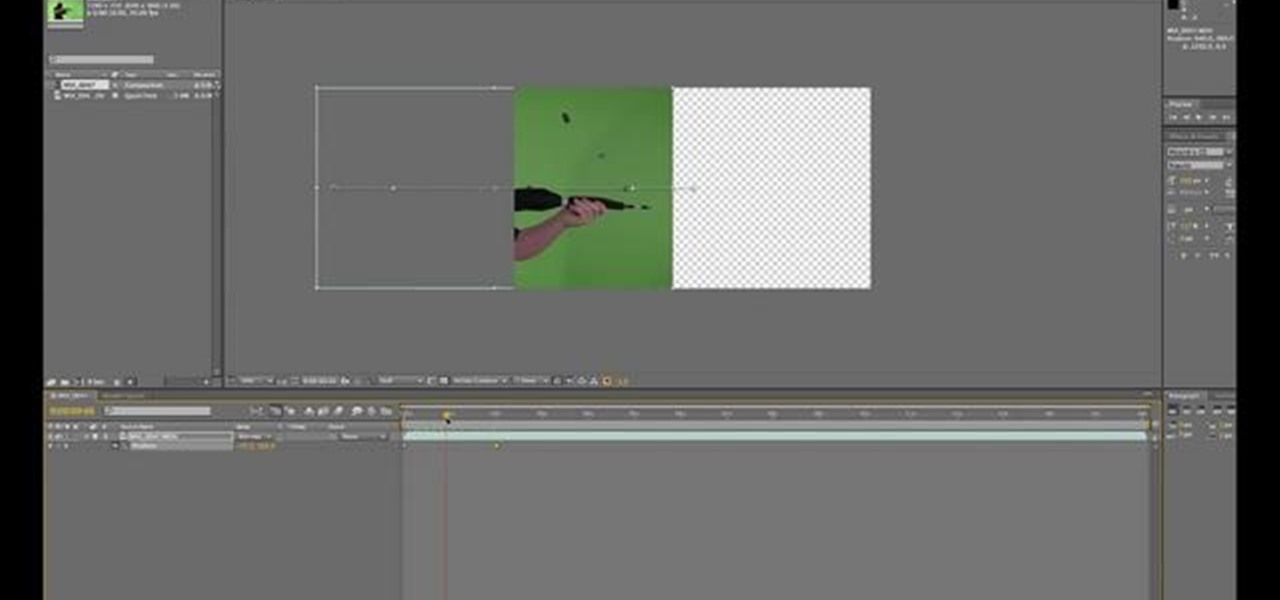
Learn how to create layer and text animations in After Effects CS5 by altering position, rotation, opacity and scale parameters.

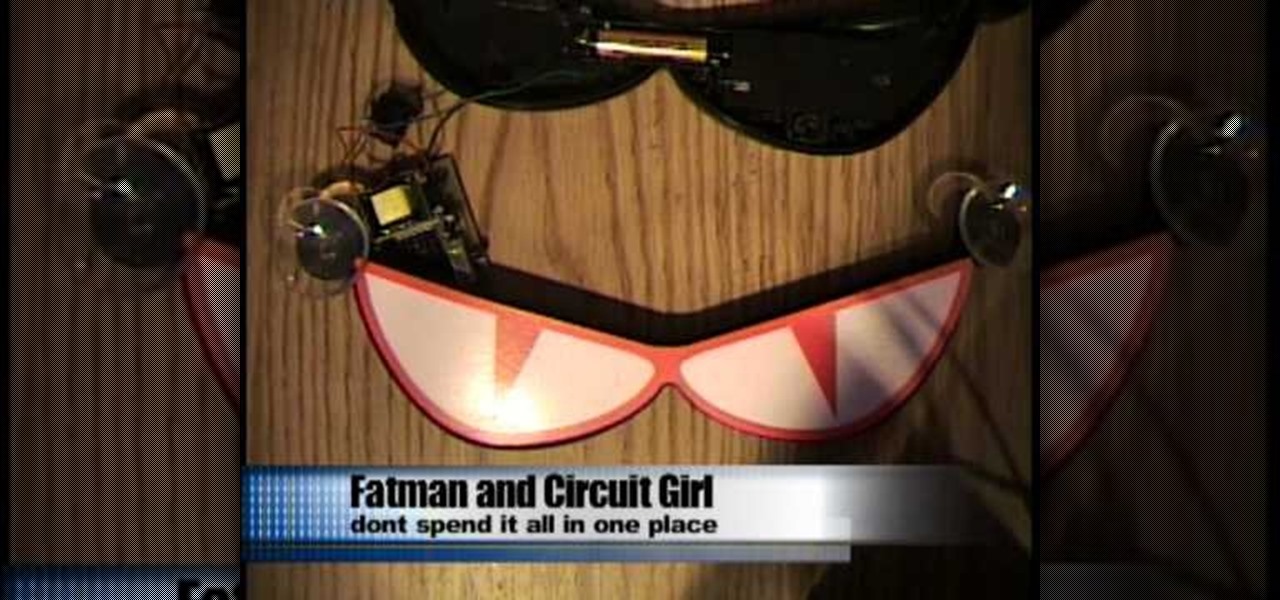
Electroluminescent substances have become more and more popular lately in all kinds of projects, from toy glasses to EQ t-shirts. They allow you to create incredibly thin circuits that can be silkscreened onto a clear flat substance. Watch this video to learn how to layer circuits and EL wire and ink to make thin, flexible light-up displays like the one inthe video.

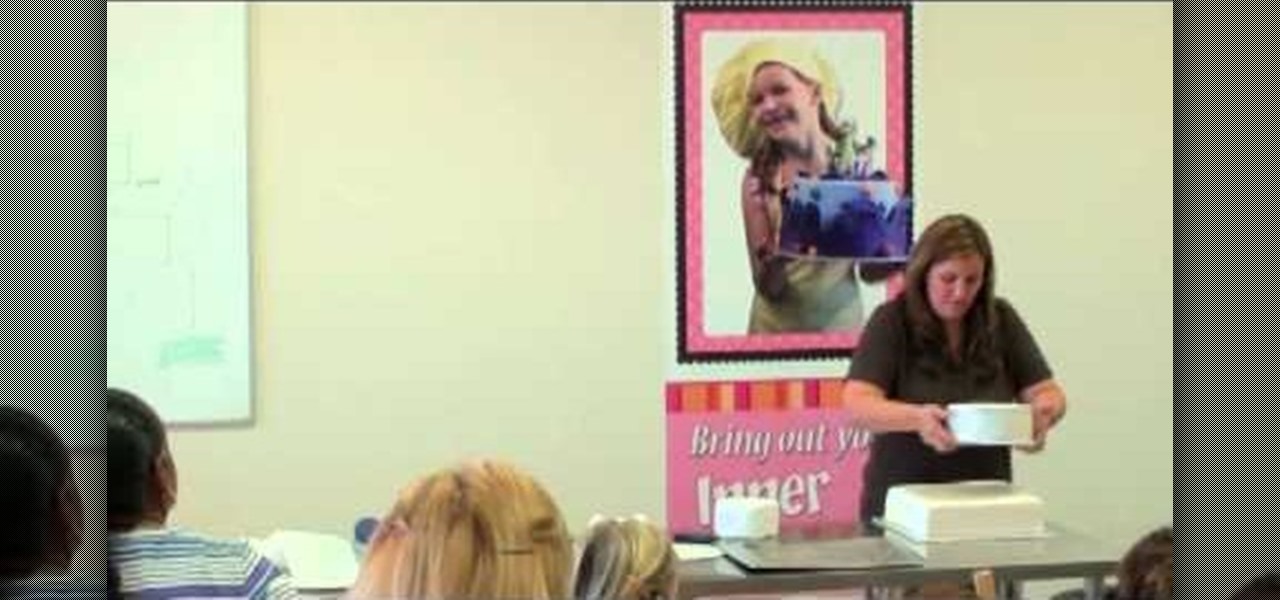
Unless you're making a one layer cake, which doesn't seem to exist all that often anymore, putting together double, triple, and even quadruple layered cakes requires that skill we learned by trial in error when we were wee little toddlers playing with legos: stacking.

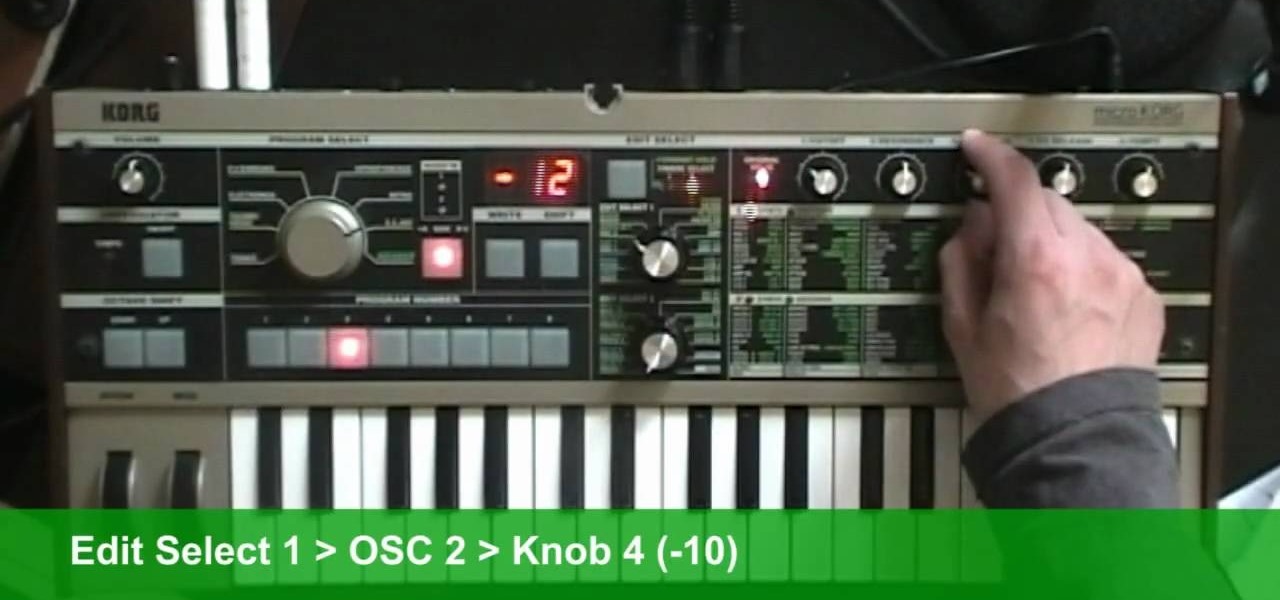
You can use a Korg MicroKorg synthesizer / vocoder to play all sorts of electronic music, and you might actually be able to get one without spending your life savings. If you like dirty electric synth bass parts, watch this video and you'll learn how to program one on your MicroKorg.

Want to know how to align and layer objects in Excel 2011? This video will show you how it's done. Whether you're new to Microsoft's popular digital spreadsheet application, new to Excel 2011 or even an expert merely looking to brush up on the fundamentals, you're sure to be well served by this quality video tutorial from the folks at Lynda. For all of the details, and to get started using object and layer alignment in your own MS Excel '11 projects, watch the video.

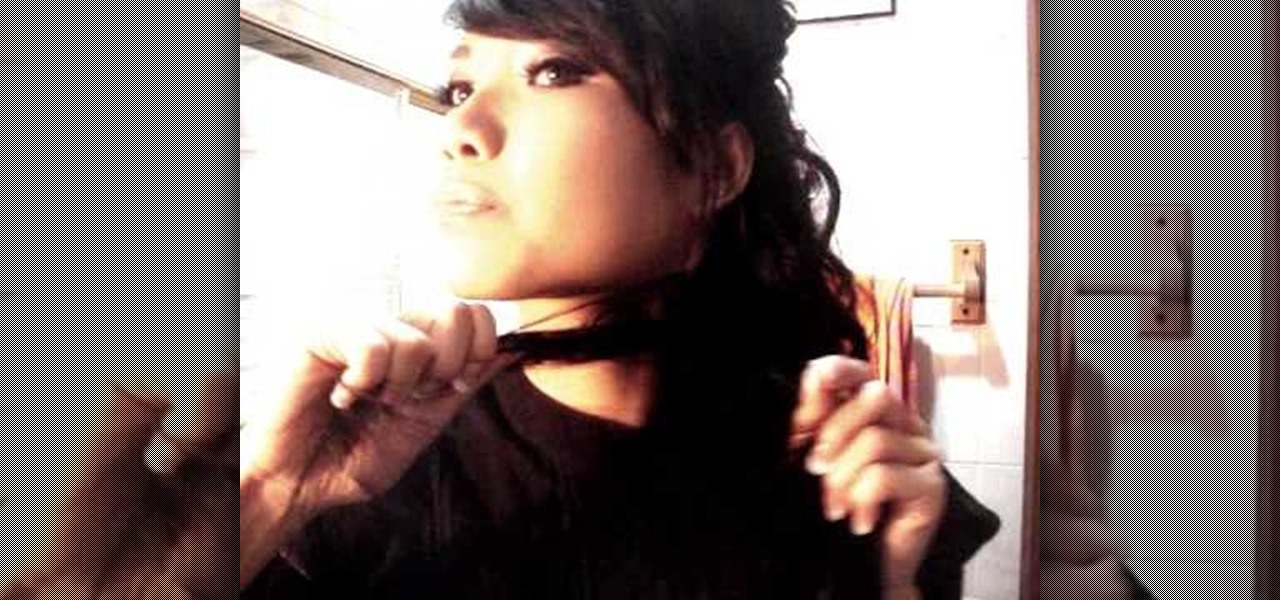
With this video, we learn how to tease your hair before school. First, put all your hair in a ponytail except for the bottom layer. Then, use your comb to comb the hair backwards to tease it. Spray hairspray on it as well to make it stick in place. After this, start to let your hair down in different layers, doing the same process you did on the bottom layer. After this, you will finish with the very top of the hair, then comb it all down lightly so it's smooth. When finished, you can style y...

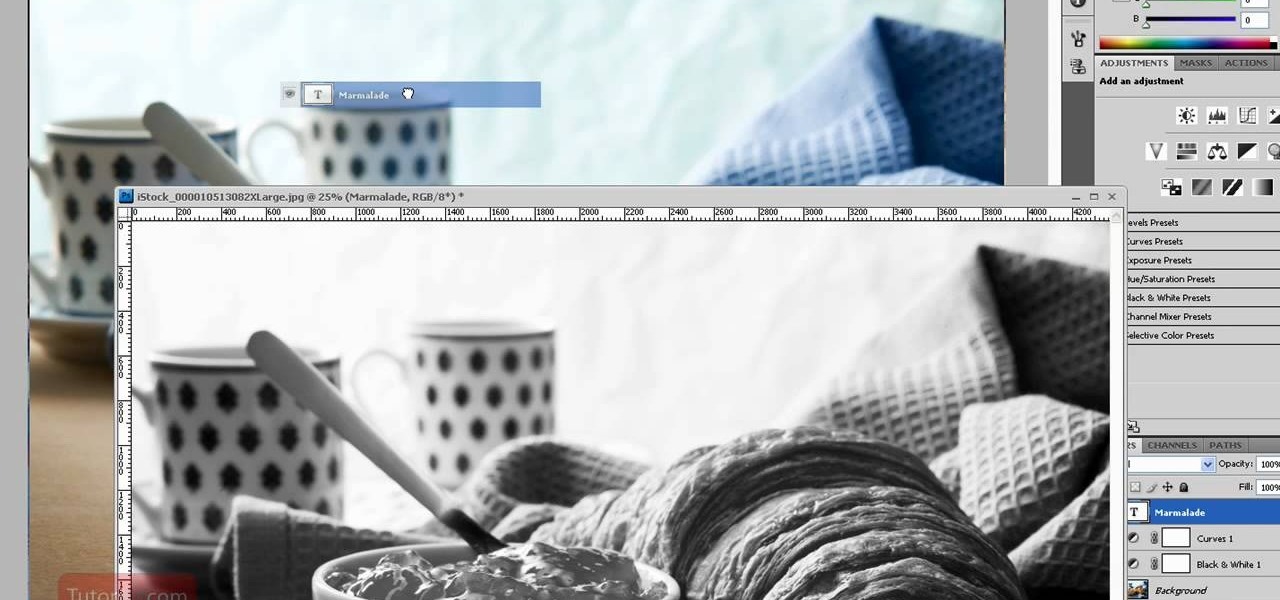
In this clip, you'll learn how to put layers and blend modes to creative use when using Adobe Photoshop CS5. Whether you're new to Adobe's popular raster graphics editor or a seasoned designer looking to better acquaint yourself with the new features and functions of the latest iteration of the application, you're sure to benefit from this free software tutorial. For more information, watch this video guide.

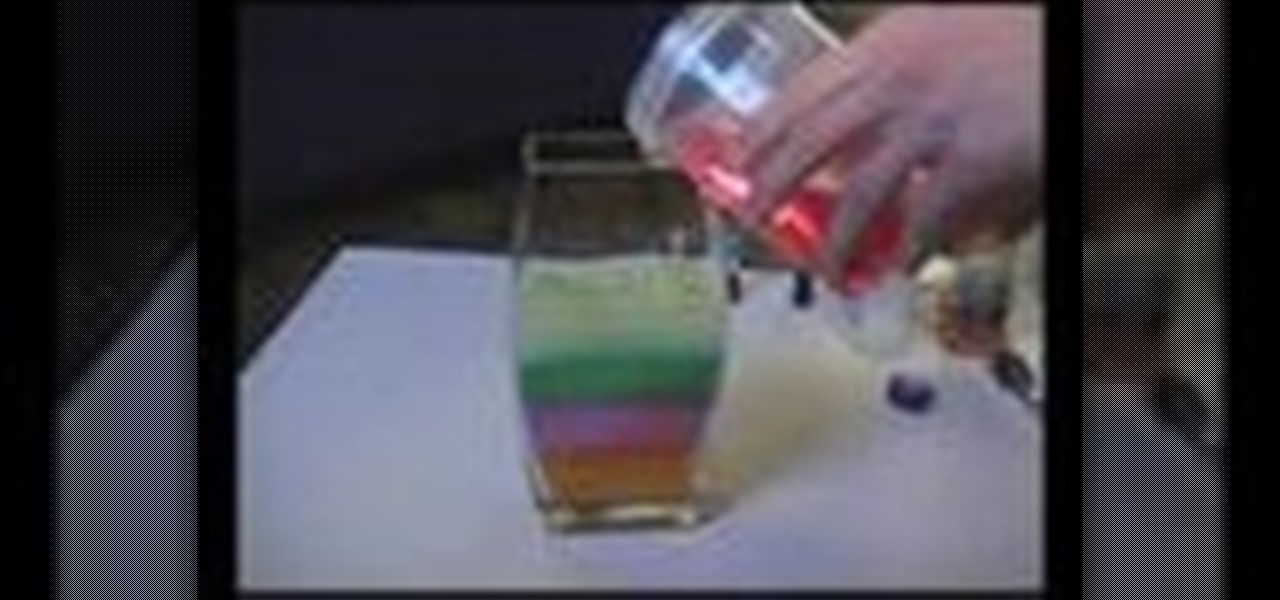
Ransack your kitchen and grab some dish soap, vegetable oil, honey, food coloring, rubbing alcohol, tall glass, water and a spoon. Why? Because you're going to create a visually stunning display of layered liquids. This illustrates the effects of different densities in liquids, while becoming a cool, psychedelic art piece for the living room. It's a super colorful decoration!

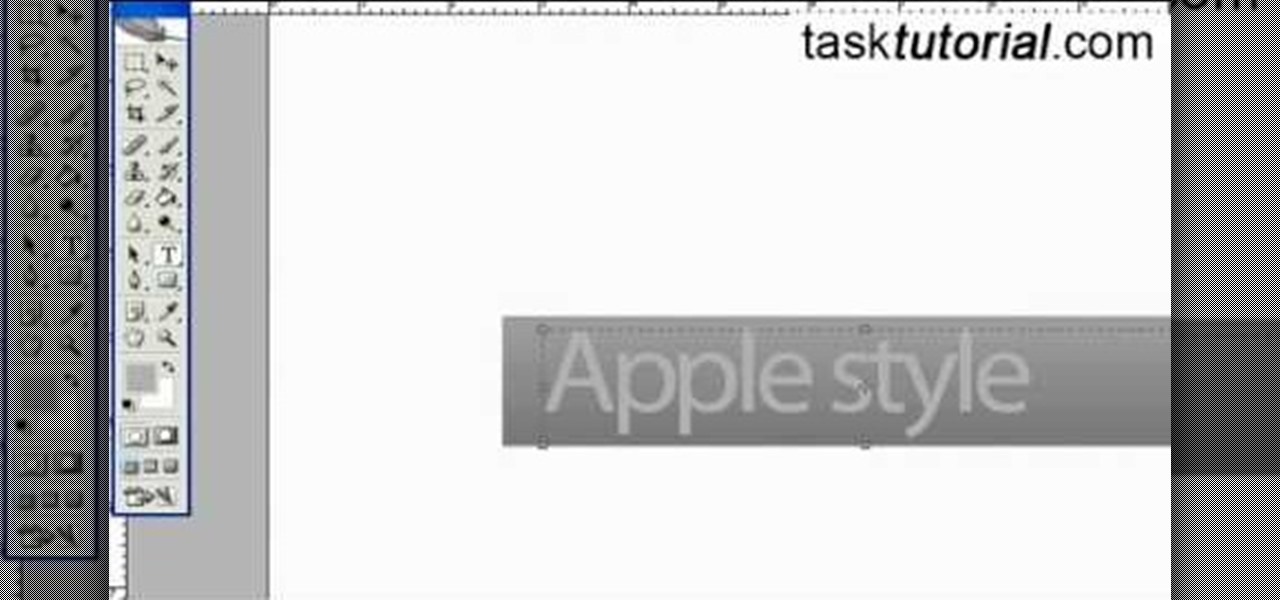
First select the rectangle tool and draw the bar. Now you have to open up the layer style and choose gradient overlay. Now you need to edit the colors as showing in the video and then go to drop shadow option, you have to change the opacity of it to 20%, distance to 2 and click ok. Now type "Apple style" in new layer as showing in the video, set the size of text to 72pt. Now open layer style for the text and choose color overlay and set its color to dark grey, go to drop shadow and choose nor...

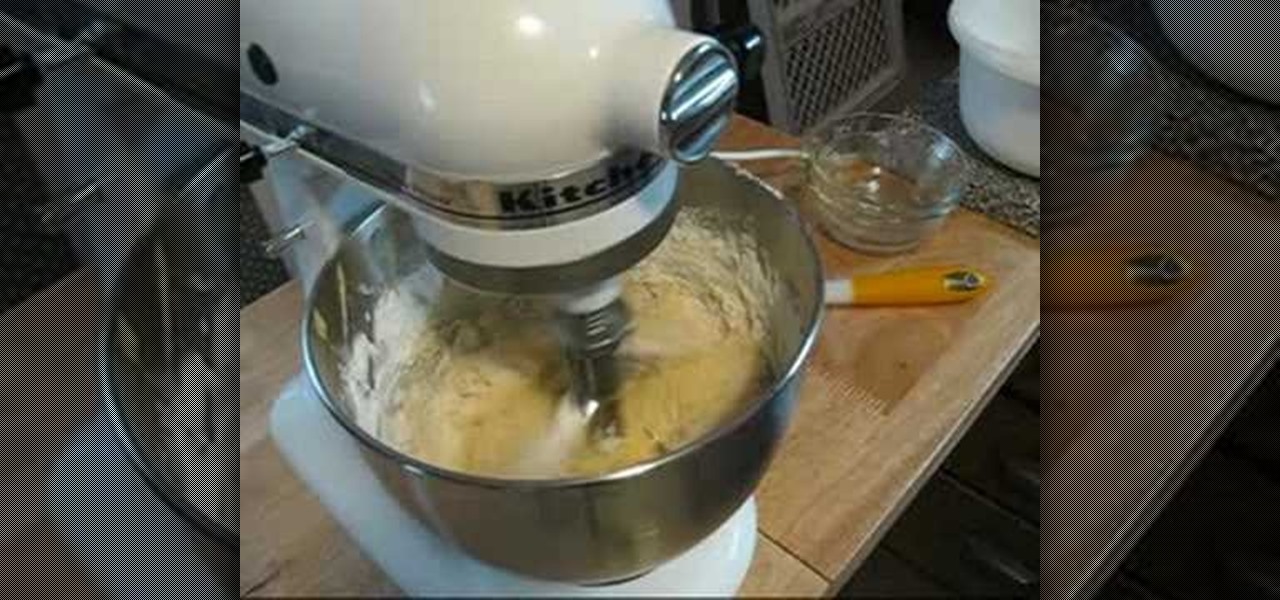
The perfect recipe to use if you want to make a soft layered cake. Forget about mixes that use preservatives or artificial coloring - this cake is the real deal, and even calls for actual shortening in the recipe. Now all you need is the frosting!

In this tutorial, we learn how to use the soft light layer mode in Photoshop with Yanik Chauvin. This will reduce gray in the picture. First, duplicate the layer and then click on the blending mode menu. Click on the soft light option, then your photo will adjust and have saturation in it. The flatness will be removed from the image and the gamma will be increased. If you find this too strong, you can go into the opacity slider and adjust this to what you think fits your picture. When finishe...

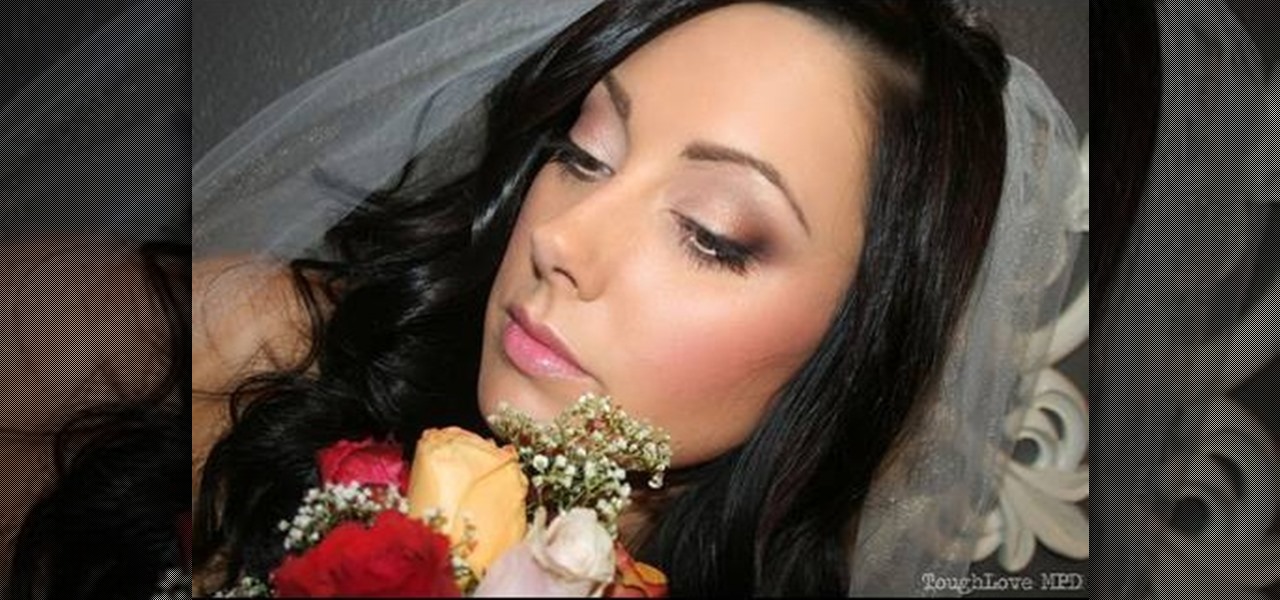
Too many brides make the mistake of trying to go all out for a wedding. While some things come better bigger: snagging your dream location - a huge, 400 person capacity church - or dream dress - a poufy, whipped creation with an uber long train and layers and layers of tulle - going overboard with your makeup is a recipe for disaster.

In this tutorial, we learn how to do a messy fishtail braid. First separate your hair so the bottom layer is exposed, then place on volumizing mousse and hair spray to this layer. Now, expose the rest of the hair and add the mousse and hair spray to this layer. Next, curl your hair with a 3/4" to curl the hair away from your face. When finished, section your hair so the upper half is in the back of your head, then clip this securely. Next, start doing a fishtail braid by braiding the outer si...

This video tutorial is in the Arts & Crafts category where you will learn how to make a multi-layered embossed floral gift card. Take a piece of 11 x 8 1/2 inch Stampin' Up card stock and fold it in half. Next you punch out layers of colored paper of rose red, very vanilla, regal rose and blush blossom colors of different sizes as stated in the video using the Boho Blossom Paper Punch. Now you take a Sizzix Big Shot Die and cut out a craft paper and set the cut outs aside. Now you got to stam...

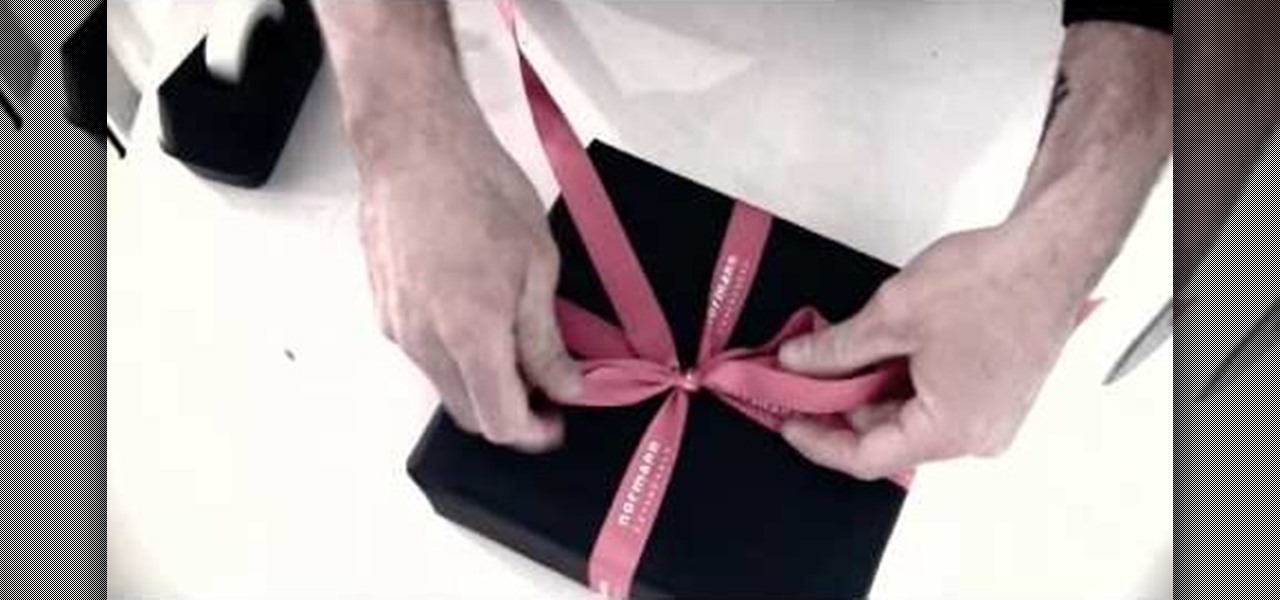
In this tutorial, we learn how to wrap a gift the easy way. To begin, lay the wrapping paper down on a flat surface. Next, lay your gift down upside down on the middle of the paper. Next, fold the paper over half the gift, then tape it. After this, measure the other side to meet in the middle, and make a crease. fold it over the middle and tap it. Now, fold in the sides. To do this, fold in the edges first, then push the top layer down, and bring the bottom layer up. Tape this. Now, turn the ...

This AE user's guide provides a basic introduction to the concept of text layers. Whether you're new to Adobe's popular motion graphics and compositing software or a seasoned video professional just looking to better acquaint yourself with the program and its various features and filters, you're sure to be well served by this video tutorial. For more information, including detailed, step-by-step instructions, watch this free video guide.

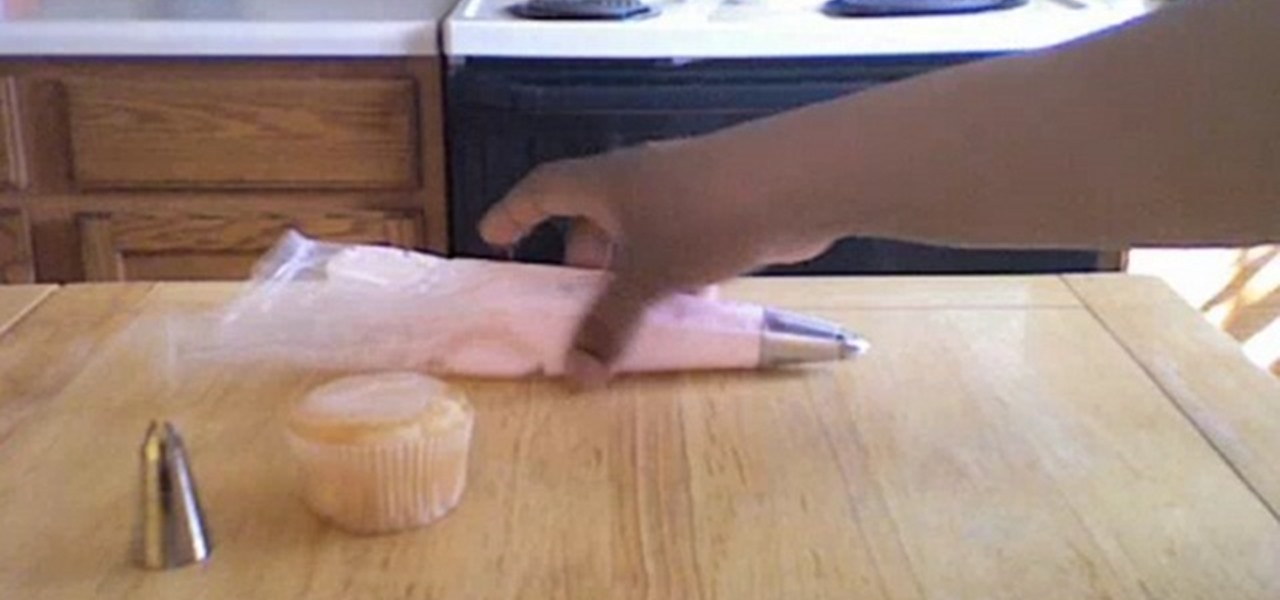
Learn how to frost a cupcake using a 1M tip or large tip. The supplies you'll need are cupcakes and a bag with the frosting and the tip. First, squeeze the bag to remove any air bubbles. Take your cupcake in your hand and start at the outside and work your way in. Then, in one motion, go over the first layer to create a stacked second layer of icing. This method gives you a pretty ice cream cone type effect on your cupcakes. Next, you'll learn how to make your cupcakes look like roses. Using ...

Photoshop is one of the most powerful and widely used program out there on the market. Not only can people use it to make their own photos look better, but they are able to take other pictures and images and enhance them to whichever way they want. That can be seen as both bad and good. Somtimes, to do so it involved using the layers and moving a picture to a new image. In this tutorial, you'll find out how to move a layer to a new image using Photoshop. Enjoy! It's quick, easy, and will be a...

Curly hair is notoriously difficult to style and cut. Sure, when you wear the hair curly, it is very easy to hide an uneven hairdo, but what if you want to straighten it out? If you would like to cut a cute layered look that you can wear when your hair is straight, you will need to follow these tips for cutting curls.

In this how to video, you will learn how make car rims bigger using Photoshop. First, open the image in the program. Choose the elliptical marquee tool and select the rim. Next, right click the selection and click layer via copy. Now you should have the cut out rim in a new layer. Drag layer 1 bigger by holding shift. Replace it and then click on the accept button. Erase the part of the rim that is on the body of the car with the eraser tool. Have layer 1 selected and merge it down. Do the sa...

This video shows us the method to make simple GIF animations in Photoshop Elements 6. First we have to make a file with different layers. Click on the icon below the 'Layer' option to make a new layer in the file. After finishing the file, go to 'File' and the 'Save for Web' option in it. On the right side of the window, select 'GIF' as the file type. Check the 'Animation' option. Check 'Loop' to play the file again and again. Click 'OK' and the window to ask you the name of the file will be ...

In this video, we learn how to create a picture frame on a photo using PhotoShop. First, open up the program and open the picture that you want to change. Next, select the rectangular marquee tool from the toolbar on the side. Now, create a selection of what you want to frame. Then, click with the right key and select "inverse". Click again with the right key and choose "layer via copy". Now, click 2 times on the layer to open and the layer style menu will show up. Now put the contour to crea...

In this video, we learn how to put eyeshadow onto a picture using PhotoShop. First, open up the program and open your picture. Click on layer then new the click layer again.On the new layer put as blend mode "multiply". Make the opacity 50% and choose a color. Then select the brush that is the right size for your picture. Next, you will be able to brush the mouse over the eyelid and put eyeshadow onto the lid of the eye. You can change the intensity of the eyeshadow by changing the opacity hi...

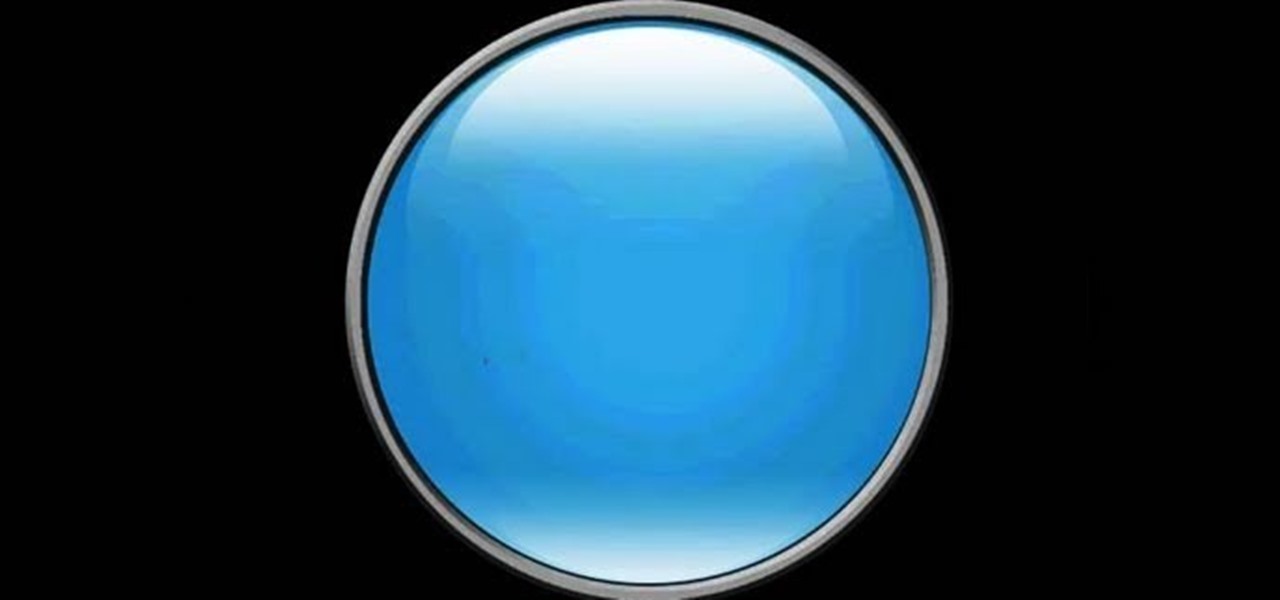
This tutorial is an on-screen demonstration on how to create a circle that looks like a glass orb using PhotoShop. First make the background black. Then using the elipse took, draw a circle, filled with light grey. Right click on the shape layer and click "Rasterize layer". Select the eliptical marquee tool and make a circle in the grey shape, a little ways in from the edge. Select the area and choose "Layer via cut", click on Layer 2 and delete. Click on Shape 1 and create a contour by choos...

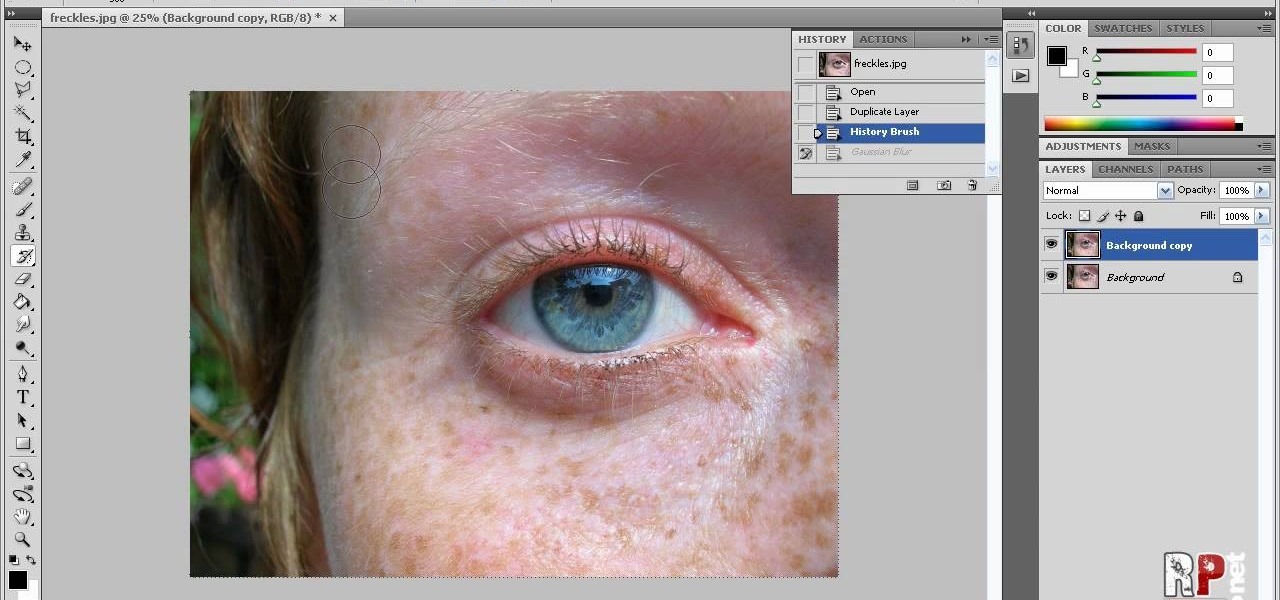
In this how-to video, you will learn how to reduce freckles in Photoshop. This is useful for editing people who have a lot of freckles. First, open the file in Photoshop and copy the background layer. Apply a Gaussian blur to the layer. Adjust it so that the freckles are no longer visible. Click okay and then open up the history palette. Click on the duplicate layer in the history window. Set the source for the history brush. Set the mode to light. Next, paint over the freckles. Now the freck...

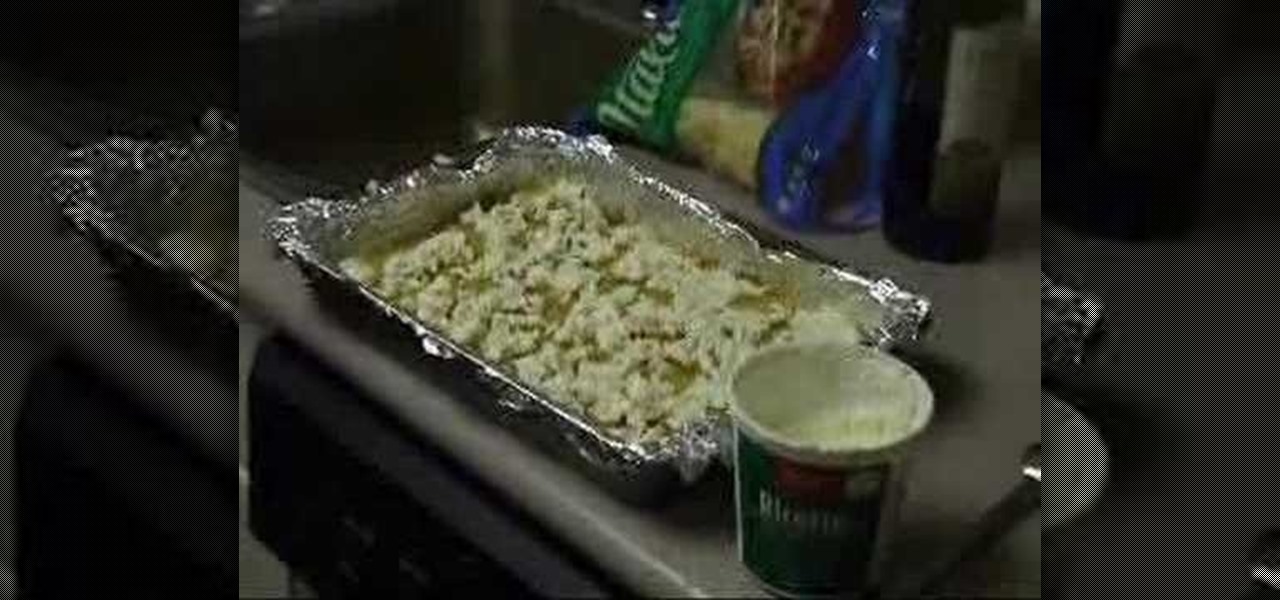
This video illustrate us how to make lasagna. Here are the following steps: Step 1: First of all take all the ingredients which includes mozzarella cheese,pasta strips,ginger garlic paste,onion ,tomato, mustard sauce,salt, cottage cheese and pasta sauce.

In this video we are shown an easy way to draw a fox using Photoshop. First, start with a rough sketch on a separate layer. Rough in the head, ears, snout, and eyes. Make a new layer and outline your previous drawing. In this layer put in more detail such as the jagged outline of the fur and the details of the face. To colorize your fox, put in a new layer under the outline layer. The fox should be colored a dull orange, with dark brown shadows for the ears and white under the muzzle and on t...

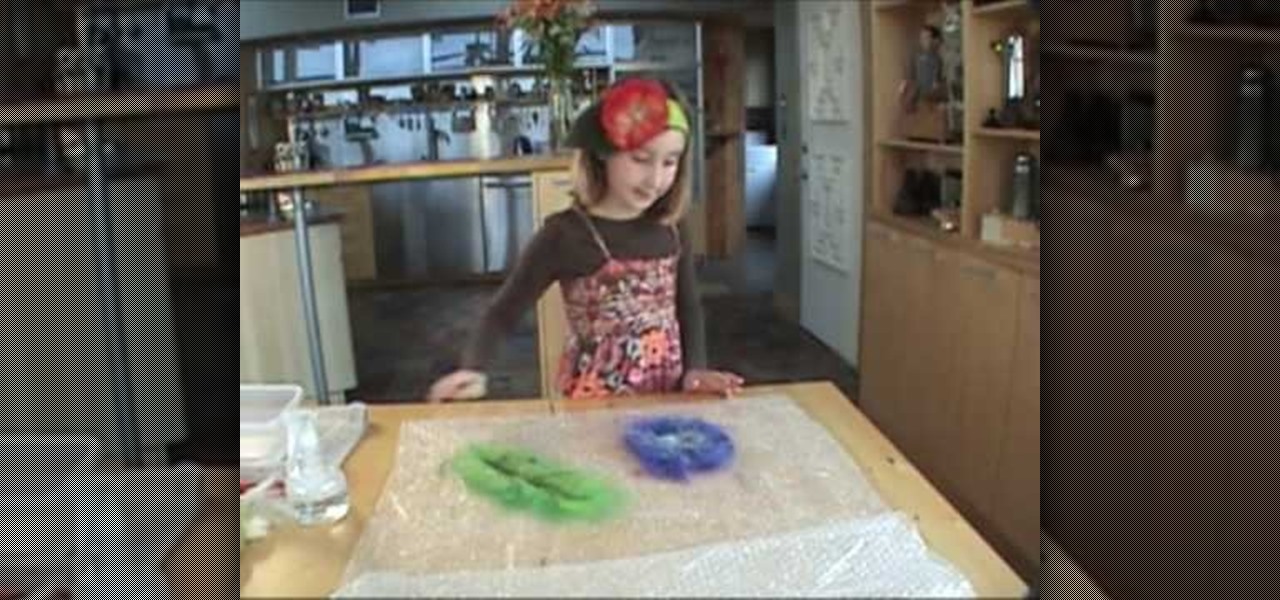
This is a demonstration of making a felt flower accessory for your head bands, waist band and even for your clothes. You will require wool fibers, bubble wrap, felt sponge rolling pin, washing bags and a container of hot water and a spray for soap water. First loose fibers are taken of the color you prefer for your flower and laid in one direction to the size and shape of the flower. Then a second layer is laid at right angle to the previous layer. Some strand of fiber is twisted and laid on ...

This video demonstrates how to make Chocolate Buttercream Frosting. For this recipe, you will need the following: a bowl, a mixer, Confectioner’s sugar, melted chocolate, vanilla extract, and salt.

Whether you're new to Adobe Photoshop or a seasoned graphic arts professional after a general overview of CS5's most vital new features, you're sure to be well served by this official video tutorial from the folks at Adobe TV. In it, you'll learn how to create 3D logos and artwork from any text layer, selection, or layer mask with new Adobe Repoussé technology. Twist, rotate, extrude, bevel, and inflate these designs, and then easily apply rich materials like chrome, glass, and cork to explor...

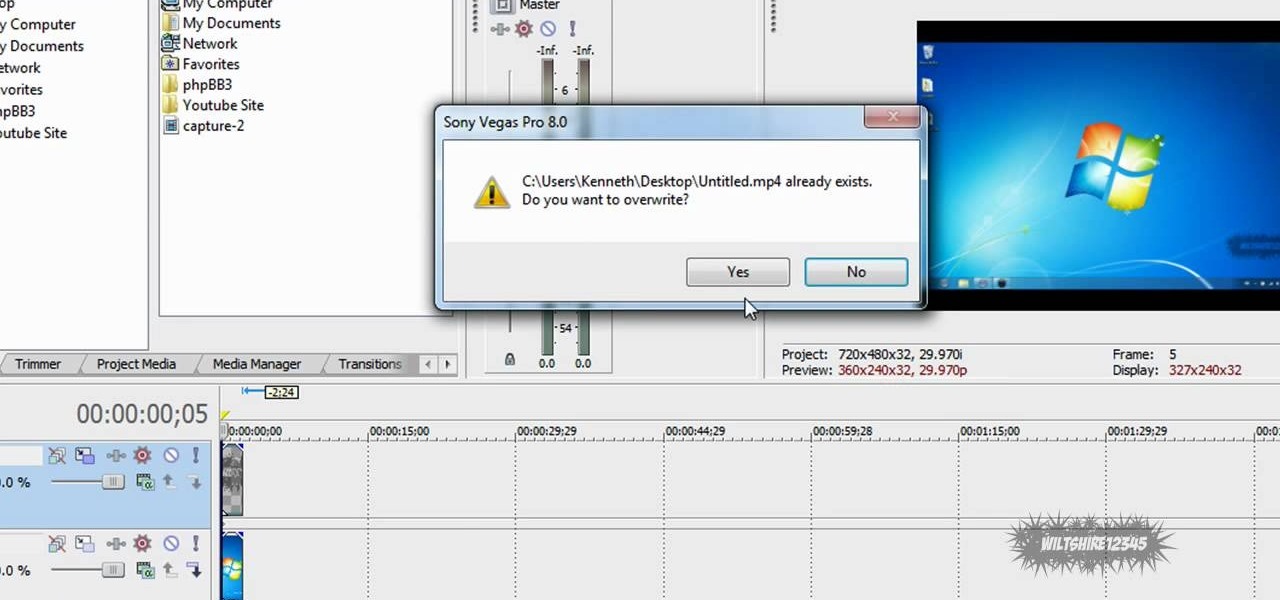
This video in the Software category will show you how to add a watermark to a video in Sony Vegas. This video tutorial is using Sony Vegas Pro8. Import a video into your timeline on which you want to put a watermark. Then go to the video layers on the left bottom, right click and select ‘insert video track’. This will create a blank video layer. Now find a picture that you want to use as a logo and drag and drop it into the blank layer. Edit it to the length of your video. Then go to ‘track m...

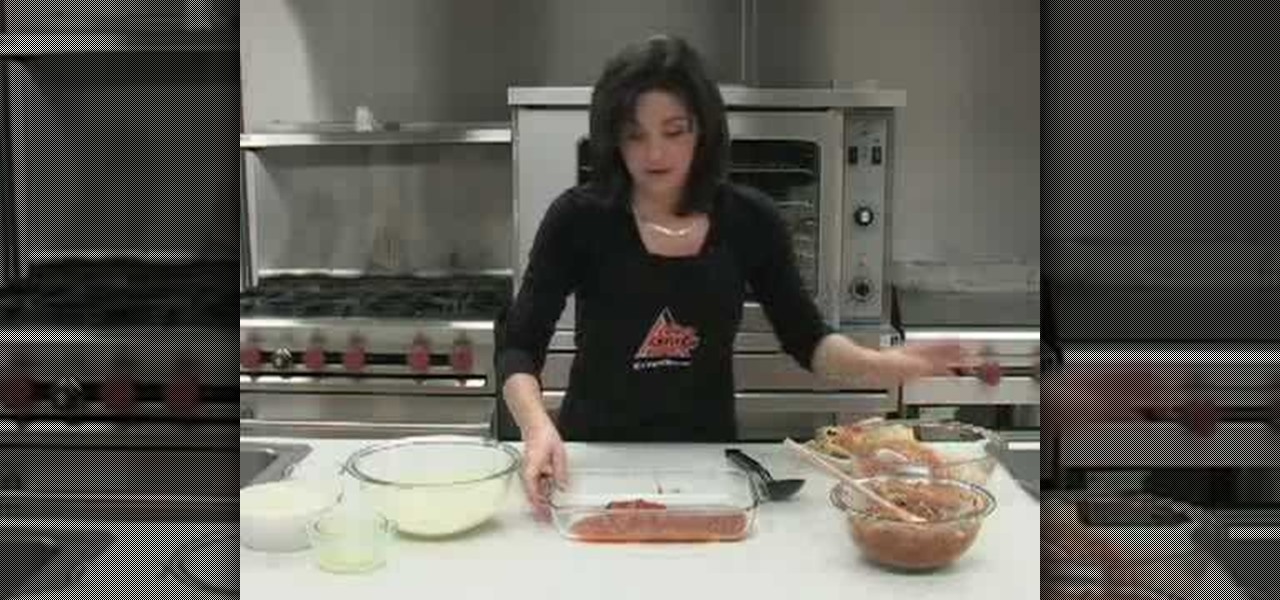
The Food Corner brings us this twist on traditional lasagna - roll ups instead of layered. The ingredients for this dish are: cooked lasagna noodles, ground beef that has been cooked and seasoned, prepared spaghetti sauce, a lightly beaten egg, ricotta cheese, parmesan cheese, and mozzarella cheese.

AMICLUBWEAR created a tutorial on how to host a tea party based on "Alice in Wonderland". The video begins with a step by step instructional on how to make tissue paper "flowers" as decorations for your tea party. The tissue papers are layered in opposite colors, after which the tissue paper is accordion folded and tied together using a pipe cleaner. Afterwards, the tissue paper is carefully extended layer bay layer and shaped into a flower. Next, there was a tutorial for making the "EAT ME" ...

The first thing that you want to do is in a new image, create a new transparent layer. Then you want to use the oval shape tool and check "fixed" so that it forms a perfect circle. Draw the circle, fill it with any color that you want, and then duplicate the layer. Use the move tool to move the new circle underneath the one you just created, leaving some room. Merge this layer with the one you originally copied it from, and repeat this step until you have as many circles as you want. Then you...

Cocorais shows you how to style your short hair into a crimped wavy look with a step by step example doing her own hair. You'll need a heat-protecting spray, a curl-boosting spray, a rat-tail comb, some sectioning clips, hair wax, and a flat iron. Apply heat-protecting spray and then (a lot of) curl-boosting spray. Pin up your hair so you can work with really thin sections of hair. Take one section, and pulling it straight, take your flat iron and move the flat iron back and forth. Iron layer...

This is a video tutorial on how to create a Joker (Dark Knight) makeup look. To begin, scrunch your face and apply white pancake make up with a sponge or your finger. Blend layer one with a 192 brush. With a 242 brush, apply a dark soul pigment remembering that being sloppy is the key. Scrunch again and apply a layer or two of white make up. Cover the eyebrows as well and blend the make up. Smolder some eyeliner on the waterline. Now drag Russian red lipstick across your face and blend it wit...

Call of Duty? Nope. SOCOM: U.S. Navy SEALs? Nah. Battlefield: Bad Company? Think again. This isn't any video game on the market, this is your own video game, well… your own video game logo - military-style.

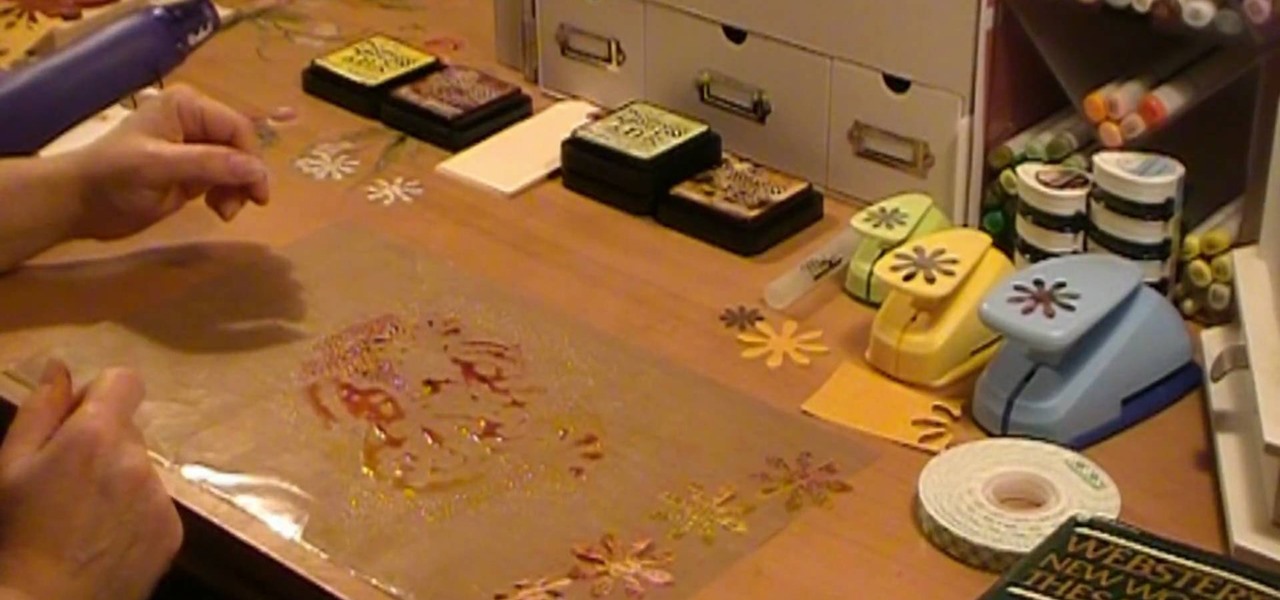
This video demonstrates how to make paper flowers. She lays a silicone mat on the table. She shows how to use distress inks by stamping some red and yellow ink onto the mat, sprays water onto the mat with a mister, and lays punched-out paper flowers into the wet ink. She turns them over and uses a heat gun to dry the ink. After the flowers are dry, she layers them on top of each other, putting a piece of foam tape in between the layers. She shows how she used the layered flowers to decorate a...

In this tutorial CreativeIceDesigns shows you how to make really cool electricity text effect by using Photoshop. To do this you need to open Photoshop and create new document. Layer will be black. Go to Type tool and type the word which you want to give effect. Now duplicate the layer and hide one. After that go to filter, stylize and wind option. Give this effect from all side. Change the color and unhide the text layer. After watching this you will be also able to make electricity text eff...
