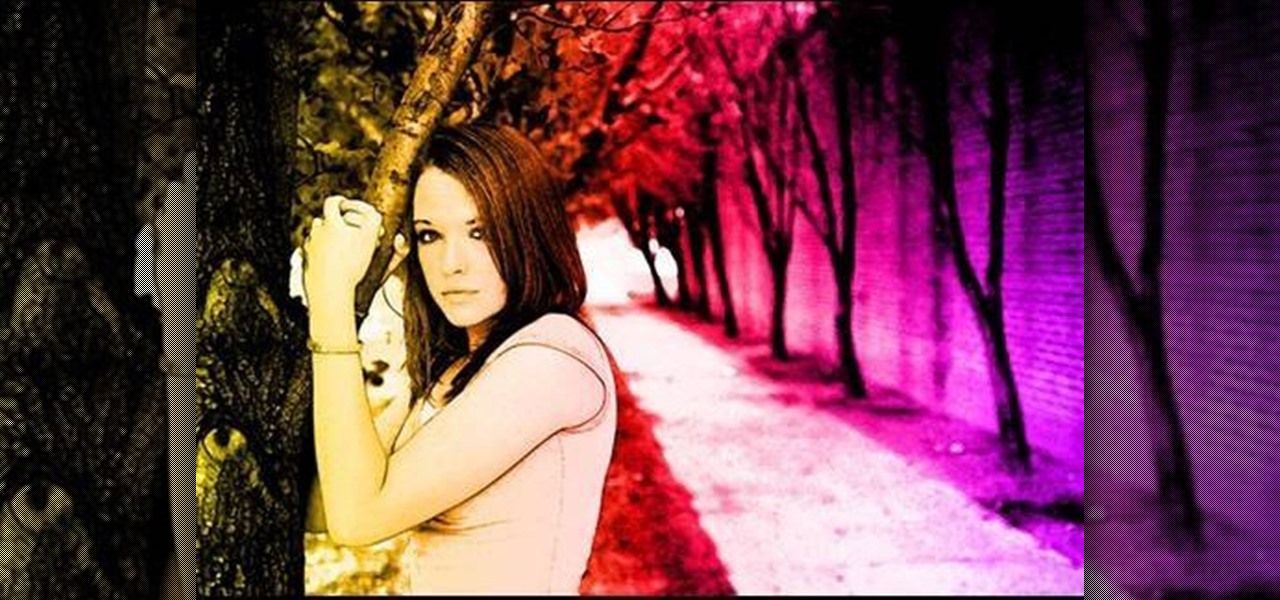
How To: Create a painting effect using Photoshop
1. First of all select 'filter' at the ‘top tool bar’. Now select the 'artistic' from the ‘drop down’. Then select 'fresco' and then click 'ok'.


1. First of all select 'filter' at the ‘top tool bar’. Now select the 'artistic' from the ‘drop down’. Then select 'fresco' and then click 'ok'.

You can make a rocket at home using these items found around the house. Icing sugar, measuring tape, a PVC pipe, black marker, hammer, flat headed bolt around 18 millimeters wide , mortar and pestle, drill, drill bit size 5 millimeter, potassium nitrate and kitty litter.
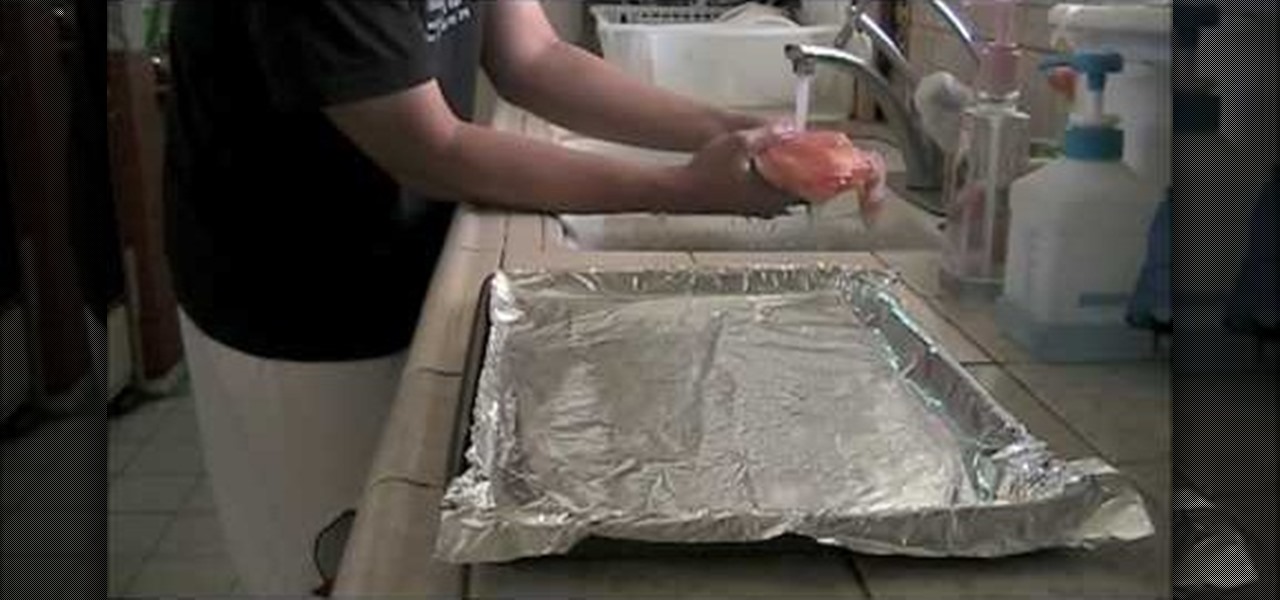
Learn how to bake salmon in the oven with mayonnaise and onions in simple steps. You will need: a large onion, salmon, mayonnaise1. First peel out the outer layer of the onion, then cut it out and separate each of its layers. 2. Now slice the separated layers of the onion nicely and keep it aside. 3. Now take a suitable tray, place a piece of aluminum foil over it and spray it with butter. 4. Place the cleanly rinsed salmon on the tray and season it. 5. Add some oil to a pan, then add the sli...
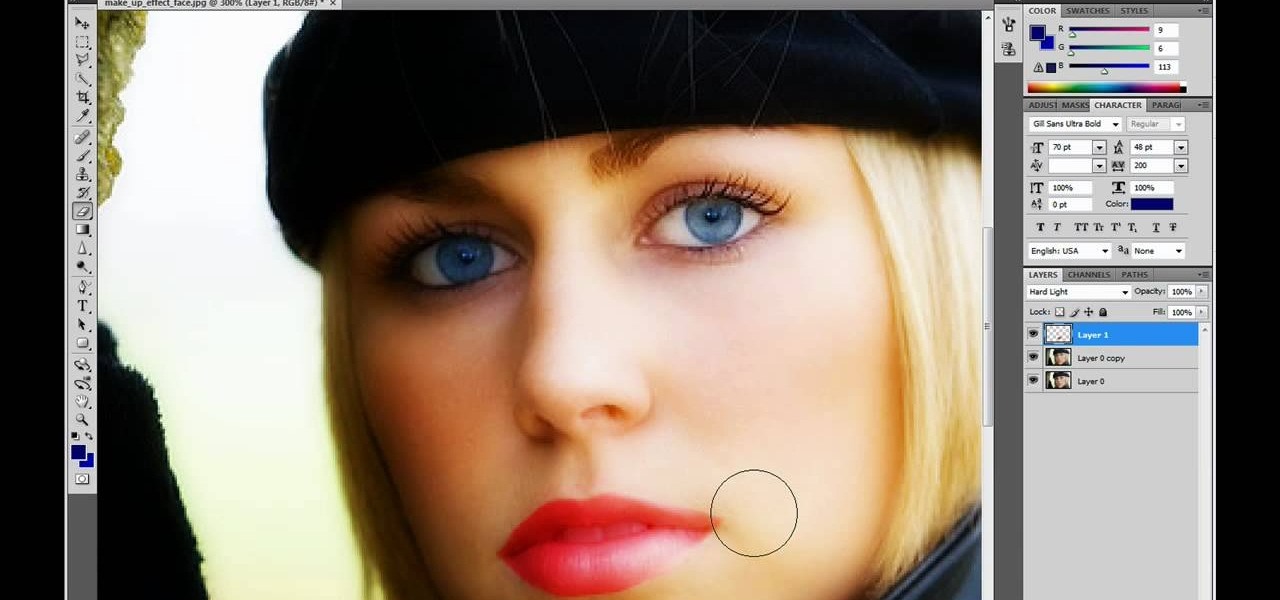
This video is describing how to retouch a photograph by using Photoshop CS4. The first step is to get a photo that you would like to edit, preferably of a person's face. Then make a new layer that duplicates the background, go to Gaussian blur, then go to hard light for your layer blending. Then draw lipstick on the model by using the polygon lasso tool and the hue/saturation tool. Then chase the hue and saturation to the correct color, then erase the edges that you accidently missed with you...
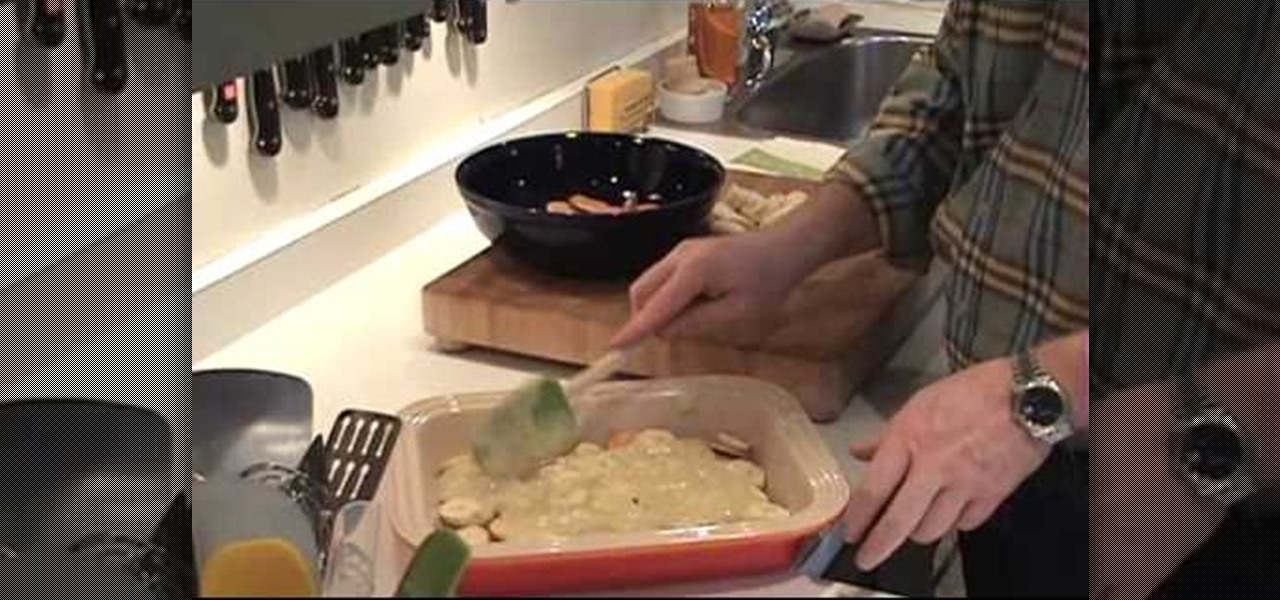
In this segment of Fantastic Food, Scott Hargrove demonstrates making a traditional homemade southern banana pudding. If you are looking for pudding from a box, don't stop here! After pre-heating the oven to 425 degrees, he warms up a stainless steel pot. He adds tablespoons of butter, one cup of sugar, 1/3 cup of flour, and two egg yolks into the pan. After stirring those ingredients together, he adds two cups of whole milk and 1/8 teaspoon of salt. He starts whisking the ingredients togethe...
Learn how to create a cell phone icon in Photoshop with this video tutorial. Draw a rectangle of radius 30 pixels by holding shift key. Right click on the toolbar and select Stroke button. It will open Layer Style dialog box. Set stroke color and set size to 2 pixels. Select Stop Color set little light red color and click on OK. Now, check on Inner Color option change size to 4 and Capacity value to about 60%. Now select Ellipse tool which will draw a ellipse and cover half of rectangle. Sele...

This tutorial explains how to create a multi colored eye effect. First open the image in Photoshop and unlock the layer. Make a selection of the eye with either the lasso, magnetic lasso or pen tool. If you are using the pen tool, like in the tutorial, right click and choose mark selection, feather radius of three pixels. Now copy and paste the eye. Go to File and select New. Create an image of 1000 by 1000 pixels. Unlock the layer and make sure tea background and foreground colors are black ...
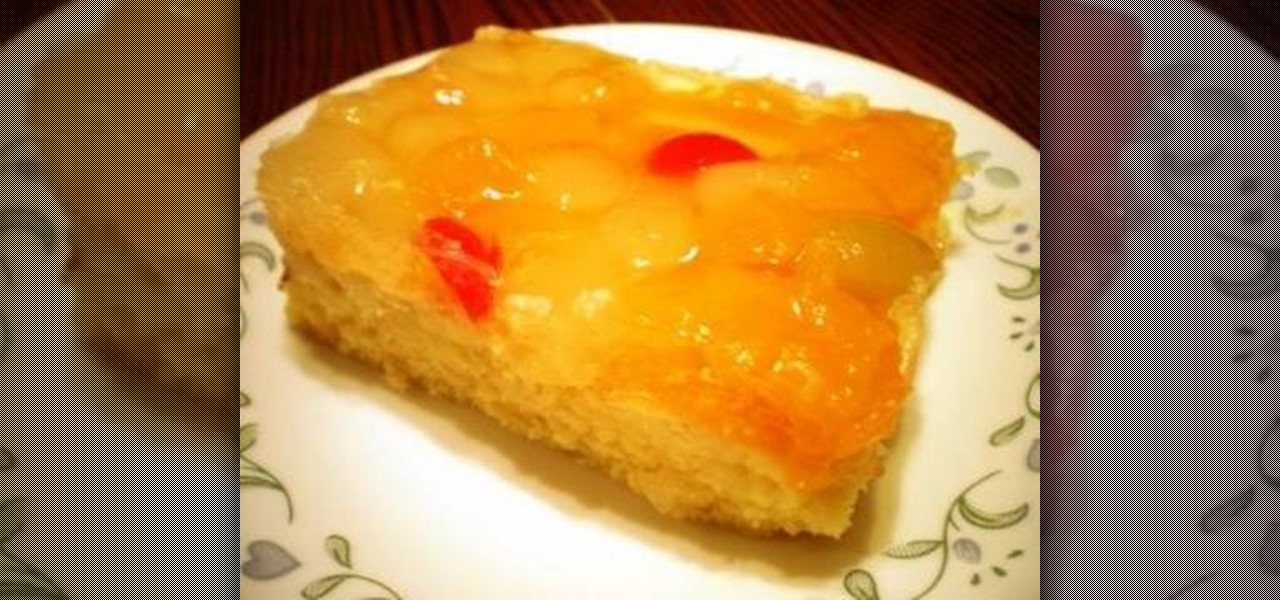
Preheat oven to 325 degrees F (165 degrees C). Butter a 9x13 inch oval, glass baking dish. To prepare cake: Beat 6 eggs until fluffy. Beat in 3/4 cup sugar until smooth and thick. Fold in 1 1/4 cups cake flour, nutmeg and salt. Stir in melted butter. Pour into prepared pan.
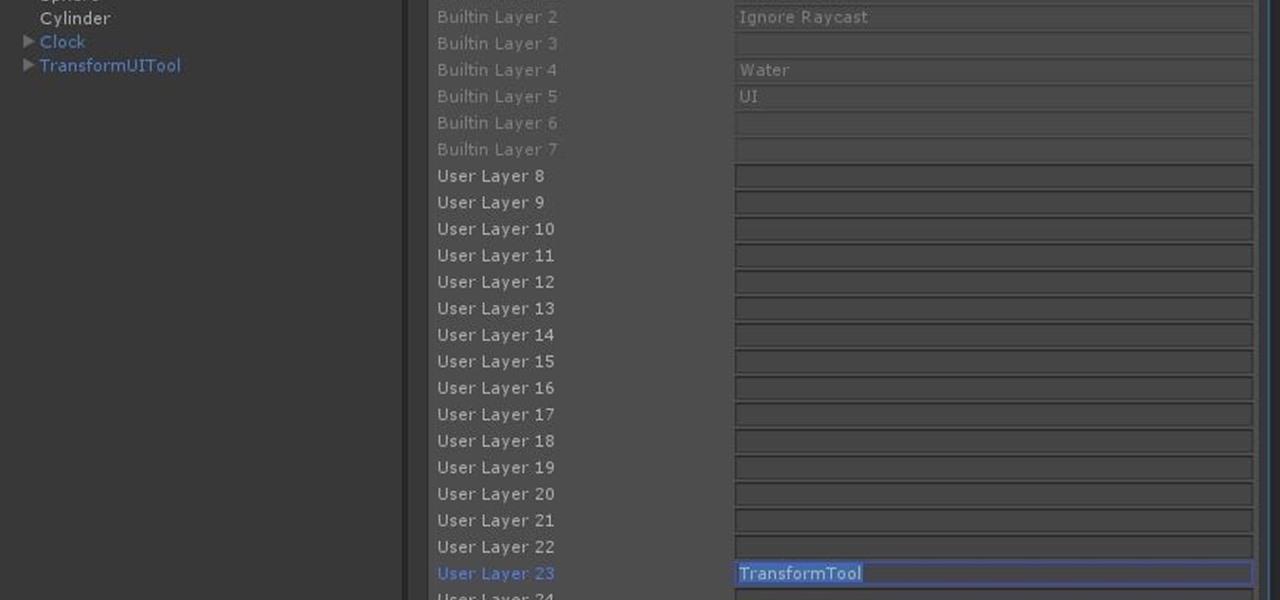
Now that we have unlocked the menu movement — which is working very smoothly — we now have to get to work on the gaze manager, but first, we have to make a course correction.
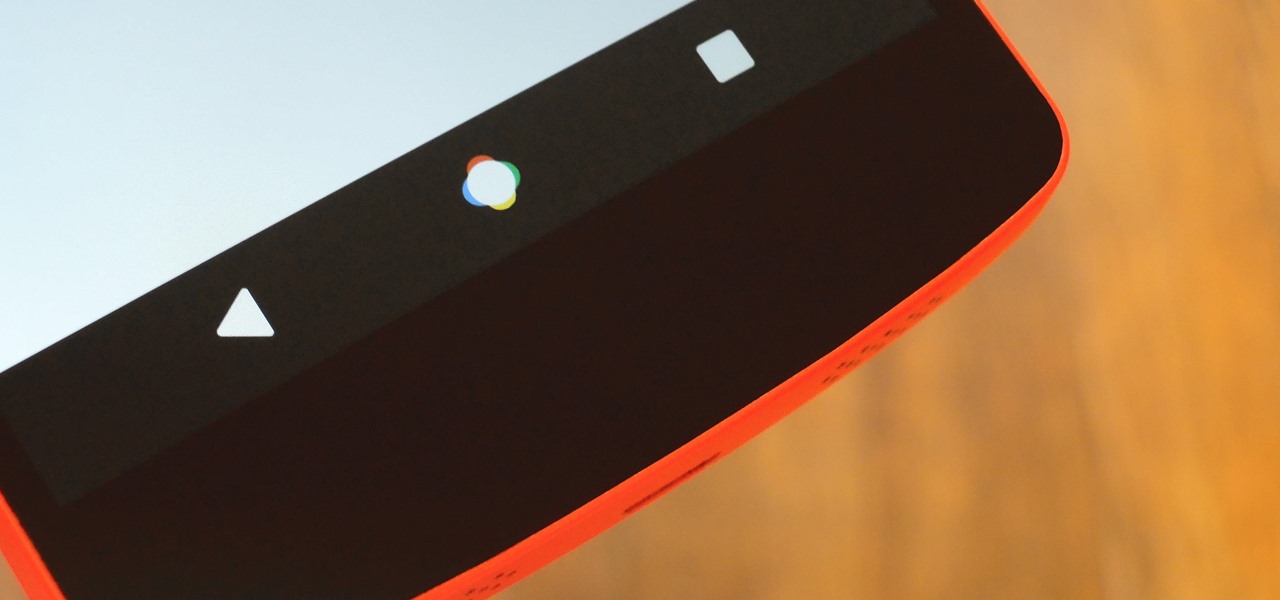
The new Google phones, which are rumored to ditch the Nexus moniker for Pixel, will most likely come with an Android feature that 7.0 Nougat doesn't currently have—a new set of navigation keys.

The Billboard Charts have been a measurement of commercial success for pop songs since roughly the time that radios became a household item. In its modern form, Billboard ranks the sales and performance of all singles with its "Hot 100" chart, as well as many other genre-specific rankings.
Everybody's favorite food is pizza. But not everybody knows how to actually make a pizza, which is practically a sin. And this "margherita" style pizza is a great one to learn, full of Italian simplicity— red tomato sauce, mozzarella cheese, and green basil— all the colors of the Italian flag. Check out the recipe for this delicious margherita pizza.

The Labyrinth. It's Zeus's main layer. Can you make it through the Labyrinth unscathed? Can you find your way to the key for Pandora's Box? See what it takes to reach Pandora's Box. Watch the walkthrough for the Labyrinth in God of War III on PS3.
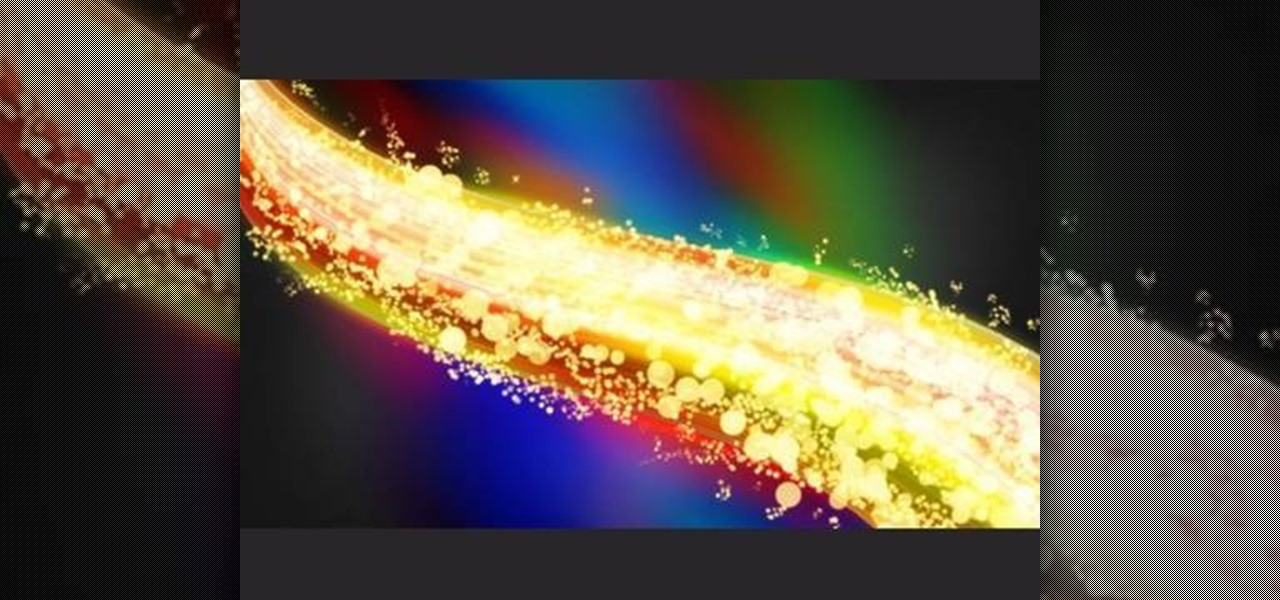
This video will help you learn how to create an Explosive rainbow color swath in Photoshop. First open a new file, keep the width 845, height 475, RGB color mode and white background.
The USDA recommends that adults eat 2 to 3 cups of vegetables a day. Make it easier to enjoy the taste of fresh garden vegetables year round by freezing them.
Have you tried working out with a single leg bridge exercise? Single leg bridge exercises are an essential part of lifting weights and strength training. This fitness how-to video tutorial demonstrates how to gain leg strength with single leg bridges. Learn about working out leg muscles with exercises in this workout video.
Learn how to do single cable rope power overhead skull crushers. Presented by Real Jock Gay Fitness Health & Life.

Learn how to single leg single cable swim strokes. Presented by Real Jock Gay Fitness Health & Life.
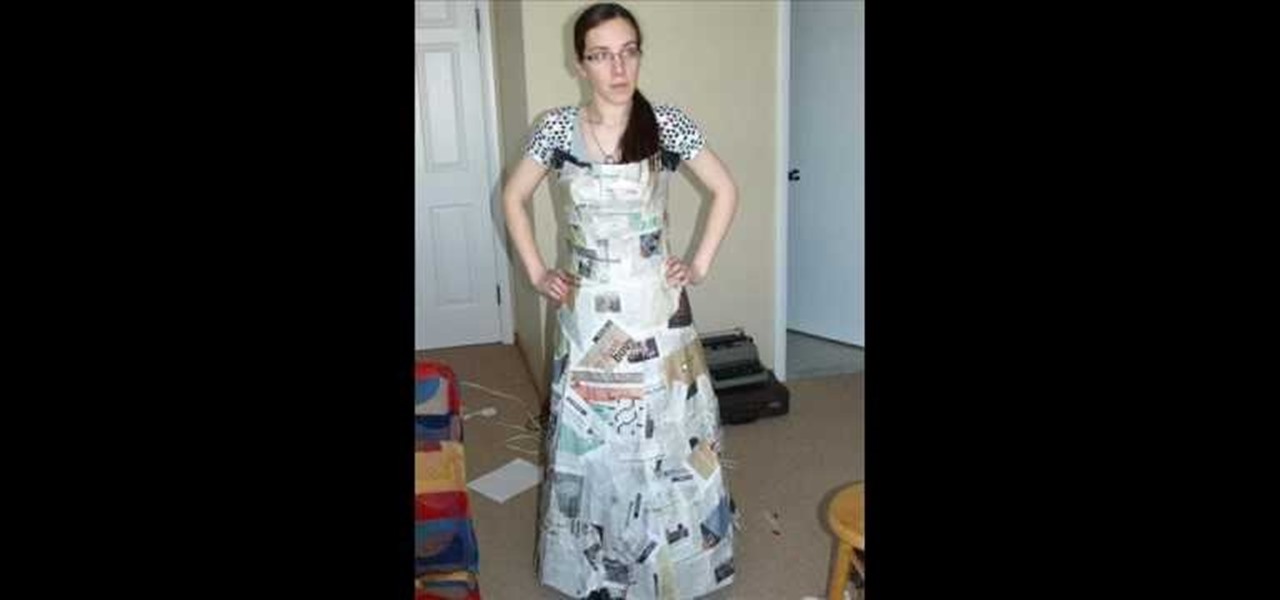
The newest trend in couture? It's called 'trashion' - high fashion using trashy things. And we mean trashy! This tutorial shows you how to make a ball gown using trash bags, duct tape and newspapers. You'll also want a dressmaker's dummy to construct your dress around - or at least a model who's okay with standing still for a long period of time. Use the trash bags to form the dress, and then attack the newspapers over it layer by layer. You're ready for your debut!
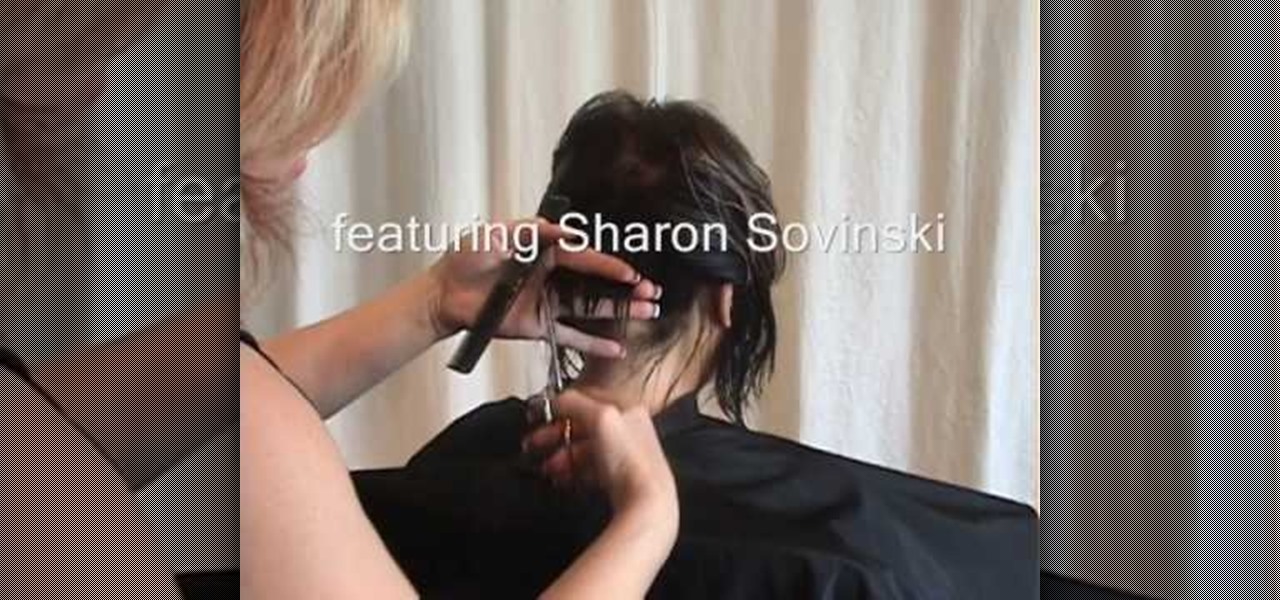
Does a bob haircut remind you of flappers from the 1920's? Originally, the hairstyle (as worn by flappers) was meant to be an androgynous cut, boyish in length and style.
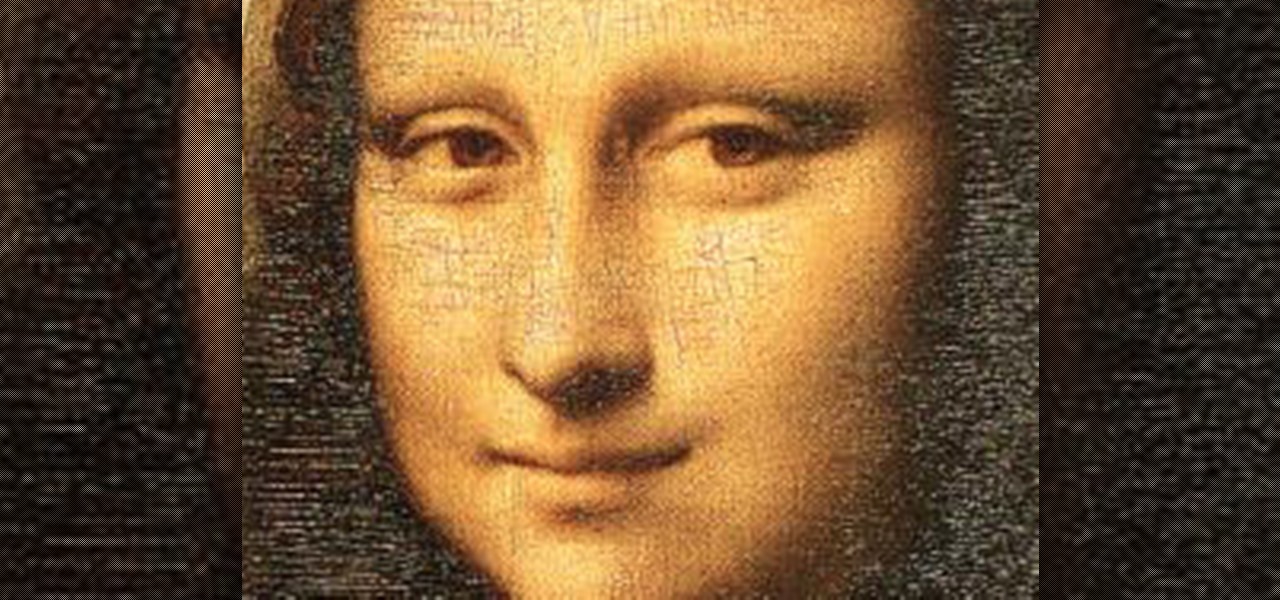
If you loved The Da Vinci Code by Dan Brown, then listen up— there's been a new discovery found hidden within Leonardo da Vinci's most famous painting— the Mona Lisa.
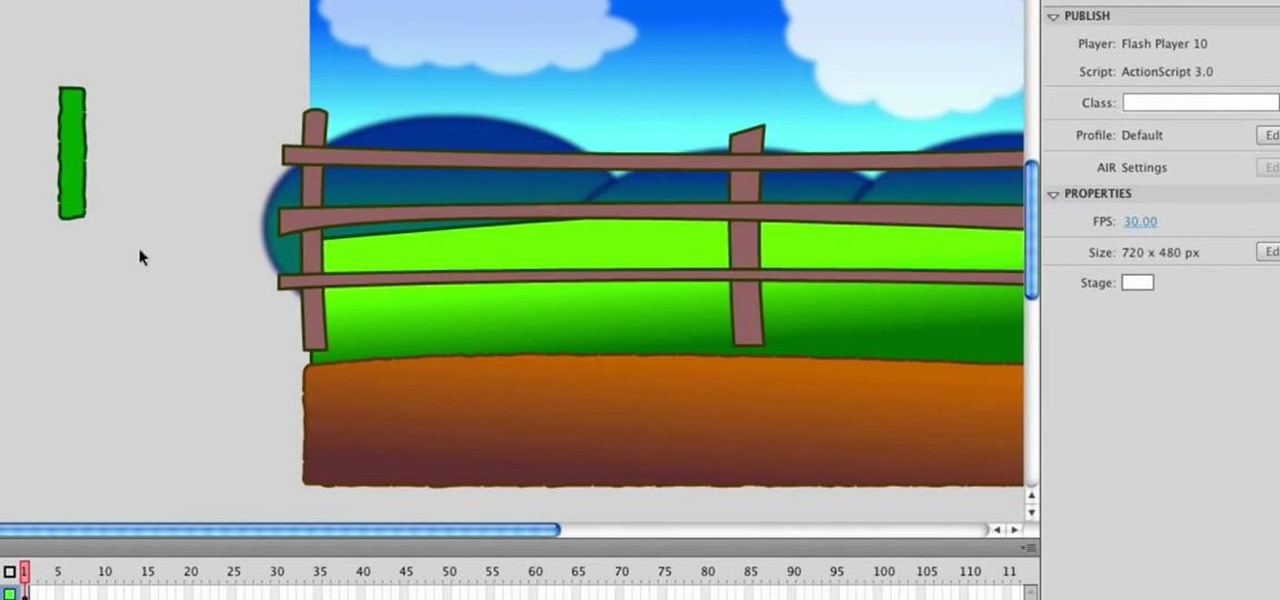
In this tutorial, we learn how to design a cartoon environment in Adobe Flash. Start out by picking the color for the green. Use different types of green, making a gradient so it transitions from a lighter to a darker color. After this, draw on the sky making it go from darker at the top to lighter blue at the bottom near the grass. Add in a fence on the grass, then draw on circles with gradient layers to create mountains. Create a new layer to make dirt and grass on the front of the picture ...

Tarte tatin is a very popular French dessert that is basically the French take on the American apple pie. The tarte tatin flips the traditional apple pie on its back, though, literally: instead of the apples being baked into the pie and then covered with a layer of pie crust dough, the tarte tatin is an upside-down apple tart.
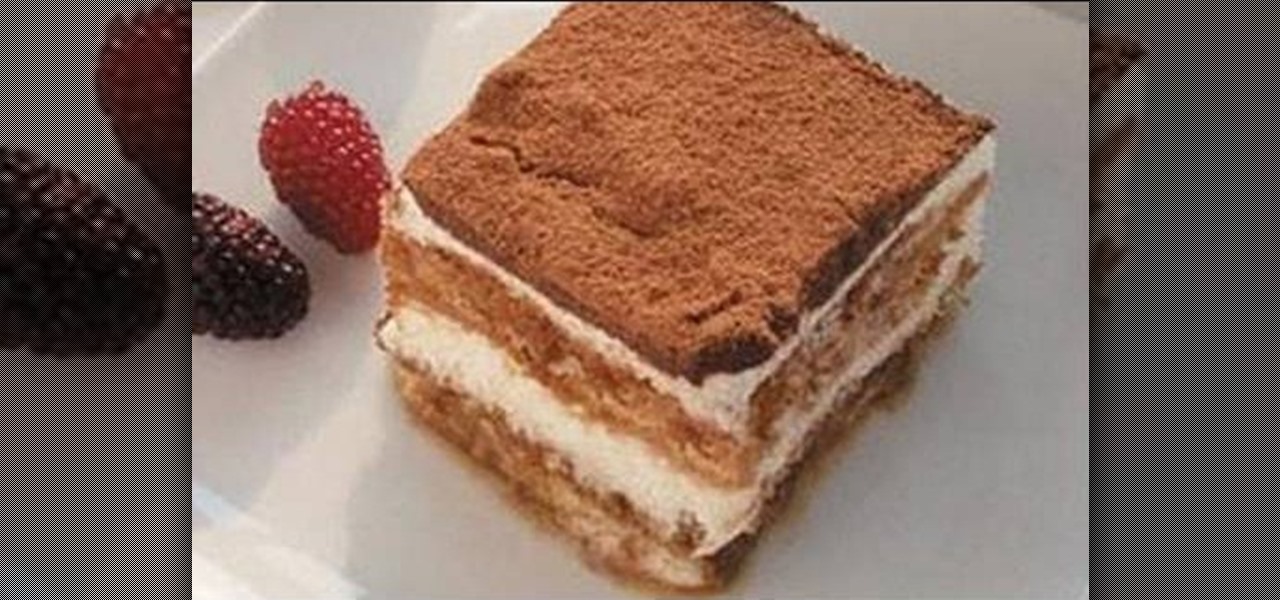
Everyone we know remembers the first time they took a bite out of a cold, creamy tiramisu like it was yesterday. That's because that sumptuous first bite begins you on a lifetime journey of addiction to the creamy Italian dessert.

Wish there were a way to create layer masks in Photoshop Elements? There is! And this clip will teach you what you need to know. Whether you're new to Adobe's popular raster graphics editing software or a seasoned professional just looking to better acquaint yourself with the program and its various features and filters, you're sure to be well served by this video tutorial. For more information, including detailed, step-by-step instructions, watch this free video guide.

Wearing layers and layers of makeup during the day is just asking for disaster, especially now that the humidity is soaring and temperatures are climbing up higher and higher.

This quick Blender 2.5 video tip tutorial demonstrates how to use multiple background images. This feature is very useful and allows for layering images in the viewport and assigning separate images to specific viewing angles. Without the need for multiple viewports. Whether you're new to the Blender Foundation's popular open-source 3D computer graphics application or are a seasoned digital artist merely on the lookout for new tips and tricks, you're sure to be well served by this free video ...
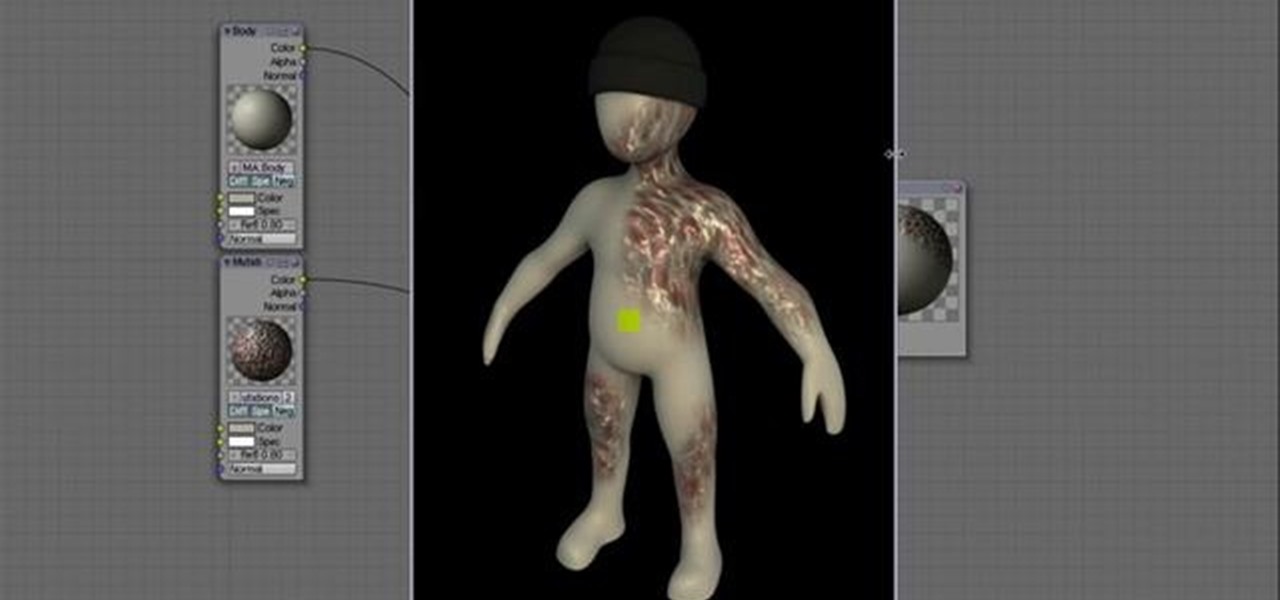
Stencil maps can help push your model to the next level by allowing you to layer materials exactly as you see fit. This tutorial covers how to create a stencil map, applying it to your model in Blender and then using it to layer two different materials via the Material Nodes. Whether you're new to the Blender Foundation's popular open-source 3D computer graphics application or are a seasoned digital artist merely on the lookout for new tips and tricks, you're sure to be well served by this fr...
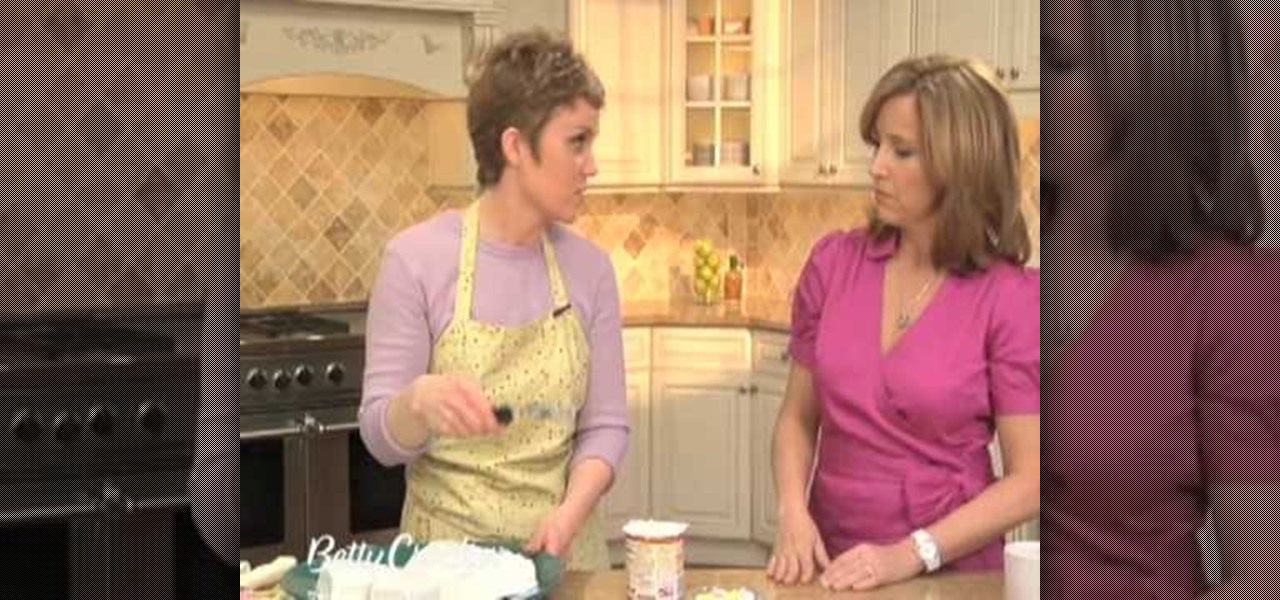
This video shows you how to transform a plain cake into a butterfly cake. You start with a round cake. Cut off the dome, cut the cake in half, then cut the cake like a peace sign. Arrange the pieces to form the butterfly. Apply a thin layer of icing to form a crumb coat. To set crumb coat, place cake in freezer for fifteen to thirty minutes. Now you apply a thick layer of icing, about a quarter inch thick over the entire surface of the cake. Use different colored icing to create a pattern of ...

In this video, we learn how to use clip in hair extensions. The hair extensions will come in strips that have snap on attachments. First, open up the back of the extensions and lift up an upper layer of hair. When you're done, place the real hair over the extension. You can cut and layer the extension to make it look like it's real hair. You can use as many or as little of these and they come in a variety of different colors. You can also tease your hair at roots to make the clips stick into ...
Whether you're new to Adobe Photoshop or a seasoned graphic design professional after a general overview of CS5's most vital new features, you're sure to be well served by this (17-minute) official video tutorial from the folks at Adobe TV. In it, you'll learn how to do each of the following: realistically blend colors on canvas with the new Mixer Brush; create superior composites for print or web layouts with new technology that makes it easy to select even the trickiest image elements, like...

In this video tutorial, viewers learn how to wax a snowboard. The materials required for waxing are: wax (cold, warm, or all temp), an iron, scraper (plastic or metal) and a hard bristled brush (or rough side of a sponge). Begin by laying the board with the base facing up. Turn the iron on and melt the wax. Move the wax around to evenly distribute it on the base. Then use the iron to spread the wax in a thin layer. Allow the wax to cool for 30 minute and remove the layer with your scraper. Bu...
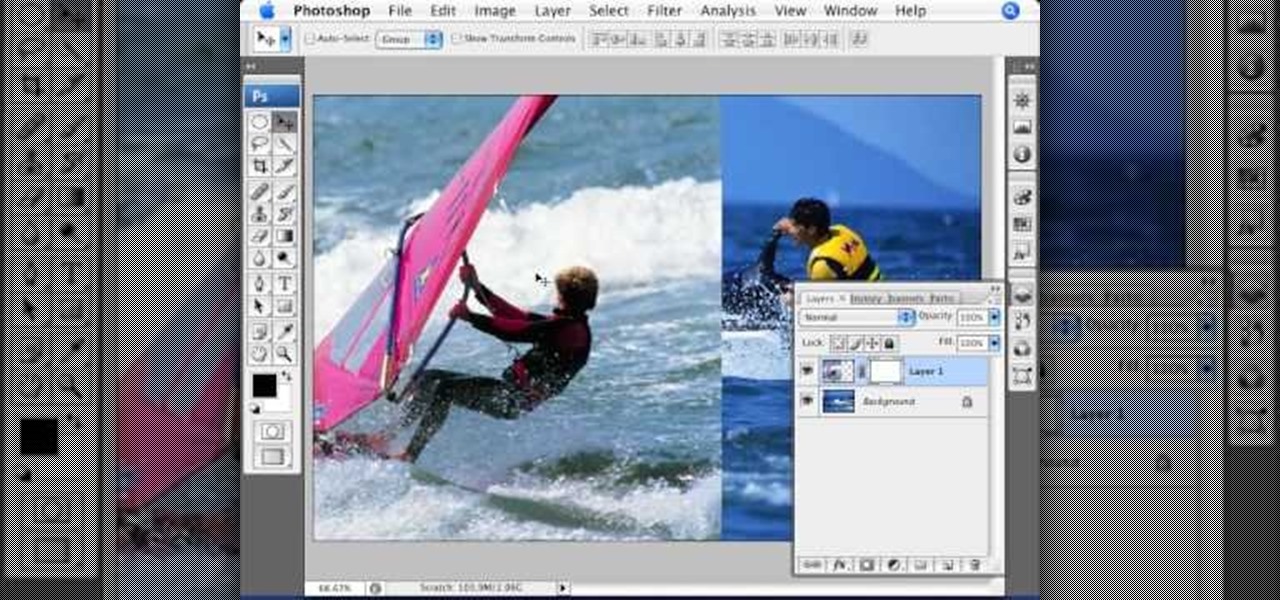
This video tutorial by photoshopuniverse teaches you how to blend two images seamlessly using Photoshop. For this you need two or more images that need to be blended together. Using the move tool in Photoshop move one image over to the other image. Open the layers window and make a layer mask as shown and select the gradient tool making sure the colors are white on black and connect the two images as shown. Using the brush and the opacity at 50% reveal the parts of the image that need to be c...
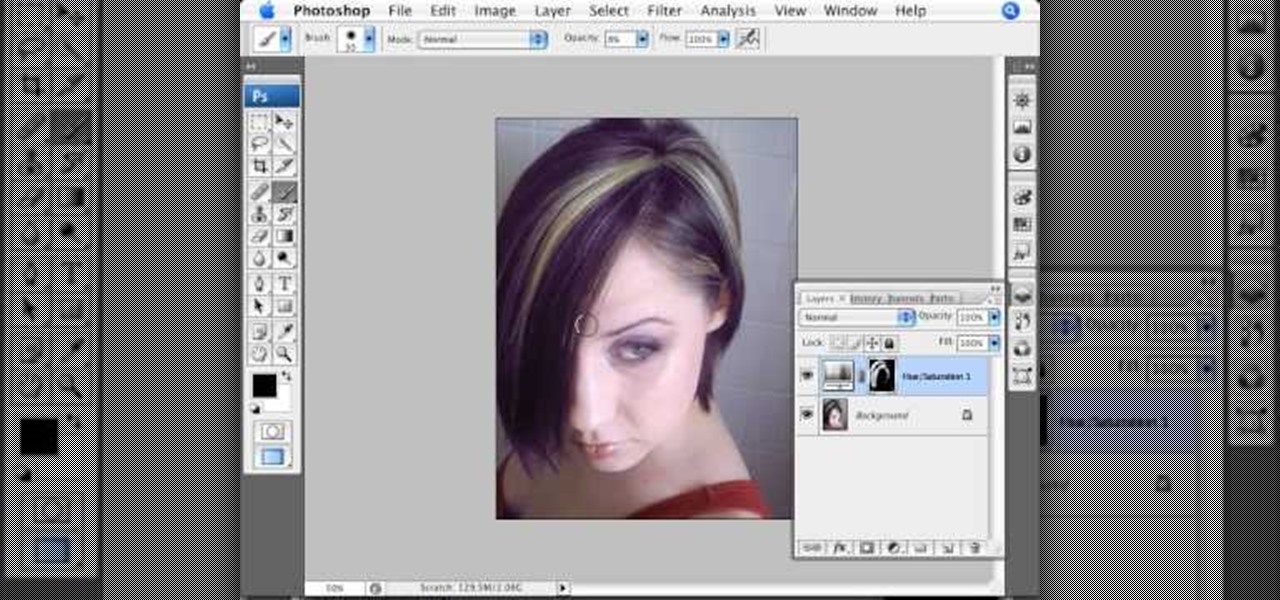
Photoshopuniverse will show you how to change a person's hair color in PhotoShop. You can achieve this by using hue and saturation adjustment layers and set to colorize. Set the saturation to about 50%. Go back to the background layer and select the color range select parts of the hair color, select the parts of the hair you want to change and with the eye dropper click it. Once the selection is made invert the selection the color will change. You can now change the hue to make it what you want.
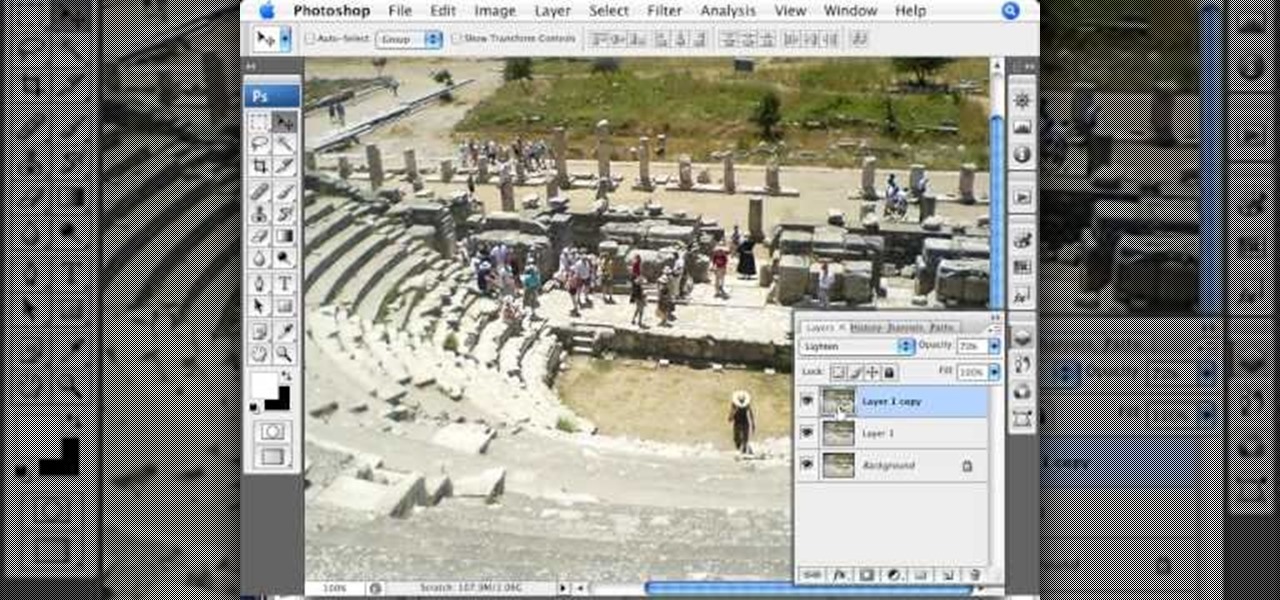
Photoshopuniverse teaches you how to enhance the colors of photos using Adobe Photoshop. You get a photo and duplicate that layer. Set the blending mode to Soft Light. You repeat that step, only the blend mode should be Lighten. The shadows are now darker. You can change the blend mode opacities to 60%-70%, but both layers should have about the same opacity. Also make sure that the white values are not to white and that details, like faces, are still OK to see.
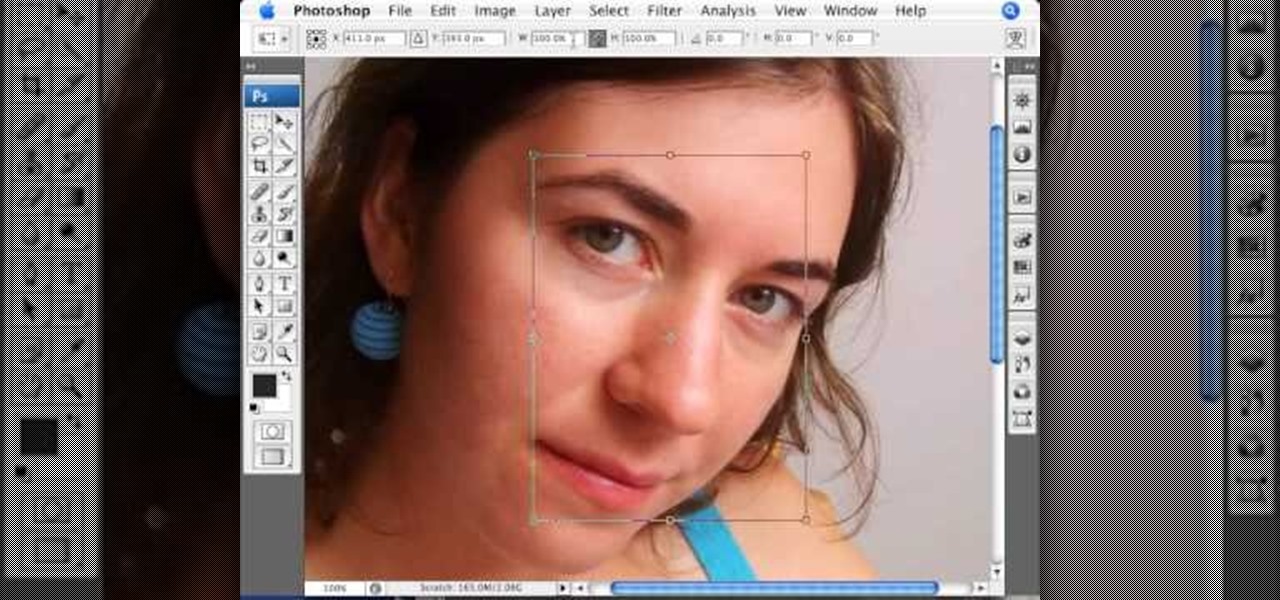
This Photoshop tutorial on performing a nose job using Photoshop contains detailed instructions on the use of Photoshop tools to, depending on taste, enhance the appearance of an individual. The person narrating the tutorial specifies the necessity of subtlety with the modification of the picture in order to remove any appearance of modification. The way described is essentially to select the general nose area, feather the selection by an optional amount, and set it in a separate layer. Then ...
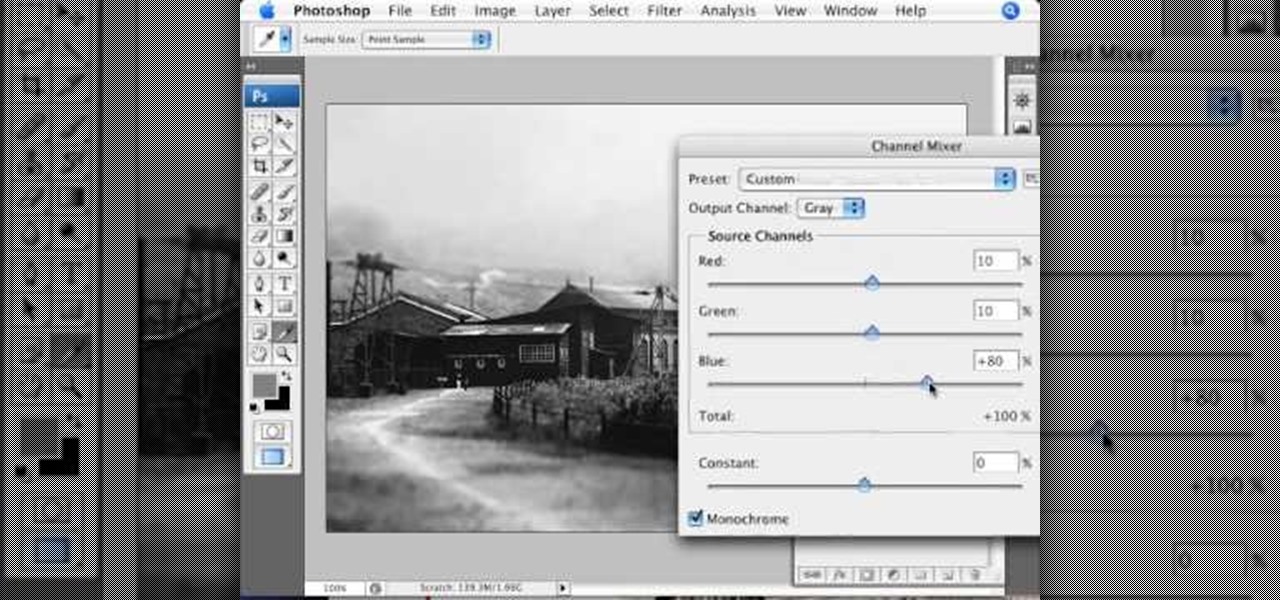
This video demonstrates the split tone effect in Photoshop. A split tone effect makes a picture look more rustic by changing the tones. First, add an adjustment layer to the picture by opening the channel mixer window. Select Monochrome and adjust the RGB values to create a black and white image to your own personal preference. Next, add another layer by opening the color balance window. Here you can change the colors of the light areas by selecting Highlights and changing the color sliders, ...
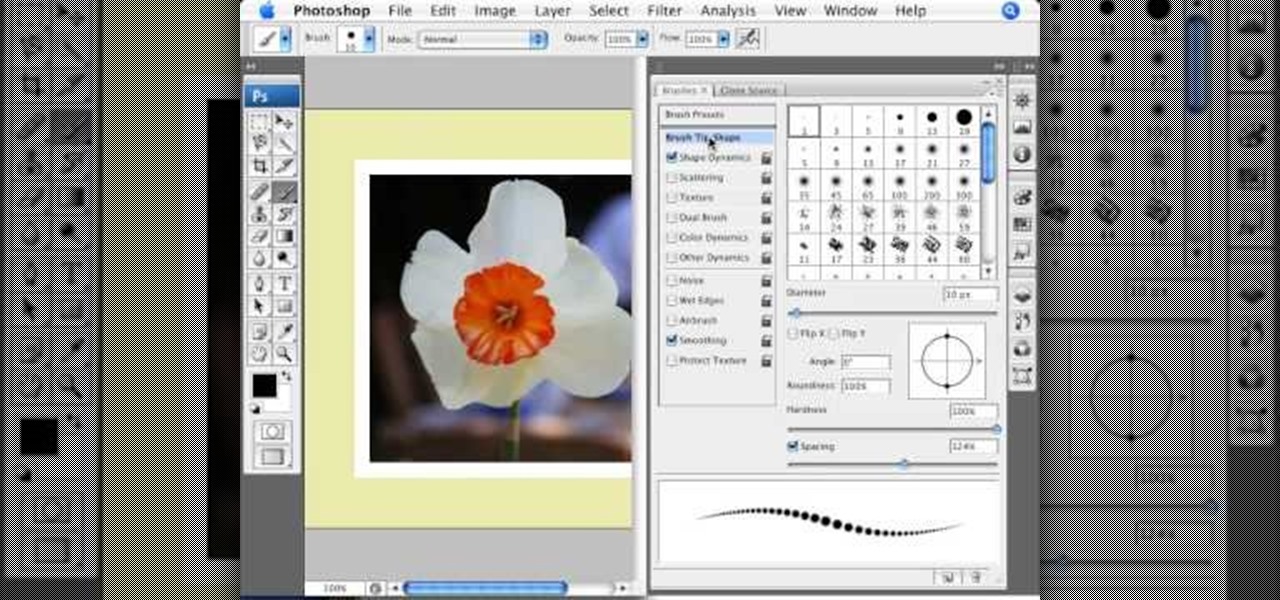
This video tutorial by photoshopuniverse shows you how to create a postage stamp in Photoshop. First take a suitable image and decide the shape of the stamp. Corp the image to suit the shape of the stamp by selecting the area and choosing corp and increase the canvas size as shown in order to create the perforated cutout. Transform the image into a regular layer and once again increase the canvas size to create a back ground with an appropriate color as shown. Add a layer mask, chose the brus...
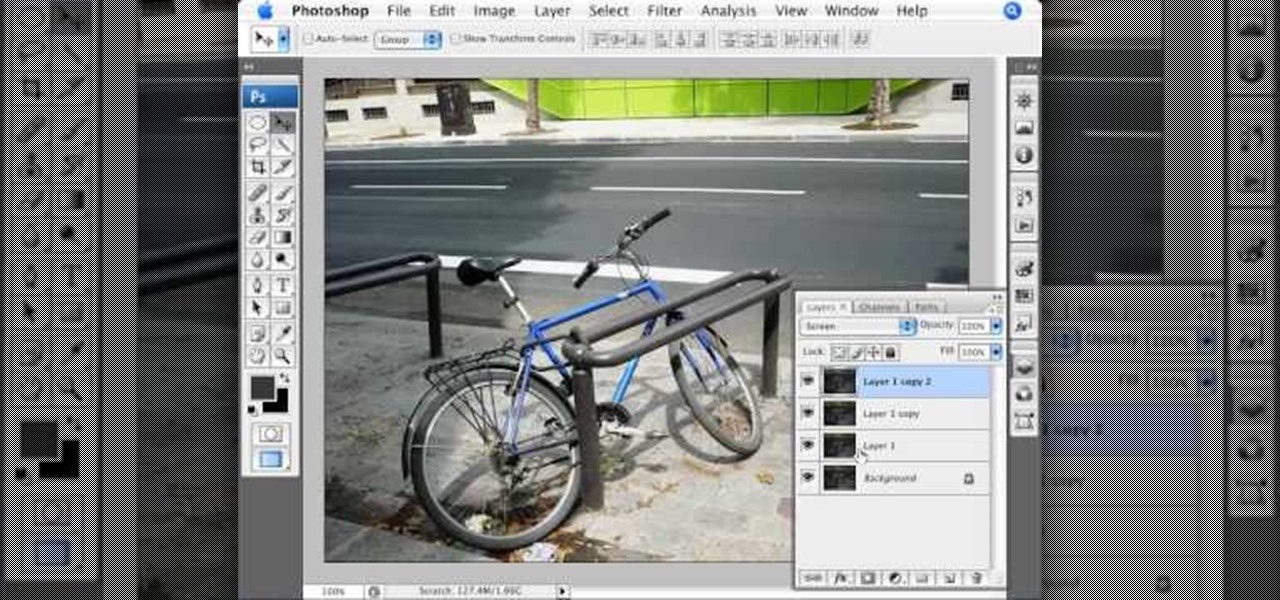
This video shows you how to use an aspect of Photoshop so that you can fix snapshot pictures that may have gotten an exposure level you did not want. This quick and easy tutorial video shows you how easy it is to adjust the layers in the screen. With different adjustment tricks for the layers to use if you are unsatisfied with the results you are getting. Each video will take moments to do and once saved you can move on to edit any other photos that did not come out with exposures that you wa...
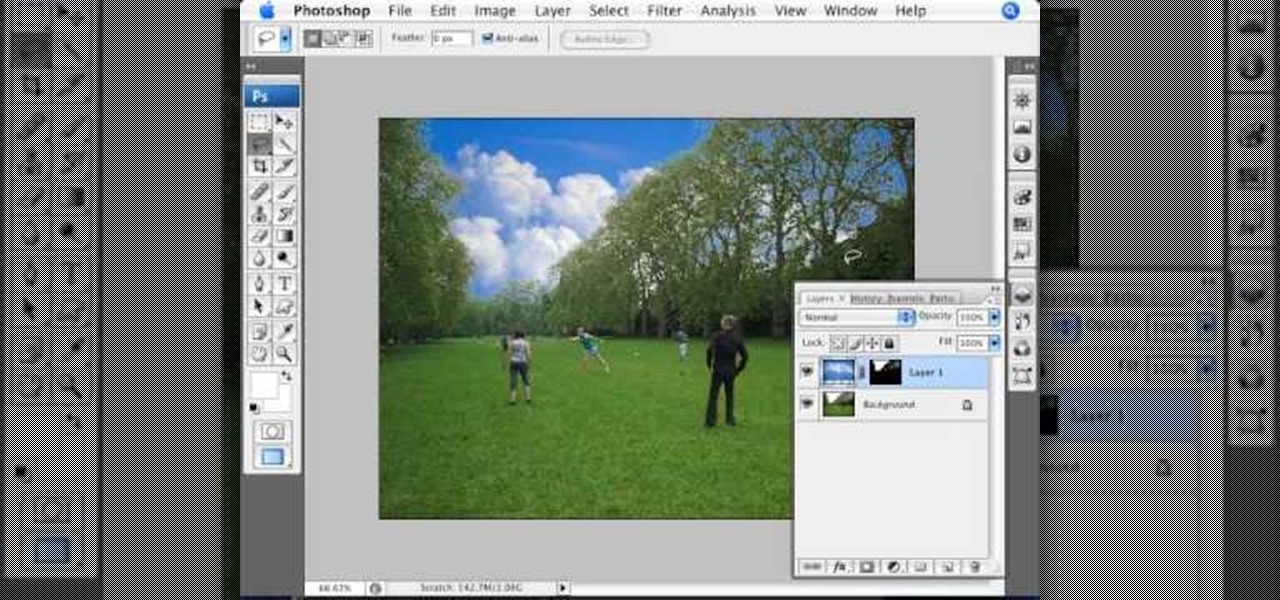
In this Photoshop tutorial the instructor teaches you to replace the sky in a photograph. If you have a photograph which has a very dull and blown out sky you can change it to make it look better as shown in this video tutorial. Some times when the sky is cloudy or due to improper white balance you end up with photos having a over bright or dull sky. Now you can find another image where the sky looks bright and attractive and replace the sky in this image with that one. Open the photo that yo...