Want to grab some great shots at your friend or family member's wedding? Create a glowing, diffused, soft focus wedding photo effect through the power of Adobe Photoshop CS4. Add a whole lot of "mood" to an image by softening and increasing contrast, that also features a vignette around the focal point of your choosing. The beauty of this technique is that by using adjustment layers you can have full control over the final effect's strength and color. Create the perfect wedding photo and give...

Do you admire the look of vintage photographs? How about the production of the old plastic cameras like the Diana and Holga? You can create that same photo effect with your digital photographs through the use of Adobe Photoshop! In this video, learn how to create a faux lomography effect also known as the "lomo effect". By using Blend Modes and Adjustments Layers you can achieve a pretty cool effect that can be used on any photo!
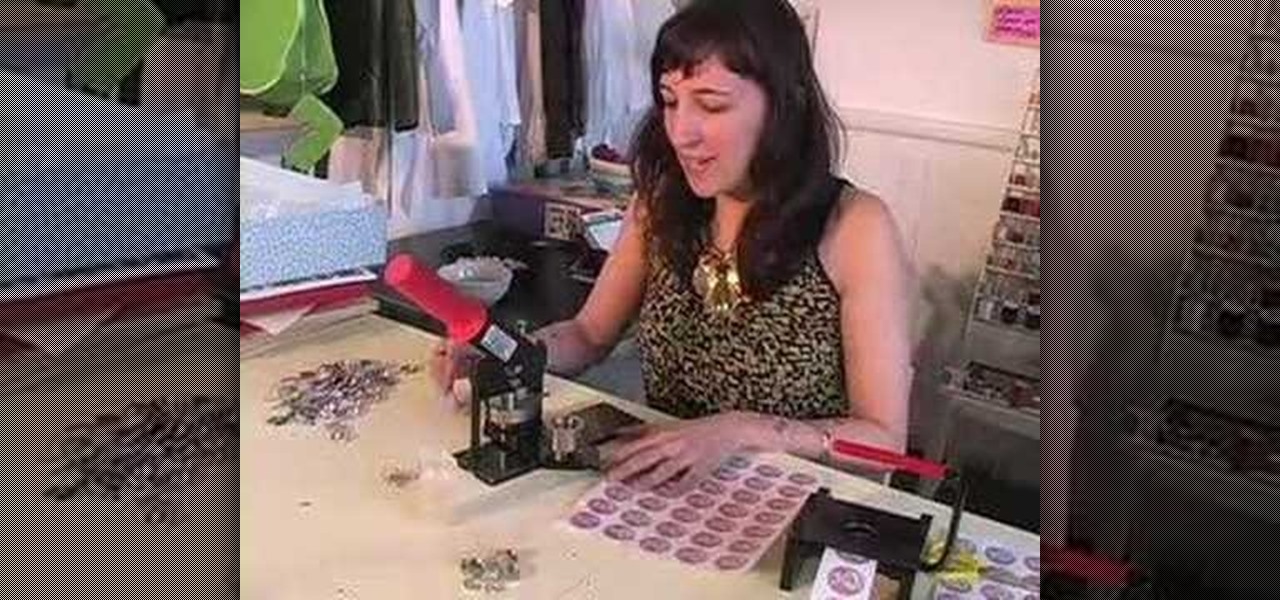
In this how-to video, you will learn how to make a pin back button. First, you will need a button and cloth. Download the sheet of buttons you want to use. Cut out each button, or use a punch. Now, take the image to the button pressing machine. Place the silver part in first, followed by the image. Lastly, place the plastic outer layer on top. Once these are set, place the ring on the other side. Press down for the first step and then rotate and press down for the second. Now your pin back bu...
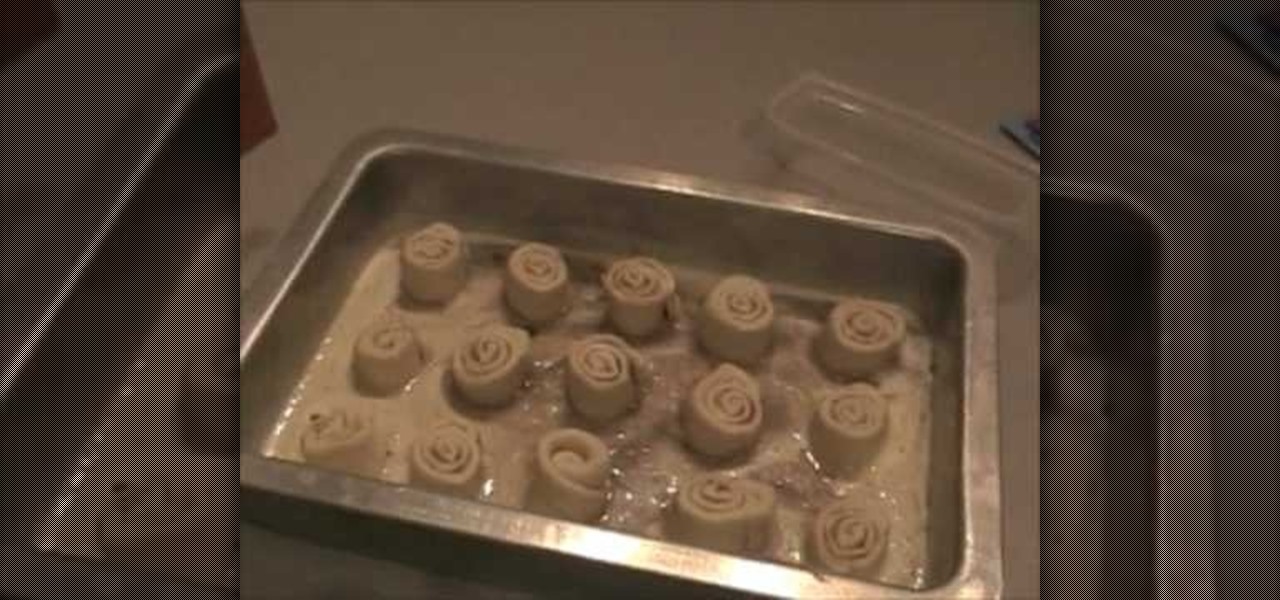
In this video, Troy shows you a simple but delicious recipe for making caramel rolls. This easy recipe uses frozen sweet dough to save time, as well as brown sugar, butter, cinnamon sugar and heavy cream. Troy takes you through the baking process from rolling the dough to mixing the caramel sauce, and the correct way of cutting and layering the dough. It's best to prepare the recipe beforehand, so leaving the tray in a cool oven will allow the rolls to rise overnight so that you can quickly b...
This video shows viewers how to use orange peels to remove permanent marker from surfaces. Use a small piece of an orange peel for this. To begin, massage the skin (outer layer) of the orange peel. This will cause the oils in the skin to rise to the surface. Once you have massaged it enough, rub the orange peel over the marker stain. Keep rubbing until the marker is entirely gone, or only faint stains are left. It may take a couple of tries, but the stain will usually be entirely removed. In ...
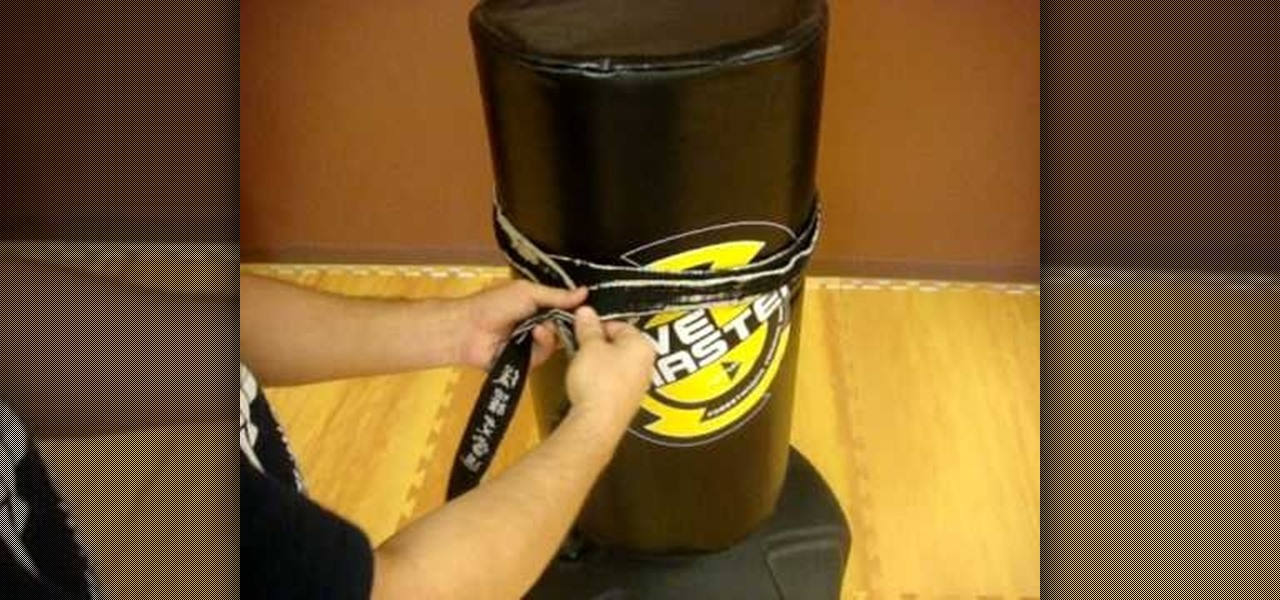
In this how-to video, Sensei Paul Adams will teach you how to tie your belt on your karate kid. The belt will be very stiff at first, but will loosen up over the years. Take the middle of the belt and place it on their belly. Take the ends and pull them all the way around until they reach the belly again. Make sure the belt is snug the whole time. Place the right side over the left and pull that end under both layers of the belt. Once this is done, pull the left end over the right and tie a t...

This tutorial demonstrates the correct way to solder wires to a piezoelectric sensor. First, the stripped wires are tinned (coated with a thin layer of solder). Then the piezoelectric sensor, held in a small adjustable clip, is heated briefly, and two drops of solder placed where the wires are to be attached. Finally, the tinned ends of the wires are placed in contact with the soldered areas of the piezoelectric sensor, and the solder heated to fix the wires in place.

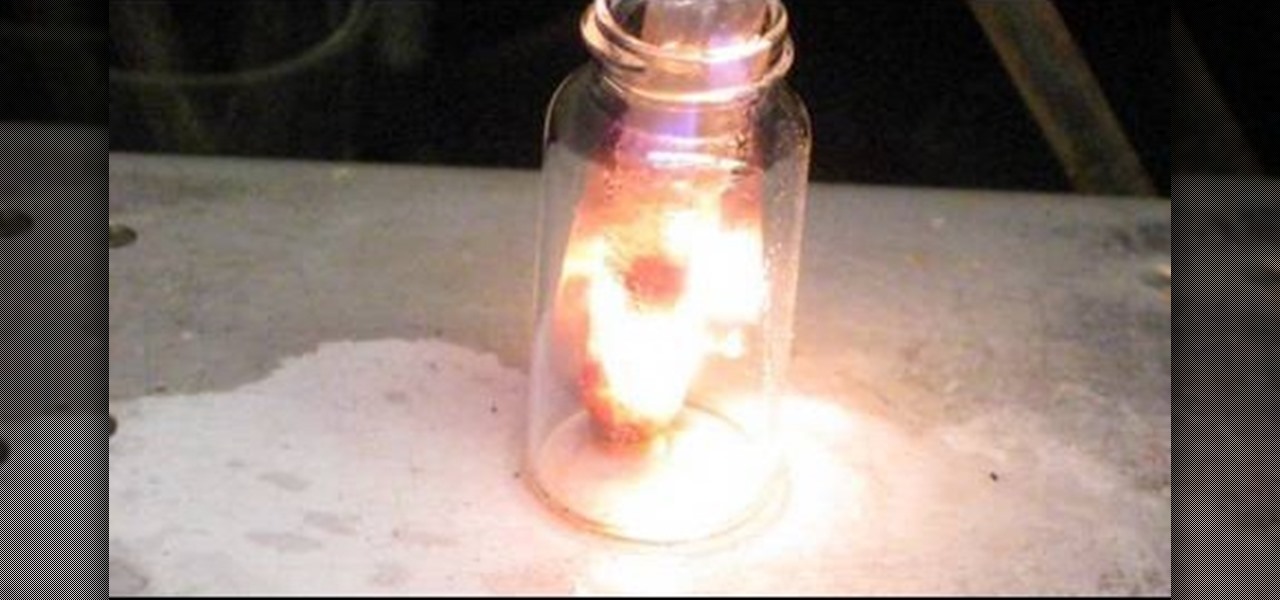
Watch this science video tutorial from Nurd Rage on how to make a test tube thunderstorm. They show you how to make the thunderstorm in a test tube using alcohol, sulfuric acid and potassium permanganate.

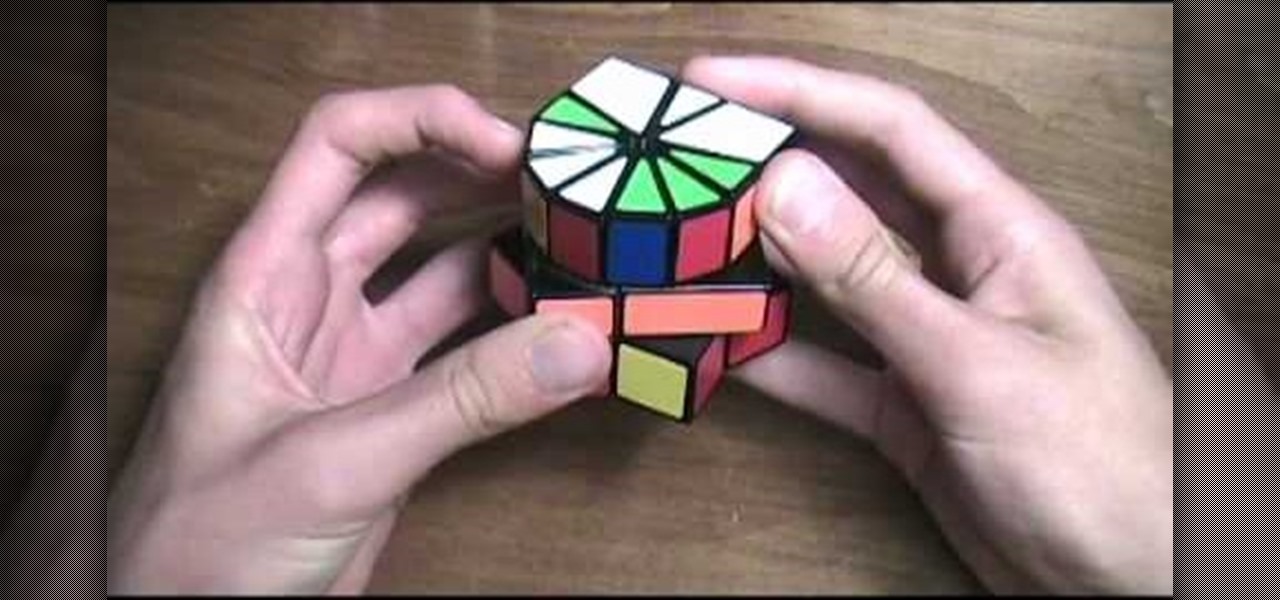
So, you can solve the Rubik's Cube, good for you, but what about the Square One? Erno Rubik is nothing compared to Karel Hršel and Vojtech Kopský, who invented the Square One puzzle, also called by its full title, "Back to Square One", or its shorter name of "Cube 21". It's shaped like a Rubik's Cube, but it's cut like a freak show, adding that layer of difficulty that challenges you.

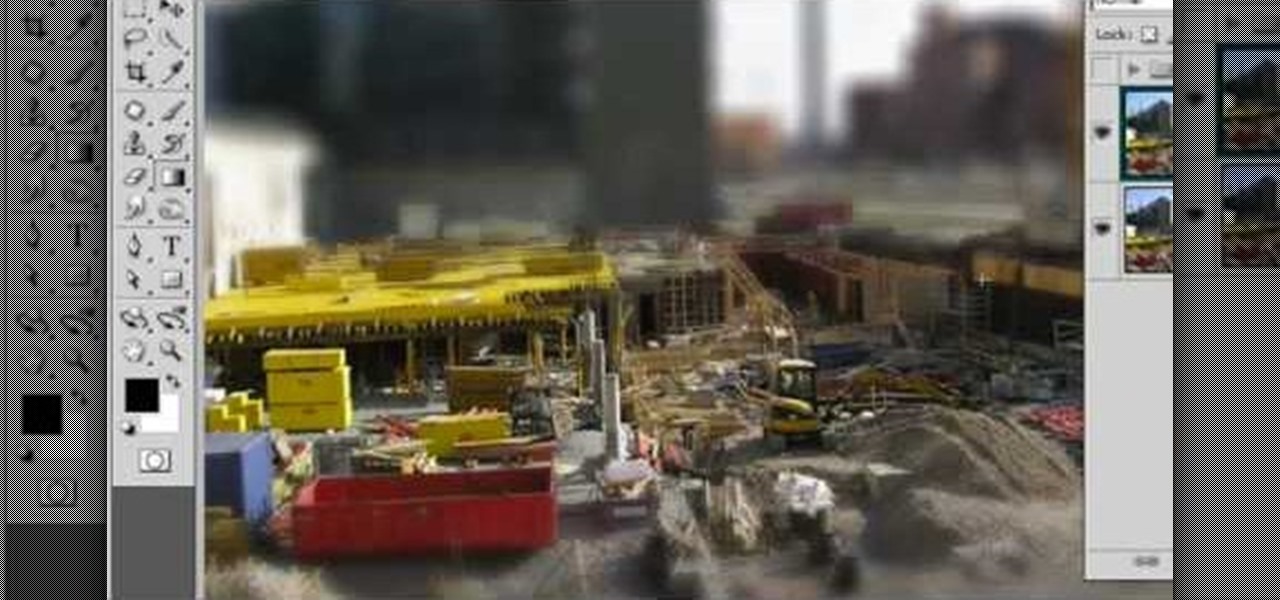
Easily turn your pics into table top style miniatures with this easy to create effect. This takes panarama photographs from afar and fades certain areas creating a toy scene effect. It's magical. Turn cities into model like images that resemble fantasy more than real life. To do this in Photoshop you're going to use the blur tool, layer masks, copies and gradient tools.

ELLE stylist Francesca Mills shows you how to stay warm while wearing a short-sleeved jacket. The right layers can help fight off the cold. Watch this video fashion tutorial and learn how to wear a short sleeved jacket in the winter.

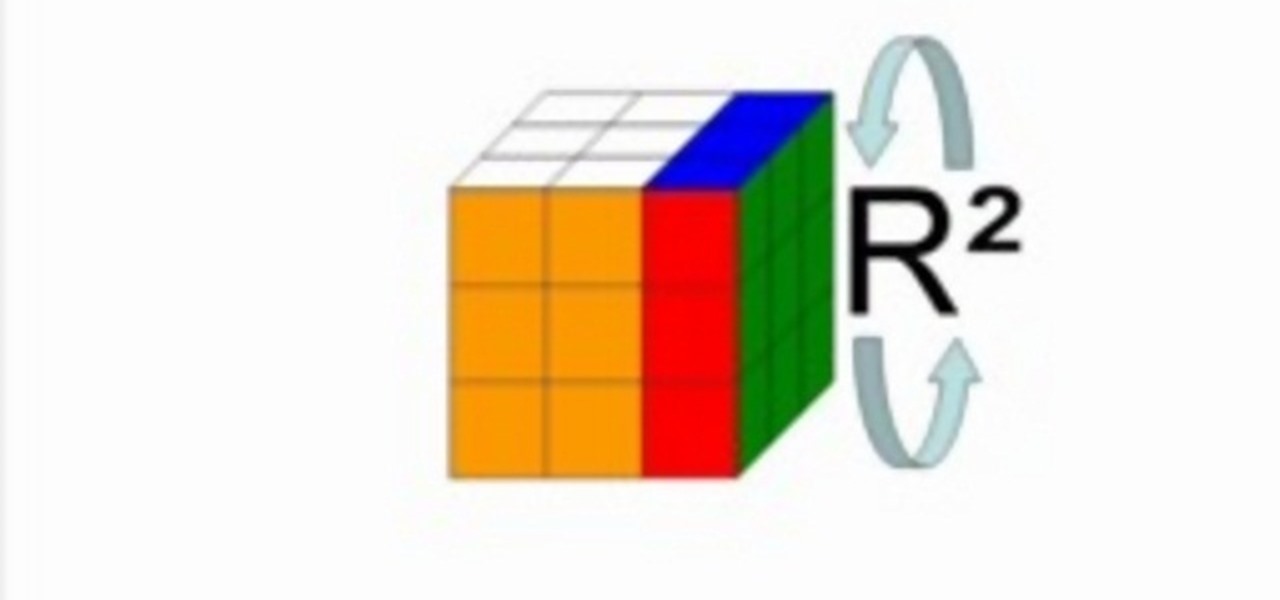
Since its invention in 1974, the Rubik's Cube has become a favorite pastime among geeks, puzzle lovers, and other similarly unique individuals. It is currently available in four basic flavors; Rubik's Mini, Rubik's Cube, Rubiks Revenge, and Professor's Cube. This video tutorial will cover the basic terminology and notation used in solutions for each.

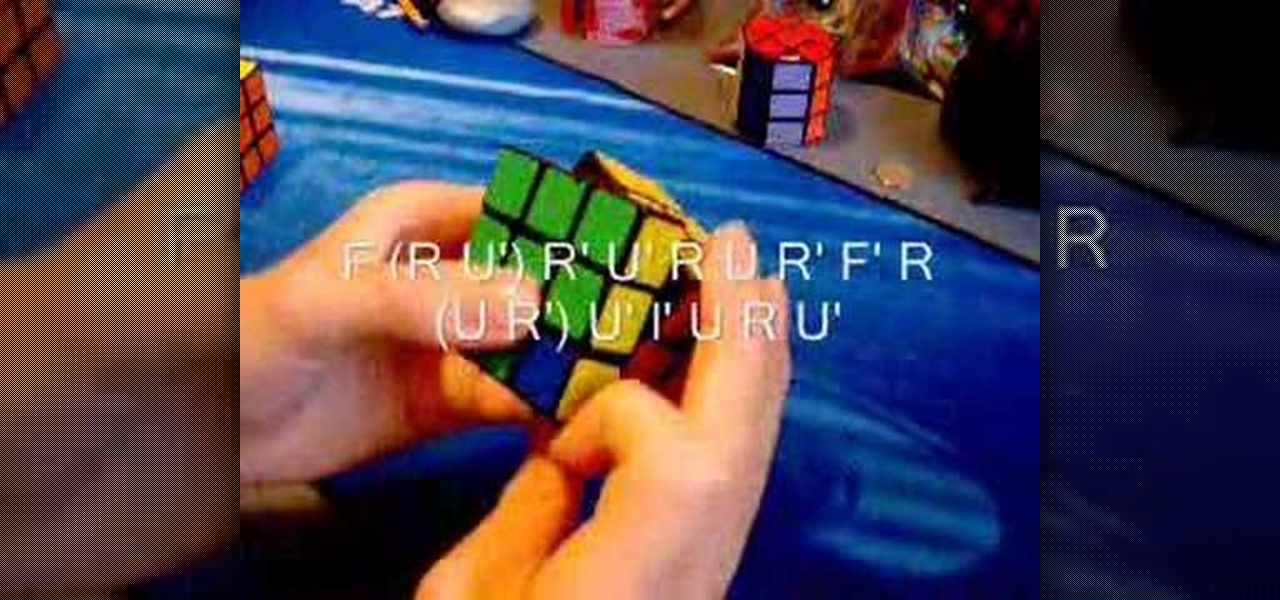
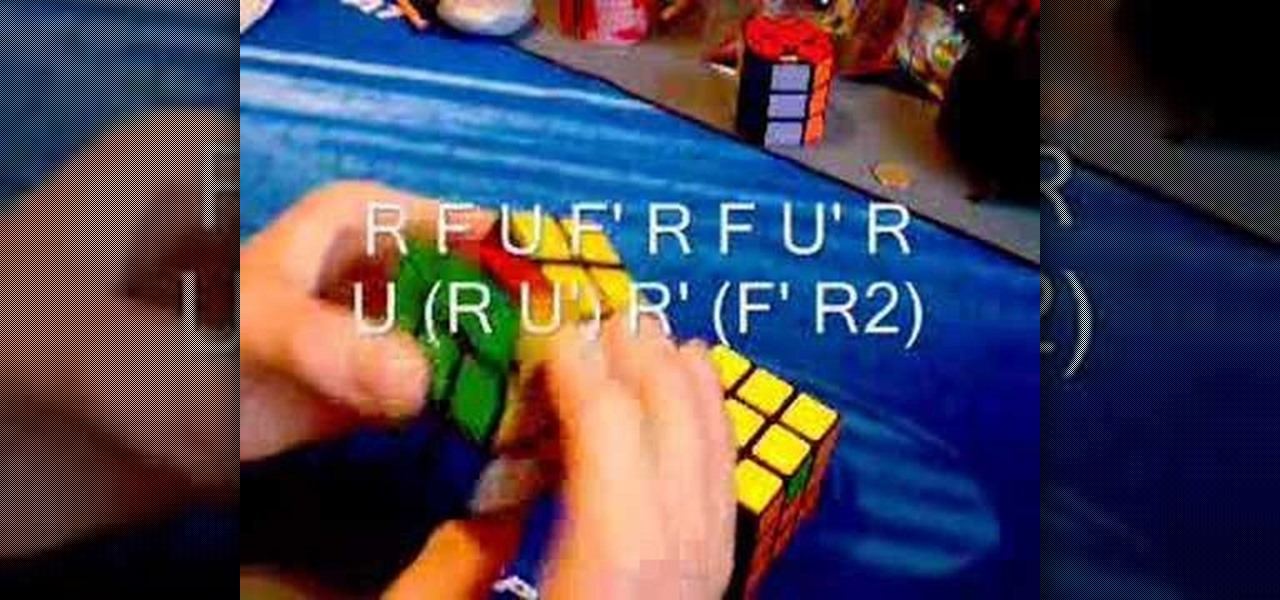
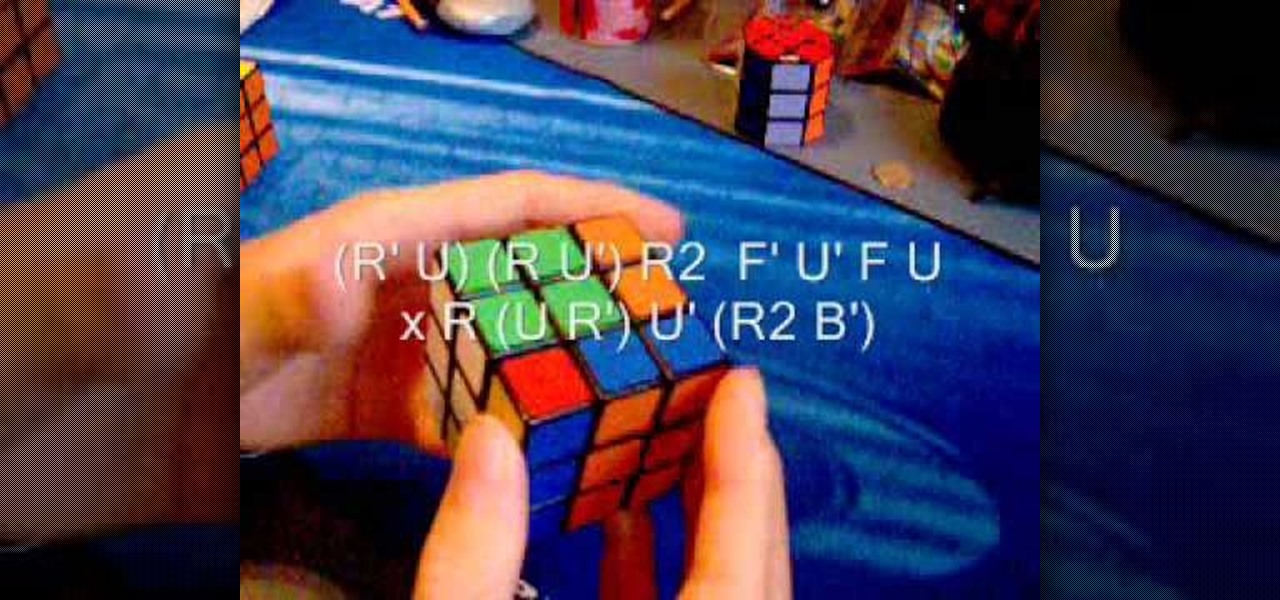
Need a little help solving the last part of the Rubik's Cube puzzle? Permutating the last layer could be tricky, and could get you back to square one if you don't know what you are doing, but don't worry, you'll be able to solve that Cube in every possible PLL situation.

Need a little help solving the last part of the Rubik's Cube puzzle? Permutating the last layer could be tricky, and could get you back to square one if you don't know what you are doing, but don't worry, you'll be able to solve that Cube in every possible PLL situation.

Need a little help solving the last part of the Rubik's Cube puzzle? Permutating the last layer could be tricky, and could get you back to square one if you don't know what you are doing, but don't worry, you'll be able to solve that Cube in every possible PLL situation.

Need a little help solving the last part of the Rubik's Cube puzzle? Permutating the last layer could be tricky, and could get you back to square one if you don't know what you are doing, but don't worry, you'll be able to solve that Cube in every possible PLL situation.

Need a little help solving the last part of the Rubik's Cube puzzle? Permutating the last layer could be tricky, and could get you back to square one if you don't know what you are doing, but don't worry, you'll be able to solve that Cube in every possible PLL situation.

Need a little help solving the last part of the Rubik's Cube puzzle? Permutating the last layer could be tricky, and could get you back to square one if you don't know what you are doing, but don't worry, you'll be able to solve that Cube in every possible PLL situation.

Need a little help solving the last part of the Rubik's Cube puzzle? Permutating the last layer could be tricky, and could get you back to square one if you don't know what you are doing, but don't worry, you'll be able to solve that Cube in every possible PLL situation.

Need a little help solving the last part of the Rubik's Cube puzzle? Permutating the last layer could be tricky, and could get you back to square one if you don't know what you are doing, but don't worry, you'll be able to solve that Cube in every possible PLL situation.

Need a little help solving the last part of the Rubik's Cube puzzle? Permutating the last layer could be tricky, and could get you back to square one if you don't know what you are doing, but don't worry, you'll be able to solve that Cube in every possible PLL situation.

Need a little help solving the last part of the Rubik's Cube puzzle? Permutating the last layer could be tricky, and could get you back to square one if you don't know what you are doing, but don't worry, you'll be able to solve that Cube in every possible PLL situation.

Need a little help solving the last part of the Rubik's Cube puzzle? Permutating the last layer could be tricky, and could get you back to square one if you don't know what you are doing, but don't worry, you'll be able to solve that Cube in every possible PLL situation.

In this video tutorial, you'll learn how to solve the Rubik's Cube's F2L (first two layers) with advanced techniques, such as the use of empty slots and stuck pieces, along with some general tips and tricks.

Mulching is an essential part of good garden practices. And if you've ever done any landscaping around your home, you know that a generous layer of mulch around your plants can give your garden a nice finished look. In this tutorial you will learn how to mulch for a more beautiful garden and healthier plants.

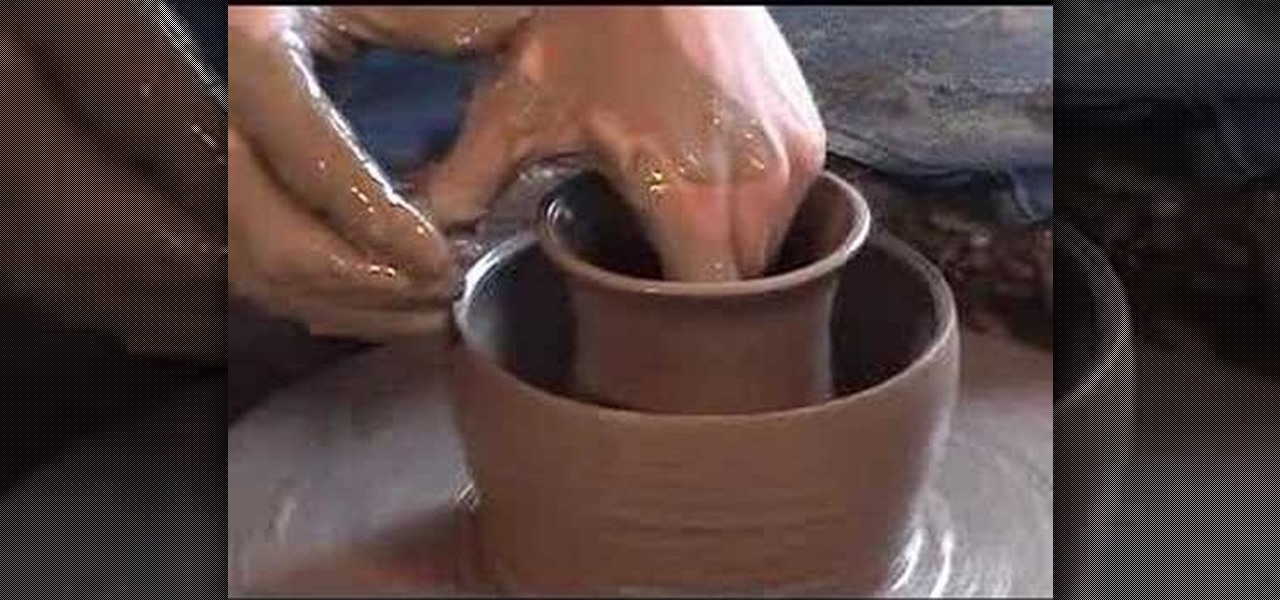
Try using a blowtorch to dry the outer portion of a ceramic pot. While the clay is still on the pottery wheel, cut light marks into the outer wall of the pot. Dry the outermost layer of wet clay with a blowtorch. When you continue to stretch and form the wet clay on the wheel, witness an interesting cracking effect.

Follow this example to throw a double walled ceramic vase. This is a decorative motif in ceramics, and a tricky process to complete. After the pice dries a little, make sure to cut some holes in the top layer of clay, to prevent an explosion in the kiln. As shown, you can also carve decorative designs in the outer pot.

Watch and learn how to create a drost effect on images in GIMP. The end result will be a color cycled animated GIF. The theory behind this can be applied to make any other adjustments. Whatever layers you have can be cycled through continuously.

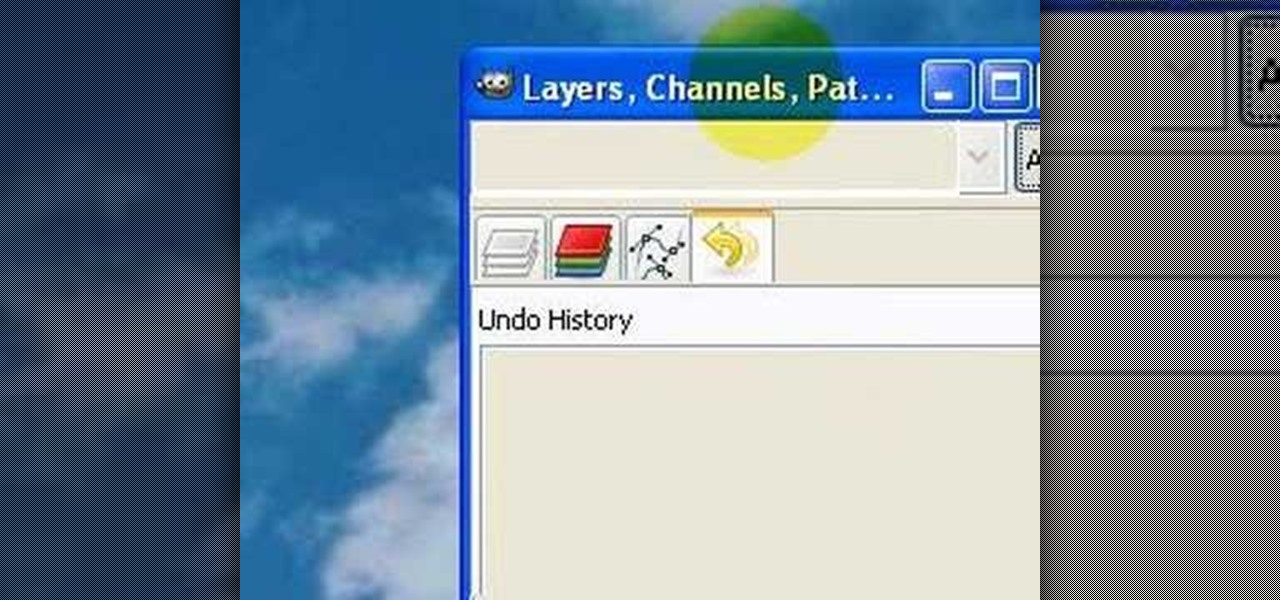
This tutorial shows you how to recover the layers dock in GIMP should you accidentally cloe it or lose it.

Need to check out the posterior abdominal wall of a human being? Well, go no further. This human anatomy video tutorial will show you how to dissect a human for a closer look at the abdominal autonomics, the genital and urinary systems, the diaphragm, and the posterior abdominal wall. You need to get most of the superficial layers out of the way, so get your scalpel out and get cutting. You'll even check out the kidney itself in this educational look at the insides of a corpse.

When you dissecting a human body, the second thing you probably want to check out is the vertebral column. This video tutorial will give you just that, an anatomical look at the back muscles and the spinal cord.

Arts and crafts are a whole bunch of fun, and in this tutorial jewelry making video, Jessica Poundstone of Jewelry By Jessica teaches you how to make a three-layer flower pin out of shrink plastic! The templates needed to complete this project are available as a PDF download at http://www.jewelrybyjessica.com/tutorials.html

This tutorial shows you how to create a reflection of text or any object on a layer mask in Photoshop so that you do not destroy the original image or text.

This video shows how to utilize 2 step stamps. Learn how to create a layered technique that adds dimension and a professional touch to stamping projects.

Top off a festive holiday meal with this tasty peppermint ice cream cake. A candy-studded layer of peppermint hides a rich center of chocolate ice cream. Watch this video tutorial to learn how to make this decadent dessert.

This friendly tutorial guides us through the process of creating a simple animation from a still image, using Adobe Photoshop and Adobe After Effects. Although the narration is at times difficult to understand, the tutorial provides a good way to learn one common technique of integrating Photoshop and After Effects.

Learn how to paint digitally to make your painting look more traditional. This video focuses on creating skin tone by using layers.

Paint up some pretty drama using layers of color and texture. From clothing to the makeup, Impressionism was celebrated on the spring runways by mixing textures and colors to create light and movement. Here, catch up with makeup artist Sylvia Del Orto for the skinny on how to score this gorgeous look.

This is a tutorial on how to edit type in a layered file and a flattened file in Photoshop.

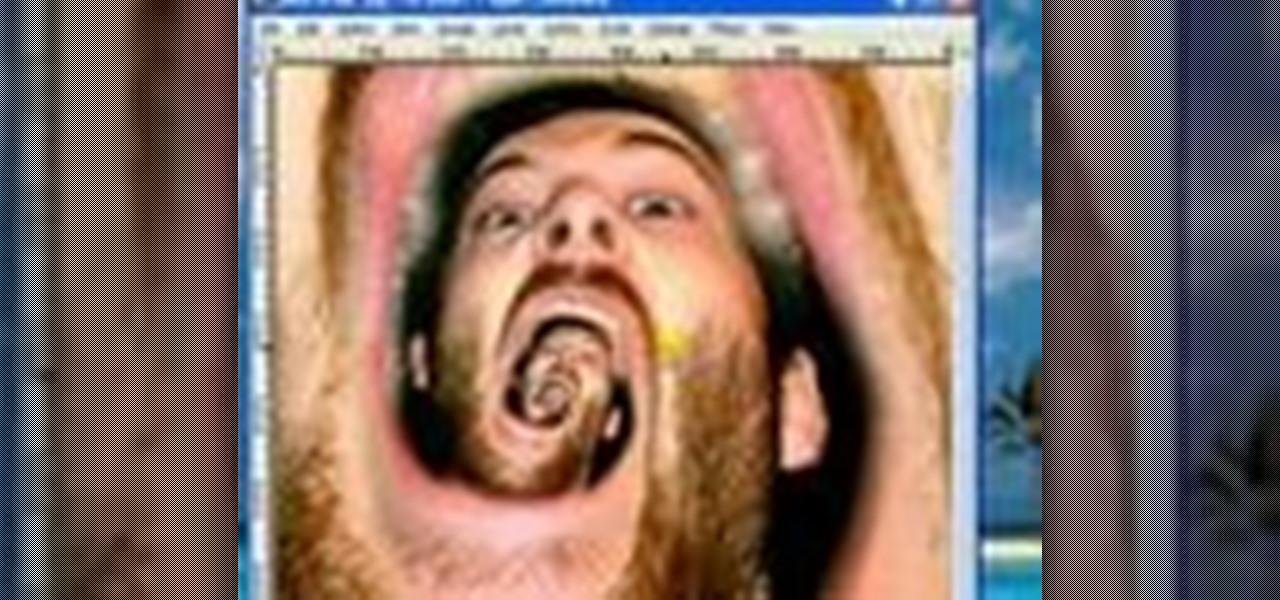
In this lesson, learn how to "texturize" an image in Photoshop by using layers and blending options. Make any image look like it's made of something else - a great technique for creating imaginative, compelling images!


