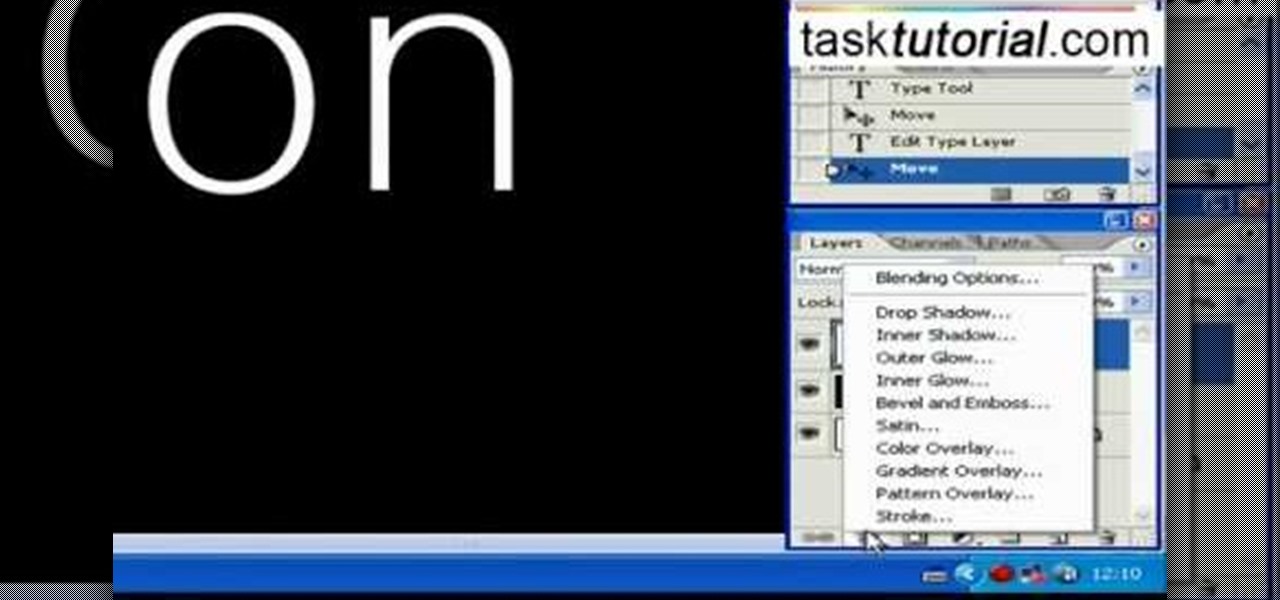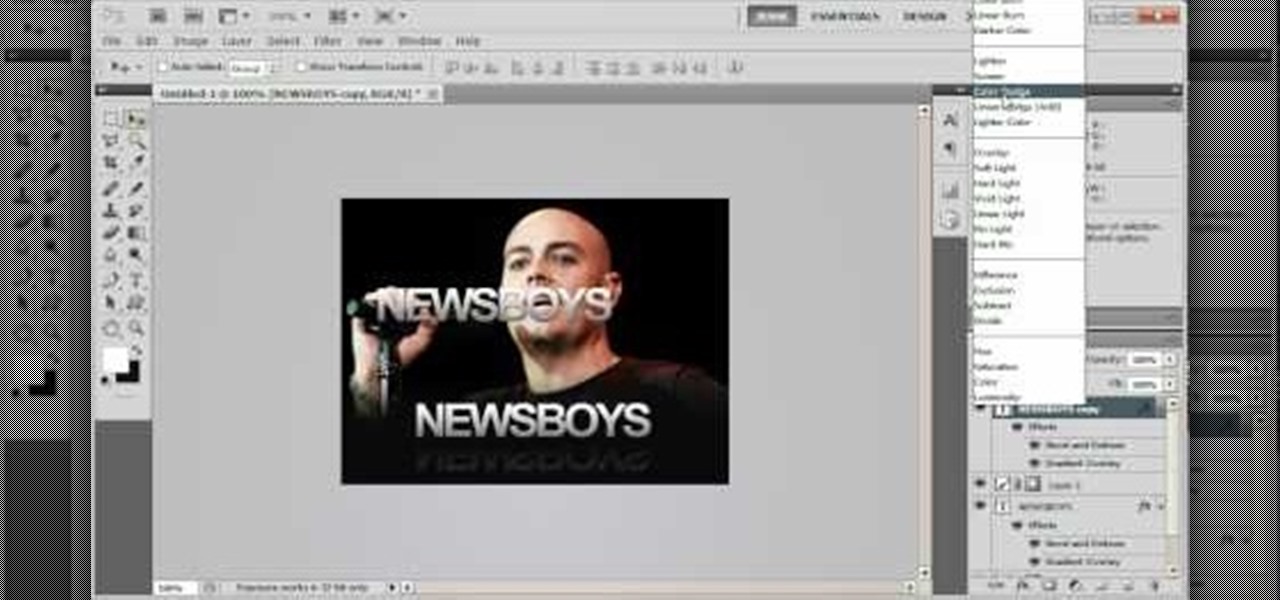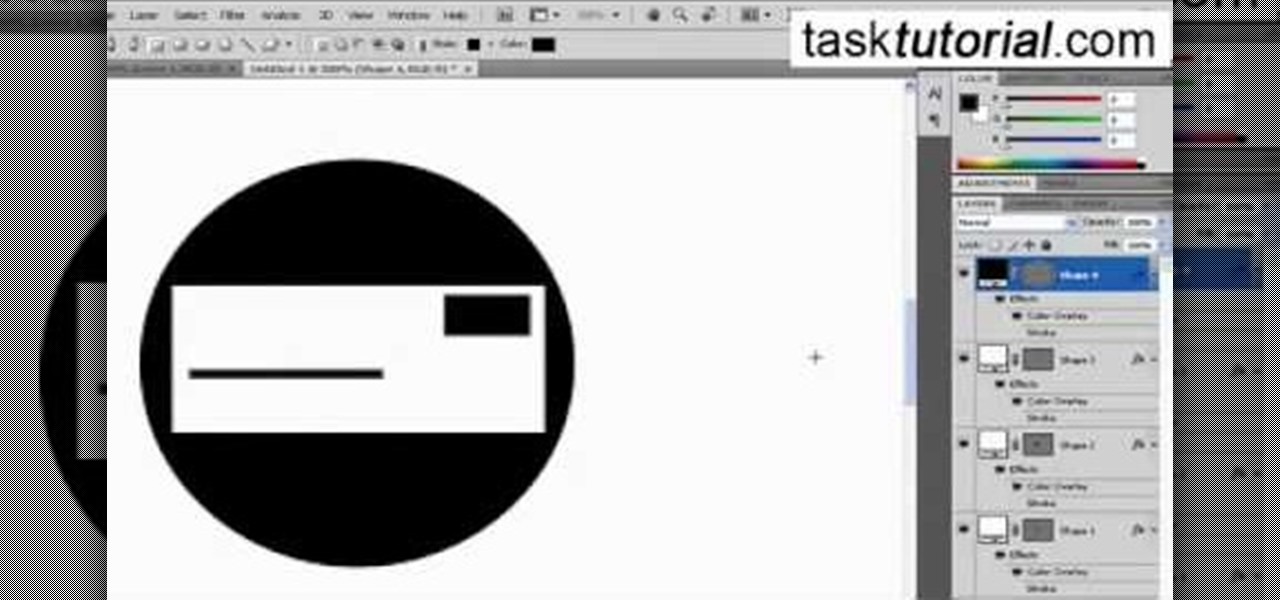
This video will walk you through the process of creating your very own icon to use for your email by using Adobe Photoshop. Photoshop is a great tool to use for a variety of purposes and in this instance can make the perfect icon in just minutes.

Open a document and change the background to black. Make sure the foreground color is white, now simple use the text tool and write whatever you need to.

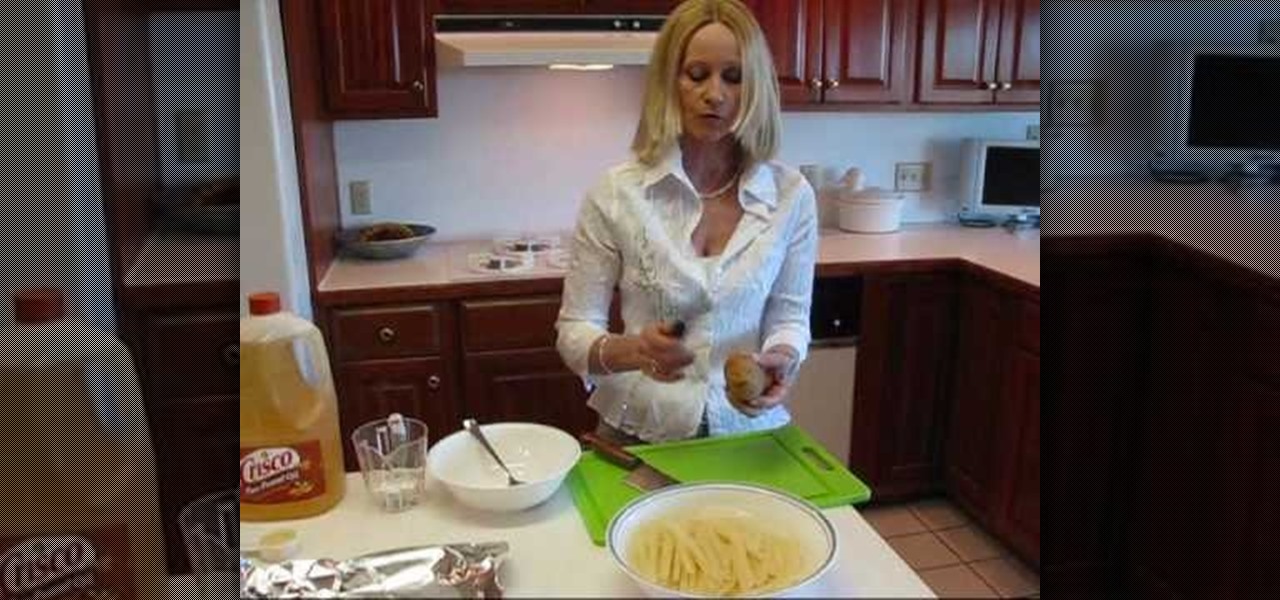
Do you ever want a french fry without all that grease? Betty shows you a delicious, healthy alternative with her oven baked potato strips!

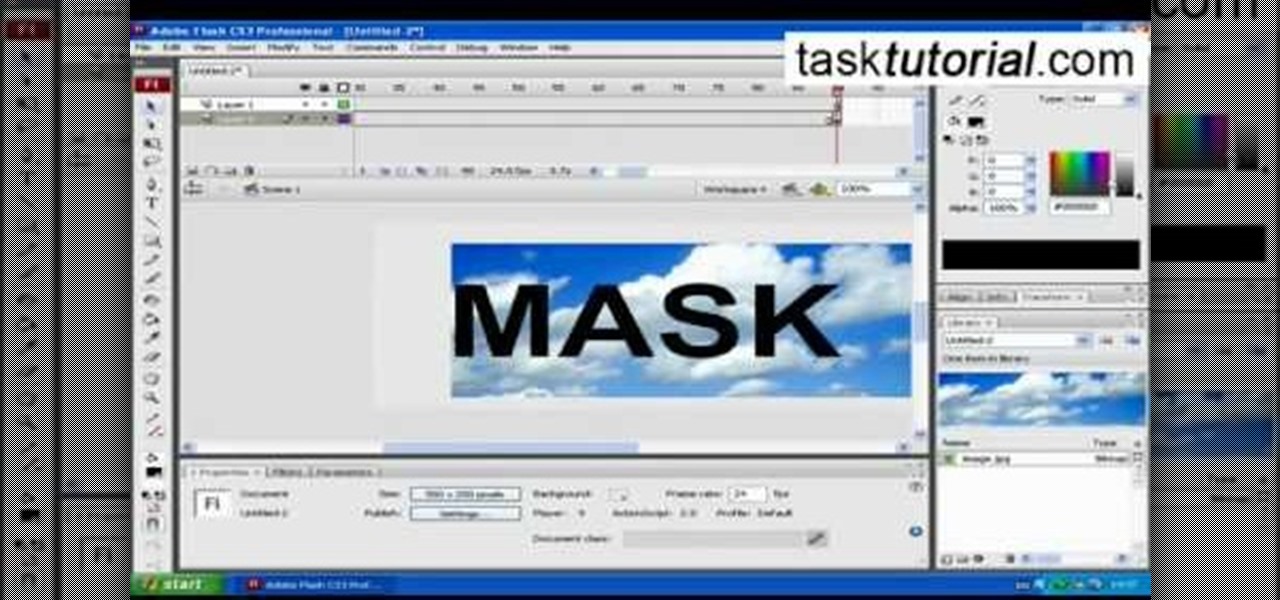
clipping mask Sponsored by SimpleRetouch.com Start by creating a task with the name Mask, then Choose a color and a font size.

Craving some classic Italian recipes? Then watch this cooking how-to video tutorial to learn how to make a stuffed pasta shells. Stuffed pasta shells are also known as Manicotti and they are simple to make.

A single breve latte is a delicious coffee drink that's easy to make. Watch our barista show you how in this video.

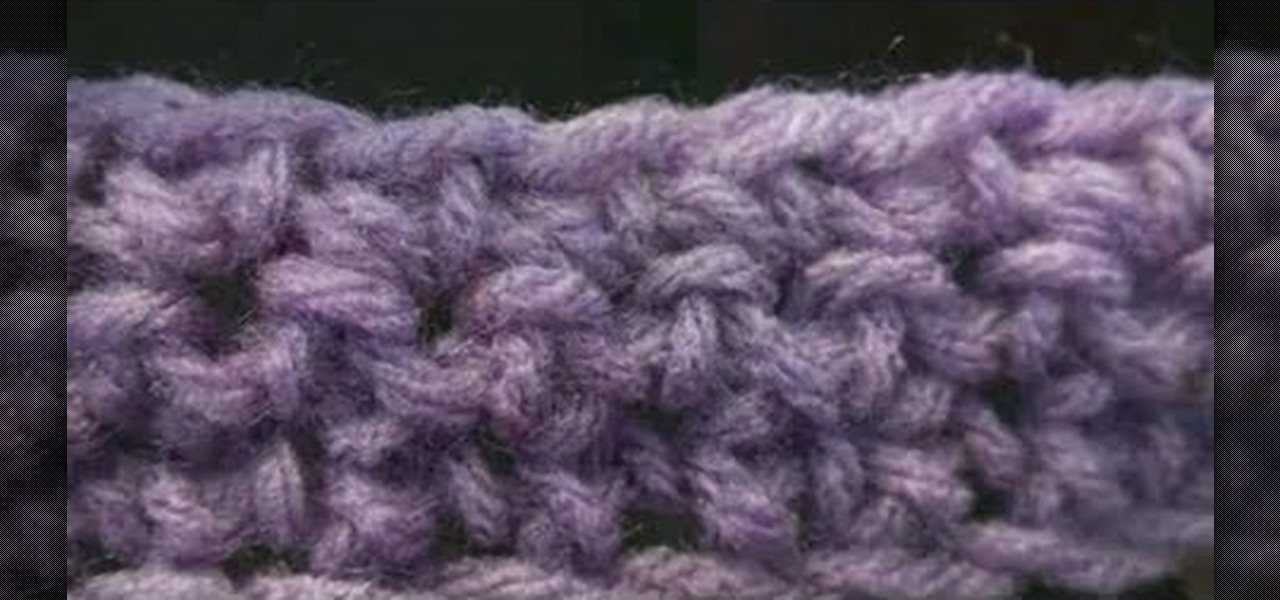
The single crochet (abbreviated SC) is one of the easiest, yet most important stitches you'll perform when crocheting. If you don't have the single crochet down, they you need to hurry up and learn it! Luckily, this video shows you exactly how to make the single crochet. Listen closely and follow along to learn the proper technique of stitching the single crochet. You just need your crochet hook and some yarn.

Duct tape isn't only handy for taping your rear view mirror back when your drunken cousin knocks it off in a fit of intoxicated rage. In fact, duct tape is a excellent and cheap material for crafting.

Ash Davies believes that it is important to understand how to properly use Photoshop, especially with the Obama "Hope" posters that have become increasingly popular. The first step is to cut out the image that you want to use for the poster. To do this, you have to use the polygon tool and trace around the object you wish. After done, select Layer via cut to separate. Creating a new layer and choose color fde5a9 for the background layer. After this, you can create the different blue and red l...

Ever wondered about those digital effects in advertisements having some parts in pixels? Let's try it. Open Photoshop and take a picture. Duplicate its layer and on the new layer,select it and go to filters->pixelate->mosaic. Then you can mask the new layer with having some parts in blur and the other one's in focus or can use gradient. You can lighten or darken the mask layer for better output. This helps in creating unique styles and digitize your world.

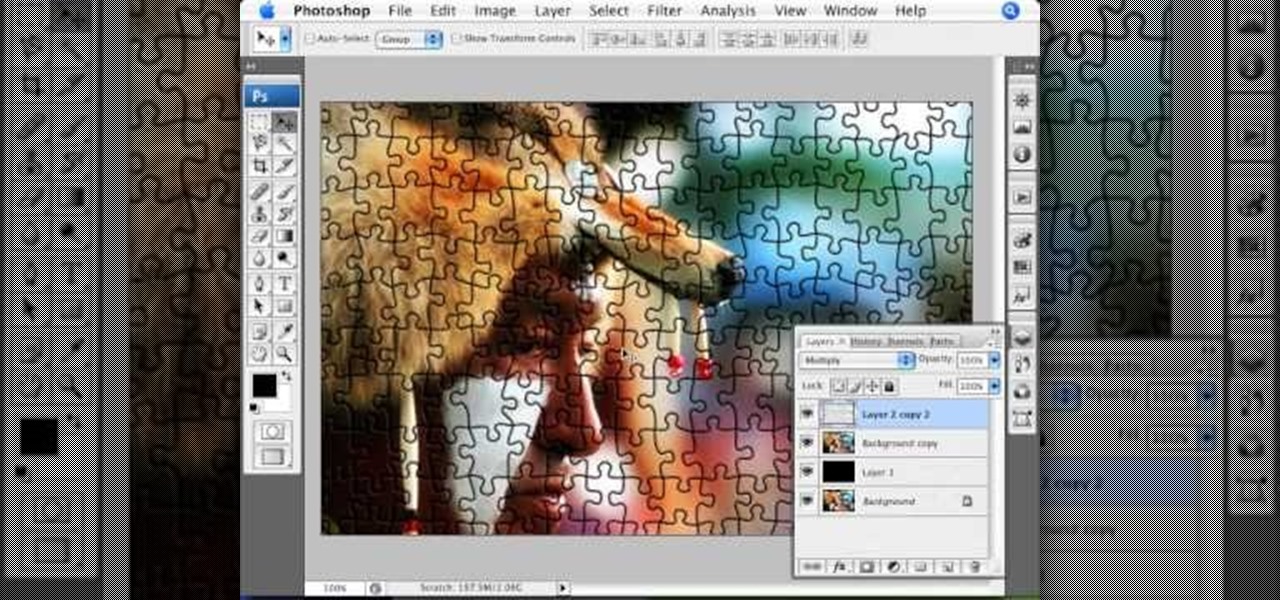
This video from photoshopuniverse shows us how to make your picture look like it's a puzzle by using Photoshop! First you want to open up the layers palette and duplicate the layer. Now add a new layer and bring it down to the middle and fill it in with black. Now to get the puzzle into place, go to Filter---Show Menu Items---Texture---Texturizer. Click the arrow to load texture. Load in puzzle texture. Now you can set the scaling to however many puzzle pieces you want. He put it at 75% and t...

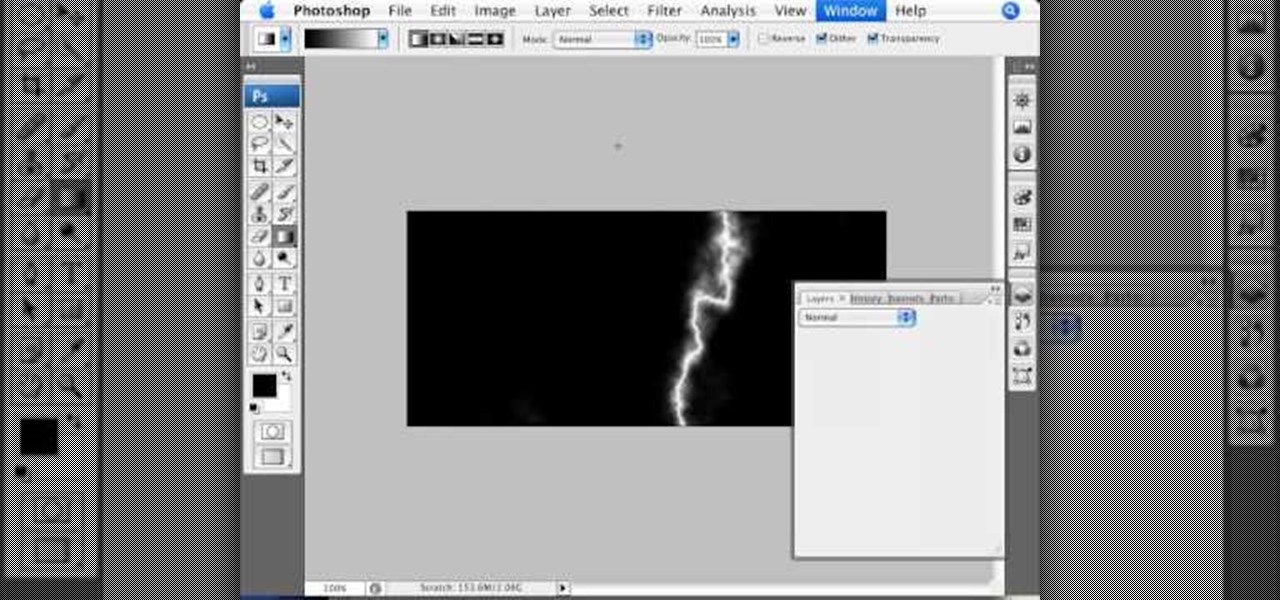
This video by photoshopuniverse shows you how to simulate lightning in a night time scenic photo. For this a night time scene is required. Open the image in Photoshop and create a new layer and with the gradient tool create a gradient as shown from the top left to the bottom right. Apply the filter, difference clouds on the layer and inverse the layer as shown. Exaggerate the lightening by using the adjust levels command. Change the layer mode to stream and tweak the hue and saturation so tha...

Pixel Perfect is the "perfect" show to help you with your Photoshop skills. Be amazed and learn as master digital artist Bert Monroy takes a stylus and a digital pad and treats it as Monet and Picasso do with oil and canvas. Learn the tips and tricks you need to whip those digital pictures into shape with Adobe Photoshop and Illustrator. In this episode, Ben shows you how to create rotating planets and moons in Photoshop.

This Photoshop tutorial is a series covering the Layers Palette. The first tip covers the background layer. Layer locks and Layer Fill options. Different layer types will be covered in the second tip. As well as layer duplication, hiding and deleting.

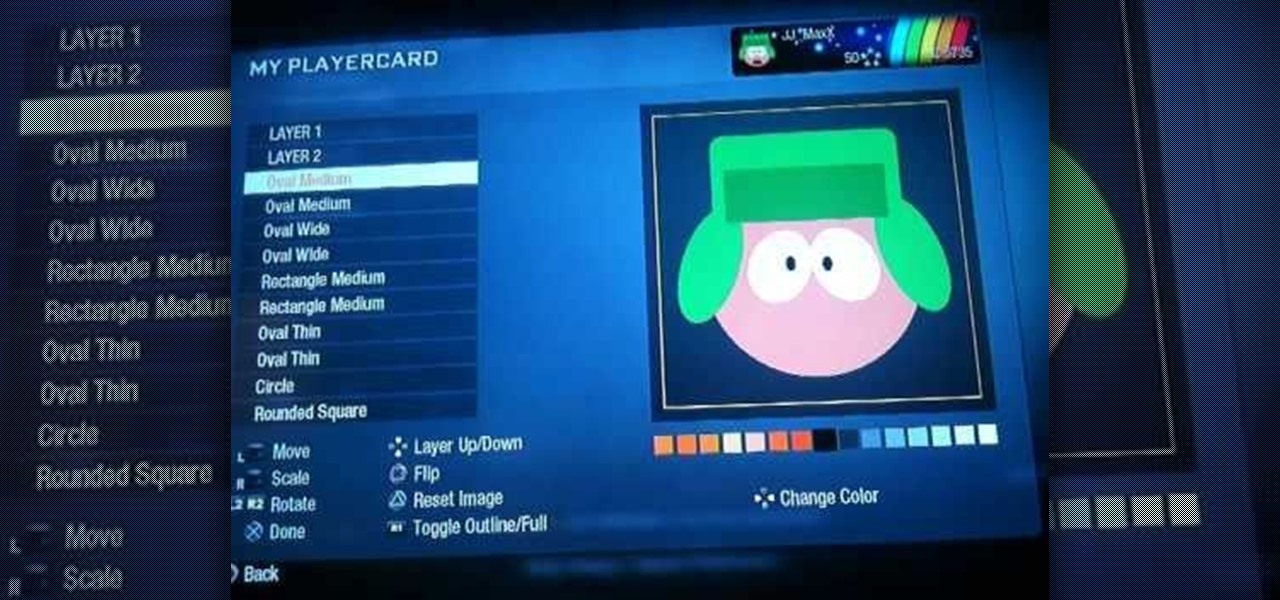
Forget the callsigns and titles from previous Call of Duty video games, Black Ops gives you something new to play with— playercards. Playercards allow you to create virtually any emblem you can possible think of because they're fully customizable, and emblem images can be colored, moved, rotated, flipped, resized and stacked on top of each other, with up to 12 emblem images layered at once. And if you're making Kyle Broflovski from South Park your playercard emblem, you'll need all 12 layers!

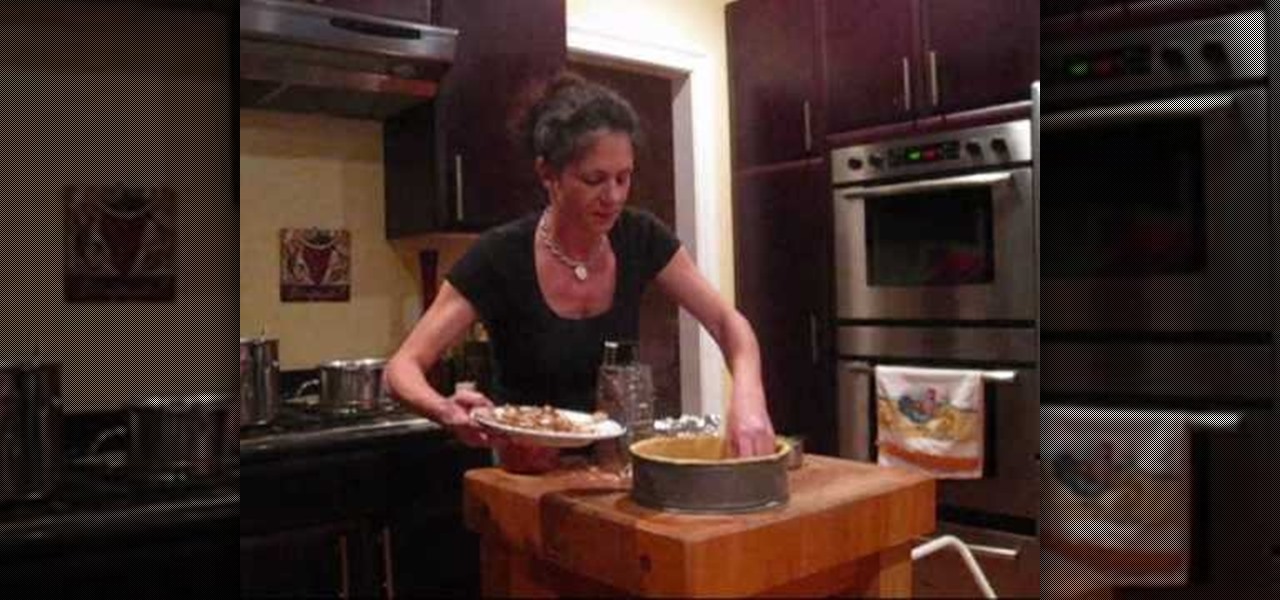
In this video, we learn how to make timpano. First, you will need meatballs, sausages, chicken, cheese, peas, pasta, and vegetables. You can prepare the dough yourself or you can purchase it from the grocery store if you don't have time. Place the dough into a large spring form pan, then prepare your meats. First, layer penne pasta into the bottom, then layer chicken breast in slices on top of that. After this, place on meatballs and frozen green peas. On top of this, add on cut up sausages, ...

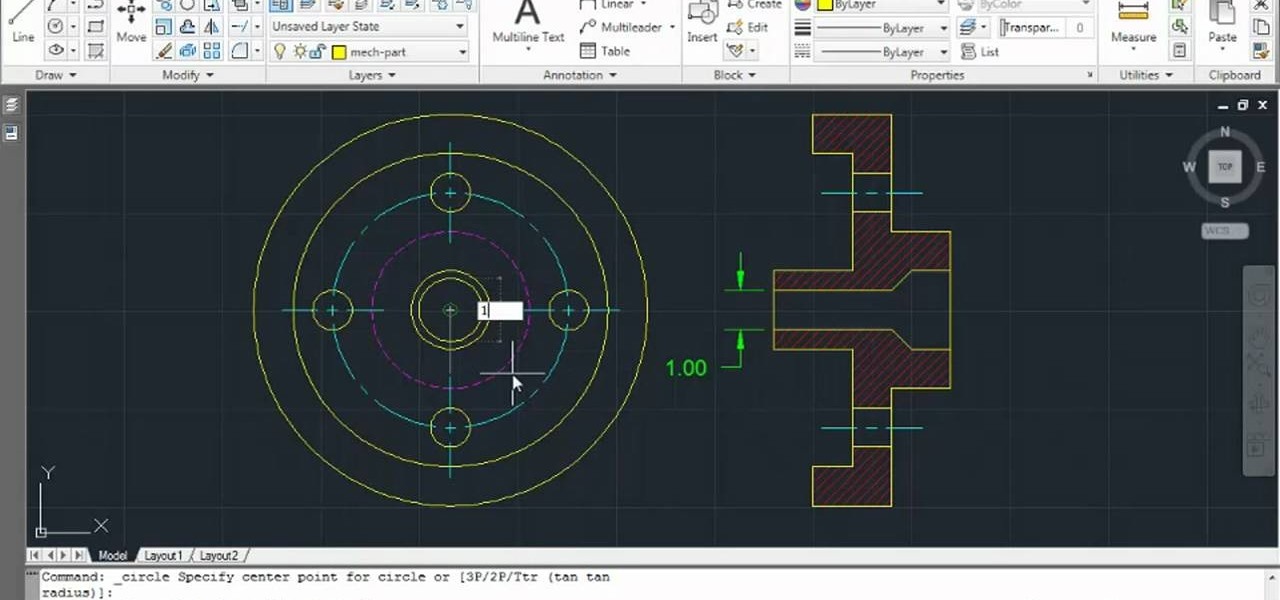
Learn how to set the current layer by selecting elements within an AutoCAD 2011 project. This clip will teach you everything you'll need to know. Whether you're new to Autodesk's popular 3D drafting application or a seasoned professional just looking to better acquaint yourself with the newest iteration of the program, you're sure to be well served by this video tutorial. For more information, including step-by-step instructions, watch this free video guide.

In this clip, you'll learn how to use nondestructive layer masks in Adobe Photoshop to create modern-looking posters and backgrounds. Whether you're new to Adobe's popular raster graphics editing software or a seasoned professional just looking to better acquaint yourself with the program and its various features and filters, you're sure to be well served by this video tutorial. For more information, including detailed, step-by-step instructions, watch this free video guide.

Painting a room is pretty easy stuff: just add a layer or two of primer if your wall color is extremely dark or has crack and bumps, and then load on a few layers of paint.

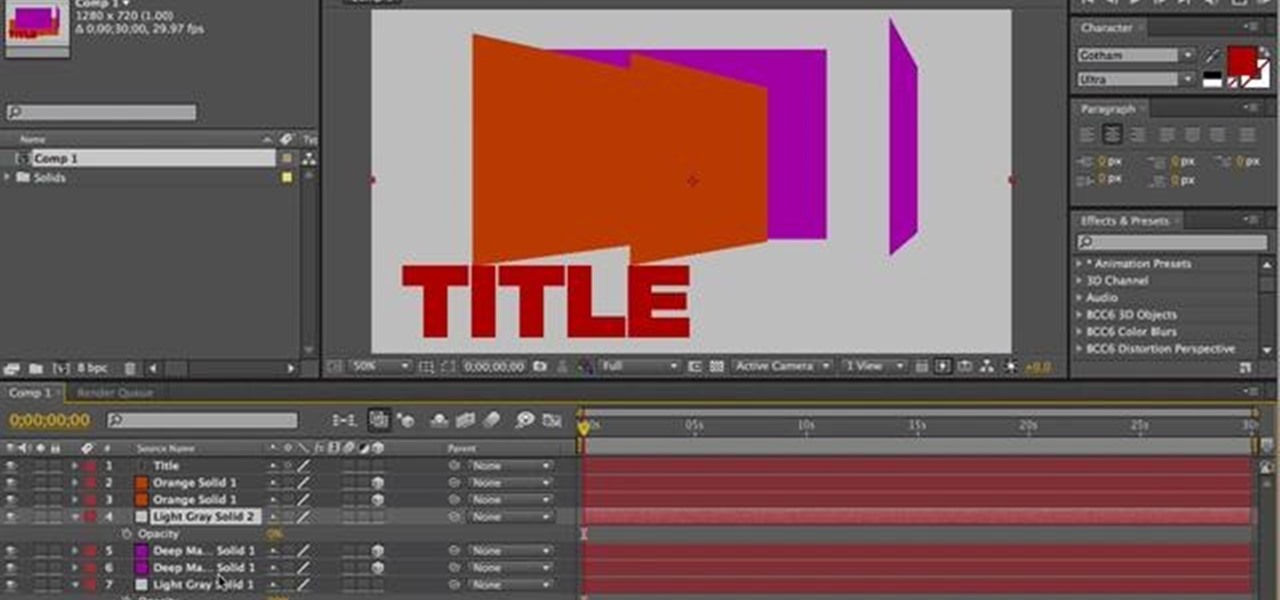
Need help wrapping your head around how layer order effects visibility in After Effects when using 2D and 3D layers? This clip explains it all. With After Effects, it's easy. Whether you're new to Adobe's popular motion graphics and compositing software or a seasoned video professional just looking to better acquaint yourself with the program and its various features and filters, you're sure to be well served by this video tutorial. For more information, including detailed, step-by-step instr...

If you're not familiar with its mask tools, you're not taking full advantage of Adobe Photoshop. Learn how to use them with this clip. Whether you're new to Adobe's popular image editing software or simply looking to pick up a few new tips and tricks, you're sure to benefit from this free video tutorial from Tutvid. For more information, and to get started layer, vector and clipping masks yourself, watch this graphic designer's guide.

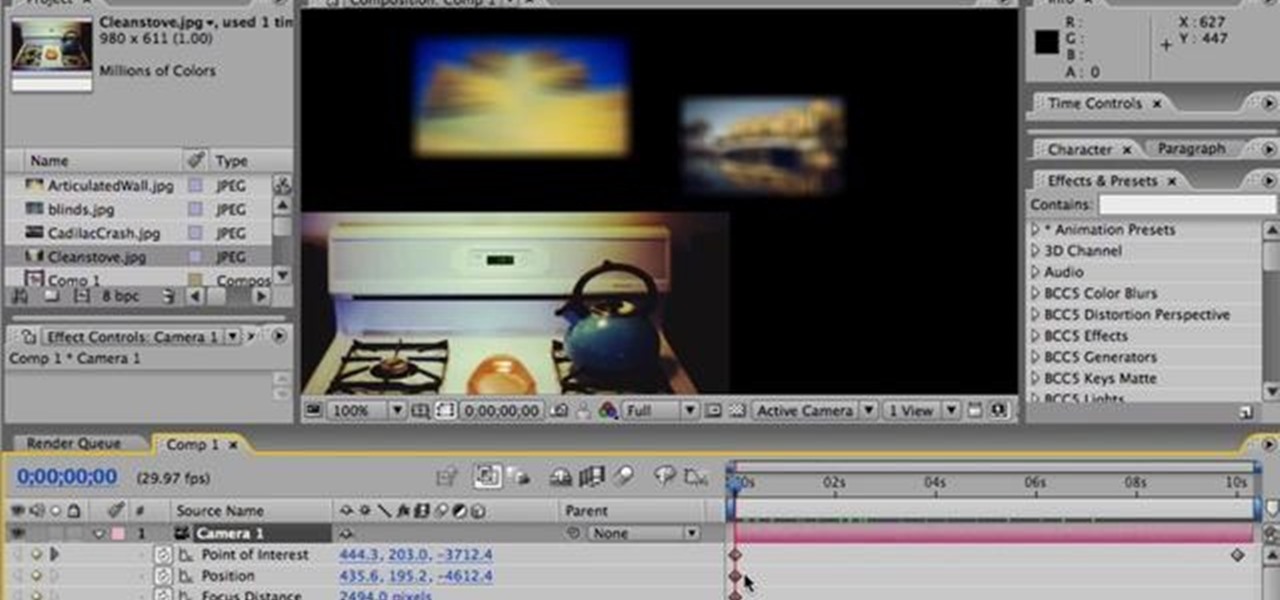
Nick from Greyscale Gorilla shows you how to do intermediate level camera animation in After Effects. He also demonstrates 3d layers and the use of depth of field for creating believable and realistic VFX.

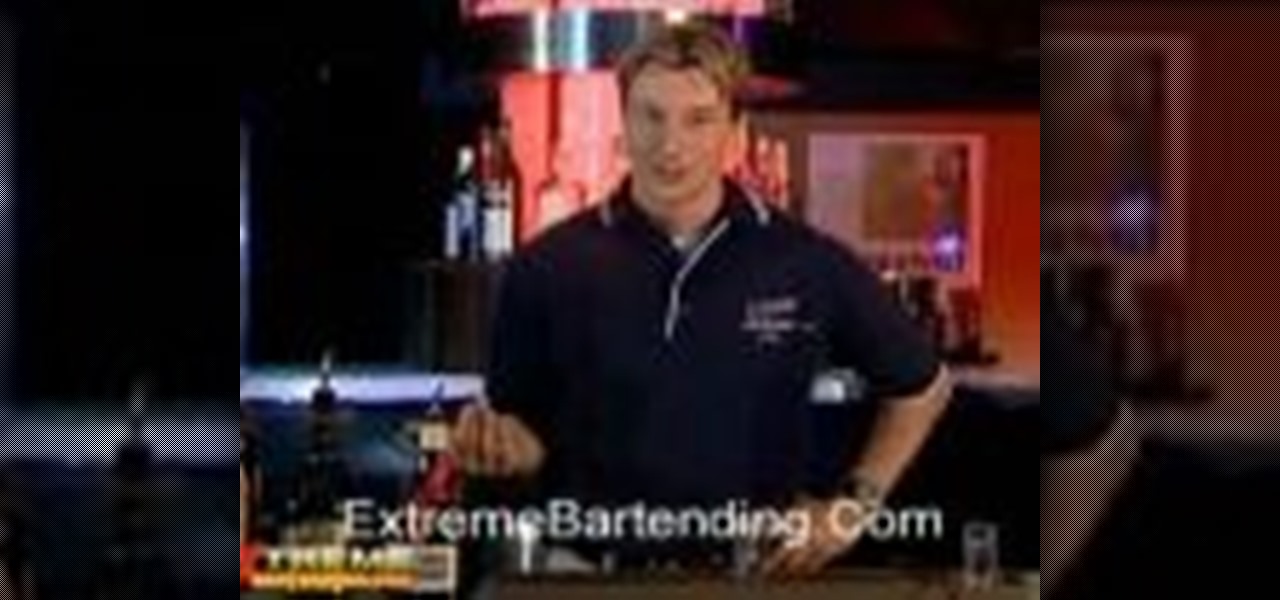
In this video from Extreme Bartending we learn how to make a B52 shooter. This is the most popular layered shooter. Start with 1/3 oz of Kahlua, then using a bar spoon, pour very slowly Bailey's. Lastly is Grand Marnier. Use the spoon with this as well. If you're having a party, pour a bunch of them and put the in the fridge for an hour. That works great. This drink is all about the presentation of the layers. This video will teach you how to make a B52 shooter using the proper layering.

Learn how to create a warm, grungy background in Photoshop. - Open up a brand new document at 1280 x 720.

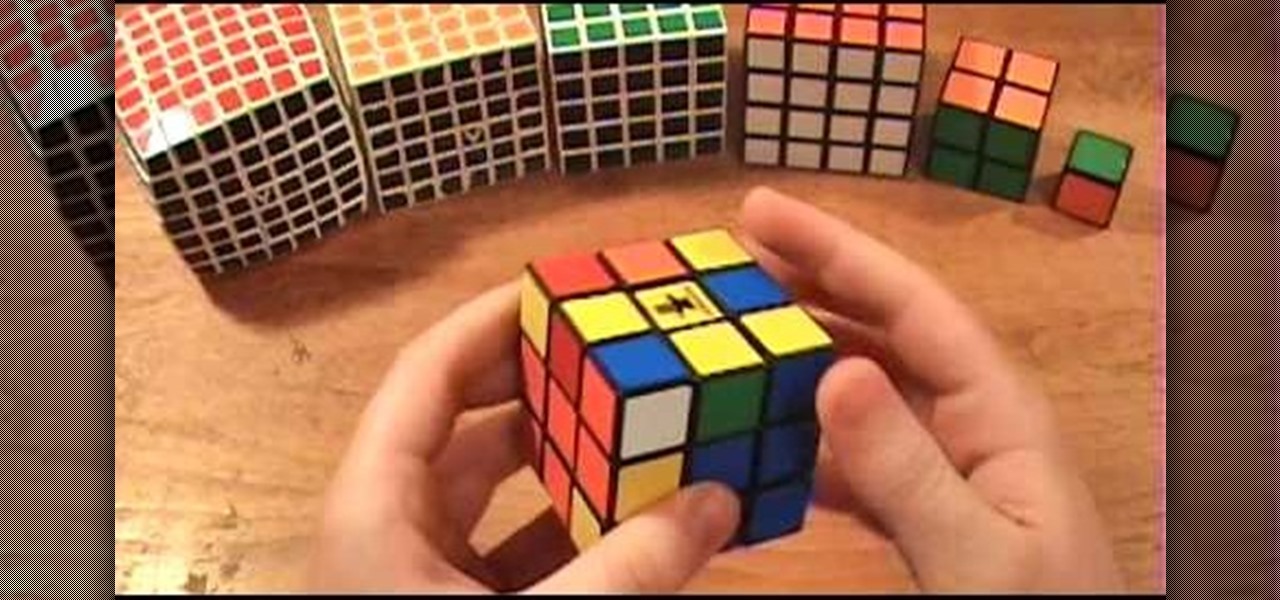
It's time to solve that Rubik's puzzle of yours, but how do you do it? Erno Rubik designed these three-dimensional mechanical puzzles to be precariously difficult, unless you know a little about mathematical algorithms, then it's just a matter of time and determination.

In this Photoshop CS3 tutorial you will learn how to use the knockout feature. This advanced masking technique allows you to move a targeted layer around, revealing the layer underneath. This video will show you how to reveal a creepy skeleton under a monster werewolf right in Photoshop. This classic technique lives again! Learn the subtle qualities of the Deep, and Shallow, Knockout feature in Photoshop.

Ever hear of a Rubik's Cube, well, did you know that some people can actually solve the mighty puzzle? Yes, that right, they sure can, and so can you... maybe.

The V-Cube 6 puzzle is a uniquely designed and constructed skill game. V-Cube 6 is a multi-colored, multiple-layered cube, rotating smoothly on based axes. The player is required to discover a strategy to achieve uniform color sides on her or his V-Cube, but in this process, the Rubik's Cube-like puzzle may break, especially if you're in the process of speedsolving.

This tutorial covers how to use layers to composite footage together and then how to keyframe footage layers. The tutorial gives a clear and easy step-by-step breakdown of using compositing and keyframing in Final Cut Pro 6.

In this video tutorial you will learn to use custom shape clipping masks in Photoshop CS2. The masks offer you great control over your design. This example involves the use of layers and layer style.

A layered skirt can add either elegance or a bit of funkiness to your wardrobe, depending on your choice of fabric. This video shows you a quick and easy way to sew your own, perfectly fitted layered skirt out of whatever fabric you want.

Start with a basic photograph, and then use the various image effects to subtly alter it until it's precisely how you want it. This tutorial also goes briefly into layer styles, and some easy and effective ways to work with layers in Adobe Photoshop.

In this video, we learn how to ink and color in Photoshop. First, you will want your background and sketch in two layers. Make a new layer which will be the layer you ink your art on. Move the opacity down on this, then zoom in and start inking your art. Use a normal brush in whatever size will fit your art the best. Take your time, then start a new layer when finished. Color the areas of the picture, then when you join these layers together, you will have an entire drawing finished. Make sur...

In this video, we learn how to create an engraved text effect in Photoshop. First, start a new document in Photoshop and make it as large as you want it. Now, select the foreground color as a dark gray. Next, grab the rectangle tool and draw a shaped layer, making the color whatever you want it to be. Now, go to "layer", then "layer style", and "gradient overlay". Go to the gradient bar and mix light and dark grays or black to make a metal or chrome look as you prefer. After this, write in yo...

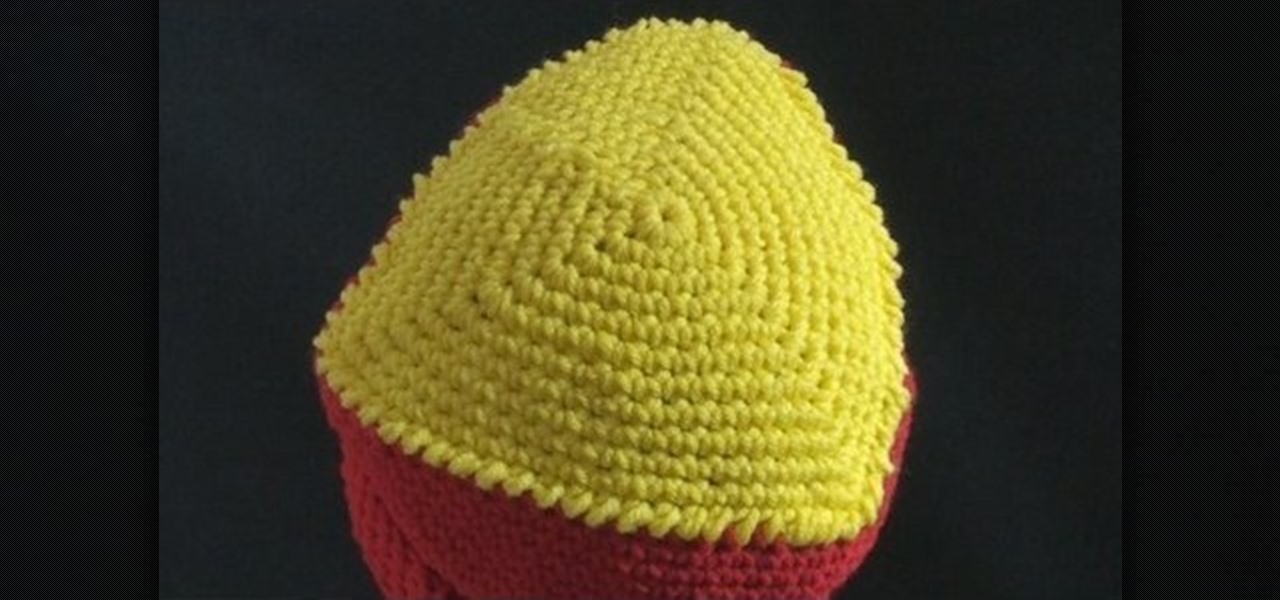
In this video, we learn how to crochet a triangle-shaped bikini beanie hat. First, crochet nine single crochets through a simple loop. After this, join with the beginning single crochet and work a single crochet three times. next, work one single crochets in each of the next two, then three single crochets in the next stitch. Now, go join with the first single crochet. Continue to go around until you have a large circle shape, going down on the sides to make the entire beanie shape. After thi...

This video tutorial belongs to the software category which is going to show you how to darken the background in Photoshop using the burn tool. This is an example of how to improve your dodging and burning using the adjustment layers.

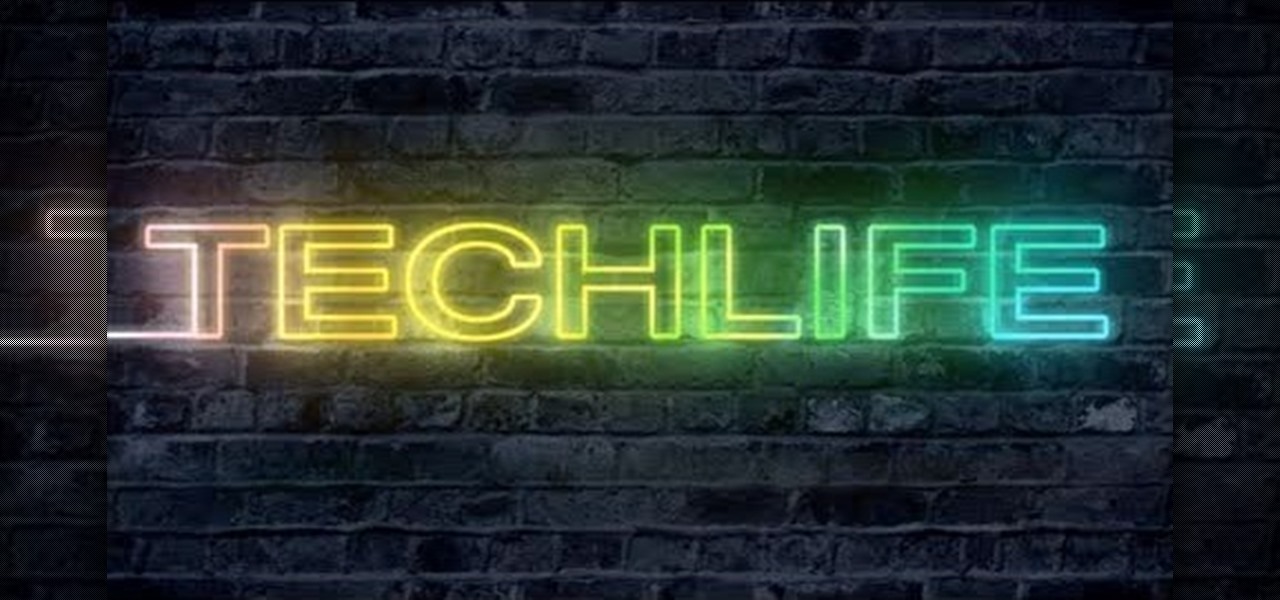
In this tutorial, we learn how to make a cool neon text effect using Photoshop. First, type your text using a big and simple font. After this, right click on the text layer and click on "rasterize type". Now, press the control button while you click the thumbnail of the text layer. After this, grab the lasso tool and click "select inverse". Then, set it on 12 pixels in the toolbar. Now, use the magic wand too and select each of the letters by holding shift. Next, create a new layer and click ...

Learn how to use and work with render layers in your Maya 2011 projects. Whether you're new to Autodesk's popular modeling software or a seasoned 3D artist just looking to better acquaint yourself with the Maya 2011 workflow, you're sure to be well served by this video tutorial. For more information, and to get started using render layers in your own Maya 2011 projects, watch this free video guide.

In this tutorial, we learn how to make a left-hand crochet Valentine's puffy heart. You will need: a size G crochet hook and yarn. Start by working a chain of three then forming a loop and doing a chain one. After this, work 9 single crochets through the center of the ring. Next, do 18 single crochets making the first stitch on a single crochet. Keep doing 18 single crochets around the circle you have created. After this, make one single crochet for a total of 18. The edges will start to curl...

Single crochet stitches sound easy, but when many are knitted together into a pattern you get a very thick and heat-resistant surface. That's the idea behind this simple beginner-level crochet project for crafting a granny-style potholder out of a single crochet stitch.


