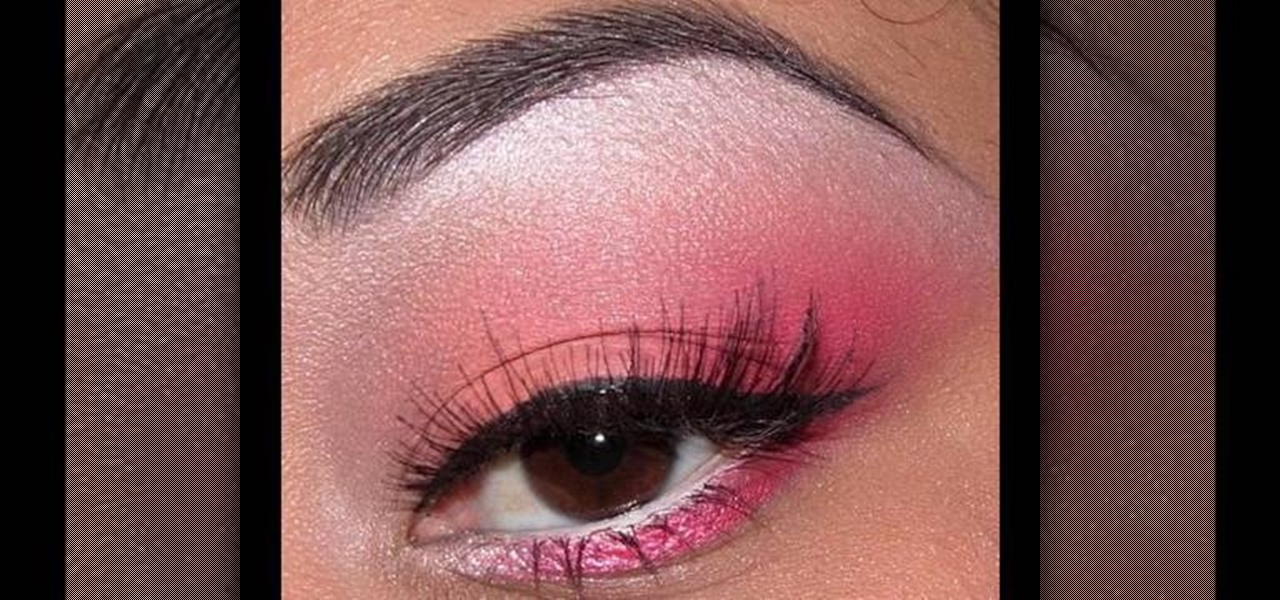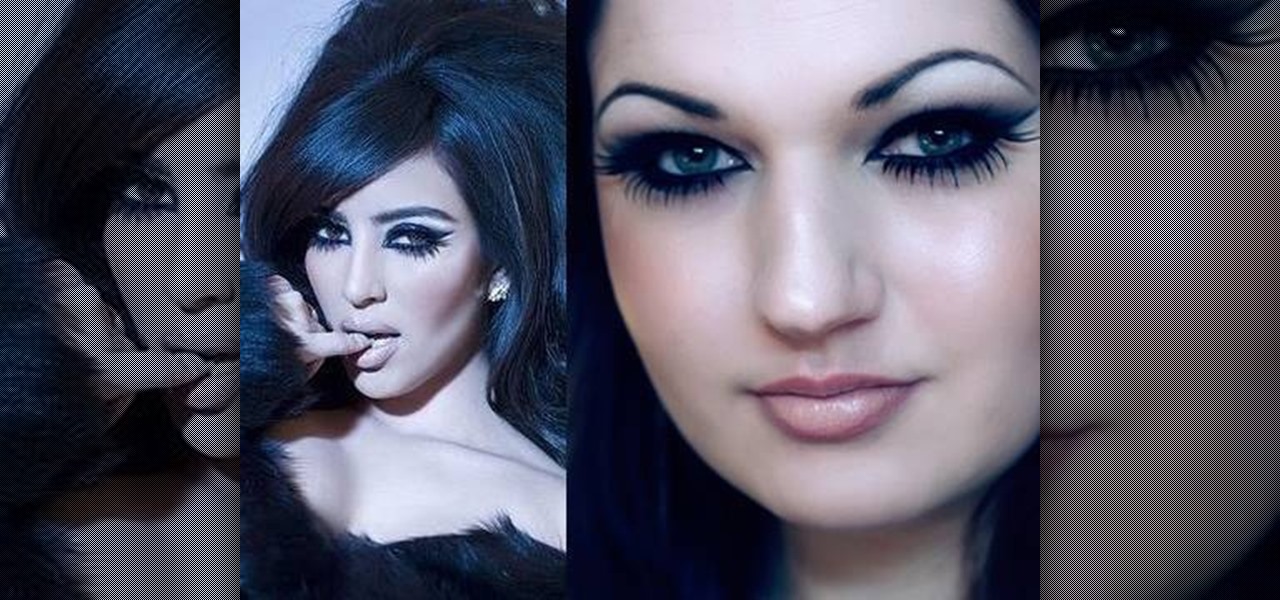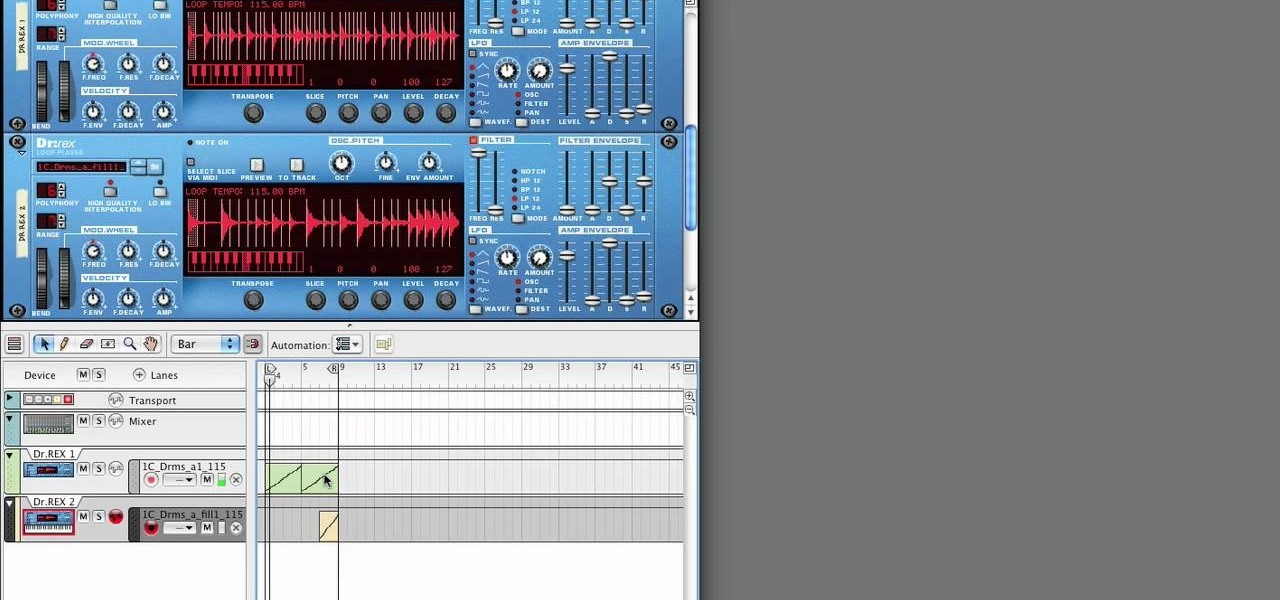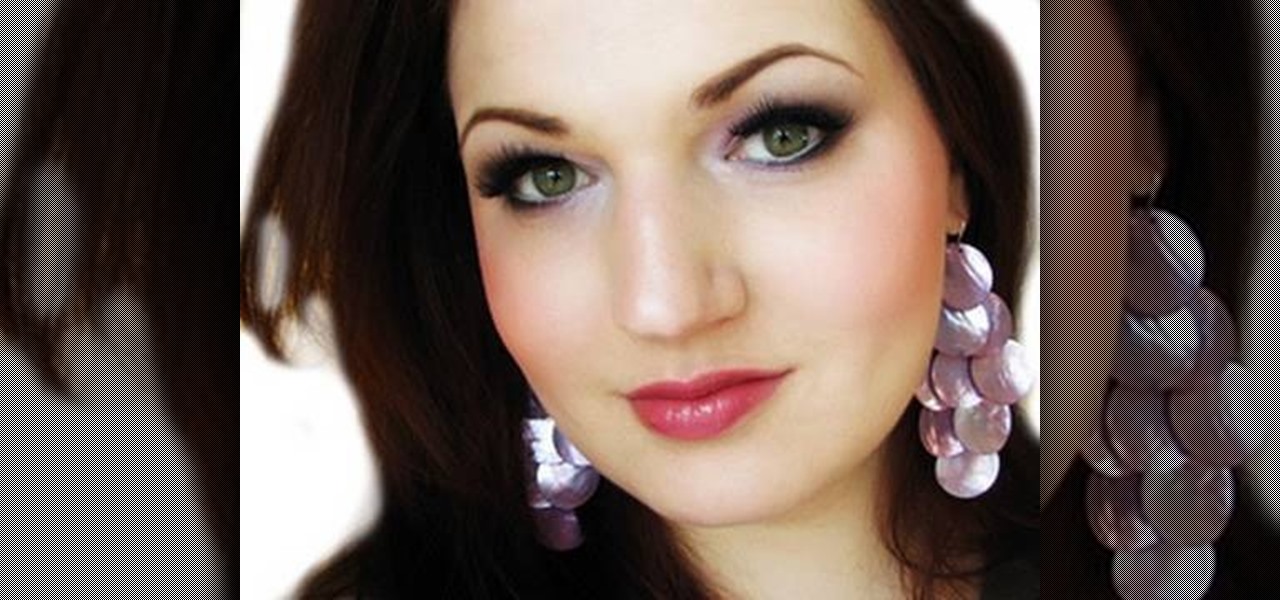
In this video, we learn how to look like Megan Fox in Transformers 2. First, apply a think layer or eyeliner to the top of the eye on the waterline. After this, take a black shadow and brush it over the eyeliner to set it. Then, apply bronzer to your cheeks and on the jaw line as well. Then, apply a matte honey color lipstick to the lips along with a red lip shine on top of that. From here, outline the eyebrows and define them with an edged brush. When finished, you will have the Megan Fox lo...

In this video we learn how to make a candy DNA model. First, purchase some black licorice and another color. Grab two each from the pack and then purchase some gummy bears. After this, pick out four different colors from the gummy bears bag. Take your scissors and put the licorice together. Cut one inch pieces so you end up with six of them. These will represent the sugars in the molecules. Once you do this, you will take the string and push it through the holes that are in the licorice. Laye...

The turkey is the A-list star of your Thanksgiving table, so it only makes sense to make sure it's as savory and enjoyable as possible, right?
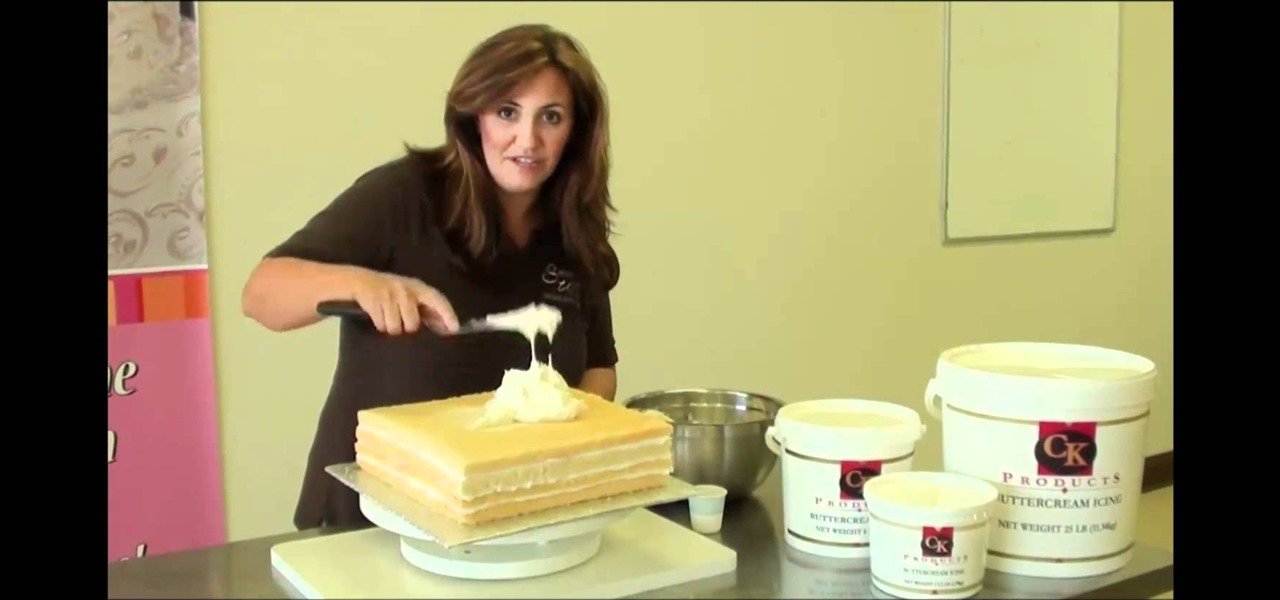
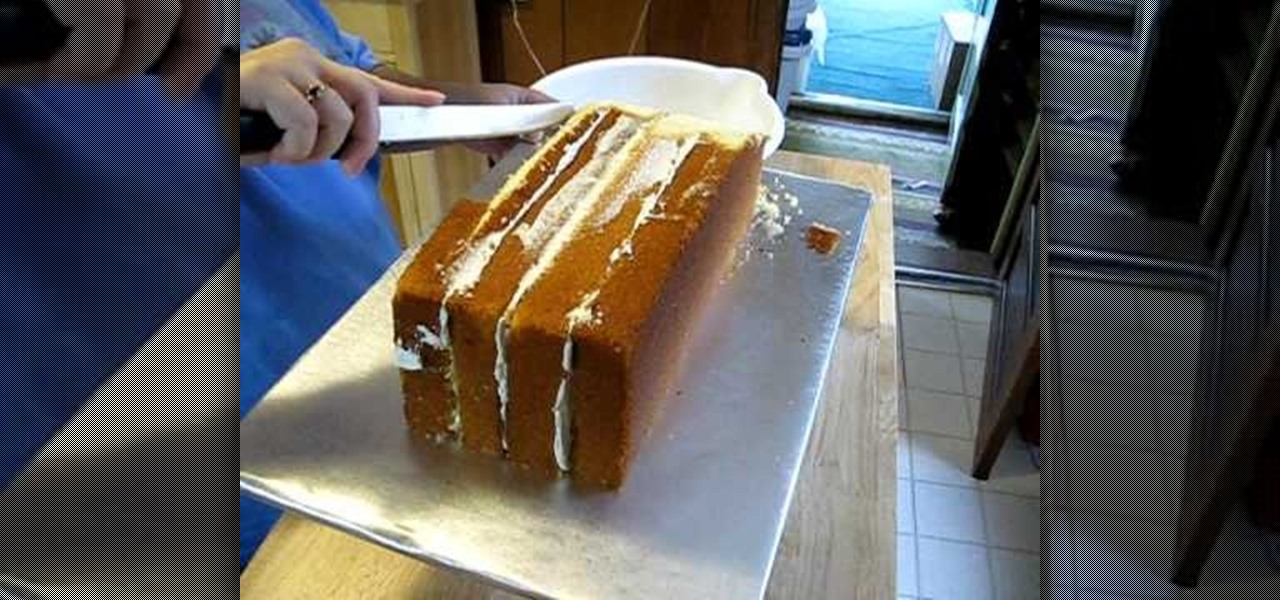
Crumb coating, also known as dirty icing, a cake, does not, as its name suggests, mean adding crumbs to the outer coating of a cake. Instead, crumb coating is the step that most pastry chefs take to make sure that all the loose crumbs on a cake are trapped in an initial coat of icing so that when you add the second (and actual) icing layer no crumbs mix with the icing and look bad.
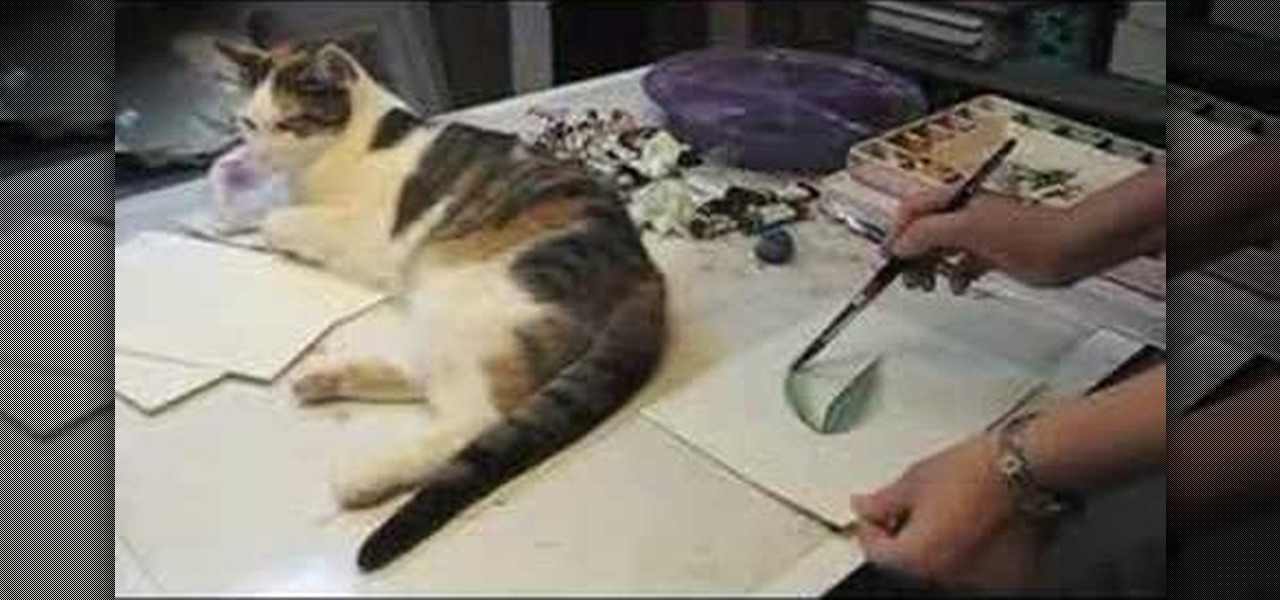
In this tutorial, we learn how to use the cold pressed watercolor paper technique. Start out with one leaf, then use your brush to apply more color above it. Continue to apply the paint and try to blend it. It will be difficult to blend and get a smooth effect, but it will look great. You can also add your paint to the dry paper by brushing on more paint and creating different layers with your brush. Once you apply enough, you will get the smooth look with the paint and it will look great. Ei...

In this tutorial, we learn how to make a Deadpool sword. To do this, you will need: a marker, scissors, hard plastic, cardboard, silver spray paint, duct tape, saw, electrical tape, sandpaper, and hot glue gun. First, cut the plastic into three thin knife shapes. Then, use sandpaper to smooth edges. Then, use the cardboard to create three layers of a rectangle. Make the corners round and then tape around them with duct tape. Put a hole in the middle and then put it into the plastic. Now, glue...

In this tutorial we learn how to use an Enzo Milano to get wavy hair. To start, section your hair off so you just have the bottom part of it. Then, you will stick the iron on the root of your hair and wrap your hair around it with your fingers. Then, let this sit on the iron for a few seconds before releasing it. Continue to do this until you finish curling all the sections on the hair. Take off the top section from the clip and then do that layer of hair. When finished, apply hair spray and ...

In this tutorial, we learn how to paint a pomegranate. First, paint the circle for the pomegranate. After this, shade the right side with a dark red and the rest with a lighter shade of red. From here, add in a medium red all over the pomegranate and then add another shade over that. From here, start to layer on more additional colors of red to the pomegranate to make it appear more realistic. When finished, paint on the background with whites and grays that are mixed together. Add white to t...

In this tutorial, we learn how to make a Halo Needler prop. You will need: knife, scissors, pink straws, paint colors, cardboard, paint brush, and pencil. First, draw the pattern out on a piece of cardboard. Next, cut this out and make four layers of it. After this, glue or tape it together and then line glue everything together. Now, cover this with paper mache until all parts are fully covered and dry. Next, color with your paint and then let it dry until the paint is no longer wet. This wi...

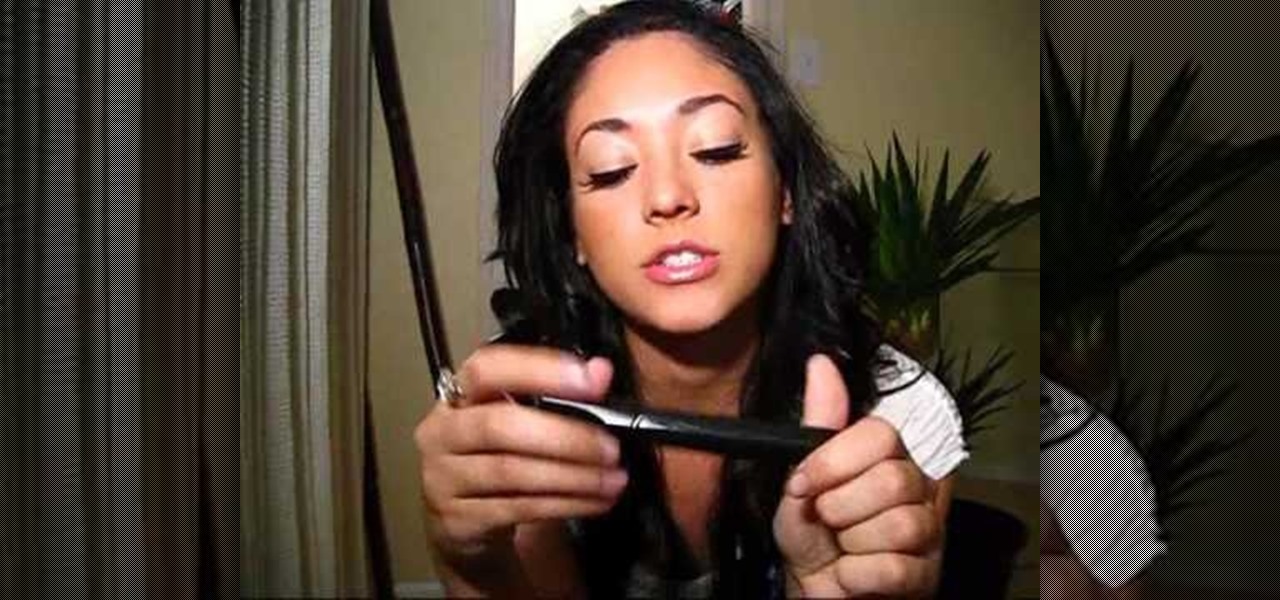
In this tutorial we learn four tricks to make your eyes look bigger. The first tip is to layer on a shimmery light shadow to the eyes and then add on a darker color to the crease of the eye. Curl the lashes and then apply mascara to the eyes after clamping and working up the eye. Next, take some false lashes and apply these to the outer edge of the eye. The lashes will give you a thick and luxurious look. Later when you go to take these off you just need to use simple eye makeup remover. Any ...

In this video, we learn how to plant a container herb garden. First, lay down a layer of fertilizer to your pot and then rip off the container from around the plant. Then, place the plant inside of the pot and throw some of the fertilizer around the top of the base of the plant. From here, you will place in the rest of the herbs to the pot until it all fits in well. Then, make sure you water this according to which of the herbs that you are growing. Enjoy watching your herbs grow and enjoy fr...

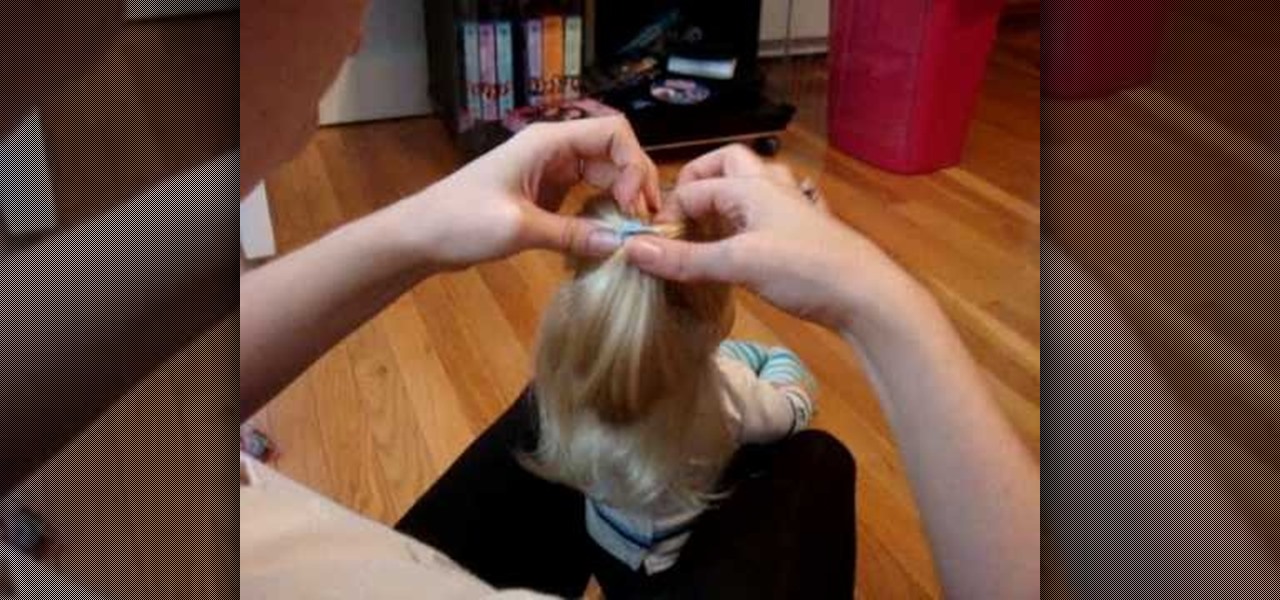
In this video, we learn how to do your American Girl Doll's in a ballet bun. First, you will need to brush out your doll's hair and put it into a low pony tail or high, depending on where you want the bun on the head. After this, take the hair and twist it around the rubber band base and then take a thicker rubber band to tie around the bun to keep it in place. You can then place another rubber band around for decoration. This will finish the simple bun, which will be easiest to do on a doll ...

In this tutorial, we learn how to make & decorate a vintage retro rose romance cake. Start out by rolling out fondant that has been mixed with yellow coloring. Once this is rolled out, you will lay it over the cakes and then cut off the excess fondant from the bottom. Do this on all the layers of the cake until it's fully covered and completely smooth. Then, you will use the same fondant to roll into small flowers that you will apply around the outside of the cakes. Use icing to help the rose...

In this video, we learn how to make a VW beetle cake with buttercream. First, you will need to apply the buttercream icing onto the top of your cake and the sides. After this, you will pile on the other cakes to this with more icing inside of each layer. Then, you will start to cut the cake and it into the shape of the car that you want to make. Use an outline so you can follow it while you are making it so you know exactly how it is formed. Next, you will add in the parts for the wheels, the...

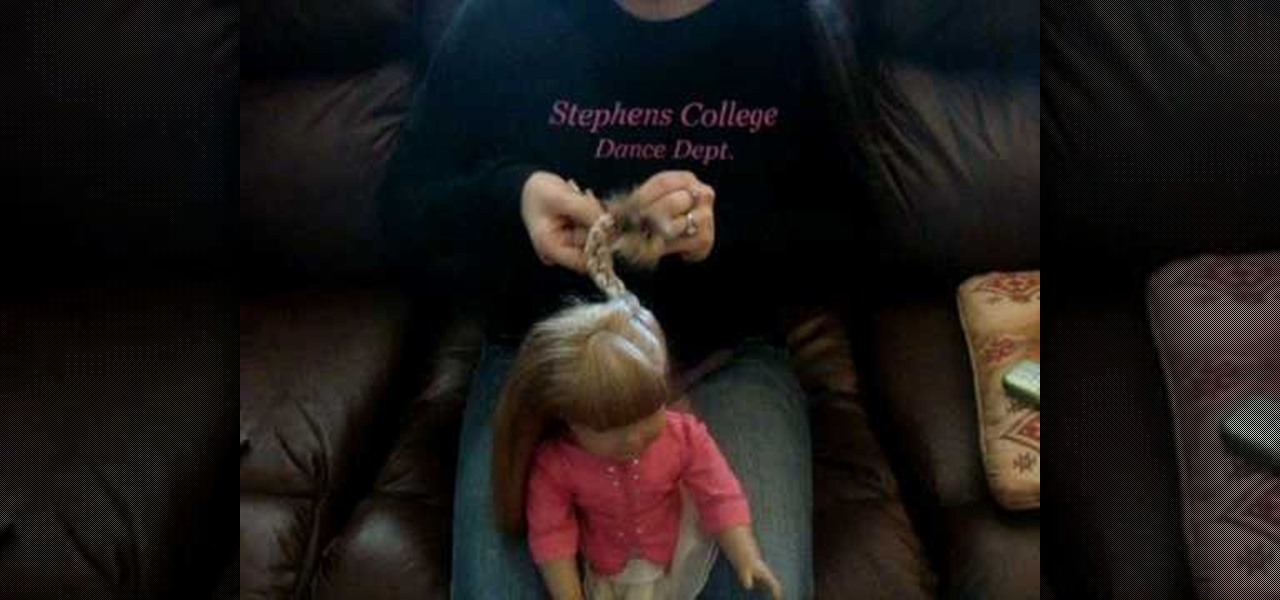
In this video, we learn how to do a cute easy hairstyle on your American Girl Doll. To start, brush your doll's hair and then part the hair in the middle. After this, break the side of the hair into three pieces and then start to braid it from top to bottom. After this, repeat the same process on the other side. Tie the bottom with rubber bands and then you will be finished with this hair style! It looks really cut on a doll that has long hair with bangs, but can also work on short or layered...

In this tutorial, we learn how to do a cute hairstyle on American Girl with medium hair. This is great for a doll that has hair that flips out at the bottom or hair that is curly. First, you will take most of the hair, except for a thin layer of hair on the underneath area. Put a rubber band around this part of the hair, then put a hole with your finger above the band. Flip the hair through this, so the hair is sticking up. Then, curl the hair under and clip it into place on the back to finis...

In this video, we learn how to make a prop Michael Myers knife. You will need: six pins, a pen, a sharp knife, black paint, hot glue gun, cardboard, thin cardboard, and medium foil. First, print out a picture of the knife that's given in the video. After this, cut out the pieces and tape them together so it looks like a real knife. Then, cut off the points from the pins and draw the handle of the knife out on the regular cardboard, making two layers. Then, cut out the large part of the knife ...

In this video, we learn how to strop on a stropping block. There are two layers to the strop and they measure different lengths. On the bottom you should put two mouse pads to make sure it stays put. Now, charge the strop with a stropping compound and rubbing it against the grain until it flakes off. Next, gauge the angle of your knife and place the blade against the strop. Push against the edge of the blade and work from the top to the bottom in a long and slow arch. This is all there is to ...

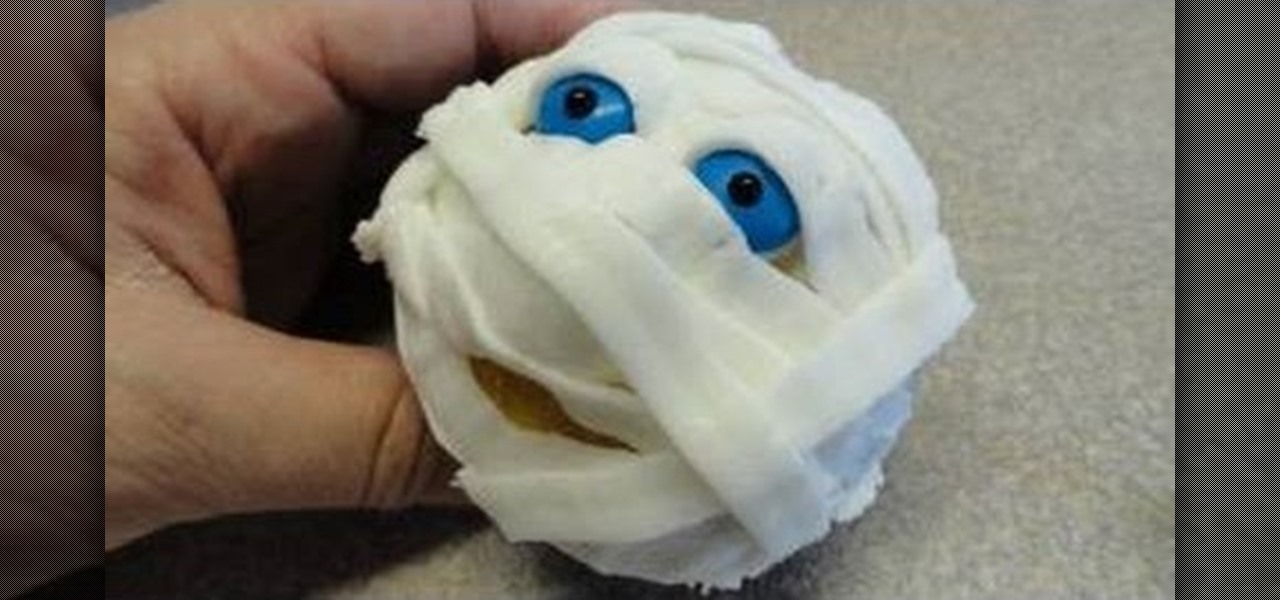
This mummy-shaped cupcake will be a ka-razy big hit on your Halloween buffet table. Flat, noodle-like layers of icing create a bandaged mummy effect, while an assortment of blue and red candies mimic the mummy's creepy eyes and mouth.

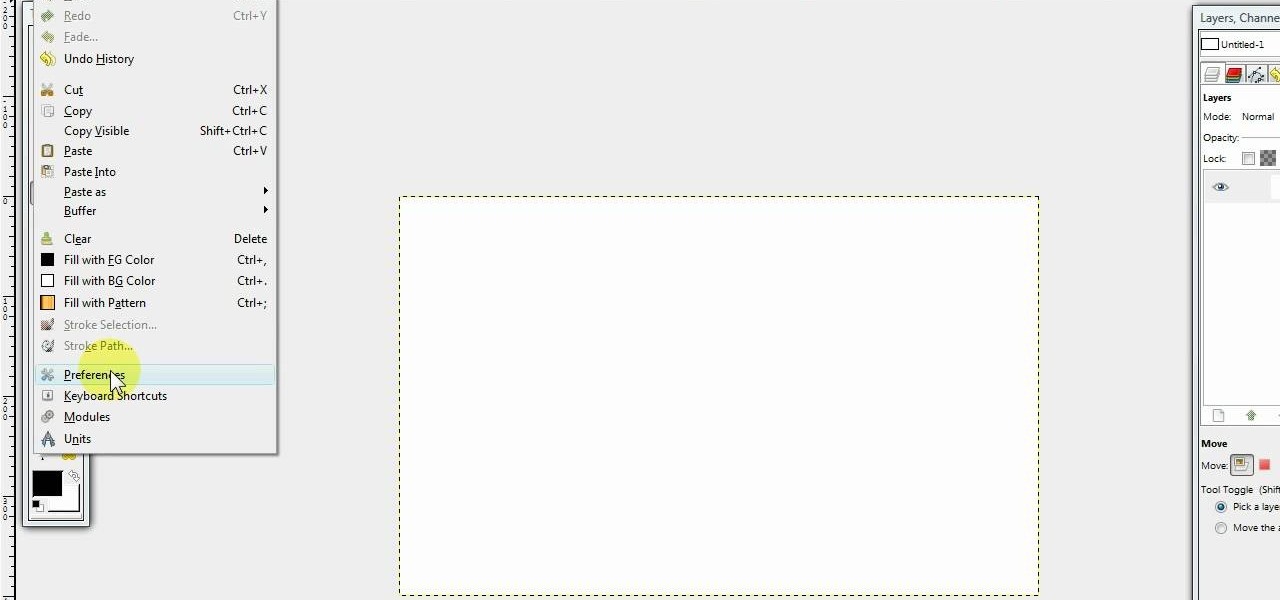
In this video we learn how to create a Photoshop layout in GIMP. First, open up GIMP and then add a new tab. From here, you will open up the brushes tab and choose the brush that you want. After this, create the template size that you want for your page. Then, open up the preferences section and choose what you would like. Then, show the layer boundary on the page and fill it in with the color of your choice. Create toolboxes and add in the text that you would like. Use preferences whenever y...

In this tutorial, we learn how to make dogbane cordage. Dogbane is also known as Indian hemp, which is a plant which is used to make cordage. Once you identify the plant outside, you can process it into a raw and finished product. First, you will simply peel the bark off of a branch of the dogbane. After this, you will squeeze along the inside of it and start to peel the layers back. You will then get a bushy type of wood that looks like it's hair. After this, you can tie these together or br...

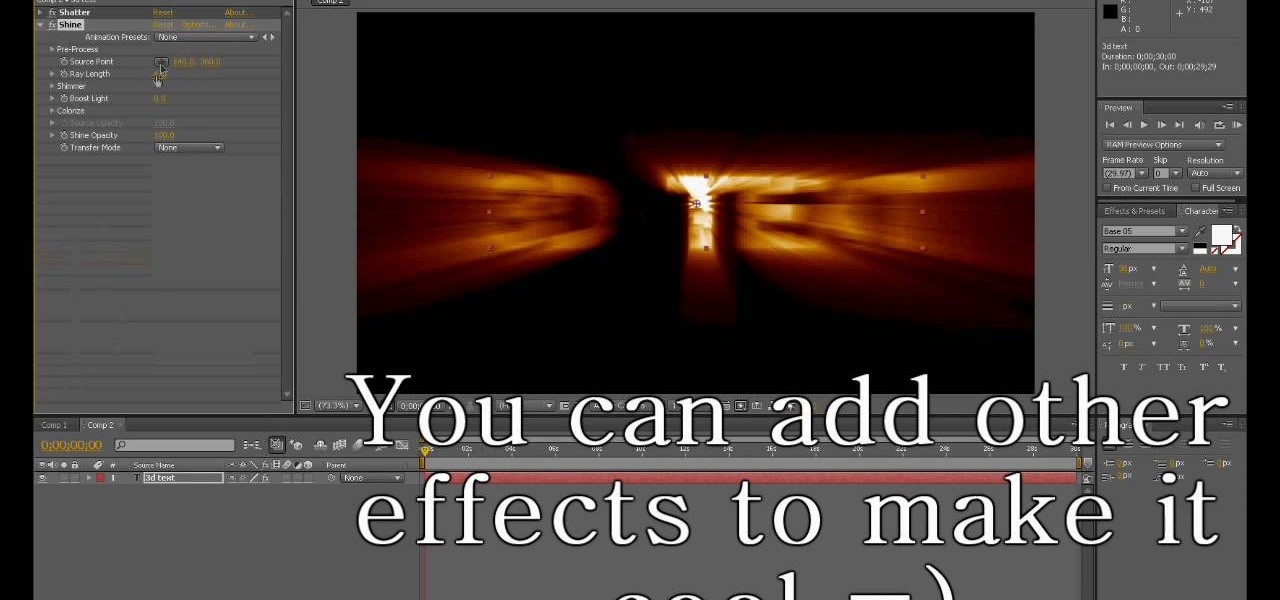
In this tutorial, we learn how to create basic 3D text in After Effects. First, make a new composition and then create a text layer. After this, write in your text that you want in 3D. Then, add shatter to the drawing and select rendered. From here, change the pattern to custom and shape to text 1. Then, put all the strength and gravity to 0. Then, frame the text into the position that you want it to be in by rotating it around. Change the color if you would like to, then when you are done sa...

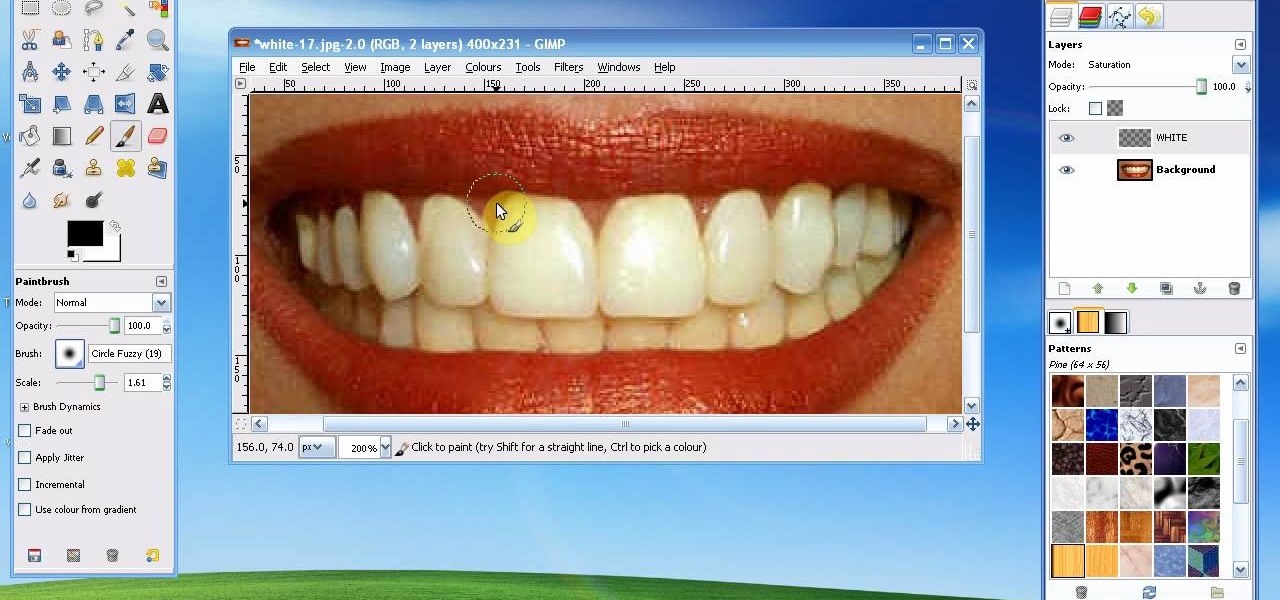
In this tutorial, we learn how to whiten teeth in the Gimp image editor. First, open up GIMP and zoom in on the teeth of your image. From here, create a new layer named "white", making sure it's transparent. Now, make sure the white tab is on the top and go to "mode" then "saturation". Select the brush named "circle fuzzy 19". Put the scale around 1.5 or 1.6 and then draw on the teeth, which will make them white! Do this for all of the teeth, then when you save you can use this as your image ...

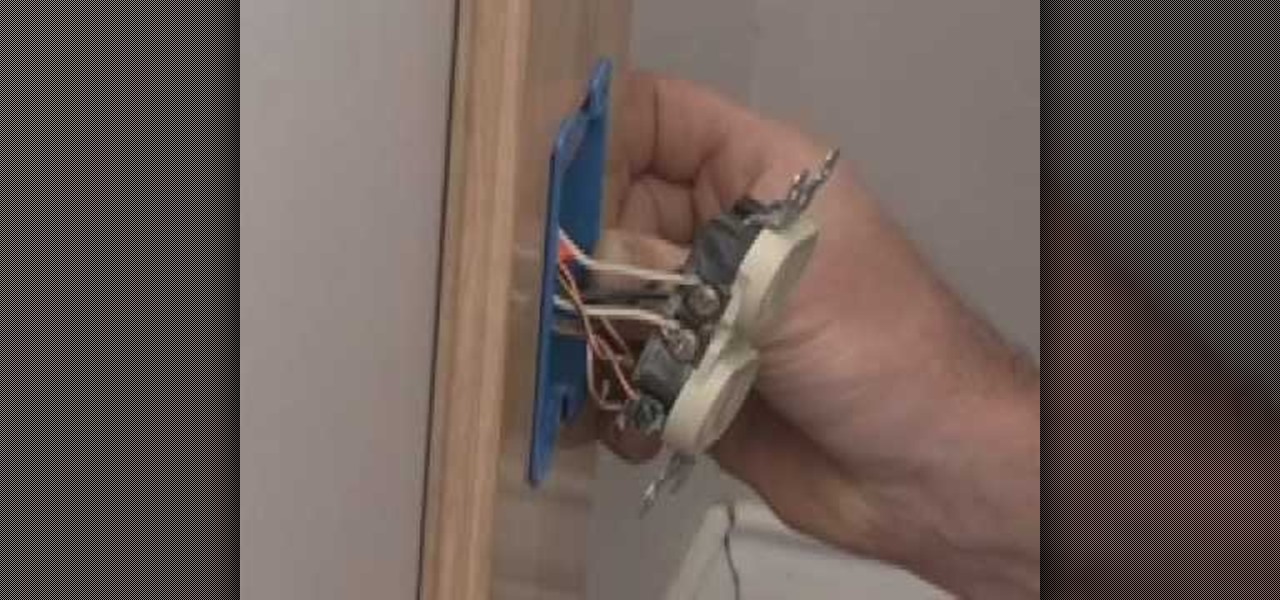
This is a video tutorial in the Home & Garden category where you are going to learn how to use an electrical box extension. Bob Schmidt shows how to use an electrical box extension during remodeling; when adding drywall, tile or wood over existing surfaces. For this you will need a PVC box extension which is designed to fit over the box that is already embedded in the wall. It extends out of the wall which will be covered by the layer of tile or drywall. Disconnect the power source to the plu...

In this tutorial, we learn how to create a punk rock look with pink and coral eyeshadows. First, take a coral shadow and brush it over your entire eyelid. After this, brush a darker color on the corner of the eye and then use a white color underneath the brow bone. Now take a coral pigment and brush it over the first coral color to create a brighter shade. Blend the white in with the coral towards the crease of the eye. Add more color as you see fit until the color pops and is very bright. Af...

In this tutorial, we learn how to make on the go chicken & cheese quesadillas. First, you will need some whole grain tortillas ready, set those aside and grab some shredded cheese and already cooked and chopped up chicken. Now, pour some olive oil into a large frying pan. After this, place the tortilla down on the skillet and then cook the chicken in the other pan. Cook the chicken until it's warmed up, then place it onto the tortilla in the other pan. After this, layer cheese onto the chicke...

In this tutorial, we learn how to create a Kim Kardashian-inspired cat eye makeup look. Start by using a nude color eyeshadow on the eyes and tape to create an edge on the outer corner of the eye. After you do this, apply a white shadow underneath the eyebrows to create a highlight. Now, take a gray eyeshadow and apply it to the entire eye up until you reach the crease. Blend this out to the corner of the eye. Then, take a thick black eyeliner and apply it to the upper eye, creating a cat eye...

In this tutorial, we learn how to use Reason Soul School. First create a Doctor X loop layer. After this, browse for a loop and search through the different folders that contain loops. These will mimic different sounds depending on which one you want to use. Each category contains drums, bass, tempos, and more. Load the different sounds from the folders as you would like. Then, when you have your desired sounds, start to edit them and change how they sound. You can then add in new loops to th...

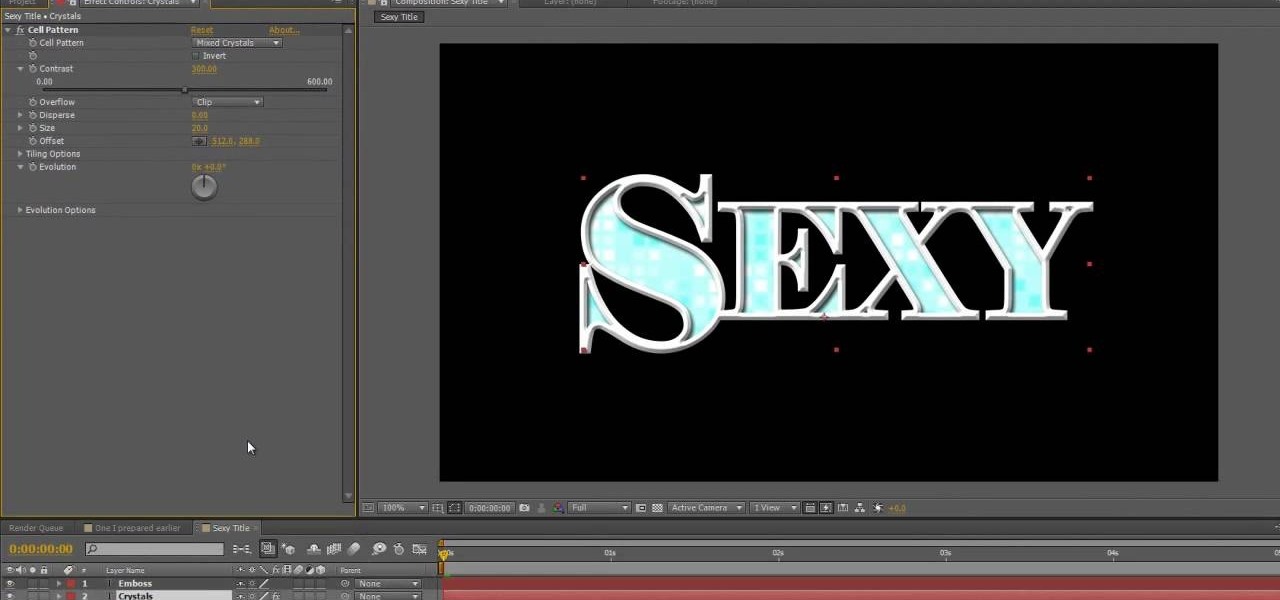
In this clip, you'll learn how to use layer styles, blending modes and cell pattern effect to create a fun, glamorous pre-roll sequence in Adobe After Effects CS3, CS4 or CS5. Whether you're new to Adobe's popular motion graphics and compositing software or a seasoned video professional just looking to better acquaint yourself with the program and its various features and filters, you're sure to be well served by this video tutorial. For more information, including detailed, step-by-step inst...

In this video, we learn how to use the UVW unwrap function in 3D Studio Max. First, go to the UV modifier wrap and select all the faces. Once here, edit the parameters and then go to the mapping menu. After this, you will be able to change the object as you would like. After you are finished with this, save your object to your computer in a spot you won't forget it. You can create several different layers and change the colors as you prefer. You can completely customize your experience on thi...

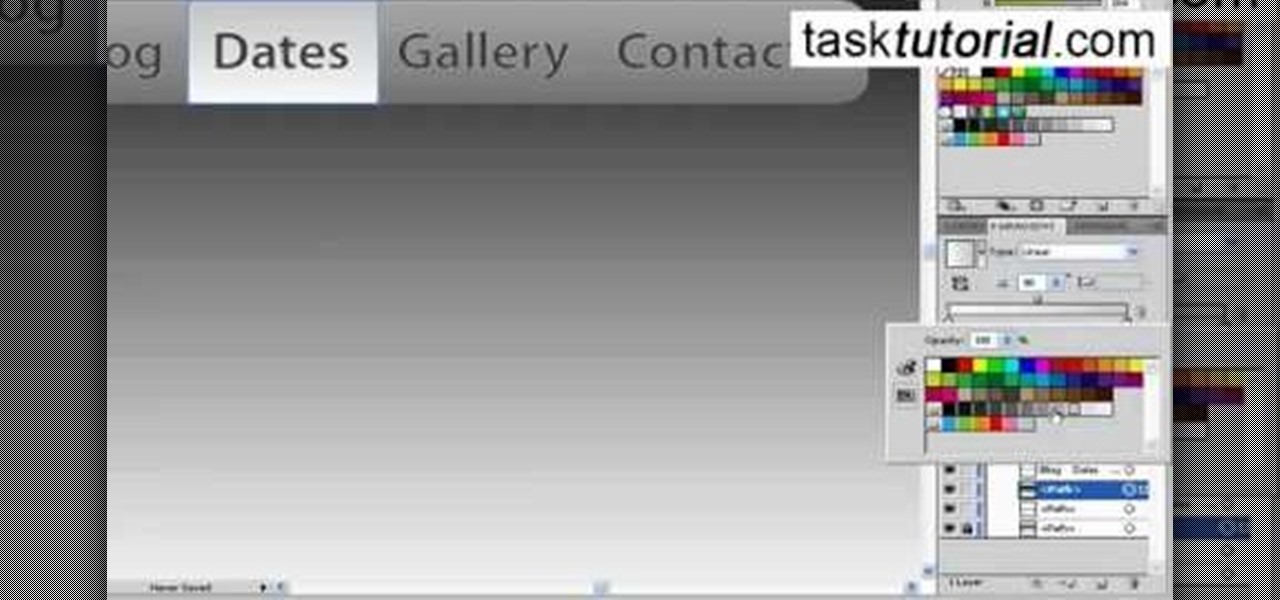
First thing you need to do this is to select rectangle tool and make a shape and select the gradient fill and change the angle of gradient to 90 degree. Now color and resize it as showing in the video. Now type your navigation texts like blog, contact, gallery etc. Now size your text for your rectangle shape. Now set the texts in the bar and resize your bar.

In this tutorial, we learn how to clone yourself in GIMP. First, open up GIMP on your computer and then open the picture where you want to clone yourself. After this, open the other picture where you want to copy yourself and right click to copy it. Now, create a new background layer for your main picture. Use the lasso tool to cut out one of yourself inside of a picture, then transition it into the main picture. Exit out of the other image, then start to edit the colors and opacity in the fr...

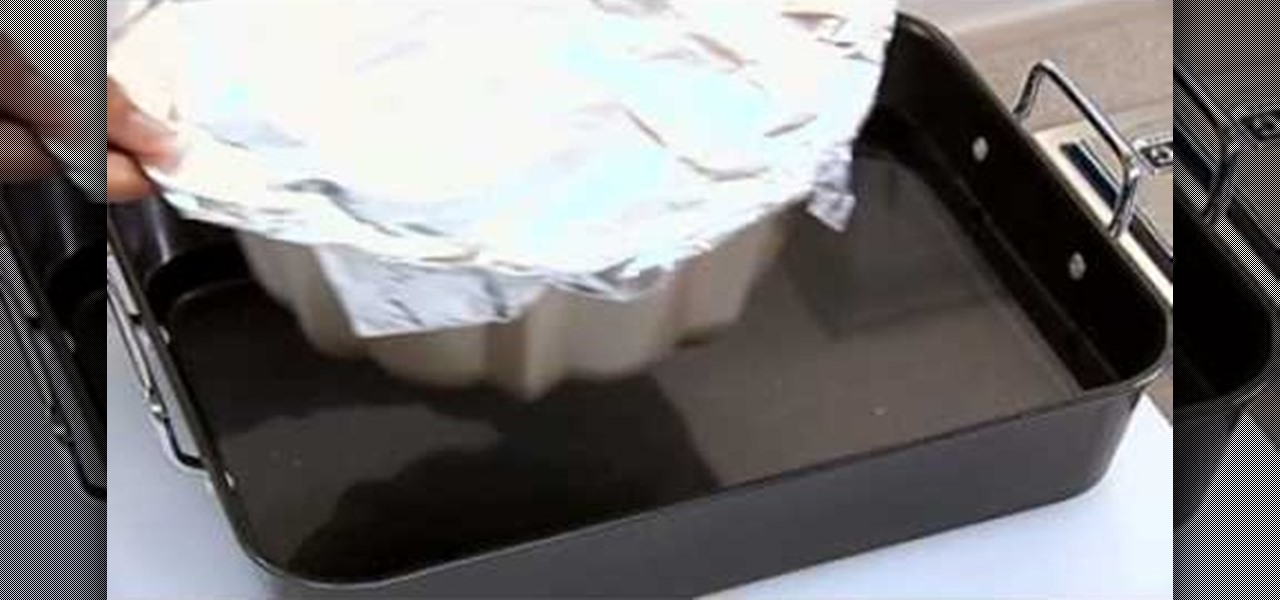
What's better than chocolate cake, flan, and caramel sauce? All three combined into one heavenly creation? We're serious: Take a bite and your life - or at least your foodie life - will be complete. This "chocoflan" can be served at any special occasion or as a treat for your family after dinner.

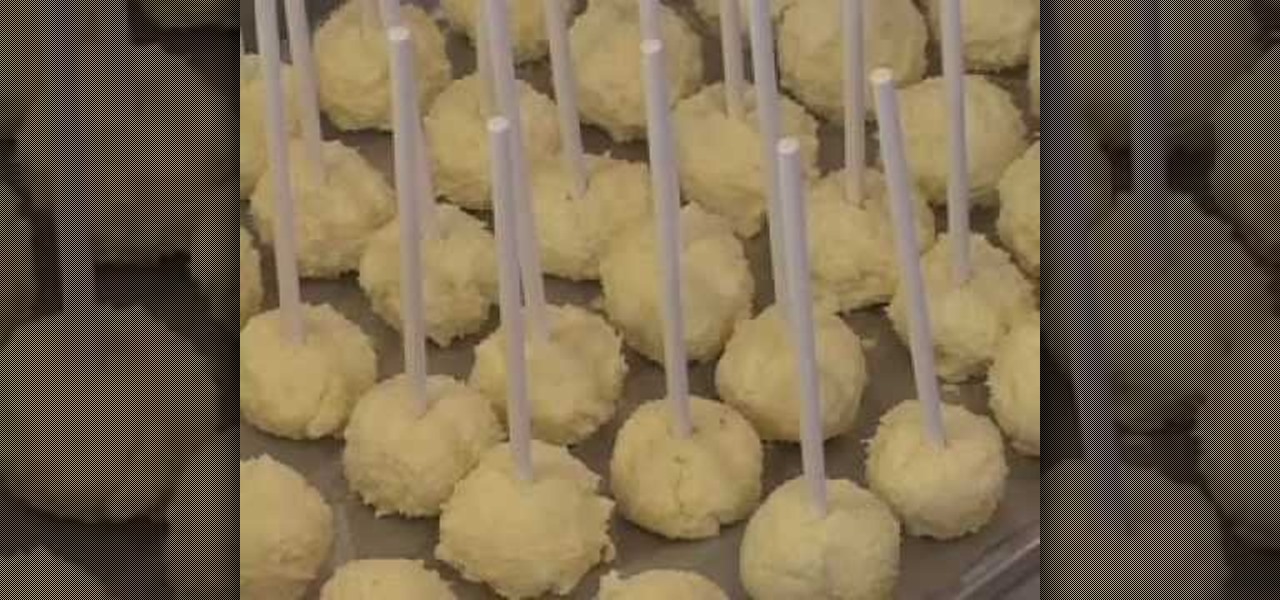
After having a slice of New York cheesecake for the first time we thought that life couldn't get any better...that is, until we encountered these lovely iced cheesecake pops! Basically these tiny desserts are cupcakes on a stick. And instead of adding frosting on top as you'd do with a traditional cake, these cheesecake pops are dipped into a layer of chocolate, cake crumbs, and can be covered with a coating of frosting if desired.

Have you ever tried to erase the background on an image so you can use the object image to layer with another document? You can do it in Adobe Photoshop, but if you don't know what you're doing, it could take hours… days to extract that image you want. But with Photoshop Elements, there's a handy tool called Magic Extractor that helps you get some of the dirty work out of the way, so you can concentrate on the finer details. Watch this video to see how it's done.

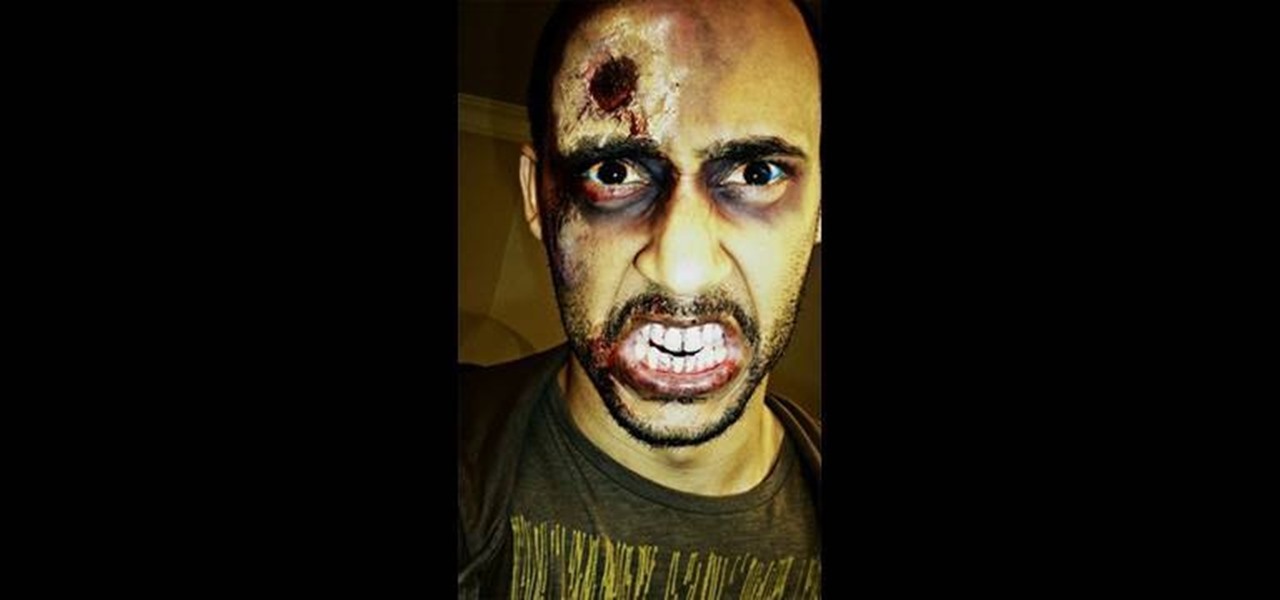
In this tutorial, we learn how to apply half dead zombie makeup for Halloween. First, clean off your skin completely and then dry it. Next, apply glue to the skin while using a sponge, then apply toilet paper on the forehead skin and layer it with glue. Next, apply more glue to the skin and then make a hole in the toilet paper. Following this, apply foundation on top of it, then set with powder. Next, apply red, blue, black, and purple eyeshadow to make a bruised look on the face. After this,...

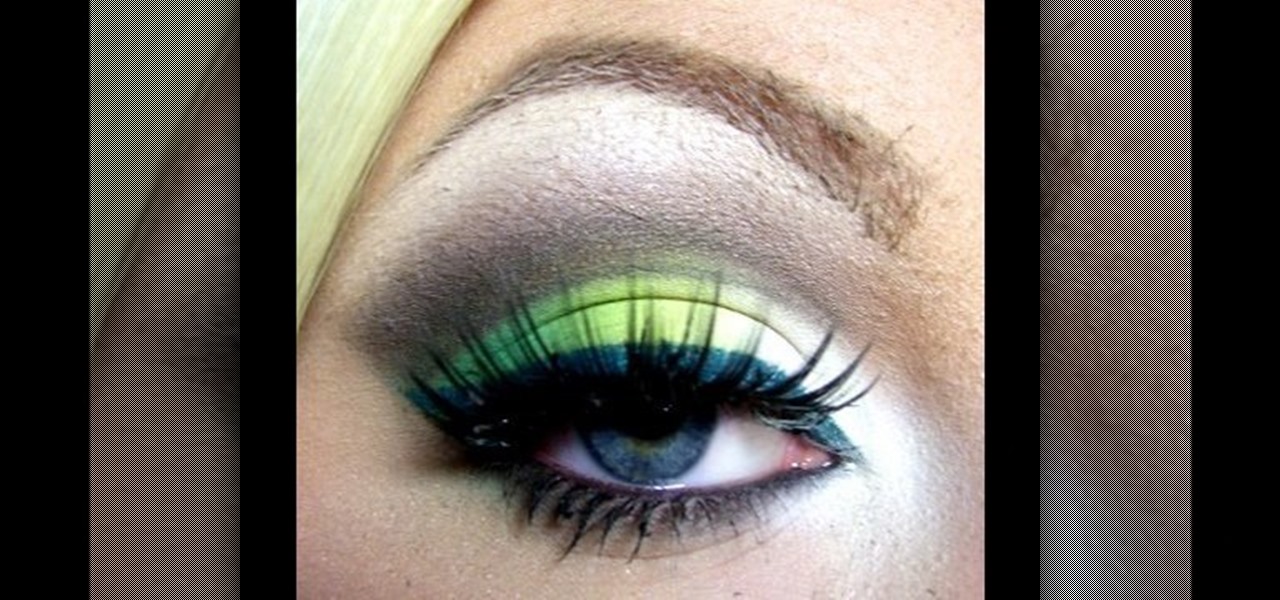
In this video, we learn how to get a spring makeup look with greens and whites. Start by applying a highlight underneath the eyebrow, brushing it on slowly, then blending down. Next, apply a white eyeshadow to the inner corner of the eye, into the middle of the eyelid. Follow this by applying a neon yellow color to the middle of the eyelid, then slightly blending the two colors together on the edges. After this, apply a dark green shadow to the outer edge of the eyelid and blend with the neon...

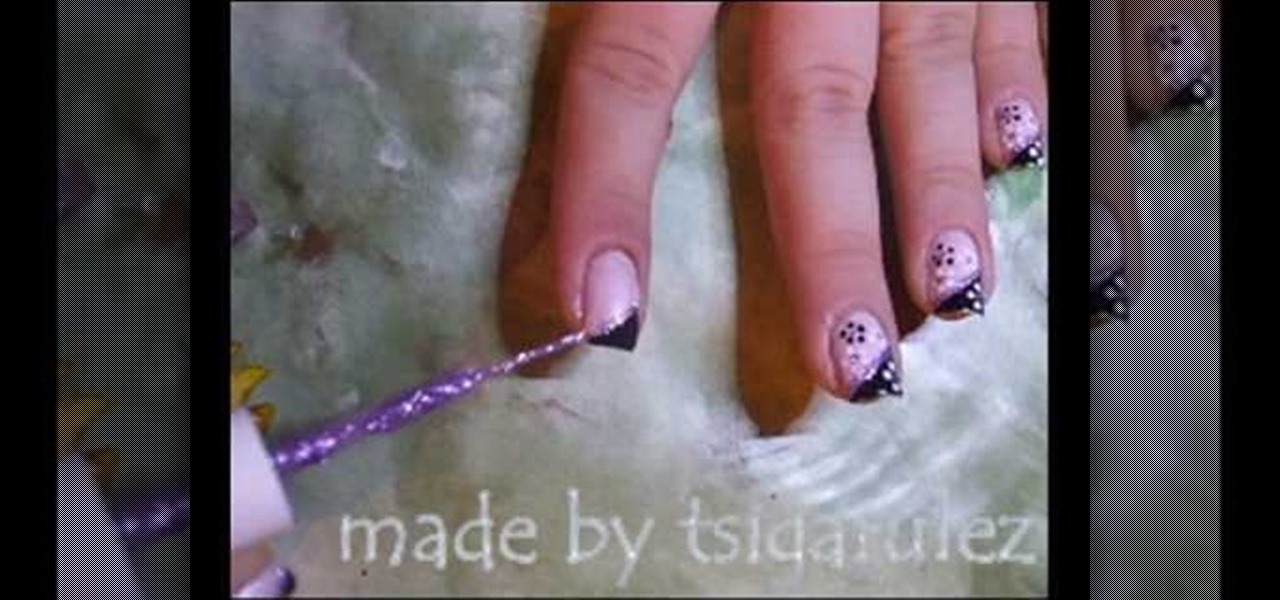
In this tutorial, we learn how to paint a black & pink French manicure with flowers. Start by painting the nails with a light pink nail polish, adding a couple layers so the color shows on top of the nail. Wait for this to dry, then paint black nail polish in a diagonal line across the top corner of the nail. Now, allow this to dry and take a sparkly purple nail polish and paint it in a line directly underneath the black polish. Next, use a toothpick or dotting tool to dot white nail polish i...

In this video, we learn how to create a fresh pink spring makeup look. Start off by applying a pink eyeshadow to the eye, then brush a purple color on the inner corner of the eye. Next, take a dark purple and gray, then blend them into the outer crease of the eye. Now, blend together all of the colors. Next, apply a layer of black eyeliner, then brush on mascara to your upper lashes. Next, apply black eyeliner to the bottom of the eye followed by mascara on the bottom of the eyes. When finish...

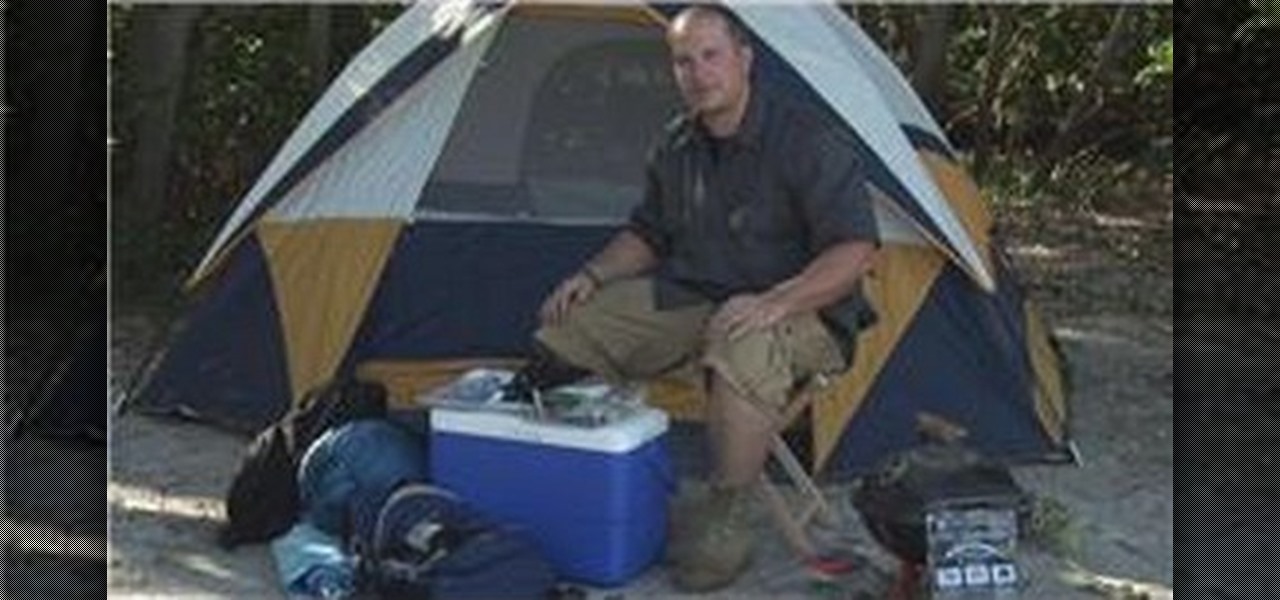
In this video tutorial, viewers learn how to survive in the woods. When camping in the woods, users should always think about bring the essentials: water, food and clothing. It is recommended that users have a water bag store a large amount of water. Bring one or more coolers to preserve food and/or keep drink cool. Make sure to plan the foods that you will eat for the day. Bring a small portable grill to cook food. Dress in layers of clothing to endure hot or cold weather. This video will be...


