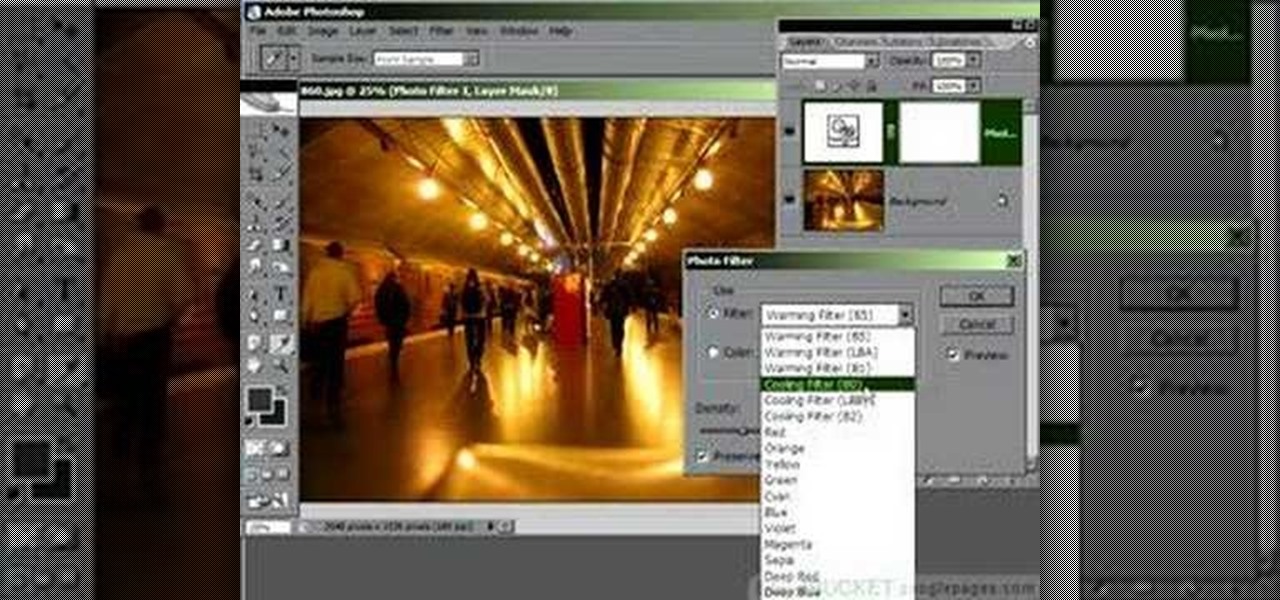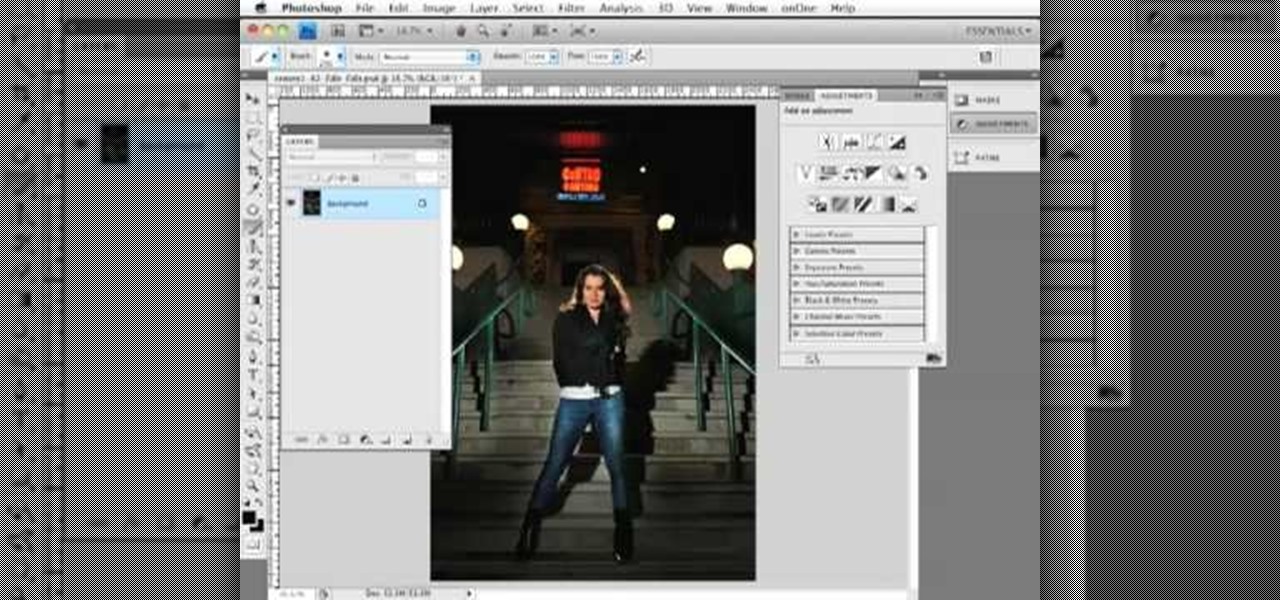
Photoshop is a place where we can edit the image in different styles. One of the features is adjustment layer of a photo that is also called as filter correction. It is an easy step to color filtering of a photo. Open a picture in a Photoshop, and select add layer option that present at the right bottom of the screen, then a pop up menu appears. Select filters from the options available, then dialogue box appears consisting of sub options filters and colors. then select the main color from fi...

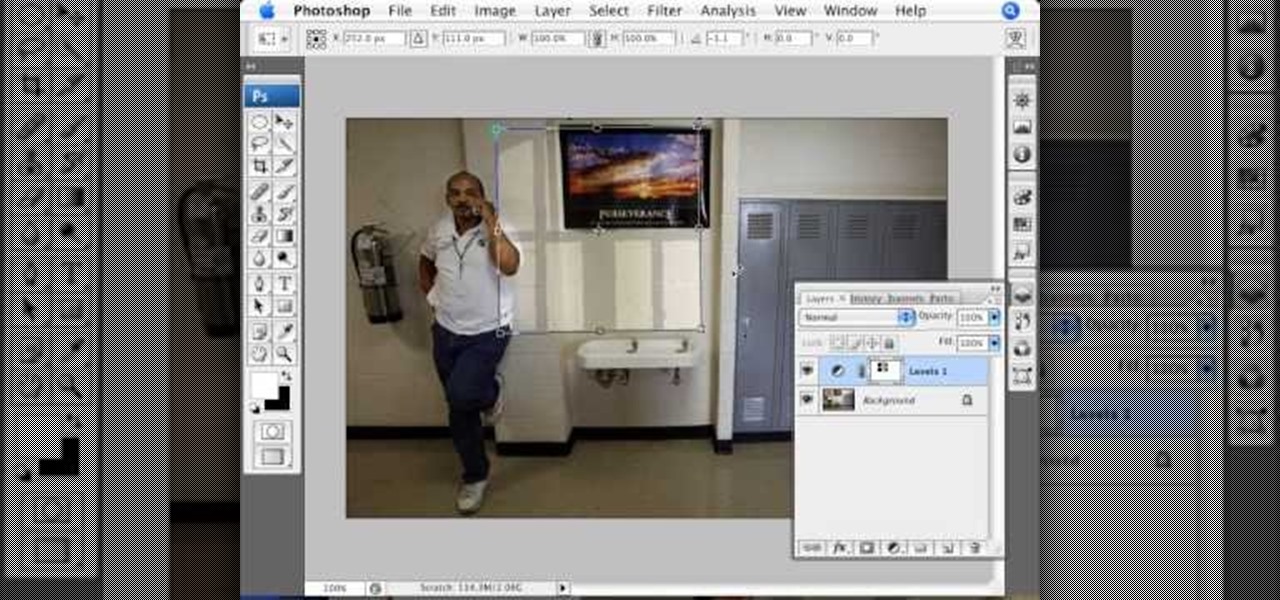
In this video we are going to light cast a window so we can add more focus to the photos. First take unremarkable photo, then find a window image to transfer and select all Ctrl+a. After that copy it to the previous image. Click layer 1, then select the white space in the window that allows the sun light to pass by using magic tool quick select the part of the window. Delete the layer, after that go to adjustment layer, select levels. Adjust the level so that the color of the window is darker...

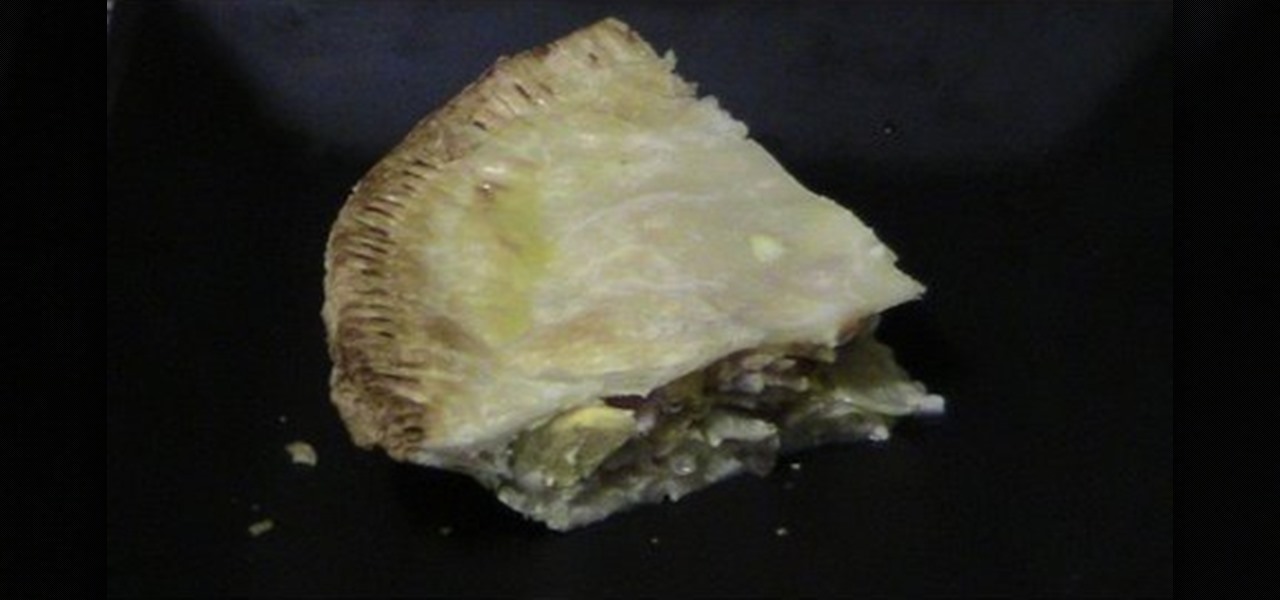
If it’s a cold and miserable day out then bring the fun of a picnic inside with a bacon and egg picnic pie. It’s not very hard and it makes a family size pie to share with family, friends or to have for the rest of the week. Pie are compact flavorful and fun to eat.

This video tutorial is about adding an infrared effect to an image using Photoshop. First of all, open the image to which you wish to add the effect. After that, create a duplicate layer. Then go to the image option and click on it. A drop down menu appears. From that menu, click on adjustments and from that, select the option channel mixer. In the small window that appears, first tick the monochrome option. The idea of the channel mixer is that the total percentage of the colors must add up ...

Ever wanted to create your own X-ray without a doctor's visit? Learn how to create your own X-ray in Photoshop by compositing two separate images to make it appear as if you are holding your own X-ray. You will use different layers, layer masks, and levels to make a believable self X-ray image - and you don't even have to get it approved through your insurance!

Pixel Perfect is the "perfect" show to help you with your Photoshop skills. Be amazed and learn as master digital artist Bert Monroy takes a stylus and a digital pad and treats it as Monet and Picasso do with oil and canvas. Learn the tips and tricks you need to whip those digital pictures into shape with Adobe Photoshop and Illustrator. In this episode, Ben shows you how to create a soothing pastoral scene in Photoshop.

Pixel Perfect is the "perfect" show to help you with your Photoshop skills. Be amazed and learn as master digital artist Bert Monroy takes a stylus and a digital pad and treats it as Monet and Picasso do with oil and canvas. Learn the tips and tricks you need to whip those digital pictures into shape with Adobe Photoshop and Illustrator. In this episode, Ben shows you how to create an old rusty control panel in Photoshop.

This is a video tutorial on how much time should follow after each coat of paint while painting an Xbox 360 Controller. Let paint layers dry on an Xbox 360 controller. Everyone should know how to paint an Xbox 360 controller! My Custom Xbox shows you how.

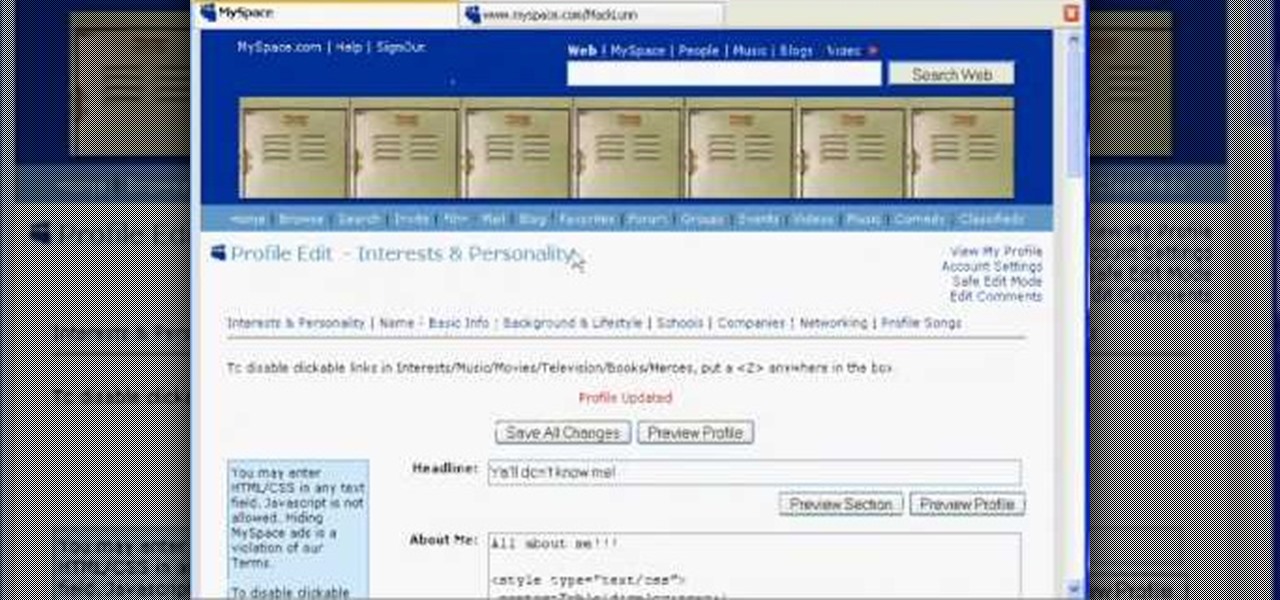
CSS div layers permit you to abandon the traditional MySpace layout by covering it up with a blank slate. Then you can create virtually anything you want to. You can add images, tables, Flash documents—most anything you can think of. For more information, and to get started using CSS div layers on your own MySpace profile, watch this helpful video guide.

Don't Miss: How to Make Perfect Poached Eggs, Every Single Time

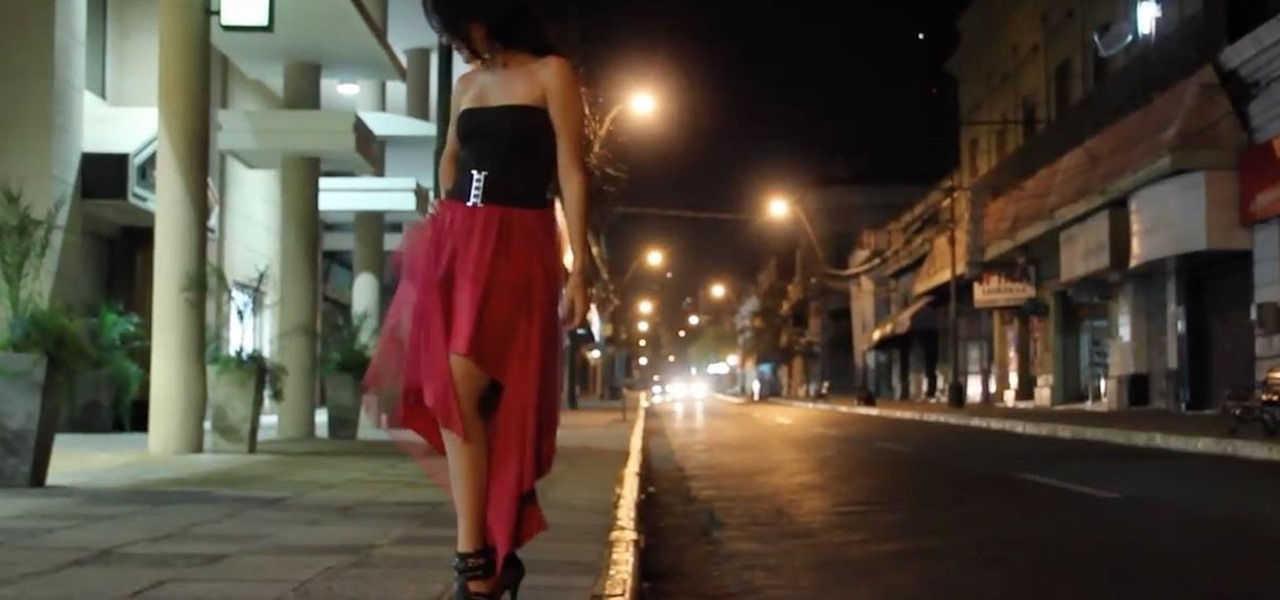
This video shows how to make a layered tulle dress, step by step, from the initial cuts of fabric to sewing the final stitch. Have fun making this design your own after you've watched this video and learned how to make a layered tulle dress.

Andre Geim and Konstantin Novoselov, from the University of Manchester, have just won the Nobel Prize in physics from their work with graphene. They've found a way to isolate graphene from graphite (carbon in pencil lead) and distinguish its behavior, which holds extreme potential for future technology.

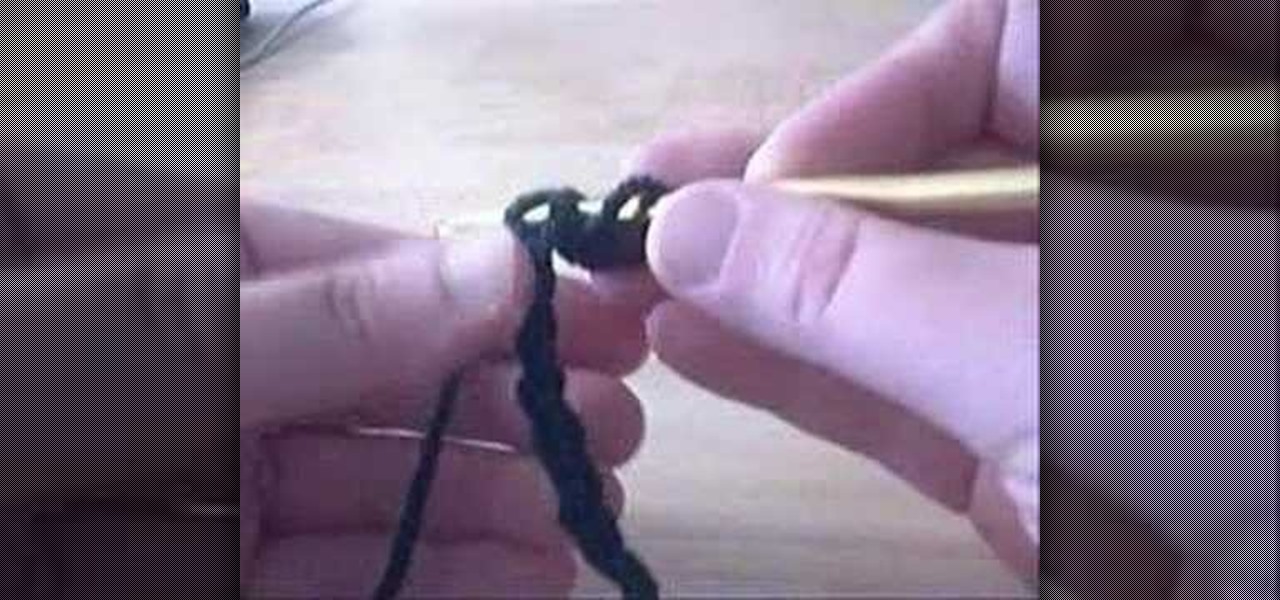
In this tutorial, we learn how to crochet a round shell Catherine's Wheel left-handed. For the first round you will start by doing four single crochets after the slip stitch. After this, do seven double crochets, then a single crochet followed by seven more double crochets. Make two more chain stitches, then a single crochet and three double crochets. After this, start the next row which will be a chain stitch, then three double crochets. Next, you will do seven double crochets, followed by a...

Learn how to focus on a single mix when on the decks. While DJing might appear simple to the untrained eye, truly mastering the turntables requires as much time and dedication as mastering any other instrument. Fortunately, the internet is awash in free video DJing lessons like this one, which make the learning process easier than it's ever been. For more information, including detailed, step-by-step instructions, take a look.

Layered hair is one of the most versatile styles around, allowing natural movement, creating texture, and framing the face. You can wake up every morning looking like a supermodel by getting your hair layered.

In this tutorial, learn how to beat the media hype and go back to an old fashioned single blade razor. If you use a single blade razor, you will actually get a smoother, closer shave then the fancy multi-blade models, contrary to popular belief.

In this tutorial, we learn how to paint a guitar! Before you begin, you will want to take your guitar apart. Once you've done that, go outside and clean your guitar removing any dust on it. Your next step is to smooth the whole body of the guitar with 100 grit followed by 150 grit. After this, hang your guitar up somewhere and apply 4 layers of sanding sealer (which should equal one can). Make sure to sand down the 150 grit between each layer once it's dry, so the next layer has a grip to sti...

First we have to do is to create a new file with the size we want. Then we go to the layer tab in the left and duplicate the existing layer how many times we want (how many frames we want to have the GIF). After this we deselect all the layers by clicking on the eyes on left. Now we click again on one eye to select the layer we want to work with. Be sure to have only one layer selected. Then we can start "playing" with the images and create shapes, faces and so on with all the layers we had c...

Donna teaches how to do a front-post, back-post crochet stitch. First of all you'll need yarn and a hook. Start with a single crochet. Donna uses white to create the single crochet and to create a heart, goes over the single line with pink to create a double crochet. To create the double line, go around and through. from front to back, through the single post. Always have the yarn going through the same side. The basic method using the pink, is to make the design in a "V" shape. Using this me...

In this video you will learn how to design how to create a license plate in Adobe Photoshop. To do that that just follow these instructions: Create a new file with 1000x1000 px. Then create a new layer, pick a white color and make a rectangle with the rounded rectangle tool. Use the Rectangular Tool to create a new rectangle on a new layer like in the video. Now color the rectangle and merge the layers. Add the effects for the layers and make a new layer to create the stars for the license pl...

CreativeIceDesigns shows you how to make a "Polaroid"-style image on Photoshop CS3. Open a new 400 x 500 pixel image, and create a new layer, and drag underneath the original background layer. On the original "Layer 0" (the top-most layer), take the marquee tool and cut out (delete) a square, so that what you have in front of you looks like a Polaroid picture. Drag the the picture you want in, transform it into the right shape (ctrl + T) and drag it underneath "Layer 0." You can add effects (...

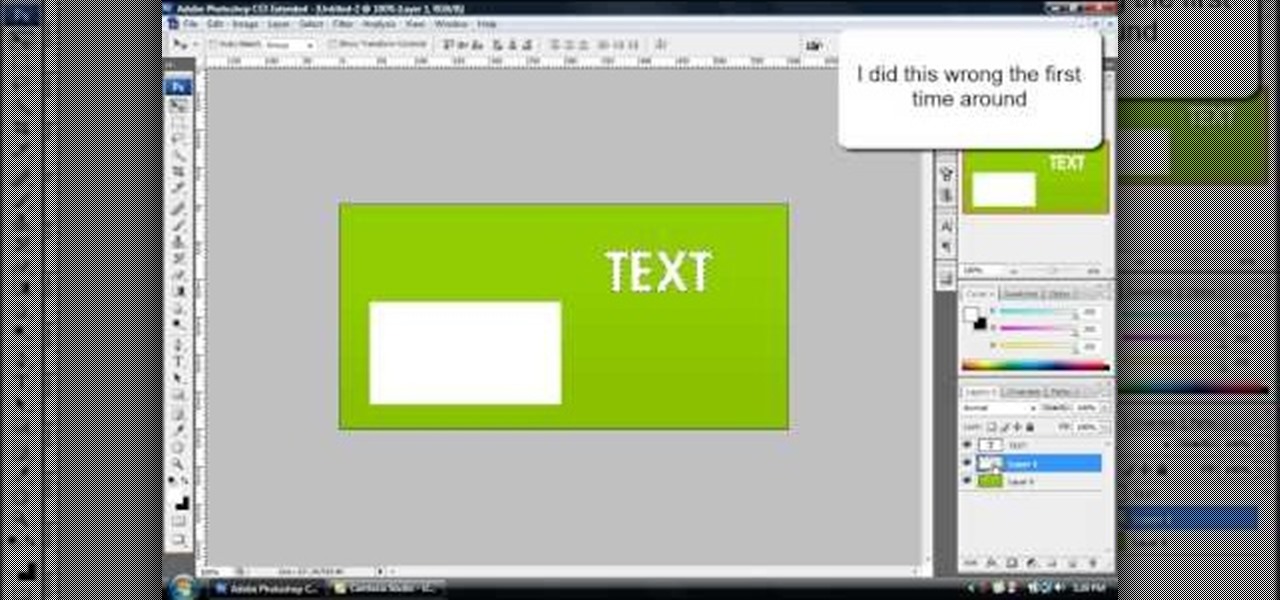
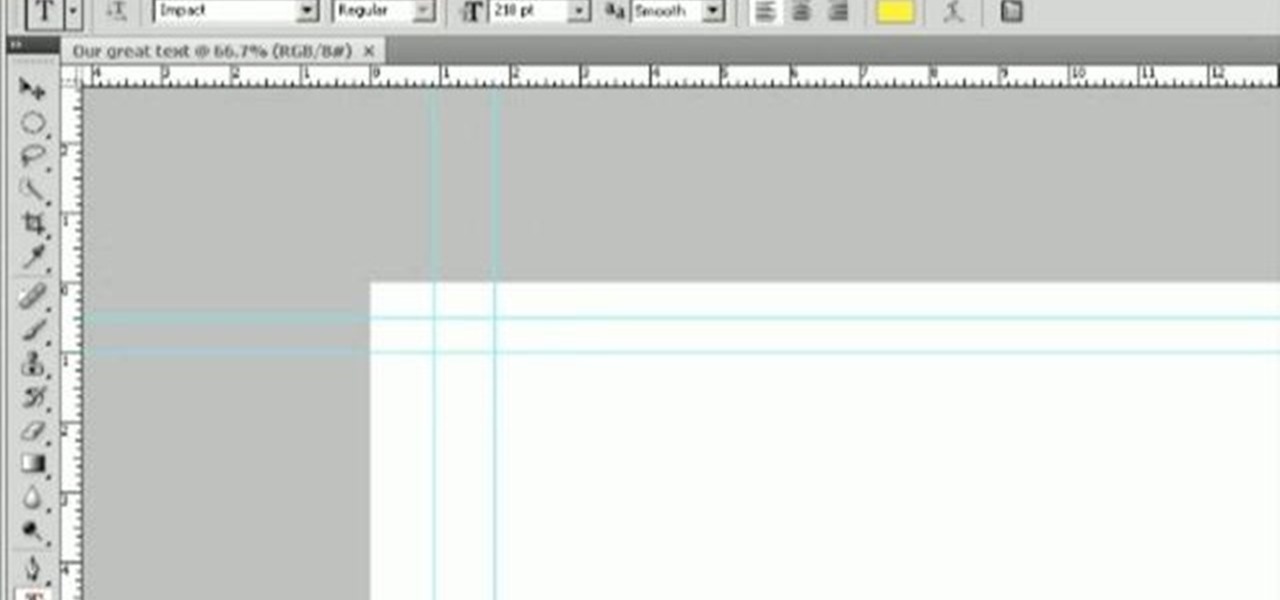
Melvin from QZPStudios takes you on a quick tutorial in which he creates an embedded text effect in Photoshop. This could be a useful trick for website designers who want to create banners containing text which have a shadow effect.

Most of us use a multi-blade pivot head razor, in the hope that we will get a closer shave. But did you know that you can get a close, comfortable shave with a good wet lather and single blade safety razor. This two part hair removal tutorial teaches you how to make the transition to shaving with a single-bladed razor. This is much cheaper way to shave. It may seem scary at first, but with a bit of practice you will be getting a close shave with a single blade razor.

Want to learn how to crochet? Then watch this how to video to learn some of the basics of crocheting. Once you have mastered the basic single chain stitch you can try the single crochet stitch. The single crochet stitch is very simple to do, just follow along with the video.

Layer styles are a very cool way to add adjustable effects to a layer in Photoshop. 10 different effects in all. Each with many different options.

Here's what NOT to do when pouring soap layers. Not only should your soap be cooled down (so it doesn't break through the colored layers), it should also be completely melted.

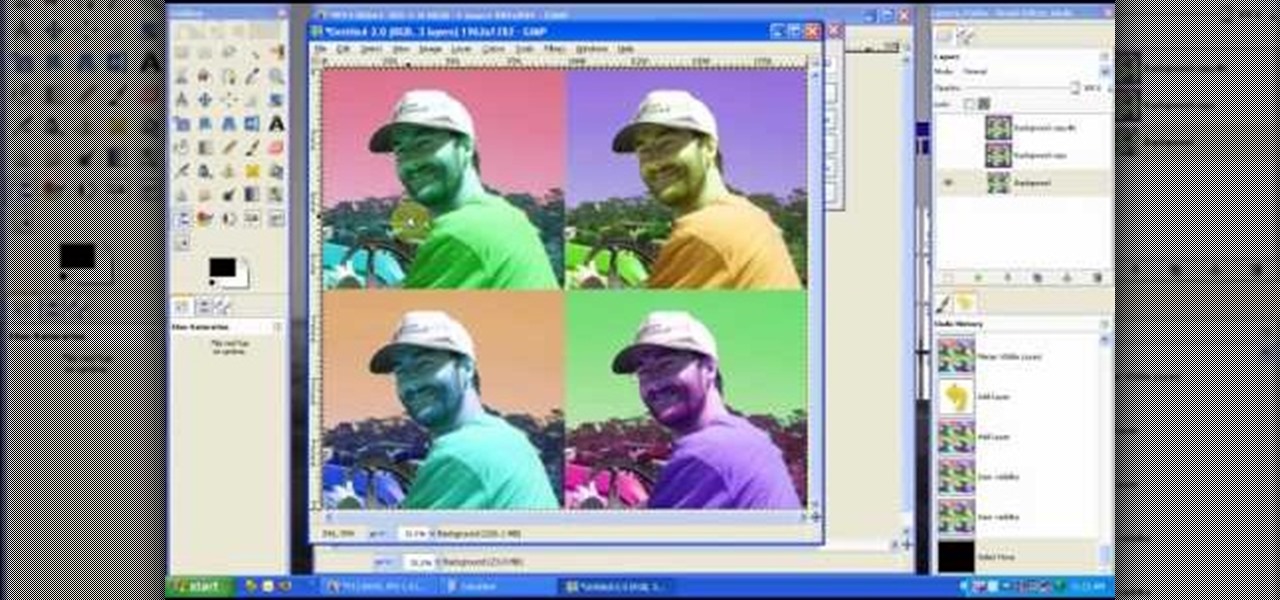
In this tutorial, we learn how to create a Warhol effect in GIMP. First, you will need to take your image and open it up in GIMP. After this, you will need to resize this so that four of these fit into one square next to each other. From here, create a new layer and then layer it to size. After this, change the hue and saturation of the photos. Then, change the lightness and make it any color you like. Then, do the same for the other photos in different layers. Save this when finished, then y...

In this tutorial, we learn how to create Apple's aqua wallpaper in Photoshop. First, create a new canvas in the dimensions you choose. Now, go to the paint pallet and choose a color. Click on ok, then start to paint your background. Select the pen tool, then draw a line from left the right on the canvas. Now, change the color of this shape to white. Now, change the fill of the layer to 10-30%. Now, double click on the layer and make the stroke white and add a drop shadow to 40 pixels and 20% ...

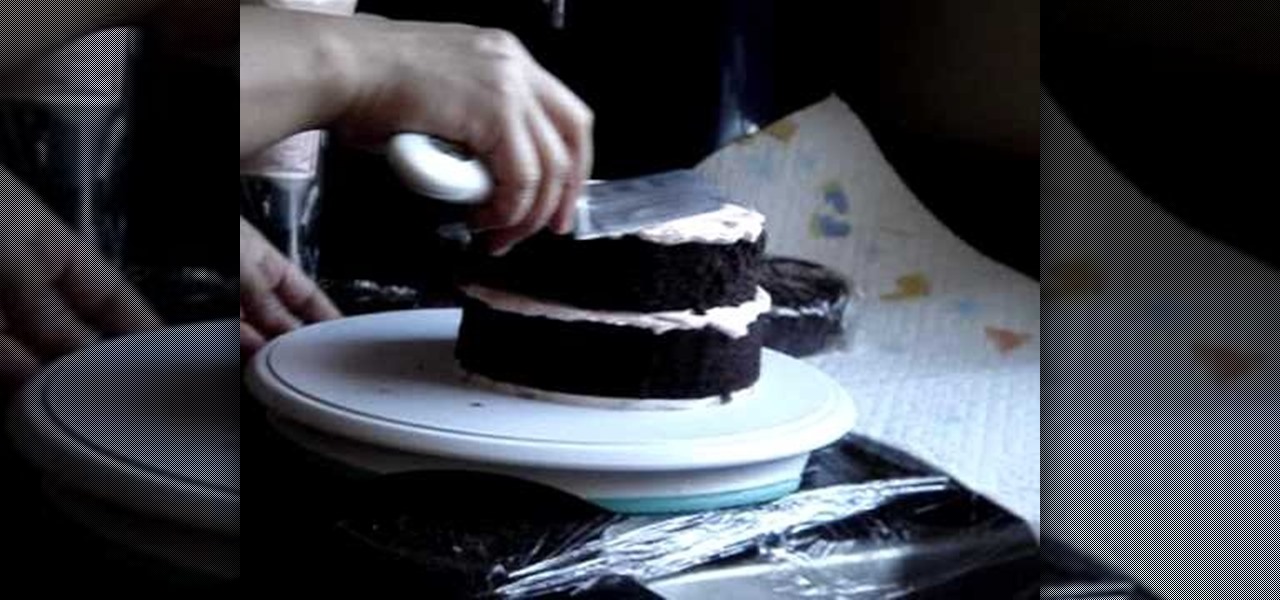
The video covers how to ice a cake. According to the video it is best to start by refrigerating the cake. You will need a 16" pastry bag with an icing tip on it. The tip should have a cerated edge on one side and a smooth edge on the other. Set the cake on a rotating plate. Rotate it and put a layer of icing all the way around the cake and then fill in the center. Once the cake is covered use a spatula and smooth out the icing. Then set the second cake on top of the first and put the icing on...

In this tutorial, we learn how to create stencil graffiti. First, take a picture and then separate into four layers. After you do this, you will draw out each layer and then cut each of them out. After you do this, synchronize all of the layers. Next, spray paint the background color. Last, you will add color to the actual picture then wait until it dries. This is a great idea for wall art for your home, and it adds a unique touch. Make sure to take your time with this when painting on the st...

This clip presents a general overview of how to make and work with adjustment and mask layers within most versions of Adobe Photoshop, CS4 & CS5 included. hether you're new to Adobe's popular raster graphics editing software or a seasoned professional just looking to better acquaint yourself with the program and its various features and filters, you're sure to be well served by this video tutorial. For more information, including detailed, step-by-step instructions, watch this free video guide.

Need some help figuring out how to use layers in Adobe Photoshop? This Photoshop user's guide will sort you out. Whether you're new to Adobe's popular raster graphics editing software or a seasoned professional just looking to better acquaint yourself with the program and its various features and filters, you're sure to be well served by this video tutorial. For more information, including detailed, step-by-step instructions, watch this free video guide.

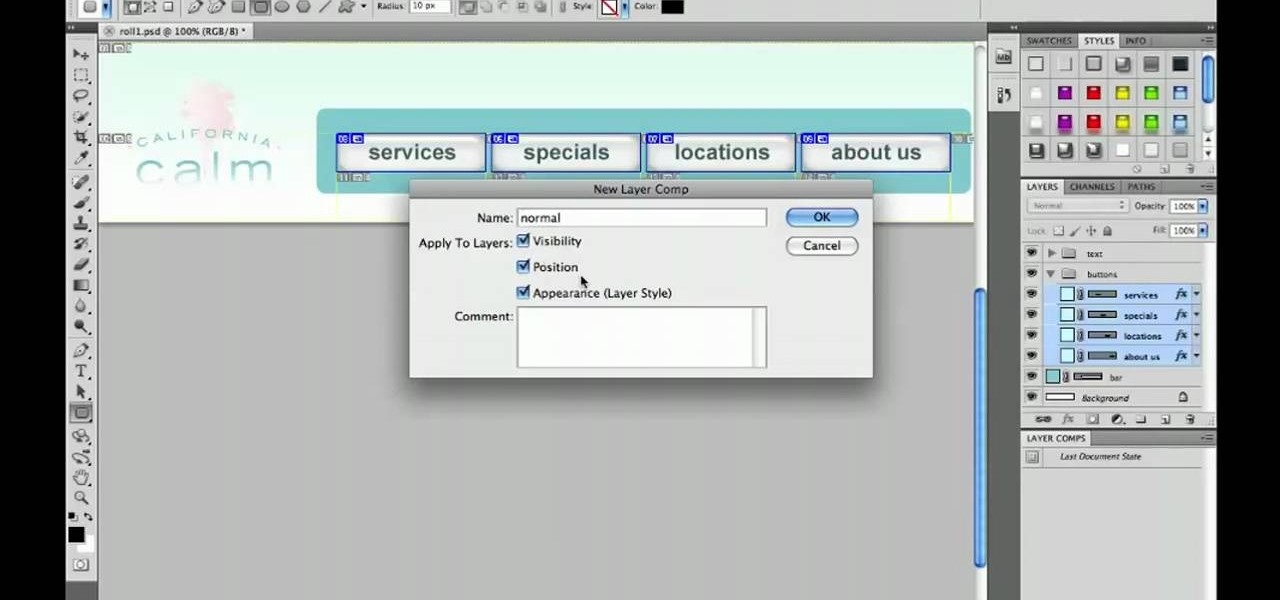
In this clip, you'll see what it takes to create rollover graphics from styles & layer comps in Adobe Photoshop CS5. Whether you're new to Adobe's popular raster graphics editing software or a seasoned professional just looking to better acquaint yourself with the program and its various features and filters, you're sure to be well served by this video tutorial. For more information, including detailed, step-by-step instructions, watch this free video guide.

Learn how to create a world in microcosm with this C4D user's guide. While the end result is not particularly pretty the tutorial does show you how do deal with lighting the Hair Render through another layer, creating a cloud layer and the texture for a bubble.

Ash Davies teaches us how to Photoshop digital bokeh with this tutorial. First, open up Photoshop and create a new canvas with your width at 1920 and your height at 1200. Now, create a new layer and set your background layer as invisible. Now create a medium size circle and reduce the fill to 50%. Now enter blending options and add a stroke of 10 pixels to the inside with the color set to black. Now define the shape as a brush and then click "edit" and "define brush preset" name this, "bokeh"...

In this Autos, Motorcycles & Planes video tutorial you will learn how to feather edge paint to prepare a damaged car for primer. Feather edging is the process of feathering or layering each layer of coating in order to prevent a rough edge. Use a 6 inch DA and 150 - 220 grit sandpaper to feather edge the paint edge. Apply the sandpaper all along the edge of the paint till the edges are smooth. Feel it with your hand to ensure that all the edges are smooth. Feather each layer of paint at least...

Almost everyone who is a regular user of Photoshop knows and loves Layer Styles - but what if you're just coming to it! This clip covers the basics of Layer Styles for creative titles and elements. Whether you're new to Adobe's popular raster graphics editing software or a seasoned professional just looking to better acquaint yourself with the program and its various features and filters, you're sure to be well served by this video tutorial. For more information, including detailed, step-by-s...

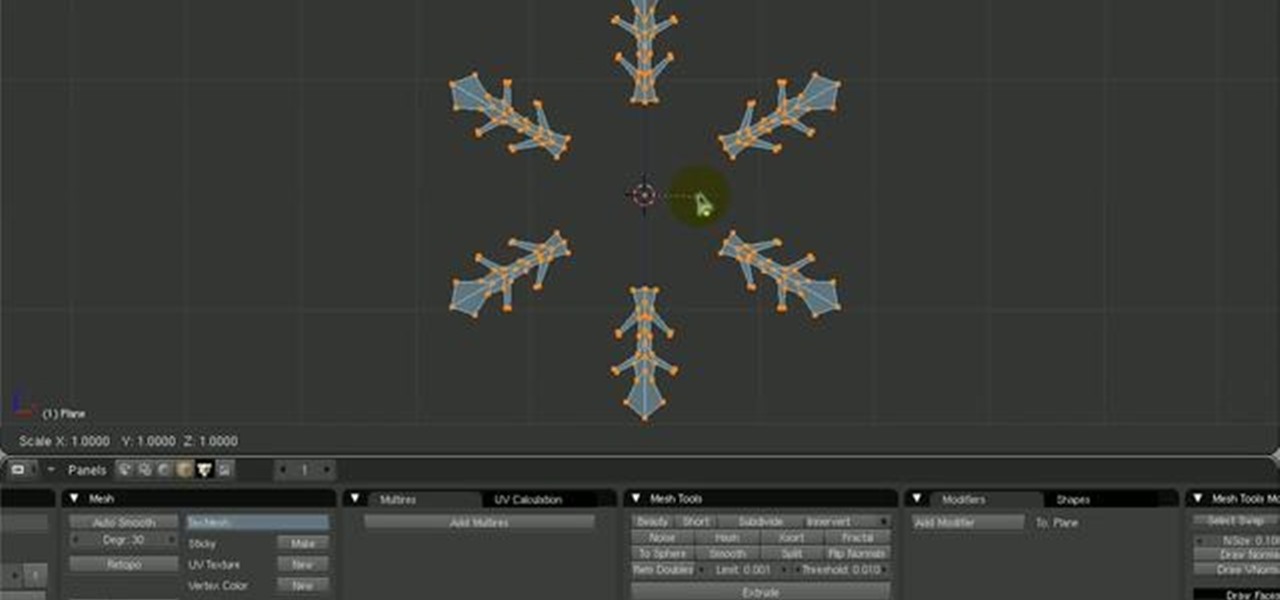
Learn how to create layered snow flake patterns in this tutorial by using scripts and nodes. Whether you're new to the Blender Foundation's popular open-source 3D computer graphics application or are a seasoned digital artist merely on the lookout for new tips and tricks, you're sure to be well served by this free video software tutorial from the folks at CG Cookie. For more information, including step-by-step instructions, take a look!

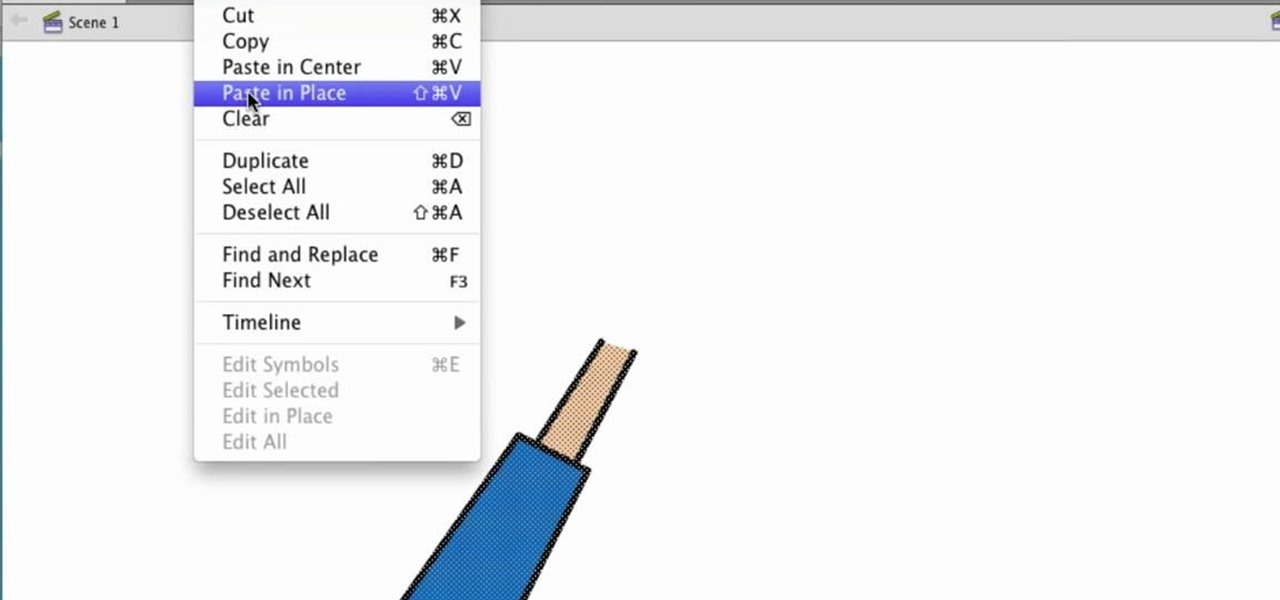
Interested in merging two or more layers when working in Adobe Flash but aren't quite sure how to do about it? Don't fret. This free video tutorial will show you precisely how it's done (and it's easier than you might expect). It's so easy, in fact, that this home-computing how-to can present a complete overview of the process in just over a minute. Take a look.

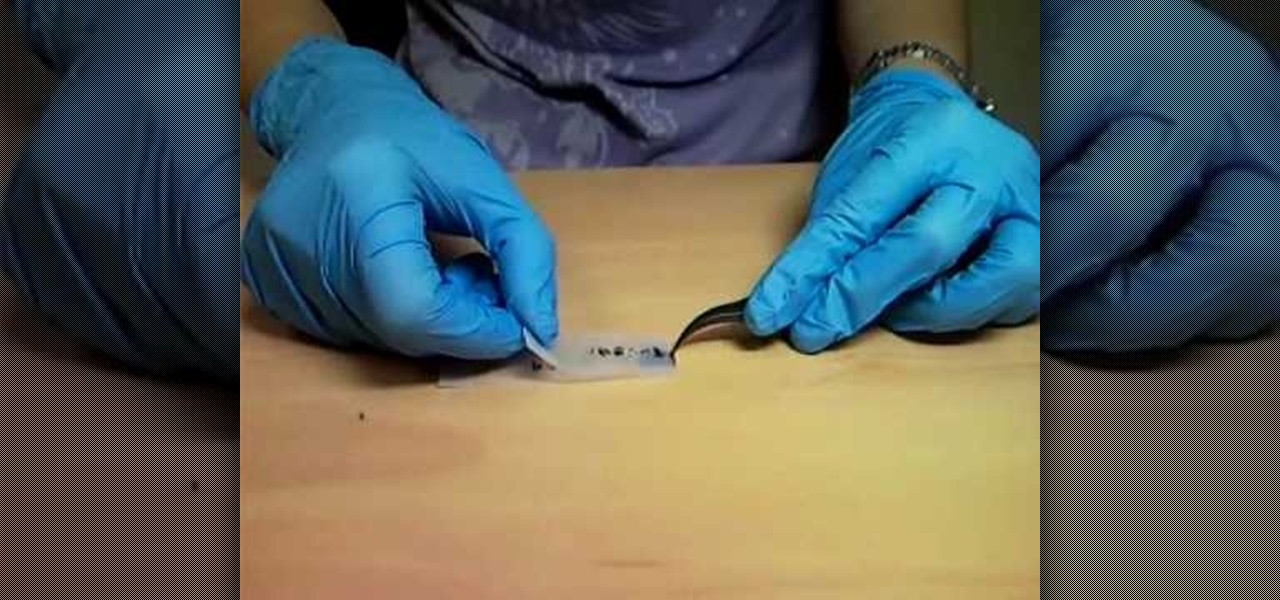
The price of TLC plates can add up. See how to make thin-layer chromatography plates (TLC plates) for a few cents each that are as good as commercial TLC plates that sell for a dollar or two each. You can use these home-made TLC plates the same way you'd use chromatography paper, but the plates provide sharper separations and require far less analyte. They also lie flat, and are much easier to store for later reference. For more information, including step-by-step instructions, and to get sta...
