In this video, we learn how to draw a cartoon figure of a little girl. Start out by drawing the head, then draw the rest of the body for the girl. Outline a dress on her and make sure one of her hands are touching her face. From here, draw in the details of her face and then her outfit. Erase any background lines from the outline to make it look more clean. Then, add in details to the outfit and color in the eyes. To finish this, add in the color to the outfit and the skin, then the hair. Sav...
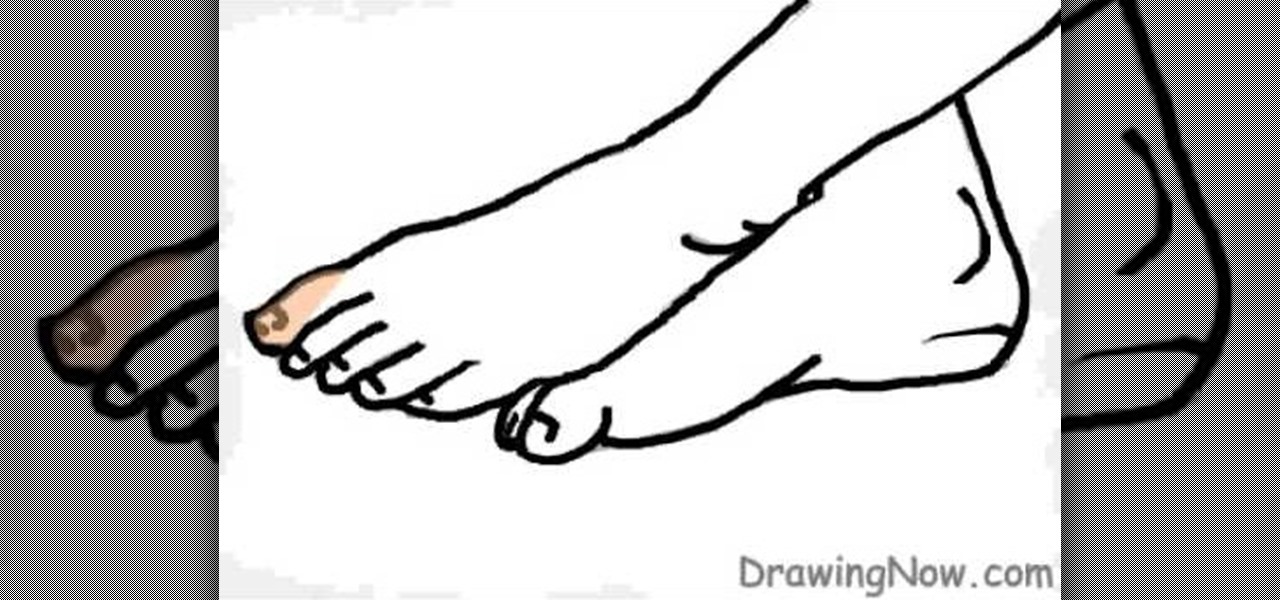
In this tutorial, we learn how to draw two feet. First, draw the feet crossed with just the ankles showing. After this, draw in the toes and then start to draw in lines where the muscles of the feet are. From here, you will start to add in the smaller details using a small brush. Then, create the toenails on the toes and color the feet and ankles a skin color. After this, add in gray to shade the lines onto the feet and ankles. Use darker lines to create contours of the limbs and then you wil...

In this tutorial, we learn how to draw the cartoon vampire character Alucard. Start out by drawing the outline of the face, along with the hat and the collar as well. Then, draw in a cross in the teeth, with just the upper teeth and fang showing. Then, draw in all the details of the face, along with the hat details. After this, color in the skin and then the rest of the clothing around the face and on the body. Color in the background as well, with black and reds to create an eerie glow with ...
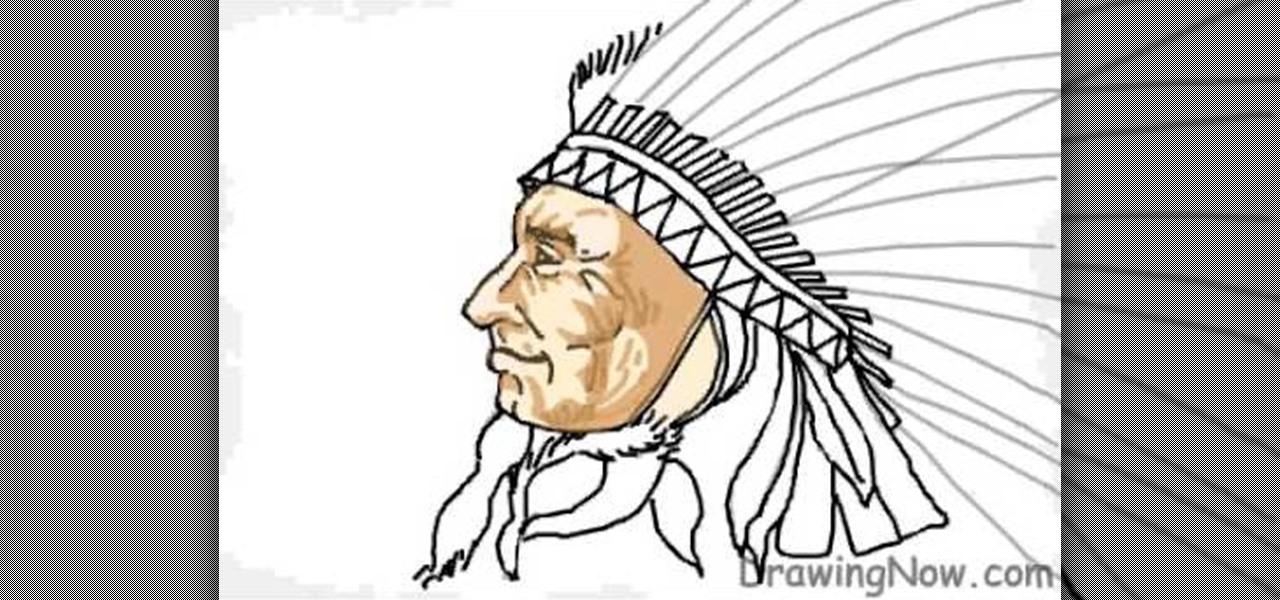
In this tutorial, we learn how to draw the head of a Native American Indian chief. First, you will draw the outline of the head as well as the head dress that he is wearing. Draw in lines to show where the jaw lines, cheeks, and other facial features are. After this, draw in the details of the face then get to work on the headdress. Add in details to this, then start to add in colors to it, making it as colorful as you would like it to be. When finished, add in some feathers at the bottom and...

If you're a fan of Tinkerbell, then this video is for you! We learn how to draw Disney's magical fairy, Tinkerbell. Start off by drawing the outline of her body and wings. Then, draw over this to make a 3D version of her. From here, you will start to draw in the details of the face and the body as well as the clothes. Once finished, you will color in the skin, wings, and clothing. Use shading and lines to make the character appear more realistic. To finish this up, add a colored background an...
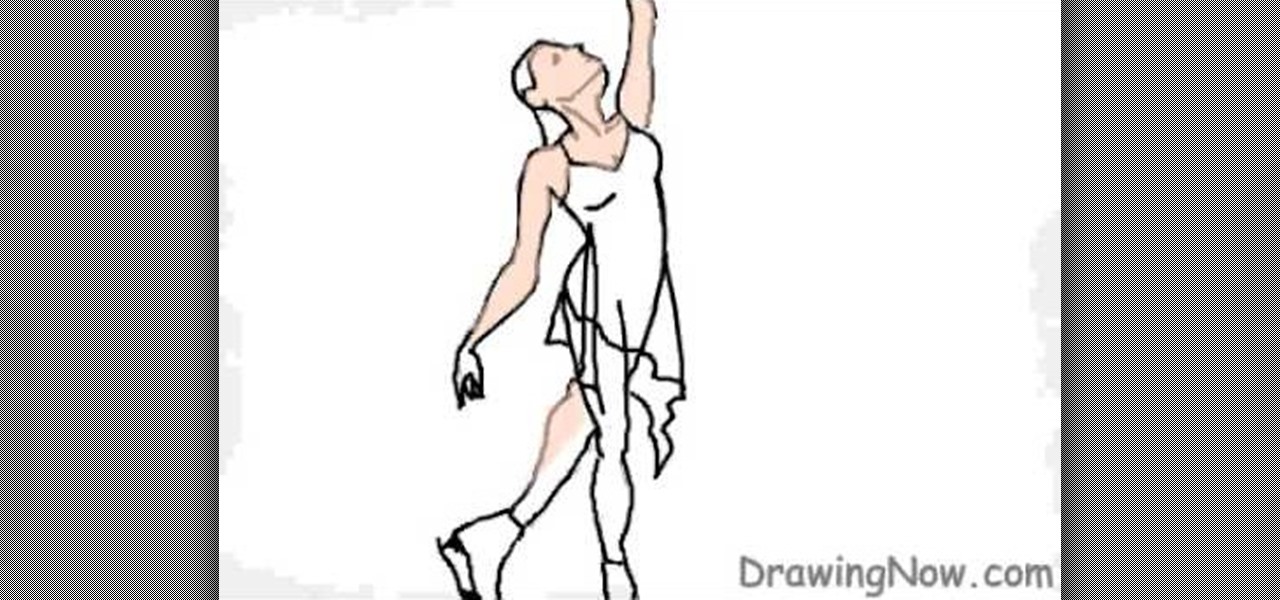
In this tutorial, we learn how to draw an ice skater. Draw the outline of the entire body of the skater first. Draw one of her hands high in the air and her legs crossed on the ground. From here, draw in the details of the face and clothing, as well as the legs. Next, color in the skin of the ice skater and shade in the sides of the limbs. Draw in the ice skates on the feet, then color in the dress over her body. Create lines on the clothing to show the folds and make it look more realistic t...

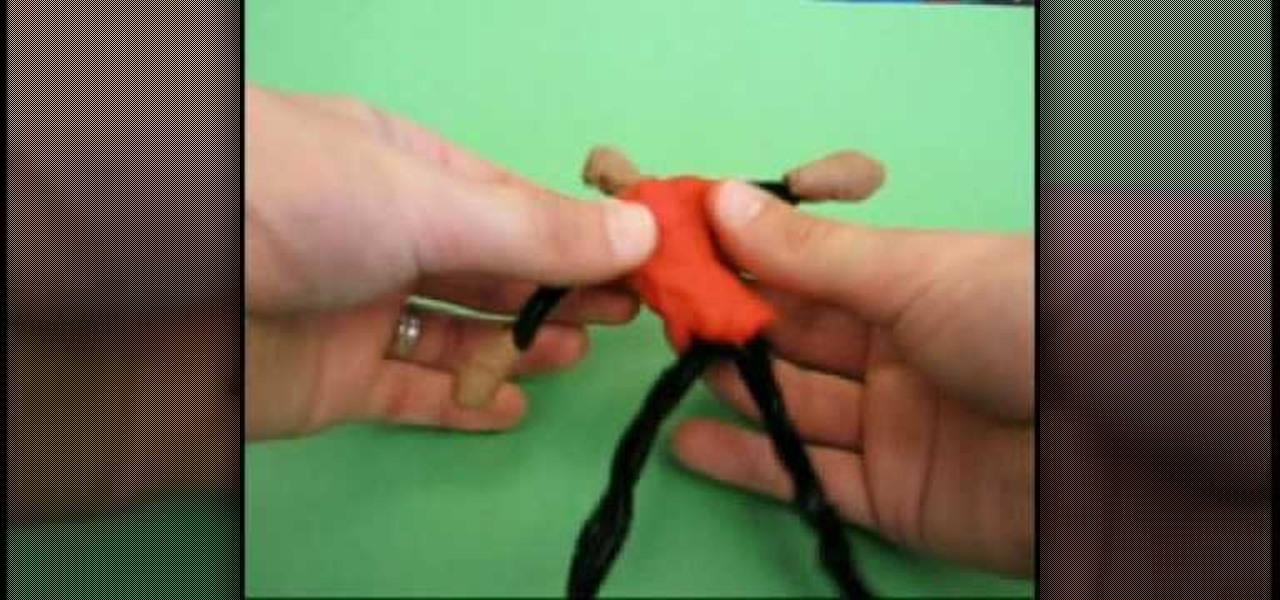
In order to make a claymation puppet, you will need the following: clay in various colors and pipe cleaners. You will need to choose clay colors for clothing and skin and eye and facial features. If you want hats or accessories, you would need to keep that in mind.

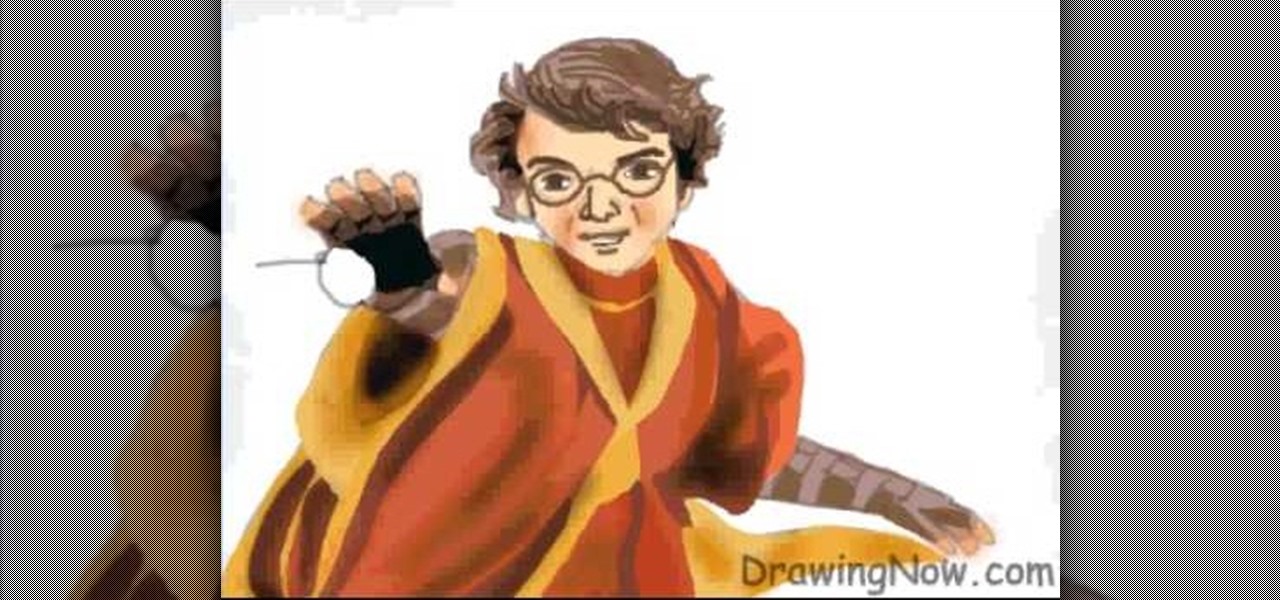
In this tutorial, we learn how to draw Harry Potter. Start out by drawing Harry's face, adding in all the details, such as: his hair, eyes, glasses, nose, and mouth. After this, start to draw his upper body wearing his Quidditch robes, and draw his arms. One arm should be reaching in the air for the ball and the other should be to his side to balance him out. After this, start to add colors to the picture. Add in his skin color, then add in his brown hair and gold and red for his sports robes...

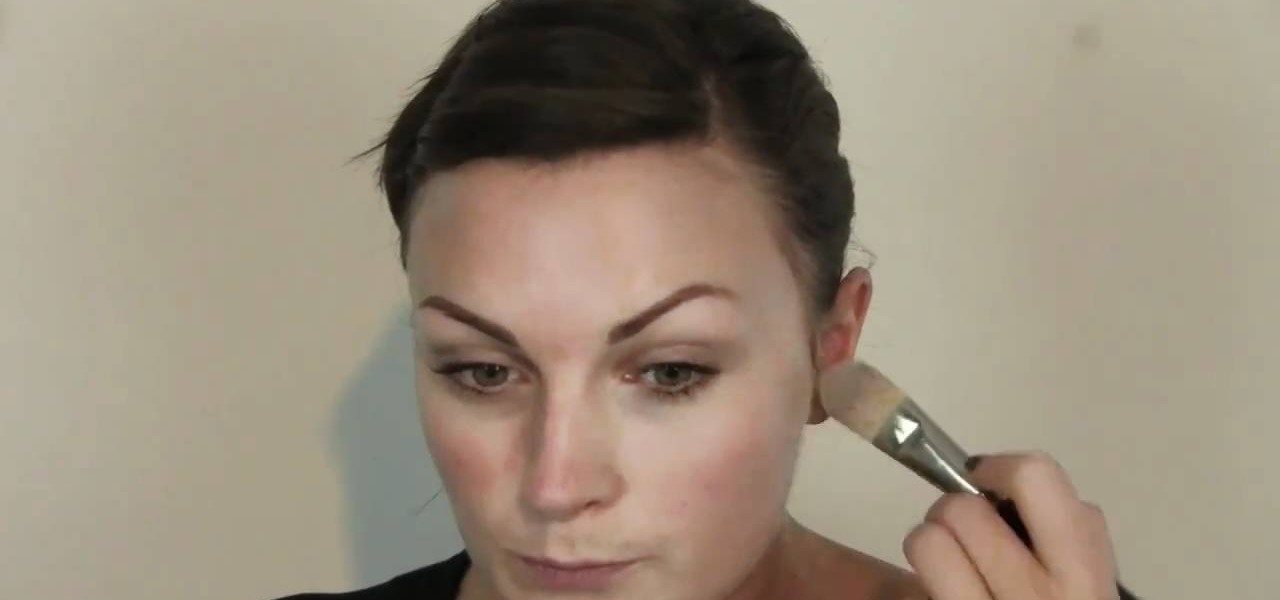
In this tutorial, we learn how to apply general face makeup. First, apply lotion and primer to your face before you place anything else on your face. To apply your foundation, use a foundation brush and blend together different colors of foundation. Start by applying the foundation to your face in any way that you prefer. After this, apply concealer underneath your eyes that is the same color as your skin. Use a shadow brush to blend eyeshadow onto your eyes and make sure you groom your eyebr...

If you've ever suffered from acne you've probably also suffered from choosing an acne product that actually works. Some cleansers and moisturizers are too drying, others are harsh and stinging, and some feel good on skin but just don't work. But if you've ever stumbled upon tea tree oil, then you know that this natural oil both moisturizes and helps relieve acne with no unpleasant side effects.

This video shows how to make a bay girl and boy head made of clay. The first thing you need to do is get a small round ball of clay that is a skin color color. Then you get the small black beads and place it firmly on the ball they will act as the eyes. Then make the eye creases on the side of both eyes. After that you add the other physical features like nose, mouth, ears, and eyebrows. The last thing you do is fold two square pieces of clay into the shape of a bow then place it on the top o...

It is a demonstration of a cream blush with a # 130. We will be using a steela convertible collar and a color called camellia which is #1 and is used mostly as a blush which nice and bronzy. You firstly stamp the brush onto the blush and then lightly tap the brush onto your hand first so as to ensure you won't have too much of blush on your face.

This video explains how to get a barbershop shave on your own, using an easy method without causing skin to harden, smoothening the hair and skin, providing a deeper shave. Then, "Back shave" can also be done and that too in different directions. Cream will allow hair to come out smoothly. Now, take the razor and slice the hair down, if skin is not smooth, go back and slice the hair down again and clean it by applying water in dry areas or places where not shaved otherwise it will cause skin ...

Attention aspiring hunters! If you're going to go around killing animals to eat, those dead animals somehow have to end up back at your home, skinned and ready for butchering. Who does that part, you ask? Usually you, the hunter. In this two-part video tutorial, learn how to clean & skin a deer or doe.

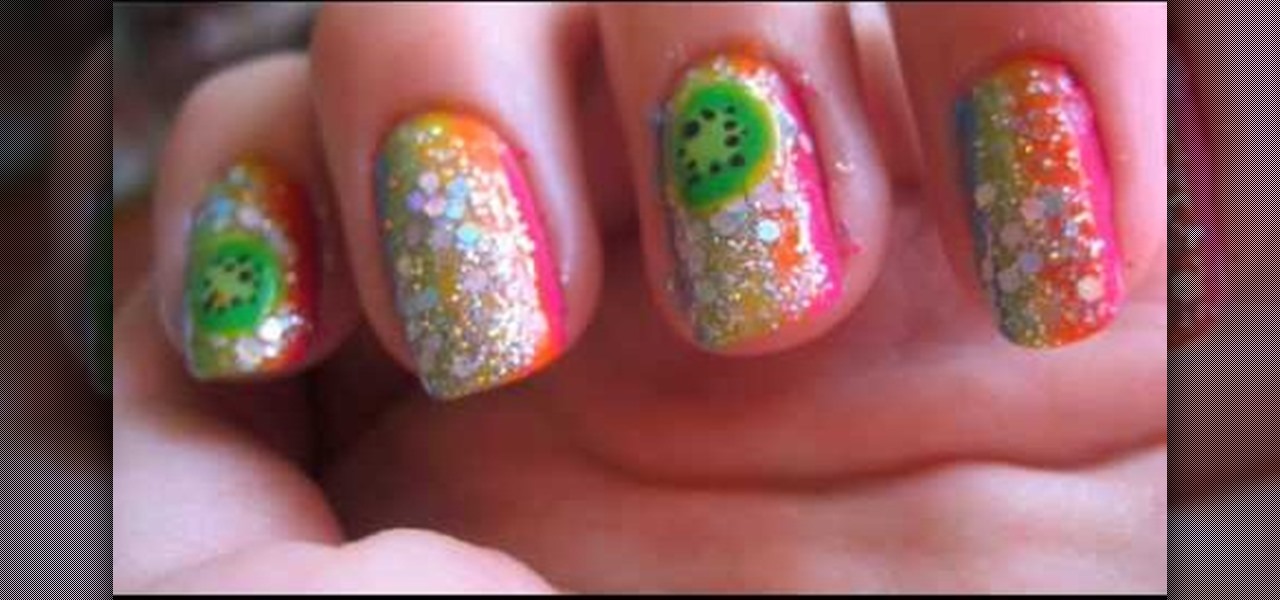
Here are instructions on how to create a rainbow manicure 1. Apply a base coat to nails to protect them

Watch this instructional drawing video to draw a portrait of George Clooney in chalk pastels. First draw the outline and fill in a basic skin tone. Build up color and tone by adding layers of pastel, working from light to dark. don't worry too much about blending until you have put down most of the color. Always pay close attention while drawing the eyes to make sure your portrait of George Clooney accurate and convincing.

Watch this instructional drawing video to draw a portrait of Lena Horne in chalk pastels. First draw the outline and fill in a basic skin tone. Build up color and tone by adding layers of pastel, working from light to dark. don't worry too much about blending until you have put down most of the color. Always pay close attention while drawing the eyes to make sure your portrait of Lena Horne is accurate and convincing.

Today's pollution, hectic lifestyle, inadequate sleep and no time for pampering can leave your skin lackluster resulting in drying skin and making dry skin drier ultimately causing the early appearance of wrinkles and aging. A good fruit facial helps relax your skin from deep inside and the proper messaging gives it a rosy glow by increasing blood circulation imparting your face with a luminous glow. These are even better because they are natural and chemical free unlike the artificial facial...

Samsung's TouchWiz skin gets a lot of flak for its appearance, namely the garish colors on the quick settings toggles. The bright green on dark blue scheme is definitely an eyesore compared to the ones in stock Android, and even other manufacturer skins like HTC's Sense.

Zombies aren't getting as much attention as vampires or werewolves these days, but they're just as darkly entertaining. Bring zombie love back this Halloween by dressing up as this really gross, rotting, bloody zombie.

In this tutorial, we learn how to create a realistic, severe burn using cinema makeup. You will need to start out with unflavored gelatin made to be placed on the skin to create texture and a glossy look for blood. Start by applying the gelatin to the face with a flat wood stick for makeup. Apply in strokes so you have a textured look, not just smooth. Give this time to cool and set, then apply different colors of makeup onto the gelatin with a brush. Use browns, purples, and reds to create a...

Applying foundation is the absolute most important step in obtaining a flawless makeup look. After all, makeup artists agree that good makeup starts with good skin (even if that good skin is faked).

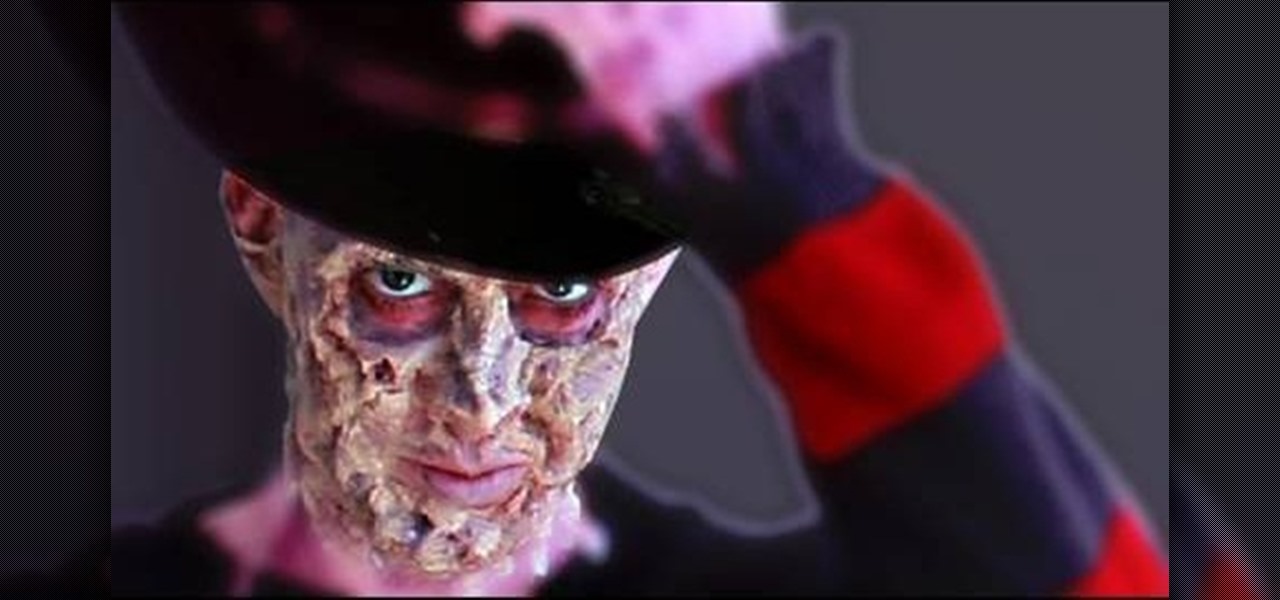
Okay you saw the super-detailed reproduction of Freddy Krueger's clawed glove, now complete the Freddy costume with this "burning" makeup tutorial. In celebration of the return of "A Nightmare On Elm Street", starring Jackie Earle Haley as Freddy Krueger, Indy Mogul's BFX brought out the pain with burnt skin, but they won't burn a hole in your wallet. This burned up skin makeup recreation is the perfect companion for the knived glove. Complete the horrific Freddy look.

This beauty video demonstrates how to do fast and simple Urban Decay makeup.

Create a Kaya Scodelario (Effy of Skins) makeup look with the makeup tutorial from Lauren Luke, aka Panacae81.

Shooting Times cookery writer, Mark Hinge, shows you how to properly skin a pheasant.

Explore the inner workings deep inside your skin. Watch this video to understand this visually stunning wonderment!

Acne sucks, and if you have it then you've probably spent hundreds of dollars on salicylic acid face washes, benzoyl peroxide moisturizers, and stinging alcohol toners. But to what end? Most of the products you buy at the drugstore dry out your skin too much, especially when used in conjunction with one another. This leads to oil overcompensation and even more acne.

In this video, we learn how to cleanly get id of white heads. To do this, you simply need to grab some baking soda from your house and mix it with warm water. After this, use it to wash your face with and then rinse your face off with cold water and pat dry. Do not keep this on your skin too long or it will bleach your skin and cause irritation. After this, moisturize your face with your favorite moisturizer that you have. Your whiteheads should disappear after this and give you a cleaner com...

In this tutorial, we learn how to clear and cover up acne scars. First, you want to treat the pimple with your favorite kind of toner and cleanser. Make sure you don't squeeze your pimples, which will cause your skin to become red and broken out even more. After this, you need to apply a cream to your face that will moisturize your skin and not clog up your pores. To help cover up your acne scars, apply makeup that doesn't clog your pores as well. Make sure to remove your makeup at the end of...

Olive oil isn't only good for tossing up a Caesar salad; in fact, olive oil has a bunch of uses for your skin as well. And the best part about using olive oil as a skin problem remedy is that it's inexpensive: You either already have it lying around or can purchase it anywhere for about $5.

In order to prepare your skin, before applying makeup for filming a tutorial, you will need the following: a line filler, primer, concealer, foundation, highlighter, powder, gloss, and bronzer.

In this video, we learn how to make a homemade facial mask for acne prone skin. First you will want to clean your face and make sure it's dry. You will need healing clay, water, a bowl and spoon. Now take 2-3 tbsp of healing clay and add desired about of water, mix together until you have a paste that's not too watery. Now you can apply your mask avoiding your eye and mouth area. After waiting for 10 minutes or until the mask is fully dry, you can wash the mask off with lukewarm water. Pat dr...

Dr. Steven Jepson explains what you can do to shrink your pores. Pores are small openings in your skin that can become infected or get clogged with makeup or dirt if they are too large. In order to shrink the visible appearance of skin pores you need to clean the dirt and gunk out of the pore. First you need to cleans and exfoliate your face twice a day using a cleanser designed for the face. Exfoliators are mildly acidic and help to dissolve the dirt so that it can be removed. Dr. Jepson war...

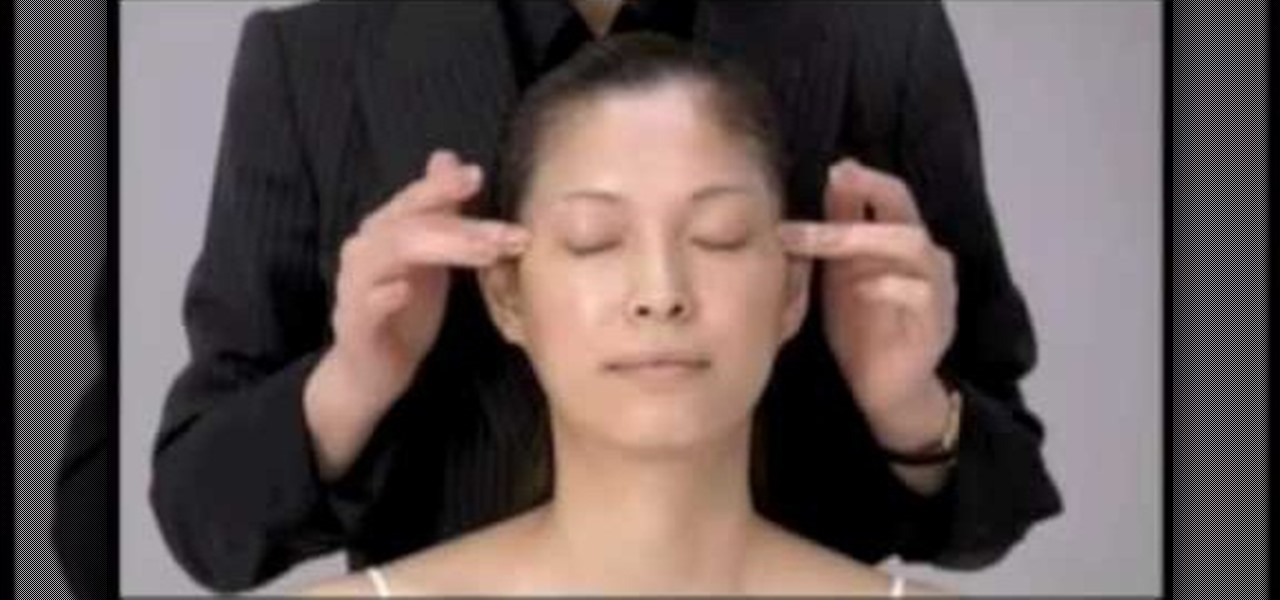
In need of a face massage? Japanese beauty expert, Yukuko Tanaka, presents her anti-aging face contouring massage. In this four-part tutorial, learn about how to apply this routine to add to your skin care regimen, which will reduce wrinkles, prevent sagging skin, improve puffy eyes and under-eye bags.

In this video Dr. Schultz will show you how to fix stretched or wrinkled earlobes. Here are a few things you can do to remedy stretched or wrinkled earlobes: Laser treatments, especially carbon dioxide treatments, a specified amount of heat is delivered to the skin, and it causes a contraction, which causes a plumping of the earlobe, removing the wrinkles. The results will last for years. With injectable filler treatments like collagen, you will also find a plumping of the skin, but they will...

Unlike other slow methods of clearing up acne, this method of getting rid of pimples is supposed to work almost instantly! By simply using a mixture of baking soda and water and stirring until it forms a paste, you should apply the mixture to your face or other areas, which are prone to developing pimples. After leaving the solution of your skin for about an hour, rinse off the solution. The result should be skin that is clean and acne free.

If you haven't figured it out by now, a foundation that matches your skin tone and skin type perfectly may not work at all for your friend, and vice versa. When it comes to makeup, customization is your best friend.

A hungry tick is a determined little bugger—it wants to find its way into your skin if it’s the last thing it does. Here’s how to make sure it is the last thing it does.

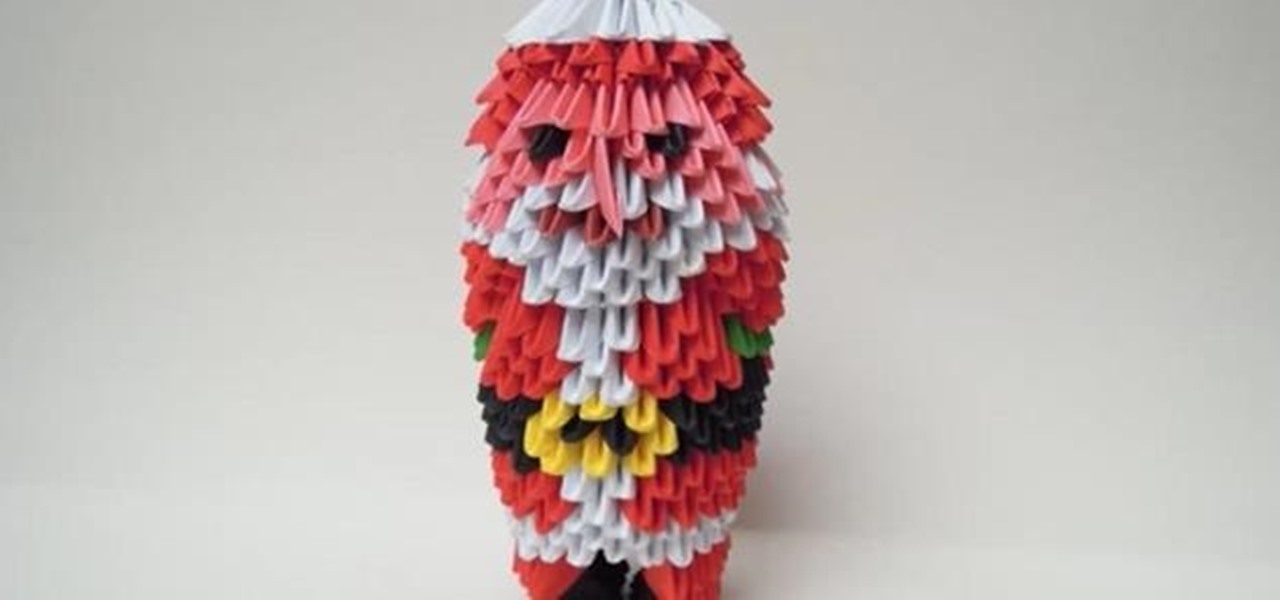
In the video below are instructions to make 3D origami Santa Claus. You will need triangles with the next colors:


