
How To: Cook Peaches on the Coals
For those who like grilling fruit and desserts in general, we take it up a notch with this great video tutorial that shows you how to make a great dish from cooking Peaches directly on hot coals.


For those who like grilling fruit and desserts in general, we take it up a notch with this great video tutorial that shows you how to make a great dish from cooking Peaches directly on hot coals.
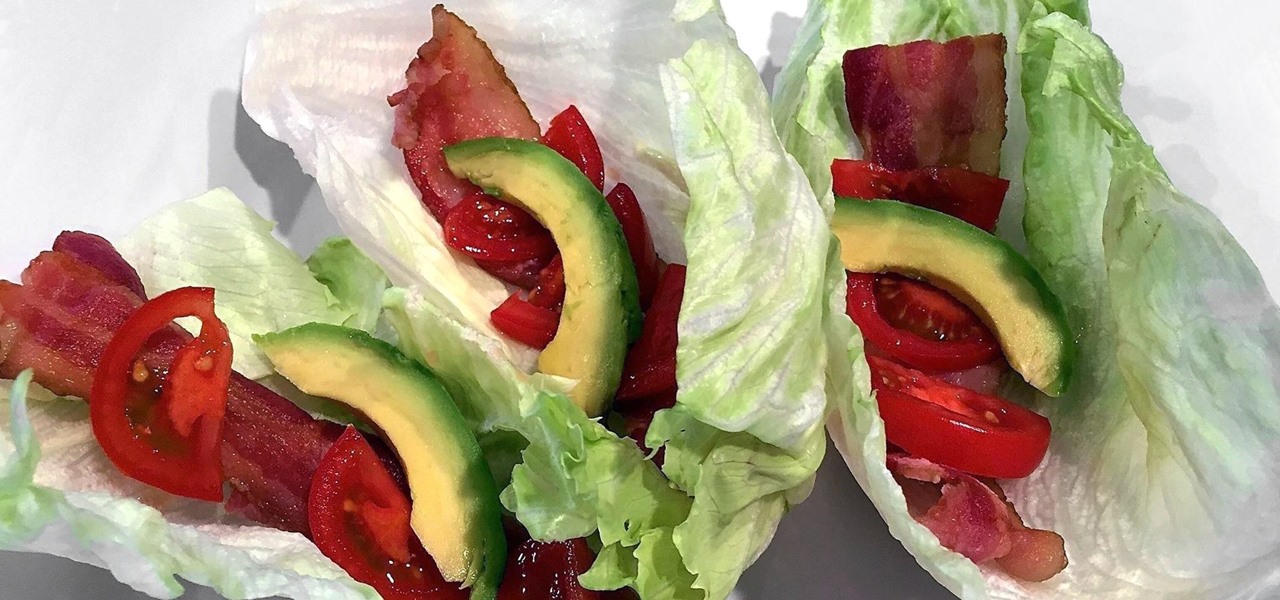
When I get struck by a craving for something SCJ (savory, crunchy, juicy), nothing fits the bill better than a BLT. But why settle for the sandwich form when there are so many other possibilities? Some of my favorite alternative ways to serve up a BLT are 1) as a salad, 2) in tomato cups, 3) in mini bread bowls, 4) as lettuce wraps, 5) as a dip, and 6) in bacon cups.
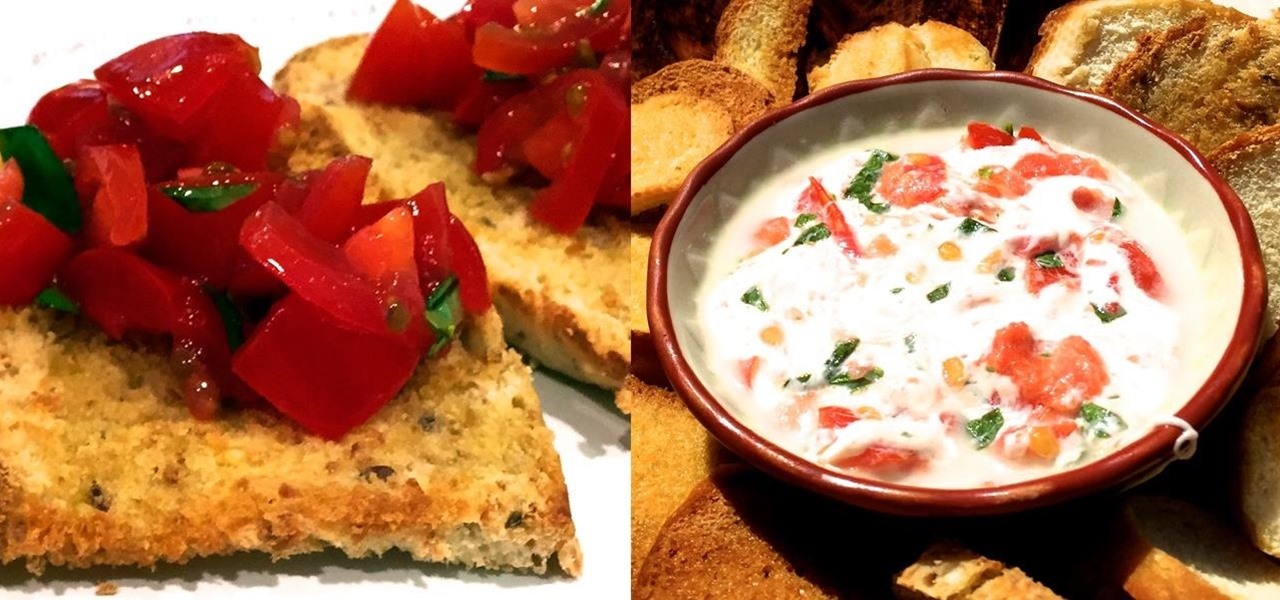
When you look at an Italian flag, what do you see? Green, white, and red? Well, I see a Caprese salad. And no, I do not need to have my vision checked. It simply means that I have the eyes of a chef.
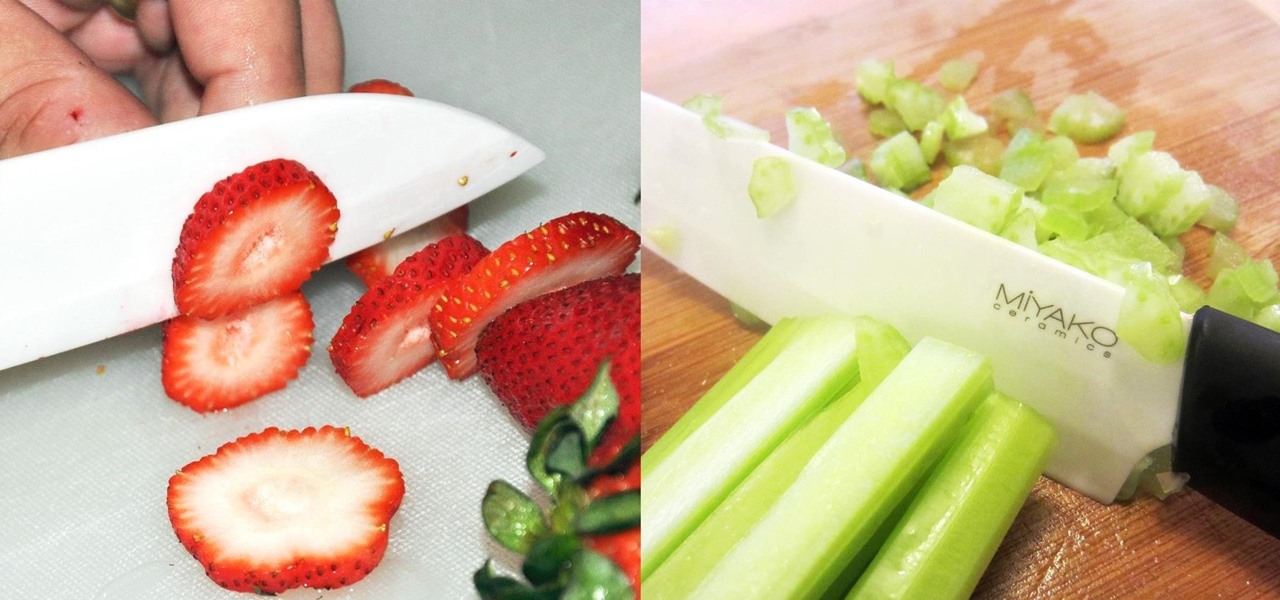
A good chef's knife is a thing of beauty and, with proper care, a joy forever. It can totally change the way you cook and turn even the dullest prep work into a glee-filled task.
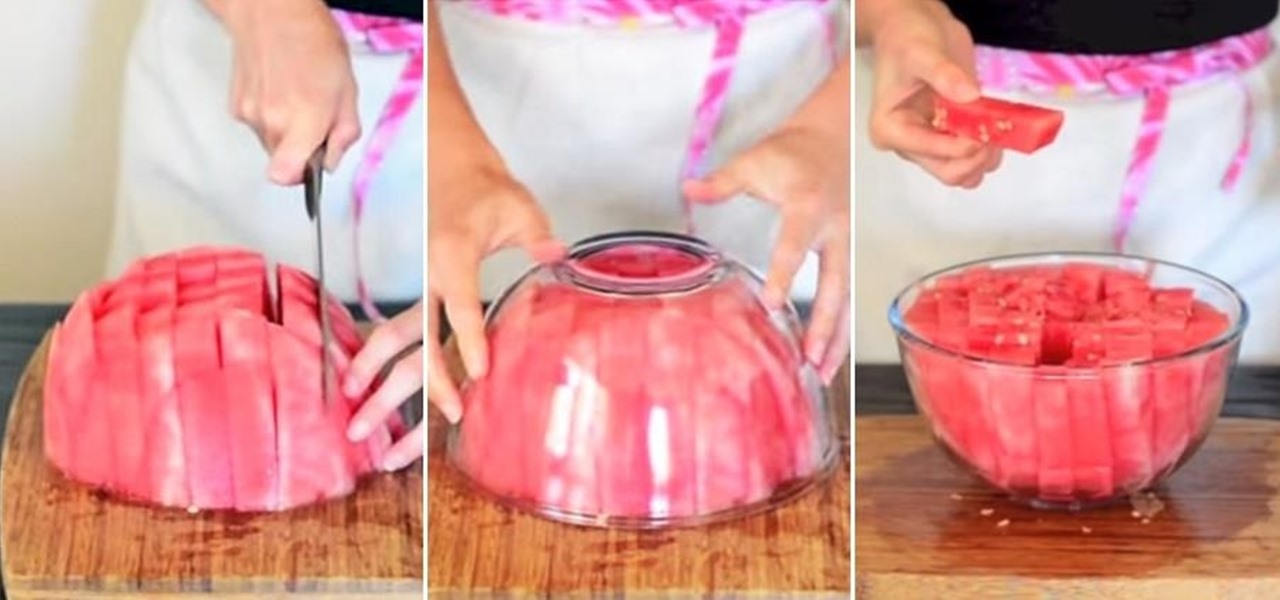
Watermelons scream summer like no other fruit, and there's nothing like biting into a sweet one on a hot summer day. Although there's no exact right way to cut watermelon, there are many occasions when you might not want to cut it into wedges. It may be the classic cut, but the triangular shape insures that you'll always get some on your face. And for parties, there's always the messy problem of leftover rinds.

When you have a parent who cooks—and has you act as sous chef—the kitchen automatically becomes a less intimidating place. In other words, kids who know their way around the kitchen will most likely become adults who cook for themselves, which also means that they'll eat more unprocessed whole foods, save money, and maintain a healthy weight.

The buttery scent of crescent rolls bring me back to my childhood, but those tubes that open with such a satisfying pop are more than just retro reminders. Crescent rolls can morph and serve as the base for hundreds of creative and cool dishes.

Lasagna, that layered, creamy baked pasta dish, is a lovely comfort food that's great for a crowd. But if you've ever made it, then you know you're usually left with some leftover lasagna noodles. (Although that's always better than the frustration of running out of the noodles while you're still making a traditional lasagna.) Still, what do you do when you're still left with a bowlful of the wide ribbons?

Some nights, I'm a lazy cook and only want to chop one clove of garlic for my immediate needs instead of prepping a giant batch and freezing it the way I normally do. The only problem is if I'm already feeling that lazy, I really don't feel like dirtying a whole cutting board. However, I still want my garlic to be finely minced so it suffuses my dish with its wonderful, one-of-a-kind flavor.
This video talks about how one can create a burger from a simple play doh set. This video is for kids and for everyone who loves playing with playdoh.

This how to will teach kids and their moms how to make a pizza from playdough. Playdough helps kids in developing gross motor skills, finger strength and dexterity. So, lets get started-
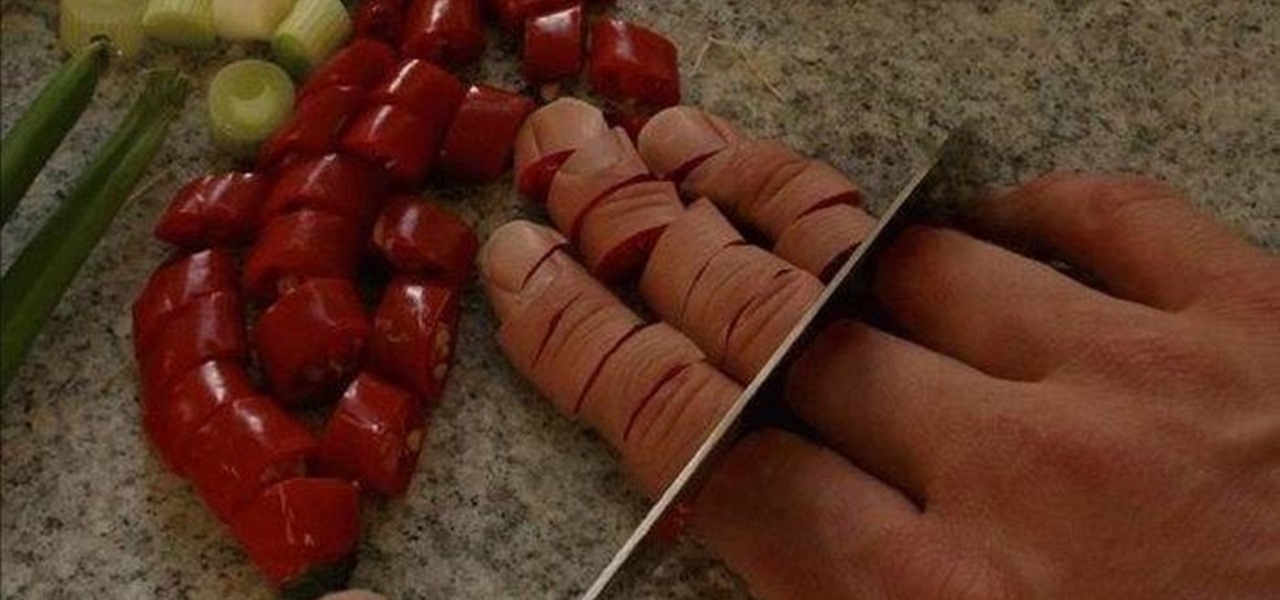
After years of making do with a cheap knife, I finally bought a really good 8" chef's knife—a Henckels, although I was also eyeing a Global santoku. It quietly but literally changed my life.
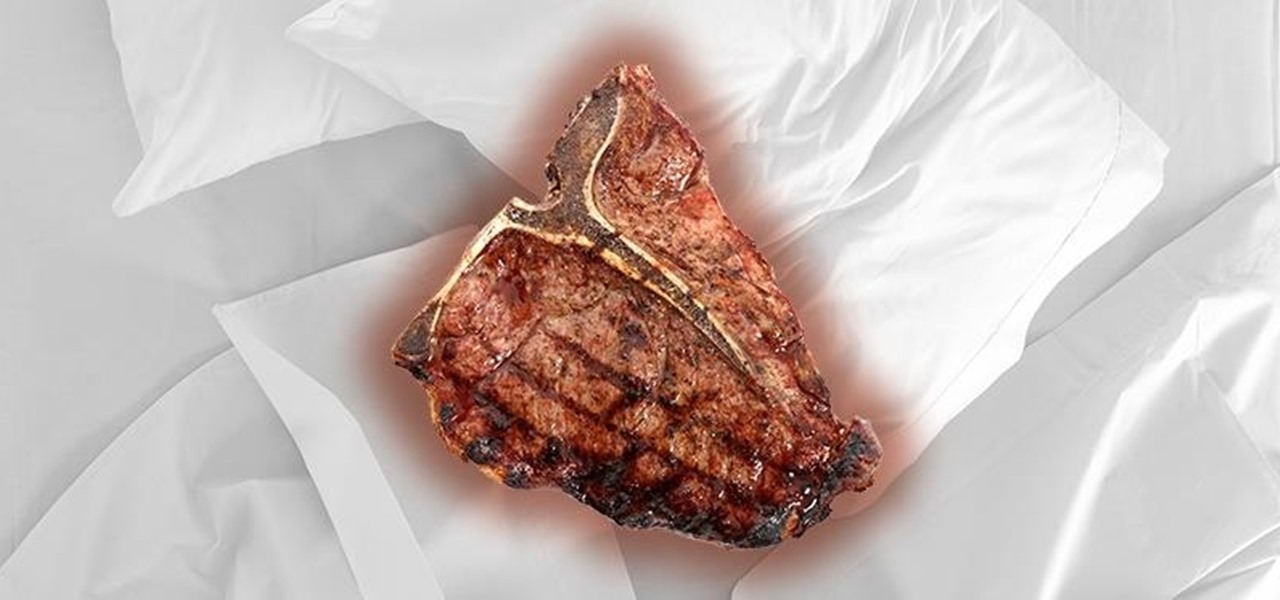
When I first started cooking, there were a few steps I always skipped in recipes. I never added zest to anything because it seemed like too much trouble, I rarely separated wet and dry ingredients in baking recipes because I was lazy, and I never let meat rest after it was done.
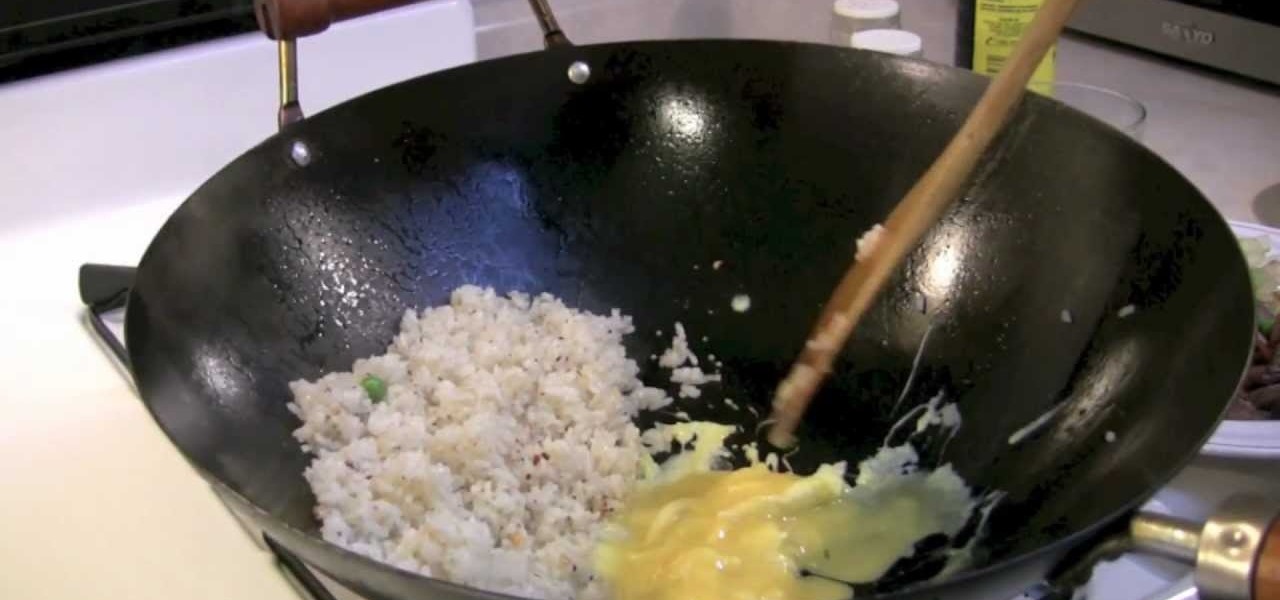
Delicious, Simple & Quick Wok BBQ Pork Fried Rice Ingredients

Now that you've earned the gold on all of the previous National B License Tests in Gran Turismo 5 on the PlayStation 3, you have one more to go— the lap battle (B-10) at the Indianapolis Motor Speedway. If you still haven't unlocked these tests, just buy your first car and start driving… um… racing!

In this video, we learn how to apply bold eye makeup during chemotherapy. First, take a light silver shadow and brush it all over your eyes, including below the brow bone. From here, take a dark brown and brush it into the crease of the eye and blend to the outer corner with a fluffy blending brush. After this, apply black eyeliner on the top and the bottom of the eye. Then, apply mascara to the top and bottom eyelashes and curl if you would like as well. When finished, you will have a bold m...
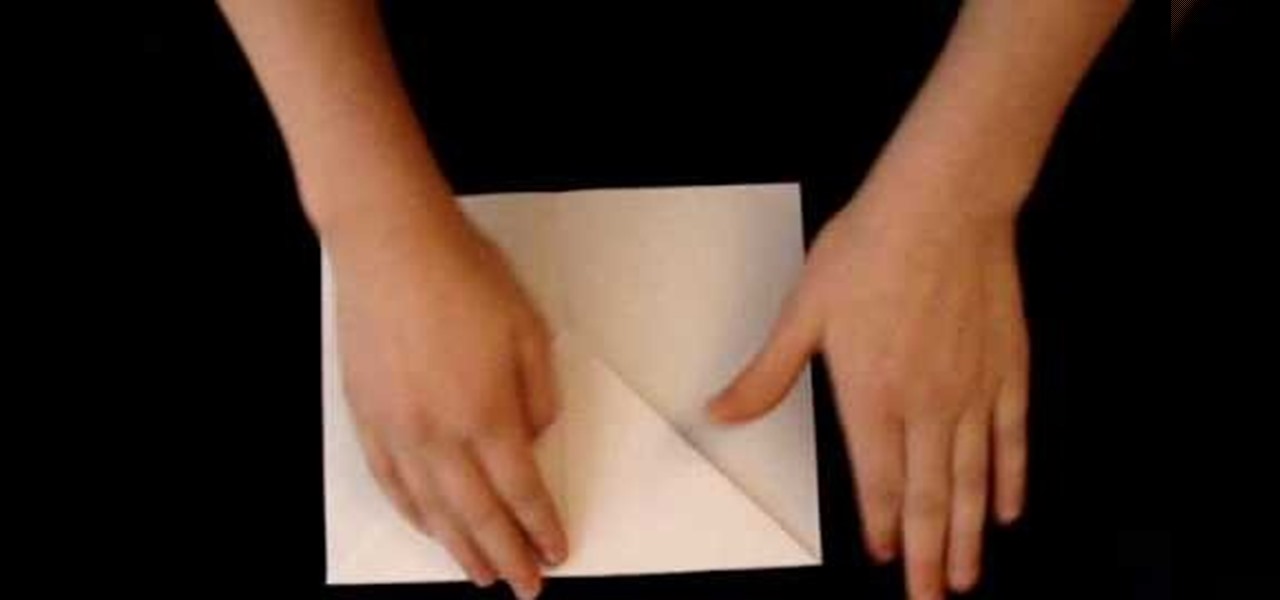
In this tutorial, we learn how to fold a basic paper airplane. First, fold the paper in half and make a crease. Next, unfold it and then line the corners with the middle line you just made on one side of the paper. From here, you will fold the paper down until you reach as long as the crease can go. Next, take the point on the side and fold it an inch over next to the point. Then, repeat this on the other side, touching the other point in the middle. Now, take the tip and fold it over. From h...
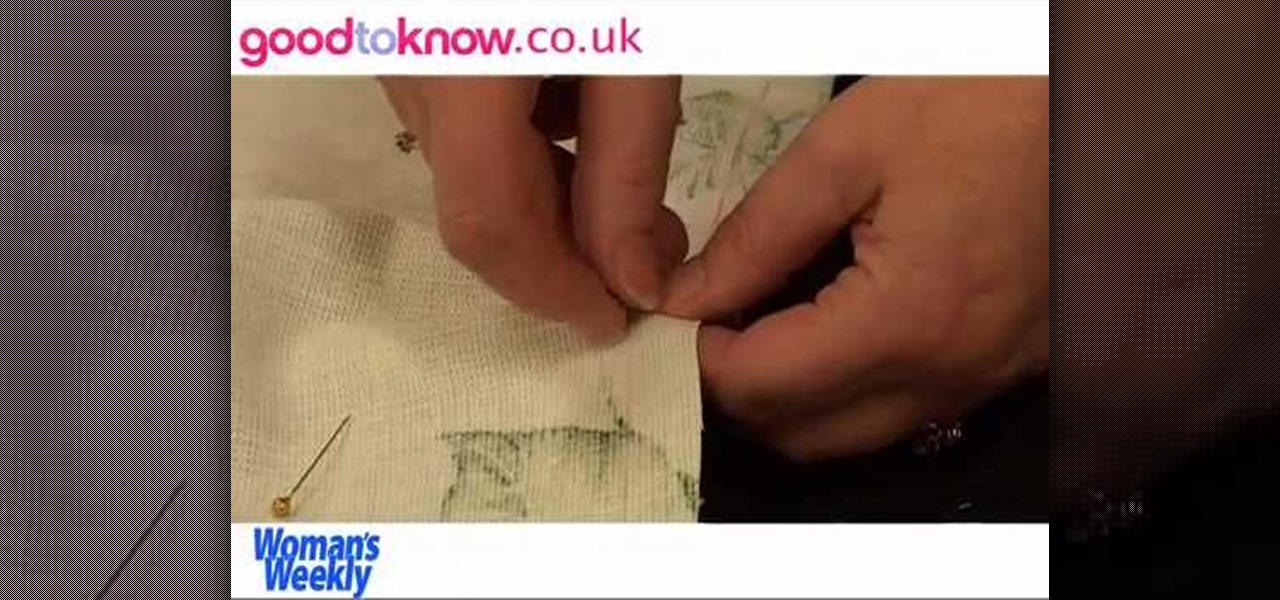
With a little practice a cushion cover can be made at home easily. The materials/equipments required are as follows: fabric of your choice (having appropriate dimensions) to make the cover, scissors, measuring tape and ruler, needles, threads, sewing machine and an iron.

In this video, Linnea Rose teaches us how to paint in a Norwegian folk style called "rosemaling". With this, you will double load your brush and do the strokes in the correct way. To double load your brush, first dip one corner into a color, then dip another color into the other color. After this, stroke again in between the two colors. Next, go to your canvas and simply stroke a looped shake on the paper. Firmly press down with your brush and as your curve around you lift it up to the chisel...
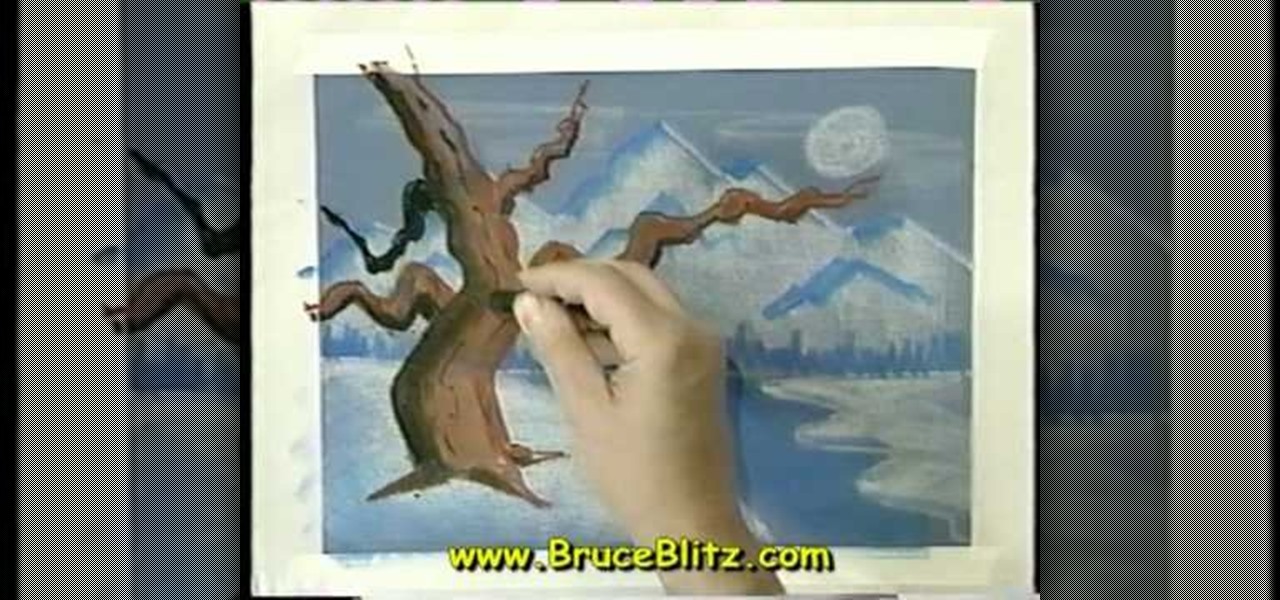
In this tutorial, we learn how to draw a tree in moonlight with Bruce Blitz. Start out by using a gray piece of paper. Then, draw arrows on the page towards the top that will act as your mountain peaks. Draw in additional lines to show that the mountains are towards the top. Shade in the tops of them and then draw a river with water at the bottom of the page. After this, draw in trees at the bottom of the mountain and a moon in the upper right hand corner. Use white chalk to create the effect...
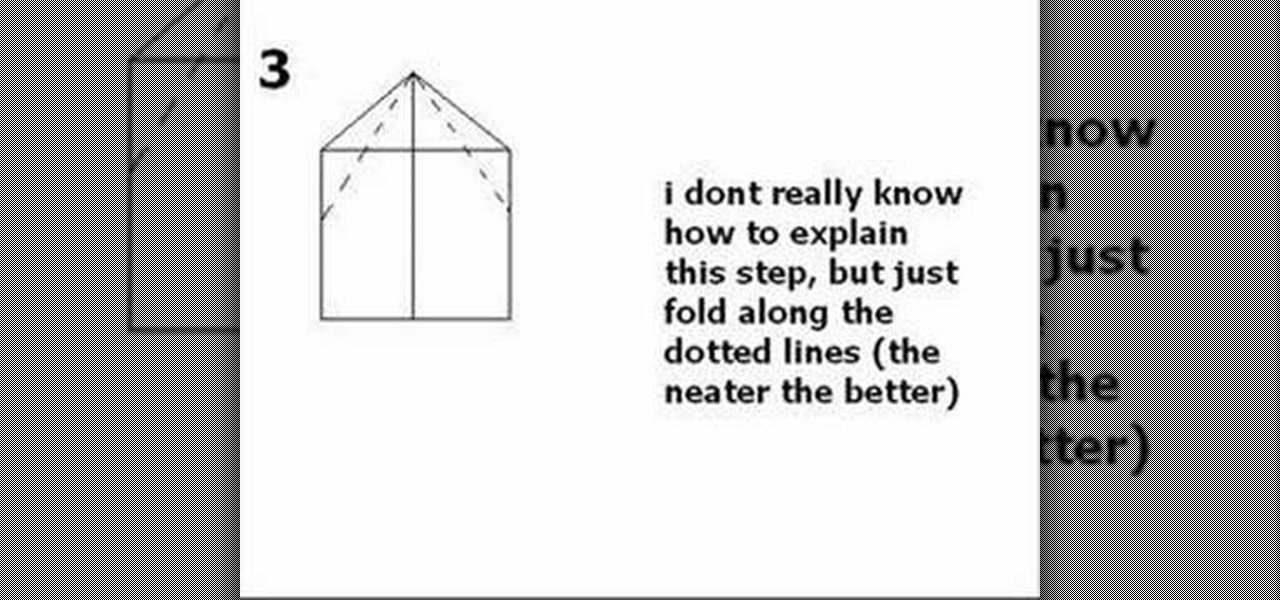
In this video we learn how to make a speedy paper airplane. First, fold the paper in half and make a crease in the middle. Next, fold the corners down on the top. After this, fold these into another triangle going half way down the paper. Then, fold the tip all the way down so it rests on the opposite side of where it started. Do one more fold like the ones you did in the second and third steps. Make sure you are making crisp creases in the folds that you make. After this, fold the tip to the...

In this tutorial, we learn how to prune and trim a tree with Lowe's. Pruning your trees will help them stay healthier and look better. It will help the tree grow new and healthy branches and stay alive for longer. Make sure you gather all the tools you need first so you are prepared for your trees. Now, take some pruning shears and climb to find the dead branches on the tree. Cut along the inner corner of the branches to cut them off from the tree. When finished, clean up the dead branch debr...
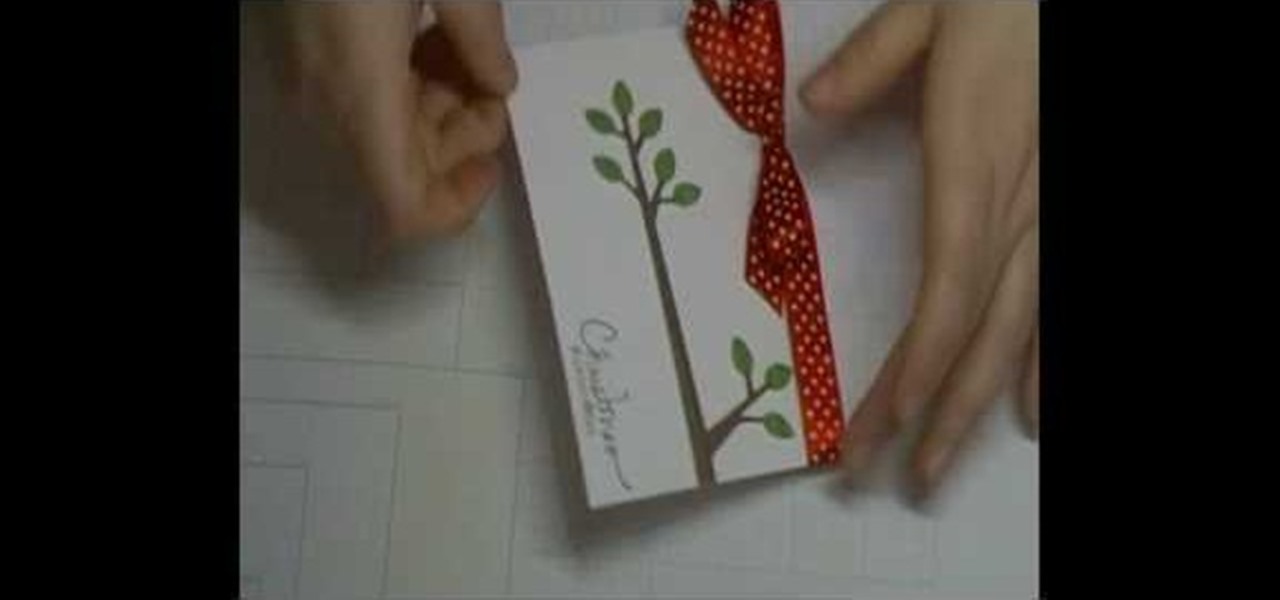
In this tutorial, we learn how to use Cricut Serenade & Joys for a simple Christmas card. First you will need to take a piece of white card stock and tie a red and white polka dot ribbon to the top. After this, you will need to take a tree branch stamp and stamp it on the side of the card like it's growing out of it. After this, make sure the color on the leaves is green and the branches are brown. Now, you will cut out another piece of card stock in a punch out to create the ornament that wi...

In this tutorial, we learn how to apply Beyonce's "I am...Yours" inspired makeup. First, take a light pink shadow and apply it all over the eyelids. Then, take a light brown shadow and brush it on the crease of the eye, then blend outward to the outer edge of the eye, after this, use black eyeliner on the top and bottom of the eyes, creating a winged effect on the outer edge of the eye. Apply thicker eyeliner on the top of the eye, then apply false lashes to the top of the eye and mascara to ...
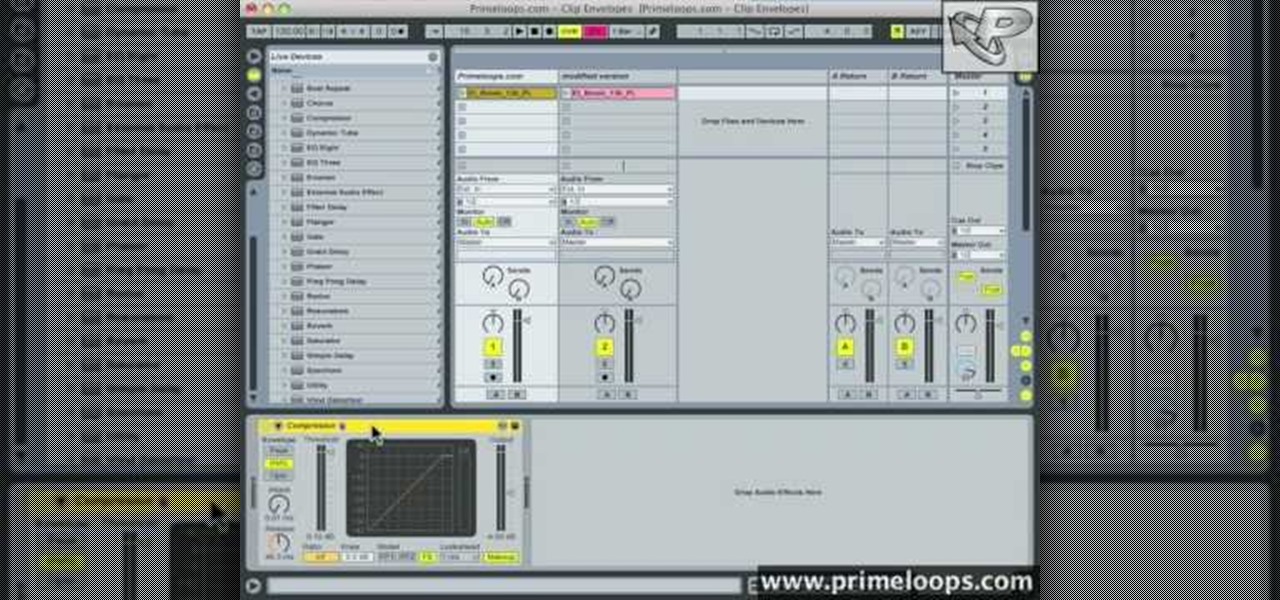
In this tutorial, we learn how to use clip envelope modulation in Ableton. This allows you to change parameters over time. You can access this by selecting your audio clip, then hitting the "E" button in the lower left hand corner. Now, you will see the envelope section where you will be presented with drop down menus. These will allow you to choose parameters and modify the tuning or position. This is an easy way to do extreme tuning changes in your audio. Continue to play around with the cl...

In this tutorial, we learn how to make your blue eyes pop with the right makeup. First, apply a peach or gold color all over the lid, then apply a sparkly gold color all over the lid over the first color. Next, apply a brown color and apply it to the crease of the eye and blend it in the outer edge. After this, use a dark blue color and apply it to the outer edge of the eye, creating a wisp effect on the outer part of the eye. Then, apply a white shimmer to the inner corner of the eye and mor...

In this video, we learn how to crochet a left handed knobby granny square. First, work a chain four, then join and make a chain one. Do three half double crochets, and then chain two and repeat the process twice more. Chain one, then end with a single crochet in the beginning to put you back in the corner. For round two, work in the same space you just ended. Chain one and pull up, then do a half double crochet. Do a quadruple crochet next, then pull your yarn through two, doing this four tim...

You can overlay your videos in Sony Vegas Movie Studio. First drag the picture of TV set in the timeline and drag it to the whole timeline and then place your video above it as showing in the video. Now click on the pan/crop icon and select the picture of TV set. Now resize your window and set your video in the TV set as showing in the video. Now you can play your video but it pops up as the video plays so to fade in your video, you just need to do is to drag the corner of your video as showi...
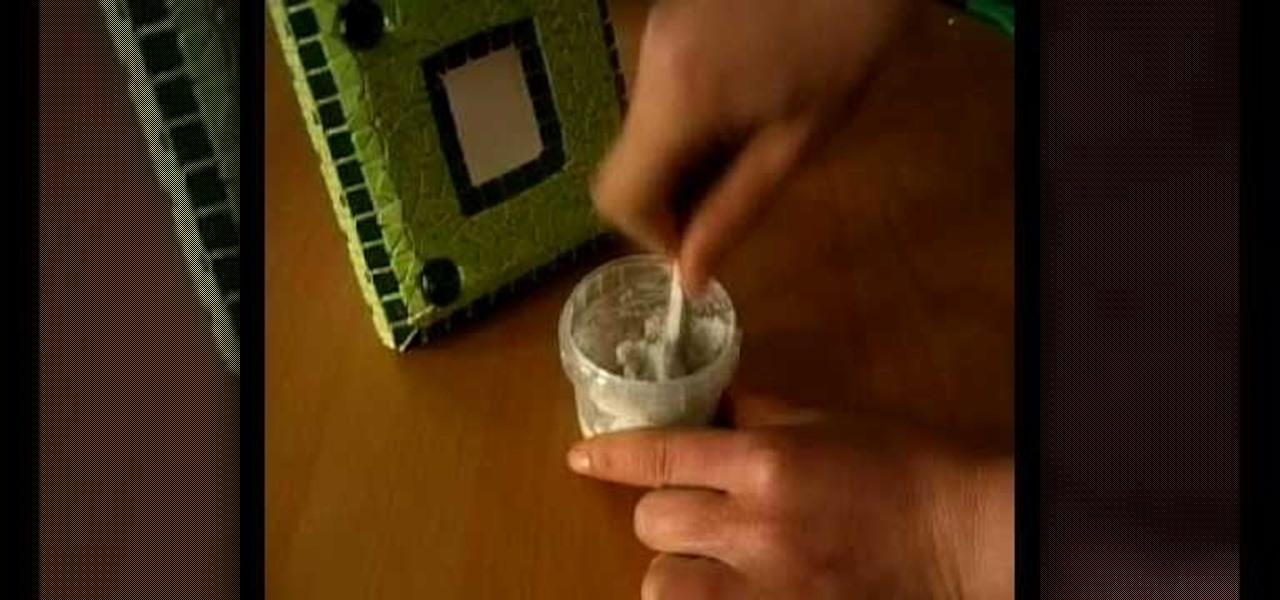
In this video, we learn how to make a mosaic picture frame with ceramic micro tiles. First, glue on the four gemstones. These will go on all four corners of the frame. Next, place the square mosaics onto the base. You will place these around the edges of the frame that are perfectly square. After this, cut the other squares in half and glue them onto the entire frame in the middle of the squares on the frame. Next, let the frame dry for two hours, then mix the powder together with water and r...

In this video, we learn how to quickly copy and paste data in Microsoft Excel. First, if you have two columns that you want to add up, you will highlight the columns and then copy and paste them into the other cells. Another way is to select the cell and go to the bottom right hand corner, then drag it down. This will fill your formula in to every cell below it! This will save you a lot of time instead of having to type in formulas for the columns that you are trying to do equations with! Thi...
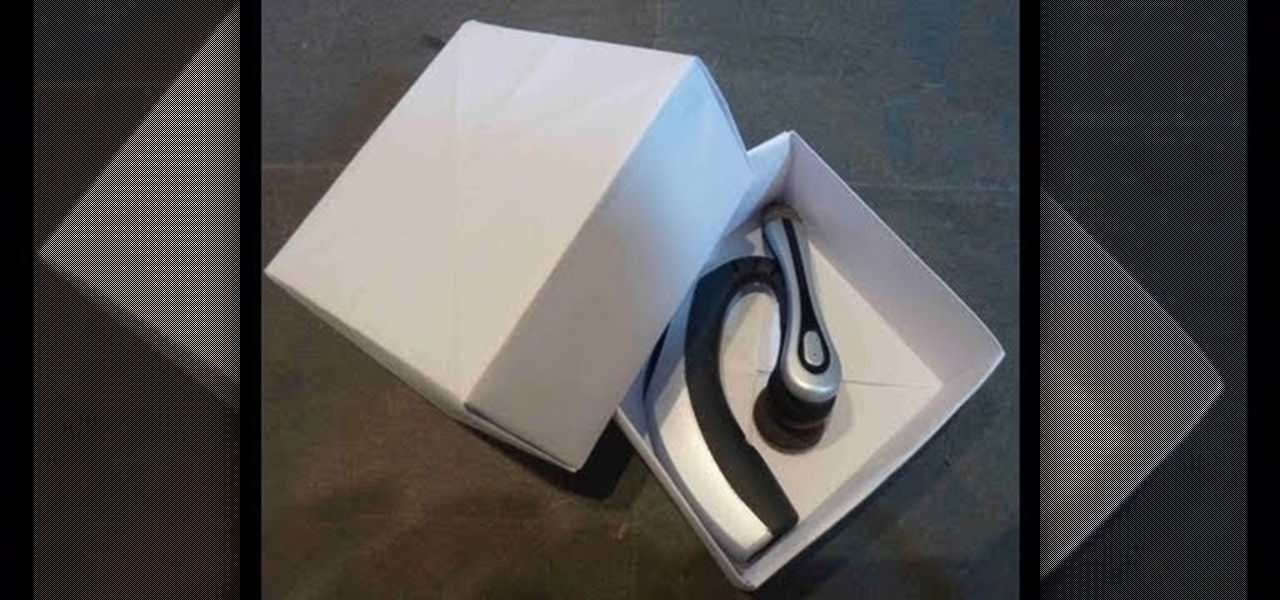
Don't get us wrong: We adore gift boxes, as they let us both conceal a gift and make the gift look more appealing by wrapping up the box in pretty wrapping paper and smacking a bow on top, but there's one big gripe we have about them. They either come in Small, Medium, or Large. So if your gift doesn't exactly fit one of those predesignated sizes, then the box is either too small in areas or too large, which is a pain.
In this tutorial, we learn how to make a small folding box for Easter. First, cut a shimmery white piece of card stock to 6" x 8 1/4". After this, score the paper at 2 and 3/8". Then score again at 2 and 7/8", flip it over and do again on the other side. After this, cut the four corners with score lines off, then fold the score lines that are left. Now, grab an Easter stamp and stamp the inside of the box underneath the top flap. Place a candy inside of the box, then fold it up and place an E...

This video tutorial is in the Computers & Programming category which will show you how to use the online discussion site Voice Thread. Voice thread enables you to create an online discussion with your students. In this video you will learn how to open an account, how to open a thread and how to post a comment on it. Go to the site. On the right hand top corner you will find a coffee cup. If you click on that, it will ask you for a username, password and email for opening an account. After you...
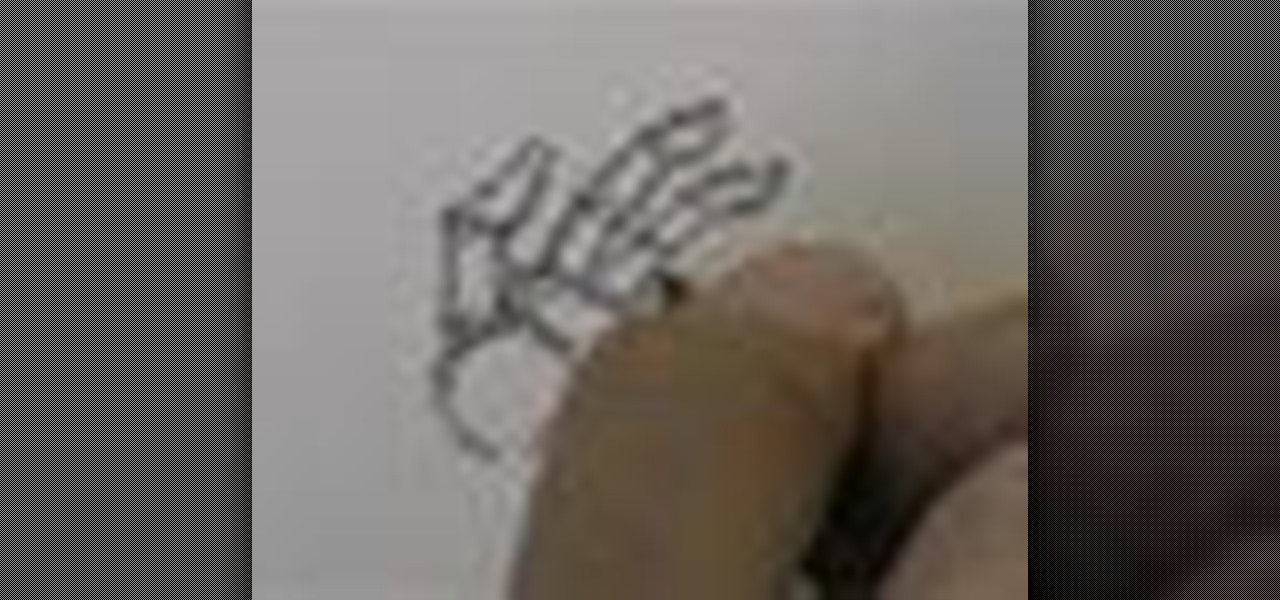
In this Fine Art video tutorial you will learn how to draw with basic shapes and apply them. The four basic shapes are spheres, cubes, cylinders and cones. A sphere is a three dimensional circle. On paper it will look flat without shading. Make sure you practice all kinds of circles. A cube is a three dimensional square. You can make a basic cube by drawing two squares and then join the corners. Cylinders are tubes or pipes. Draw two ellipses and join them by lines. If you are just starting o...
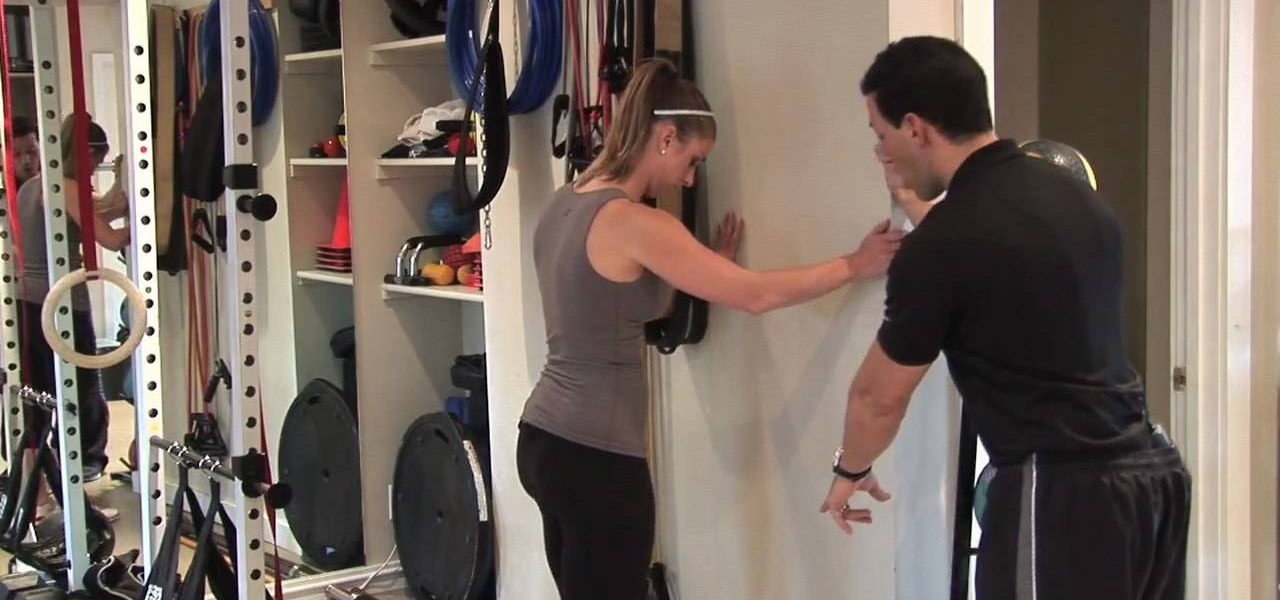
Want your bum to look as perky as it did twenty years ago in a bikini? Unfortunately there's no way to cut corners when you want to tone your glutes and thighs (lipo is an alternative, but that just gets rid of fat and doesn't actually help you tone or increase muscle).
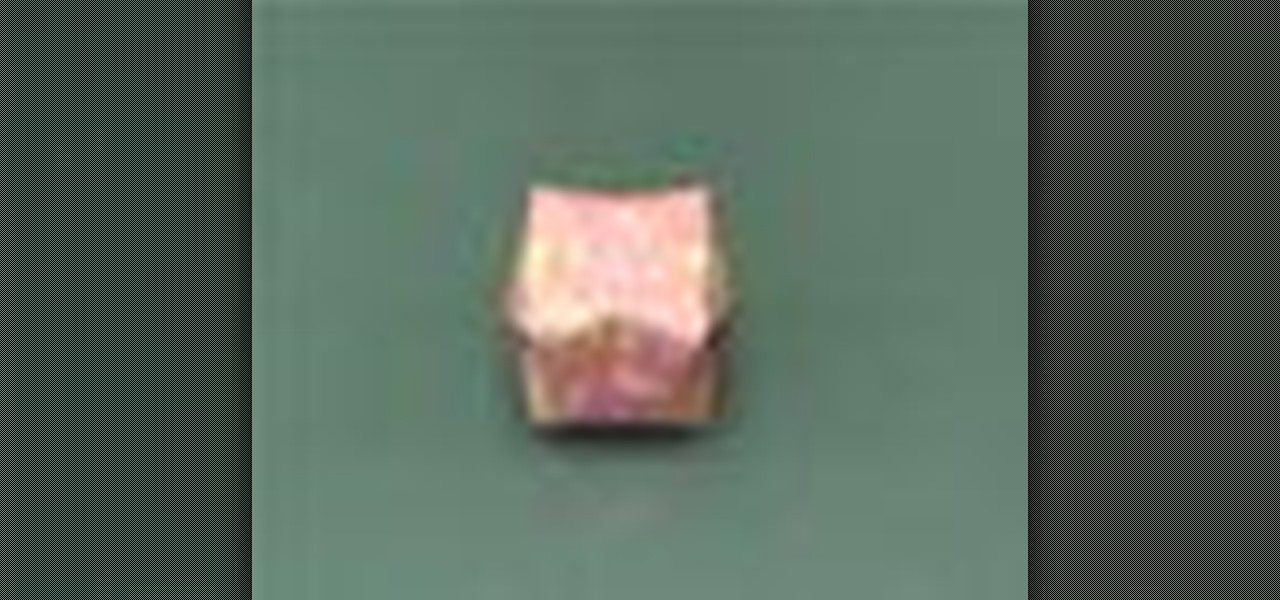
In this video tutorial, viewers learn how to fold an origami water bomb. Users will need a square paper. Begin by folding the paper in half both horizontally and vertically. Then fold the paper diagonally in half both ways. Now fold the edges into the middle to form an isosceles triangle. Then fold the edges to the middle to form a diamond shape. Fold all the tips to the middle and then fold all the corners to the middle. Finish by tucking the triangle edges into the pockets and blow up the p...

In this Arts & Crafts video tutorial, Ana Maria, Origami artist, will show you how to fold an origami paper pyramid. For this you will need a square piece of paper; preferably colored. Fold the paper in half, open it up and fold in half in the other direction. Open up and fold all corners to the center point of the paper. Now fold it in half in both directions. Open up the last fold and fold one of the edges inwards. Open up again, unfold the adjacent flap and lock the flap down as shown in t...
Facebook has added (yet another) brand new feature to their ever-expanding website. This new tool is called "social plugin" and it actually works all over the web. Now, Facebook will follow you wherever you go online. If you are on a completely different site (a news site for instance or a blog) you will see a little Facebook widget in the corner. You can then "Like" what you are reading or see if your friends "liked" it before you. This will then be published to your profile on Facebook for ...
Summer is just around the corner, and though many of us are going to dash out of our schools in relief and joy and then head straight out the pool in our skimpy bikinis, we should be covering up with sunblock and hats to prevent noxious nasties like cancer.
In this Software video tutorial you will learn how to create a vector RSS icon in Illustrator. Open illustrator and open a new document. Select the ‘rounded rectangle tool’ from the rectangle menu. Click and drag to draw a rounded square. Select the gradient fill on the left side and change the color to orange on the right side and make it dark to light from top to bottom. Next grab the corner and turn it around 180 degrees. Move the picture to one side and select the ellipse tool. Draw a...