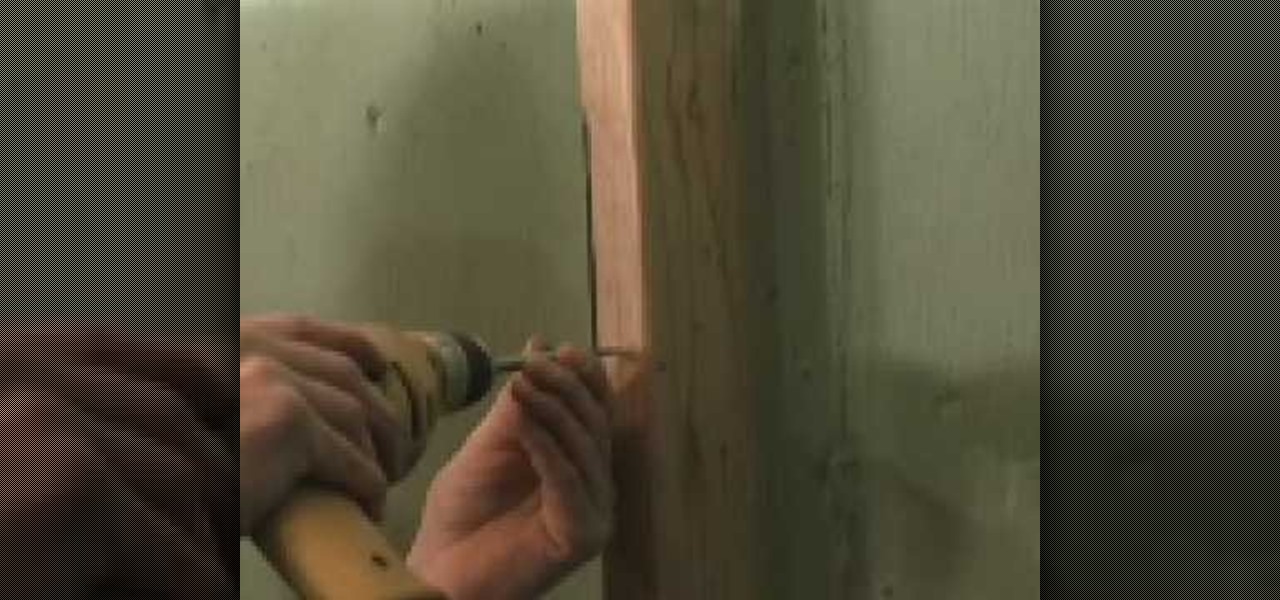
This video shows us how to build a gravity wall with Allen Blocks. In order to do this, place blocks on top of the base course. You want to make sure that the bottom notch is tight against the front lip of the blocks underneath. Sliding them into place removes any present debris. Running bond is ideal; however, if that is not possible, offset them by a quarter of a block. After making sure the blocks are straight, fill the hollow blocks (and 12 inches behind them) with wall rock. Then smooth ...
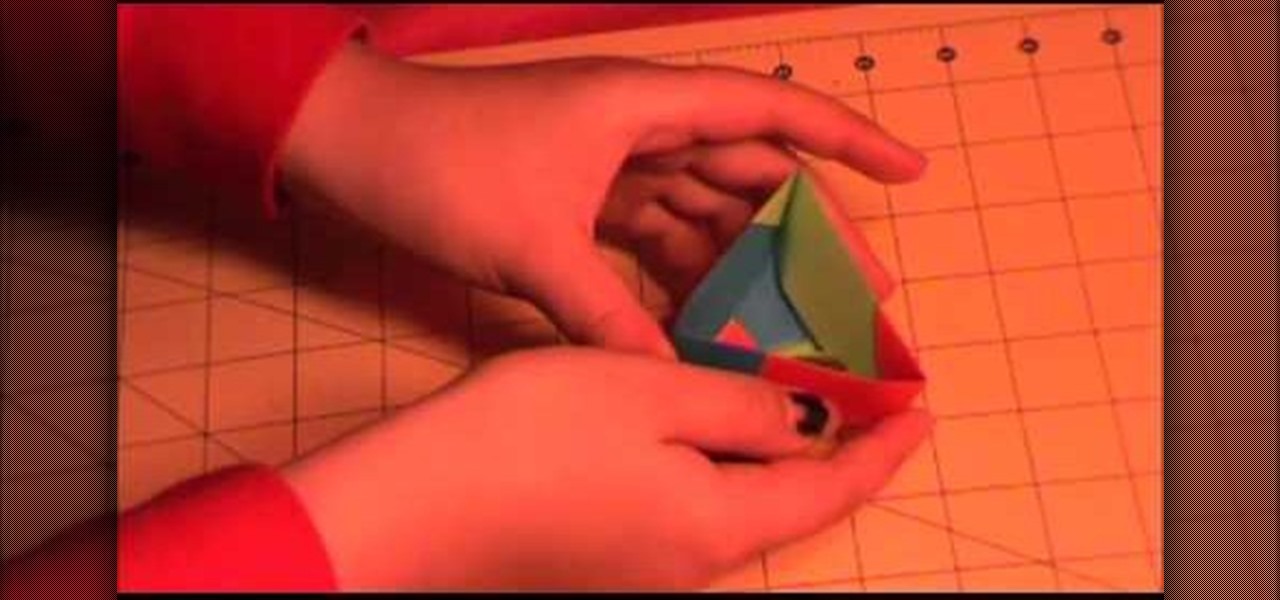
The Amazing Origami channel takes you through step by step instructions of how to build a triangle origami box in this video. Six pieces of origami paper, three different colors, are all the supplies you will need to make your very own box! First, separate the origami paper into two groups of three, all three colors should be in both groups. These groups will make the top and bottom of your box. The three pieces of paper used for the bottom will all use the same folding technique, this is als...
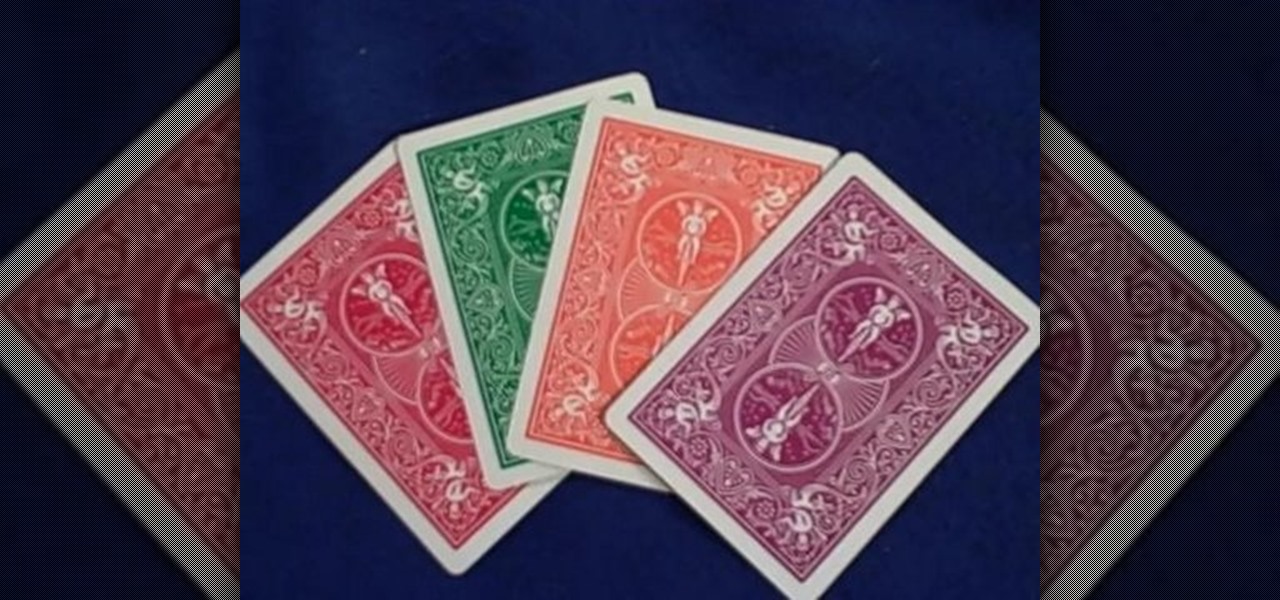
Need four different colored (green "cheat", blue, orange red and purple) Jacks along with a double-sided red card and another red-backed random numbered card for a total of six cards. Shuffle the cards in front of the viewer with the three red cards on top then blue, green, orange then purple. Now show the card (green cheat card) and then mixing the deck rearranging deck. Push one of until you come to the blue one and spread the three red ones again with the blue on top of them. Then perform ...
Rather than throwing out your old furniture, learn how to give your old dresser a modern makeover by following this video tutorial. To begin, pull off all of the old drawers and other pieces that do not work. You will need to sand down the frame of the dresser and then replace all of the problematic parts. You may also need to rebuild the center supports so that your dresser drawers slide in and out easily. Wipe down the dresser with a cloth and then coat it with a latex primer. The primer is...

The new Windows 7 layout is streamlined for the occasional user to the head of human relations for Microsoft. Wall papers, system sounds, and resolution settings were covered in the instructional how to video. The evaluation specialist was knowledgeable and articulate. Transitions into new areas of the operating system were appropriately placed. To make a text more readable, you should change the screen resolution. Choose your picture library to start a slide show for your weekly conferences ...

In this video tutorial, viewers learn how to remove and replace vinyl siding. Users will need a siding removal tool (zip tool). Insert this tool beneath the bottom edge of the overlap and pull down while sliding the tool horizontally. Remove the nails underneath and simply pull down the siding. Now measure the length of the siding. With the new siding, connect it on the exterior wall and reinforce it with some nails. This video will help those viewers who need to learn how to replace a vinyl ...

Lose your double chin with a simple neck exercise. Cynthia Rowland, anti-aging expert, demonstrates some exercises for strengthening the neck muscles, thereby reducing the double chin.

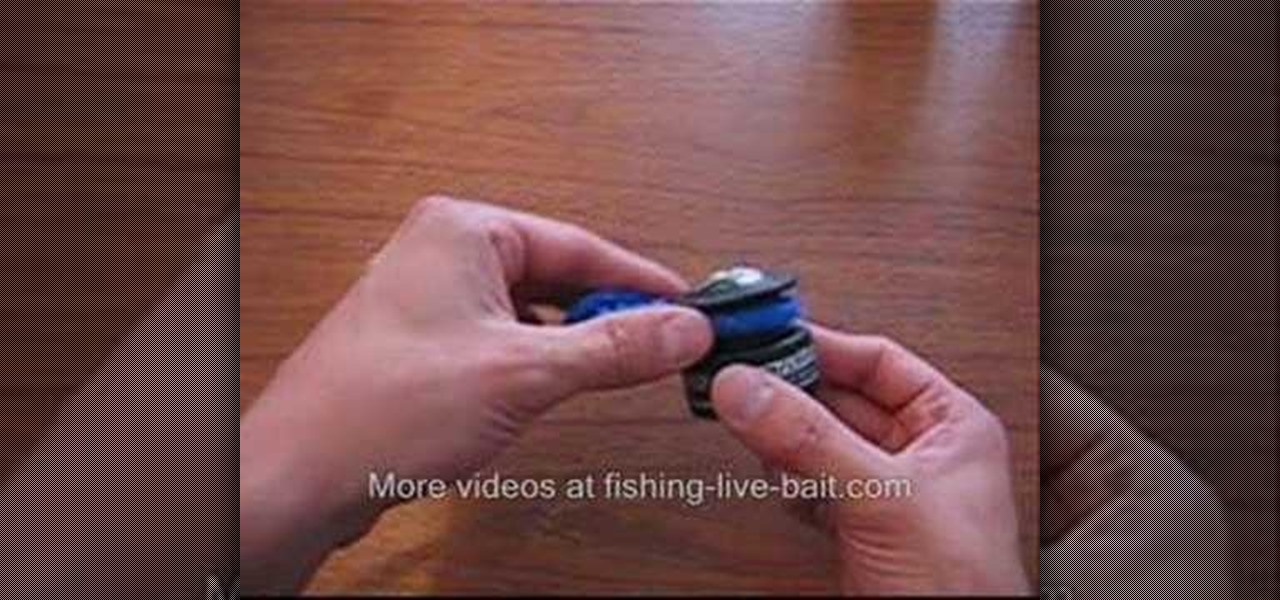
In this video, you can learn how to tie a uni knot. He uses a snap-hook and a blue rope to demonstrates. He pulls the rope through the hook and makes a loop that crosses over the two pieces of rope. He pulls the rope through the hole six or eight times. Then pull on the hook to tighten the knot. When you pull the rope, the knot slides up to the hook. He explains that the uni knot can be used to loop a fishing line onto a hook or over a reel. It can also be used to tie two lines together makin...

Steps on how to play "real love" by John Lennon on the Piano. Playing Real Love by John Lennon is easy with the following steps: 1. The Beginning of the song starts with the D chord2. On the lyrics "girls" play F#m3. Repeat with D7 and F/C#4. Continue with the G chord then slide to G/F# Em A5. Next play D Gm and D6. The Chorus goes with D Gm D G D Bm Em F#m D Bm G A7. Next play D Gm (4x)8. Repeat Step 1-5 After enough practice, any woman can fall in love with you through a simple serenade.

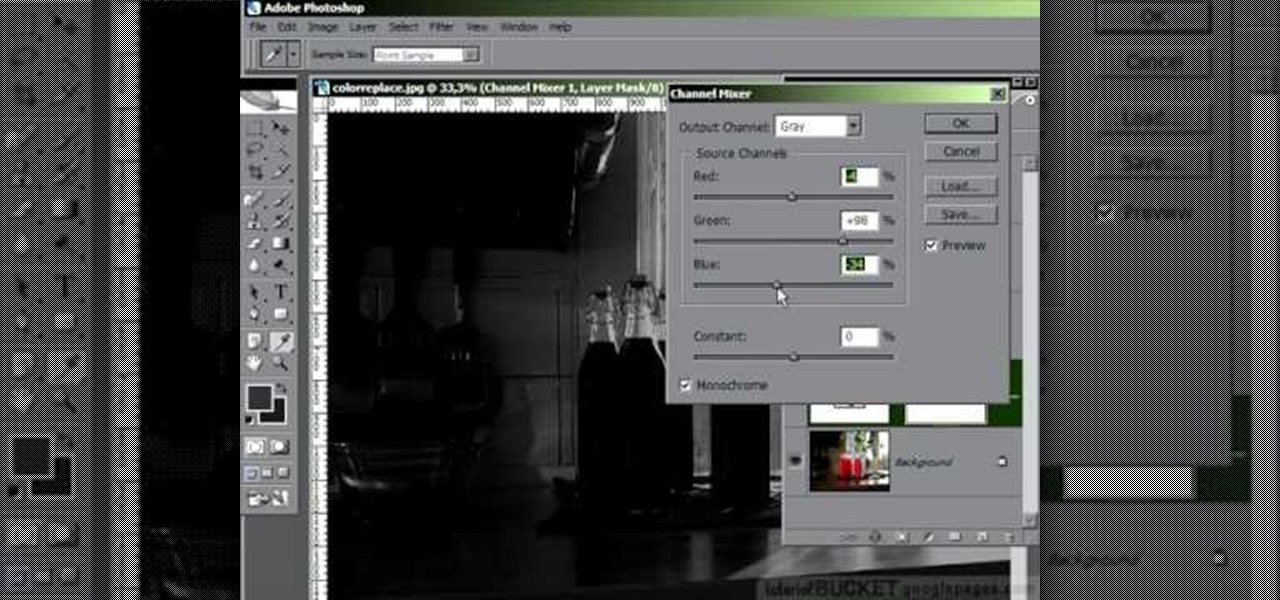
In this video tutorial, learn the several methods to get black & white images from color originals in Photoshop. The first method is the simple desaturate by going to image > adjustments > desaturate and it will wipe out the color from your image. The second non-destructive way of doing this is going into the layers palette, adding a new adjustment layer, choosing hue and saturation and dragging the saturation slide all the way down to minus (-) 100. The next method is going to the channels p...

TboneWilson1978 shows how to play "High and Dry" by Radiohead on guitar. The intro of the song plays on the 11th fret on the fifth string and then on the 13th fret on the third string. Mute your fourth string and the second. Slide down to nine fret then back up to the second. Then just start strumming. All the rest for the song are a F7 major, and minor. beginning strumming those cords. Then you can play the song all together. The chorus is the same also.

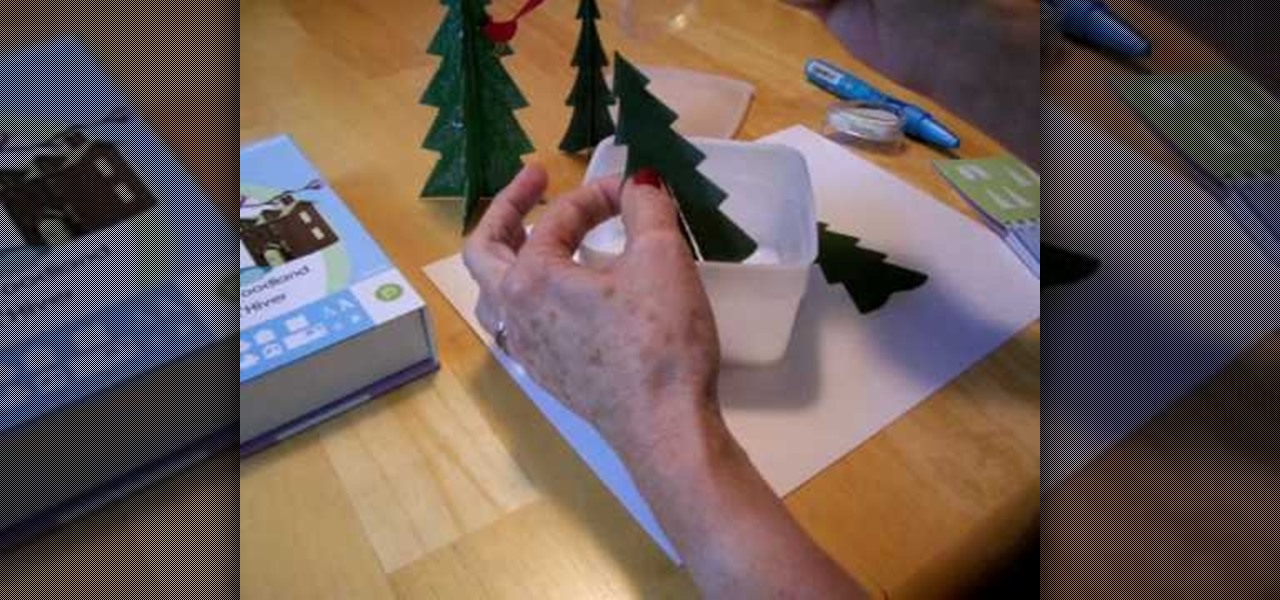
Cardcrazy09 teaches you how to create green woodland Cricut trees. You cut two pieces of the tree. Each one has a slid, on the top and bottom and you glue them together. You can also add glitter as snow. What you can do is smear it with a white ink pad to make it look frosted. The cardinal in the tree is made out of three pieces that you cut and stick together. A red body, yellow legs and brown face is all that's needed. After that, you just stick in the tree for the complete look.

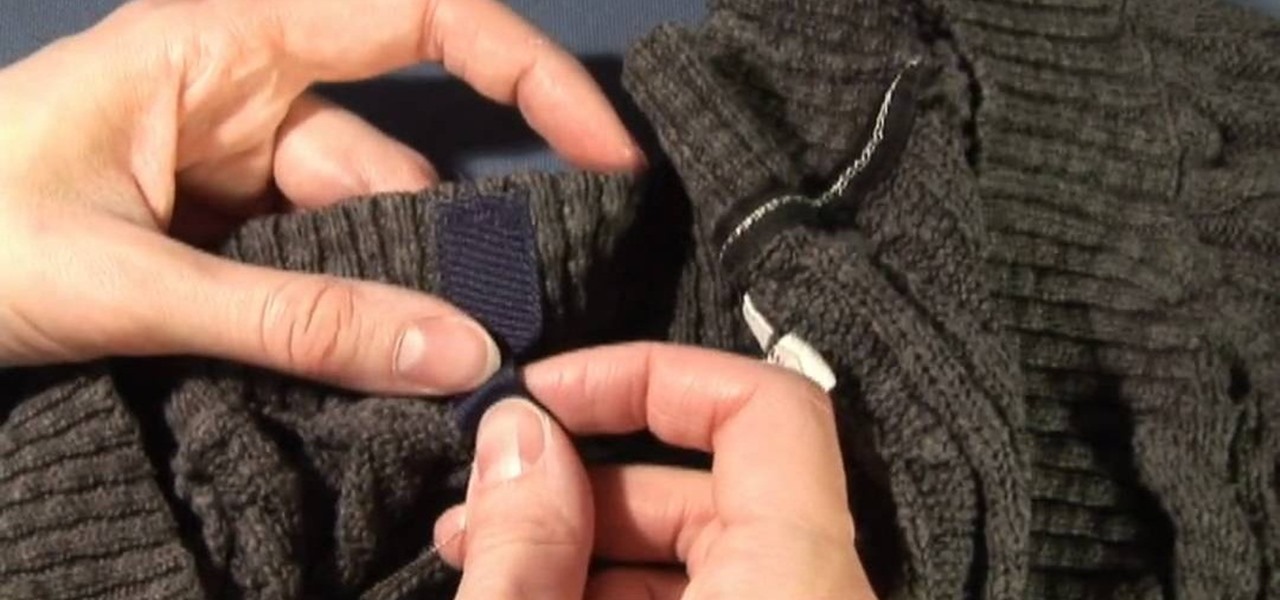
Nothing ruins a cute outfit quicker than a visible bra strap or a slipping tank top. This quick video from CyberSeams offers tips on how to keep those annoying straps in place. You will need ribbon or twill tape, Fray Check, snaps, a sewing needle and thread. You are instructed how to create a holder, inside a specific top, which snaps your bra or tank top into place. For example, in this video, you create a holder inside a sweater so that you can wear a coordinating tank top but not have it ...

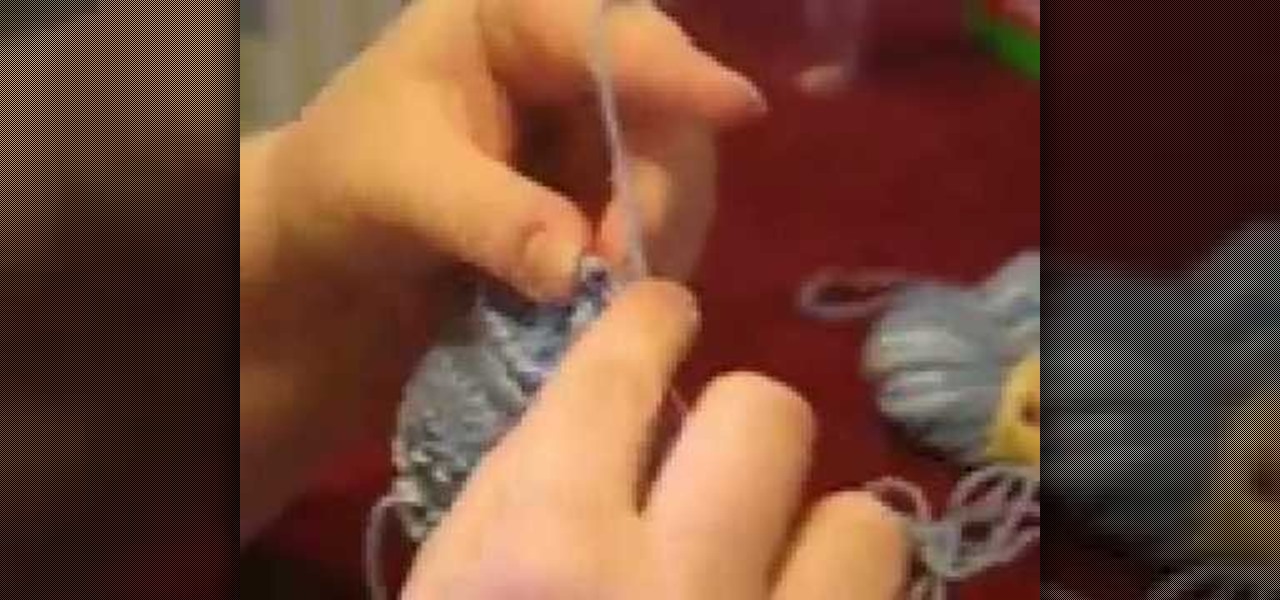
This video will explain how to knit a left handed purl stitch.

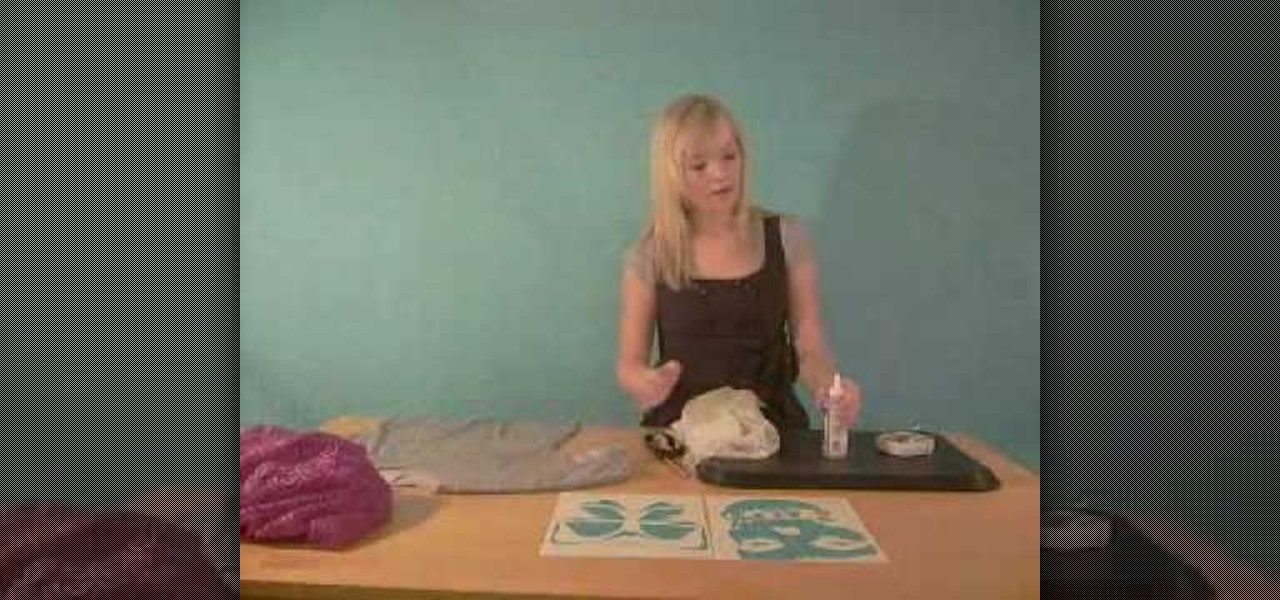
Watch this video to learn how to make a tank top or shirt with lace and a print. You need a template with the picture of your choice, some lace, some fabric glue and fabric pins or safety pins, and a flat board about the size of a meal tray. Slide the board into the shirt. Put the template on top of the lace, then pin it in place. Next cut out the lace along the lines of the template. Arrange the lace on top of the shirt in the desired shape and glue it in place. Wait 48 hours before washing....

Remove the husks from the ears of corn, as well as pulling off the excess strings. Using a sharp knife, slice the kernels off the cob by cutting a bit off the end of the cob so you can stand it upright. Then slide your knife down the cob on each side to remove the kernels. Add the corn and water to a large pot or frying pan with high sides. Cook the corn over medium heat until there is no water left and the corn has softened. Add the butter and salt and gently fry the corn for 2-3 minutes to ...

Learn to telemark using this easy to follow progression. CANSI Instructor Keith Nicol starts with the basic telemark and ends by demonstrating the parallel telemark turn. Progress from a basic tele turn starting in a snow plow. For intermediate start sliding in the uphill foot. Next pole plant to do the parallel turn that aims for smoothness and speed turns. Telemarking turns will let you ski in bumps, powder and hard pack.

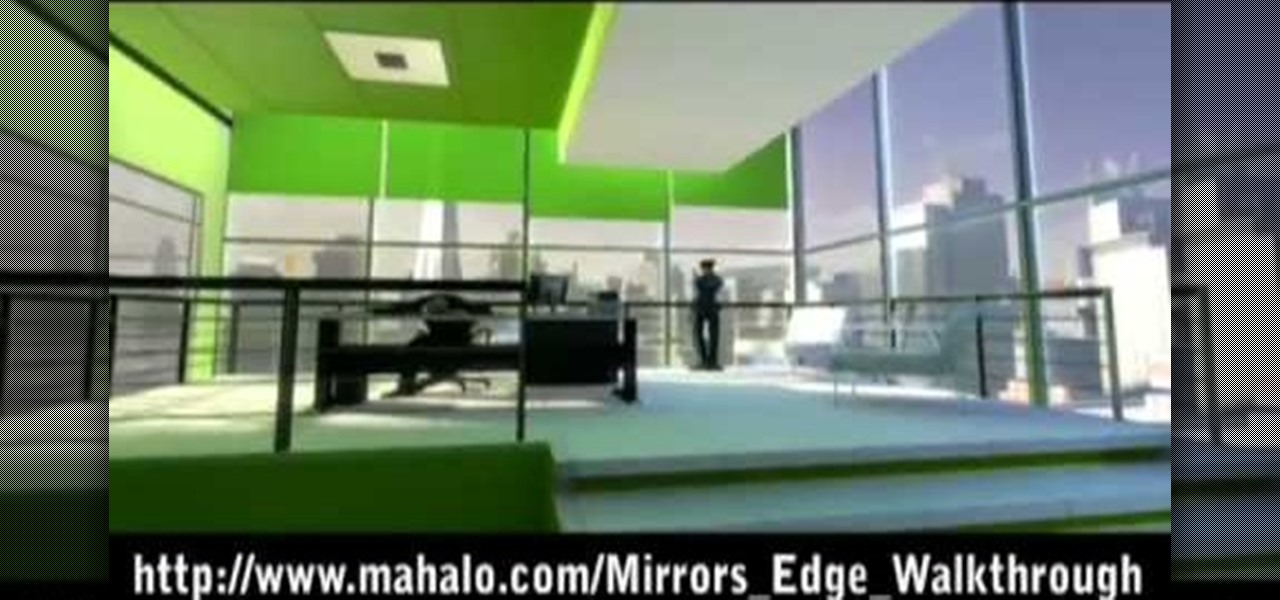
This is a video walkthrough of the "Prologue: Financial District" level in Mirror's Edge for the Xbox 360.

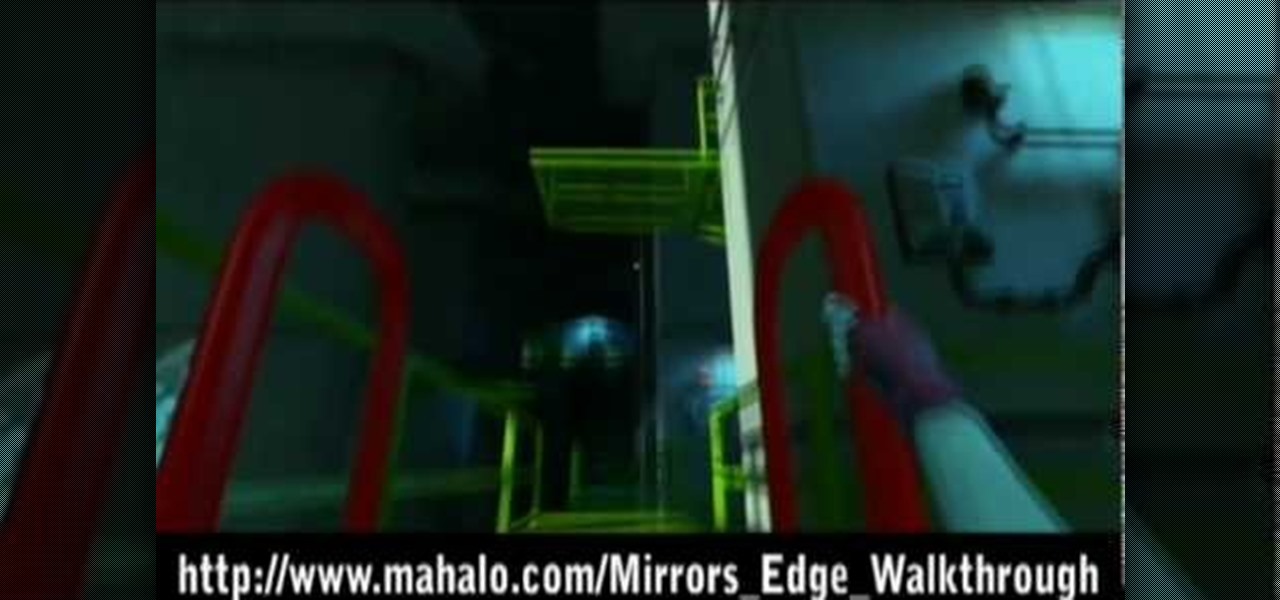
This is a video walkthrough for Chapter 1: Flight (PT. 1/2) in Mirror's Edge for the Xbox 360. The game has a realistic, brightly-colored style and differs from most other first-person perspective video games in allowing for a wider range of actions—such as sliding under barriers, tumbling, wall-running, and shimmying across ledges—and greater freedom of movement, in having no HUD, and in allowing the legs, arms, and torso of the character to be visible on-screen.

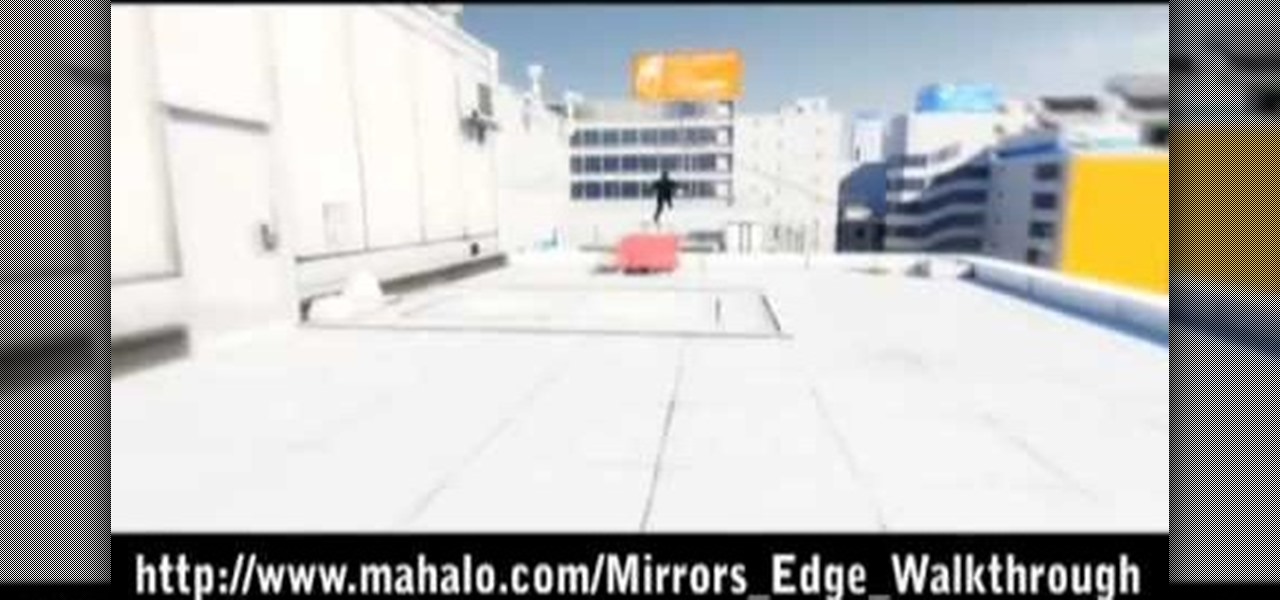
This is a video walkthrough for Chapter 2: Jackknife (PT. 1/2) in Mirror's Edge for the Xbox 360. The game has a realistic, brightly-colored style and differs from most other first-person perspective video games in allowing for a wider range of actions—such as sliding under barriers, tumbling, wall-running, and shimmying across ledges—and greater freedom of movement, in having no HUD, and in allowing the legs, arms, and torso of the character to be visible on-screen.

This is a video walkthrough for Chapter 2: Jacknife (PT. 2/2) in Mirror's Edge for the Xbox 360. The game has a realistic, brightly-colored style and differs from most other first-person perspective video games in allowing for a wider range of actions—such as sliding under barriers, tumbling, wall-running, and shimmying across ledges—and greater freedom of movement, in having no HUD, and in allowing the legs, arms, and torso of the character to be visible on-screen.

Check out this dance tutorial video that demonstrates how to do a chest circle in belly dance. The chest circle of belly dancing is an important move to study. Learn to belly dance for fitness or art in this belly dancing video.

Watch as professional skateboarder Ryan Smith teaches you how to perform a backslide lipside trick on ramps, flat bars, and rails, right in this video tutorial.

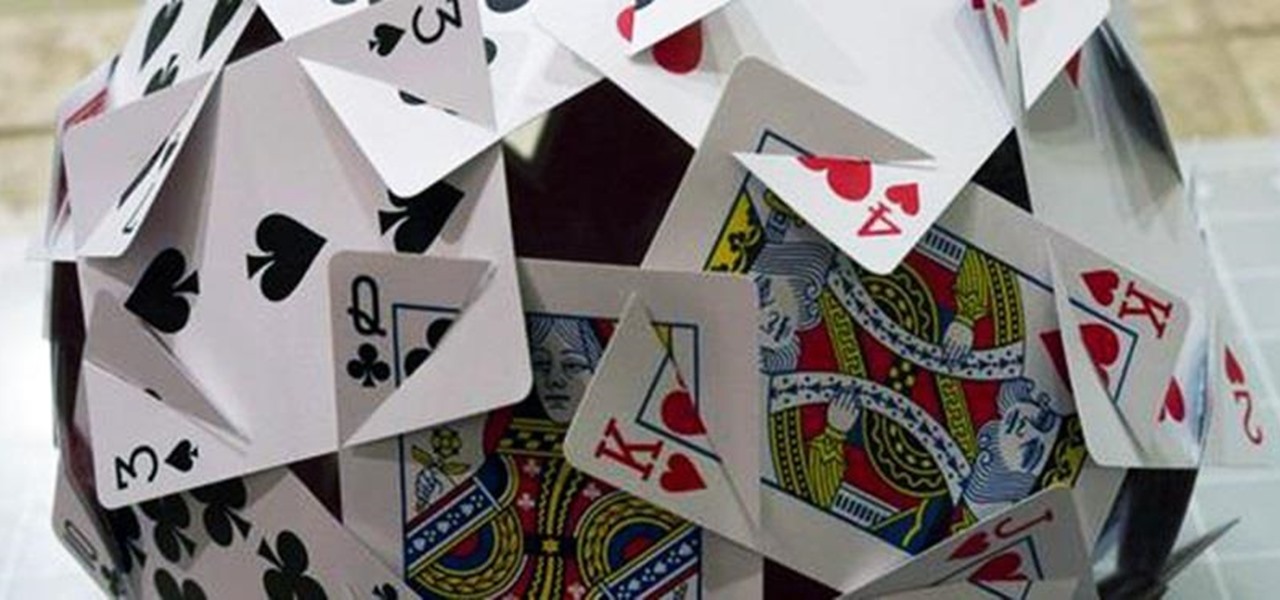
Computer Science Professor Francesco De Comité has a fantastic gallery of mathematical images on Flickr. As part of this collection, he has a few hundred images of real or rendered polyhedra made out of paper or playing cards which he calls "slide togethers." These are constructed by making cuts and then sliding one component into the other, creating a shape without using any glue. He constructed the entire set of the platonic solids—the cards form their edges—which can be seen in the image b...

The truth is we really don't like handmade presents. Yes, grandma, we thank you for your reindeer sweater whose nose lights up, but to be honest, there's very little to beats that new headphone set we've been eyeing.

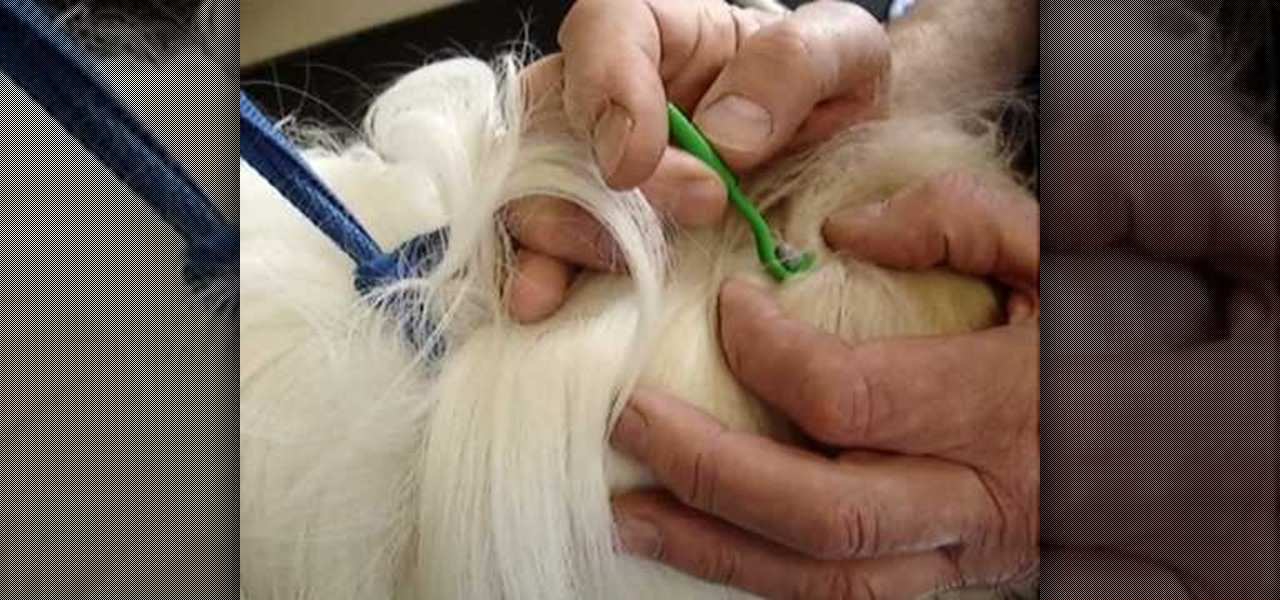
In this video, we learn how to remove a tick from a dog. First, brush the hair away from the tick so you have a good view of it. After this, take the removal tool and place it underneath the tick. Slide it all the way underneath the tick and then gently pull while twisting. This will remove the tick from the dog without leaving the rough parts on the inside of them. When you are finished removing the tick from the skin, make sure you kill it and give your pet a flea and tick collar. Do this f...

In this tutorial, we learn how to easily install a toilet seat. First, unscrew and remove your previous toilet seat. Next, take the two plastic bolts and remove the nuts and washers. Then, install these into the proper spots in the seat. Then, flip the seat back over and slide the nuts into the appropriate hole on the toilet. Then, take the rubber fittings and slip them on the underside of the bolt. The tip of the rubber cone should point up. When finished, you will take the plastic nuts and ...

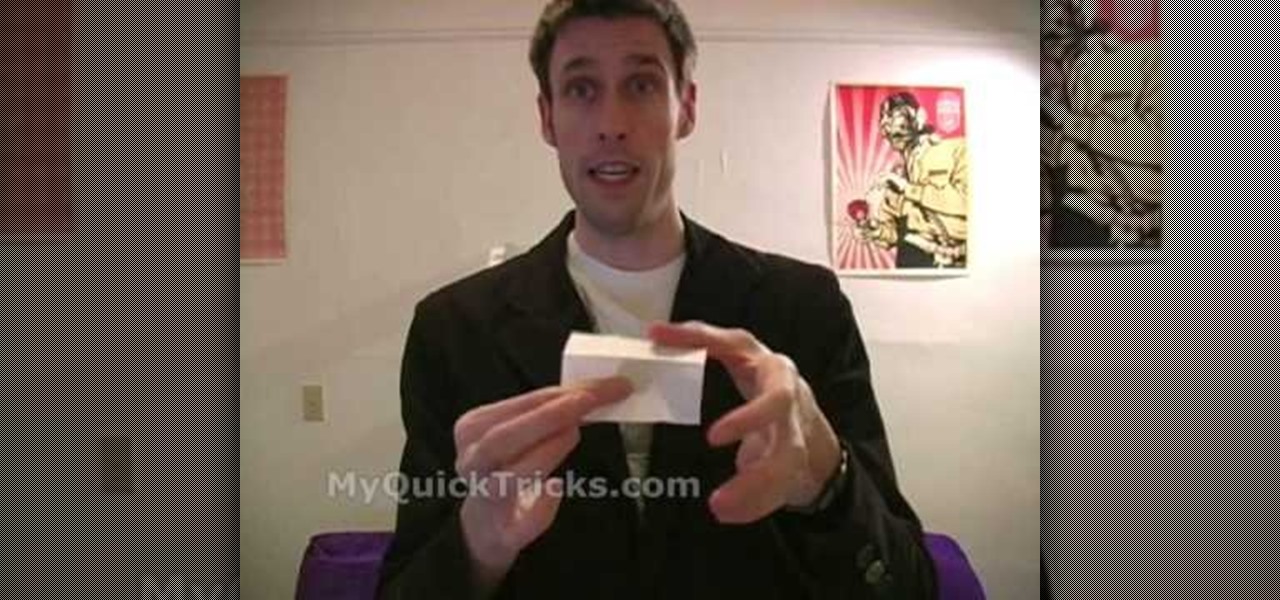
In this video, we learn how to perform "the coin fold" trick. First, borrow a quarter and grab a piece of paper. Take the quarter and fold it up inside of the paper. This will prevent you from doing any slide of hand or trickery. Make sure they can see the coin inside of the paper. Next, you will need to take out your magic wand, which is in your back pocket. Wave it over the paper, and the coin should no longer be inside the paper. To do this, you will need to make sure the coin is inside of...

In this video, we learn how to stretch your ear cartilage. The cartilage on the ear can be stretched just like the lobe, but it's a lot harder. When you do this, you will first need to think about how to do it. The first way is to slide a taper through and then plug it. This is a good option but it will take a really long time to stretch it out. If you go fast, you will get a lot of scar tissue. You can also use a punch that will punch a larger hole, just make sure to take care of it!

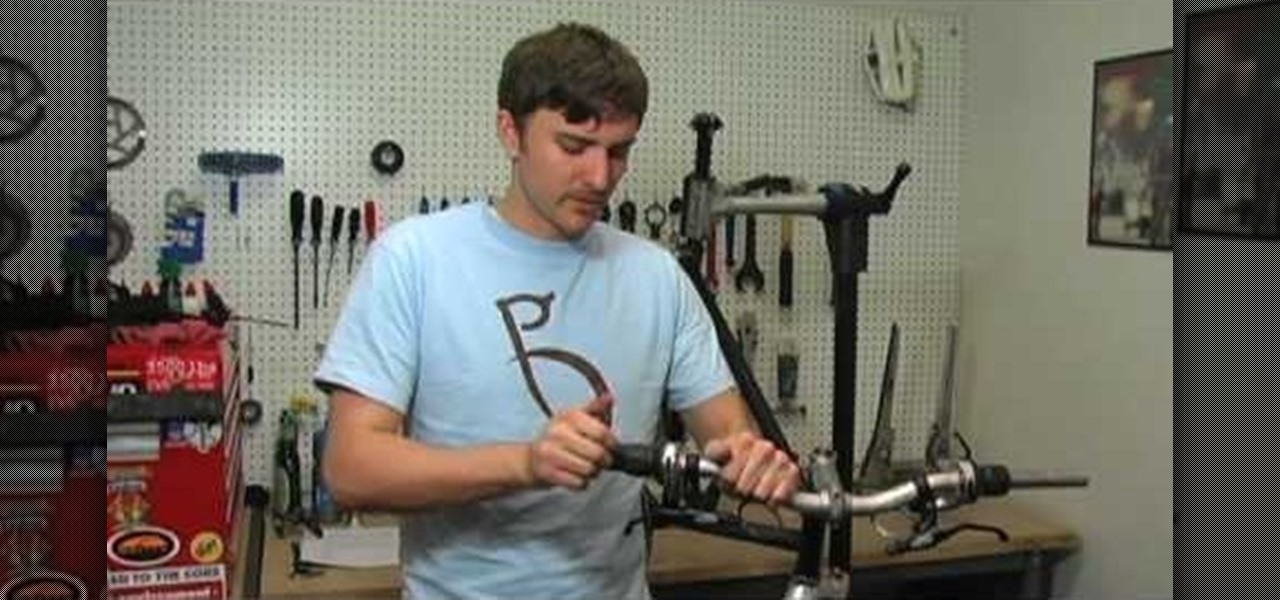
In this video, we learn how to install brakes, shifters, and grips. You will need: Allen keys, grease, a knife, and a grip to do this. First, attack the brakes onto the handles, then the shifter and the bolts. Make sure to grease the bolts before you place them onto the handles. Do this on both sides of the bike. Make sure you have everything on the correct sides, then slide the grip in. Customize the grip so it's the right length and cut it with the knife to do this. Once finished, connect a...

In this video we learn how to use a table saw with Skil & Lowe's. The rip cut and the cross cut are two cuts that are most useful. A rip cut goes with the grain of the board to cut it to width. The cross cut goes against the grain and cuts it to length. First, position the board next to the blade and then raise the blade. The blade should be just above where the board is at. Slide the rip ends over to the dimensions you want and then lock it down. Put your safety glasses on, then turn on the ...

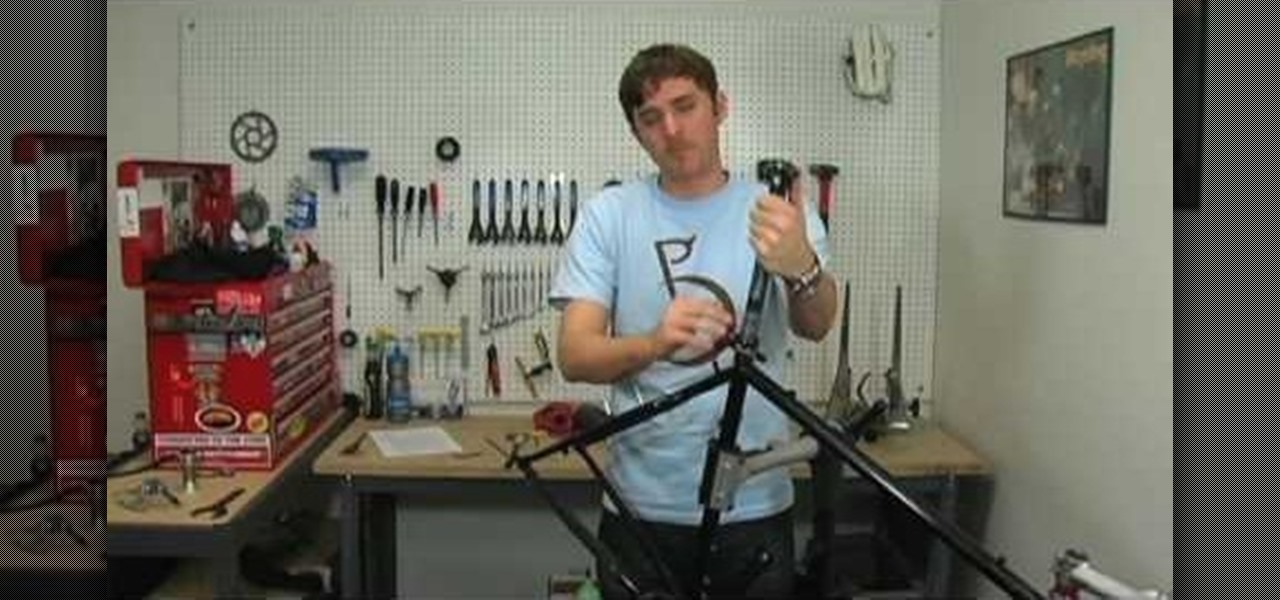
This is a video tutorial in the Sports category where you are going to learn how to install a seat post on your bike. This is pretty easy. But, it's important that you get proper measurements for the inside and the outside diameter of the tube using a caliper. Now find the correct seat post and the seat clamp. Fix the clamp on the tube. Put generous amount of grease on the bottom part of the seat post and on the inside part of the tube and slide the seat post inside the tube. There is a minim...

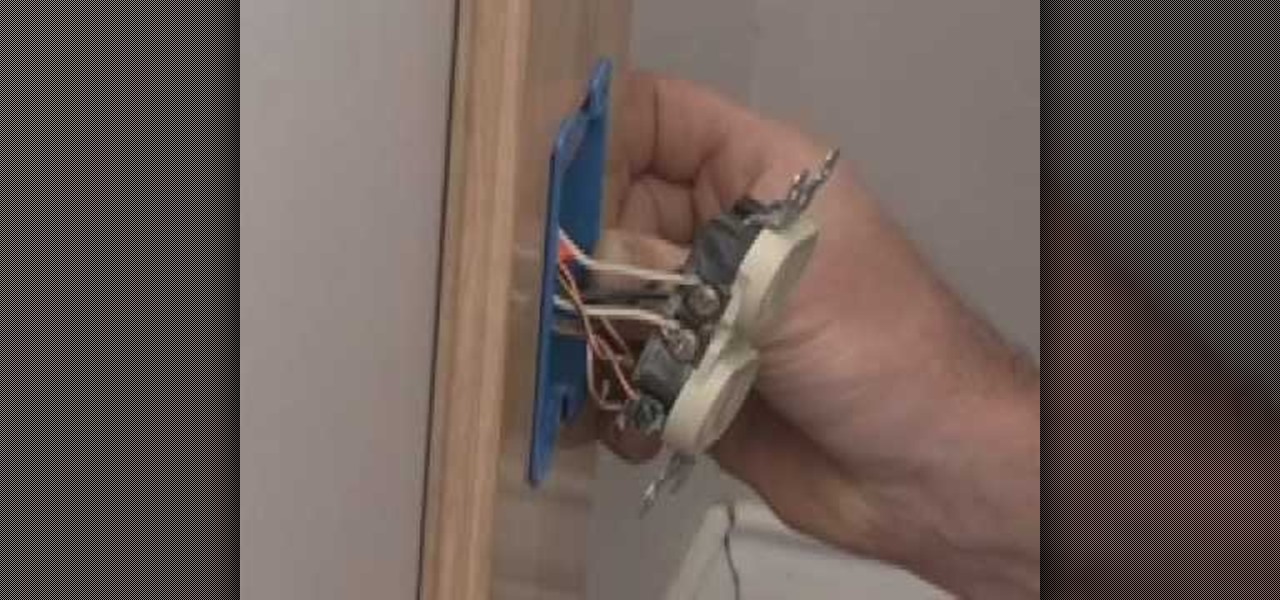
This is a video tutorial in the Home & Garden category where you are going to learn how to use an electrical box extension. Bob Schmidt shows how to use an electrical box extension during remodeling; when adding drywall, tile or wood over existing surfaces. For this you will need a PVC box extension which is designed to fit over the box that is already embedded in the wall. It extends out of the wall which will be covered by the layer of tile or drywall. Disconnect the power source to the plu...

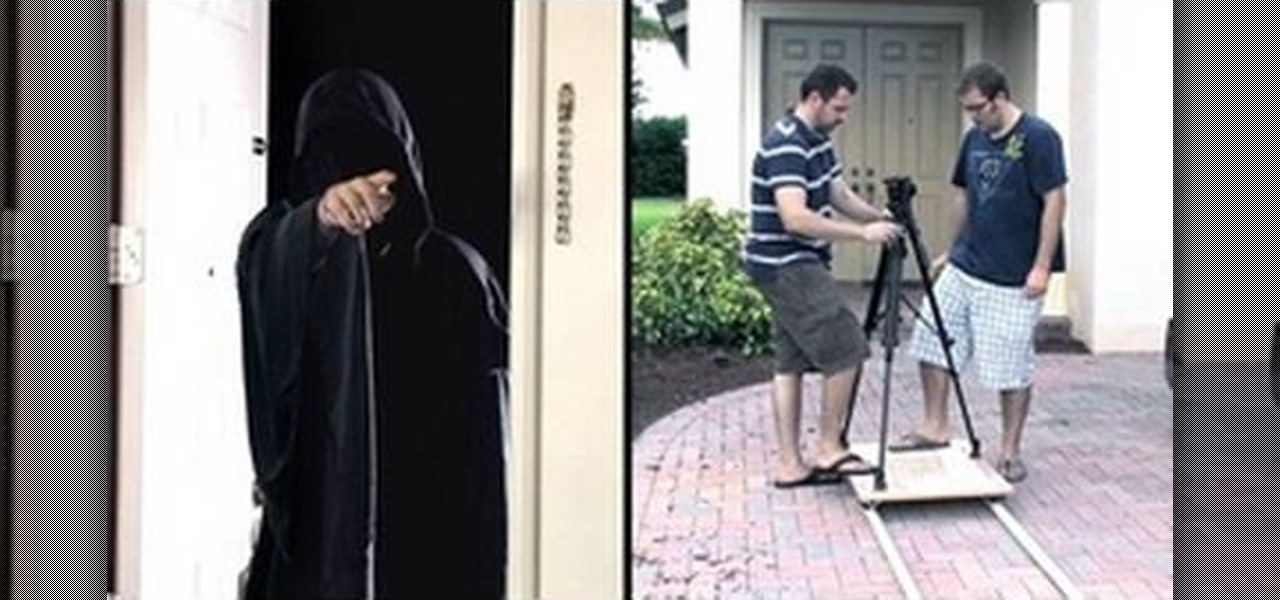
In this video we learn how to make your own cheap camera dolly. First, place down two PVC pipes and place a board on top of that. Then, you can place the tripod on top of that. You can use this to take shots where the camera is sliding from one position to the next but you want to avoid shake from someone handling the camera. Make sure to glue wheels and a track to the board that you place on top of the pipe and it will travel along them more easily. Enjoy using this and have fun making diffe...

In this video we learn how to remove door material to install a mortise lock. If you live in an older home where you have to take out a chunk of the door to change the lock, there are ways to prevent doing this. First take a spade bit and slide it over the lock. After this, take the mortise lock and hold it so it's flush with the door. Go below the hole and above the closest obstruction and put a mark. On the back measure slightly beyond what it would take for this to bottom out. Once you hav...

In this tutorial, we learn how to use the I-cord bind off technique. First, you will need to cast on three additional stitches using the cable cast on. Once you have these cast on, you are going to knit two and then knit two together through the back loop. Then, take your three stitches from the right needle and put them back onto the left needle. Then, knit two, then knit two together through the back loop. Slide the stitches back onto the left needle and that's all you have to do. Repeat th...

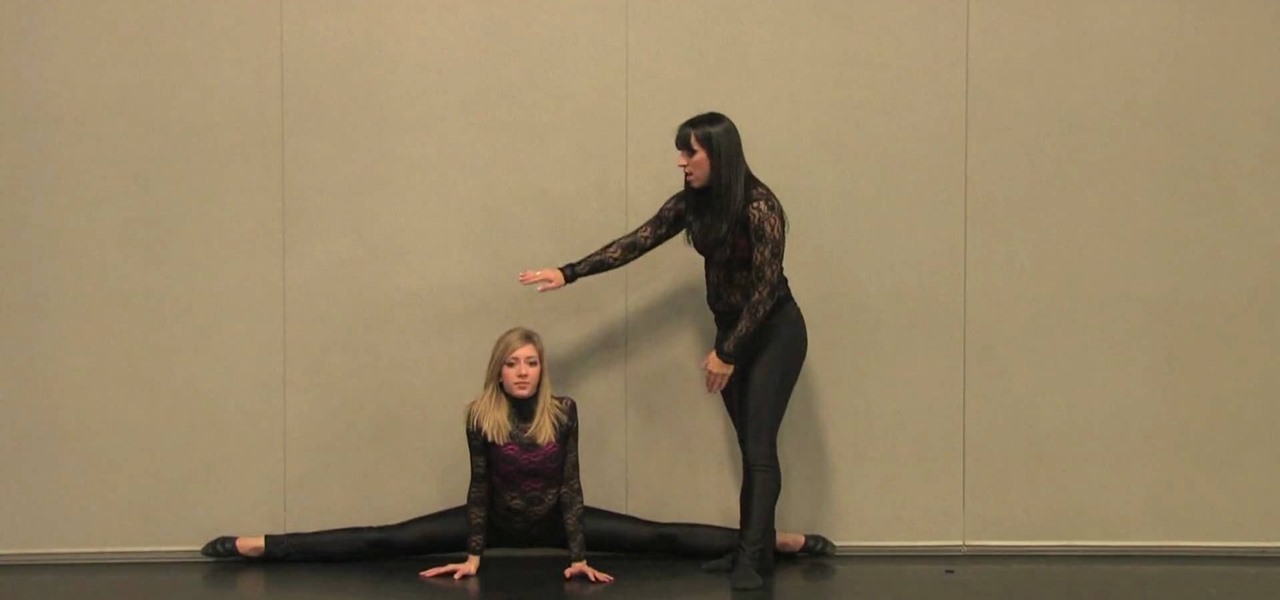
In this tutorial, we learn how to use a wall to do split stretches. Start out against a wall that has nothing around it so you can easily stretch with it. After this, face the wall and then lay on your back. Bring your legs up to the wall, then bring them out to the sides as far as you can for around 30 seconds. If someone else is with you, you can have them push on the inside of your legs to create a greater stretching effect. After this, flip onto your stomach, then slide down onto the legs...

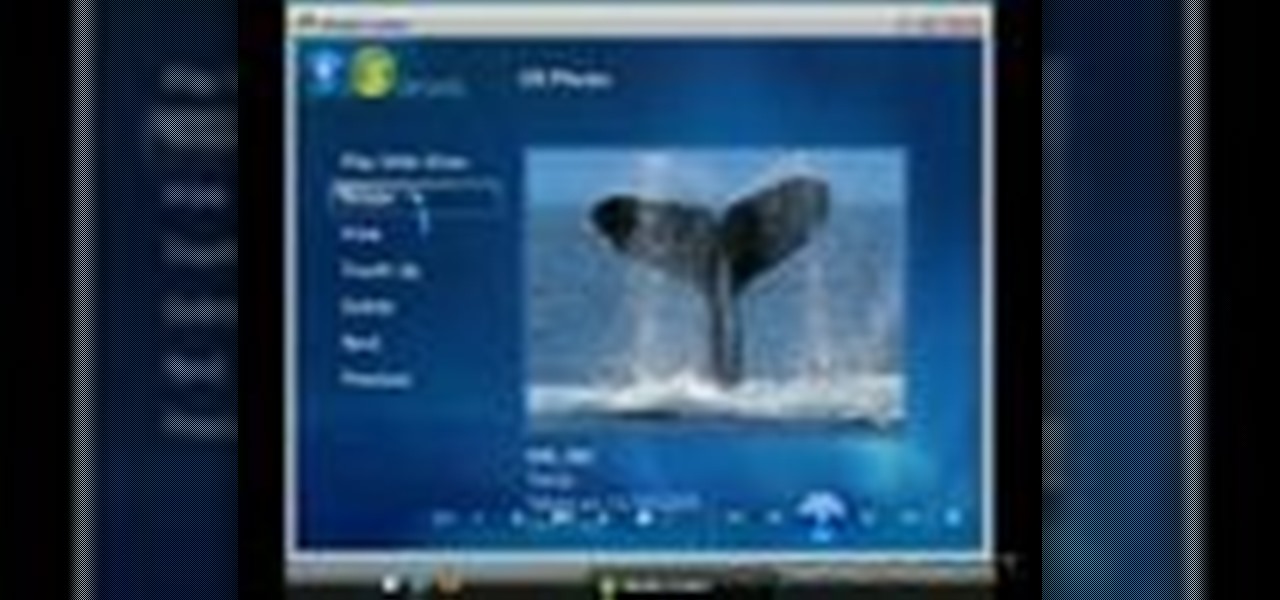
This video shows you what you can be done with digital photos in the Windows Vista Media Center. To access your digital pictures, just go to the Picture Library in Media Center, and see the many options available, such as Play Slide Show, Rotate, Print, Touch Up and Delete. Touch Up is probably the most useful function, to help you quickly edit your photos.

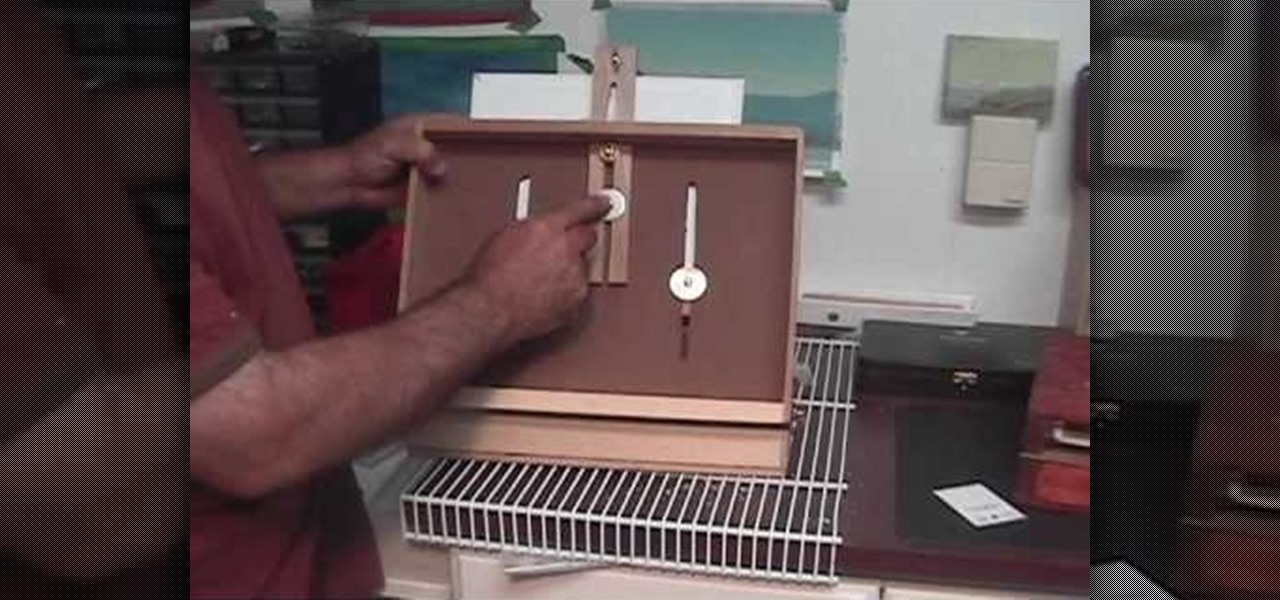
In this video, we learn how to build a pochade box for outdoor painting. This box will hold two wet panels in the back and help you hold other things you need to carry. You will need a medium sized box first, then you will need to cut the back and sides of the top to make slits where you can place in the panels. After this, you will create a barrier for the middle that has two slits in the bottom of it where you can slide it. On the bottom of the box you will have a hold where you can thread ...

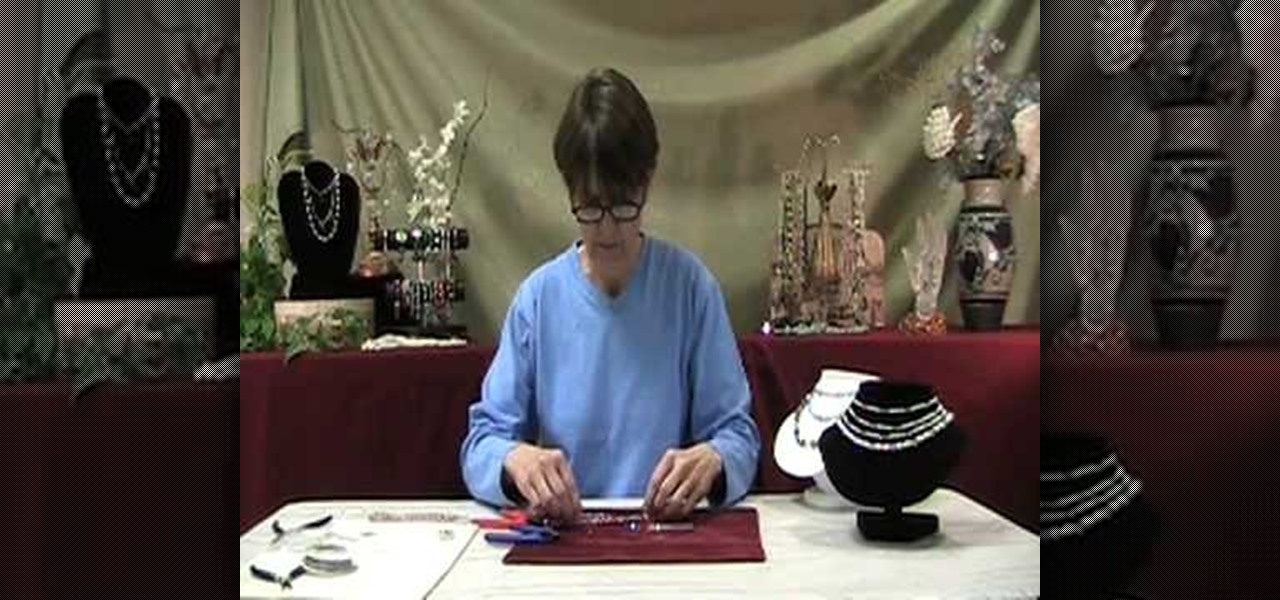
In this tutorial, we learn how to make a interchangeable beaded watch band. First, cut your beading wire to appropriate length, then slide a crimp bead and lobster trigger clasp to one side of the wire. Then, bring the end of the wire back through the crimp bead creating a snug fit. Using the rear notch on your pliers, crimp the bead tightly. Then, add a crimp bead cover using the front notch on the pliers to close the bead tightly. Next, string your chosen beads, then repeat the first steps ...


