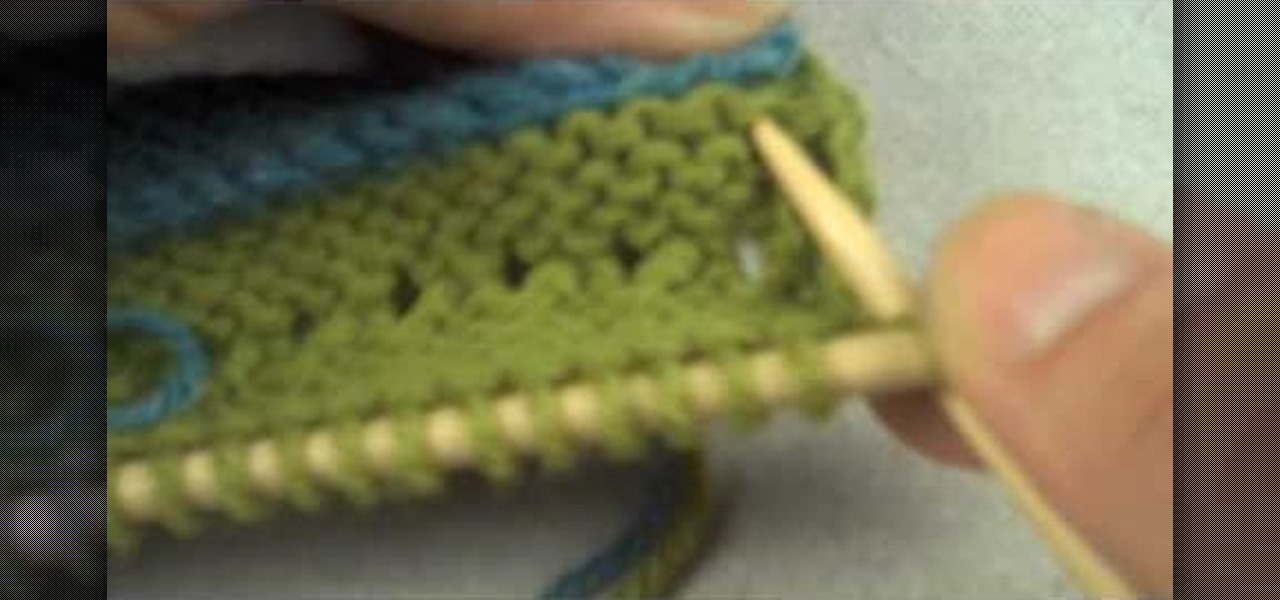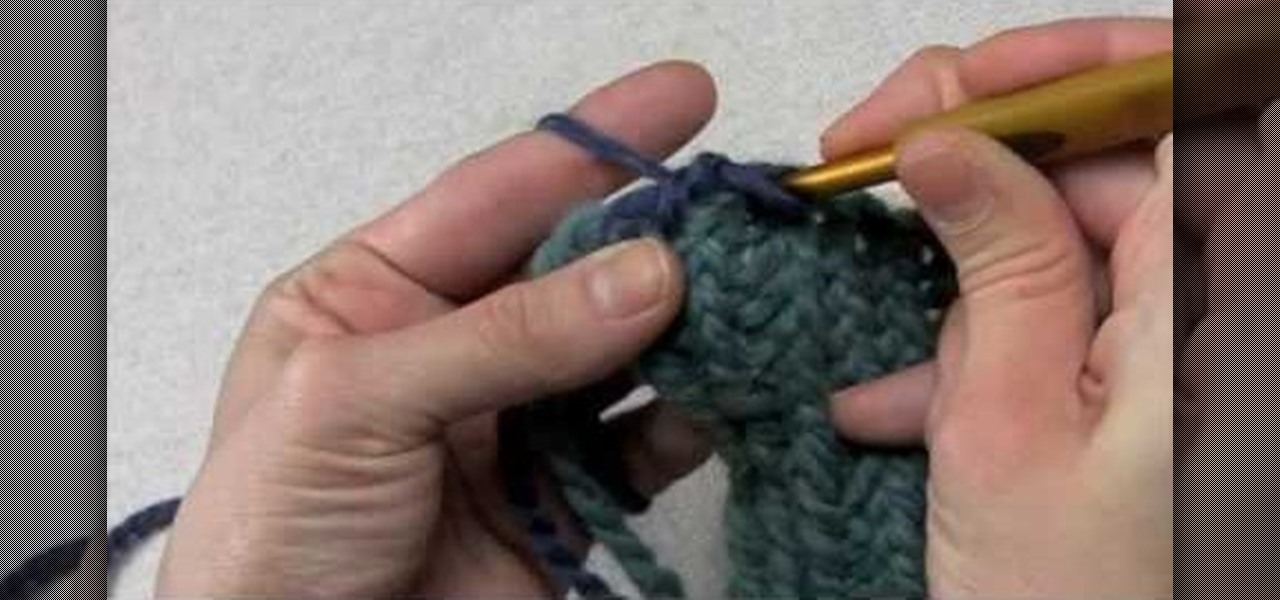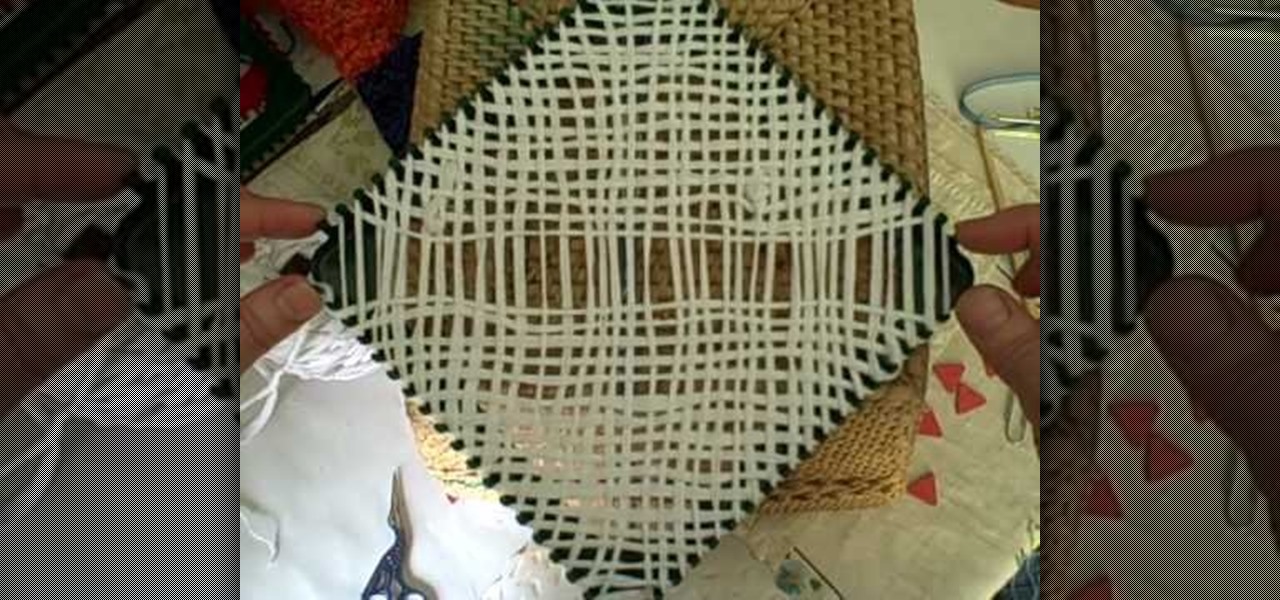
A potholder loom is a square-shaped loom that allows you to weave thickly woven fabric, but often if you're not careful you can create gaps in between the yarn. But that problem will be completely solved in this video, in which you'll learn how to bypass the gaps. The result will be a basket weave-type fabric that's thick yet lightweight enough for summer scarves.
Due to the downturn of the economy, many smart shoppers have turned into smart crafters instead. Whether it's making crafts for your home or for friends, crafting saves money (we're talking a $2 craft versus a $50 present for a friend's birthday present).
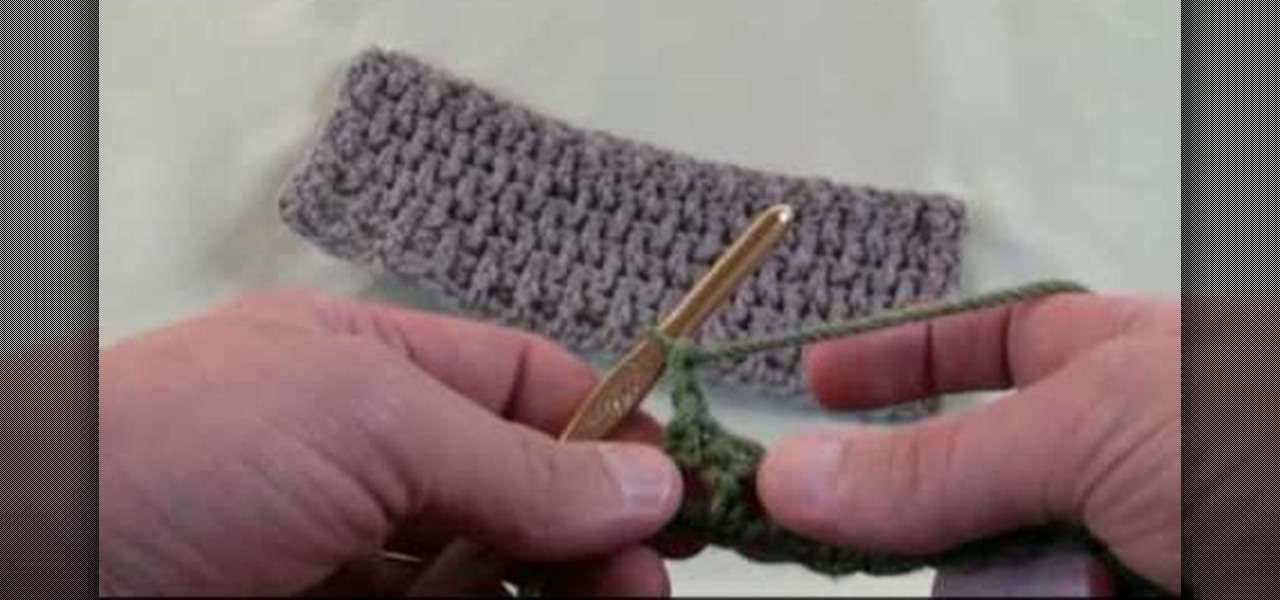
Expand your crocheting repertoire by learning how to crochet a crinkle stitch, which does indeed replicate fabric crinkles. With very hole-y yet tightly woven vertical lines of yarn intersection with horizontal ones, this type of stitch creates excellent warm fabric for scarves and cold weather gear.
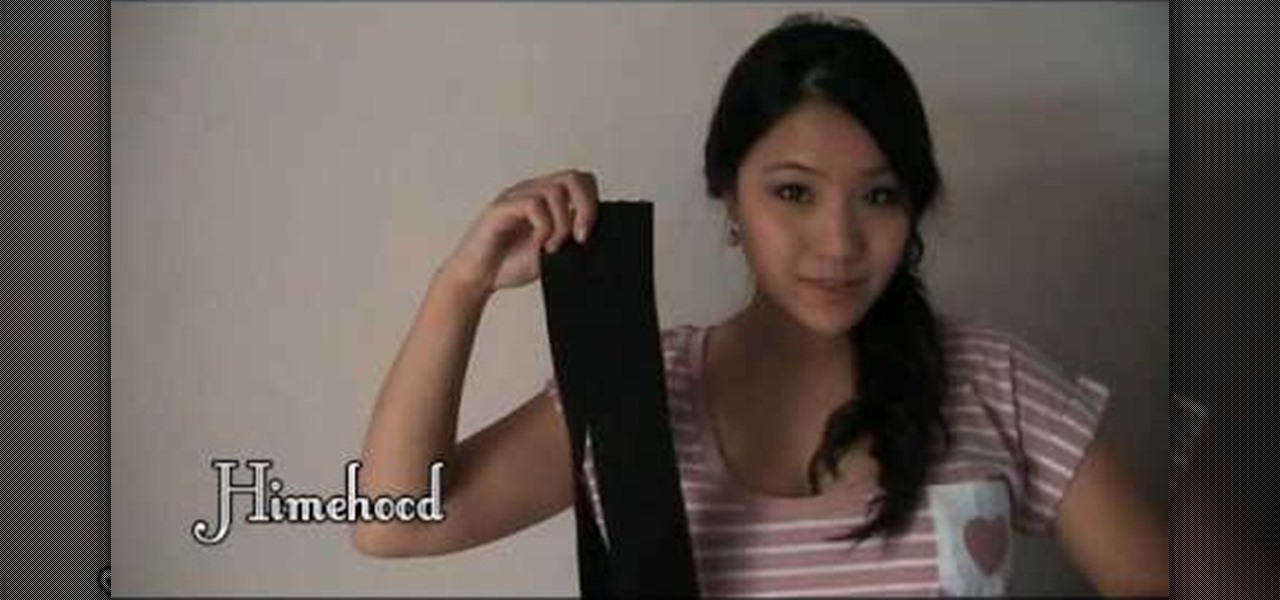
Belts make almost any outfit look better, especially dresses that are a little too loose in the midsection or need some extra tucking in to really underscore your beautiful hourglass shape. Belts come in all sorts of colors and shapes, but a scrunchy belt is among the most comfortable belts to wear.

Tired of carrying that purse around while you are trying to have a conversation or dance the night away? How about a cute little handbag to swing around while you maintain your social life.
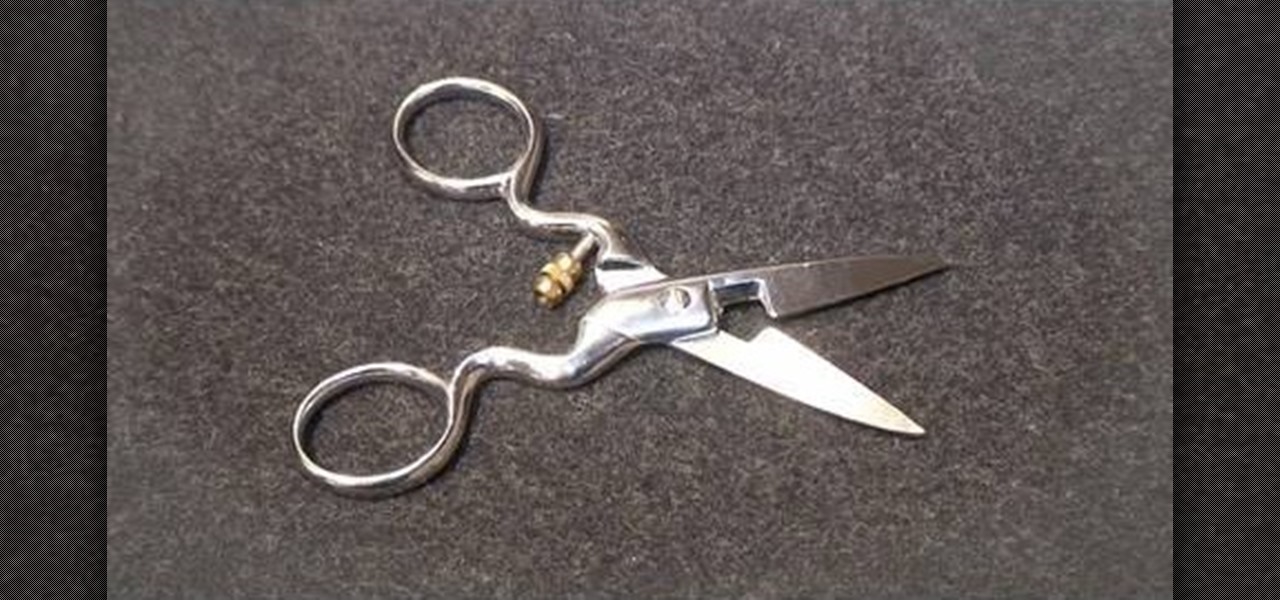
Couture designer Kenneth D. King is an expert in what you would need to fill up your sewing box. Here, he discusses buttonhole scissors. Buttonhole scissors are made for making buttonholes without stretching or damaging the fabric. By watching this video you can learn how to adjust your buttonhole scissors so that you can make different size holes. Make sure to never to use these scissors to cut through paper as it will make the scissors dull and make it a lot harder to cut through fabric.

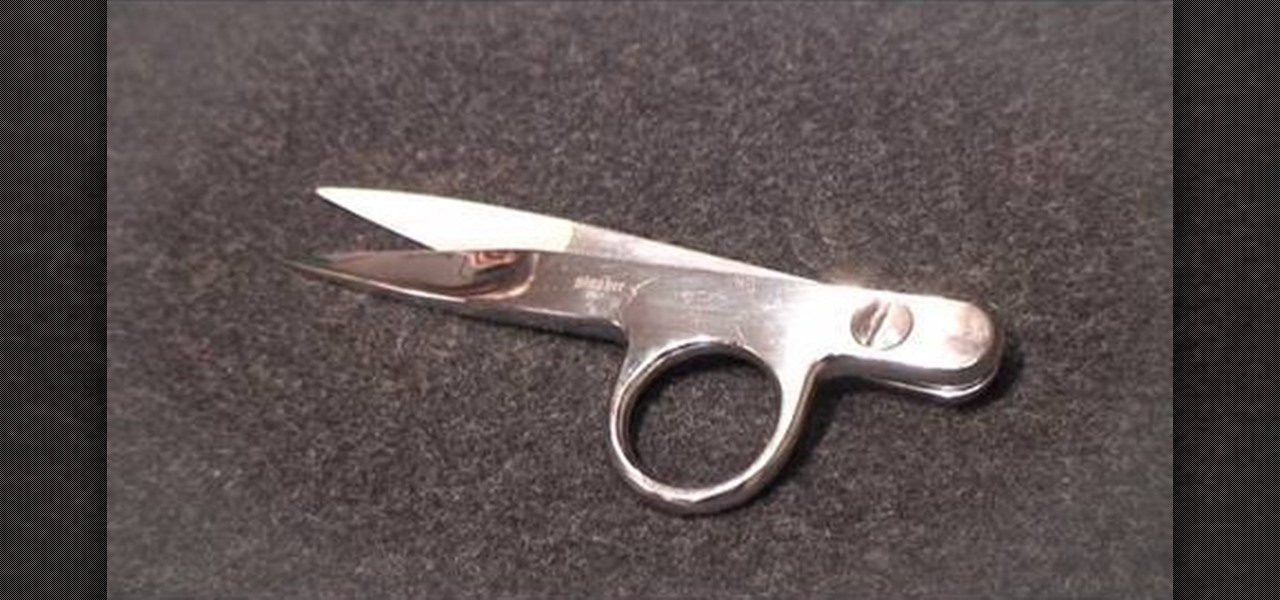
Thread banger, Kenneth King shows you how to save your good fabric scissors by using thread snips, a simple but important tool you must always have in your sewing workshop. Thread snips are small pairs of scissors that are specifically used for trimming off any excess thread in your material. Kenneth explains that using fabric scissors to trim these excess threads eventually causes them to wear dull spots. Always keep your thread snips handy and do all your thread trimming at the machine.

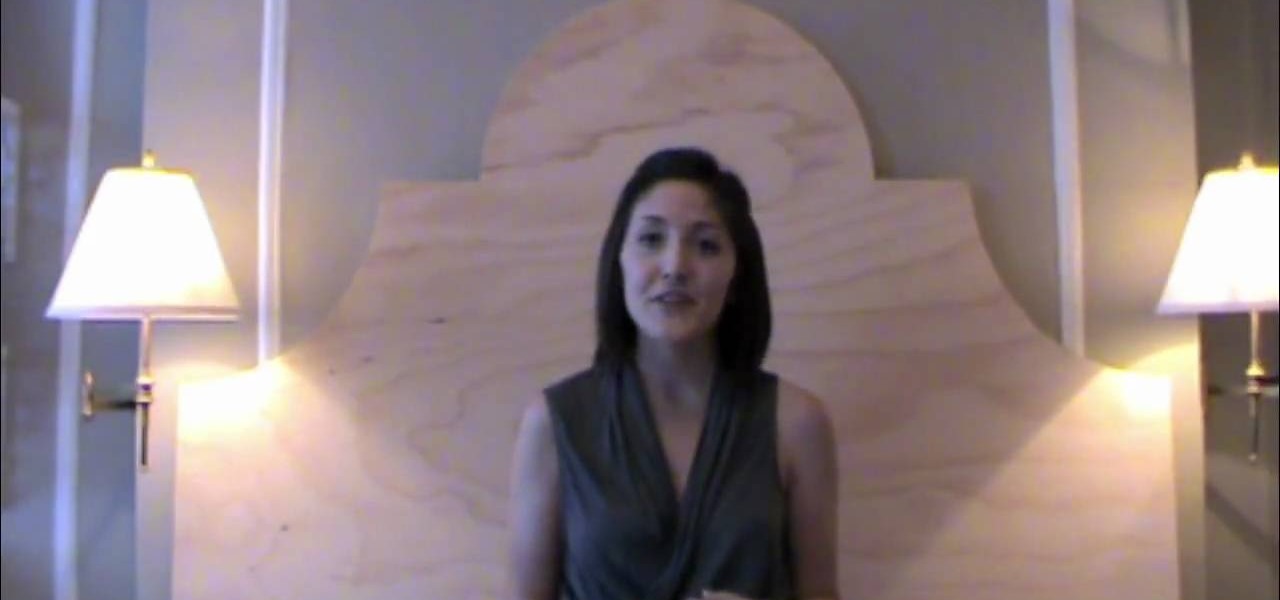
Grace Bonney shows us an easy way to create an upholstered headboard for your bed. Using a low-end easy budget, you will be able to create a elegant looking headboard using wood, foam, batting, fabric, scissors, a utility knife, a staple gun, and flush mounts. After cutting out the shape of your headboard or starting with an existing headboard, cut out a piece of foam that is the same size. Pull batting over the foam to even out the surface, and then put the fabric onto the headboard. With th...

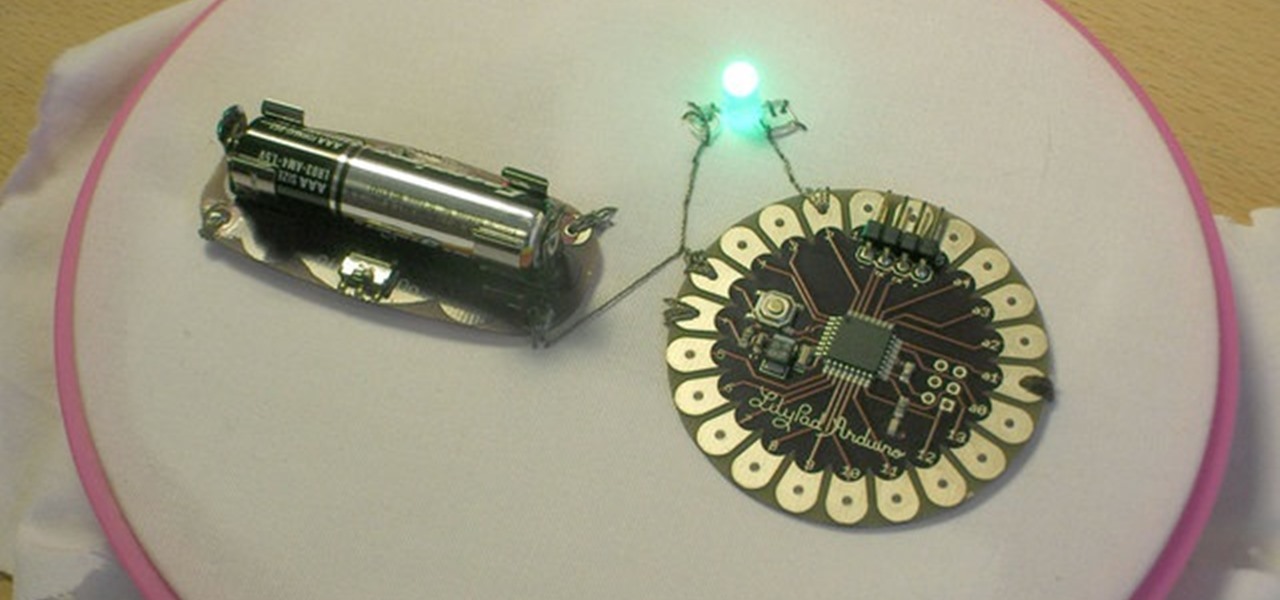
Get started with the LilyPad Arduino! It's a sewable microcontroller that lets you embed lights, sounds, sensors, and much more into your wearables, perfect for clothing and accessories. In this Make Magazine video tutorial, you'll see how to attach the LilyPad and power supply to each other, and upload a basic program that blinks an LED.

Add an elegant touch to your next crafting project! You can turn scraps of lace fabric, cut into circles, into beautiful little flowers. Fold your circles into small wedges, sew them together at the base and then attach them to a string necklace or your favorite piece of clothing!

In order to make a large hair bow, you will need the following: a headband, fabric, thread, scissors, thread, and a needle.

Tired of your bathroom towels turning threadbare? Here's a helpful household hint: use diluted vinegar when you do laundry instead of fabric softener! This tip will keep your cotton towels absorbent and extend the life of the fabric.

In this how-to video, you will learn how to make a disappearing 9 patch quilt block. Start with a simple 9 patch. You can use dark and light fabrics. Put the darker fabrics in place so you make an x shape. Sew these patches together. Now, fold it in half and then line up the ruler. Cut the fabric in half, and then cut the halves in half. Re-arrange the cloth in any way you want and sew them back together. You will have an interesting design once this is done. Viewing this video will show you ...

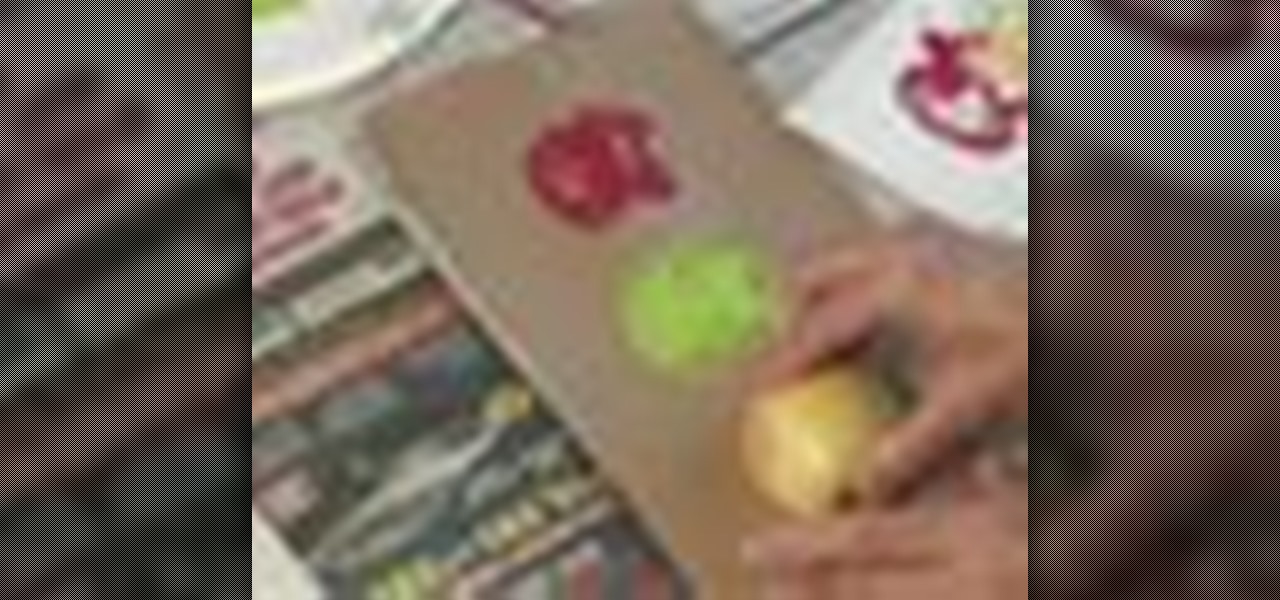
Here's a great craft project you can do with kids or in a classroom. You can use an apple half to stamp apple shapes onto everything from lunch bags to tote bags. This is an easy and cute project to do for the fall.

While scrunchies might not be that common a hair accessory anymore, you can make one of your own by following the steps in this how-to video. You will need two satin fabric pieces of 50cm, a sewing machine, sewing thread, a pair of scissors, marking pins, as well as brown and black satin fabrics. It's so easy to make, even a cat can do it. Check out this video sewing tutorial and learn how to make a frilly hair scrunchie.

With applique embroidery, your favorite fabric fills in the majority of the design. That means your sewout has fewer stitches, and you have an excuse to add to your fabric stash. This applique instructional video will take you through all the necessary steps. Master the art of applique embroidery.

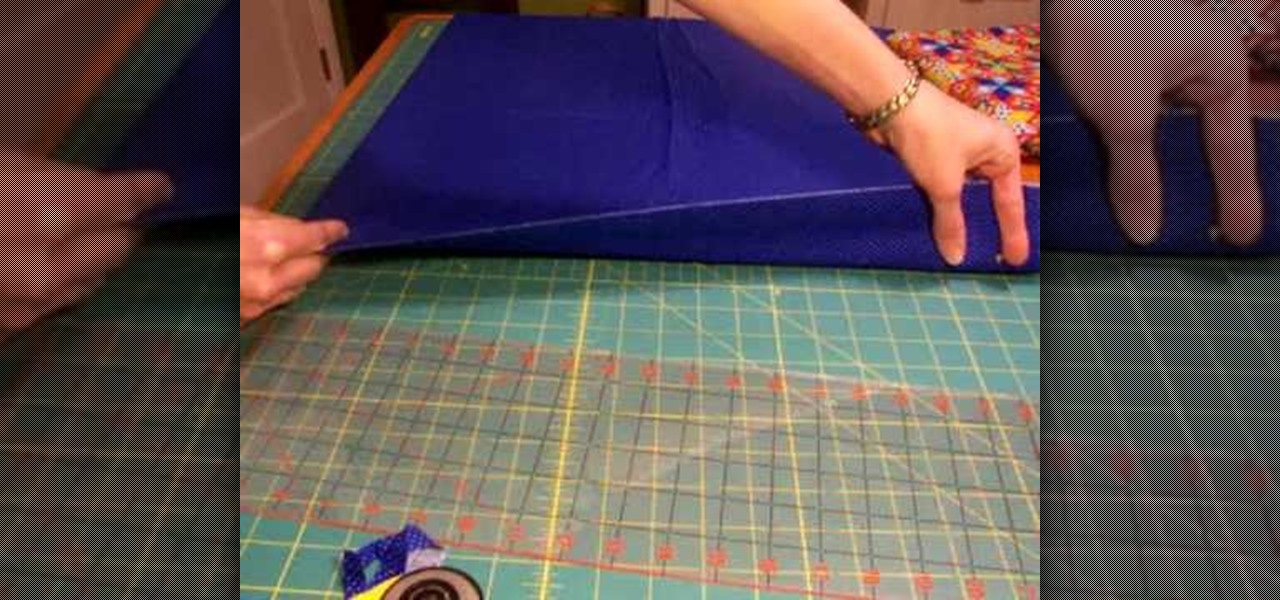
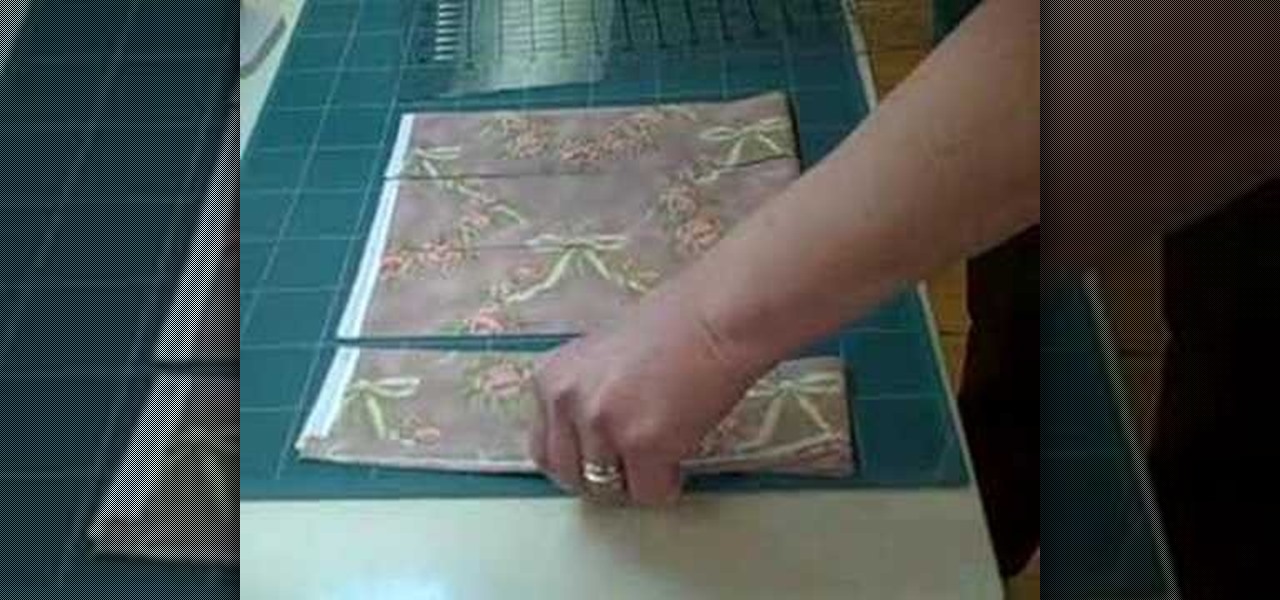
This instructional quilting video is perfect for those who have never used a rotary cutter. There are two main types of rotary cutters to choose from. You will also need a clear plastic cutting mat and a self healing mat on which to rest the fabric. The clear plastic guide and the mat below allow you to make straight, geometric slices of fabric.

Here is how to make strips and squares using the JT ShapeCut ruler. Follow these instructions to measure and cut a precise design. With the June Tailor Shape Cut ruler, you can lay a piece of fabric on a grid and slice the fabric into geometric squares.

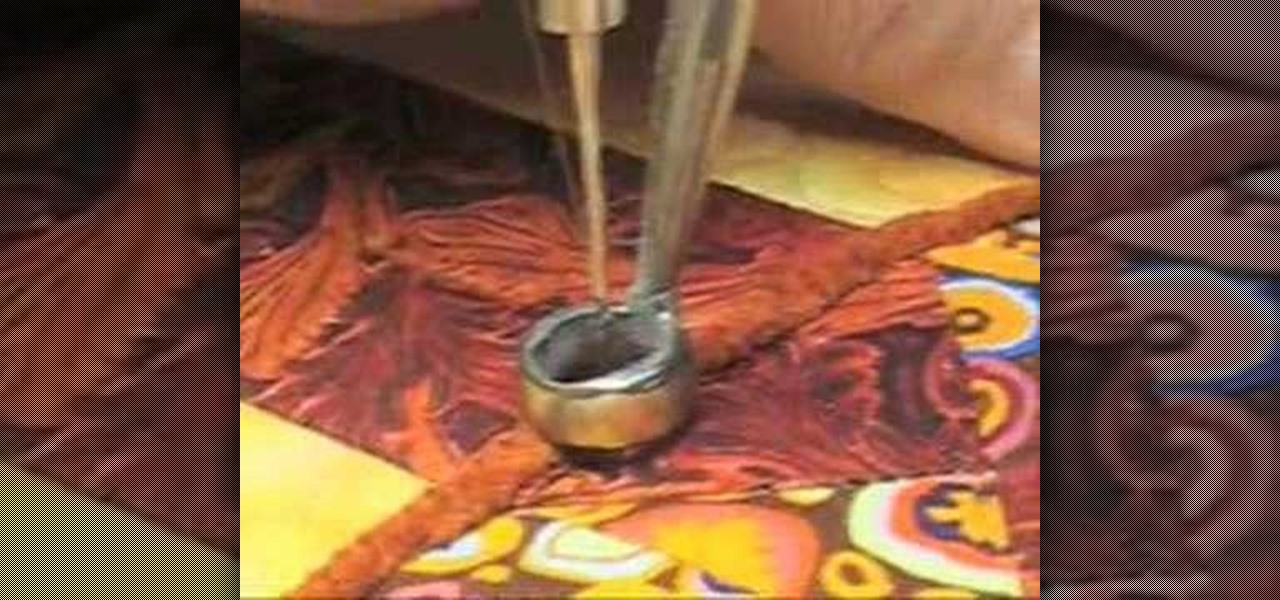
Learn how to use the couching technique to create depth and dimension to your quilts. Add borders and trim to intricate quilted patterns. You'll need a large eye needle and various couching material, such as yarn, ribbon and scraps of fabric. Couching adds texture and finish to quilted fabrics.

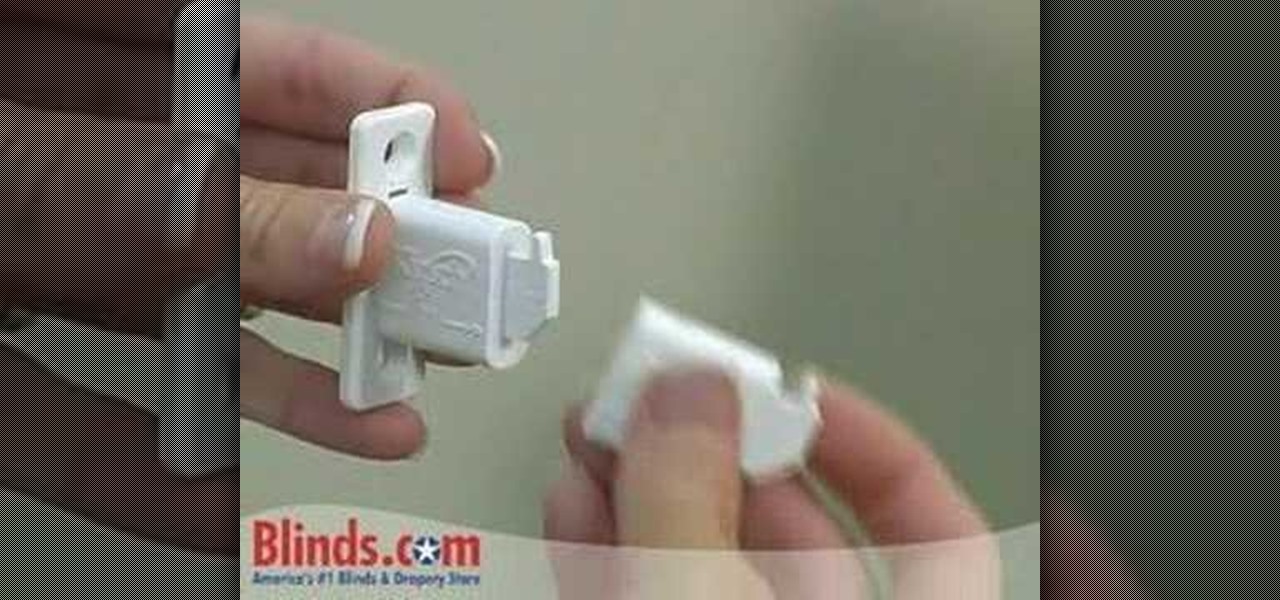
Box pleated fabric valances give your windows a great clean tailored look. Measuring and installation of fabric valances is easy. In this Home & Garden how-to video you will see just how simple it is to install a box pleat valance.

This video weaving tutorial describes the creative process by which materials are decided upon and how to sequence the fabrics together into the rug. Naalbinding or toothbrush rug making recycles wasted clothes, plastic bags, hosiery, and time into beautiful durable rugs. Watch this instructional video and learn how to plan out and organize the fabrics and materials for toothbrush rug weaving.

Oil can absolutely ruin a nice fabric with an unsightly stain. This tutorial video will teach you how to clean up an oil spill on a delicate fabric.

This video is designed to give lots of clear and helpful information about creating a rib/ribbed fabric. This video describes what rib is, what it's good for and how to make it.

Michael and Marianne show you the correct way to replace the foam and fabric for your dining room chair.

Tea Benduhn shows you how to iron on a transfer design to fabric. Great for making t-shirts.

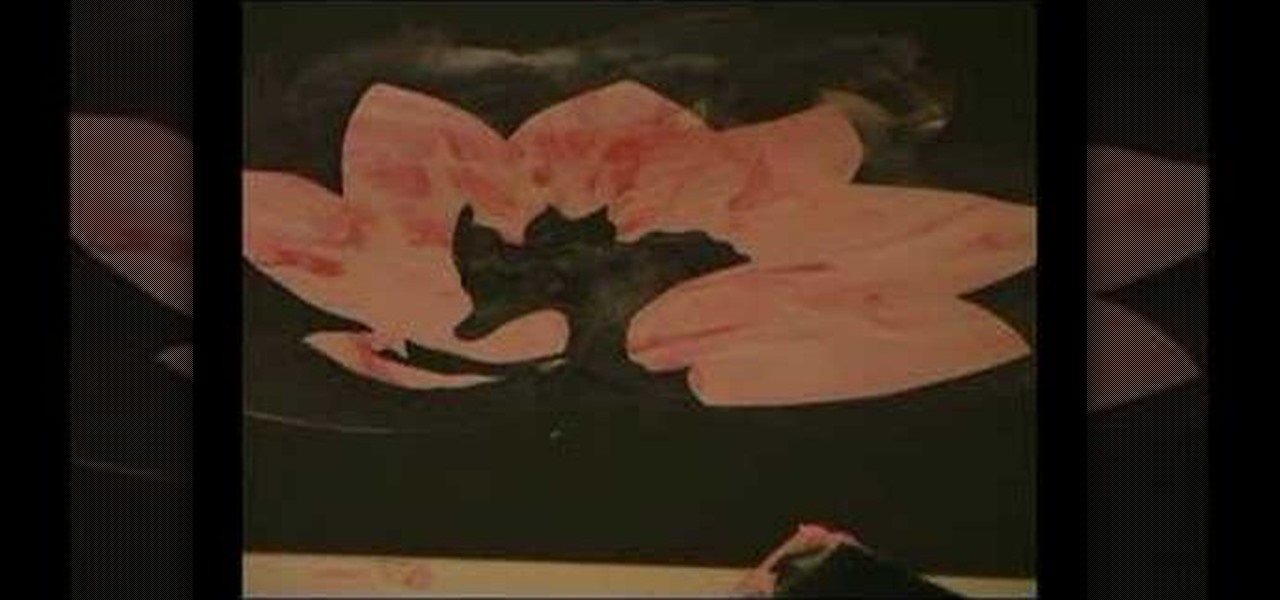
Create a pretty waterlily on fabric using stencils & textile ink with shaving cream as a medium. Simple method, beautiful results!

You hunt and you hunt, but you can never find the right pillows to go with you couch. Even your reupholstered chair needs a little pillow love, but it seems impossible to find the right color and design to make a perfect match. That's when you know it's up to you save the day. Why settle for simple decor when you can make your own chic throw pillow to match any room?

You don't need to be an expert designer to make your own clothes, only the patience to work step by step. This video will show you how to follow a sewing pattern.

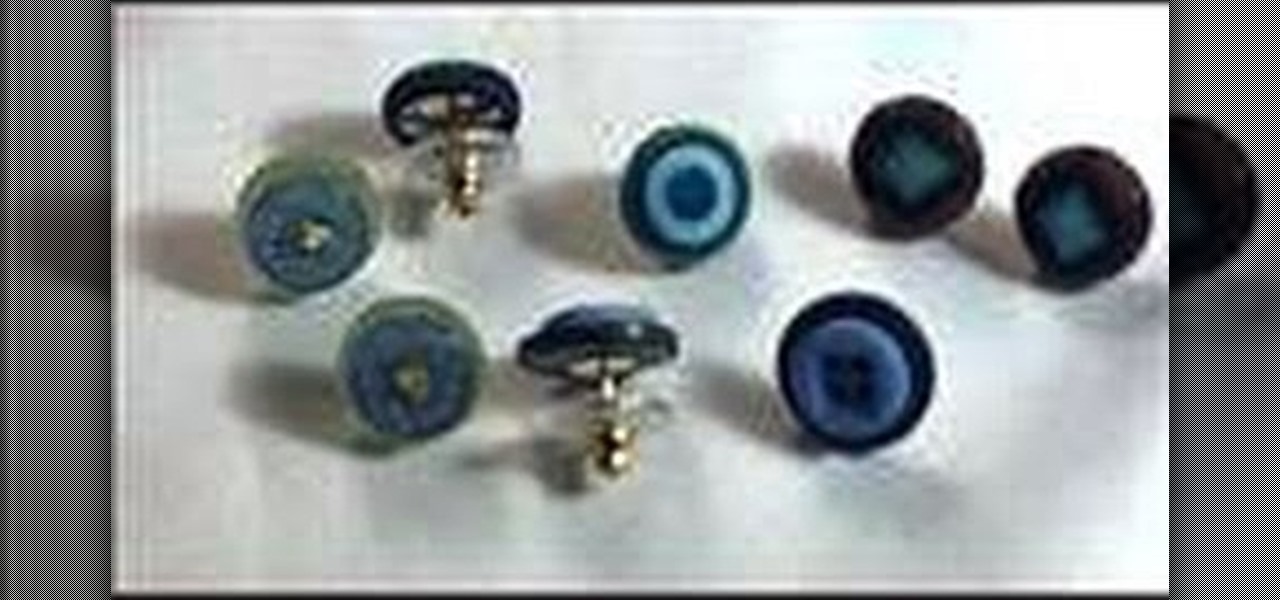
Make your own earrings out of buttons! Use some vintage buttons, or cover some regular buttons with pretty fabric. All you will need are the buttons, some hot glue and a few basic jewelry making supplies (earring posts and backings).

Lighting a fire in the wilderness can be tricky, but having a piece of charcloth can make the task easier. Charcloth is carbonized cotton fiber, which lights easily when exposed to a spark, making your task of lighting a fire in the wild, much, much easier. You'll need a fire, a metal container with a lid and a piece of cotton fabric. Voila, charcloth!

This video begins with examples of different finished welt techniques being shown. A piece of finished cloth is then folded over twice and then held in place before stitching. The first knit is started on the left side of the cloth and continued until reaching the opposite side of the fabric. A wooden needle is then used to weave from right to left until the wooden needle is pushed all the way across the fabric for support. This step is repeated three times until the welt is visible and stabl...

With a little practice a cushion cover can be made at home easily. The materials/equipments required are as follows: fabric of your choice (having appropriate dimensions) to make the cover, scissors, measuring tape and ruler, needles, threads, sewing machine and an iron.

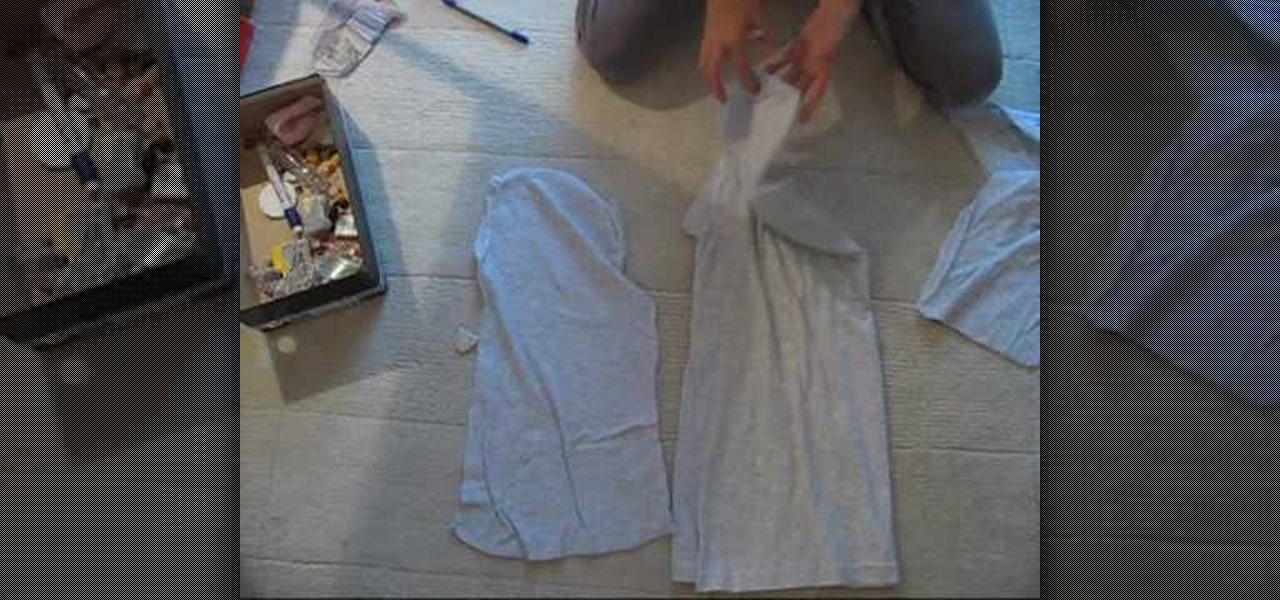
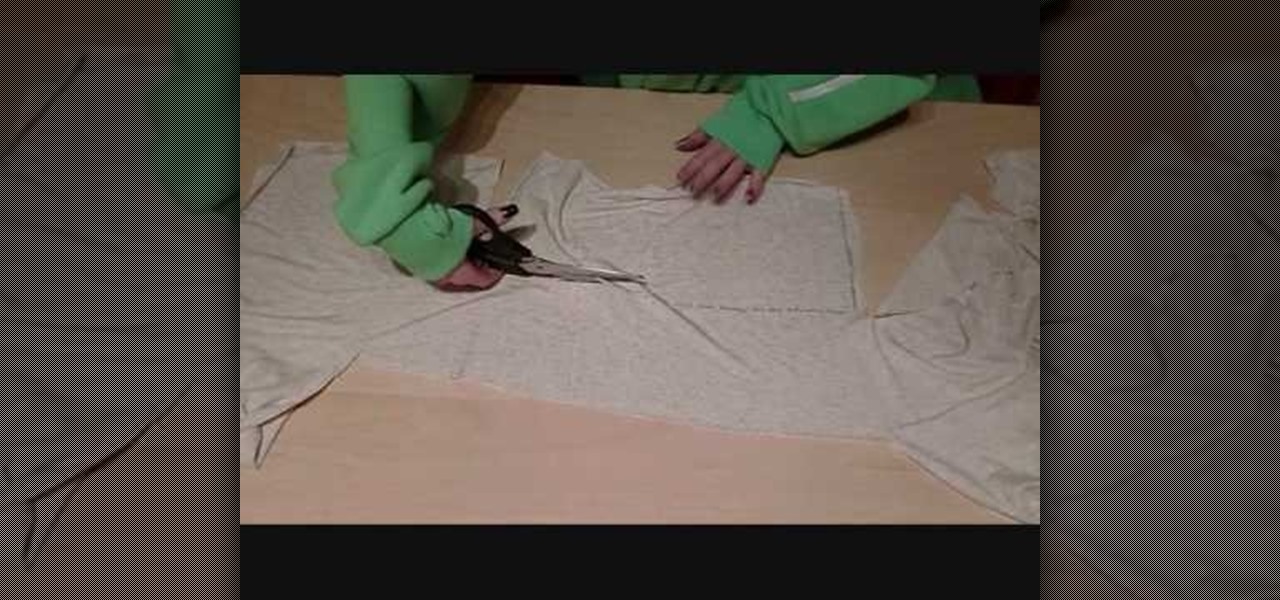
In this tutorial, we learn how to make a hip dress or tunic. First, take an oversized shirt and fold it in half. Next, you will cut the sleeves off and the collar around the neck. From here, you will take the excess pieces of fabric and use those as a guide to cutting out the same shapes from another piece of fabric. Now, turn the shirt inside out and sew it. Measure around the neck, then sew the neck and the sleeves so they are ruched. After this, you will add a ribbon on to wear around your...

In this video, we learn how to make a feminine, long fitted sweater. First, lay out your fabric and use a pen to trace the lines for the sweater, measure it out so it's a good fit. Make sure to cut around the edges so you have room to sew. Now, sew along the edges and then turn the shirt inside out. Then, take extra fabric and cut out rectangular pieces that you will then attach to the bottom of the sweater by sewing them on. Once you are finished with this, try your sweater on to see how it ...

Halloween abounds in spooky costumes and even spookier makeup and accessories. But if you've had enough of ghosts and goblins and want to go for an entirely different look this year then check out this tutorial for creating a teddy bear/mouse look for Halloween.

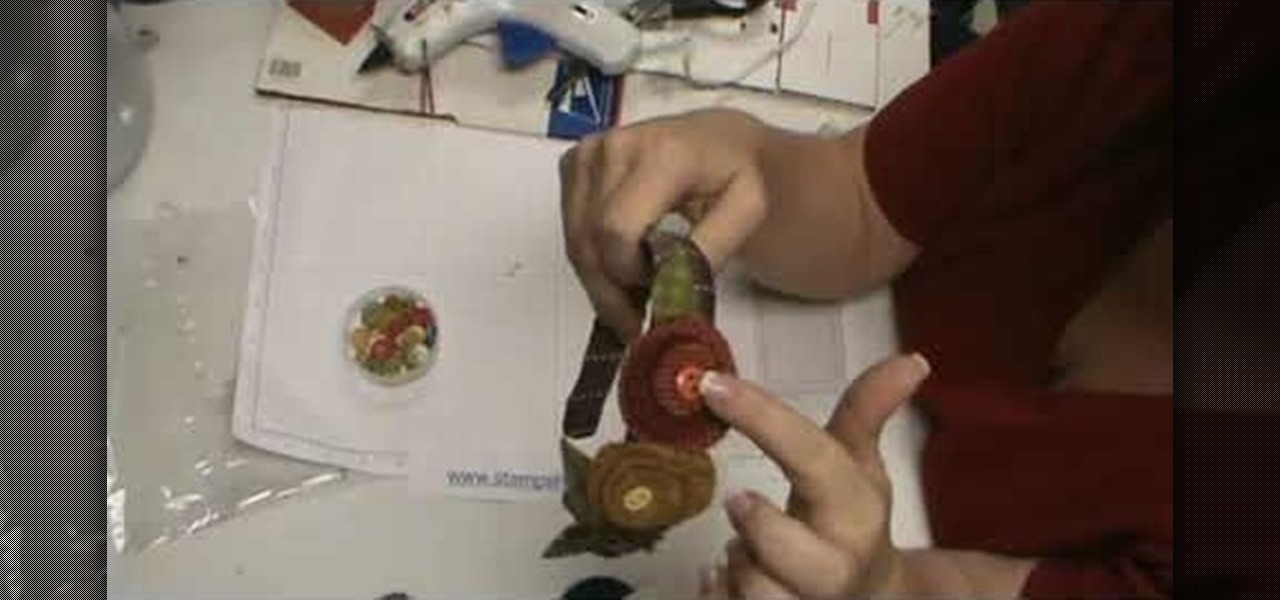
In this video, we learn how to make lollipop flowers out of fabric. First, start out with dye that has four circles in different sizes. You will also need the Big Shot to cut out the circles and wool cut out to fit on the cutting board. Put the board through the machine and your circles will be cut out. After this, start with the largest circle and start to add the other circles on top with a hot glue gun. Now, add a button to the middle of the top smallest circle using a hot glue gun. Add a ...

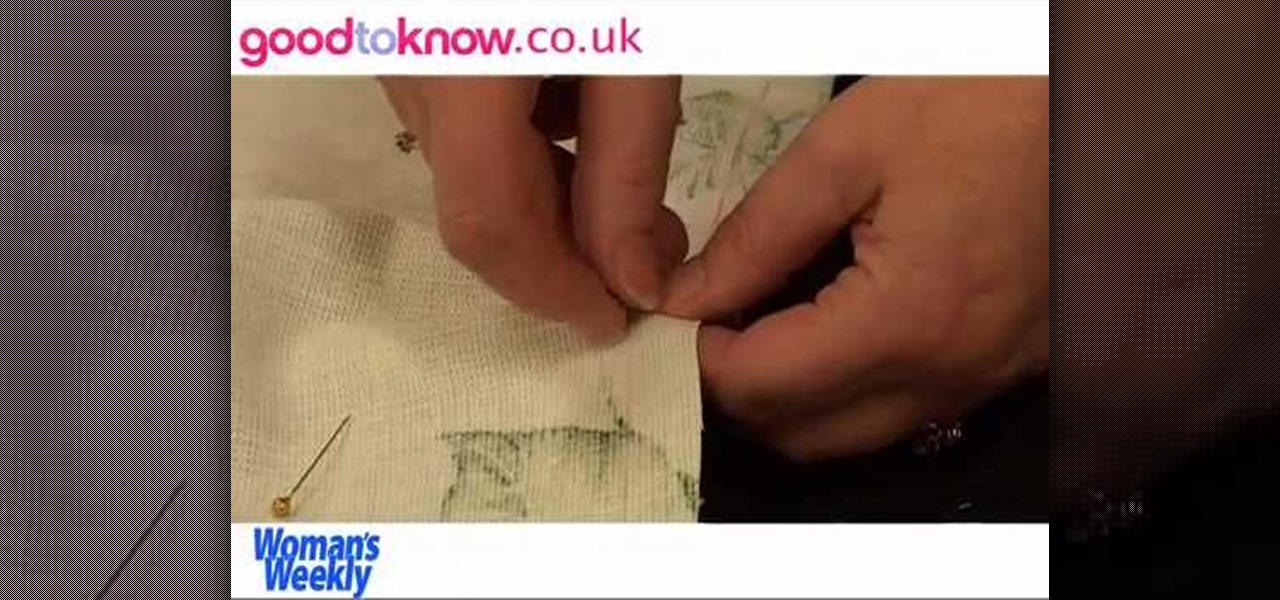
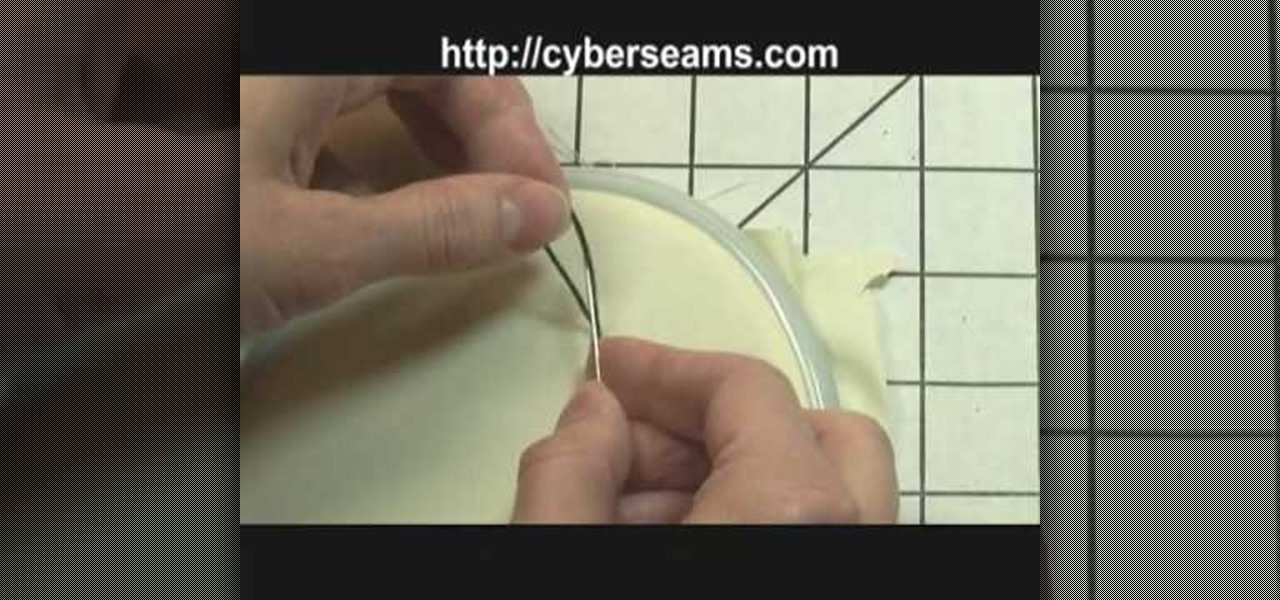
In this video, we learn how to tie off when sewing by hand. First you want to sew your fabric and complete your desired project. Next, you will push the needle into the bottom of the fabric where you won't be able to see the tie off from the front. Now, loop the thread and push the needle with thread through it, before you finish, push the needle through one more loop. Now, pull tightly until there is a tight knot at the bottom of the thread. Now, take your scissors and cut tightly next to th...

Chances are you have a pile of old, unused clothing lying somewhere in your house. You're sure as hell never going to wear any of it, but you also don't want to throw anything away just yet. So how do you eliminate the unsightly pile without completely tossing it into a trash can?

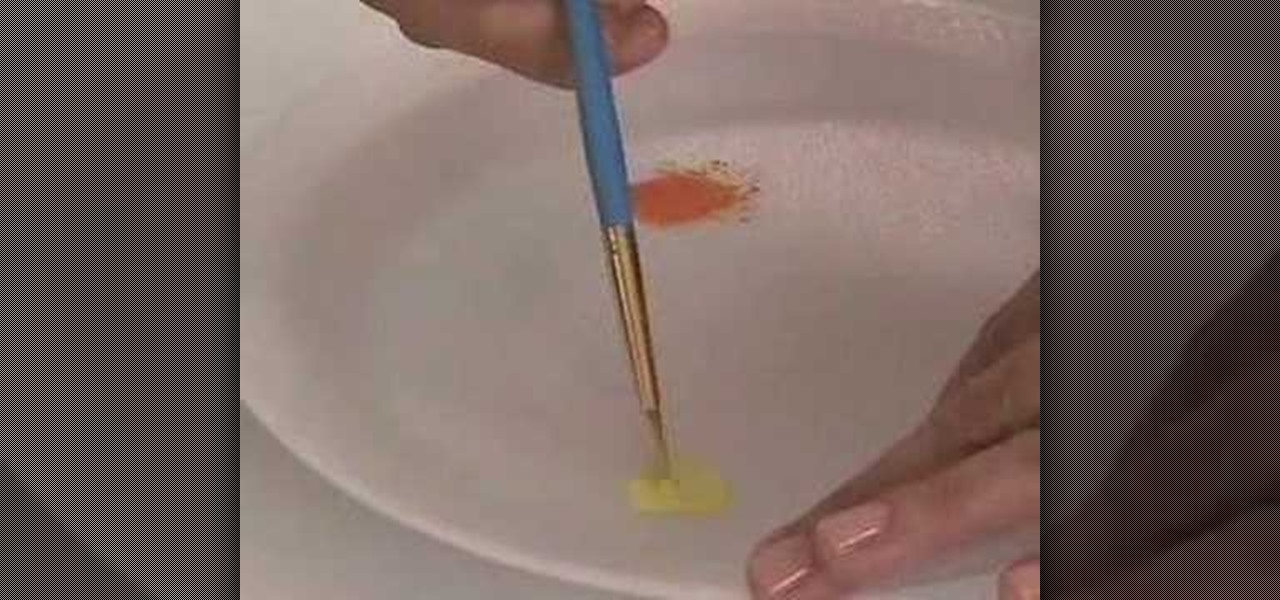
In this Arts & Crafts video tutorial you will learn how to use the cross stitch 'n paint technique. It combines simple back stitching and water color painting. Most of the materials are found in your kitchen. You will need wax paper, paper towels, and a plate to use as your paint palette, some water colors and paint brushes. After choosing your design, back stitch the outline on the fabric. Place the white paper towel over the wax paper and spread the stitched fabric over it. Now you are read...

In this video, we learn how to edge a knitted piece with a crab stitch. First, attach your yarn to the left edge of your work. After this, work one chain stitch, then go backwards with the hook. Insert it into the fabric and grab the yarn and pull it through the loop. Go around the yarn again and pull it through again. Keep going backwards and grabbing more yarn as you go in reverse. You are working with one loop on the needle while going into the fabric. Make sure you're consistent with the ...


