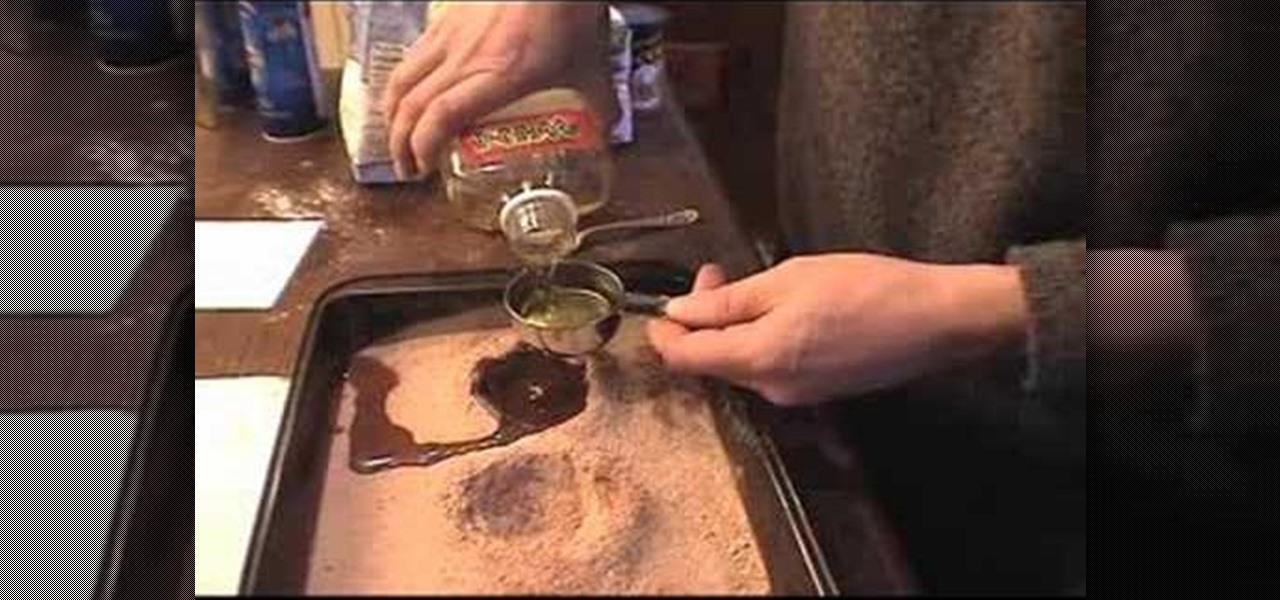
In this tutorial, we learn how to make mozzarella cheese. First, add sea salt to water, then add in cheese curd. Now you will need to work the cheese with gloves over your hands. Start to knead your cheese until you form it in ball shapes and it feels like it's elastic. After you do this, rub the cheese and get any bumps out that are still inside of it.To store this, stretch it onto a piece of plastic wrap, then tie a string around in small balls to cut out smaller pieces of the cheese. When ...
In this video, we learn how to make a brownie screwball cake. First, add in flour to a mixing bowl, then add in powdered cocoa and a teaspoon of salt. Next, add in baking soda ( 2 tsp) and mix everything together. Now, pour into a cake pan and make three holes in the pan with your hand. Now, add in 2/3 c oil into one of the small holes you just made. Then, place 2 tbsp vinegar in the other hole and 2 tsp vanilla in the other hole. Now, pour in 2 c hot water to the pan and mix everything toget...
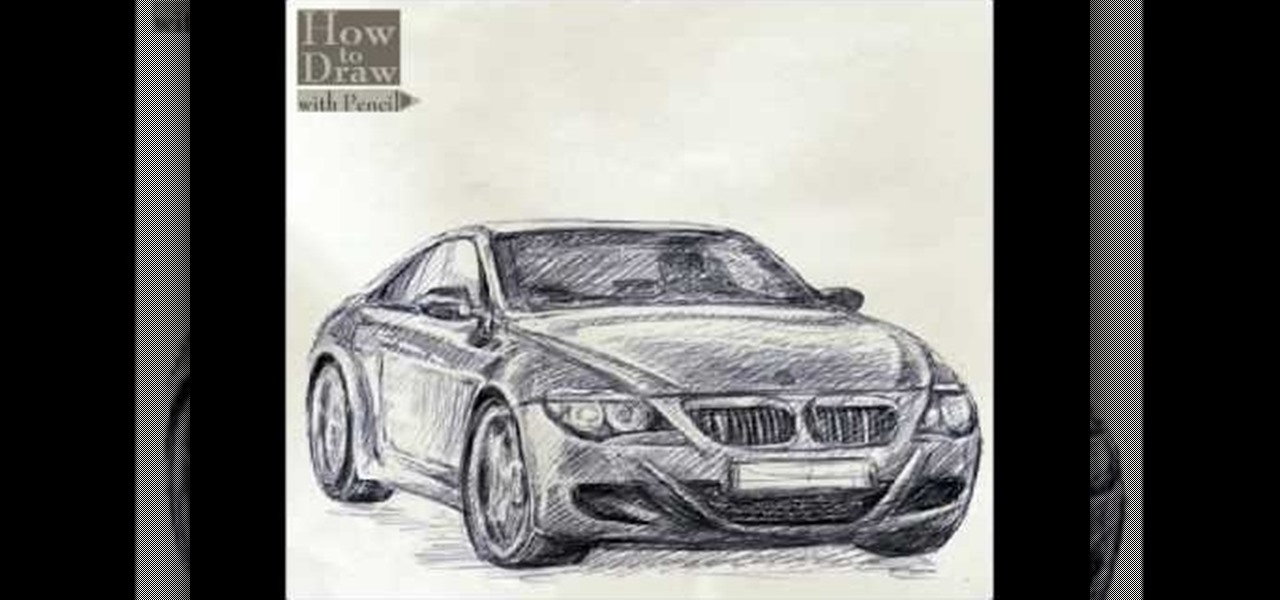
In this video, we learn how to draw a BMW car. Start off by drawing the outline of the car. After this, start to shade the drawing and add in the details of the car. Draw in the windshield, headlights, grill, license plate, and all the other small details. Make sure to use shading underneath the car to make it look more realistic. Also do shading inside the driver's seat to make it look like someone is inside of the car driving. Erase lines where you don't need them to make the car look more ...

There's nothing like smacking a small round ball to help get rid of any anger or frustration. Not only can you help relieve negative energy, but you can also use it to practice your golf swing. But what clubs should you use and how do you properly use them?
In this tutorial, we learn how to use the feature keys for your Cricut machine. There are six feature keys on every cartridge. The first is the shadow feature key that create a matte to highlight your letter. The shadow blackout key creates a solid matte that doesn't cut out the holes in between the letters. The charm feature key puts a charm top on the top of letters. The sign feature key puts letters inside of a small sign post, making it one inch from top to bottom. The slotted feature key...

In this tutorial, we learn how to draw Totoro. Start off with the ears, then connect the top of the head around them and continue to draw the rest of the head. Fill in the eyes and the nose on the face, then make lines on the side of the face to show whiskers. After this, draw an egg shape as the rest of the bottom, then add hairs onto the stomach area. Draw small little lines on the bottom of the character to make it look like he is sitting on something. To finish, draw the character holding...

In this tutorial, we learn how to draw a palm tree. Start off by drawing the ground on the bottom, then draw the base of the tree. Make it curved, so it looks more realistic. Two lines will be going up until you start to draw the leaves on the tree. After this, you will want to start in and shade one side of the tree that the sun will have touched more than the other. Add lines to the tree as well, so you can see the textures that are on it. When drawing the leaves, make sure you are drawing ...
In this video, we learn how to make homemade chicken and dumplings from scratch. Cook your chicken the night before so it's ready to go the next day and is already torn apart. Next, make your dough by mixing in eggs, milk, flour, pepper, and salt. Mix this together until dough forms, then roll out the dough onto a surface powdered with flour. Now, roll the dough up and cut it into small balls that will make the dumplings. Now, place the dumplings into a pot that is filled with chicken stock a...
In this tutorial, we learn how to draw the anime character Tobi. Start off by using light pencil markings to outline the face and the head. After this, use a marker to draw in the eyes and pupils. Next, draw in the eyebrows over the eyes, then make a small mark for the nose. Draw in a line for the mouth, then make one of the eyes a diagonal line, like the character is winking. Start to outline the chin, then draw in the ears and start making the hair. The hair should be spiked and going down ...
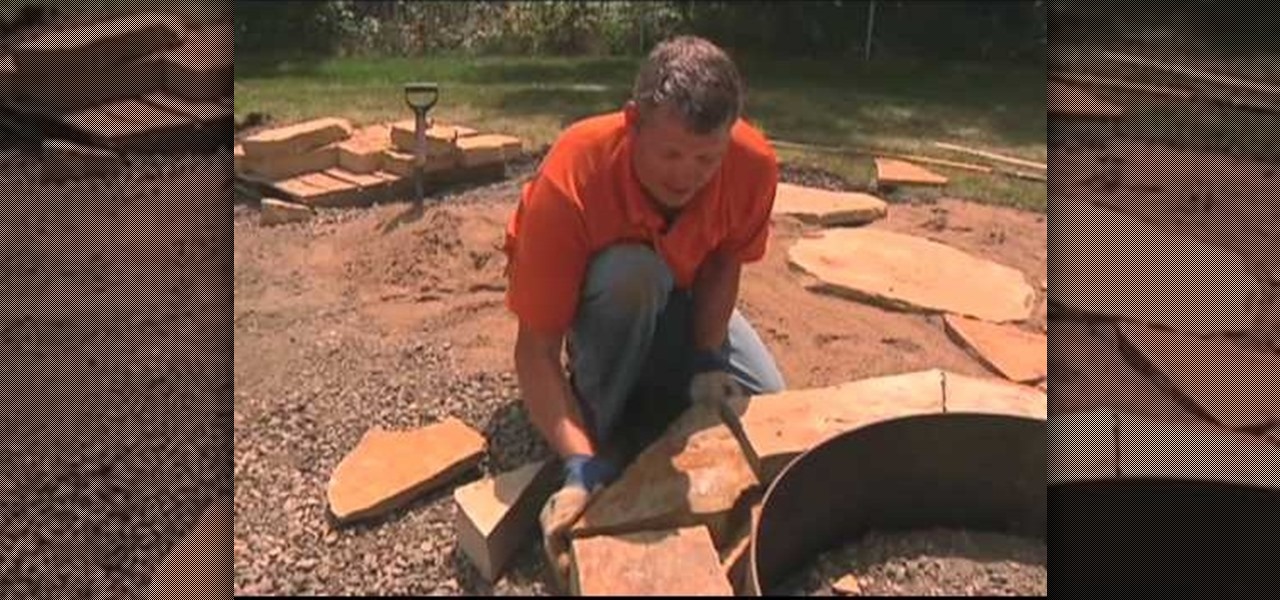
In this tutorial, we learn how to properly build a firepit. First, prep your base by filling it with dirt and small rocks. After this, set your ring down onto the dirt and make sure it's level. You can also raise it up if you want a foot rest or beverage holder. Next, apply your stone around the ring and then mortar it. Make sure all the pieces of stone fit nice and tight together. After you've done this, lock in all the joints on the stone patio by using sand and brushing it into the middle....
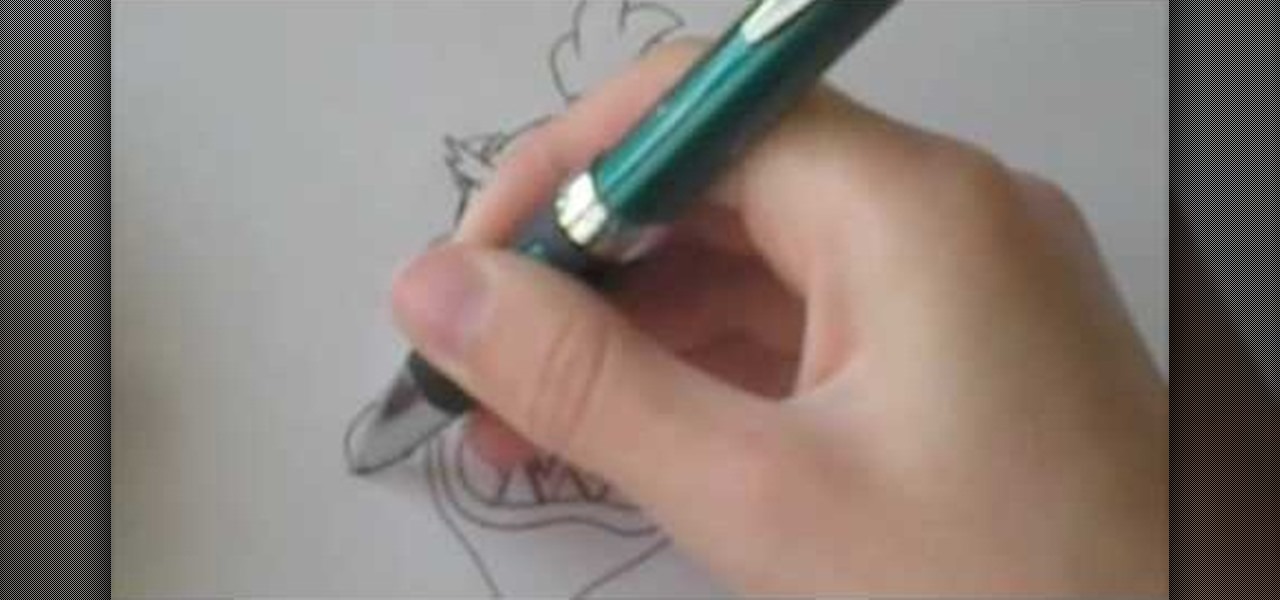
In this video, we learn how to start drawing things. To get started with drawing, you have to have a passion for it and know what you want to draw. If you are going to draw with your computer, you will have to learn what all the different tools mean and you will have to learn how to use them. Make sure that when you are drawing, you use shading to your advantage. Start off drawing small things and use outlines to help you draw more precisely. Take your time when you draw and use different tou...
Kameron Kay teaches us how to make a floating flower crystal toe ring in this tutorial. You will need: stretch cord, large crimp bead, flat nosed pliers, flat backed crystal flower, glue, and small scissors to make this. First, cut out your chord to the exact size that you need. After this, use glue to attack the ring into the middle of the string. Place a crimp bead on the bottom to help the bead stay in place, then glue these together as well. Next, tie this together and attach an end to th...
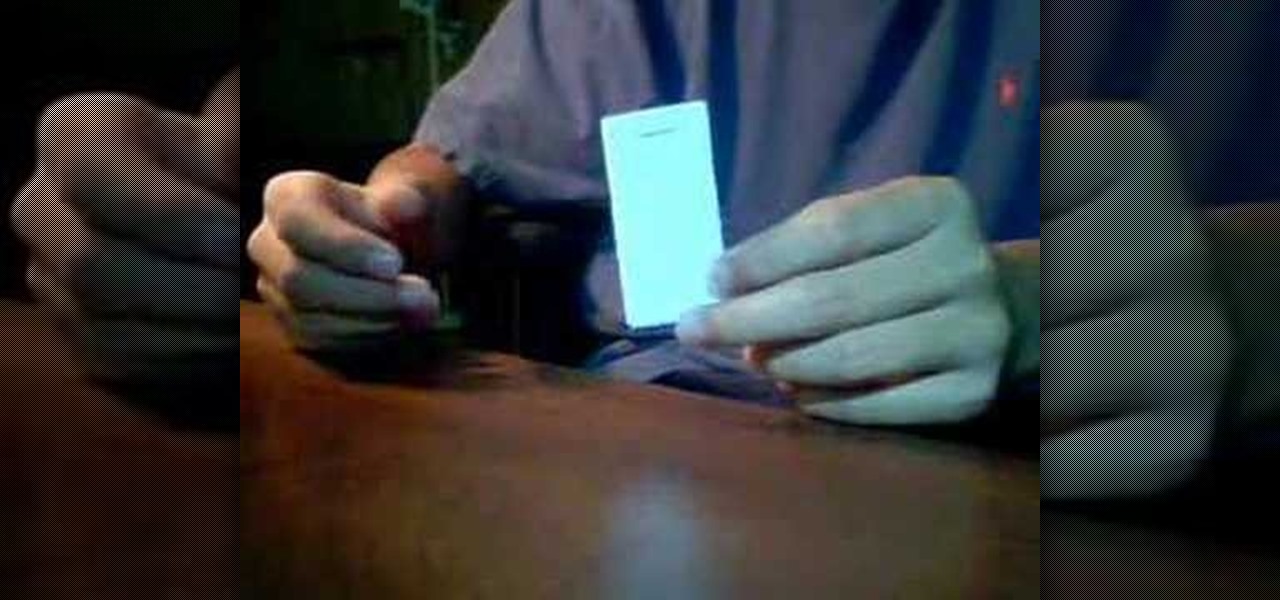
In this video, we learn how to make a compact cheat sheet for a test. First, grab a sheet of copy paper and fold a rectangle into the bottom and make a crease. Next, do this once more, and on the other side as well. Then, tear the paper where the crease was made and fold the strip into a small booklet. Next, use a stapler to staple the side of all the papers together. Next, you can write in all the answers and questions that will help you cheat on your test. Hold this in the palm of your hand...
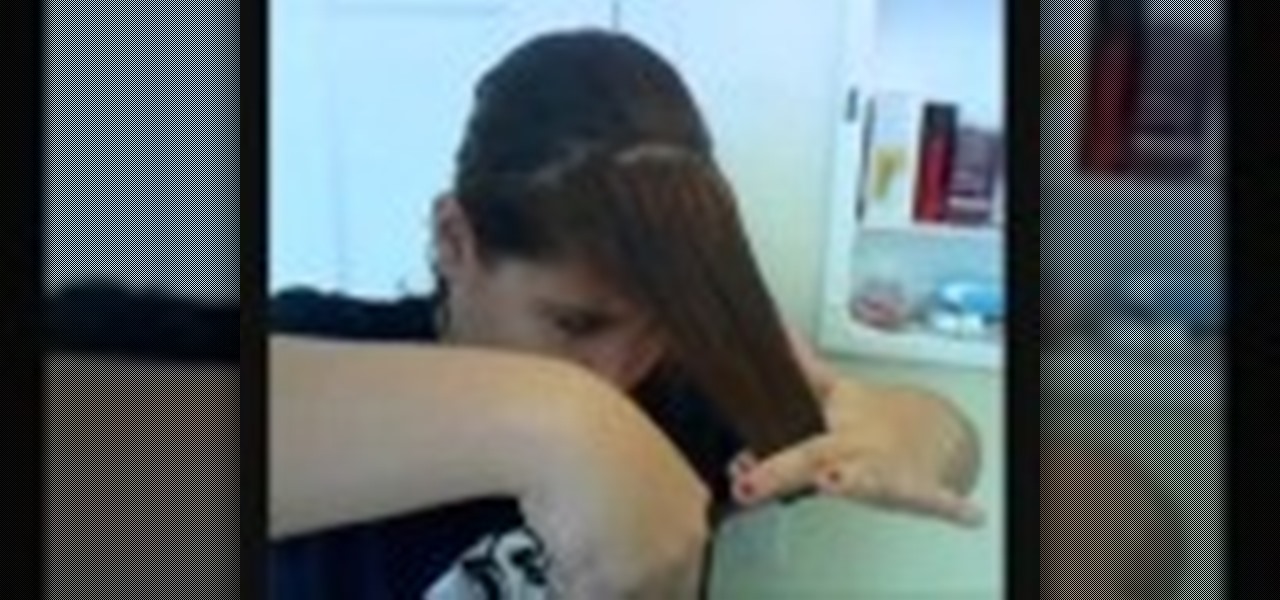
In this video, we learn how to easily cut your bangs. First, you will want to take a shower and have your hair went and brushed out. Next, part your hair so that your bangs are in the front and the rest of your hair is tied back behind you. After this, grab your scissors that are for hair cutting, and then level your hair out in front of you. Be sure to hold your head up straight and don't look too far down or up. Next, cut the bottom of your bangs where you want them to be at, then continue ...
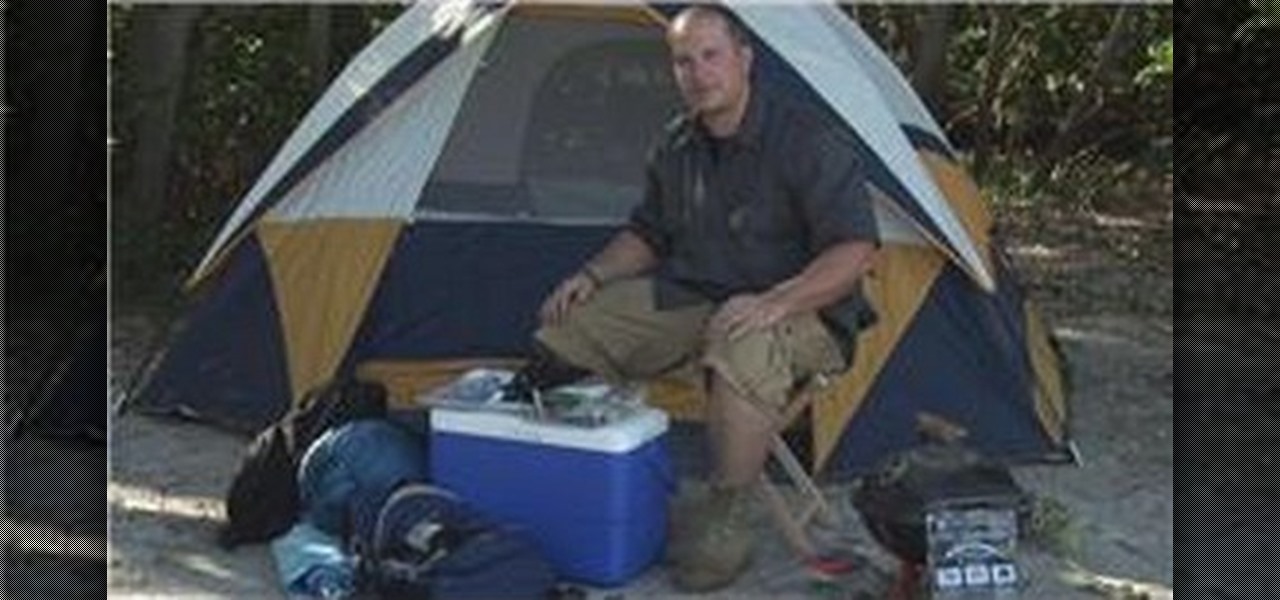
In this video tutorial, viewers learn how to survive in the woods. When camping in the woods, users should always think about bring the essentials: water, food and clothing. It is recommended that users have a water bag store a large amount of water. Bring one or more coolers to preserve food and/or keep drink cool. Make sure to plan the foods that you will eat for the day. Bring a small portable grill to cook food. Dress in layers of clothing to endure hot or cold weather. This video will be...
In this video, we learn how to apply a Chanel temporary tattoo. First, you will need to purchase the tattoos from a store that sells Chanel products. After this, you will need to cut out which tattoo you want from the collection. You can use just a small one or you can connect them together to make one large tattoo. After this, you will need to peel off the plastic from the top of the sheets and apply a wet cloth to the back of it. Next, push the tattoo onto where you want to apply it, then p...
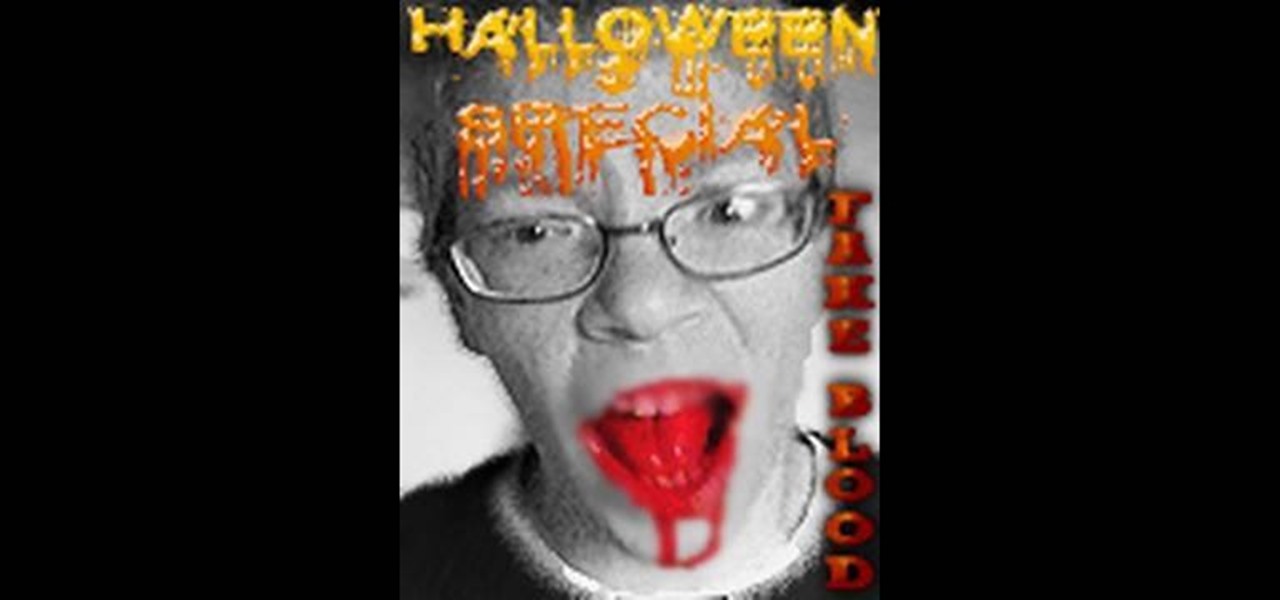
In this video, we learn how to make fake blood for Halloween. You will need: small bottle, teaspoon, cut, clear syrup, red and blue food coloring, and corn starch. First, pour some syrup into the cup, then add in 2 tsp corn starch and mix together. Next, drop in some red food coloring and mix together. After this, add in blue food coloring and mix it together so you have blood red colors in the cut. When you are finished, you will have fake blood that you can use on Halloween at home and it w...
In this tutorial, we learn how to draw an eye in GIMP. First, open up the GIMP software and set up a circle, then color it dark blue. Next, add in light to the middle of the eye, so it looks like a light is shining onto it. After this, make a small circle in the middle of the eye, coloring it black. When done with this, create a new layer and then add brightness to the pupil of the eye. Continue to play around with the contrast and colors of the eye, so it looks more realistic and life like. ...
In this tutorial, we learn how to rock an emo hairstyle. First, blow dry your hair with a round brush, then place the top section down and to the side of your hair. Next, take small sections and spray your hair with heat protector. Now, straighten your hair in each of the different sections until it's pin straight. next, take heavy gloss and work it through the ends of the hair to add texture. Make sure the bangs are covering the front of the face, and the hair looks messy. This will give you...
In this video tutorial, viewers learn how to draw a chibi-style animation face. This task is very fast, easy and simple to do. Begin by drawing box-like face with any type of angle, depending on the character's emotion. Then add an ear. Now draw the eye. Make sure that the eyes are exaggerated and over-sized. Then draw a small nose in the center of the face and add a mouth. Add detail to the mouth such as: teeth, tongue and a chin. Finally, add the eyebrows and hair. This video will benefit t...
For this next video tutorial, you're going to find out how to make a really simple and easy origami crane. Origami is the traditional Japanese folk art of paper folding which took place during the 17 century.
In this tutorial, we learn how to make a simple clapping noise in beat boxing. First, you want to suck air in through your teeth and make a sizzling noise. Block air from coming into your mouth and then open up the back of your tongue so your focusing all your air to go through the small space in your mouth at the back of your tongue. After you do this, you can just suck the air through the side of your teeth. You can also do this by taking a breath in and then breathing in through the sides ...
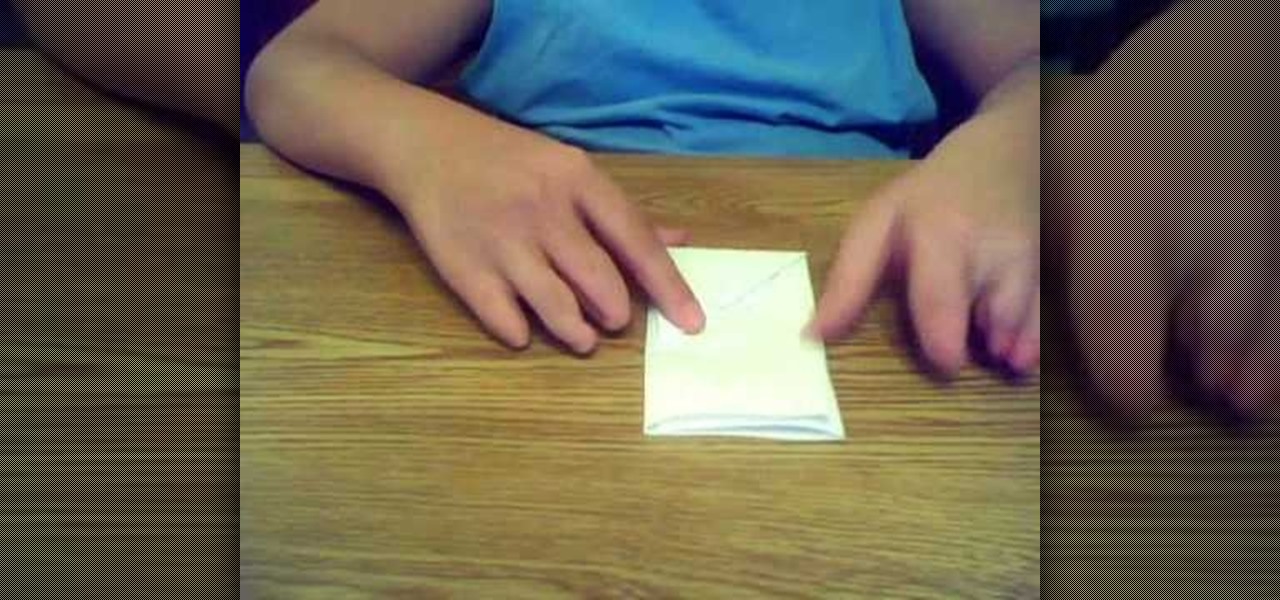
In this tutorial, we learn how to make a paper football for distance. First, take a piece of copy paper and fold it in half on both sides, then fold in half again, making a crease. Next, fold the bottom of the paper down into a triangle shape. Continue to fold this down, making a right and then left triangle until you reach the bottom of the paper. When finished, you will have a small strip of paper left on the bottom. Tuck this piece into the pocket that you created with the triangle pouches...
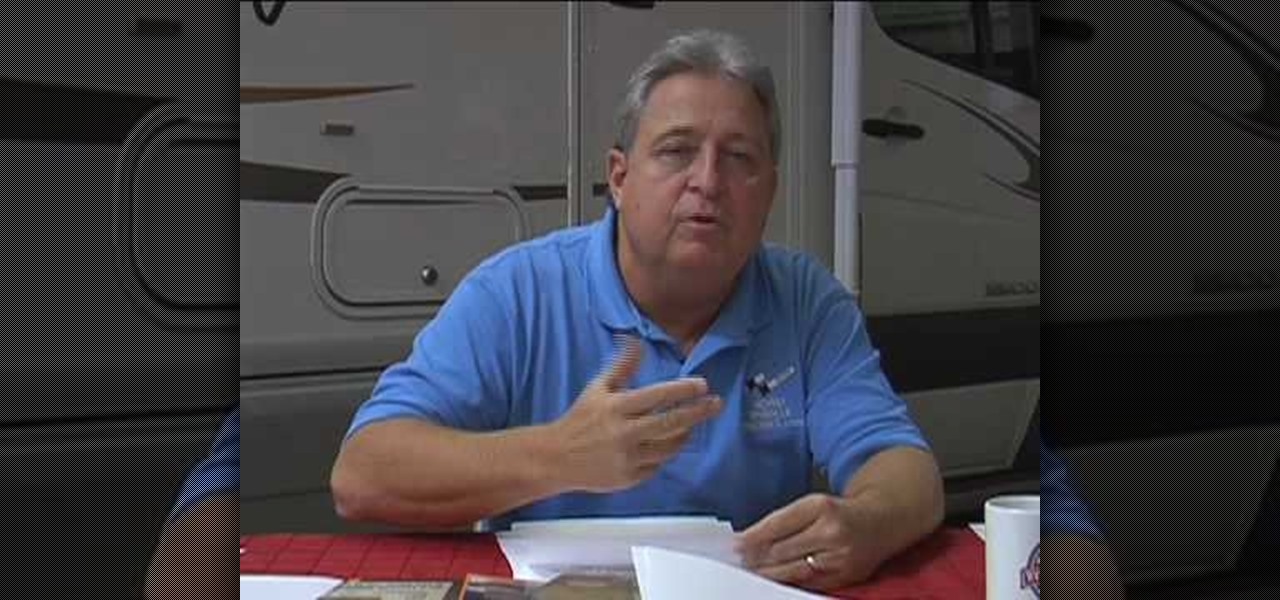
In this tutorial, we learn how to rid an RV of it's stench. Typically, the stench that comes from the RV is just because it's a small area with a lot of condensation. There are a lot of products out there that will help absorb the smell and are made specifically for an RV. These will absorb the moisture that is inside of the RV so it doesn't smell any longer. Having these can help get rid of those nasty smells in your RV. Also, make sure you are cleaning the kitchen as well as the bathroom of...
In this video, we learn how to draw a cartoon fish with scales. First draw a circle for the body of the fish, followed by the details of the face and then the fins and tail. After this, color the background to look like the color of the sea. Now, take a black paintbrush and outline the details and body of the fish. Start to add in scales around the body that are small and colored red. After this, draw bubbles coming out of the fish's mouth. Color the fins and tail yellow, then color the eye b...
In this video, we learn how to make a bow out of a Starburst wrapper. Now, place clear tape of the wrapper and fold down the edges. Now, fold the wrapper in half and then in half once more. Make it so you have an accordion design with three different peaks on the wrapper. Now, cut a small strip of tape out of the piece of tape and wrap it around the middle of the bow. After you do this, flare out the edges to make it look more like it has a bow shape. Now, take a bobby pin to the bottom of th...
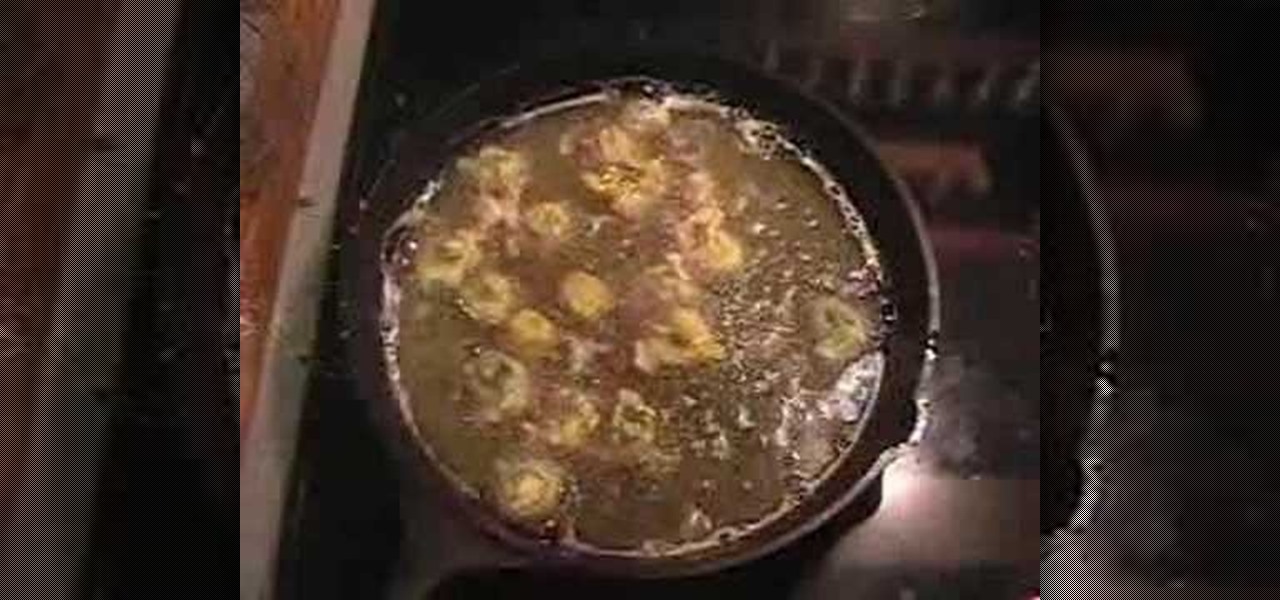
In this tutorial, we learn how to make fried okra. You will need: okra, corn meal, salt, pepper, onion powder, garlic powder, eggs, and vegetable oil to make this recipe. First, cut up your okra into small pieces then place into a bowl and cover with the egg. Next, let this sit for five minutes, then put the corn meal inside of this and fry it. Fry it in a pan filled with oil and keep grilling until it's golden brown. Add in your seasonings while it's cooking, then enjoy when it's finished! Y...
In this video, we learn how to draw a manga chibi eye. Start off by drawing an outline of the eye with the round middle and the lines on top and on the bottom. After this, start to add in the small details of the eye, like the pupil and shine marks on it. Next, start to shade in the eye and make the lines thicker. Continue to draw in black until the back of the eye is covered black and another portion of the eye is white. Switch back and forth between different pencils to help you color in di...
In this tutorial, we learn how to use a straightening iron to get soft and sexy curls. First, start out by brushing your hair out so there are no knots in it. Next, take a section of your hair, Next, add in heat protector to the hair. After this, heat up your straightening iron and take a small section of our hair. Twist the hair up and then run the straightening iron through it. When it comes out, you will have a very soft curl. You can also place the iron onto the top of the section and pul...
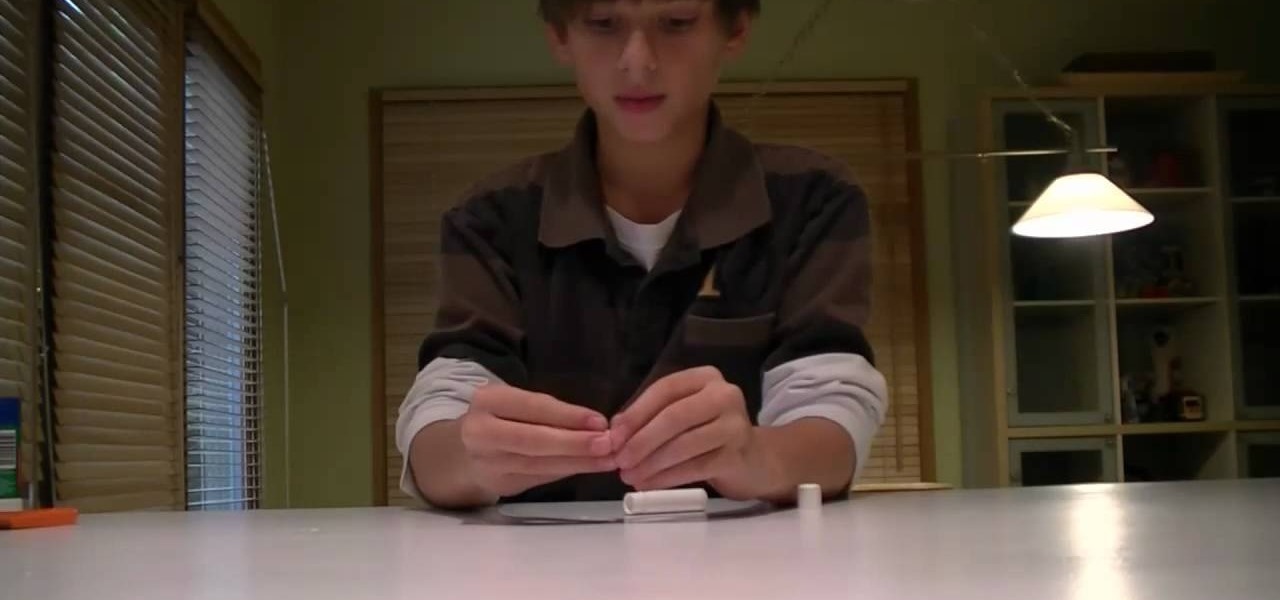
In this video, we learn how to make the best skateboard wax. First, take an empty soda bottle and cut it in half. Next, fill the bottom third of the can with vegetable oil. Next, add in some butter in with the vegetable oil, cutting it into small pieces. Now, you can put this on the stove so it heats up and melts the oil with the butter. When this has melted, pour the liquid into an empty Chap Stick container and then let it harden up. After this has hardened up, you will be able to use it as...
Old t-shirts can be given new life when you take a gander at this upcycling tutorial. Using nothing but a raggedy old t-shirt, you'll learn how to make a cut here and put a stitch there in order to magically transform the shirt into a wonderous tank top.
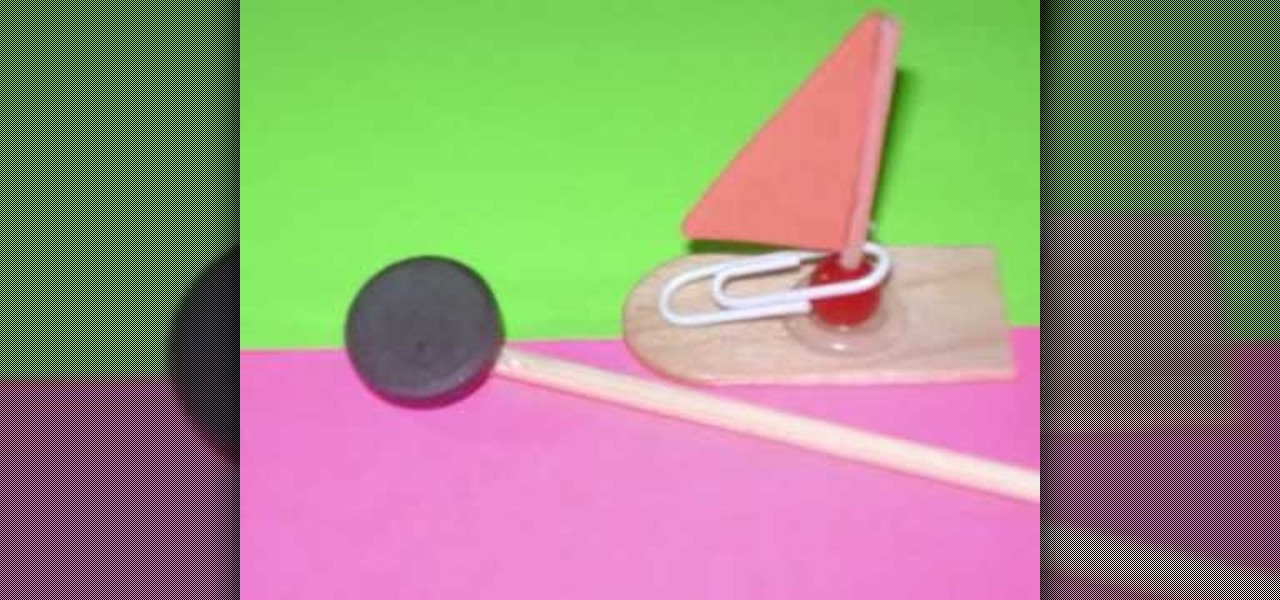
In this video, we learn how to craft a magnet boat with kids. You will need: a paper clip, a small triangle piece of foam, 1 magnet, 1 recycled stick, 1 recycled popsicle stick 1 bead, and a hot glue gun. First, attach the toothpick to the bead, then glue the triangle to the top of the toothpick. Next, cut 1/4 of the popsicle stick and attach the sail to the middle of the popsicle stick and use the paperclip the make it stay on the bow. Now, place the boat in water and attach a magnet to the ...
In this tutorial, we learn how to perform a butt weld. First, read the settings for your welding machine and make sure you have everything set up in order. Now, place protective gear onto your body and start to perform your weld. Use caution and make several holes into the metal. You can do this on a small piece or try a larger one once you are comfortable enough. Make sure you are using the push and pull method while welding, pushing into the metal and then pulling back out. When you are fin...
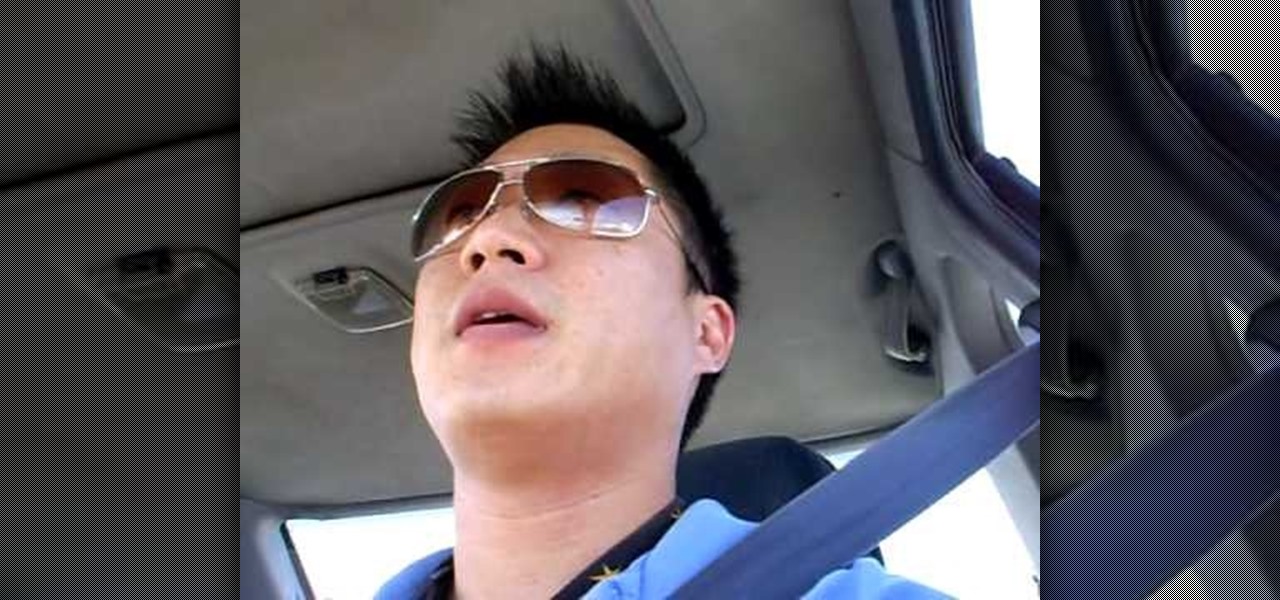
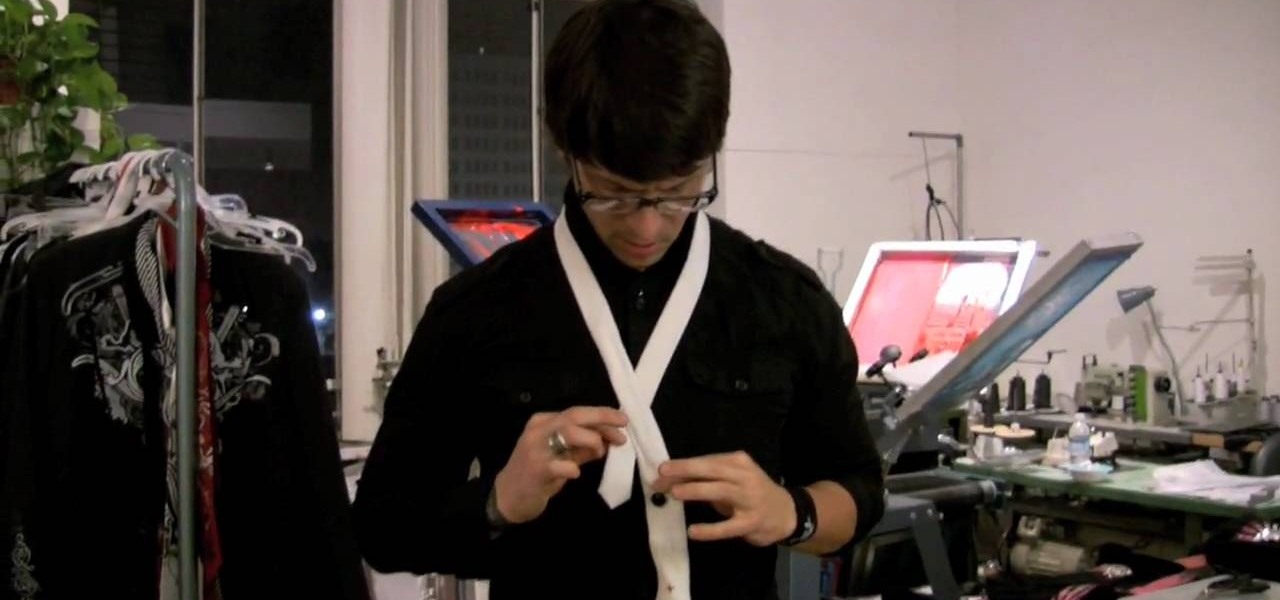
In this video tutorial, viewers learn how to tie a necktie. Begin by placing the tie around your neck, with the wider end 2 times lower than the narrow end. Then cross the wider end over and under the narrow end. Now bring the wide end through the V gap between the neck and . Wrap it once more over and under. This time, create a small loop. Bring the tie through the V gap and through the loop. Finish by tighten and adjusting the tie. This video will benefit those viewers who are attending a s...
In this tutorial, we learn how to draw Bowser Jr. from Mario Brothers. Start off by drawing the nose, which has two large humps going to the chin. Next, draw his mouth, dimples, teeth, and nose holes. Next, draw in the eyes and eyebrows, filling in the pupils with small white circles in the middle. Make sure the eyebrows are pointed upwards, so it looks like he's glaring. Now connect the top of the head, followed by drawing the hair onto the top of the head. Next, draw on the arms and front o...
In this video, we learn how to draw the Twitter bird with circles. First, draw a blue circle and place two large white circles inside of it on both sides. next, make two small gray circles inside to make the pupils of the eyes. After this, use the circle brush to make a beak and feet. Next, fill in gray on the eyes and orange on the beak and feet. Make sure the eyes are positioned close together and then shade the different parts of the bird. Add in different colors, then when finished make s...
In this tutorial, we learn how to draw a simple cartoon dinosaur. Start by drawing a rectangle and give it eyes on the upper right hand corner, then nostrils. Start drawing a body that has a jelly bean shape. Now, create small arms on the side of the body, that are smaller than the rest of the body. These arms should have a cylinder kind of shape to them. Now, draw some legs onto the bottom, using large cylinder shapes and little pointy toes. There should be adequate space in between each of ...
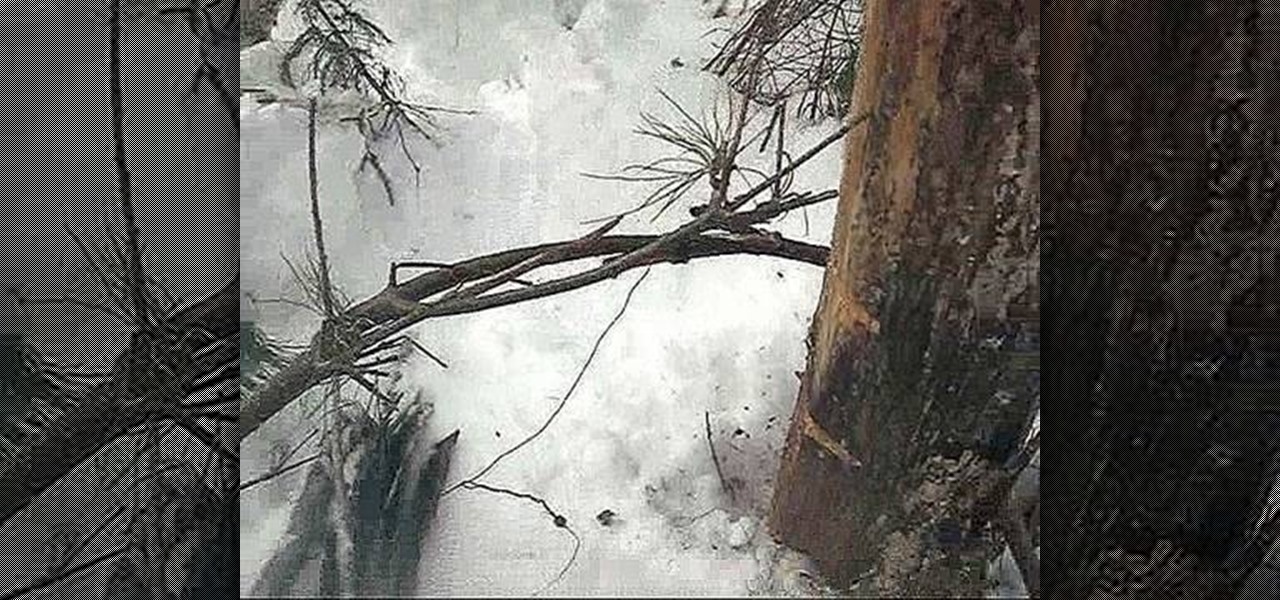
In this tutorial, we learn how to set a spring loaded snare trap. First, find a sapling with a larger tree next to it, then bend the sapling down and wire on a stick to this. This stick will have a small nub on it that will hook onto a stick that you will prop up on the back of the tree. When the rabbit comes along, it will follow the trail and walk through the wire. The feet will go into the wire and it will tighten up, releasing the spring to ensure the rabbit stays trapped. This is a simpl...
In this video, we learn how to properly get 360 waves. First, turn your water on so it gets hot, then put it onto your hair with your hands or a spray bottle. Next, use a shower brush to brush your hair thoroughly on all sides. After this, put some lotion on your hand and rub your hands together, then rub into your hair. After this, use the brush on your hair brushing diagonally and from side to side. Next, apply a small amount of oil to your hair, then comb through once more. When finished, ...
In this video tutorial, viewers learn how to make a pinhole lens for a digital camera. The materials required for this project are: a camera body cap, X-acto knife, black tape, small drill bit, sewing needle and sand paper. Begin by marking the center of the body cap . Then drill a hole in the center and punch a tiny hole in the center of the sheet metal. Now cut around the sheet metal and sand it flat. tape the metal piece inside the cap and darken it with ink. This video will benefit those ...