This video covers the steps needed to convert a VHS video tape to DVD. You will need to purchase a video capture card in order to do this project. Connect your VCR to your computer using a coaxial cable. This is a great way to preserve and restore old VHS tapes by digitizing them.
Go beyond the traditional 3D workflow to an immersive creative experience with the software Modo, created by Luxology. Modo is the next evolution of 3D modeling, painting and rendering for Mac and PC. Modo includes 3D sculpting tools, animation and network rendering, and advanced features such as n-gons and edge weighting.
Go beyond the traditional 3D workflow to an immersive creative experience with the software Modo, created by Luxology. Modo is the next evolution of 3D modeling, painting and rendering for Mac and PC. Modo includes 3D sculpting tools, animation and network rendering, and advanced features such as n-gons and edge weighting.

Go beyond the traditional 3D workflow to an immersive creative experience with the software Modo, created by Luxology. Modo is the next evolution of 3D modeling, painting and rendering for Mac and PC. Modo includes 3D sculpting tools, animation and network rendering, and advanced features such as n-gons and edge weighting.

Go beyond the traditional 3D workflow to an immersive creative experience with the software Modo, created by Luxology. Modo is the next evolution of 3D modeling, painting and rendering for Mac and PC. Modo includes 3D sculpting tools, animation and network rendering, and advanced features such as n-gons and edge weighting.
Go beyond the traditional 3D workflow to an immersive creative experience with the software Modo, created by Luxology. Modo is the next evolution of 3D modeling, painting and rendering for Mac and PC. Modo includes 3D sculpting tools, animation and network rendering, and advanced features such as n-gons and edge weighting.

Go beyond the traditional 3D workflow to an immersive creative experience with the software Modo, created by Luxology. Modo is the next evolution of 3D modeling, painting and rendering for Mac and PC. Modo includes 3D sculpting tools, animation and network rendering, and advanced features such as n-gons and edge weighting.

This software tutorial shows you how to use Dr. Brown's Place-A-Matic script in Photoshop. Learn how Place-A-Matic allows you to open multiple images as Smart Objects in Photoshop.

This image editing software tutorial shows you how to redo levels settings in Photoshop CS3. You've spent time working on adjusting the RGB levels of an image, or ANY levels settings and you make a mistake and accidentally lose those changes. The history panel doesn't have them so what do you do? Think you lost the last settings you used while using levels and you have to start over? Think again and watch this Photoshop tutorial to get them back!

In this 3D modeling software tutorial you will learn how to use Zspheres in Zbrush. This tutorial gives a general overview of how the Zsphere tool works and then how to use it in Zbrush.

This audio editing software tutorial will show you how to create, setup, and use instrument tracks in Logic Pro. First, Connor Smith shows you how to pick instruments from the library browser in Logic Pro. Then, learn two different ways to create instruments in the Mixer window (first with manually inserting instruments, and then by using the channel strip settings). If you want to learn how to use instrument tracks in Logic Pro, this tutorial is a great place to start.

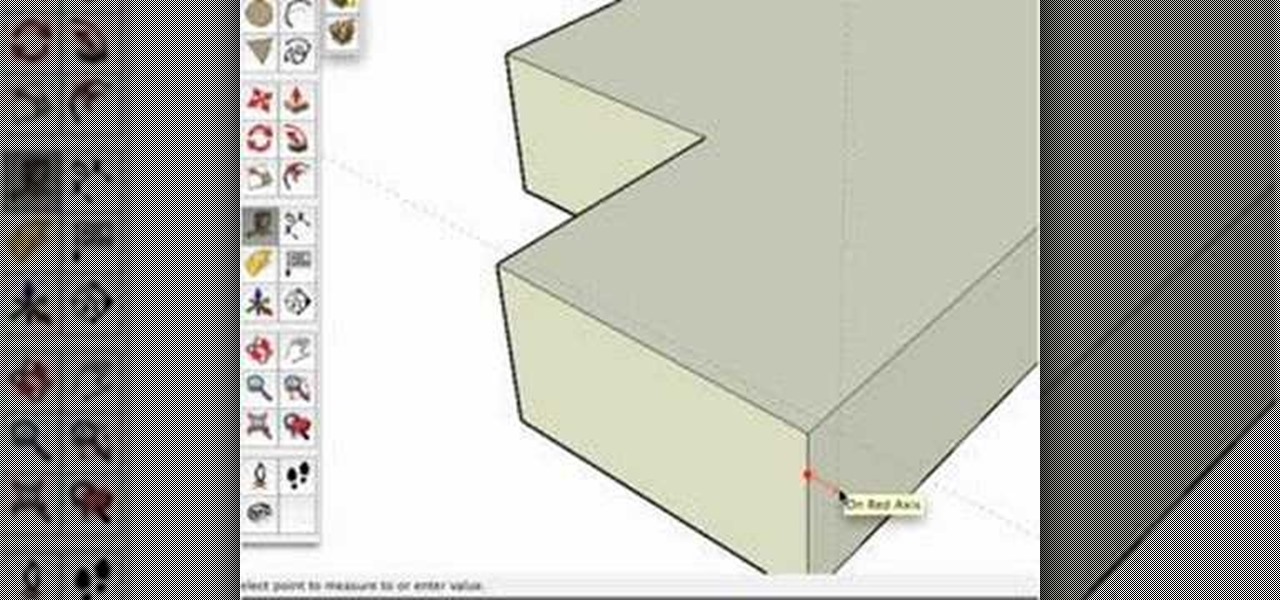
One of our favorite tools in SketchUp is the Follow-Me tool. It's the kind of tool that takes awhile to master, but once you've got it, you're free to model complex shapes in SketchUp that might have been considered impossible. In this SketchUp 6 software tutorial, Mike demonstrates how to use the Follow-Me tool to build a complex roof.

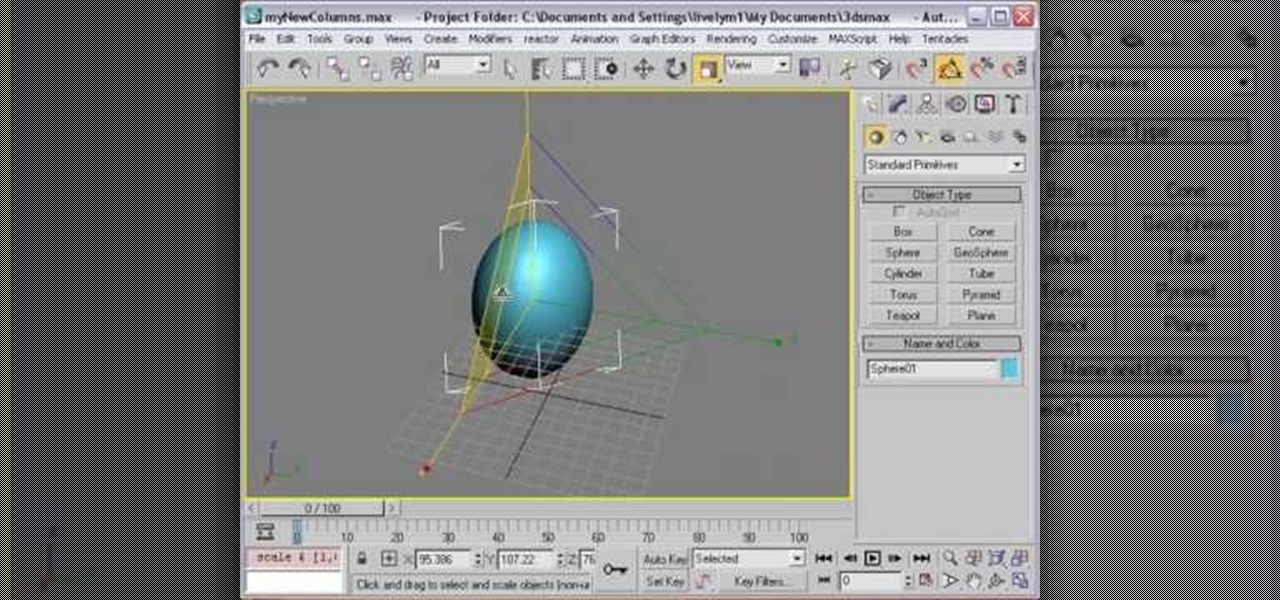
This software tutorial demonstrates how to build with primitives in 3DS Max for Papervision3D. This first part demonstrates 3D Studio Max basics and how to build a column base using primitives. This second part demonstrates how to use the Shift clone tool.

If you're new to OS X, you may have seen Apple's presentation software, Keynote, but you might also have a lot of PowerPoint files lying around. After a while of watching the same fonts, images, transitions and builds, those presentations can seem a little dated or unoriginal. If you want to try to liven things up, import them into Keynote. Simply open Keynote, select import an existing file, and chose a PowerPoint presentation. That's it. For a step-by-step video demonstration, watch this OS...

This tutorial shows you how to install Audacity and install the LAME mp3 encoder to make Audacity ready to export mp3s. Part two goes over editing basics using the free recording software Audacity. By the end of this tutorial, you will be able to create mp3 podcasts in Audacity.

This CAD software tutorial shows you how to work with lights and materials in Pro/DESKTOP. This is an advanced tutorial that will show you how to add materials to a figure, add lighting, backgrounds and export the image. Rendering completed images is an important part of working in ProDESKTOP since it showcases your final products. Learn how to make your models good with lights and materials in this Pro/DESKTOP tutorial. This video is best viewed full screen.

This music production software tutorial describes a hack to allow you to trigger an instrument or effect when you RELEASE a key in Reason 3 or 4. This is useful for guitar strums, Hi-hats, mutes or delays, or vinyl scratch effects. With this trigger trick you can create back beats easily. Have one effect produced when you push a key, and another when you release the key using release gates in Reason 3 or Reason 4.

This Houdini n9 software tutorial covers a very simple lighting and rendering scene to show the basic workflow for generating a PBR render. We use a digital asset to quickly establish a group of geometry to light. In the lesson we also add an area map so that we can extract the lighting information from it. There are two .rat files to experiment with, the seashadow.rat file simply provides a pattern. The st.peters_cross.rat is an HDRI image from the Debevec site. Watch and learn how to set up...

In this software video series, you will learn how to use Takes in Houdini 9. Part one: Intro to Takes

This software tutorial shows how to make an animated gif file that changes the color of your eyes or of anything you want in Photoshop. Animated gifs are perfect for profile pictures on sites like Myspace and forum sites. So check out this Photoshop tutorial and learn how to make your own cool animated gifs.

If you need to create an animated character, Maya is the software program for you. If you don't know how to make that character you've dreamed up, then maybe you should check out this Maya video tutorial on an important step -- creating a skeleton structure. Creating bones could be a daunting task in Autodesk Maya 8.5, but with the help of this four-part video, you'll see how to create those realistic bones for your animation with ease. You'll also see some common unintentional wrong rotation...

This three part tutorial shows you how to model a female head correctly in Maya. This is a pretty difficult lesson so it will help if you know the software a bit already.

Apple has already released iPadOS 18, but there still may be work to complete on iPadOS 17. That brings us to iPadOS 17.8. Is there one, and can you test-drive it on your iPad?

Each day, we read about another security breach somewhere in our digital world. It has become so commonplace that we hardly react anymore. Target, J.P. Morgan, iCloud, Home Depot, and the list goes on and on.

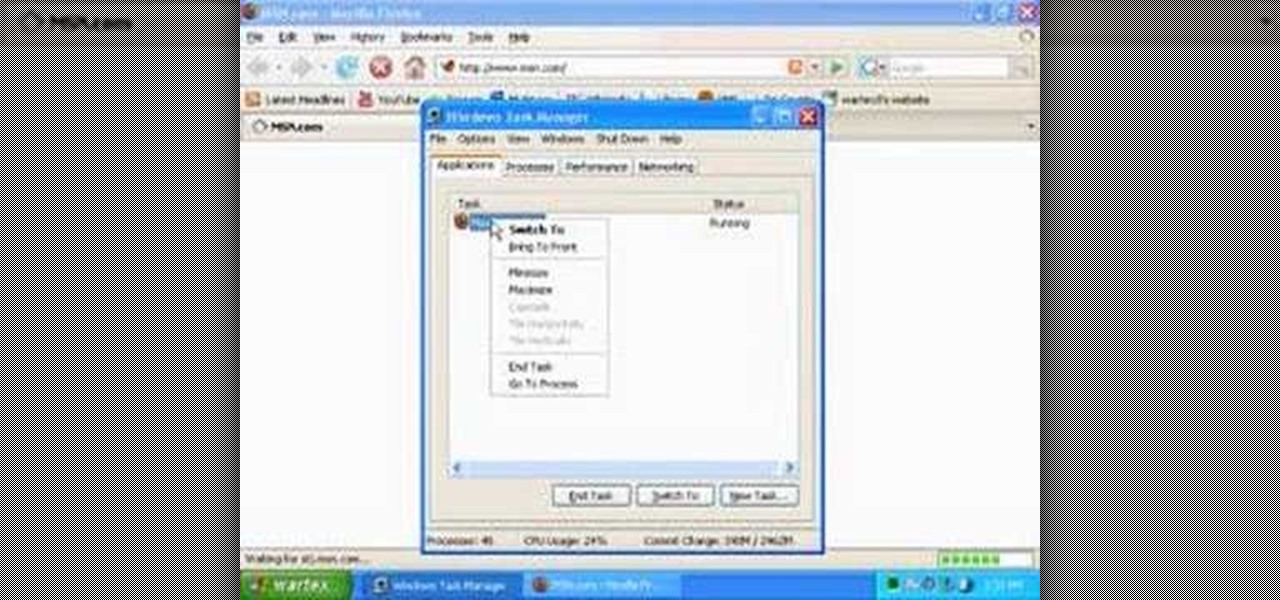
Programs aren't perfect. Either are operating systems. And when one or the other (possibly both) aren't working as expected, your program may freeze up and become unresponsive. If this happens to you in Windows frequently, you need to know how to force quit the application, so you can restart it and get back to work.

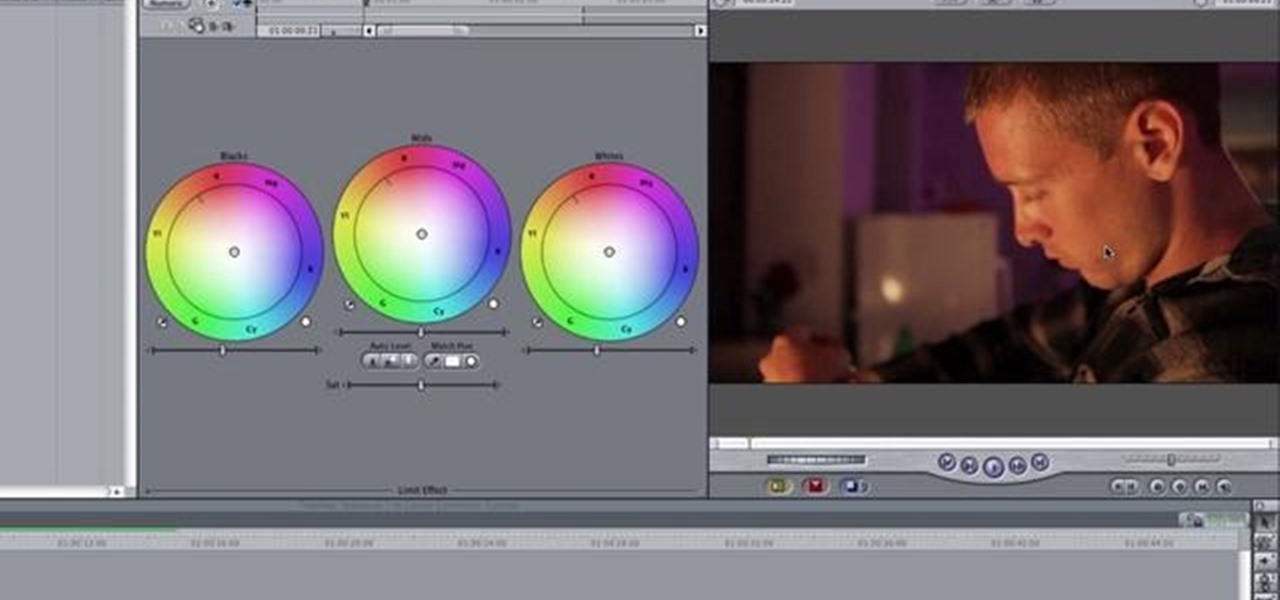
In this three part-software tutorial, you'll learn how to use the 3-way color correction filter to do color grading and correction in Final Cut Pro. Whether you're new to Adobe's popular motion graphics and compositing software or a seasoned video professional just looking to better acquaint yourself with the program and its various features and filters, you're sure to be well served by this video tutorial. For more information, including detailed, step-by-step instructions, watch this free v...

The term blog is a shorthand for web-log. It can be considered as a online and publically viewable diary of user generated content usually sorted by date.

In this video from macmostvideo we learn how to import unsupported video in iMovie. This happens sometimes when you buy a camera that is not compatible with iMovie. You can add certain video formats to your Mac to make your Mac understand these video formats that don't work with your iMovie. A common one is called mpeg2. You can get this trough Apple. In other cases you get the software with the camera. If you need to convert a video file, try to open it through QuickTime first. If that works...

For those of us living in any of the 49 states other than New York on Thanksgiving Day, checking out the famous Macy's Thanksgiving Day parade at New York is more a dream than reality. While the parade airs every Thanksgiving on television, it's also possible to catch the festivities online.

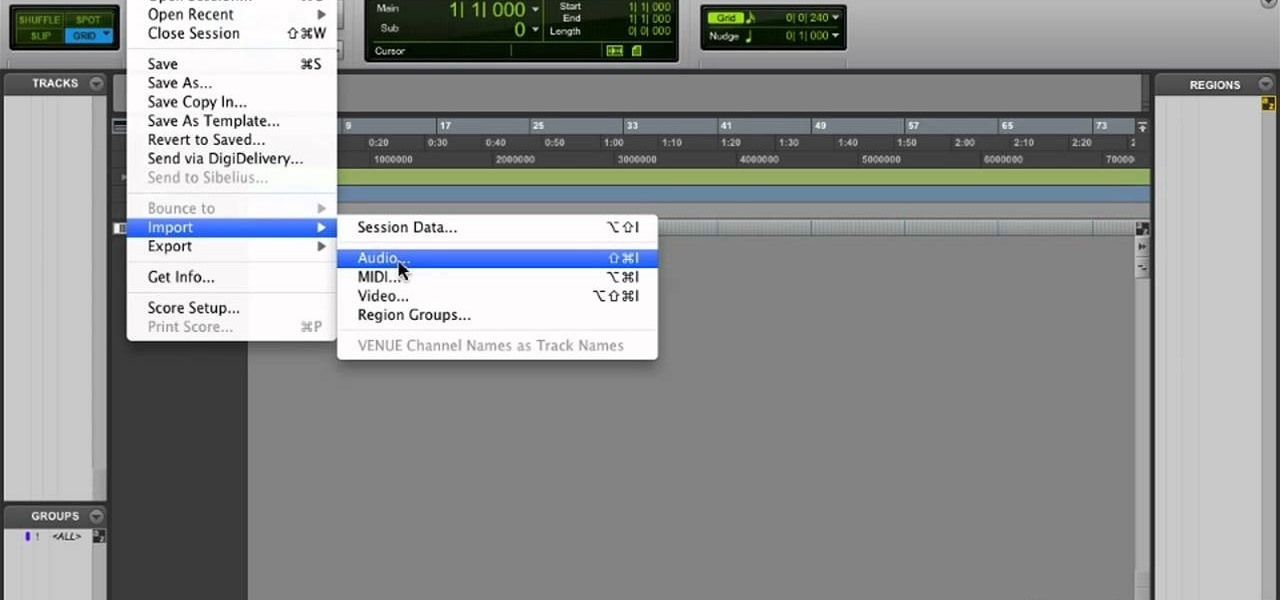
In need of a quick guide on how to master a finished mix within Pro Tools 9? This free video software tutorial from Lynda presents a complete and thorough overview of the process. Whether you're new to Pro Tools or just new to Pro Tools 9, Avid's first native, software-only version of their popular Pro Tools DAW, you're sure to find much of value in this brief view.

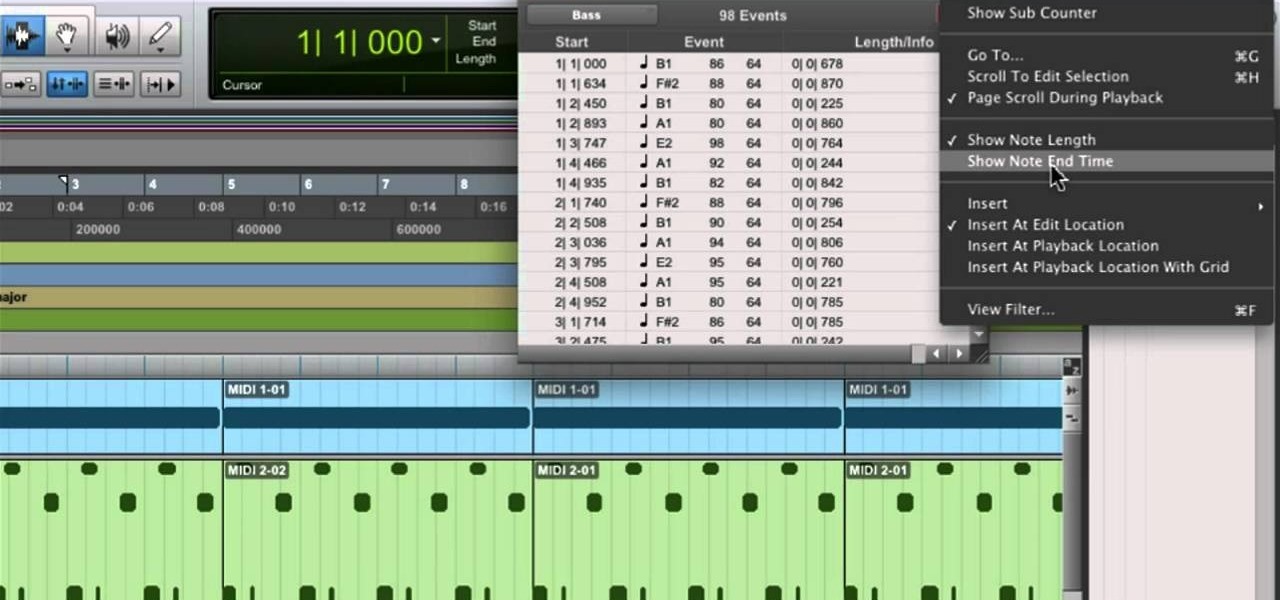
In need of a quick guide on how to use and make edits with the MIDI event list within Pro Tools 9? This free video software tutorial from Lynda presents a complete and thorough overview of the process. Whether you're new to Pro Tools or just new to Pro Tools 9, Avid's first native, software-only version of their popular Pro Tools DAW, you're sure to find much of value in this brief view.

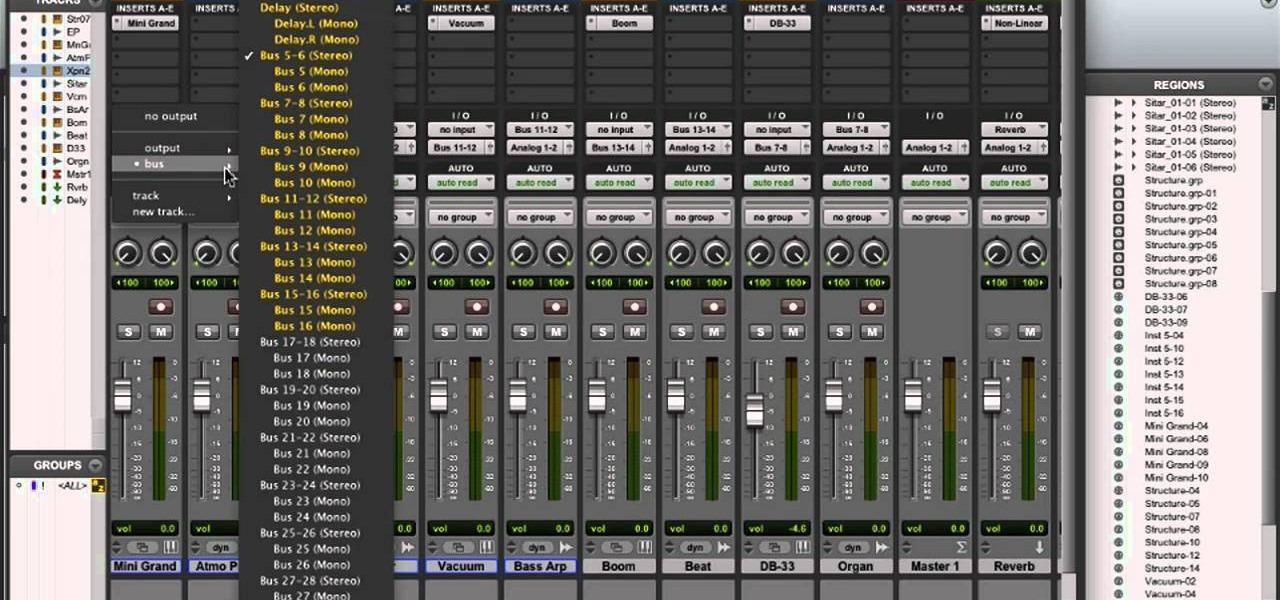
In need of a quick guide on how to create and use virtual MIDI-controlled synthesizer instruments within Pro Tools 9? This free video software tutorial from Lynda presents a complete and thorough overview of the process. Whether you're new to Pro Tools or just new to Pro Tools 9, Avid's first native, software-only version of their popular Pro Tools DAW, you're sure to find much of value in this brief view.

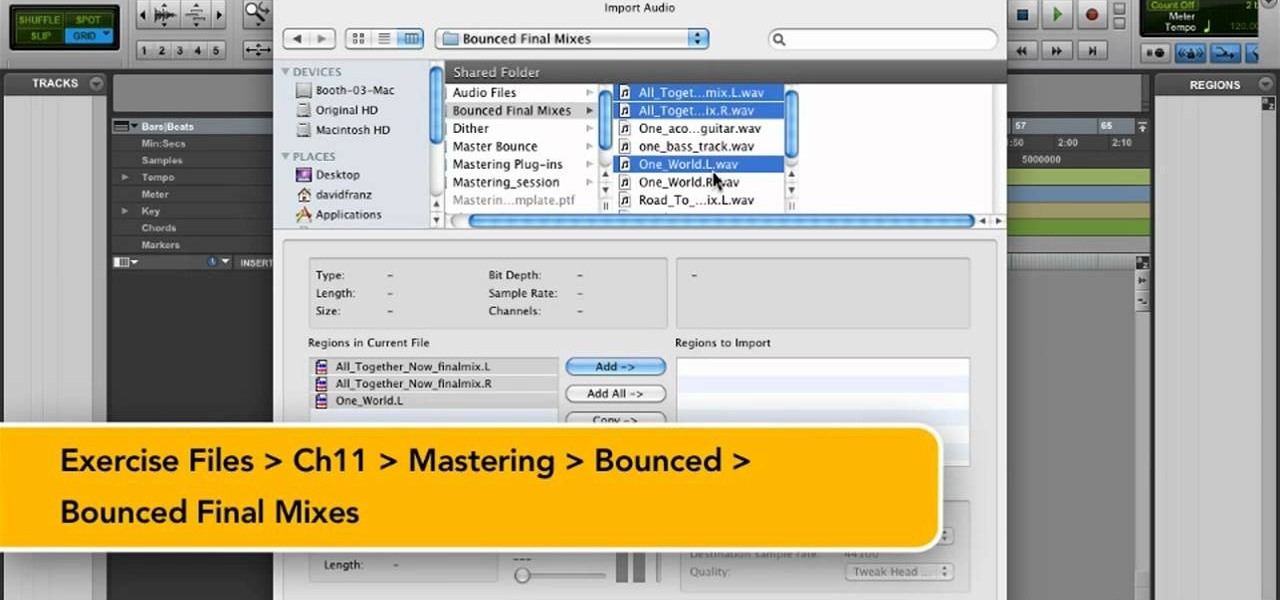
Learn how to transfer audio files from a compact disc or DVD into Pro Tools 9 for mixing or mastering. This free video software tutorial from Lynda presents a complete and thorough overview of the process. Whether you're new to Pro Tools or just new to Pro Tools 9, Avid's first native, software-only version of their popular Pro Tools DAW (or digital audio workstation), you're sure to find much of value in this brief video.

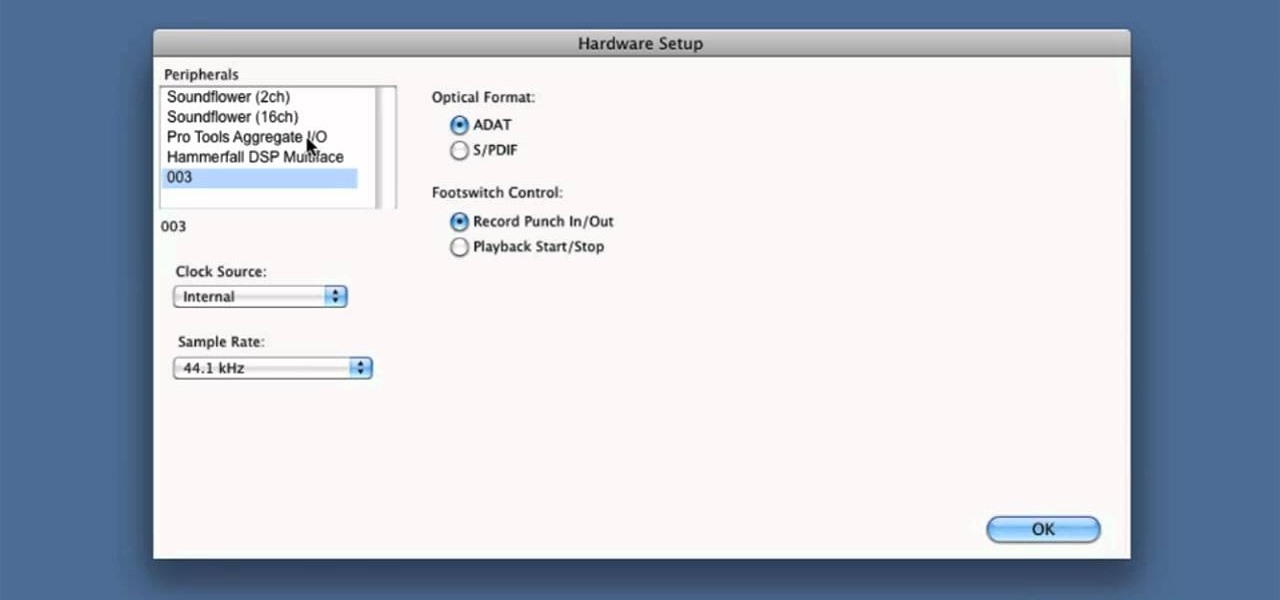
In need of a quick guide on how to change playback engine and hardware settings within Pro Tools 9? This free video software tutorial from Lynda presents a complete and thorough overview of the process. Whether you're new to Pro Tools or just new to Pro Tools 9, Avid's first native, software-only version of their popular Pro Tools DAW, you're sure to find much of value in this brief view.

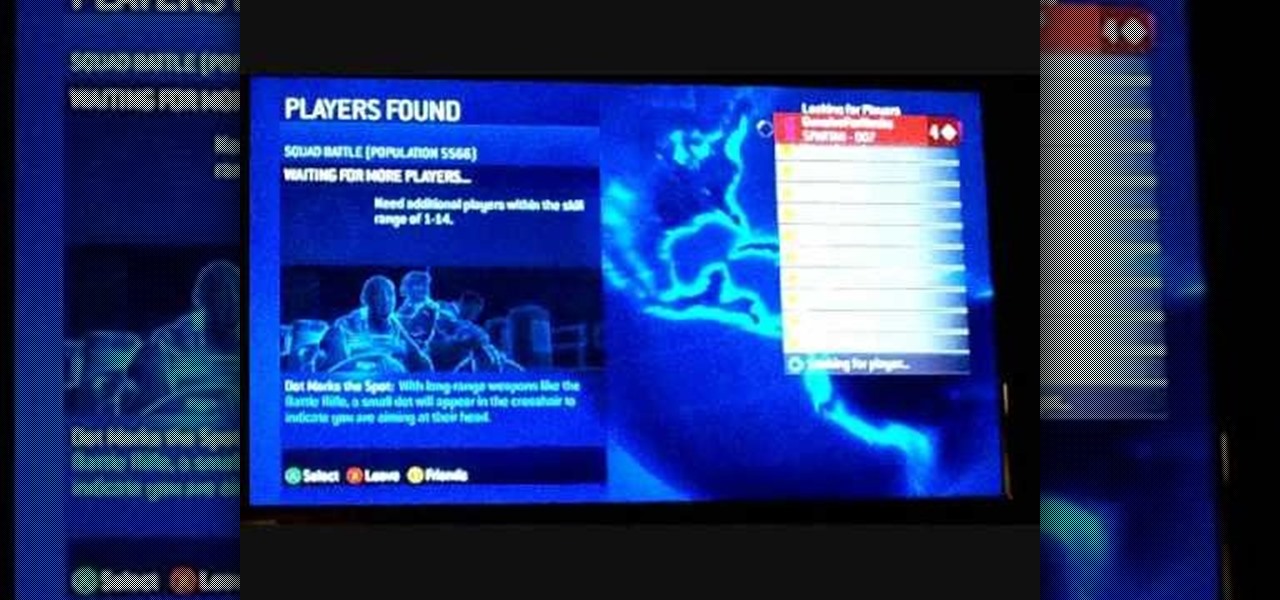
In this tutorial, we learn how to connect to Xbox Live with an iPhone & PC. You will need: jailbroken iPhone with data plan, laptop, PDANET on the phone, Ethernet cord, and Windows. First, launch the application on your phone and then plug it into your laptop. After this, you need the Pdanet software, which you can download online. From here, right click on the software and connect. Next, you will connect the laptop to the Xbox console with the Ethernet cord and going to the network settings ...

In this video, we learn how to use FastStone Image Viewer: the basics. After you have downloaded and installed this software, open it up. Now, go to the settings section of the software and move between the tabs to change and explore the different settings. When you select an image, it will automatically zoom in, you can move between different images, then you can set it as wallpaper, edit it, save it, and much more. You can upload picture and images by going through the file menu, then editi...

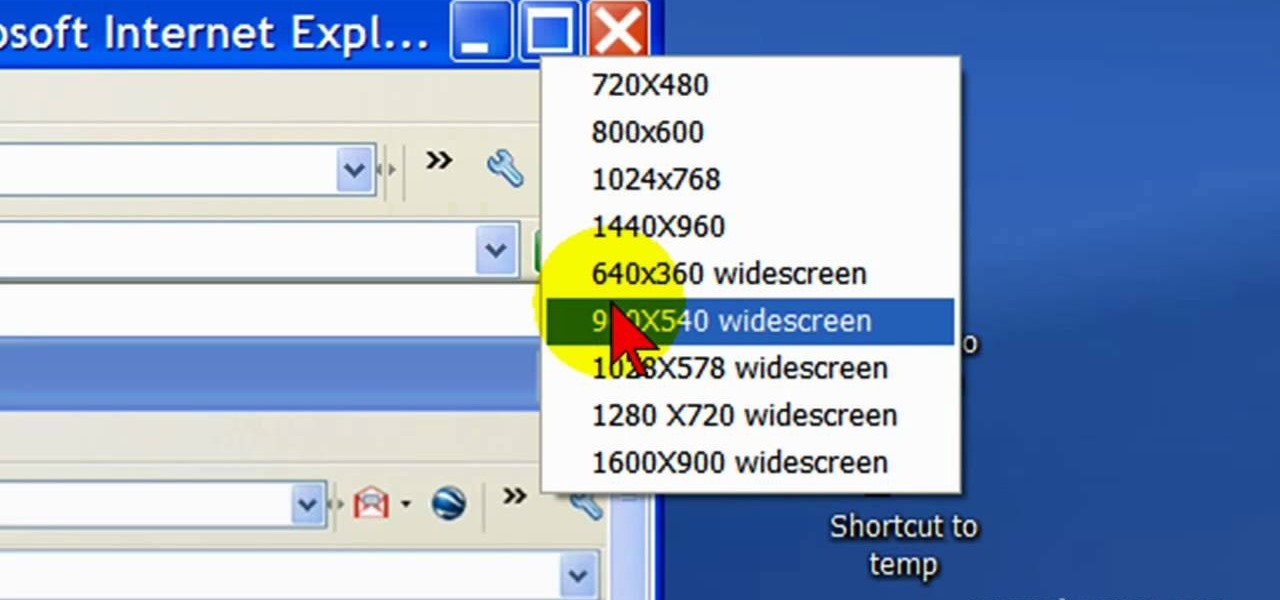
First open up the Camtasia studio and click on the link make a recording. It will open up the Camtasia recorder but before you start the recording you need to click on the tools, options and make sure the "save as AVI" is selected in file menu. Then click on video tab and select the "manual" in "video configuration", 30 in frame rate and click ok. Now download and install the software called "free sizer". Now we need to set the recording area to 1280x720. To do that, right click on the maximi...

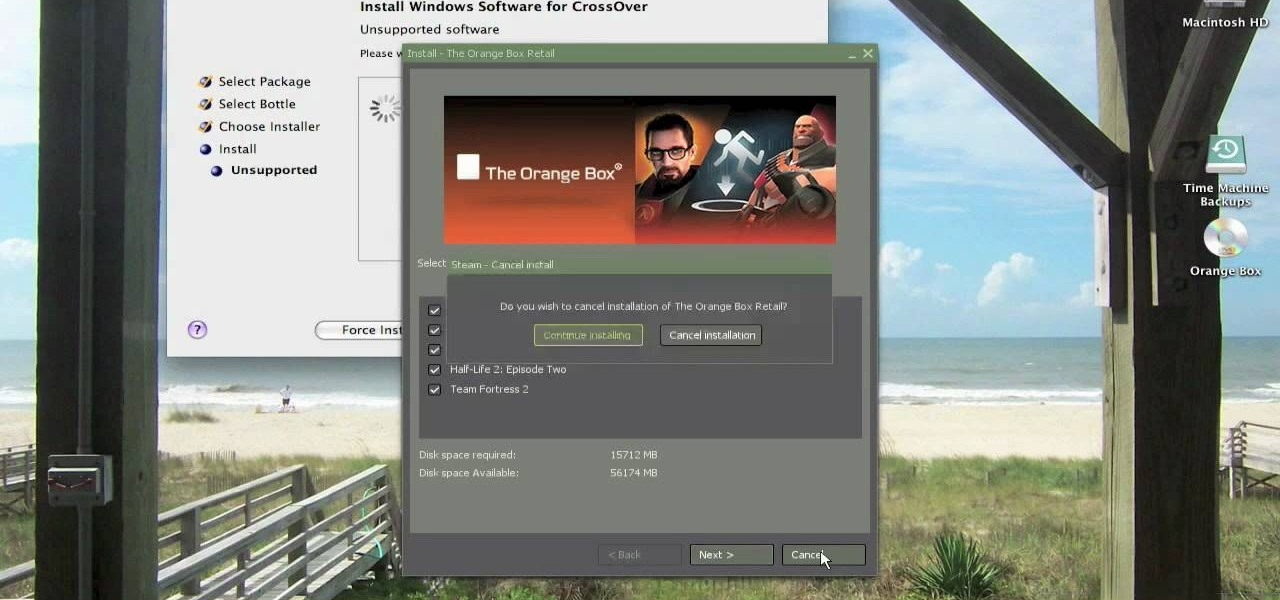
In order to install steam games on a Mac without Windows, you'll to download the Crossover application. After you have the Crossover software, place the CD in your hard drive. Click on "Install Unsupported Software, after you highlight it in the list. Click "continue". Rename the bottle. Click on create. Click continue. Follow the install wizard through, accepting the terms and clicking "next". Register your product ID, if you haven't already done so.

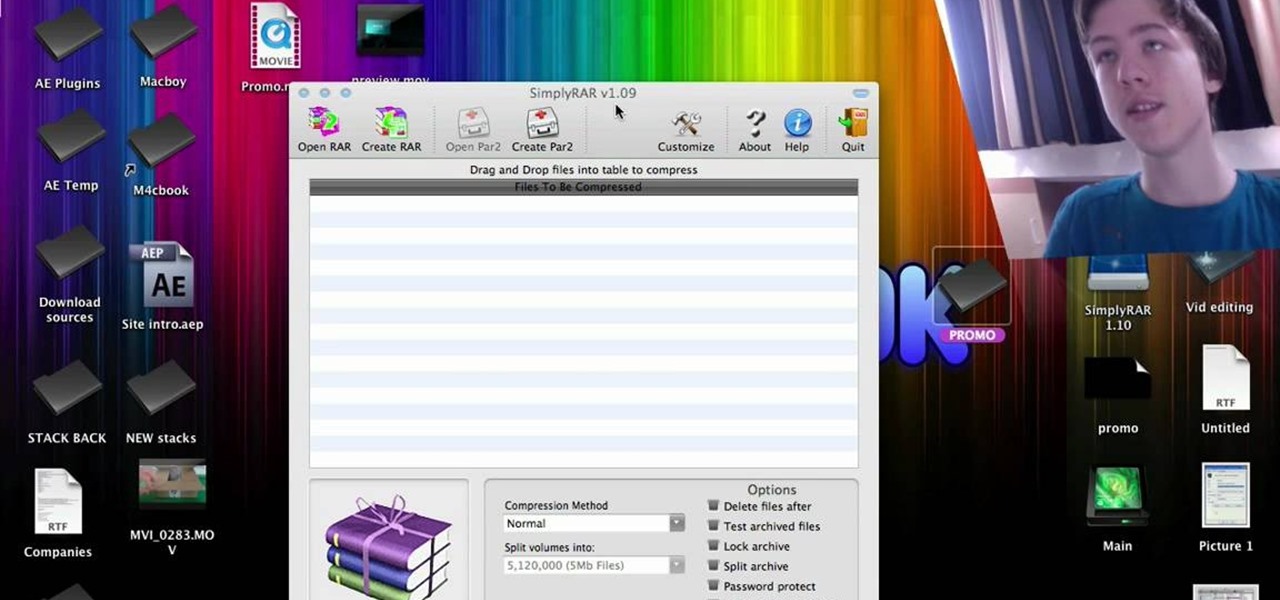
In this tutorial, we learn how to compress files on a Mac using Simply RAR v1.09. First, go to this website and download this software from http://www.macupdate.com/info.php/id/21430. Now, drag and drop this into your application and open it up. now, make a new folder where you want and name it anything you want. Next, drag and drop your movie into the SimplyRAR software, then choose a compression method. After this, choose the options you want that are on the lower right hand corner. Next, c...

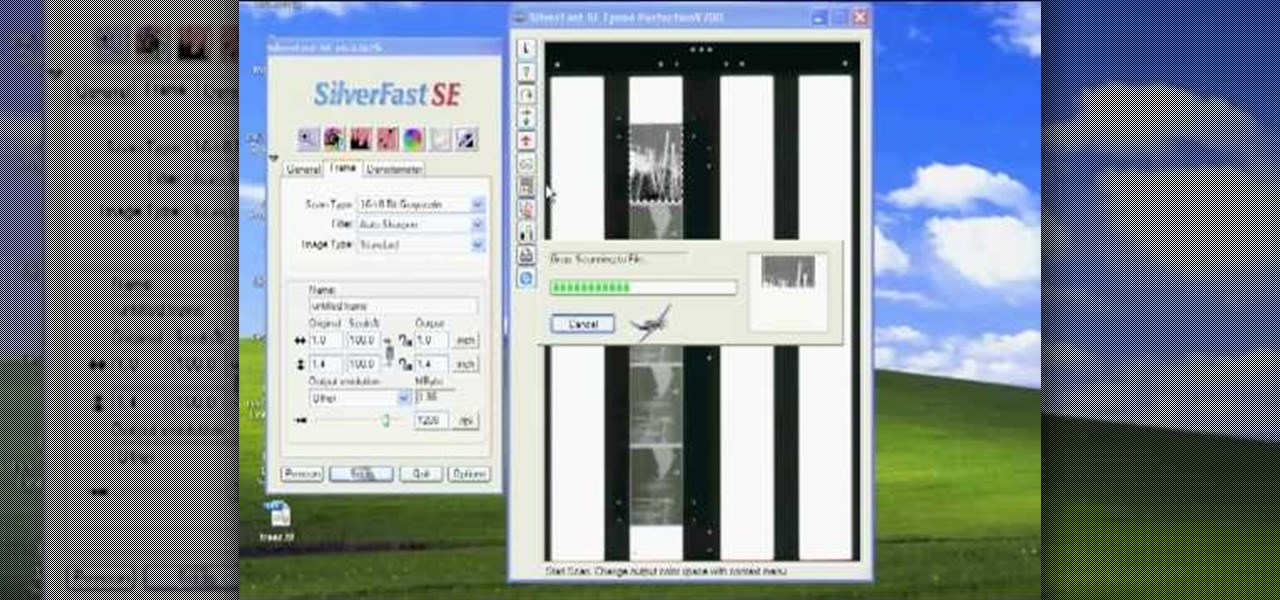
In this tutorial, we learn how to scan and edit negatives with SilverFast and Photoshop. First, open up the software and lay your negative in the scanner. Make sure you have selected the correct settings when you go to scan it, and click that it's transparent. Also, you will need to increase the size of it and make sure the lighting is correct. Now, scan the image and load it onto the software. Once it's loaded, you will be able edit it by zooming in and then rotating the image so it's the co...


