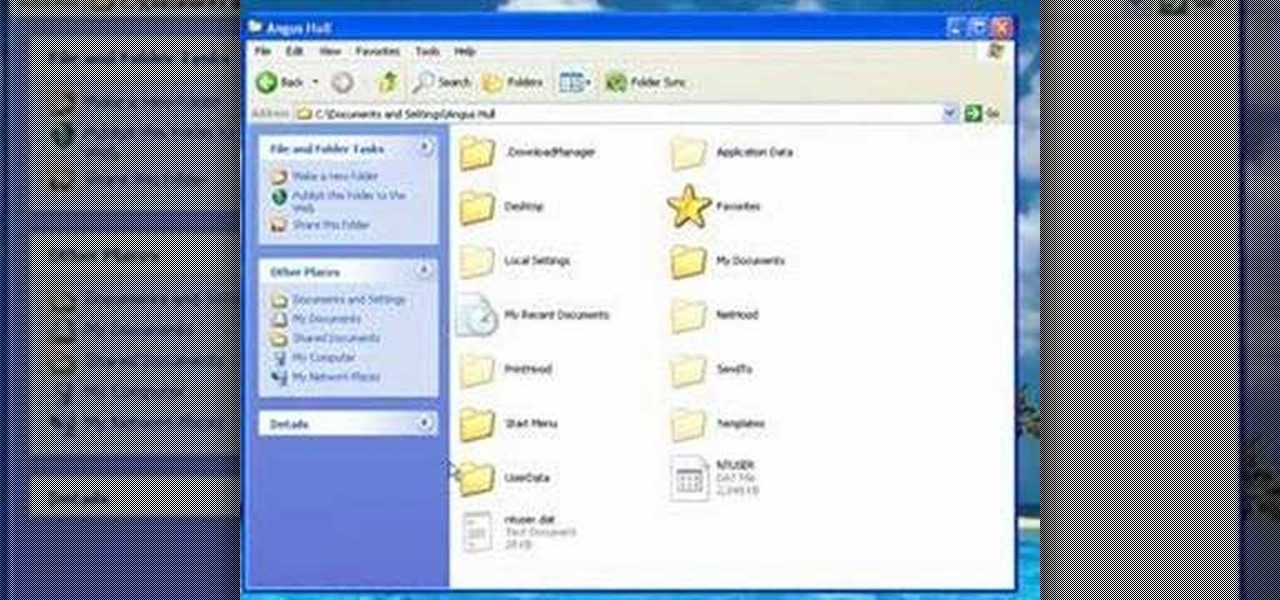
First of all you have to click on the ‘my computer’. Now you have to click on the ‘C drive’. Now go to ‘your name’ folder. Then click on ‘tools and settings’ from the top. Now click on the ‘folder options’. Then click on the ‘view’ option. Now check against the ‘show the hidden files and folders’ option. Then click on ‘apply’. At the last click ‘ok’. Now go to ‘your name’ folder. Click on the ‘temp’ folder. Open it and then you shall find some light...

James from DreamWeaverTutorial.co.uk shows you how to use collapsible panels with the spry module in Dreamweaver CS4. The spry collapsible panel works similarly to an accordion widget, except it only has one section which features a tab panel and a content panel. When you click on the tab panel the content panel either appears or disappears (toggles on and off). You can add background colors, text colors, images, rollover effects and more, and James shows you exactly how to do all that in thi...
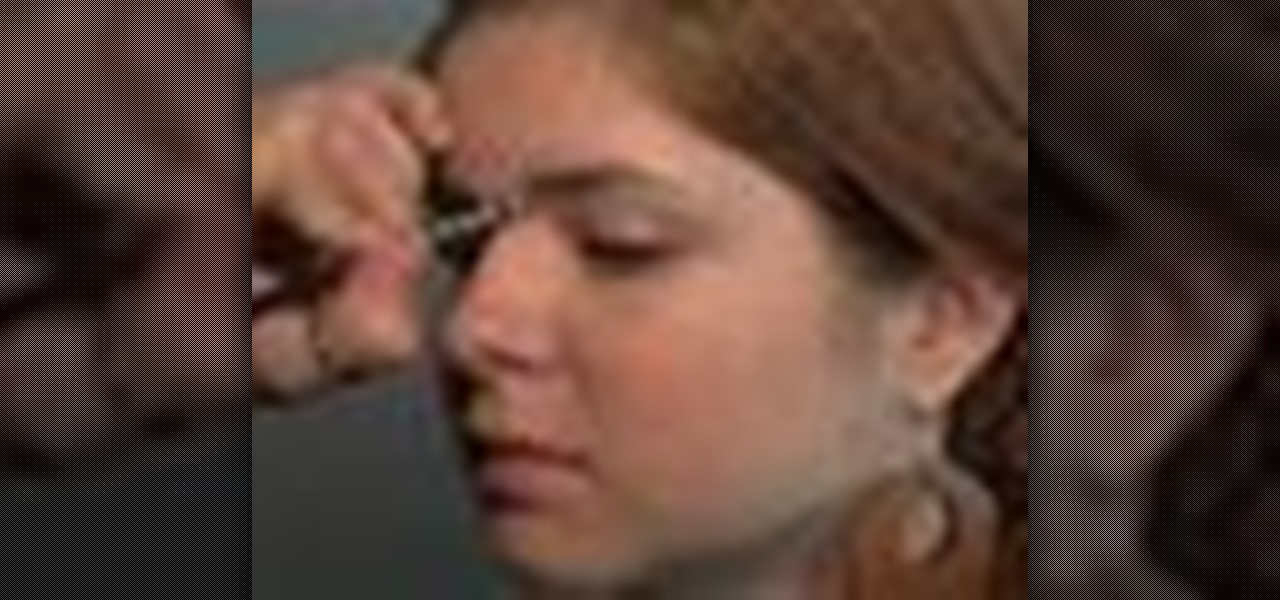
Beau Nelson gives tips and a demonstration on eye brow make up. He says that brow trends change often, but right now the style is to have a more full looking brow. To accomplish this, he says that the first thing you need is a good brow brush. To the brush you apply a shadow color that is a shade or two lighter than your hair color. Start with just a little shadow on the brush, you can always add more. Brush upward for the inside half of the brow, and outward on the outside half of the brow. ...
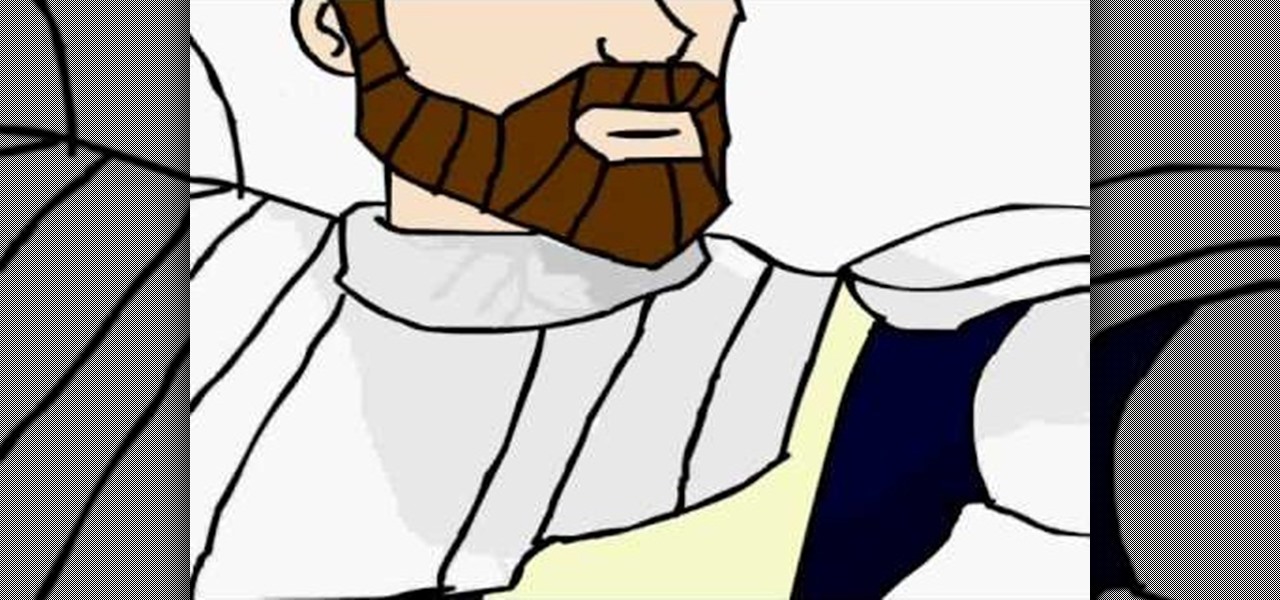
This artist shows how to quick paint/draw Obi-Wan Kenobi utilizing his mouse and pc. He starts out with a rough sketch of his character, making a black outline of his figure. He then goes back over his initial sketch with blue lines, cleaning up the lines, making them smoother. Once the blue lines are completed, the first black line sketch is erased and the blue lines smoothed out even more! Piece by piece, color is applied to each part of the character. It is placed roughly at first but smoo...
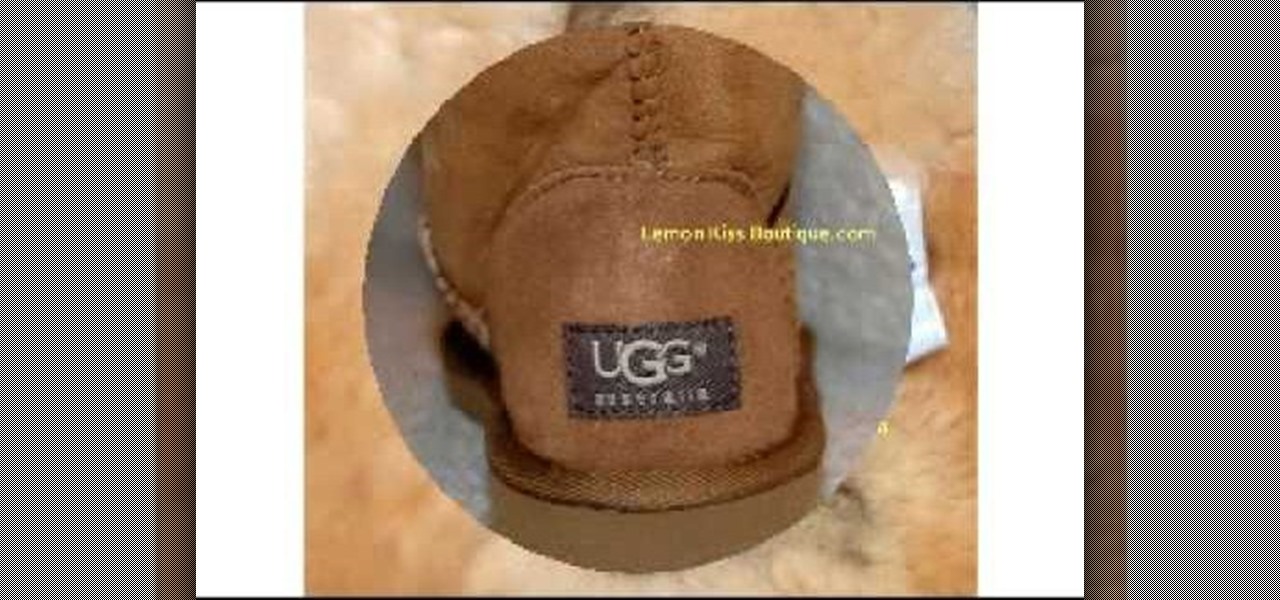
Real UGG boots or fake? You can tell if your Uggs are authentic by looking for the authentic sheepskin interior. It should have a creamy color and a full texture. Fake Uggs use an artificial fur interior that is grey in color and feels thin. Real Uggs say they are made in China on the label. Fakes claim to be made in Australia or New Zealand. Check for the registered trademark mark (R) on the sole. Real Uggs have it, fake ones don't. Finally, the uppers on real UGGS meet the sole smoothly, wi...
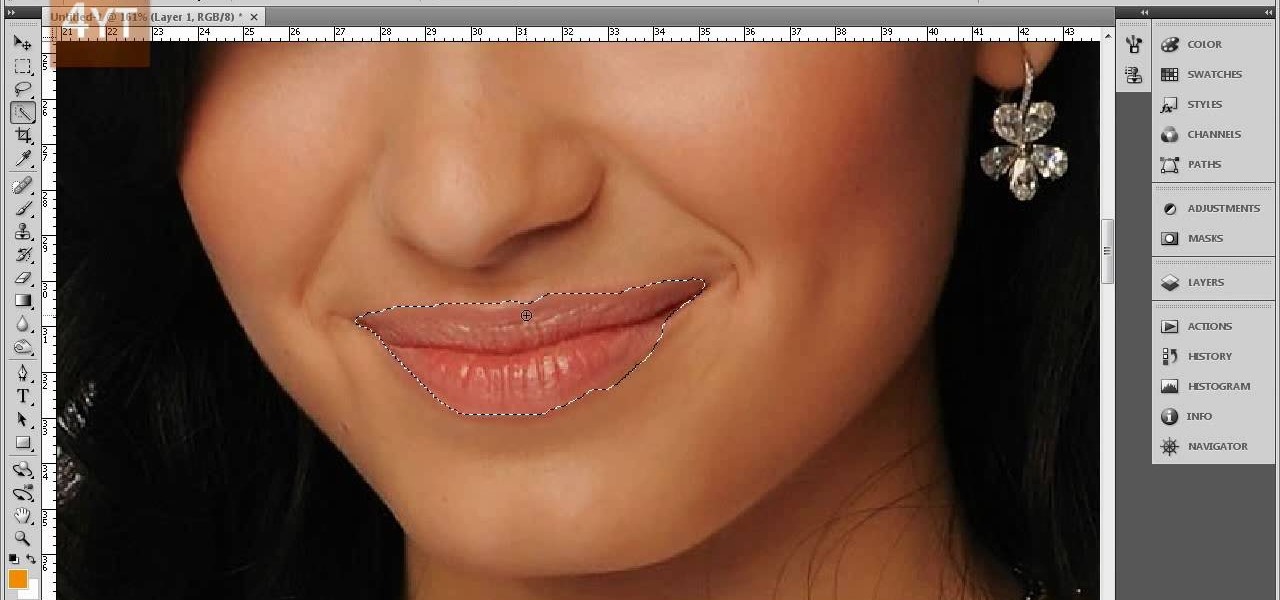
Forget to put on lipstick before a photo? Or perhaps you want to spice up an old photo of someone you love. Well their is a way, as 4YouTutorial demonstrates step by step using Photoshop CS4. First upload a photo or image into Photoshop. Next access your Photoshop layers and delete the default locked layer. After, activate the zoom tool and zoom in on the photo where the lips are located. Next choose the quick selection tool (make sure it's on plus) and drag it over her lips. This process can...

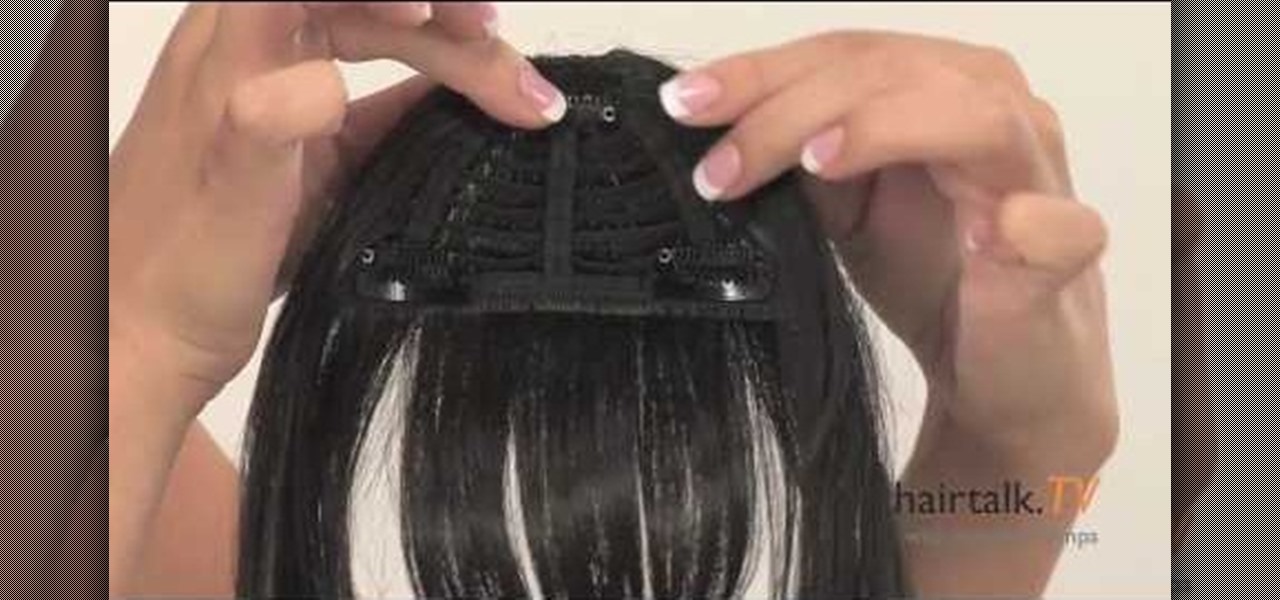
In this video, we learn how to use the new clip-in bangs created by Hairdo. These bangs are made of synthetic fiber and will mix right into your hair, there are several colors available so you can match the piece to your existing hair color easily. The piece has three clips, one on top and two on the side that will slide right into your own hair without causing any damage. All you have to do is clip the hair in and make sure it's secured. Once you you've done this, you can clip them and style...
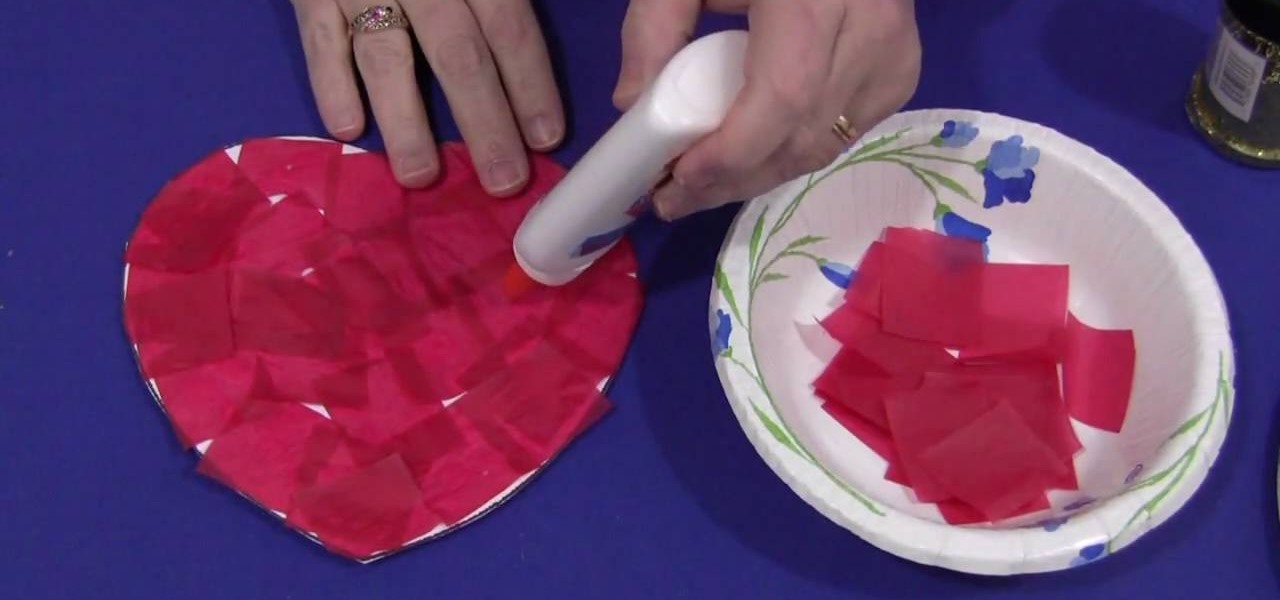
This video explains how to make a tissue paper heart with your kids. The first step taken by the instructor is to cut about thirty small tissue paper squares with the color of your choice. The instructor then takes a large piece of construction paper and cuts out a basic heart design then puts light dots of glue all over the construction paper heart. The heart is then covered in the tissue paper squares until the entire heart is evenly covered with the colored tissue squares. The last step is...
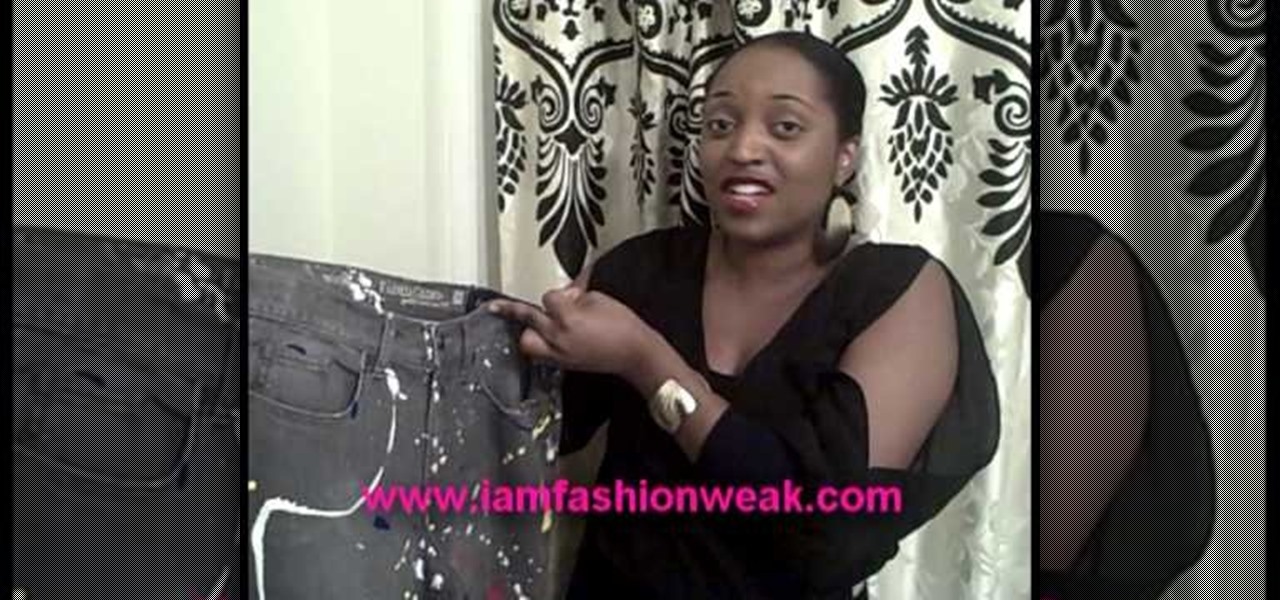
Angela and Shane from I Am Fashion Weak demonstrates how to bleach and paint splatter your own jeans. All you need to bleach your jeans is bleach and a measuring cup. If you bleach black jeans, you can get tan and gray shades. A bathtub is a safe place to bleach your jeans. Crinkle the jeans and pour the bleach over the crinkled spots until it changes into the color you want. After you bleach the jeans, wash them and dry them. You can also use a sanding technique to give the jeans a distresse...
A simple and creative way to make your own wallet. A few folds and snips of the scissors and you've created your own pocket wallet. You can even use different color of the carton to achieve a different and unique kind. It is extremely simple, the only things you need are your hands, scissors, tape and stapler. Open the carton, flatten it out, cut, tape the cut sides, staple and apply adhesive strips. You can apply whatever color of tape you want, this can make the wallet even more personalize...
Watch this video and teach yourself how to make an easy and cheap clutch wallet using duct tape. The materials required for this are a pair of scissors, a rod, Velcro sticky tacks and duct tapes of different colors and you can use as many colors as you want. Cut out 12 inch strips of duct tape and stick five of them slightly overlapping one over the other. Then stick five more of the duct tape strips as in the above procedure so that the sticky sides of the two layers will be stuck together. ...
Make sure you nails are already clean and dry. Choose you colors. Add the lightest color first. Using a makeup sponge works great to apply the fading effect. Apply to French manicure area not straight. Reapply pink polish just at the tip of the nail. Apply glitter polish over the pink on the tip of the nail. After applying the shimmer get the nail art polish and make your deign. Make sure your brush is thinned out. Add your design then you can add your gem stones and finish it off with some c...
This video explains how to paint nails with a cobalt blue and flower dot design. The first step taken before applying the paint is to do a white wash manicure. The instructor begins by covering her makeup sponge in a dark blue color and then makes many small dots along the whitened part of the nail. The instructor then makes many more small blue dots along all of the boarders of her nails. After the blue dots have dried a white coloring is used to make flower pedal like designs within the blu...
This video illustrates the method to Make a nuno felt purse. You need colored paper, a piece of cloth and a pair of scissors to make it. This process is comprised of the following steps -Step 1Cut a oval shaped figure from the sheet of colored paper. Make a crease in the middle and fold the paper.Step 2Cover the paper with the cloth piece. Stitch the end of the piece of cloth and cut the cloth in a proper manner.Step 3Make the oval shaped figure into a rectangular figure. Add some nuno paste ...
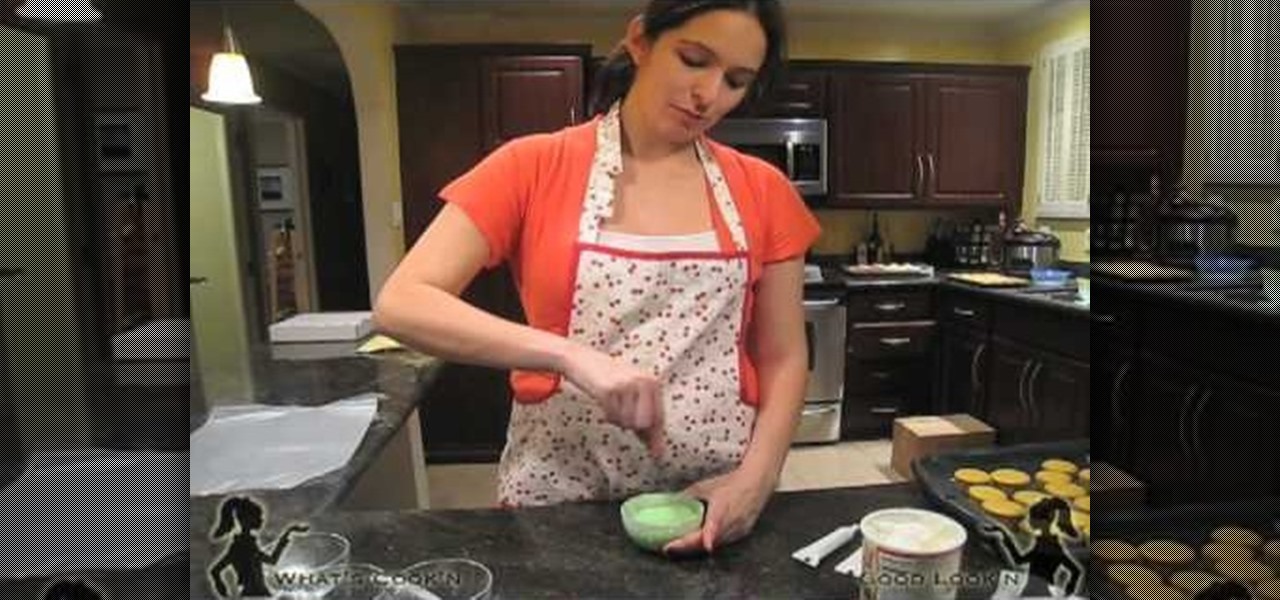
Stephannie teaches us how she prepares her "not so famous" mini cupcakes for a nephew's birthday party. After mixing up the yellow cake mix and putting it into a large plastic bag, you cut the end off the bag and squeeze the batter into cupcake cups within a pan. You should then proceed to cook them at 300 degrees F for 15 minutes until they are done. With a bit of humor Stephannie shows us how to mix food coloring into white frosting and a neat icing trick. By placing it in the microwave aft...
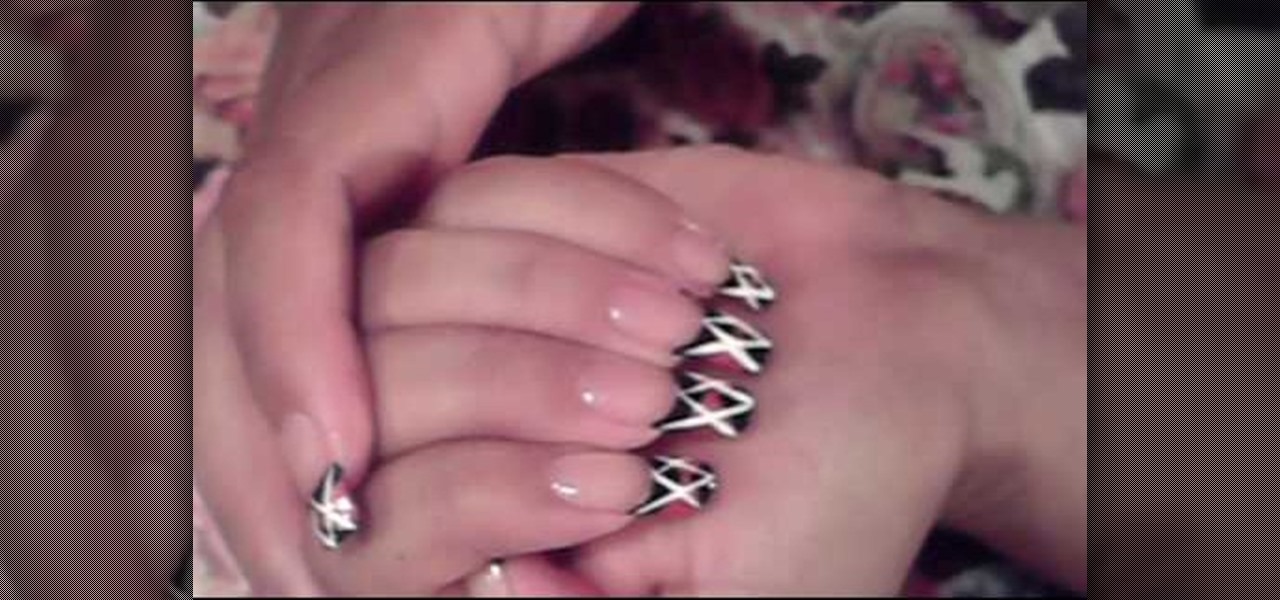
this short video shows how to paint nails in a black, pink, and white art design. The steps are simple and easy to follow. The first thing to be done is a regular black, French tip manicure. Once the black French manicure is completely dry, a pink thin tip nail polish is taken. From the middle of the nail , on the black tip, draw a V mark facing sideward on both sides. The next step is to fill the two "V"s, inside with the pink color. Once dried, with the white thin tipped nail polish, a line...
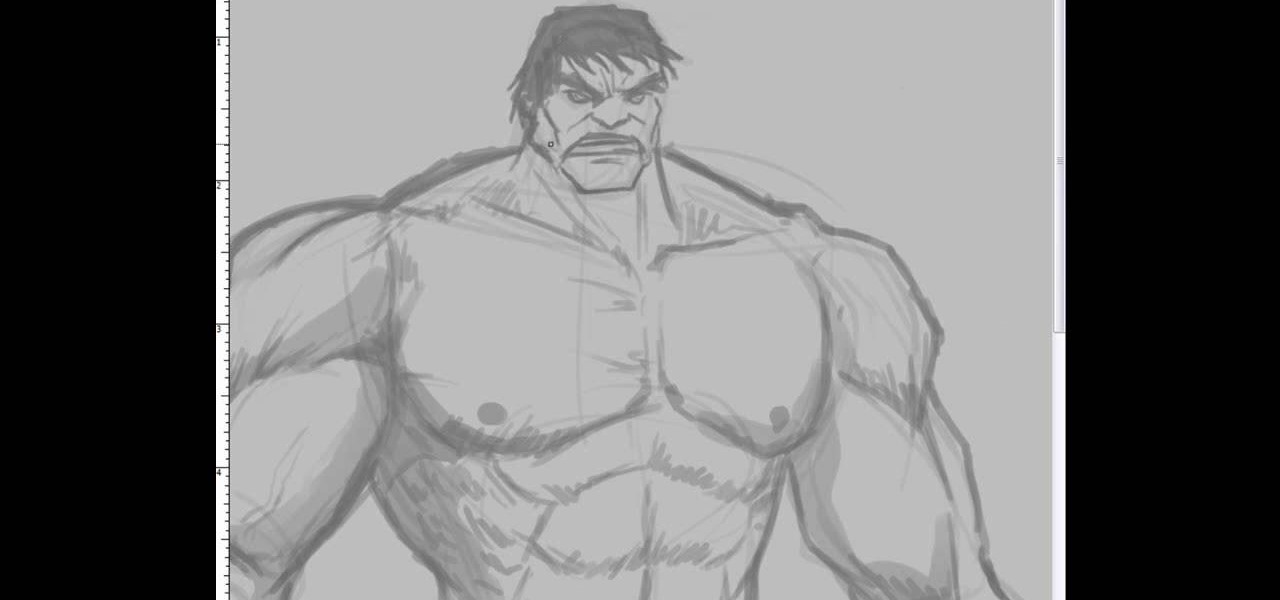
This video illustrate us how to draw the incredible hulk. Here are the following steps:Step 1: First of all take a sheet of paper, pencil and pencil color.Step 2: Now draw a square with round edges representing the face of the hulk. Within the face draw eyes and a big mouth and hairy eyebrows.Step 3: Now from the bottom of the circle draw an oval with wavy structure on it showing the six-pack abs of the hulk.Step 4: Now from the down side of the abdomen extend two legs with muscular legs and ...
This video is a tutorial on how to paint nails with cheetah print and rhinestones. The tools shown by the instructor consisted of nail polish and makeup sponge. The first step taken where to cover the tip of the nail in a white polish with a burnt orange colored finish. A sharpened pencil is used as an art tool to shape round circles onto the corners and center back of the nail made of a dark brown nail polish. The instructor then takes a glittery gold color to make river like patterns runnin...
In this two-part video tutorial, learn how to paint a neon orange & silver nail art design with the help of a nail professional. Although this orange & silver color scheme is used, one can choose any two colors they like to complete this look. Use this video as a guide and get this simple nail manicure done in no time!
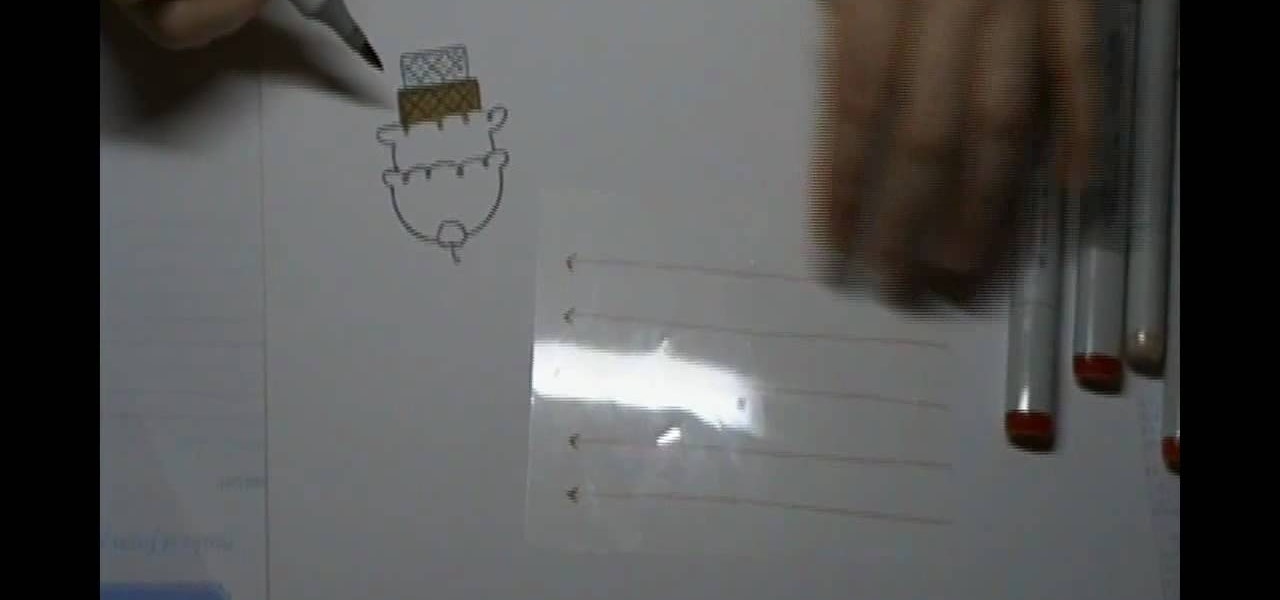
This video shows you the basics in understanding how to use Copics pens. In this video you'll focus on the basics of coloring. You'll learn the do's and dont's in order to achieve a perfectly colored piece for everyone to enjoy. This is a great video if your familiar with Copic pens or just curious how to properly use them.
Danielle Proud shows you how to make a beautiful Christmas table centerpiece for your Christmas dinner! Your guests will be amazed at how incredible your table looks. This amazing display catches light and looks simply magical. All you need is an old pair of deer or elk antlers, some sticky-backed crystals, and a little time and creativity! First, take your antlers and sand them until they are smooth and the color you like. Then, take different sized crystals, even different colors if you pre...
Learn how to make a simple Ghillie suit in easy steps. 1. First find out some burlap bags and cut them up. 2. Now dye your burlap by choosing the proper colors that are suitable to the environment you are going to be in. 3. After selecting the dye color, soak them in it, let it dry and string it. 4. Now attach a netting to your selected base and then tie on the dyed burlap strings to the net. 5. Finally make any changes if needed and then test it out to finish.
This video shows how to make a bay girl and boy head made of clay. The first thing you need to do is get a small round ball of clay that is a skin color color. Then you get the small black beads and place it firmly on the ball they will act as the eyes. Then make the eye creases on the side of both eyes. After that you add the other physical features like nose, mouth, ears, and eyebrows. The last thing you do is fold two square pieces of clay into the shape of a bow then place it on the top o...
Yanik Chauvin demonstrates how to create a batch using Photoshop and them Lightroom so you can decide which is faster and more convenient for you. In Photoshop, he first changes the color in the image, which he explains step by step the process, then saves the image as an action. He then shows you the process to batch the images so they will appear on your desktop. He also does the same thing with the image in Lightroom and shows you the process in which you would change the color and sync th...
Joey Logano paints the #20 Home Depot Toyota race car with Home Depot orange color. 1. Paint up the chassis. 2. Dry the paint for about 4 days using a grill specially made to fit the body of the car. 3. Bake the chassis in the oven for 160 degrees F. 4. Get some orange stickers that is exactly the Home Depot orange color. Design the body and headlights.
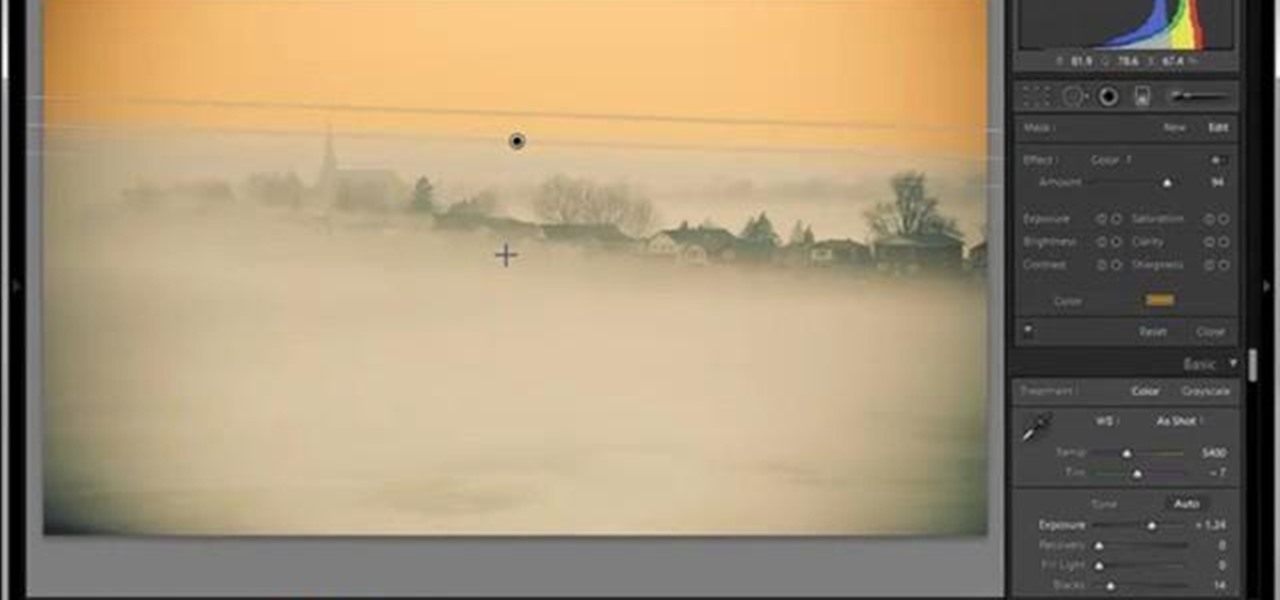
In this tutorial, Yanik Chauvin teaches us how to create an old-style looking photo starting from a grayish, underexposed one, using the software "Lightroom". He starts by creating a virtual copy of it, and then he adds a Camera Calibration preset named Camera Landscape and increases the exposure. After that, he crops the image removing the blank parts of the photo, and adjusts Contrast, Blacks and Clarity to strength the image borders.
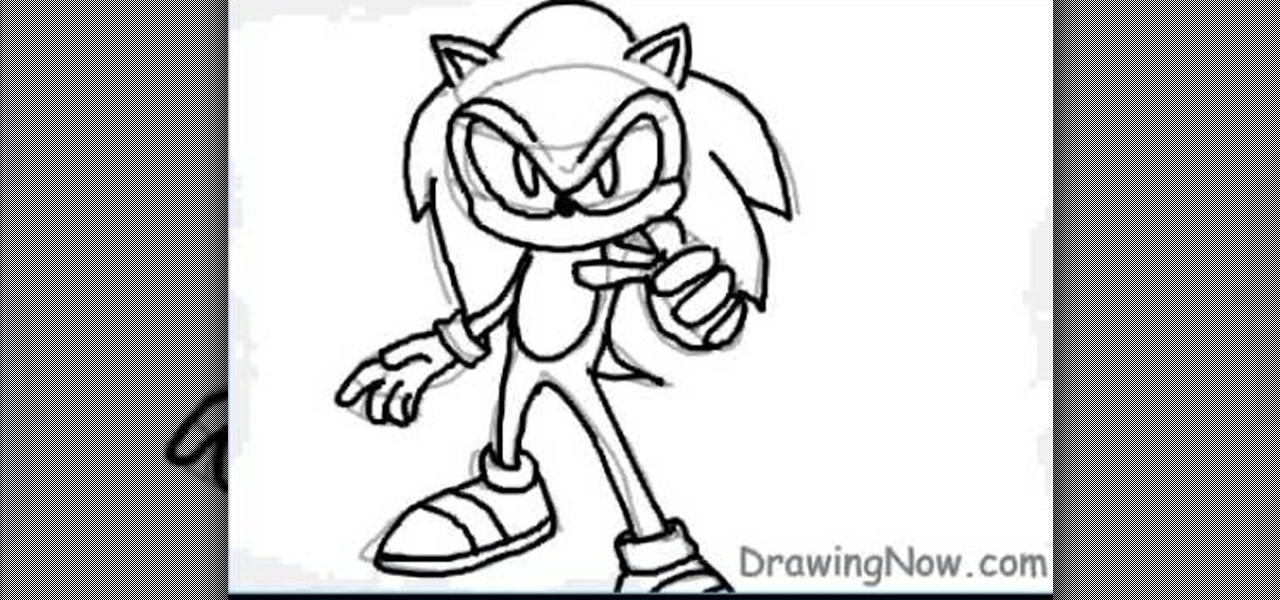
In this video tutorial, viewers learn how to draw Sonic from the Sonic the Hedgehog. Begin by drawing a circle for the head and 2 triangles for the ears. Then draw the lines for the spikes and a small oval for the stomach. Now draw the hands, legs and feet. Draw the eyes. Now draw the tail and outline the image. Add the details and delete the guidelines. Start adding color to the image. Add some darker colors around to create shading. This video will benefit those viewers who enjoy drawing on...
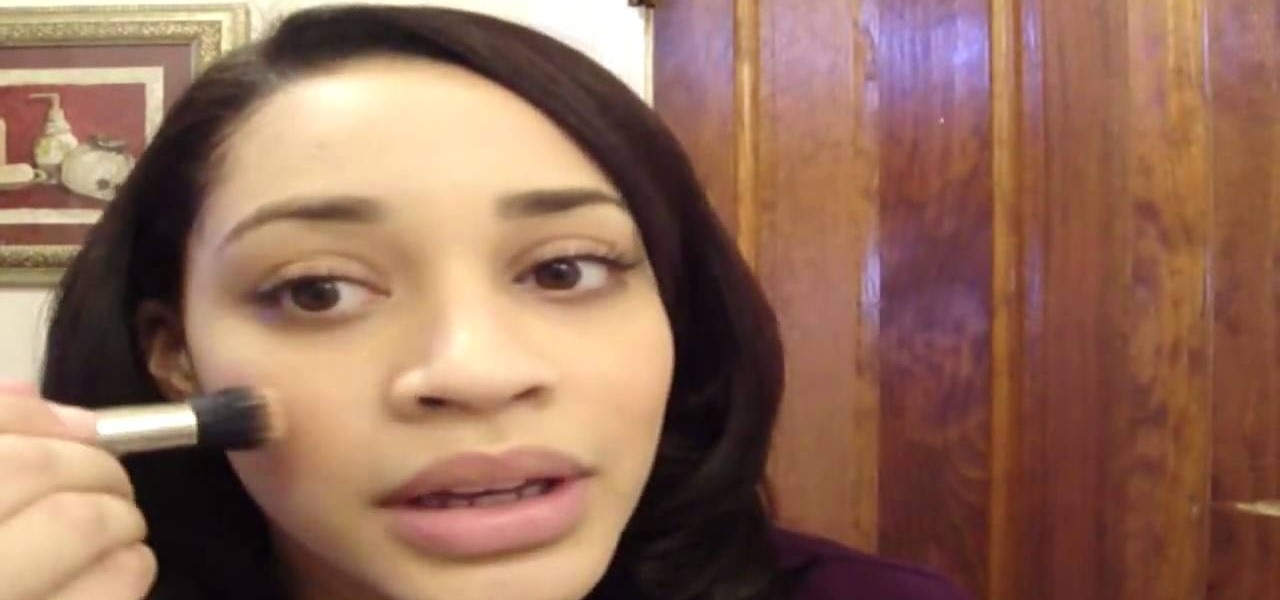
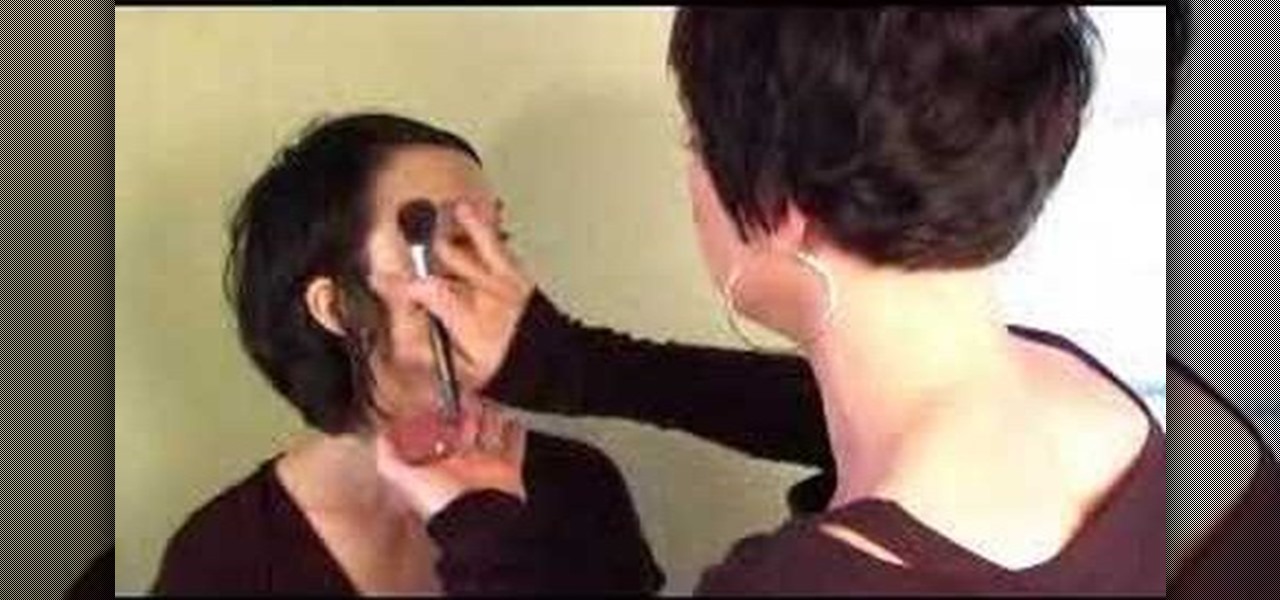
It is a demonstration of a cream blush with a # 130. We will be using a steela convertible collar and a color called camellia which is #1 and is used mostly as a blush which nice and bronzy. You firstly stamp the brush onto the blush and then lightly tap the brush onto your hand first so as to ensure you won't have too much of blush on your face.
In this video we are show how you can make old furniture look softer. It looks really easy but dirty so old clothes and cloves would be advisable. First of all take your glazing color and mix it with a white. Then take mix and mix it with a glazing medium 1 part color and 3 parts glazing medium. After it is mixed well take a brush wipe on a thin layer of the paint/glazing mix. Wiped directly after with a sponge. What will give your old furniture a softer look. But you don't have to stop there...
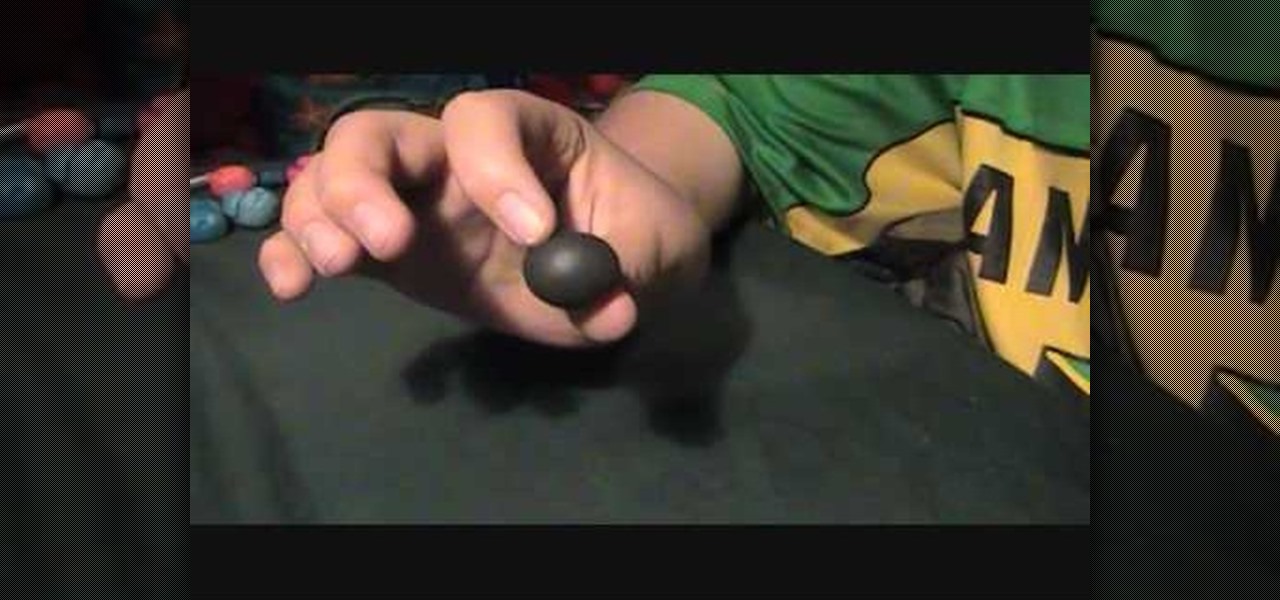
She teaches us how to make a beautiful jewelry pendant for a necklace out of polymer clay. She starts with kneading a black base. She then sends it through a pasta machine. After she has a black flat sheet she rolls it into a ball again. Then, she takes the other five colors and starts rolling tiny little ball. She attaches them to the base black ball. Next, she creates a snake with the colors swirling around. She sends it back through the pasta machine to create a perfectly flat surface. To ...
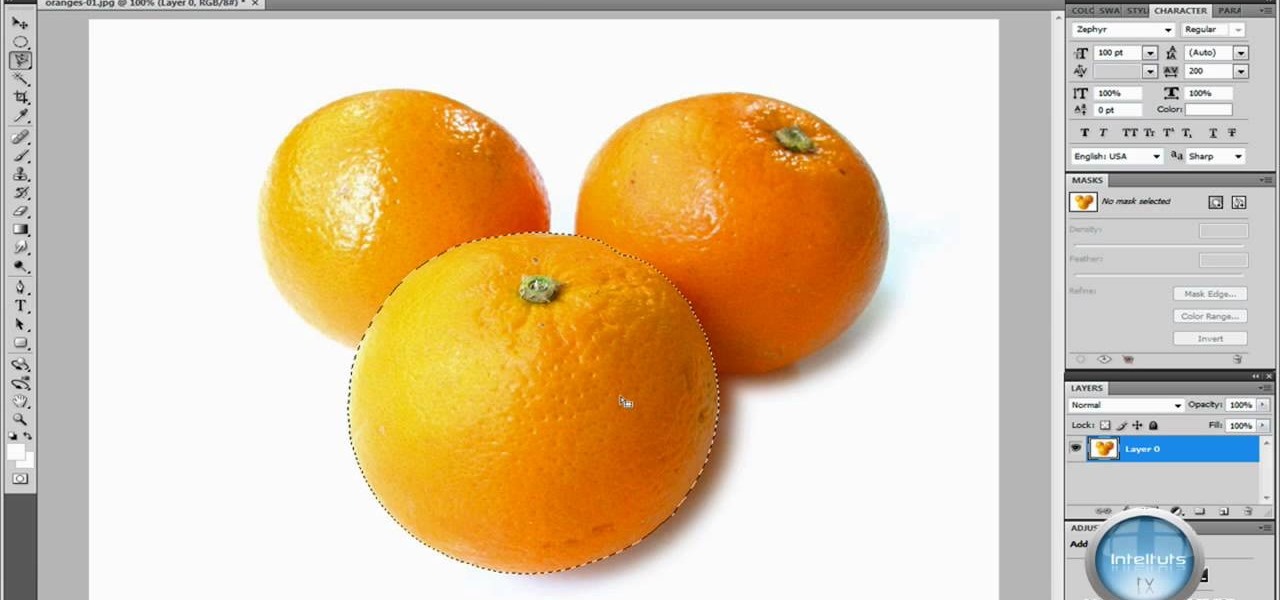
In this Software video you will see how to extract and apply color correction in Photoshop CS4. First select the object and extract it. The tool that you use to extract will depend on the type of image. For example, for oranges, select the Magnetic Lasso Tool from the left hand panel. Take the cursor, click on the outer line of an orange and drag the cursor along the outline of the orange. The tool automatically creates anchor points. You don’t have to click. But, if you want to create an anc...
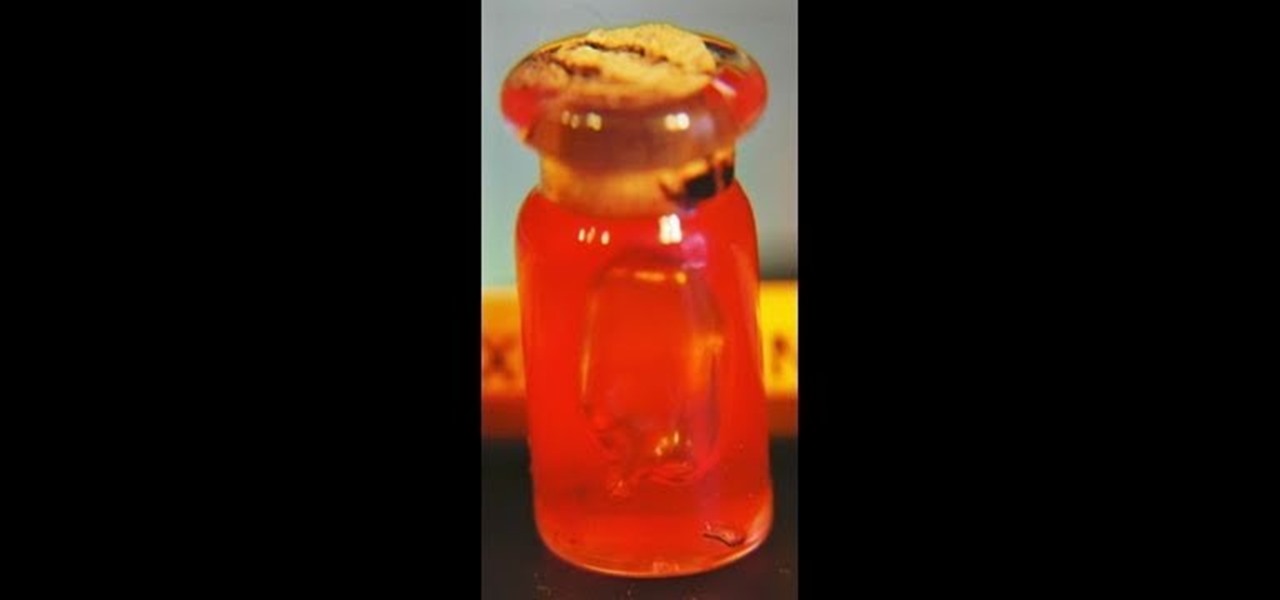
Decorating a dollhouse with tiny details is easy with this informative clip. You'll learn how to make a miniature jar of jelly for your dollhouse. Learn step by step how to use clear liquid nail, coloring gel, a syringe and Q-tip to fill a tiny jar that looks more than realistic. Using a jar from a necklace, the presenter fills it with the colored glue then takes a small amount of cotton cloth, attached with a small wire, to make it look like a jar of jelly from your pantry. This easy to foll...
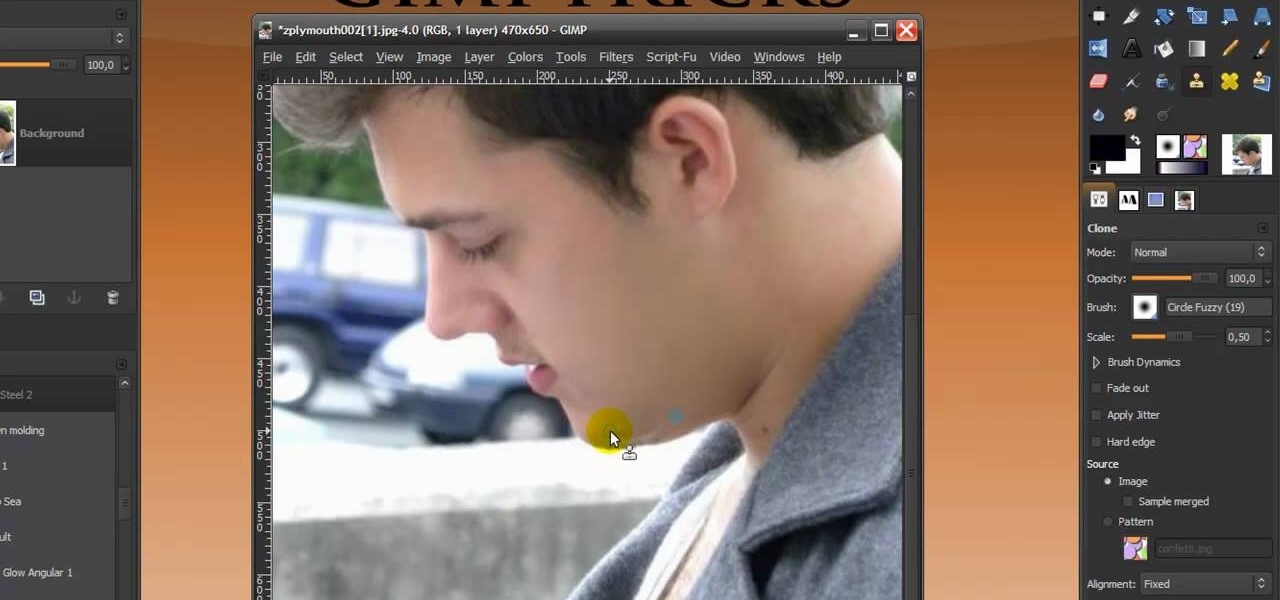
In this Software video you will see how to give someone a shave in GIMP. Learn spot removal, skin smoothening and a makeover or removing a 1 day beard. This is done using the Clone and the Healing tool. To use the Clone tool, select the tool from the right hand panel. Then to select the source skin color, you have to hold ctrl key down and click. Now when you apply it to the area you will get the same shade of the source color. So, you will need to select an area very close to the spot you ar...
This is a great instructional video on how to make a paper ribbon bow. This video teaches you step by step to make a nice paper ribbon bow. This will be very much useful for children work in school or even at home. You need color paper, scissors, gum, pencil and a set square. First you have cut the color papers so as to make about 1 inch width ring from it. You have to paste the paper ends to make it as a ring. Similarly you can make another ring with lesser width. You can make about four rin...
In this video from youngbodymind Lisa G shows us how to make yourself look younger in just 5 minutes. First start with a primer. This keeps your makeup on throughout the day. She uses a brush to apply it. Then she applies a foundation as a hydrator. It also evens out the discoloration she has which makes her looks younger. Then she applies a bit of blush. A cream blush works and she also applies it to the eyelids for some color. Then she applies a little pop of color to the lips making her lo...
This video loosely explains the method of how to make a blue colored slime from corn flour, blue food coloring, and a quantity of water which is undetermined. Quantities of ingredients to be added for this project vary and can be made up as the person goes along in combining the ingredients to produce the desired results. Ideally, the product should be of a slime like consistency, or can be described as 'gooey' in appearance. The resulting slime product should be easily stirred when it is sti...
Dragontrap uses 1/2 a yard of three different colors of fleece for this scarf project. She cuts the fleece into strips of twelve to sixteen inches in length and two to three inches wide. Then she sews the strips together lengthwise, rotating the colors of fleece. Once the strips are sewn together, she has a large rectangle of pieced together fleece This is folded in half with outsides together. She sews one edge of the scarf closed and sews all the way down the long edge of the scarf. Finally...
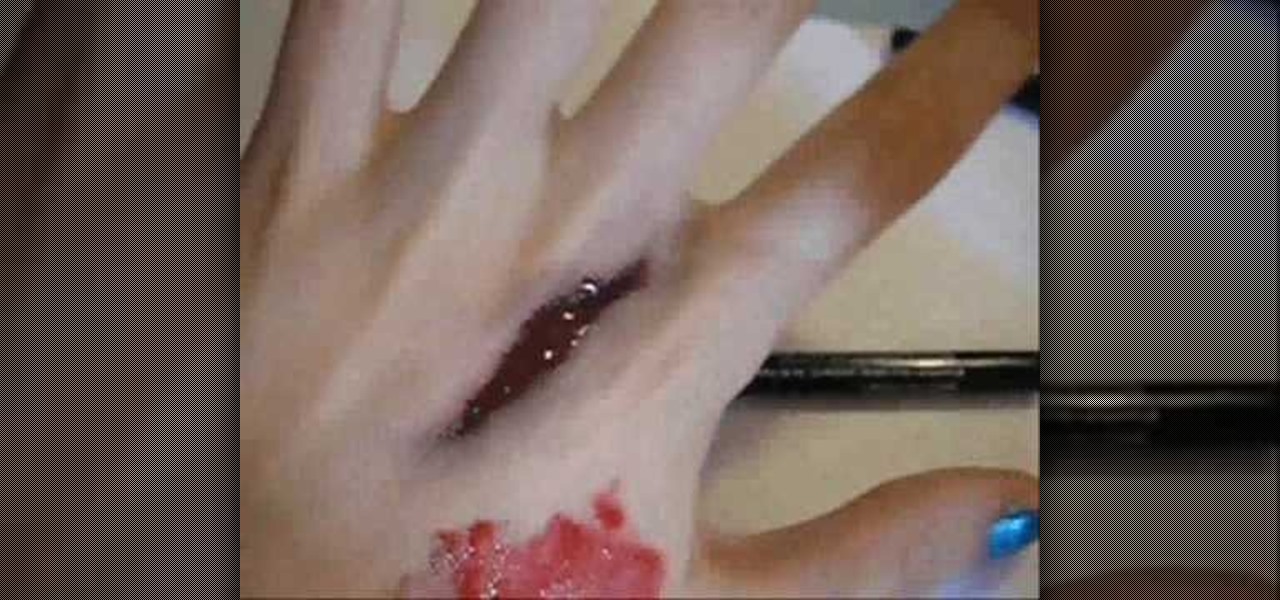
To make lip gloss look like fake blood you will need a tub of red eyeshadow, clear lip gloss, black eyeliner and red lip liner pencil. First dab a little bit of lip gloss onto your hand. Color red lip liner around the lip gloss blob. Then, flake the red eye shadow into the mixture and stir it up. Add a little bit of black eyeliner or mascara for a darker color. Apply the fake makeup blood to your desired area by caking it on. You can also use your black eyeliner to provide a wound shading bas...
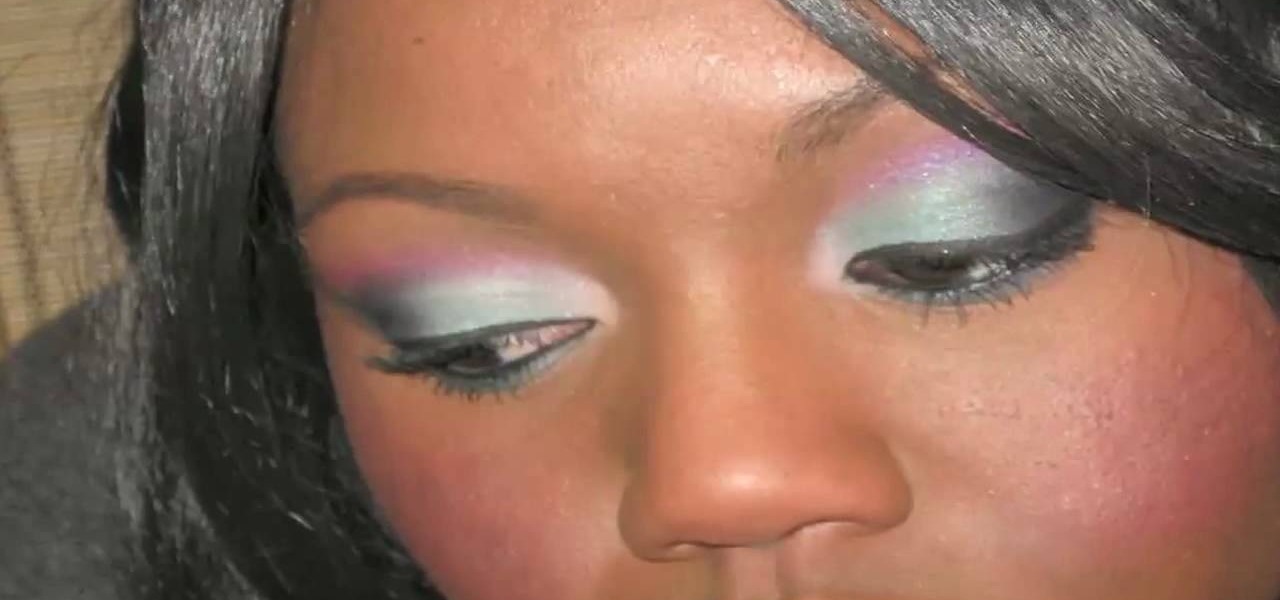
EyeXluvXmakeup shows you how to apply Hello Kitty Too Dolly makeup. For this you will need the Hello Kitty Too Dolly palette, the Hello Kitty tippy blush, Viva Glam V L/G. Using a short haired brush, you need to start by applying a dark blue color on the bottom of top eyelid. Next, use a frosty blue color and blend those two together. On the crease of the eyelid you will add pink and blend that with the frosty blue. Last, you will need to use the frosty blue under the eyes and apply blush on ...
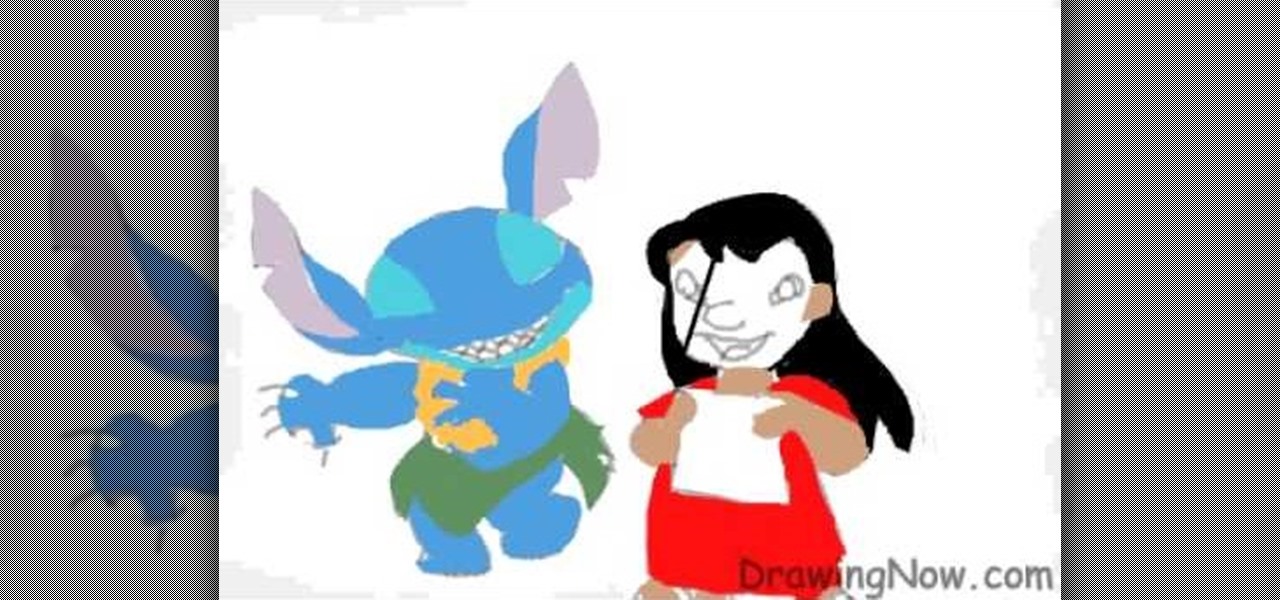
Begin by drawing an oval and attach two feathered shaped ears to head. Draw guidelines for the face. Draw the face and a marshmallow shaped torso. Add the legs and arms. Add the detail and start erasing the guidelines. Repeat the similar steps for Lilo. Once finished both characters, color them. Add a darker shade of the colors for shading. Outline the characters and add all the details. This video will benefit those viewers who enjoy drawing on the computer and would like to learn how to dra...