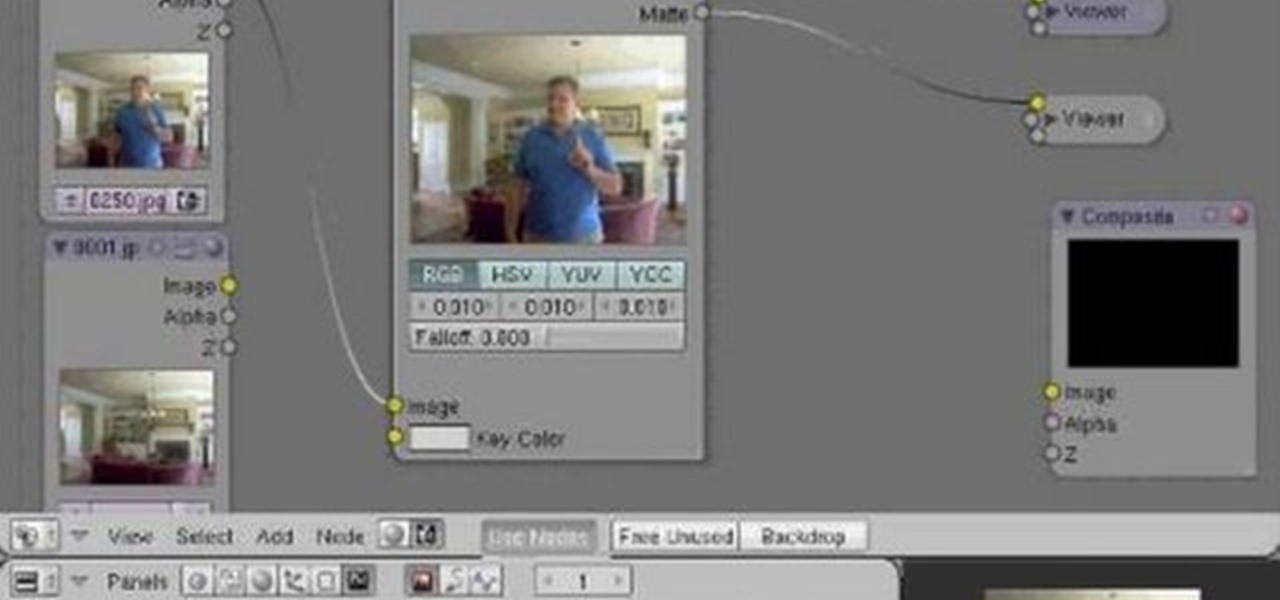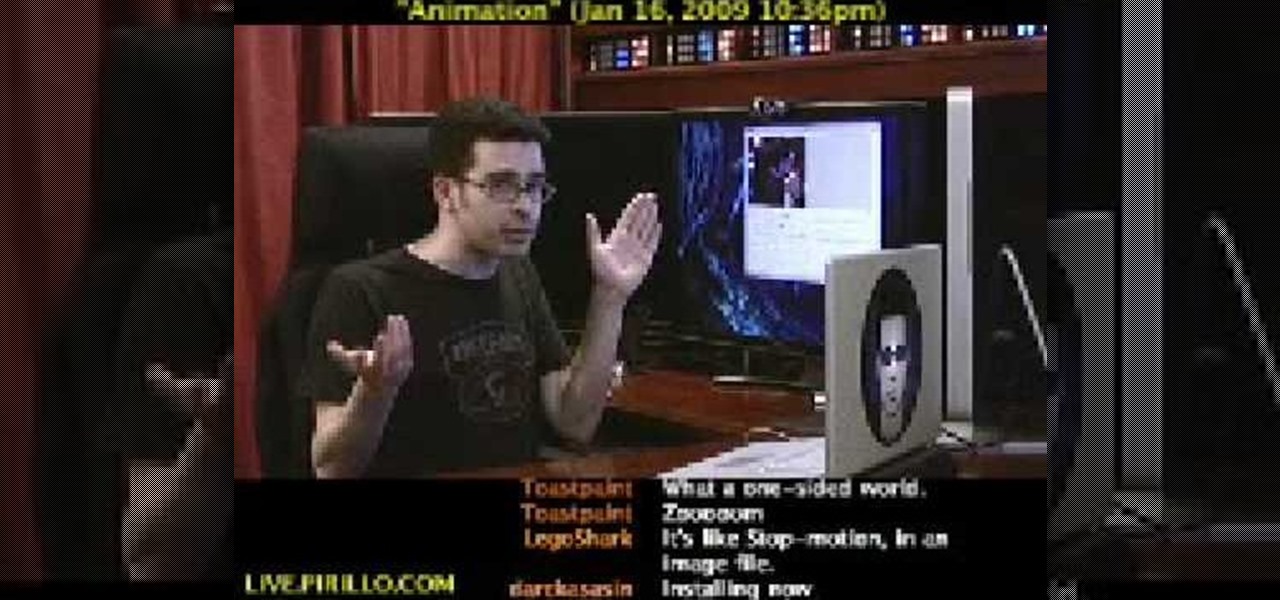
Use nodes to compute the difference between two images, usually a matte or background shot and then the same shot with actors in the set. This technique was used in the film "Death Becomes Her" starring Meryl Streep, Goldie Hawn, and Bruce Willis. Use this technique to create ghosts, glass people, or to uncover watermarks and prove video ownership. Whether you're new to the Blender Foundation's popular 3D modeling program or a seasoned graphic artist just interested in better acquainting your...

This was a request from my cousin, to draw Justin Bieber. This is a hand drawing tutorial of Justin Bieber. For all you JB fans out there, this is the easiest and most detailed video on how-to draw Justin Bieber by hand with a pencil.

Learn how to adjust the mouse cursor size on a Macintosh computer, so that it is easier to see and locate. The cursor can be adjusted to your liking by accessing the "Universal Access" preferences window and then by selecting the "Mouse & Trackpad" option. Near the bottom of the control panel, you will be able to find a slidable bar that can adjust the cursor size to be smaller or larger, as needed. This option can help make the mouse cursor easier to see against a difficult desktop backgroun...

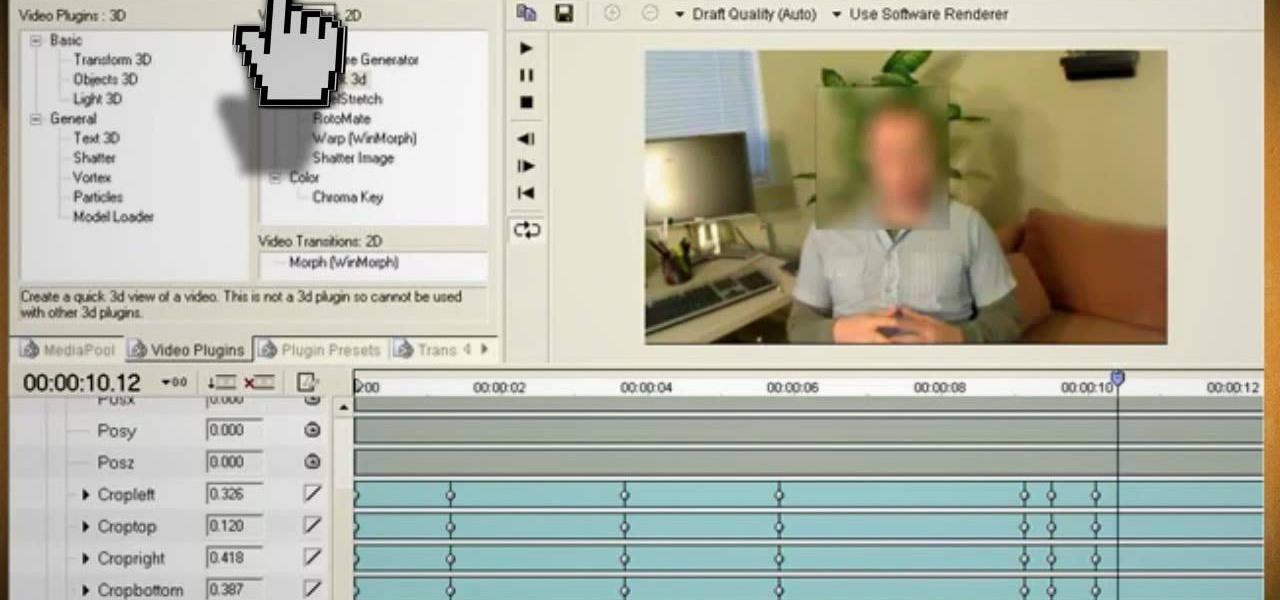
Watch this video and learn how to protect your identity on the internet. This clip will help you learn how to blur out your face and alter your voice when posting videos on the web, where your identity is an important secret. Stay anonymous while portraying your opinions. This software can also be used to avoid release issues with strangers in the backgrounds of your videos. Preventing passers by from having there picture posted with your opinions opening you up for legal action. This can als...

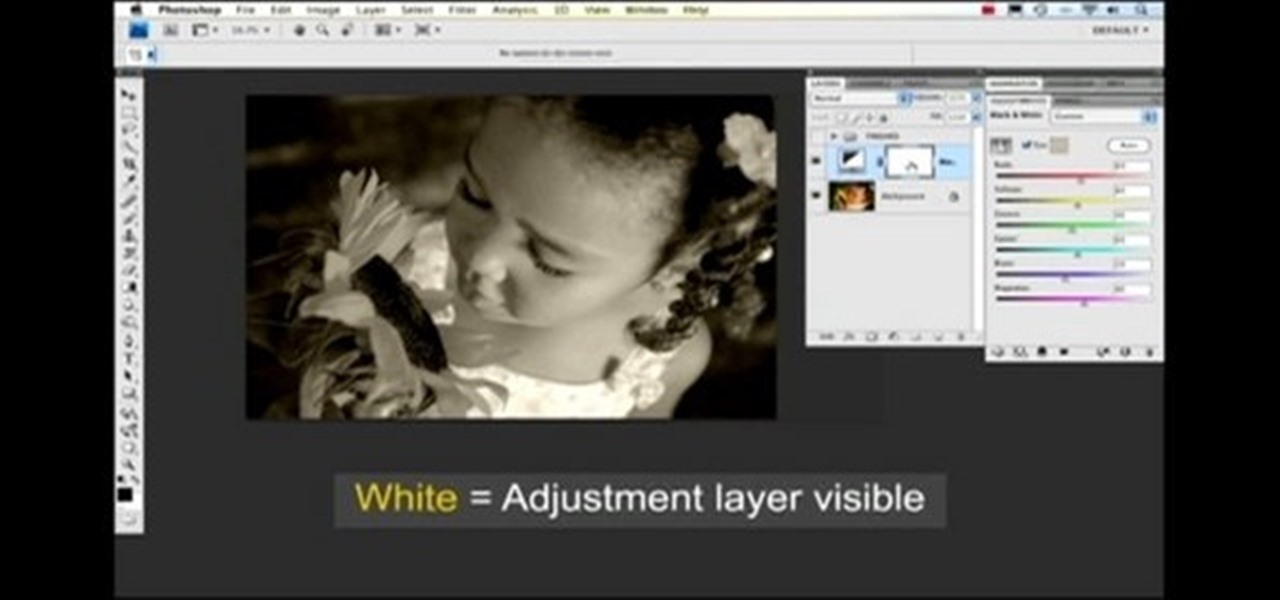
Nichole Young demonstrates how to hand color using layer masks in Photoshop CS4, which also works in Photoshop CS3. The procedure can be summarized in two stages: turning the picture you would like to edit black and white and then bringing color back into it to give it a hand-colored look. The black-and-white effect is achieved by creating a new layer over the background layer. The next step is to give the picture a warm look by adjusting the layer’s respective color balance. Then bring the c...

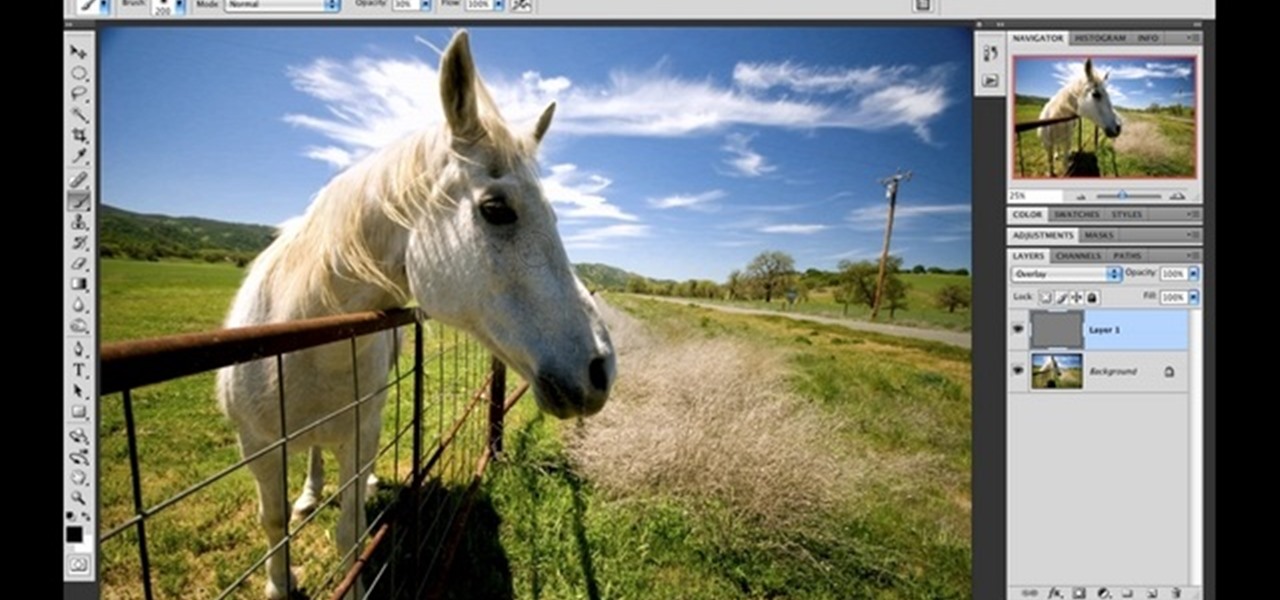
Nicole Young demonstrates how to use non-destructive dodging and burning using layers in Photoshop. Your first move is to create a new layer and then hit shift + delete to select the level of opacity. You want the layer to be fifty percent grey. Now select overlay from the menu which will make anything that is fifty percent grey will be transparent. You will be dodging and burning with white and black brushstrokes. To switch from black and white background colors just hit x. Other keyboard sh...

The video explains how to change the background color of objects using Photoshop in a simple manner. This way is better quick mask mode, because this way is more efficient and more advanced. First you click control G, Image control color and then you take the Image samples. The tutorial shows how the oranges are changed from their original color into a reddish color. Then it shows you how it adjusts the shadows of the oranges and the color of the leafs. The video is quick and it explains full...

Initially, it is explained what an animated GIF is: a series of frames that are shown in sequence, and are looped 'forever'. There is an example of one of them in the background, and it is stated that it was created in around a minute, using nothing else than a webcam and a free software, found at TagJag.

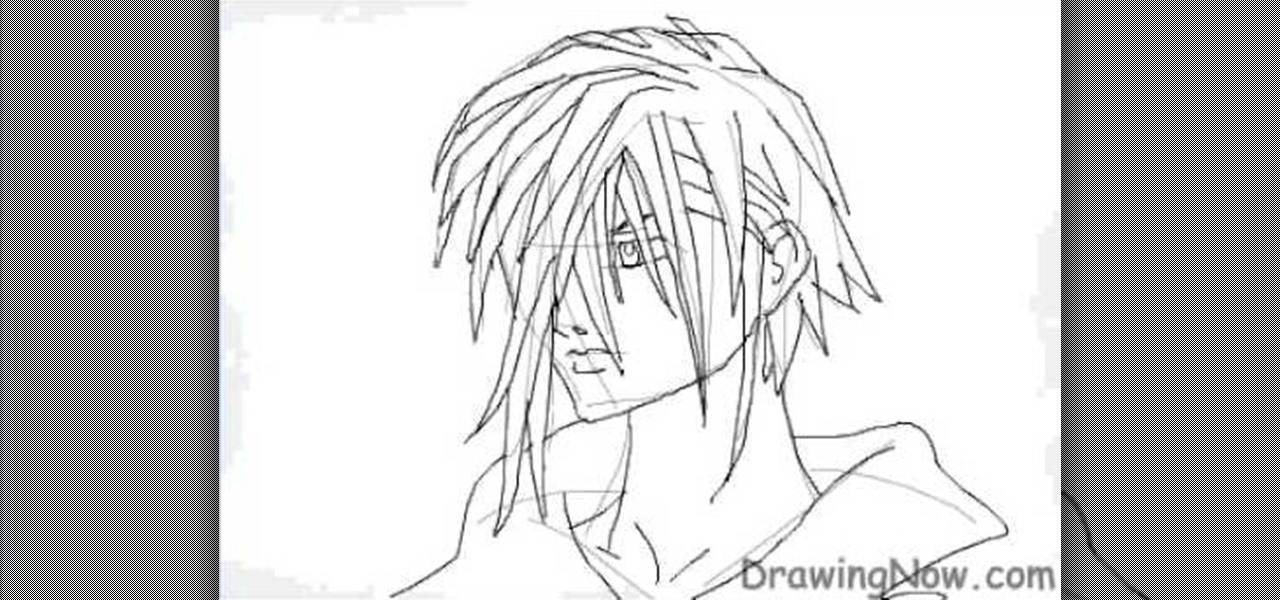
Start by drawing a sketch. Write a line that bold. Delete line a sketch out. Men appear as images. And then draw a mouth. Images as characters in the game FNVII.

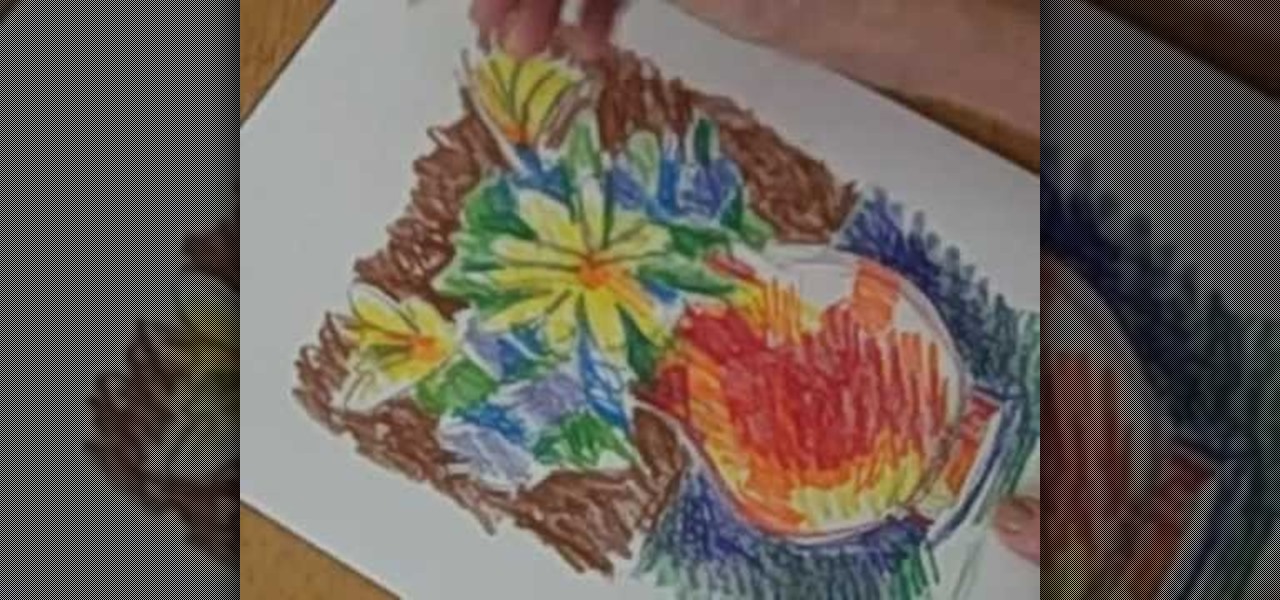
Swirloflight teaches you how to draw a vase with flowers using a colored pencil. Start with a regular black pencil to sketch the flowers and base. You want to start off with basic shape and draw only what you need. You will now go to the next part, using the colored pencils. Don't go into great detail and don't be afraid of going outside of the lines while coloring in. The colored pencils are good for creating rich areas of color. After you're done with the vase and flowers, create a blended ...

The new Windows 7 layout is streamlined for the occasional user to the head of human relations for Microsoft. Wall papers, system sounds, and resolution settings were covered in the instructional how to video. The evaluation specialist was knowledgeable and articulate. Transitions into new areas of the operating system were appropriately placed. To make a text more readable, you should change the screen resolution. Choose your picture library to start a slide show for your weekly conferences ...

Are you interested in 2D animation in Flash? First import a image in flash. Then create a new layer and choose oval tool and take a radial gradient. In the middle of the shape, we need to have zero alpha value and pick the colors from the background of the image. Create the shape over the image and take another frame at no.10 and increase alpha. Then create another keyframe and convert it to movie clip. Then create shape and motion tween. On the new layer, write a stop command in action scrip...

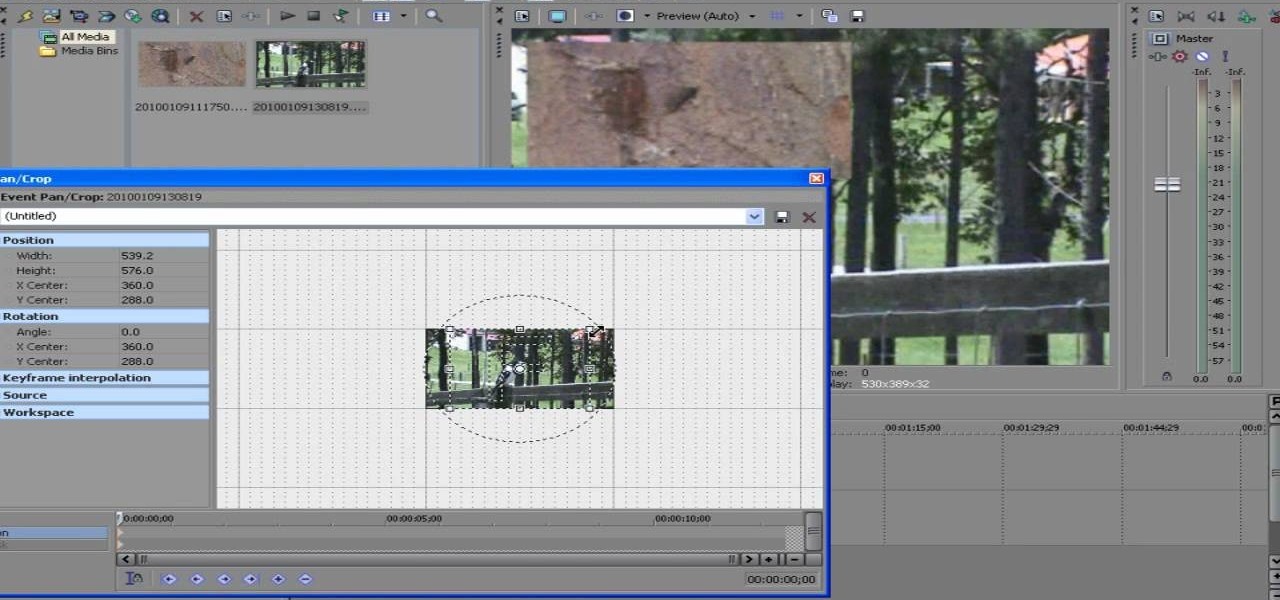
ConnersTutorials, teaches you how to put two videos playing simultaneously in one movie. You use Sony Vegas and drag both movies in the time-line below. Then you press Event pan/crop on the first video. Right click and choose Match output aspect. Then re-size and move the video as you want. Do the same for the other video. Go to Media Generators to choose the background, which can be a solid color, a picture or another video. Just drag that down in the movie time-line when you're pleased. All...

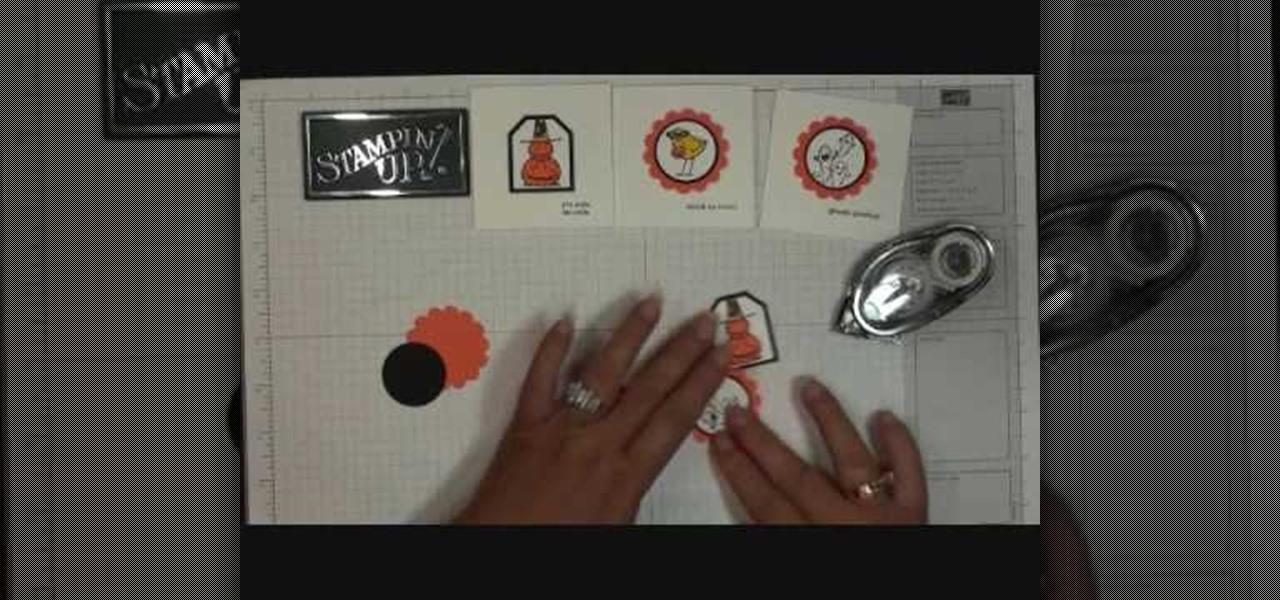
We learn how to make a fall themed thank you card with Stampin' up. The Stampin' up set she used today was the Halloween theme. Firstly cut out your stamps. Then choose the colors of your liking to color your stamps with. Thereafter, cut out your stamps in any design. Continue on with cutting a rectangle that is just a little bigger than your stamp. Glue the stamp to the orange rectangle for a background. Then you are done, but you can add even more to your stamp with glitter and sparkles.

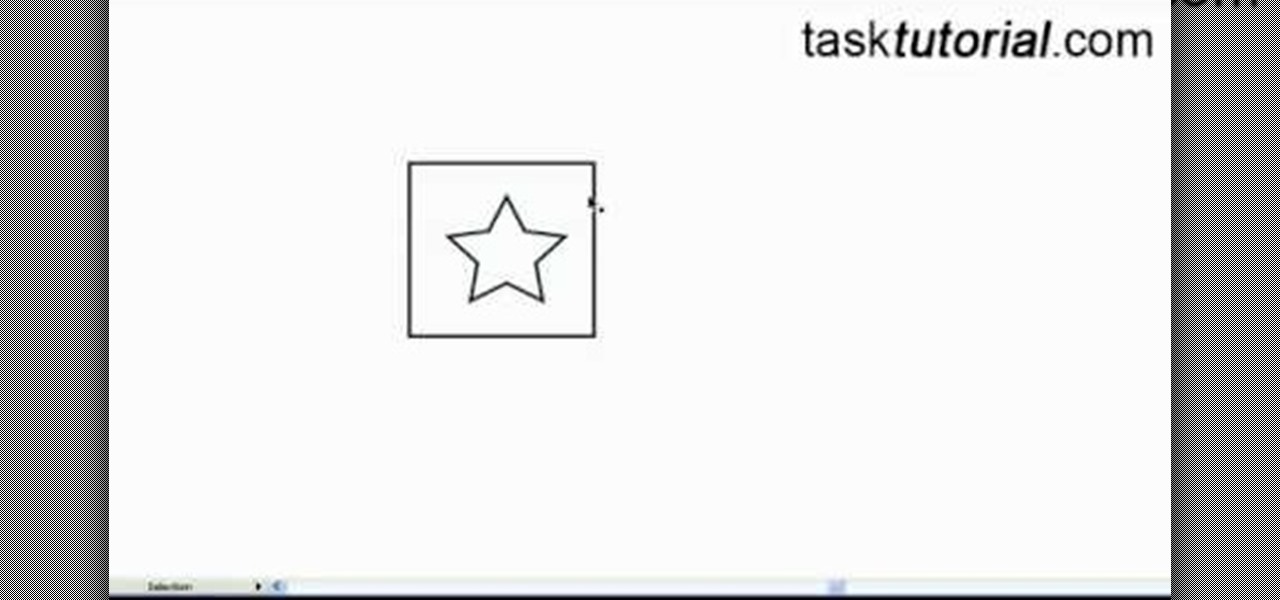
This video tutorial by Tasktutorial shows you how to create a simple swatch in illustrator. Select the star tool, draw a star and select the path and scale it down as shown. Change the fill color to white, the stroke color to black and the stroke weight to 2 points as indicated. Select the rectangle tool and draw a background for the star, bring to back, change the fill color to blue and de-select the stroke as directed. Align the shapes using the align tool and select both paths and bring in...

If you aren't familiar with Illustrator software it is very similar to the photo-editing software Photo Shop. This video is a guide on how you can make a paper scroll by using Illustrator. You can follow along with the video and make the basic shapes and then re-size the pieces to look almost exactly like an ancient paper scroll. This would be something really neat to make if you needed a background for an old-timey looking photo or if you needed to make up invitations for a church function.

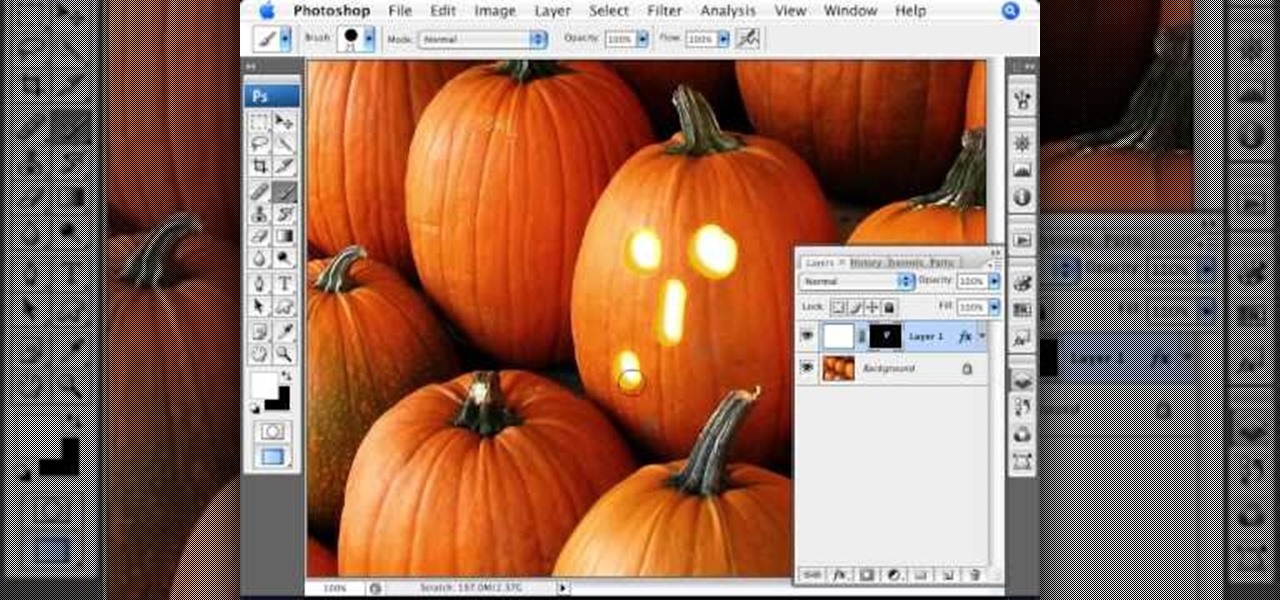
Photoshopuniverse shows the way to create a Jack-O-Lantern in Photoshop. At first you need to collect or take a photo of a pumpkin. Make a new layer, with a white background, then mask it. Fill it with black color. Now go to blending option and give inner shadow, inner glow, gradient layer and outer glow. The major color will be yellow. There will be also a thin stroke. Your brush is ready now with all its effects of a Jack-O-Lantern. After following this video, you can use the same effect an...

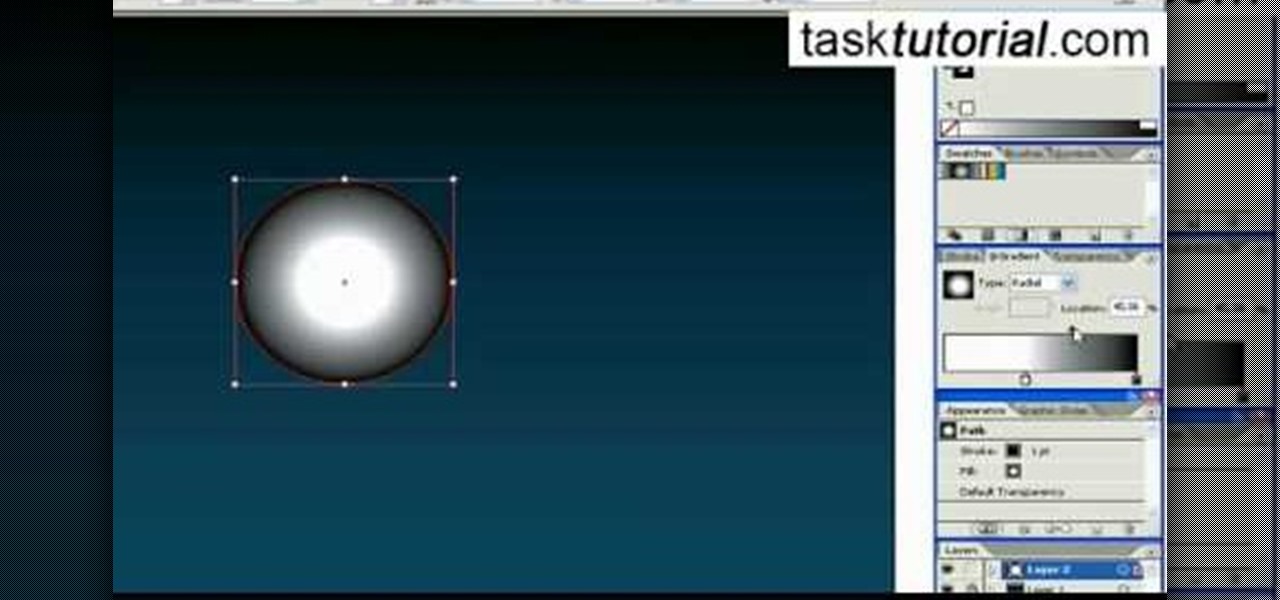
Want to create some cool effects in illustrator? Create a new layer. Draw the ellipse tool and add radial gradient, then go to transparency and select screen. Then create the star tool and deselect stroke. Drag and place the star shape on ellipse and group them. Then duplicate that layer to make multiple sparkles on different layers. Resize other sparkles by holding down shift key. One can change colors of other sparkles. This will help you in making a good background.

Rick teaches the secrets of making a good basic YouTube video in easy steps. Some tips are given below. When creating a YouTube video first assume that your audience has a 10 second attention time. If your introduction takes more than 10 second cut out the part while editing, keep it to 10 seconds only. The second tip is to go for a good lighting, always shoot indoors using your indoor lights itself. If you are using a microphone in the camera to record, always stay very close to the camera. ...

This very informative, interesting video will have you on the dance floor in a matter of minutes. Very clear directions are demonstrated by two talented dancers. The voice-over is easy to understand. Demonstrations are given in a room with a plain background so there are no distractions. You can see very clearly what you are supposed to do while dancing the merengue. In addition to instructions on basic steps, you will also learn how to do turns and more complicated steps. After watching this...

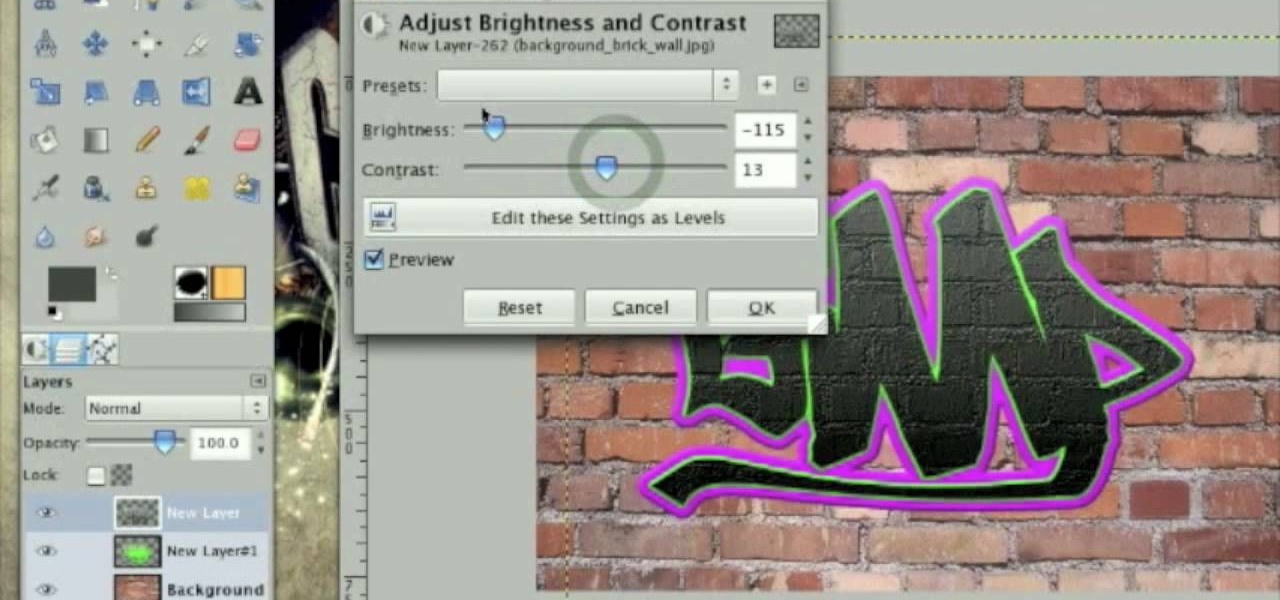
This tutorial describes how to create a realistic graffiti effect in a program called GIMP. You must first make sure that you have the font "writers original" installed on your computer. If not, you must download it to create this graffiti effect. Simply open a brick background on GIMP and put whatever text you want to have. Enhance the text by creating multiple layers and create a multi-dimensional image by creating contrast among those layers. Lowering brightness opposite layers and changin...

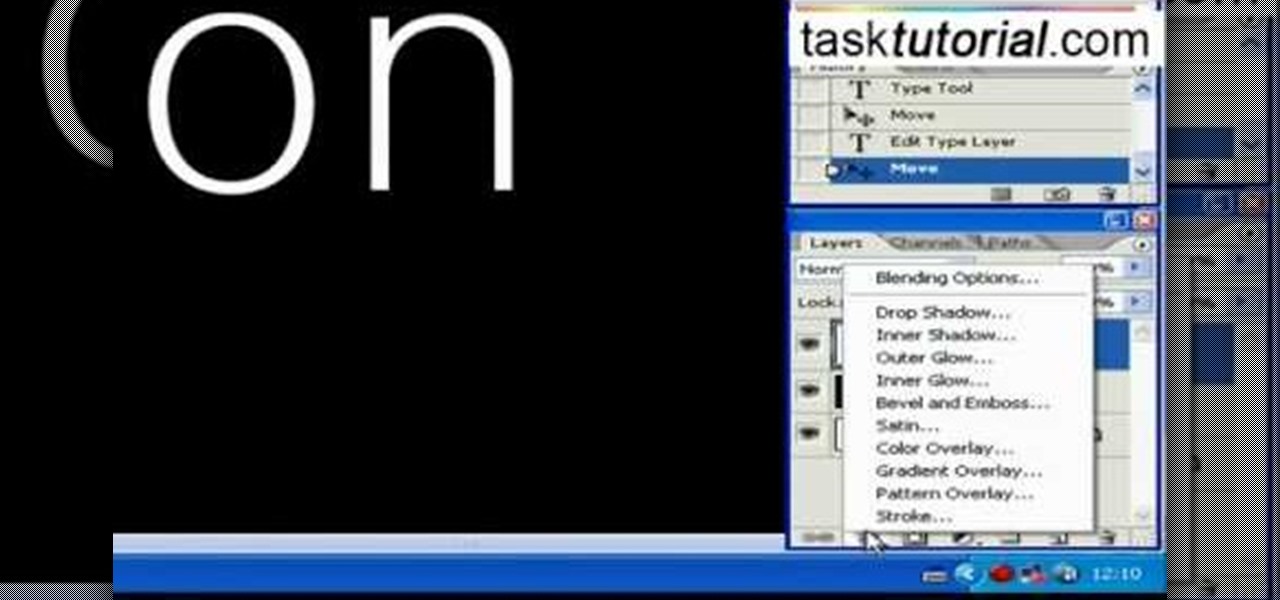
Open a document and change the background to black. Make sure the foreground color is white, now simple use the text tool and write whatever you need to.

In this video you learn the basics of how to draw a cartoon horse. The basic structure is laid out in a series of simple geometric shapes, lines and scribbles.

Simon Plant of ProPhotoInsights.com shows how to use Photoshop to blend colors in images. He uses a photo of his son standing in front of Stonehenge to take us through each layer of the photo to alter the levels of hues, saturation, and opacity. The key to blending colors is a matter of playing with different hues and saturation levels in Photoshop to get the subject in the foreground to match the background. Follow Plant's thorough tutorial to find out how to get professional looking photos ...

Tired of those bulky alarm clocks in your bedroom? Get rid of the darn thing and use your computer. There's an online alarm clock at onlineclock.net that saves space in your bedroom and keeps simplicity in mind, with simple red number digits and a black background.

Street Fighter IV: Ryu, An old favorite returns, stronger than ever. Street Fighter IV is a 2008 fighting game produced by Capcom. Street Fighter IV is currently released for PlayStation 3 and Xbox 360, with a Microsoft Windows version in the works as well.

Street Fighter IV: Quick, cunning, and flashy, Ken Masters brings his A game to the latest Street Fighter.

Street Fighter IV : Rufus may be portly, but his size obviously doesn't slow him down. Street Fighter IV is a 2008 fighting game produced by Capcom. Street Fighter IV is currently released for PlayStation 3 and Xbox 360, with a Microsoft Windows version in the works as well.

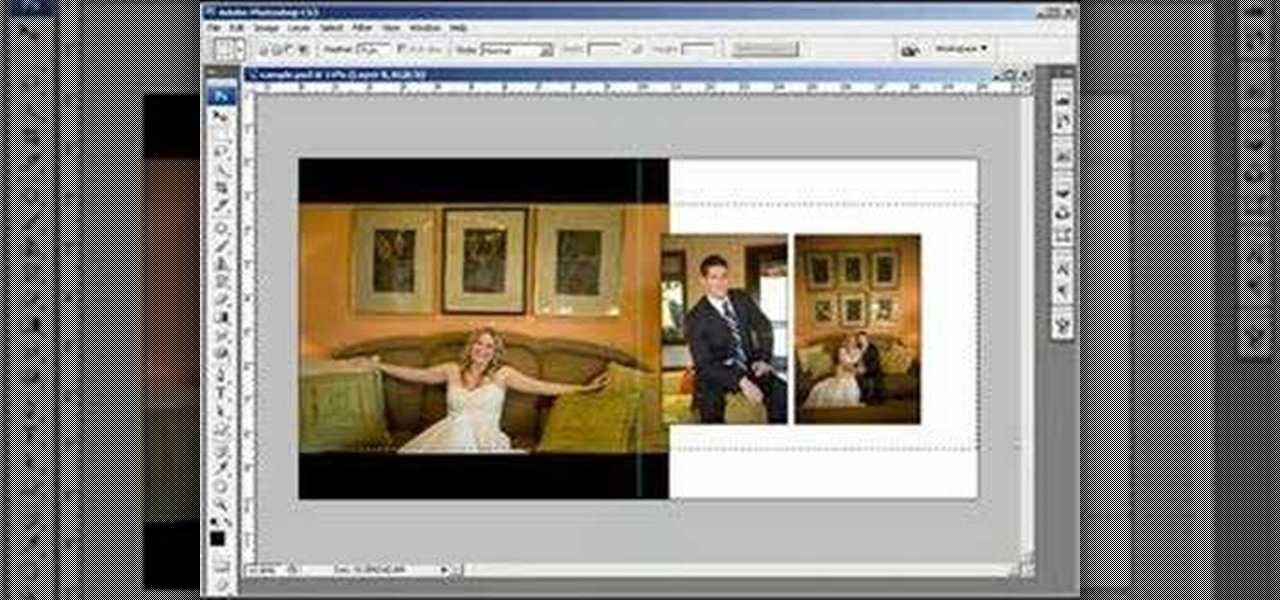
This two part Photoshop CS3 tutorial shows you how to design a flush mount two page spread. Great for anyone wanting to create a photo album, or design project. Also great for professional photographs or graphic designers that need to create two page layouts for catalogs etc. Learn how to design a two page flush mount album design with basic background design elements in Photoshop CS3.

The Firefly Pose is an advanced balance pose. Learn a new yoga pose in this video yoga lesson. Take action: let go of fear, engage core, find counter balance, walk hands back behind legs, and move energy forward. Cindy Mastry, the instructor in this how-to video, has practiced yoga since the age of eight, and also has a background in Jazz and Ballet. Active in the fitness industry for nearly twenty years, she teaches aerobics, kickboxing, and yoga at many fitness centers in the Tampa Bay area...

Open the chest and shoulders with the Warrior Pose. Learn how to do the Warrior Pose in this yoga video lesson. Take action: build strength and stamina, start from Warrior Two, reach one arm up, and squeeze thighs and breathe. Cindy Mastry, the instructor of this how-to video, has practiced yoga since the age of eight, and also has a background in Jazz and Ballet. Active in the fitness industry for nearly twenty years, she teaches aerobics, kickboxing, and yoga at many fitness centers in the ...

The Cobra Pose is a great way to stretch the back. Learn how to do the Cobra Pose in this yoga video lesson. Take action: lie on abs, bring chest off ground, lift up and stretch spine and breathe properly. Cindy Mastry, the instructor of this how-to video, has practiced yoga since the age of eight, and also has a background in Jazz and Ballet. Active in the fitness industry for nearly twenty years, she teaches aerobics, kickboxing, and yoga at many fitness centers in the Tampa Bay area. Cindy...

In yoga the Bound Forward Fold involves twisting the body and clasping the hands together. Learn a new yoga pose in this video yoga lesson. Take action: place feet wider than hips, root into feet, bend knees to lock, and focus on breathing. Cindy Mastry, the instructor of this how-to video, has practiced yoga since the age of eight, and also has a background in Jazz and Ballet. Active in the fitness industry for nearly twenty years, she teaches aerobics, kickboxing, and yoga at many fitness c...

The Dancing Dog Pose starts as the popular Downward Dog Pose. Learn a new yoga pose in this video yoga lesson. Take action: start in Downward Dog, extend leg and open hip, allow foot to fall, and lengthen the spine. Cindy Mastry, the instructor of this how-to video, has practiced yoga since the age of eight, and also has a background in Jazz and Ballet. Active in the fitness industry for nearly twenty years, she teaches aerobics, kickboxing, and yoga at many fitness centers in the Tampa Bay a...

Breath of Fire is a great way to work the diaphragm and abs. Learn how to do diaphragm exercises in Hatha yoga in this fitness video. Take action: sit comfortably, tap on third eye, focus on exhalations, pump belly, and make sound with breath. Cindy Mastry, the instructor of this how-to video, has practiced yoga since the age of eight, and also has a background in Jazz and Ballet. Active in the fitness industry for nearly twenty years, she teaches aerobics, kickboxing, and yoga at many fitnes...

This CAD software tutorial shows you how to work with lights and materials in Pro/DESKTOP. This is an advanced tutorial that will show you how to add materials to a figure, add lighting, backgrounds and export the image. Rendering completed images is an important part of working in ProDESKTOP since it showcases your final products. Learn how to make your models good with lights and materials in this Pro/DESKTOP tutorial. This video is best viewed full screen.

The first video explains the Method of Mathematical Induction. It also gives a background of Francesco Maurolico, Pascal and John Wallis. You'll see how to apply the Method of Induction to prove the sum of odd numbers is a square.

Recently, iPhone users have been bragging that they can set Live Photos as their lock screen wallpaper. While this is a great way to spice up a boring lock screen, Android users shouldn't feel left out in the cold. The highly customizable and feature-rich OS has a few tricks up its sleeve too, and it's really easy to set any GIF as your Android's home screen and/or lock screen background.

When customizing your Android home screen, it's always a challenge to balance aesthetics with functionality. Do you crowd your home screen with icons and widgets so they are easier to reach, or do you spread the icons over many home screens? Each option has its downsides, and with most launchers, these are your only choices — but with Action Launcher, there's another way.

One of the first things you'll notice about iOS 11 is how the Notification Center now has the same interface as your lock screen. It's pretty confusing at first, and it's pissed off tons of users, but it's really not that bad once you learn all of its features.
