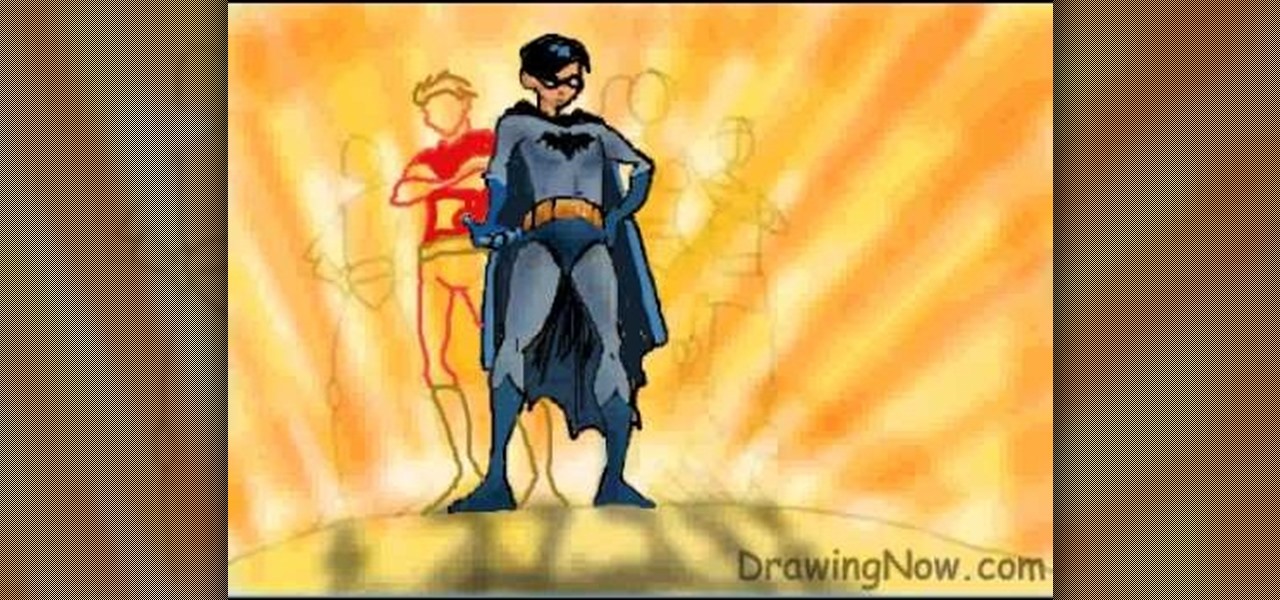
In this tutorial, we learn how to draw the cartoon Teen Titans. Start off by drawing the basic outlines of all the characters. Use circles and basic lines to draw out the outlines of them all standing together. From here, draw in the color for the background behind them, then start adding in details for each of the characters. Draw in each of their outfits, as well as facial features. Use lines and shading to make the characters look more realistic. Color them with the appropriate colors for ...
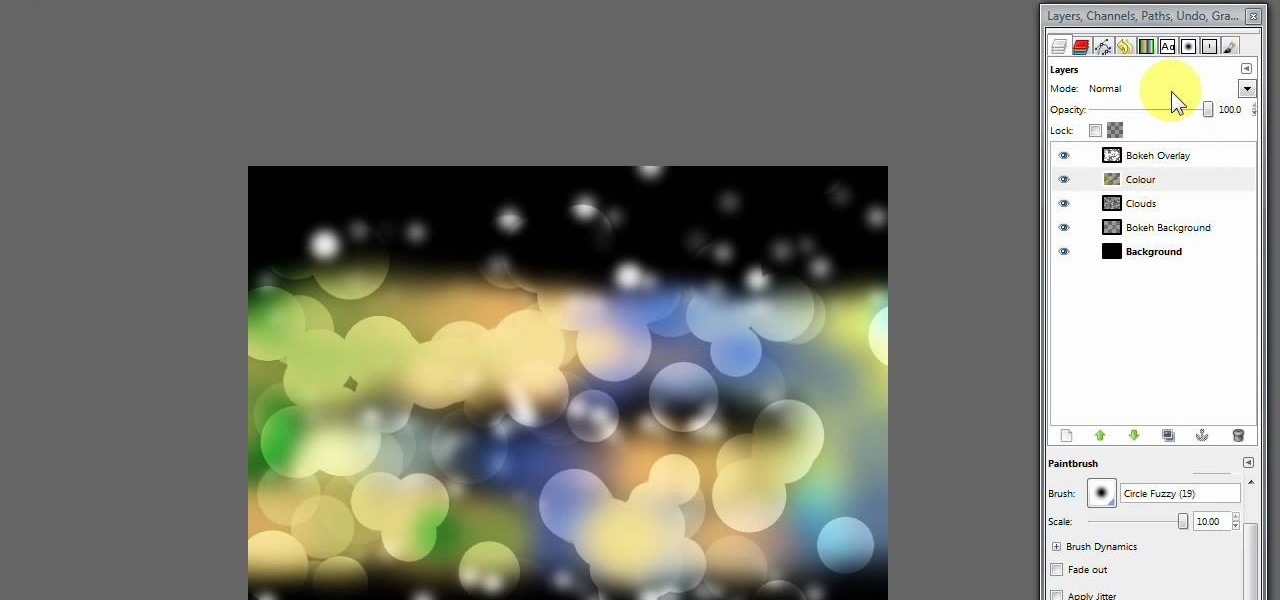
In this video, we learn how to create a modern bokeh effect in GIMP. First, start a new image and then change it to the size that you want. From here, click on the paint can and then fill your box up with a color. Then, create a new layer and name it "bokeh background". Click on this layer and then use the paintbrush tool to paint a small brush with color onto it. Start to paint on small dots and you will see that there are small tiny star like dots that start to appear. Then, fade these out ...
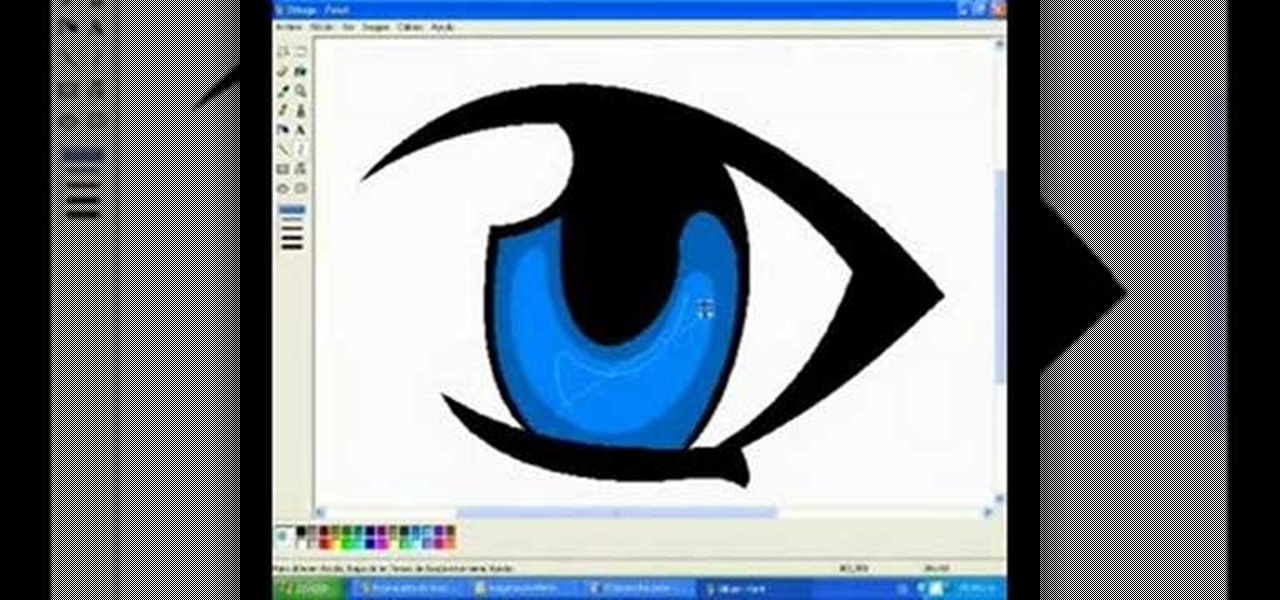
In this video, we learn how to draw a manga eye in MS Pain and make it blink. Start out in Paint and draw the outline of the eye. After this, color the outside area in black and then fill in the pupil area of it. Color the eye blue or any color that you desire, then add in lines to the middle of the eye to make it look more realistic. Leave white around the edge of the eye. Create an eyebrow over this, then add it to a flesh-toned background. Once you have done this, you will be finished with...

In this video, we learn how to ink and color in Photoshop. First, you will want your background and sketch in two layers. Make a new layer which will be the layer you ink your art on. Move the opacity down on this, then zoom in and start inking your art. Use a normal brush in whatever size will fit your art the best. Take your time, then start a new layer when finished. Color the areas of the picture, then when you join these layers together, you will have an entire drawing finished. Make sur...
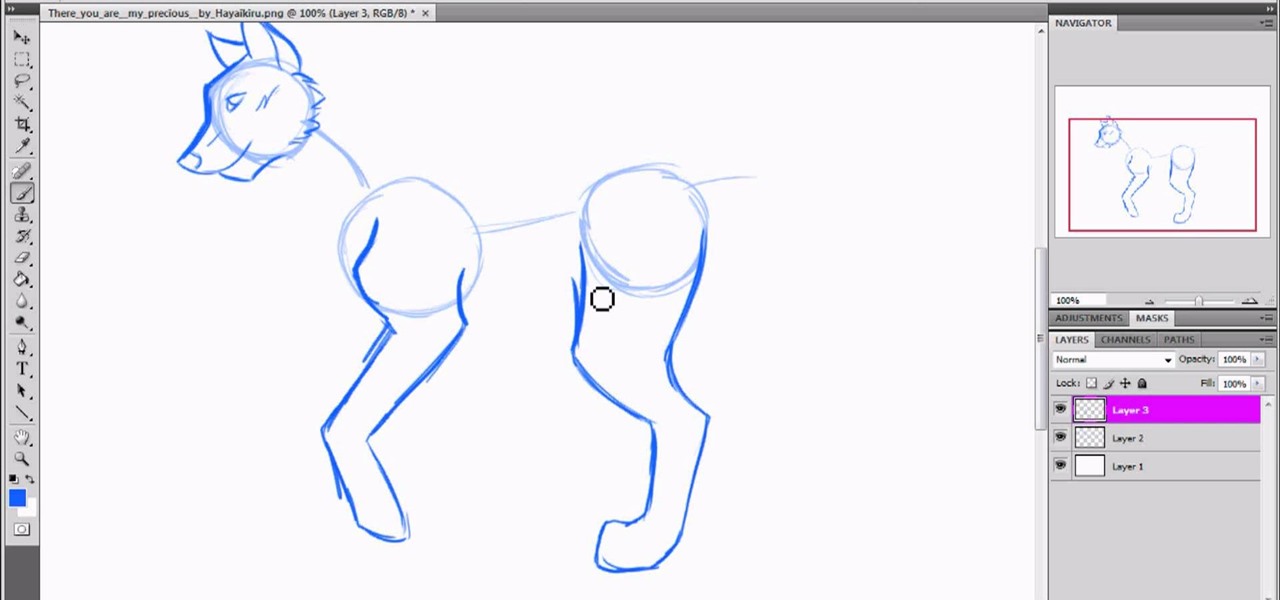
In this tutorial, we learn how to draw a wolf with basic guidelines. First, draw in circles from where the main sections of the wolf is. Now, draw a line connecting all of these and draw in the details of the face. Now, draw the back legs starting with the front leg and then the back leg. After this, draw in the stomach and the main part of the body. Erase the circles and background lines, then draw in the hair of the wolf and the stomach. Create a tail on the back, then add in the ears and t...

In this tutorial, we learn how to draw Sango and Kilala. Start out by drawing a circle and reference lines for the head, then draw a stick for the body and draw a half circle going off the bottom of the page. Then, draw circles on the upper body to create the hands and draw fingers coming off of those. Now, draw in the neck and the clothing that is on the character. Erase the background lines, then all in the features of the face and the hair around the head. Also make sure to draw on the ear...

In this video, we learn how to draw Karin. First, start drawing a circle and then add the eye line to help you place the eye. After this, draw in a triangle at the bottom of the circle as a reference to where the chin will go. Then, draw in a line for the body, then circles for the body and shoulders. After this, draw in the neck and then draw the rest of the body. Now, draw in the hair and the details of the face. Once you have finished this, erase the background lines from the face and then...

In this tutorial, we learn how to draw Tenten. To start this character, draw a light circle along with lines in the middle for reference points. Use a bolder line to draw the chin and then the eyes, nose, and mouth. also make sure to draw in slight eyelashes and eyebrows above the eyes. After this, draw a line around the head and erase the background lines. Draw ears on the top and then start to fill in the hair for the bangs on the front of the face. Finish this off with a headbands, then dr...

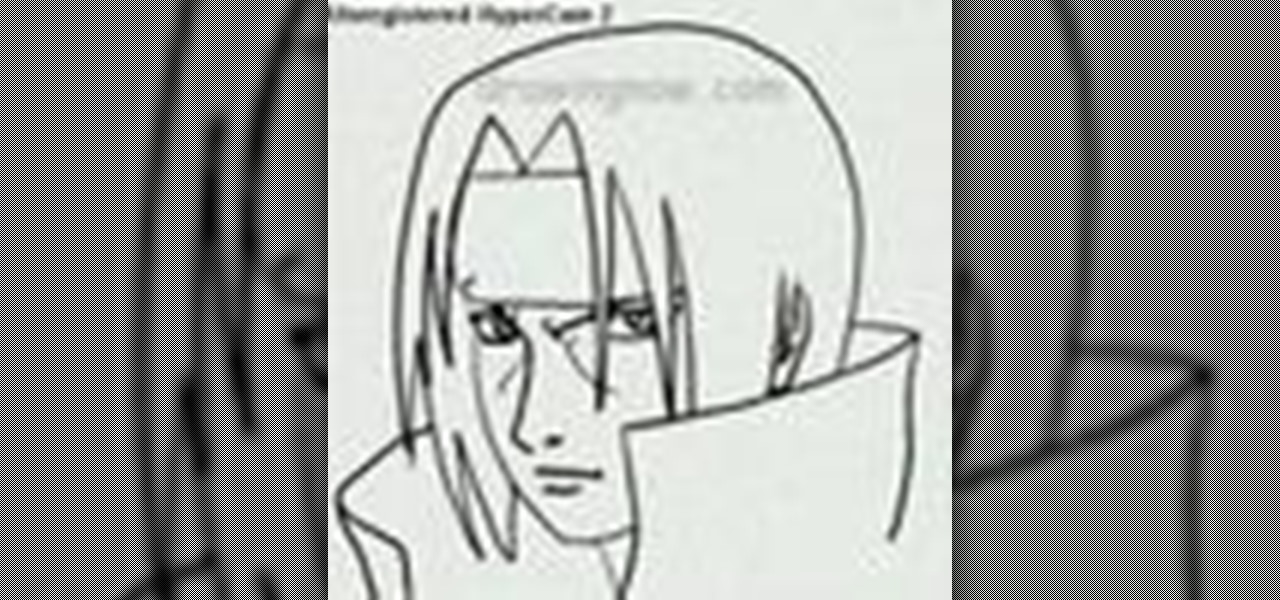
In this tutorial, we learn how to draw Itachi. First, draw your reference lines on the head so you know where to place the features of the face. Draw in the eyes, adjusting them so they are more towards the left of the face than the right. After this, draw in the bridge of the nose and the nose, as well as features of the cheeks. Next, draw in the nostrils and the mouth, as well as eyebrows and creases around the eyes. After this, draw in ears on the side of the head, then start to draw in th...

In this tutorial, we learn how to draw a basic dragon. Start off by drawing the head of the dragon, then draw the neck and the rest of the body in a simple outline. Use circles throughout the body of the character to create a large body that looks realistic. Next, draw in details of the body of the character and the fur that is on the outside of it as well. Draw in the claws on the feet and the lines along the body to create a more realistic look. As you continue, erase any background lines a...

In this tutorial, we learn how to draw Johnny. Start off by drawing Johnny's head, then draw a stick for his body, arms, and legs. Once finished, draw an outline over this body to create the shape. Next, draw in the hair for him and then draw his eyes in. Next, draw in the hands and arms, then a knife in his hand as well. Erase any background lines that you have drawn, then shadow and add more lines to the entire drawing. Once you have done this, add in his eyebrows and any other details to f...

In this tutorial, we learn how to draw Rock Lee. First draw a circle for the head, making a chin underneath and using lines to reference where the facial features will go. After this, draw eyes that are slightly aligned to the left hand side of the face. The right eye should be larger than the left, both off center. Then, draw two dots for the nose and a "u" shape for the mouth. After this, draw a larger circle around the head and then draw in angry eyebrows above the eyes. Start to erase the...

In this tutorial, we learn how to draw Train Heartnet. Start off by drawing a circle for his head, then lines in the head for reference of where the features will go. Next, draw a stick for the body and draw circles where the shoulders and wrists would be. After this, draw in the neck and the upper body. Draw in the clothes after this, adding in as much detail as you would like. Make sure to add in shading and lines to make the clothes look more realistic. Next, you will need to draw in the f...

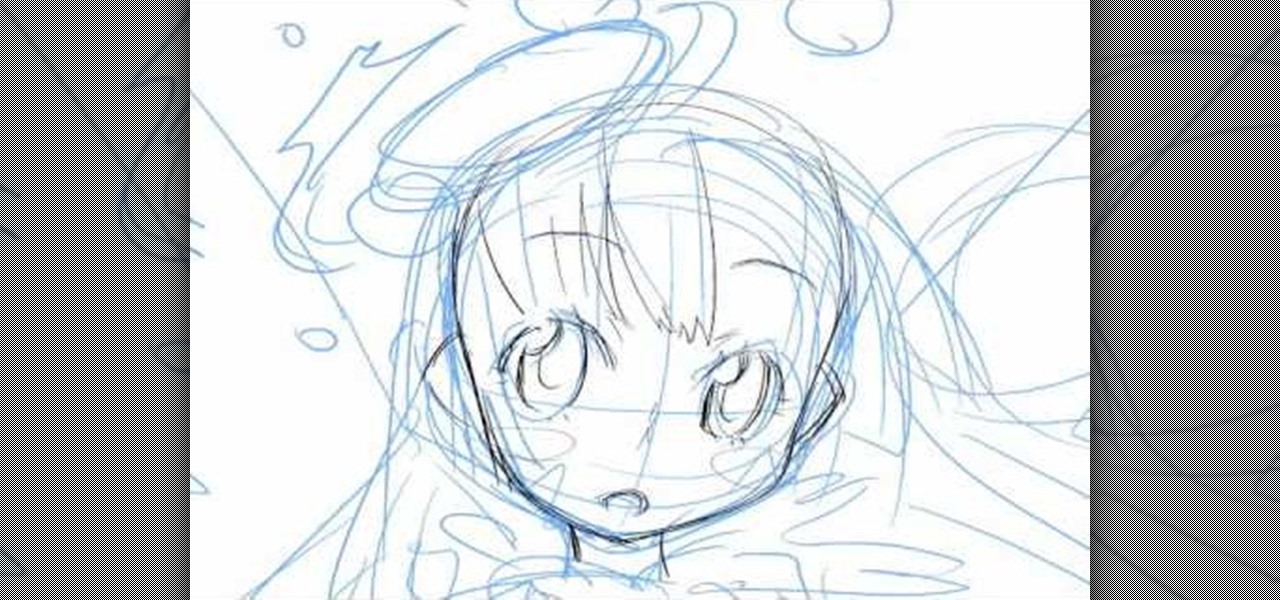
In this tutorial, we learn how to draw an anime or magna illustration on your computer. To start out, you will open up a new draft and start to create the outline of the anime together. As you continue, you will draw in darker lines that will be the outline and the details of the character as well. Erase any background lines from the drawing that don't fit in, then create new additional lines. When you're done, start to add in the facial features and details, then add in the hair and clothing...

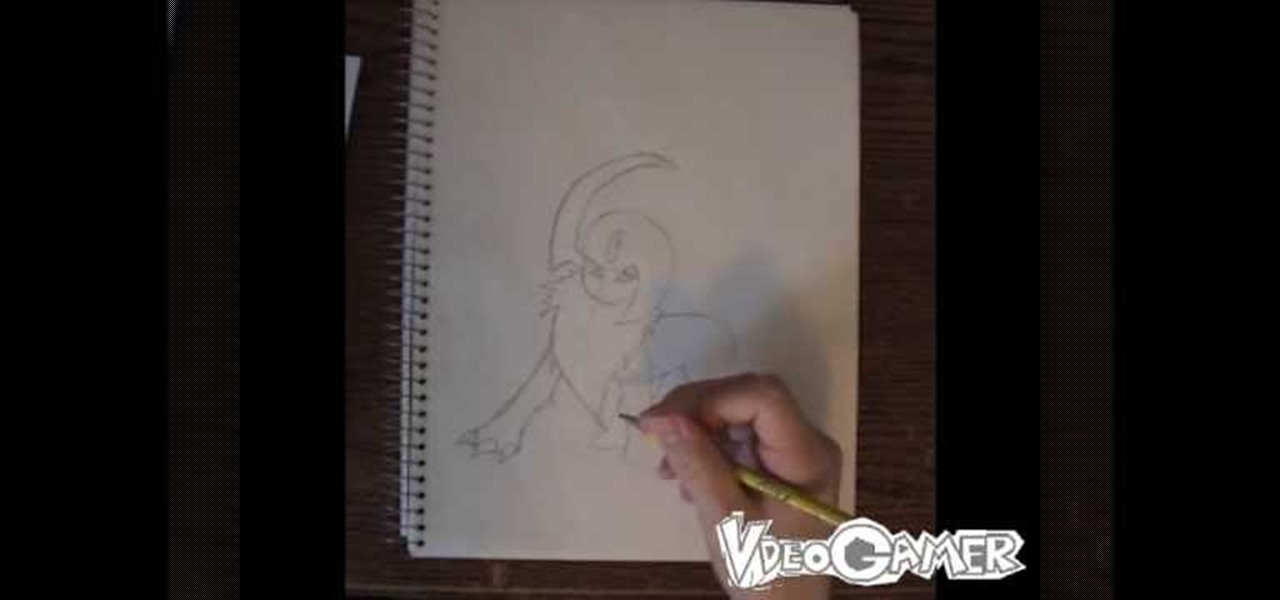
In this tutorial, we learn how to draw Absol. Start out by drawling the outline of the character, starting with the head. After this, draw on the details of the body, including the claws that are on the feet. Next, you will draw on lines for the fur that are on the main part of the upper body. Draw on the tail towards the read, then draw a large wing on the upper and lower body. You will also want to draw on a flat background to show that Absol is standing up. Add in details and shading to th...

In this tutorial, we learn how to draw Axel. Start out by drawing the head, then add in the facial features including the eyes, nose, ears, and mouth. After this, draw in the spiky hair that goes around Axel's head. Next, draw the neck and shoulders. Continue to draw down the body until you reach the feet. Add in the details of what the character is wearing, using lines on the clothing to make it look more realistic. After this, you will need to draw in shadowing on the drawing to make it loo...

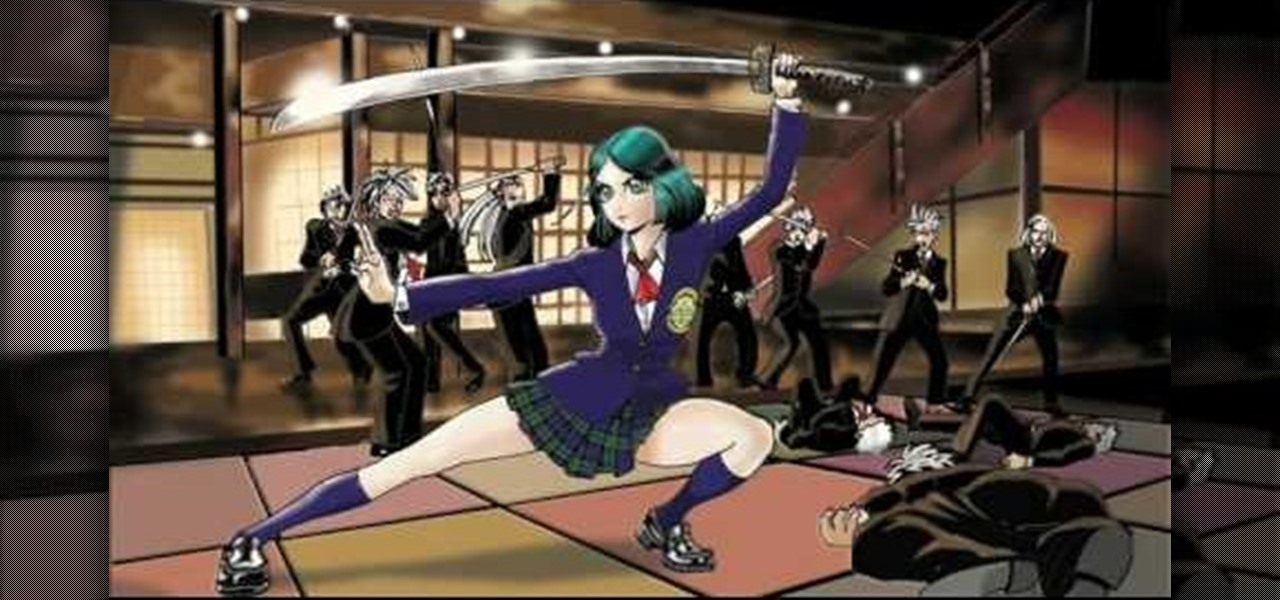
In this tutorial, we learn how to draw a female anime or manga school girl. Start out by drawing the outline of the character, then drawing in the details along the middle and the body of the character. Use circles inside the body to create a references as to where the body joints would be. Then, draw in clothing on the body and add a sword in the hands of the girl. After this, draw in additional details to the drawing and then focus on the face. Draw in the facial details, then add the hair ...

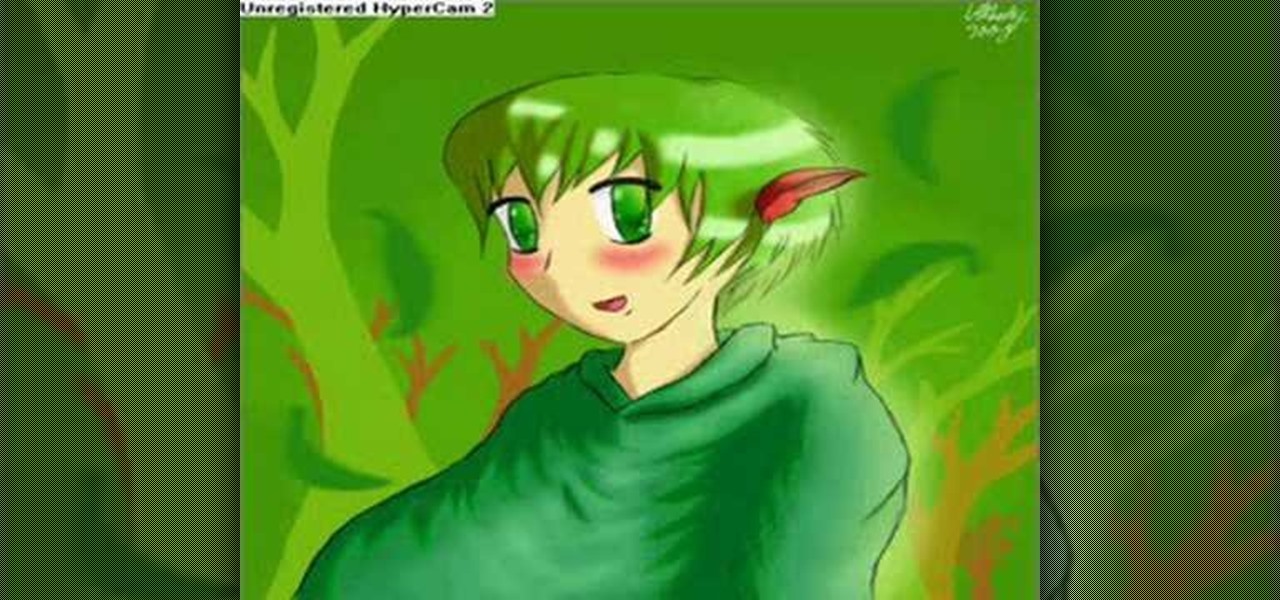
In this tutorial, we learn how to draw anime. Start off by drawing the outline of the anime, then color in the face, hair, and clothing. Add in the ear on the side of the head, then add in the features of the face. Next, add in shading to the face, hair, and clothing to add dimension to the drawing. Next, add in details to the face to make this look more realistic. Then, draw in trees and leaves for the background of the drawing and color them green and brown. After this, add in a light sheen...

In this tutorial, we learn how to use AV mode & High Speed Sync (flash). First, go to AV mode and change the settings to 2.8. When you do this, your shutter speed will blink at 250. To fix this, hit the lightning bolt with the "h" and change it to the high speed setting. Now, your camera will be able to use the high speed shutter with the flash as well. Now, take some shots of your subject in the sun and you should be able to see a huge difference. The background should come in crystal clear ...

In this tutorial, we learn how to draw Misty from PokŽmon. Start by drawing the basic shape of the head, a circle with lines inside of it to use as reference lines. After this, draw on ears to the side of the face and then draw in the cheeks. Now, draw a stick figure for the body and then draw in circles to create the other lines for the body. Then, draw the back of the neck and start to fill in details. Erase any background lines as you continue to draw. Make sure to add in details and facia...

In this tutorial, we learn how to clone yourself in GIMP. First, open up GIMP on your computer and then open the picture where you want to clone yourself. After this, open the other picture where you want to copy yourself and right click to copy it. Now, create a new background layer for your main picture. Use the lasso tool to cut out one of yourself inside of a picture, then transition it into the main picture. Exit out of the other image, then start to edit the colors and opacity in the fr...

In this video, we learn how to create a compelling resume. When you talk about your prior experience, write down something that you learned from your work background, preferably something that matches the job you're applying for. Employers are looking for something you were taught in your experience. Write down any accomplishments you received while on the job, and how well you did them as well. If you're graduated, let them know when you are available for full time work and when you are grad...

Go to your admin page of the Joomla and click on extensions and choose install/uninstall and there you can install your extensions. First you need to know what is extension, there are three type of extensions, one is called component, second is module and third is plug-in. components are like stand alone or application, like anything from video gallery, forms etc.

In this video, we learn how to convert an image into a sketch in Photoshop. First, open up Photoshop and open the picture you want to convert. Now, click the layer and unlock the background. After this, go to "image", "adjustments", and remove all the saturation from the photo so it's black and white. Then, duplicate this and invert it by going back to the adjustments section. Now, go on the top of the layers tab and select "color dodge" from the drop down menu. Now, go to "filter", "other", ...

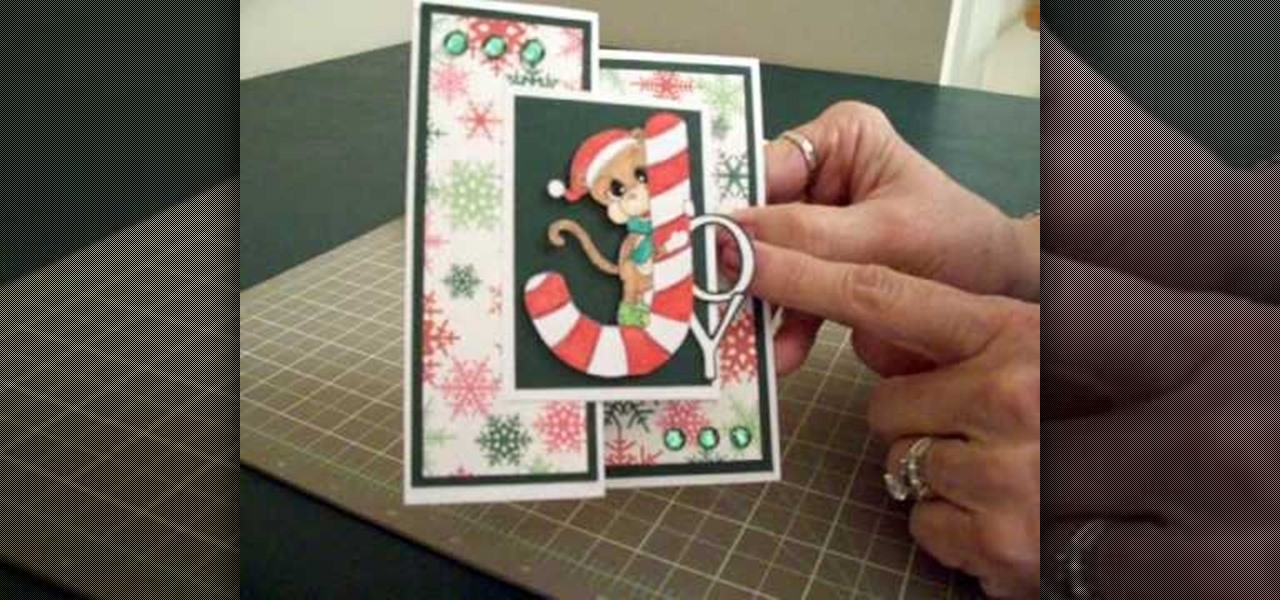
In this video, we learn how to make a Joy S-fold Christmas card using Cricut George. First, fold the card and mark it so it's in the S shape, then stamp the background of the card with colored snowflakes in different sizes and shapes. After this, use a black outline along the sides of the papers, then add in a black piece of paper to the middle of the top fold. Apply a monkey with a Santa hat to the front and wrap him around a J shaped candy cane. Add in the letters "o" and "y", then add in a...

Have you ever tried to erase the background on an image so you can use the object image to layer with another document? You can do it in Adobe Photoshop, but if you don't know what you're doing, it could take hours… days to extract that image you want. But with Photoshop Elements, there's a handy tool called Magic Extractor that helps you get some of the dirty work out of the way, so you can concentrate on the finer details. Watch this video to see how it's done.

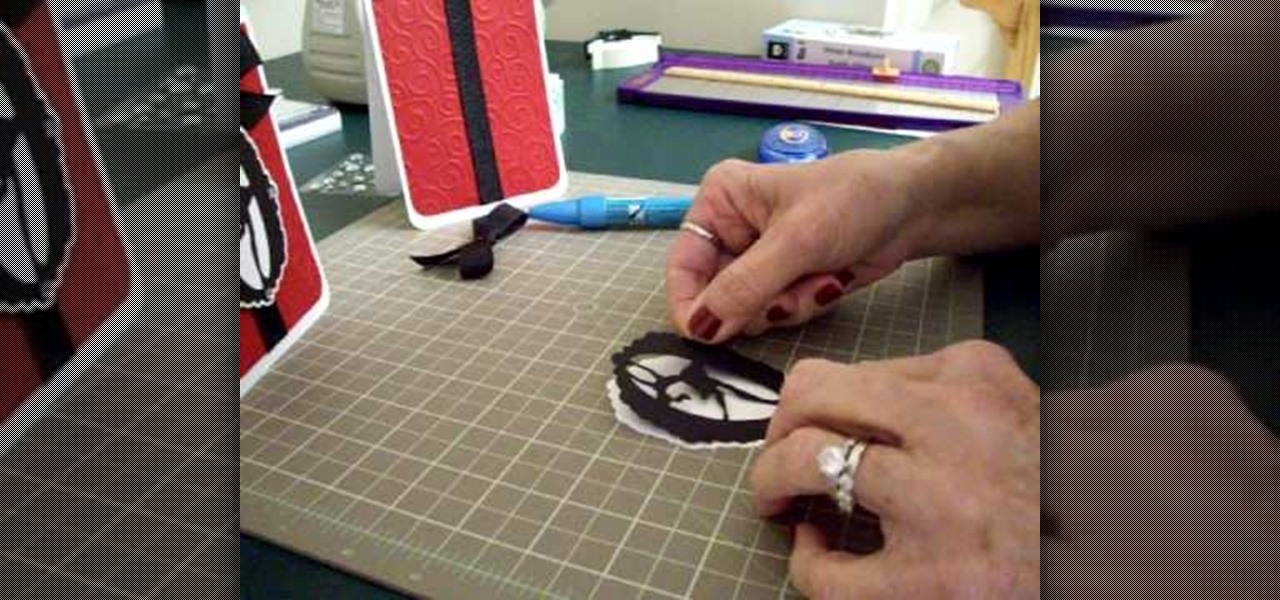
Make a simple, elegant card using Winter Woodland. Go to page 50 of manual. Cut tag and skater at 3 inches. Use 8 1/2 x 11 cardstock and cut vertically to 4 1/4 inch. Fold from top to bottom. Round corners of cardstock and red matte. Make red matte 4x5. Run red matte through cutter bug using swirls folder. Insert between two plates and run through. Place black grosgrain ribbon down the center. Stick to front of card. Glue skater to background. Place square crystals around skater. Create and p...

In this video, we learn how to use and understand depth of field in photography. If you look at a photo, the depth is how deep the picture looks. You can change the depth by changing the aperture to make the depth of field look shorter or longer. The lighting can also change the depth of field and what you can see in the background. A big aperture will give you a large depth of field, with a small amount of light. If you want a big depth of field in a landscape, then you will use a maximum ap...

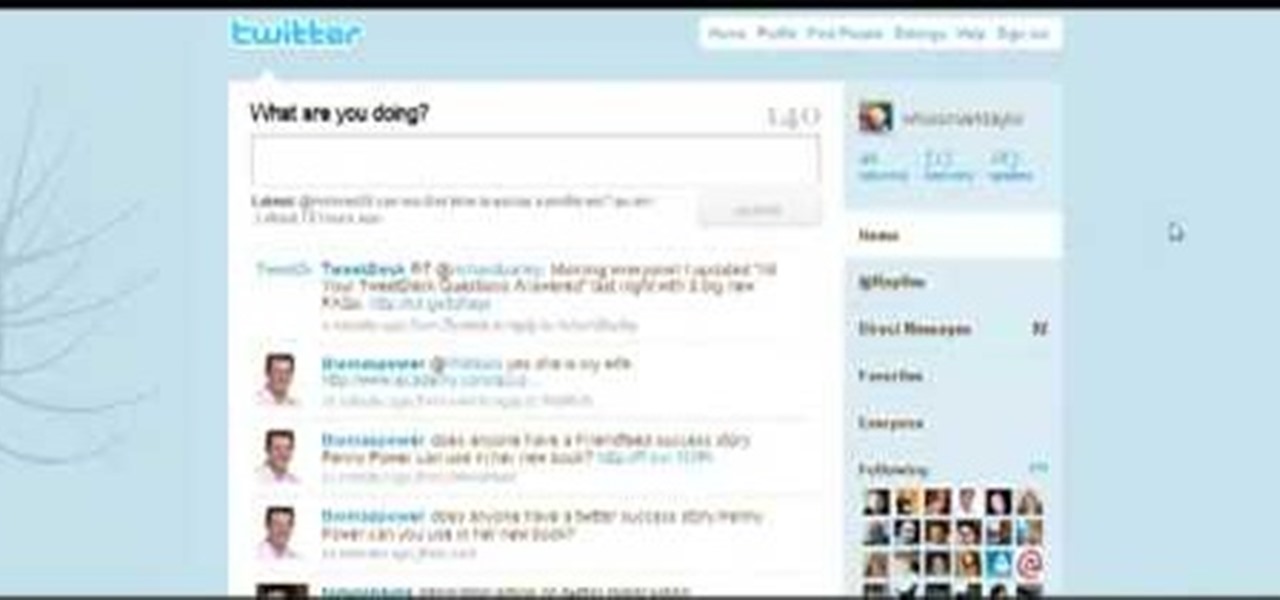
In this tutorial, we learn how to start using Twitter. First, you will want to log onto Twitter and click on the "sign up now" button. Enter in your information and then start your account. Now you can start to follow people and have them follow you as well. Enter in your status update in 140 characters or less. You can start to make friends and learn what the new trending topics are around the internet! Be careful to stay away from the spam accounts and change your background along with your...

In this tutorial, we learn how to use Fiskars Decorative Edge scrapbook layout. First, you will need to pick out the templates, pictures, and paper that you want to use for this project. Now, place the stencil over the card stock and cut out the stencil shapes you want, stars work best if you are doing a fun child theme. Now, apply these to your base card stock, and arrange a frame over the background. Now, apply the picture to the page and add on the stencils you just cut out. Add in quotes ...

In this video, we learn how to change the color scheme in Word 2007. First, click on the Word orb in the upper left hand corner. After this, go to the options menu to change your settings. On the new window that pops up, you will see an option to change the color from blue to silver or black. Choose which color you want to have as your background on this software, then click on "ok". Now your color scheme will be changed to not reflect the blue that you usually see when you star this program ...

In this video, we learn how to create tiny planets in Photoshop. First, unlock your background layer and create a line in the middle of the image. Now, select the bottom that is underneath the line and drag it down to the bottom of the canvas. After this, make your image into a square by resizing the image with your tools. After this, you will need to rotate the image 180 degrees, then select "polar coordinates" in the distort tools. After this, you can rotate your canvas back around 180 degr...

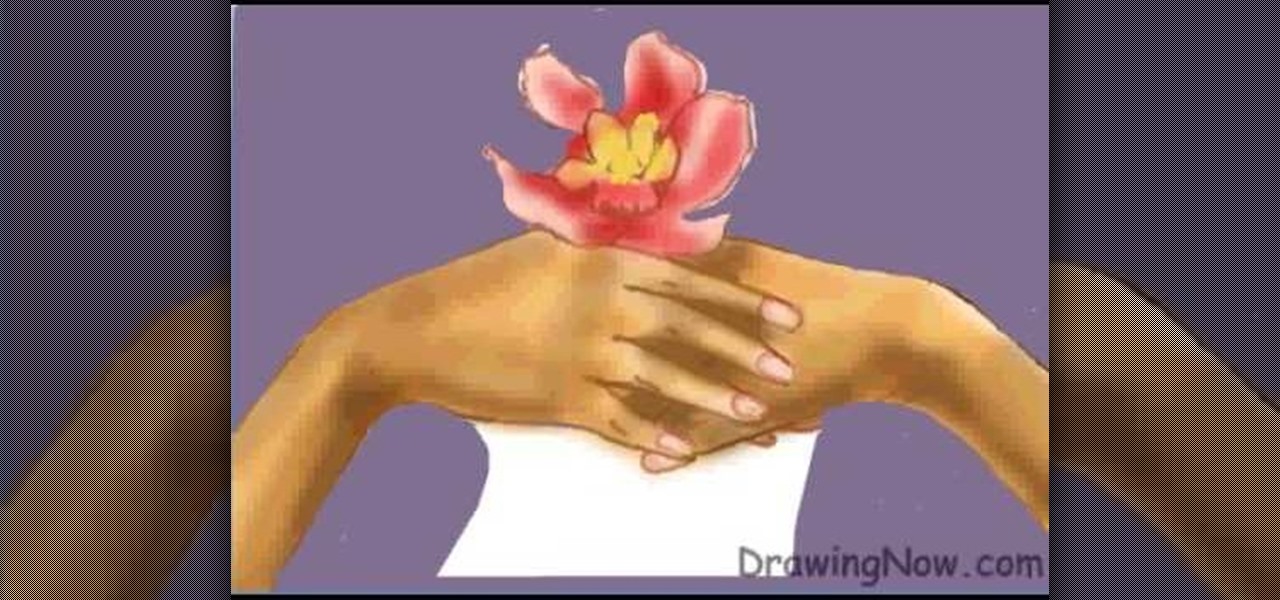
In this video, we learn how to draw two clasping hands. Start off by drawing the two hands holding each others hand. Next, draw a circle above the hands like they are holding something. After this, draw a large flower on the circle and then start to erase the base lines from the drawing. Draw in the fingernails on the picture, then color in the skin color on the nail. Color the flower any color that you would like, then draw in the background to any color you prefer. Shade the wrist of the ar...

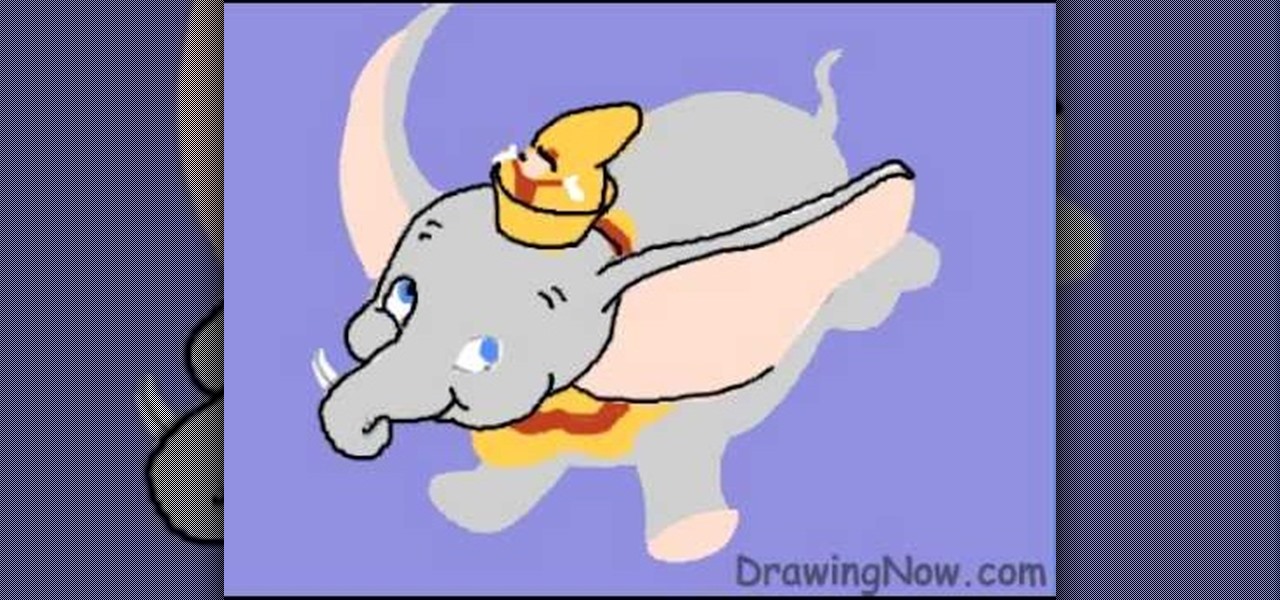
In this tutorial, we learn how to draw Walt Disney character, Dumbo. First, draw the ears flying out in the air, then draw the head outline around it. After this, draw in the trunk outline, the eyes, and the hat. Next draw in the body and legs of the character as well. Next, color the background of the drawing and then start coloring the character in with gray. Next, use a paintbrush to outline the body, then add in any details you see fit. Color in the inside of the ears and then color in th...

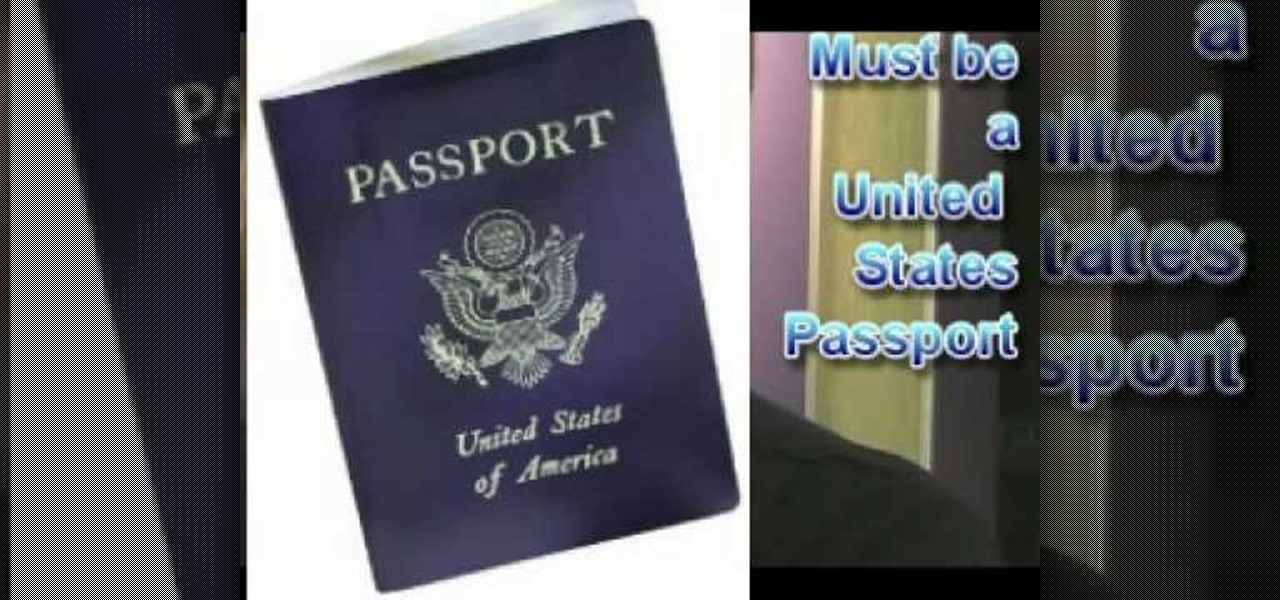
In this tutorial, Laurie Lee-Partner teaches us how to renew a US passport. First, you can only renew your passport if you have the current one and it expired less than five days ago. You will first need government form ds-82 and remember to sign it in black or blue ink, then send it in. Next, you will have to send in your passport that has already expired or is going to expire. Next, you will need two identical passport photos that have been taken in the last six months. They must be in colo...

In this video, we learn how to draw a cartoon fish with scales. First draw a circle for the body of the fish, followed by the details of the face and then the fins and tail. After this, color the background to look like the color of the sea. Now, take a black paintbrush and outline the details and body of the fish. Start to add in scales around the body that are small and colored red. After this, draw bubbles coming out of the fish's mouth. Color the fins and tail yellow, then color the eye b...

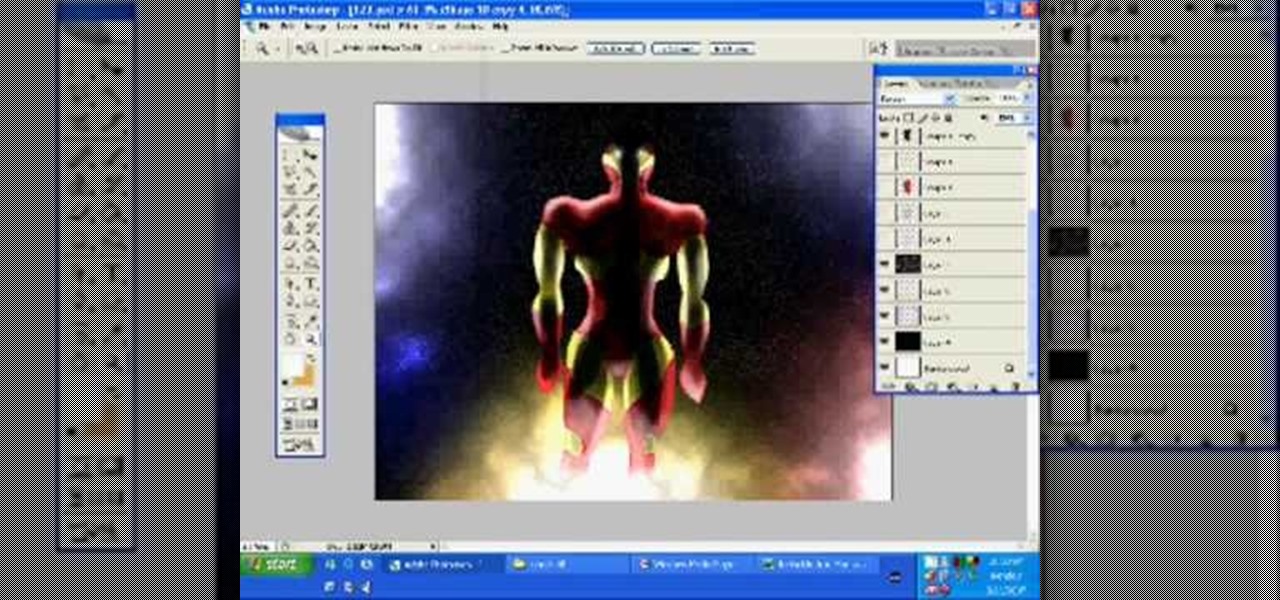
In this tutorial, we learn how to draw Iron Man from scratch in Photoshop. Begin by drawing an outline of the entire Iron Man with a light gray pencil in this program. After you have done this, use a black paintbrush and draw over the lines to make cleaner marks. Next, start to fill in details on the body, such as the metal parts, bolts, and facial features. After this, use red and yellow paint brushes to paint the different colors onto the suit. Next, use a black spray paint brush to color b...

In this tutorial, we learn how to establish an account on Twitter. First, log onto Twitter. After you get onto the website, click on the sign up button, then enter your screen name and other personal information in. When you are finished signing up, you will be able to change your settings and import friends from your e-mail addresses. Under your settings, you will be able to change the background and colors on your page, as well as your icon picture. Next, start to follow people on Twitter, ...

In this tutorial, we learn how to set up and light an inexpensive green screen. First, use the backdrop with anything that is a lime green color. You can use anything from a green colored wall to a green blanket. Put one light on both sides of the screen, then place blue color over the lights. Place the camera in front of the green screen and look at the lighting to make sure the lighting is right in the area. When you are ready, use software to change the background to different places. When...

In this video tutorial, viewers learn how to draw a vampire. Begin by using the paint bucket tool to fill the entire background in black. Then start drawing the vampire in transparent blue. Sketch the outlines of the face and draw curves for the guidelines of eyes, nose and mouth. Now erase half of the face and fill it in black. The other half of the face is filled with tints of blue and purple airbrush. Finish by adding the details with opaque shades of blue, purple and white pencil lines. T...


