In this tutorial, we learn how to draw The Incredibles. Start out by coloring the background orange, yellow, and white. Then, draw the outlines of the bodies for all of the characters in the family. After this, draw in the details, giving them a 3D type of image. Next, you will color in the clothing and add in the fine details for the hair and the face as well. Erase any background lines from the drawing to clean it up, then add in some shading to make it look more realistic. To finish this, ...

In this tutorial, we learn how to make stencils in GIMP. Start with heads or faces if you are new to this. Then, use the rectangle tool to select the head. Then, go to image and fir canvas to selection. Now, remove the background by using the background tool. Once finished, go to colors, then threshold. The image should turn black and white. Turn the dial to the right, then turn it to the left to make it lighter and darker. Find the spot to where it shows detail but it's not distorted, then h...

In this tutorial, we learn how to isolate your subject to get better photos. If you are taking a picture in an area with a lot of people or surroundings in the background, have your subject stand up on something. After you do this, you can take the shot and have nothing in the picture with your subject but the background. You can also have a child go on a playground and zoom in on them if you are taking a picture of a child. On the playground, you can find tons of spots where the child can be...

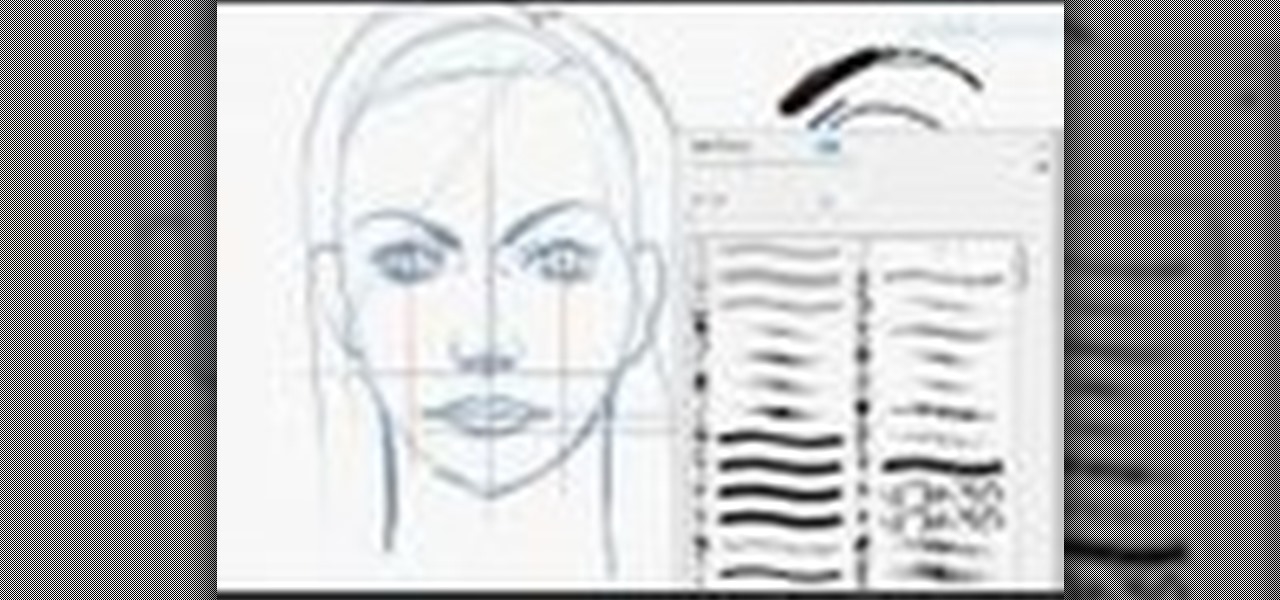
In this tutorial, we learn how to sketch a female face. Start with an upside down egg shape for the face, then draw in the contours of the chin. Use reference lines on the face to help you place where the eyes, nose, and mouth are going to go. After this, start to draw in the additional features, using a lot of lines to contour the face and make it look as realistic as possible. It's very important to use the lines in the background of the face so everything is even and lined up. After this, ...

In this tutorial, we learn how to simulate teleportation w/ film effects & camera tricks. First, take a shot of your actors moving and doing something active. Then, take a shot of the frame without the actors. After this, go frame by frame masking the actors out of each of the frames. Use radio blur to make them leave the shot, then add in evaporation. From here, you can play the clips of the background on the scene so it looks like the have been sent somewhere else. Smooth out the background...

Can you believe we're only a few weeks away from the official start of fall? We loved the lazy days of summer, but we can't wait for one of the best holidays ever invented: Halloween. We don't know about you, but we're already getting out our bat garlands and jack-o-lanterns in preparation for this spooktacular day.

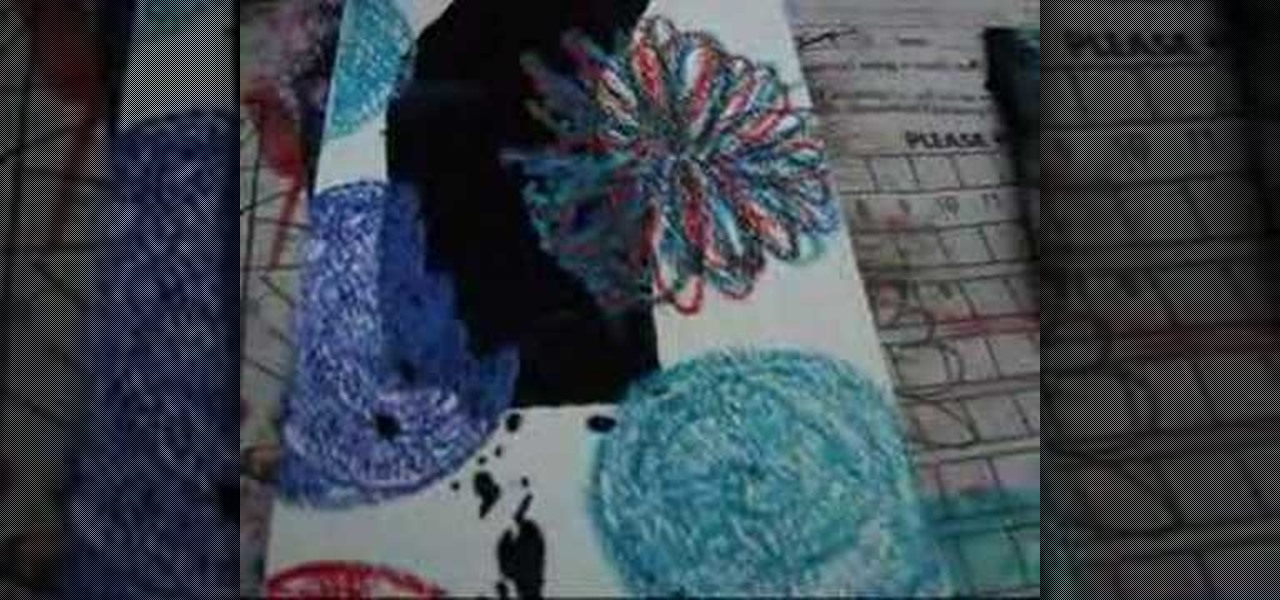
In this video, we learn how to make crayon resist watercolor background sheets. First, draw a pattern onto a piece of paper with crayons. You can make any kind of pattern that you want. After this, add some water color paint to the picture and use a credit card to push the paint around the picture. You will see that the crayon resists the paint and the paint sticks to the paper instead! Let this dry, then you will see that the crayon is still resisting the watercolor ink. After this, enjoy yo...

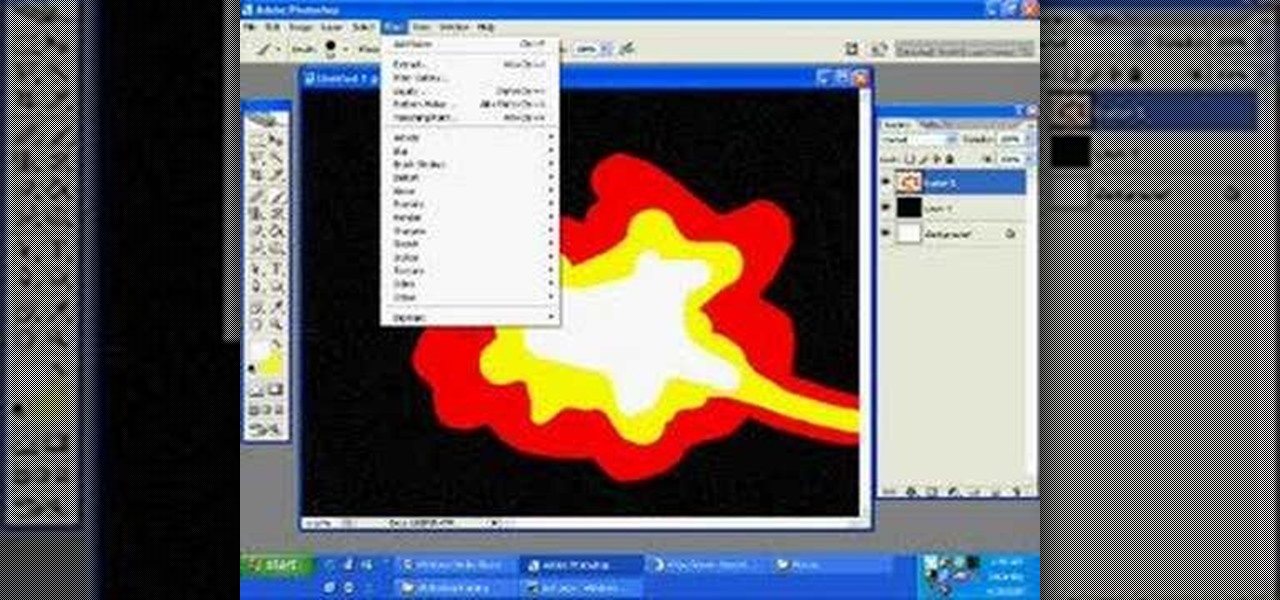
In this tutorial, we learn how to draw a galaxy in Photoshop. First, open up a new project and color the background black. Next, create different lines and circles inside of the black, and then blur out the image. Now, it will look like a galaxy in black space. Next, color a new background black and white with spots and mix it into the galaxy image that was made. Continue on to change different settings on the picture as you prefer, changing the opacity and different settings as you wish. Whe...

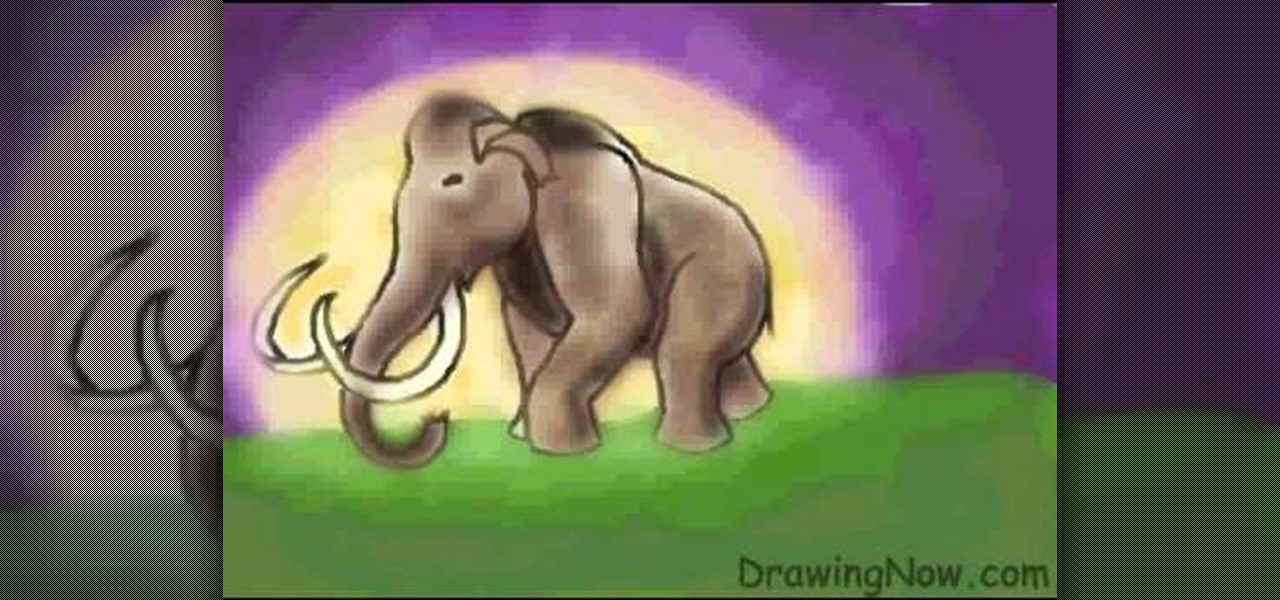
In this video, we learn how to draw a woolly mammoth. Start off by drawing the head, body, tusks, and feet. After you have the basic outline of the animal done, draw over it with a black paintbrush over the entire body and erase the lines underneath that. Next, draw in an eye and color the mammoth brown. Color the tusks ivory, then make the background of the picture purple with green underneath. Next, color the background with orange making it look sunny but also like sunset. To finish, start...

In this video tutorial, viewers learn how to draw the black Spider-man in Adobe Photo-shop. Begin by drawing the shape of Spider-man and then scan it. Now extract the ink from the white page. Then change the ink from black to white. Make the background black. Then fill the entire figure of the character in black color, using the pencil tool. Now create a blue layer over the entire image. Add white to the eyes and center spider symbol. Finish by adding details and a spider web in the backgroun...

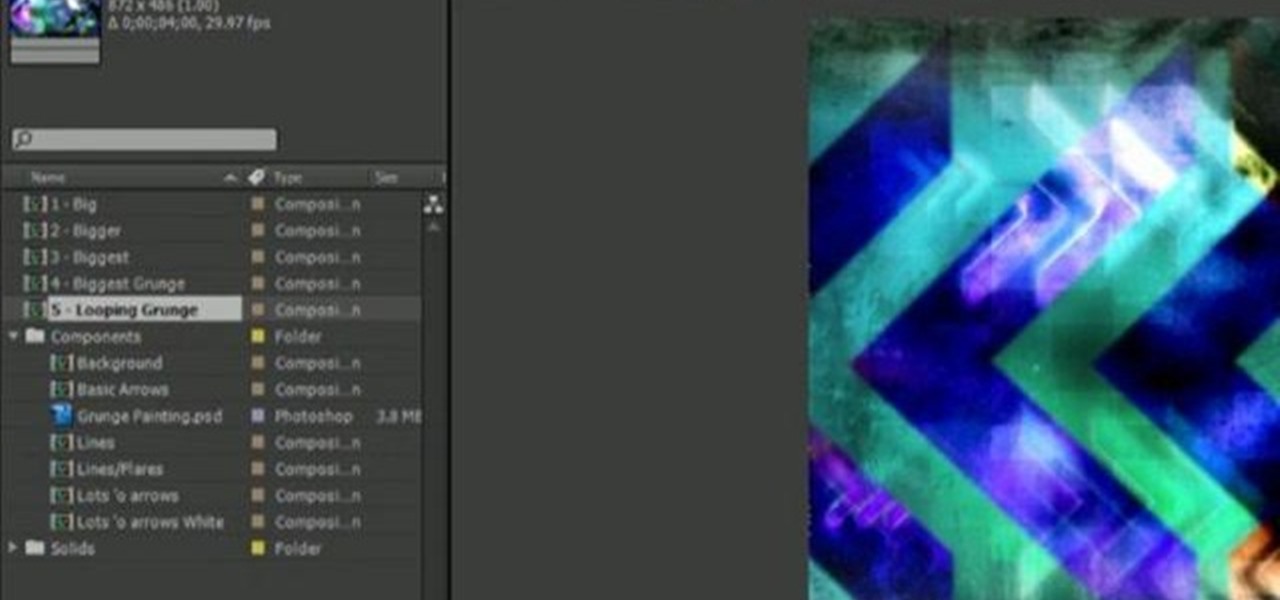
Discover how easy it is to harness After Effects to create compelling, deep motion graphics with very little thought. In this episode, Dennis of the Genesis Project walks through how a single element can be combined and reused to create a nice background element. Whether you're new to Adobe's popular motion graphics and compositing software or a seasoned video professional just looking to better acquaint yourself with the program and its various features and filters, you're sure to be well se...

In this how to video, you will learn how to create a diagonal sum in Microsoft Excel 2007. First, open the program and make a large selection. Type in =int(rand()*500) and then press control enter. This will create random numbers for the cells in the selection. From here, click conditional formatting and select new rule. From here, type in =column(A1)-row(A1)=$H$1. For the format, choose a contrasting look, such as a purple background and bold numbers. Click okay. If you type -1 or -2 in this...

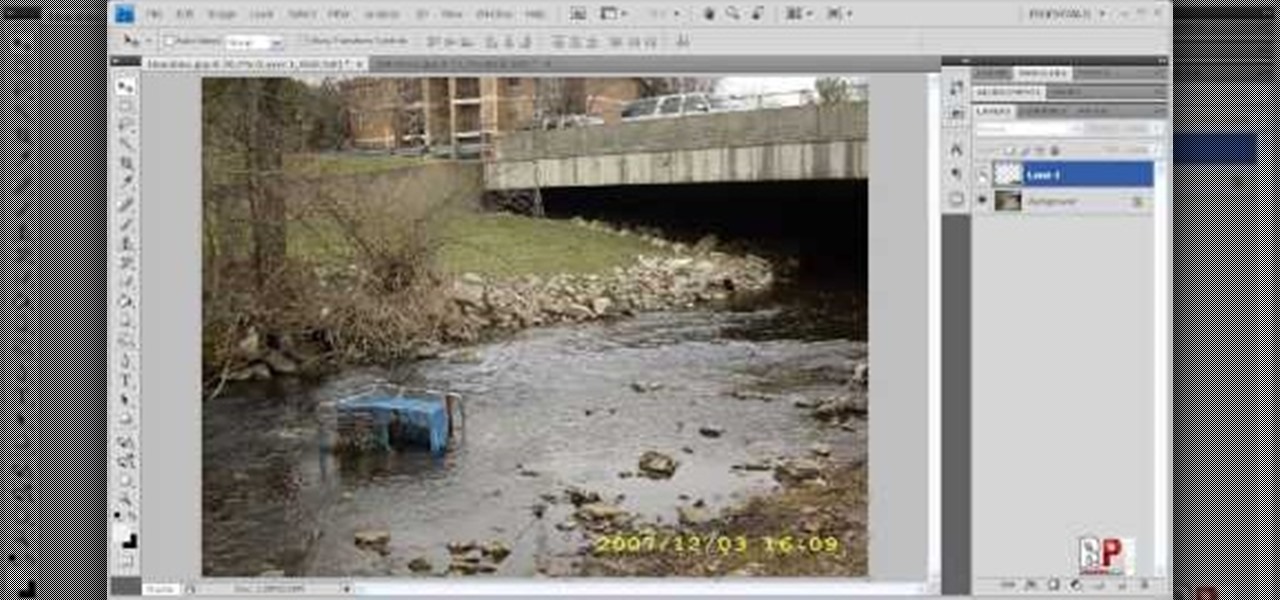
There are various ways to remove the timestamp on your photos using Photoshop. You can use the crop too and crop out the photo, but then you'll lose parts of the photo as well. You can use the patch tool, and draw a border around the date, then drag the date to another area, let go and press ctrl+D. The time will disappear and the area will be patched up with surrounding colors. Another method is to use the spot helium brush tool, and simply just brush over the text, and the spot helium brush...

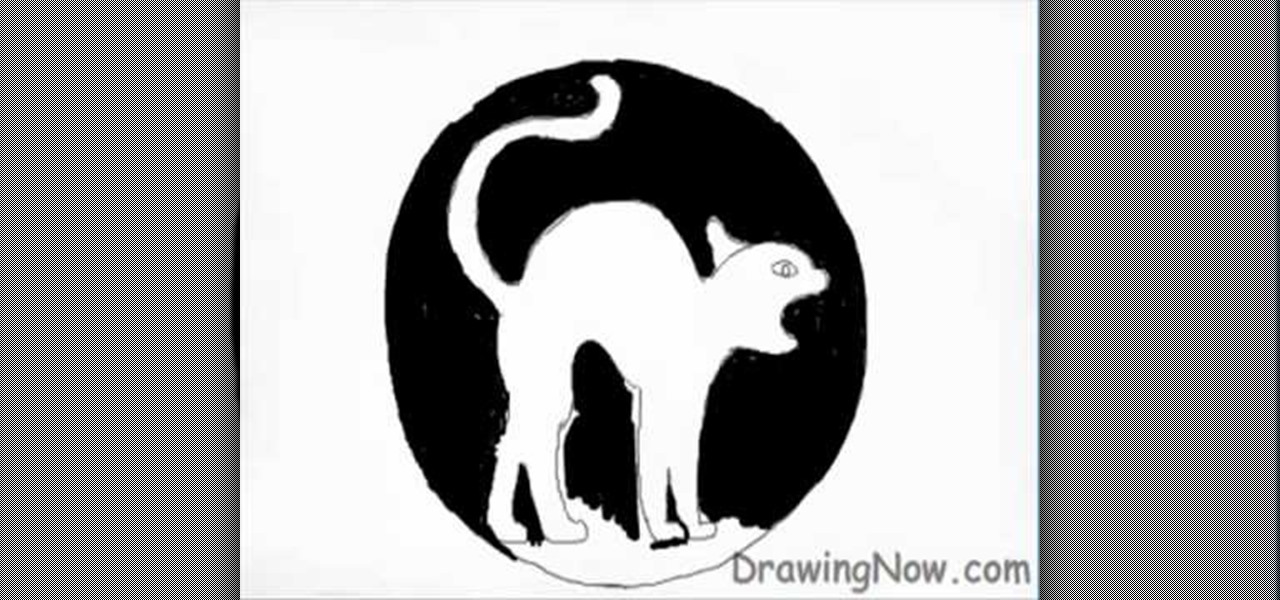
We are shown how to draw a Halloween cat in a several easy steps. First A large circle is drawn. Then in the middle a cat is drawn with an arching back, tail held high. After the cat is completed the background around the cat is filled in with black, giving a silhouette illusion. After the background is completed in black, small details are drawn in white. The fur of the cat, whiskers on the face, hair raising on the arched back and even a gleam in the cat's eye. After this the drawing is com...

River City Graphix Tutorials demonstrates how to make a reflection in Photoshop. First, fill the background layer with black. Then, select the text tool and a color of your choosing. Type the words that you would like to reflect. Next, duplicate the layer to make a copy of the layer. Hold shift and bring it down, setting it on the bottom of the other layer. Select the rectangular marquee tool, right click to get the free transform tool. Right click again and then flip the image vertically. Se...

In this how-to video, you will learn how to light your web show. This is important as it will make your web show look more professional. Proper lighting allows you to see your face, eyes, and the colors of your shirt. If there is not enough light, you cannot see yourself as well. You will also look dark and grainy. Too much light will cause your face to look too hot. Backlit lighting will cause your face to be too dark because the light is in the background. This is why background lighting is...

In this how-to video, you will learn how to do a quick drawing of Yoshi from Mario Brothers. First, start off with the outline of the eyes. Fill in the eyelids and then go to the mouth. Fill in the pupils and nostrils. Next, move onto the arms and body of the figure. Do the saddle before you move on to the tail. Draw the boots once the other parts mentioned above are finished. Add in the smaller details. You can also add a background, such as an egg or the landscape in the background. By view...

This Software video tutorial shows how to create a glass text effect in Photoshop CS3/CS4. Download a free trial version of Photoshop CS4 from Adobe. Open Photoshop, go to ‘file’ and click ‘open’. In the next box, give it a name, select width and height at 90 pixels, background contents to ‘transparent’ and click OK. Select the color palette and choose the background color and click OK. Now open ‘paint bucket tool’ and fill in the color. Then go to ‘text tool’, select the font, size and posit...

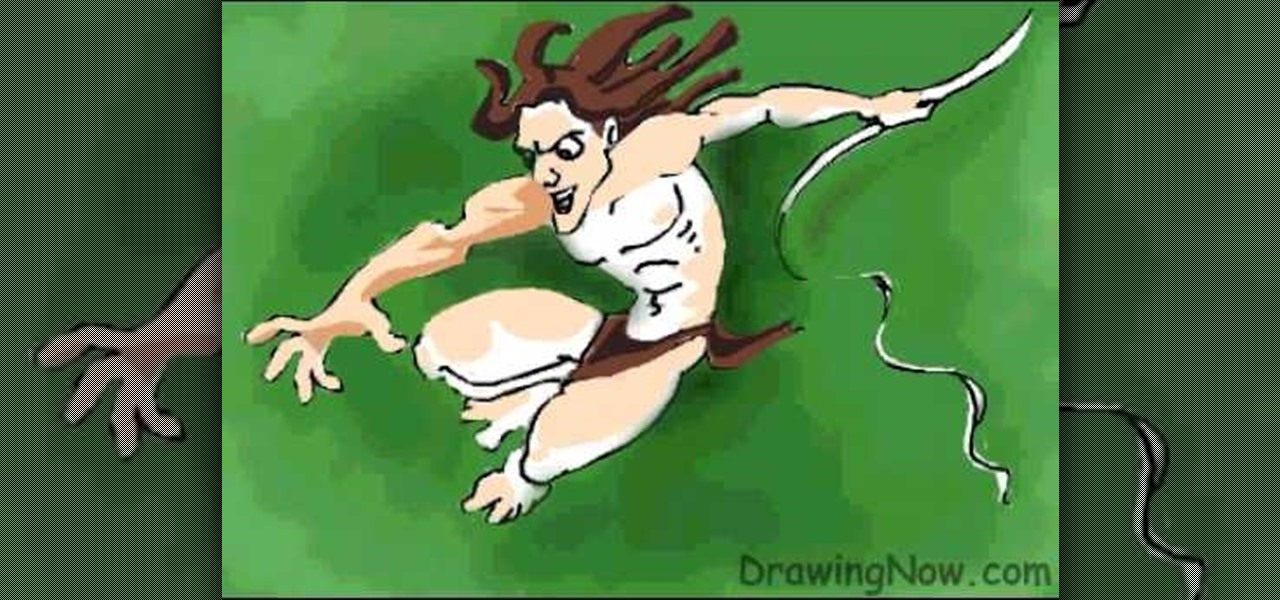
In this video you will learn how to draw Tarzan. The video shows first the outline of Tarzan's body, then it shows the details, followed by the background. This video includes everything from the sketch up until the coloring and detailing. Tarzan is a man who was raised by apes and lives in the jungles. If you're looking to learn how to draw Tarzan this is a good video to learn as it shows how to draw him in a swinging state and the background is a jungle like green, leafy, and vine-like sett...

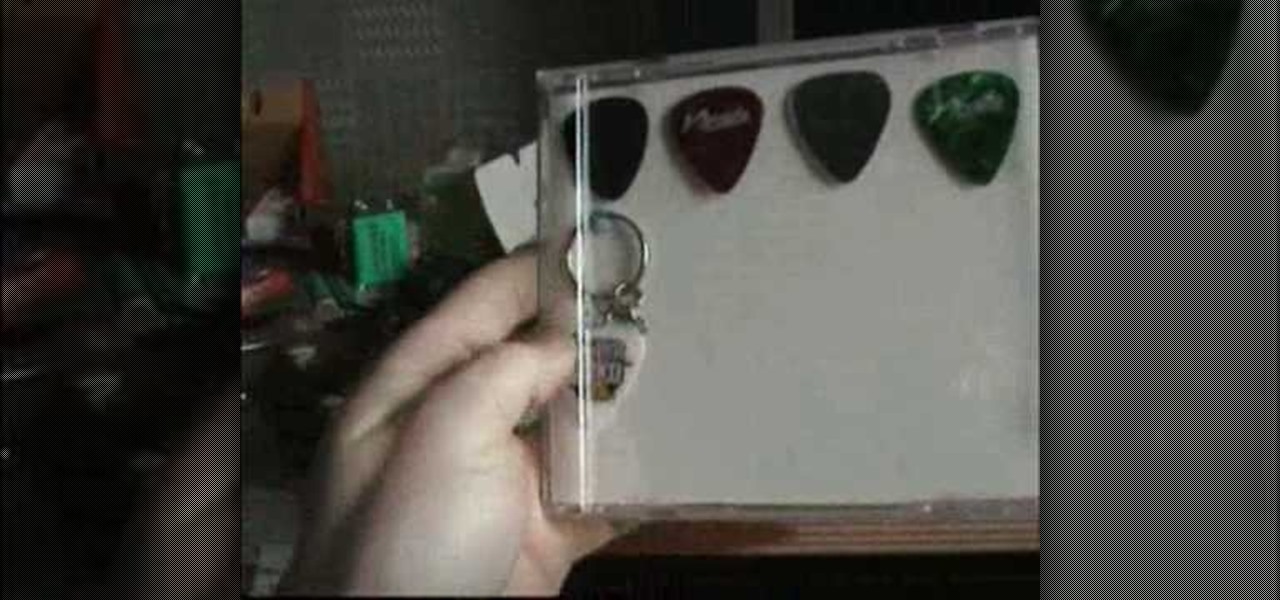
To start off making the guitar pick case, the apparatus you need here is an old CD case, scissors, a pencil, ruler, background design, the guitar picks, blue tack, knife and glue.

This video in the Fine Art category will show you how to use the refine edge in Photoshop. This video tutorial is from Yanik Photo School. This feature is available in Photoshop CS3. If you are shooting objects in isolated background and you want to cut that object out and put it on a different background, the object will have jagged edges. Refine edge will help in smoothing those jagged edges. First select your object, then go to ‘select’ and click on ‘inverse’ and you have selected your obj...

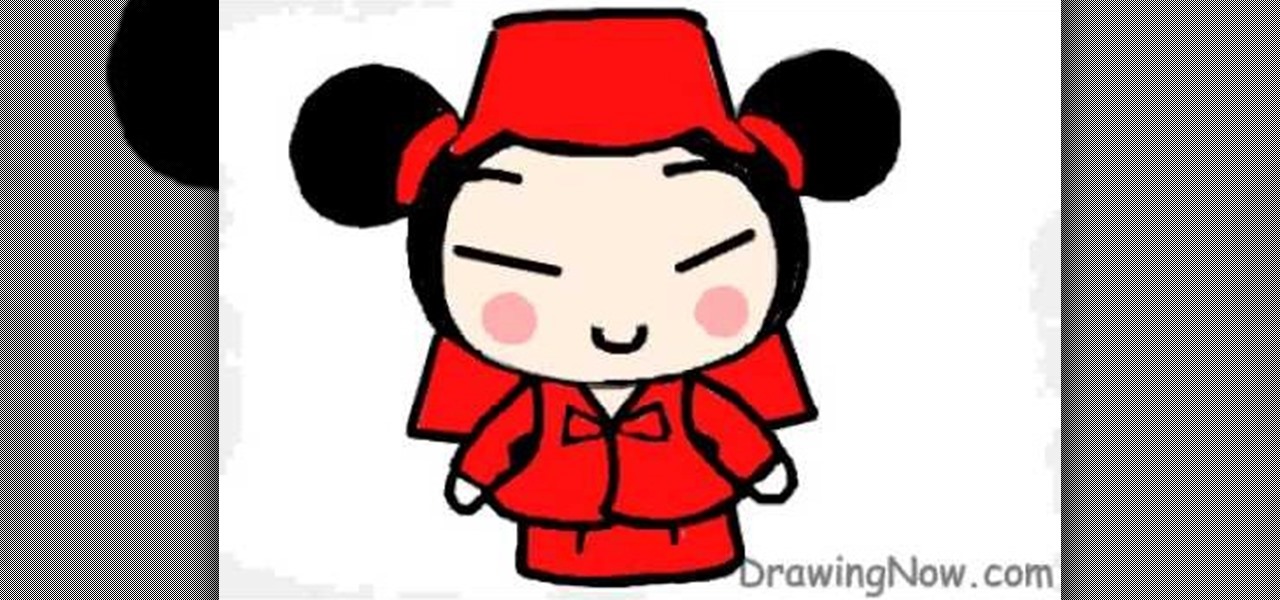
This how-to video offers you a simple, straight forward lesson about how to draw one of the simplest and funniest anime characters ever seen in a cartoon. She is none other than Pucca. The video consists of a simple walk through that shows you how to draw this unique character line by line. Starting from a simple white background, you slowly progress by drawing the silhouette, followed by the clothes, facial expressions, tiny details and in the end a simple, elegant pink background. If you fo...

CathyDirector teaches you how to make someone fly using After Effects. You will need two clips: one with the background and one with the background and the person walking or running. To have the same type of footage, use a tripod for stabilization. Duplicate the second layer and go to frames and cut the frame in which the person is in the air jumping. Use the mask tool to create a contour of that person. Add radial blur at the time he is still close to the ground and some sound effects. Next,...

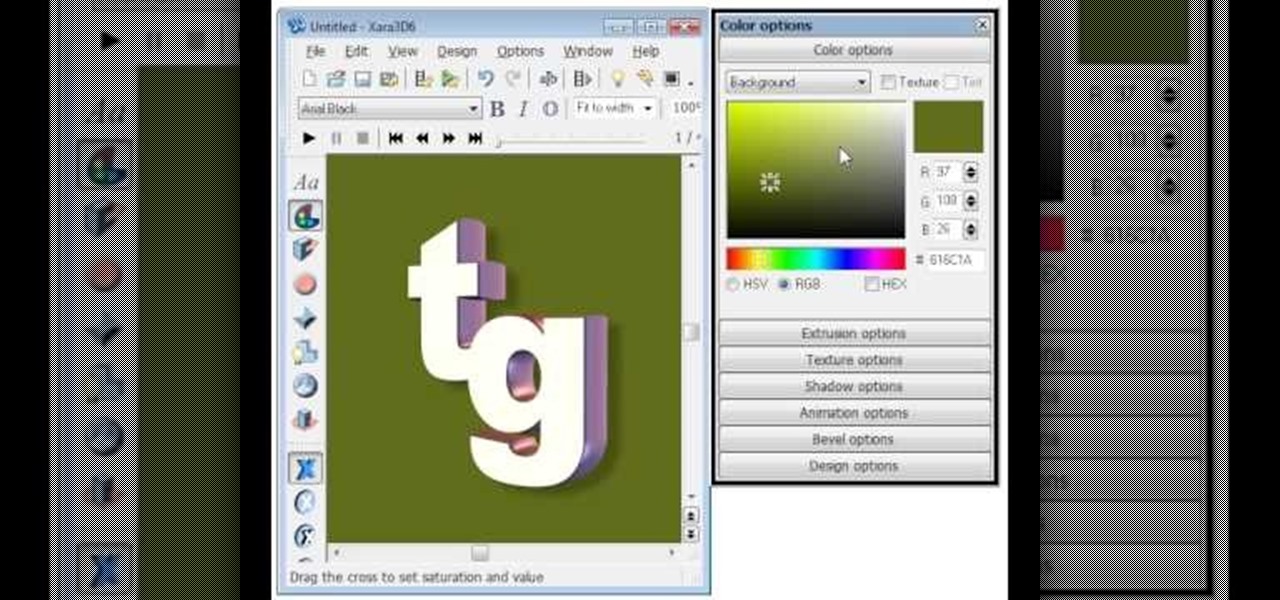
EggBram walks you though changing background colors in Xara3D and shows where to find the transparency setting. This is a simple walk through in high detail, very visible. Xara has been a part of internet development from the very beginning. Xara one of the original Internet service providers when it came about in the 1990s. Xara does most of its work online and has millions of customers online around the world. Xara Online is a leading edge online web service that gives you solutions for a m...

Ok, so you ditched the ex like a bad habit but now every picture on your Myspace features their face? No problem! You can use PhotoShop to cut objects out of your picture or to make people disappear. This video shows how to do both of those so you can forget the bad memories and move on! After you master the techniques shown you can also use them to cut the background out of your picture and then replace it with a background of your choice!

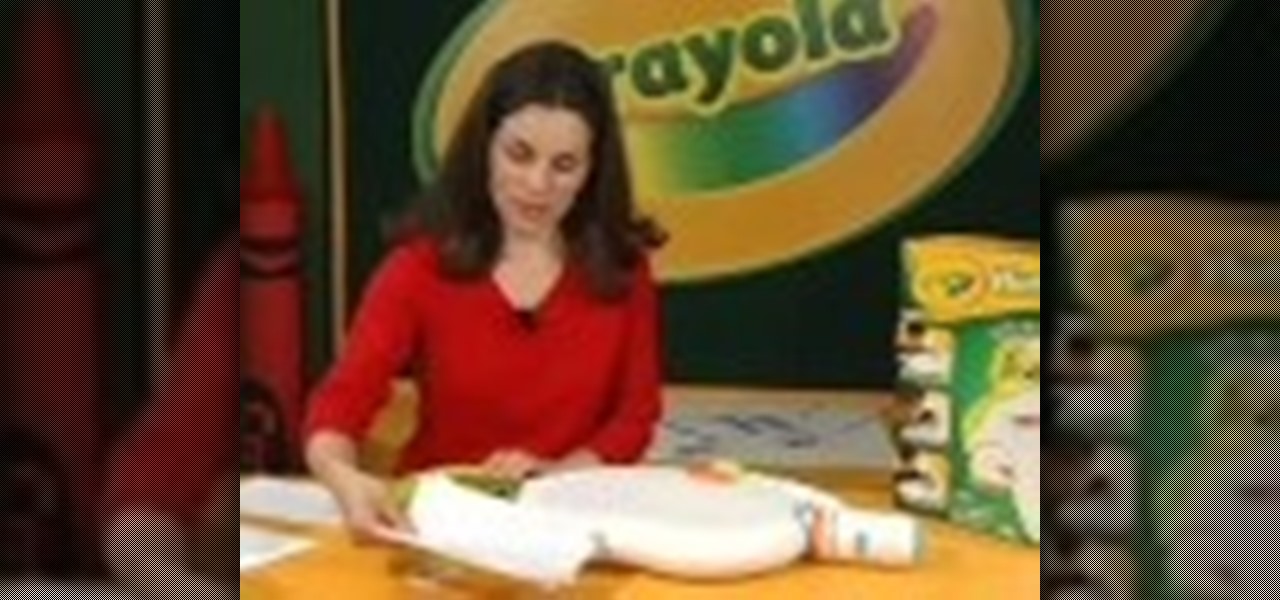
Project it! Sketch it! Perfect it! The Crayola Illumination Station is three great drawing tools in one! Use the light desk mode to trace one of the 10 cool background scenes-or create your own. Switch to projector mode and insert an image disc. Choose from 120 characters to project and trace into your design. Add color and shading to your creation with the included Mini Super Tip markers to complete your work. You can even detach the projector and use it as a flashlight! Includes Illuminatio...

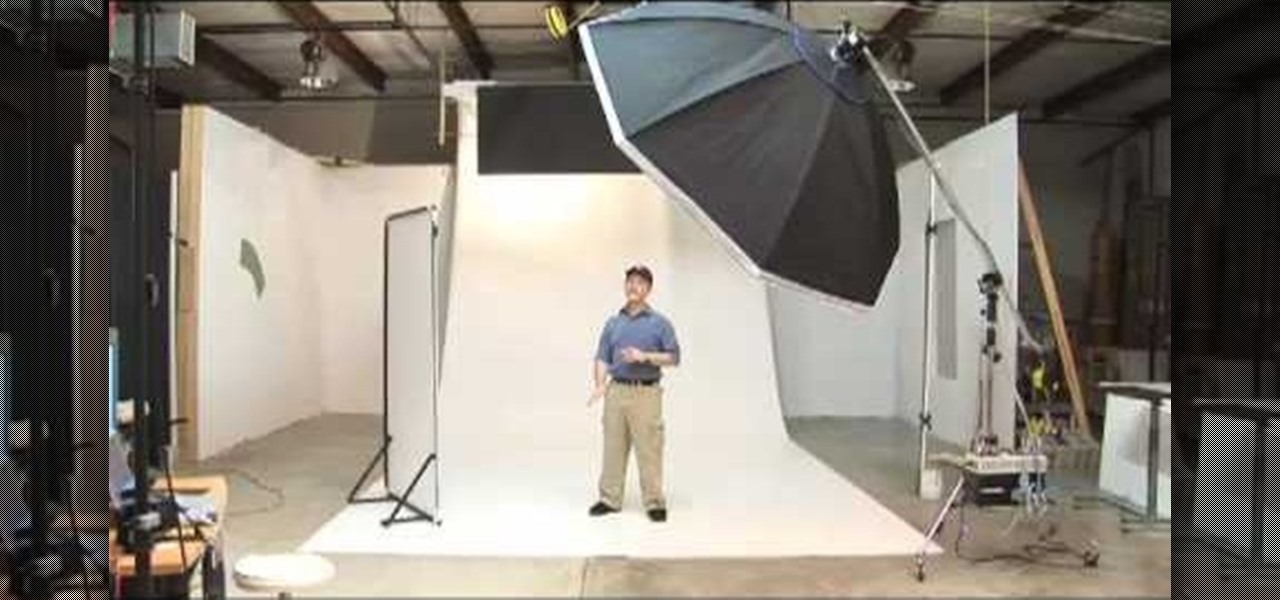
This instructional photography video shows how to setup large white infinity backgrounds in the photo studio. The key components to this setup is include this six foot octobox softbox light, which requires quite a bit of power; a framed aluminum reflector; the background itself is vinyl floor painted white; and a black baffle to shield the camera from lens flare. Set up professional looking shoots and take great portraits with this tutorial.

Depth of field is the term for how much of an area your camera keeps in focus. Moving your camera allows you to keep your subject clear, and make the background blurry. Use this video to get better control of your film making.

While sliding doors is far from a new concept and will be obsoleted once we see wider support for multiple backgrounds (CSS3), it is still a good one for your bag-of-tricks. The theory is that if we have an extra hook in our markup, we can apply two overlapping background images to a single spot of text. When that text grows or shrinks, these overlapping images and reveal more of themselves creating the illusion it is a single expandable graphic. In this video screencast, we do a quickly exam...

Ash Davies teaches us how to Photoshop digital bokeh with this tutorial. First, open up Photoshop and create a new canvas with your width at 1920 and your height at 1200. Now, create a new layer and set your background layer as invisible. Now create a medium size circle and reduce the fill to 50%. Now enter blending options and add a stroke of 10 pixels to the inside with the color set to black. Now define the shape as a brush and then click "edit" and "define brush preset" name this, "bokeh"...

Yanik Chauvin shows viewers how to add a reflection using Photoshop. This tutorial focuses on how to do a reflection on a white background. You can do this with objects as well as people. Bring up your image with a white background to add the reflection to. First, you should press ctrl+j to add a second layer. In order to do a reflection, you need room, so you need to increase your canvas size. To do this click image, click canvas size, and click the bottom arrow so it can expand downward. Yo...

Slack recently released a dark mode for its Android and iOS apps, and for the most part, it works great. Super dark gray backgrounds and light gray fonts, which is much easier on the eyes than blinding white backgrounds and black text. But there's one thing that is not affected by the new night mode setting — your sidebar.

When BlackBerry made the move to Android OS, they were aware of the limitations it presented. Unlike with BB10, they didn't create the operating system and would have to deal with the vulnerabilities already included. As a result, they added numerous security enhancements, and at the heart of this is DTEK.

Imagine if you combined Tasker with your favorite live wallpaper—that's roughly the gist of a new app from developer feedK. With this one installed, your home screen background will finally be aware of its surroundings.

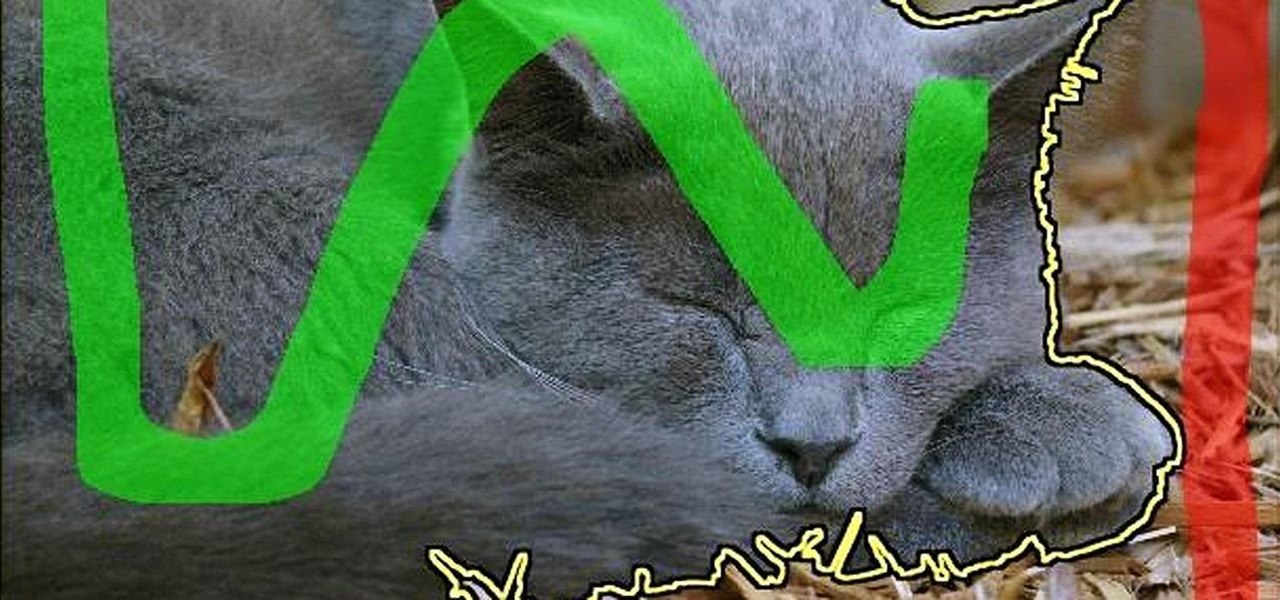
One of the very first Photoshop skills we learned in my tenth grade photojournalism class was cropping the background out of images. I hated it. It was extremely time consuming, and the magnetic lasso tool never seemed to want to cooperate with me.

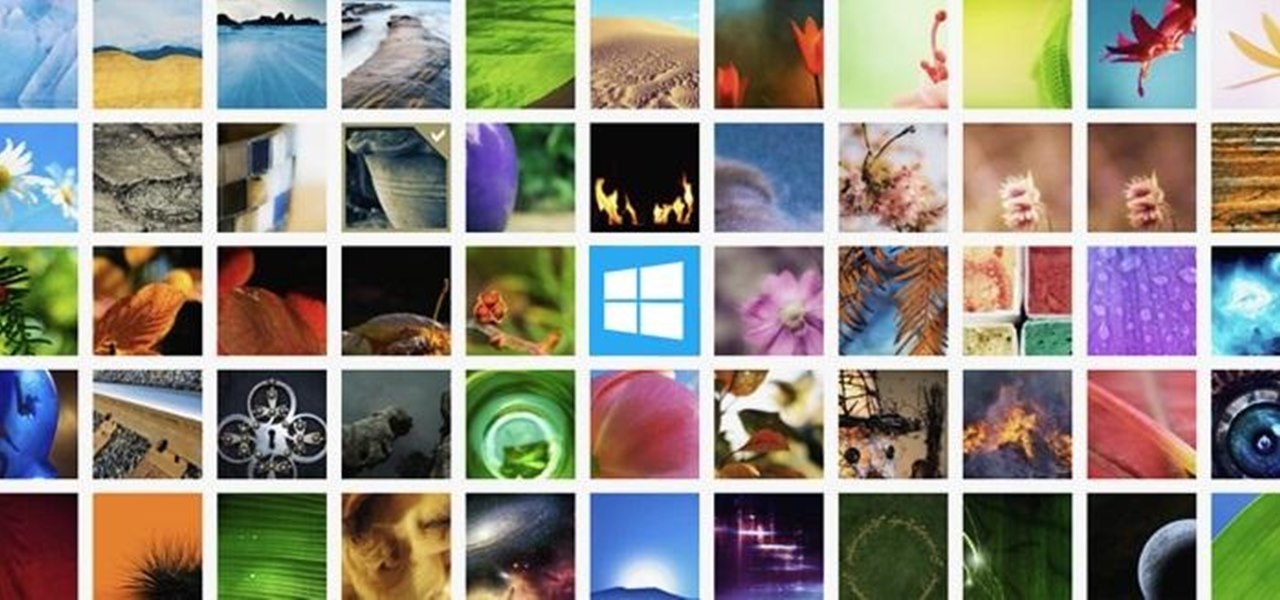
Like most new things, the Start Screen in Windows 8 has its adorers and detractors, but either way you slice it—it's here to stay. I'm still getting used to the Start Screen, so I'm not sure if it's a love or hate feeling yet, but I do know one thing—I want my own background!

The Fennec Fox is a beautiful animal native to Northern Africa. This video art tutorial from Drawing Now demonstrates how draw a cartoony, adorable little example of on yourself. Here are the artist's instructions:

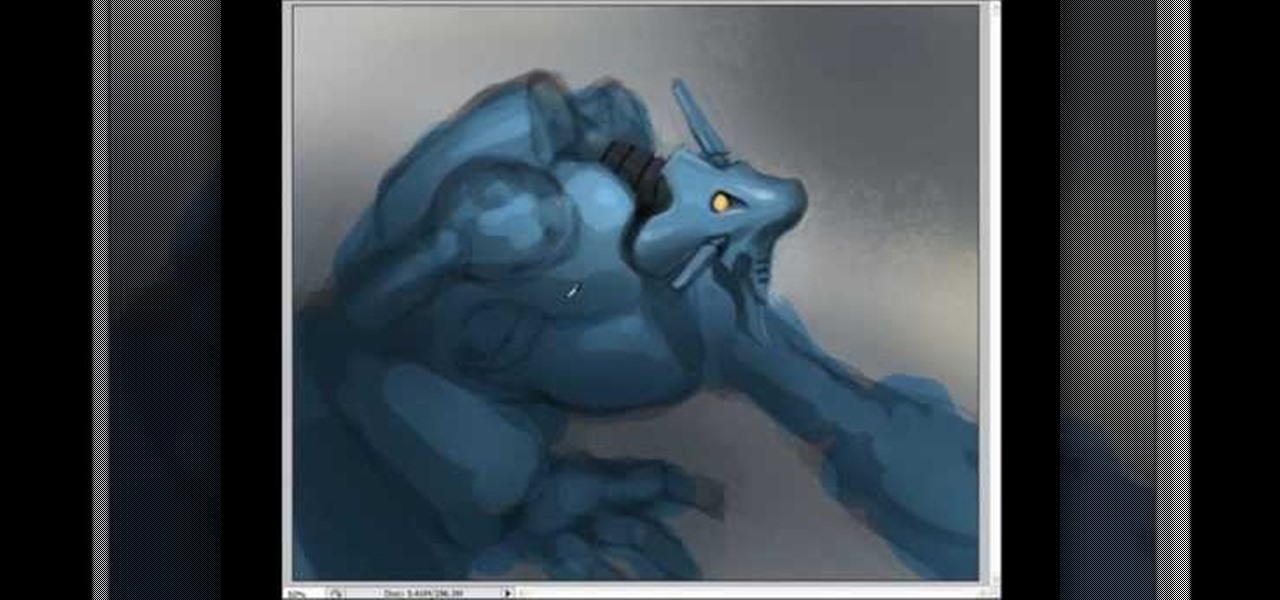
If you want to draw and paint a robot Mecha style you should first make a square and color this in a dark gray. Draw a silhouette in a darker gray color. You should draw basic body parts such as the head, arms and limbs and shoulder. You should draw this with simple dark layers. In the face, you can draw a different or cool complex design. You can also make the background darker and make shadows. To distinguish the figure from the background color the figure a dark dull blue. Now you need to ...

This video describes how to create intricate nail painting designs. The first step is to choose a background color. You can either choose a lighter background color so the darker designs you paint over it will stand out, or a darker background color so the lighter-colored designs will stand out. For this specific design consisting of 3 flowers and a few dots, the former will be used. Next, take globbing paper and glob it with some white polish. Use a nail dotter to apply the polish from the p...

In this video, Tony Reale describes some cinematography tips for video lighting. He focuses mainly on different ways to capture the look of video. The lighting style he's using in this video is a 2-light setup. One light is reflecting off a foam core and is placed at the right side of the room. The second light is acting as background light and is smaller and placed in the back, right corner of the room. This is a very simple setup and, with a cost of $100-$200, it is an inexpensive, effectiv...


