
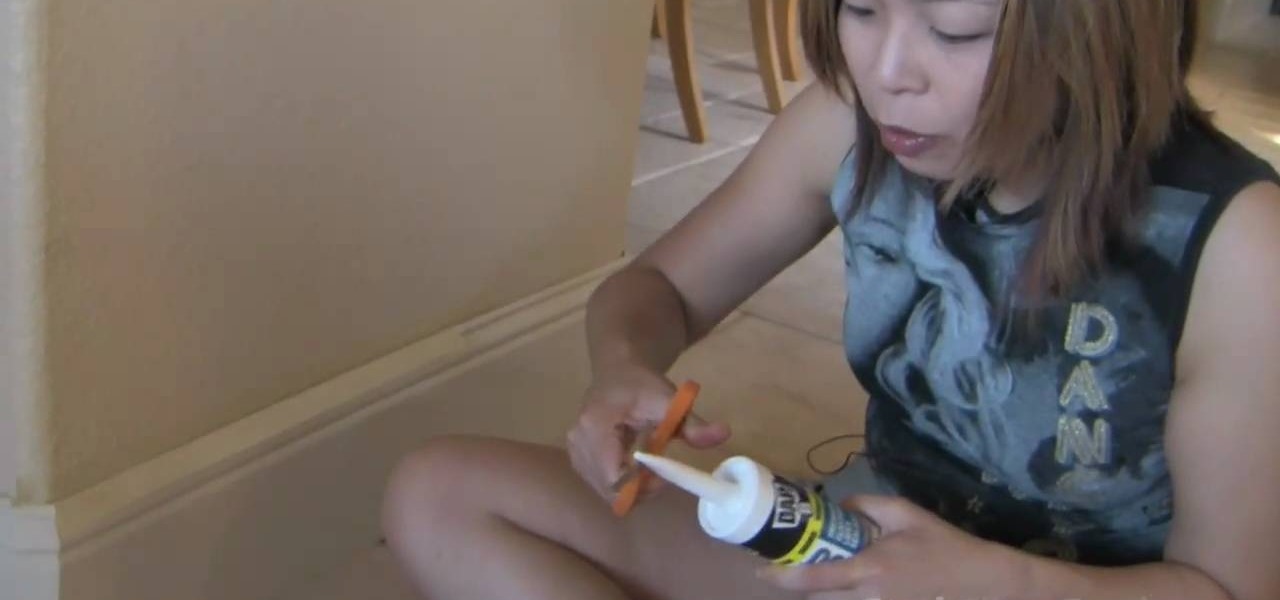
How To: Caulk the baseboards in your home
How to caulk the baseboards in your home

How to caulk the baseboards in your home
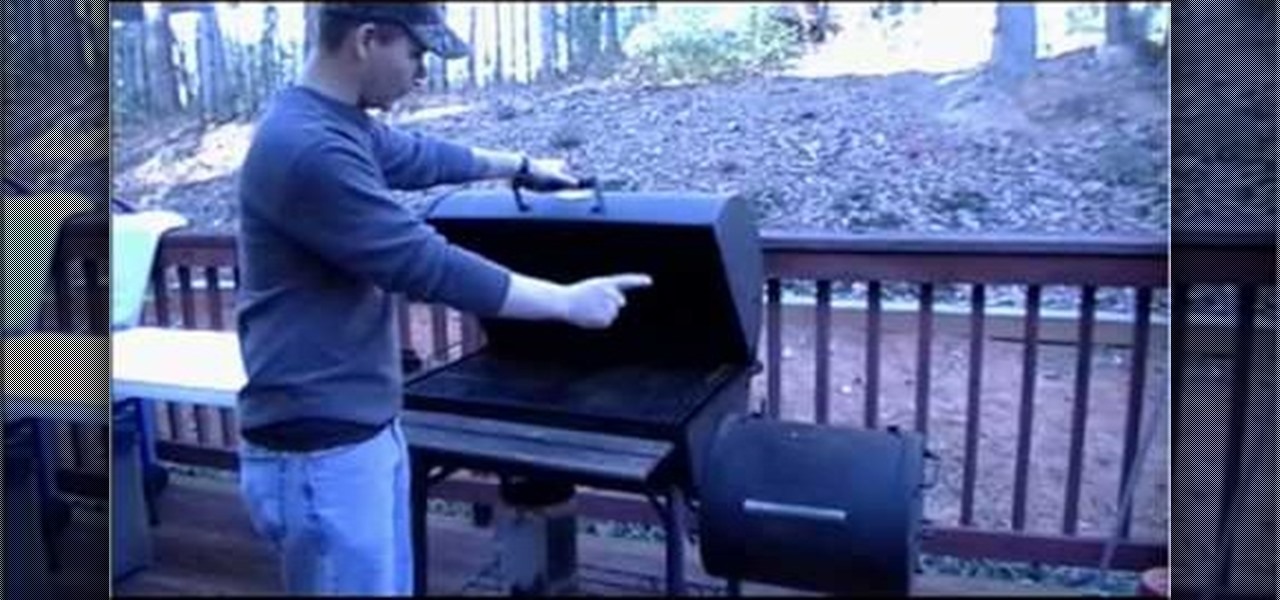
This video demonstrates how to prepare Grilled Savory Pork Roast, prepared with indirect heat. For this, you will need newspaper, charcoal, a charcoal chimney, pepper, garlic, 3 lbs pork roast, a pan filled with water, and onion.

In this how-to video, you will learn how to draw Dead Bones Brook from One Piece. First, draw the skull that is the face of the character. This will include the eyes and nose socket. You can move onto the suit and instrument of the character. Next, draw the hair of the character. You should remember that he is wearing a hat on top of his hair. Once this is done, you can fill in the shadings of the character to complete the entire look. This video shows how easy it is to draw Dead Bones Brook ...

In this tutorial, we learn how to make homemade miso soup. You will need : miso, firm tofu, green onions, diced ginger, dashi, water, chopsticks, pot, ladle, cutting board and knife. First, you will prepare your tofu by slicing half a package of tofu into bite sized pieces. Next, you will prepare the broth by filling your pot with water and setting it to a boil. After this, you will add in the Dashi. Next, you will place the tofu into the boiling soup and then add miso with your chopsticks. O...
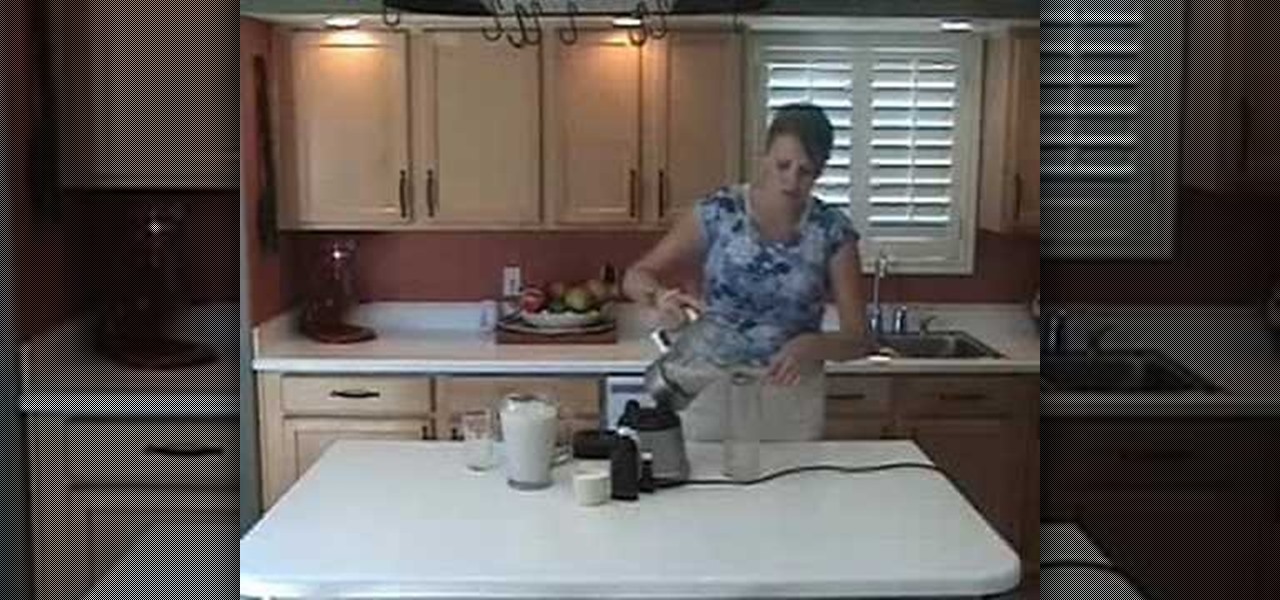
In this video tutorial, viewers learn how to make traditional horchata. Begin by filling the blender with water and add in some cinnamon sticks. Then add in a cup of dried rice and turn on the blender to mix it. Now pour the mixture out into a strainer with a pitcher or cup underneath. The strainer will catch all the leftover rice gains. Then add in 1 tsp of vanilla, small amount of almond extract and 1/2 cup of sugar. This recipe is very fast, simple and easy to do. This video will benefit t...
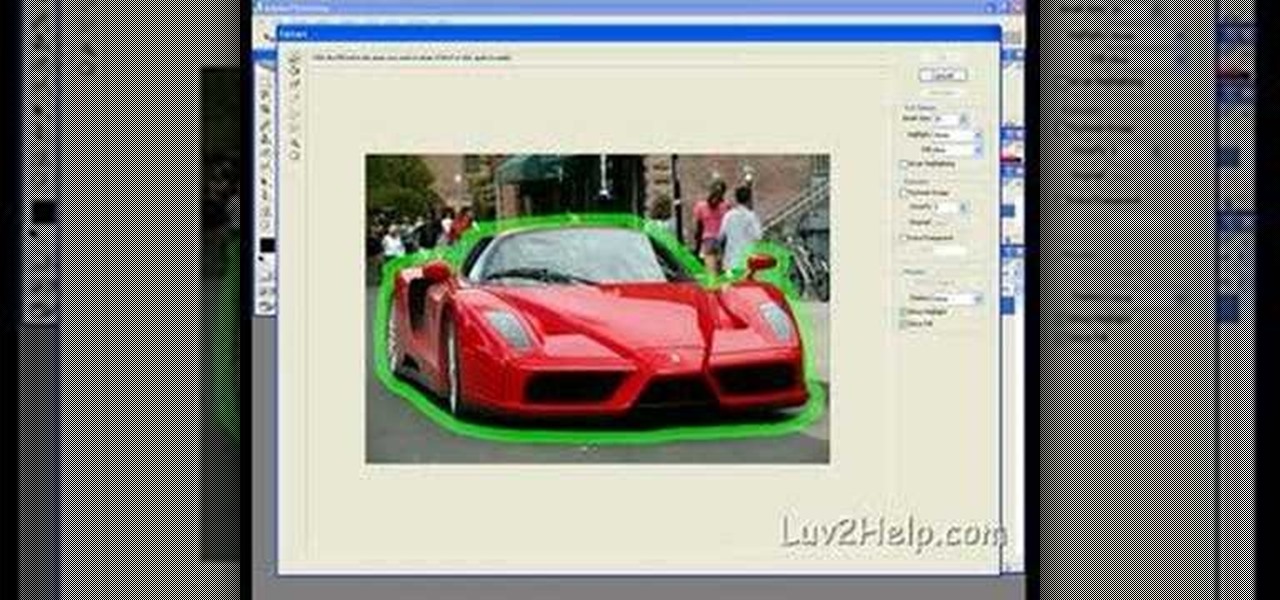
In this how-to video, you will learn how to crop an image using Adobe Photoshop CS4. First, open Photoshop and open the image you want to crop. Next, press filter and select the edge hollow tool. Carefully draw around the image you want to crop. Once this is done, click on the fill tool and left click in the middle of the image. Now, press preview to see if you missed any spots. You can clean these spots up by pressing the clean up tool. This will allow you to erase these particular spots. On...

In this video tutorial, viewers learn how to save a wet cell phone. Begin by taking the battery and remove all electrical power. Now wrap the phone in a dry washcloth and cover it with aluminum foil. Then put it into an oven for 5 hours at a low temperature. It is recommended to heat it at about 125 degrees. Another method is to put the phone into a container filled with dry, uncooked rice and leave it for 1-2 days. This video will benefit those viewers who have accidentally dropped their pho...

In this Alcohol video tutorial you will learn how to make a Pim Pom cocktail with gin and pomegranate juice. This is an ideal cocktail for a summer evening. Dave presents this video. For this you will need a high wall glass filled with ice cubes. To this add 50ml Pimms No1. Now you simply top it with Pomegranate. For garnishing use an orange slice and some ripped basil. This is a perfect drink at a picnic or a barbeque and is a great way to impress your friends with your cocktail knowledge. G...
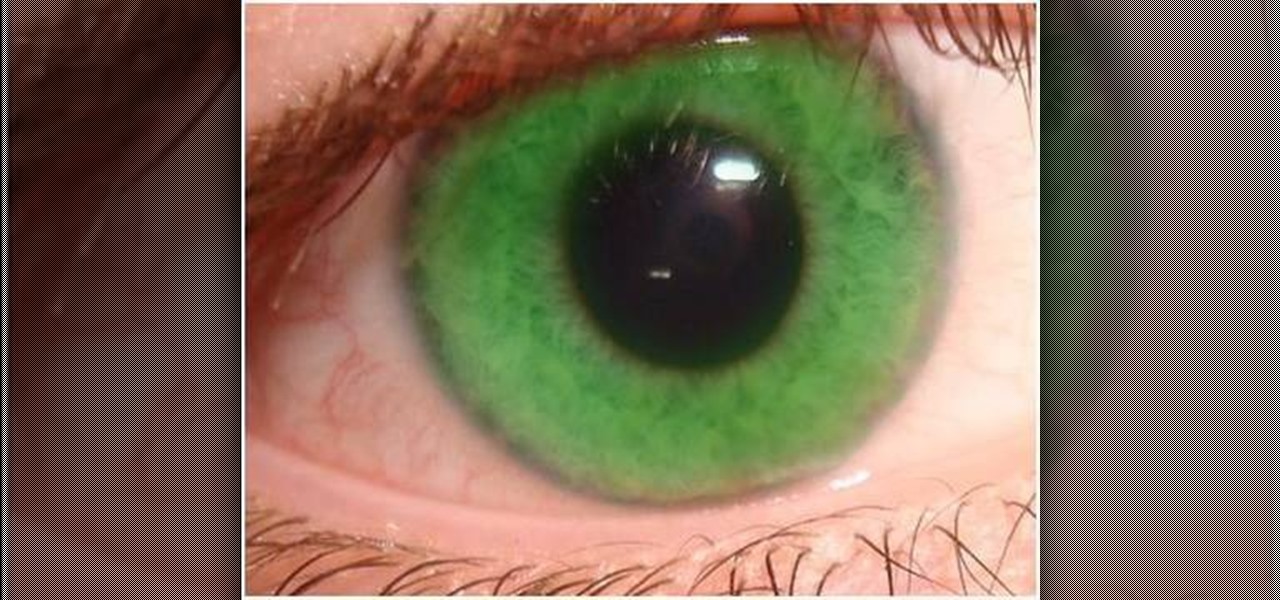
Stevmay09 will be teaching you how to digitally modify your eye color for free using GIMP. First you need to zoom in on the eyeball then click on the free select tool. Then start on the corner of the eye and make your way around the entire eye. Once you have the area around the eye selected you need to create a new layer. Make sure its filled with transparency then select the color you would like the eye to be. Then get the paint brush tool and select the icon shown then increase the scale an...
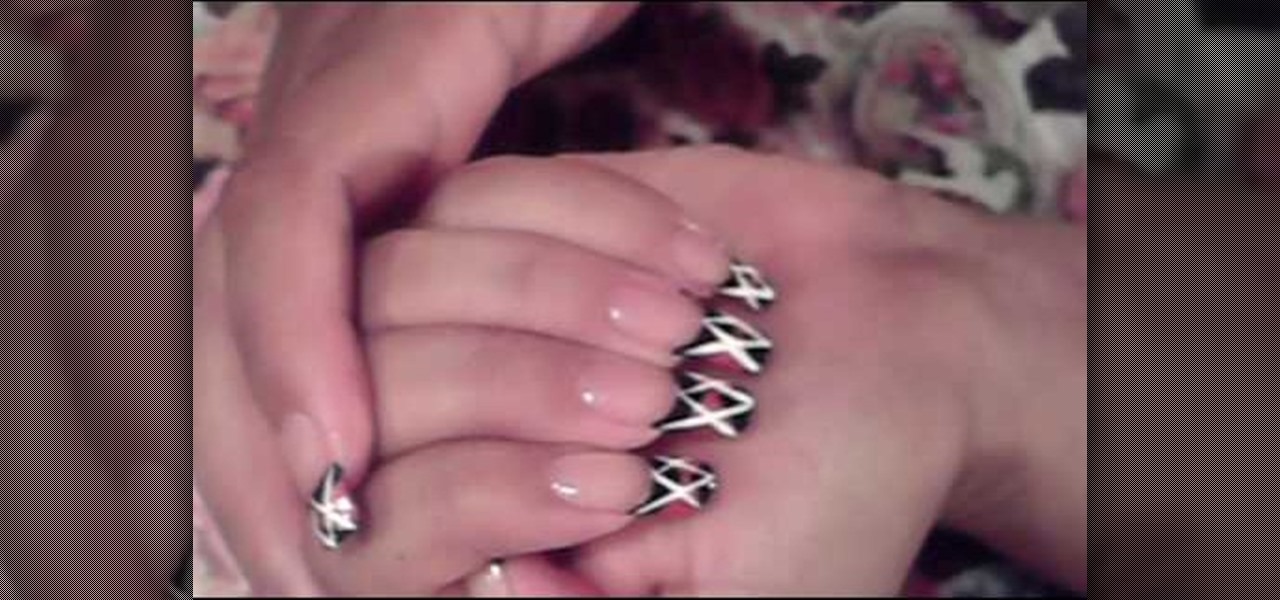
this short video shows how to paint nails in a black, pink, and white art design. The steps are simple and easy to follow. The first thing to be done is a regular black, French tip manicure. Once the black French manicure is completely dry, a pink thin tip nail polish is taken. From the middle of the nail , on the black tip, draw a V mark facing sideward on both sides. The next step is to fill the two "V"s, inside with the pink color. Once dried, with the white thin tipped nail polish, a line...
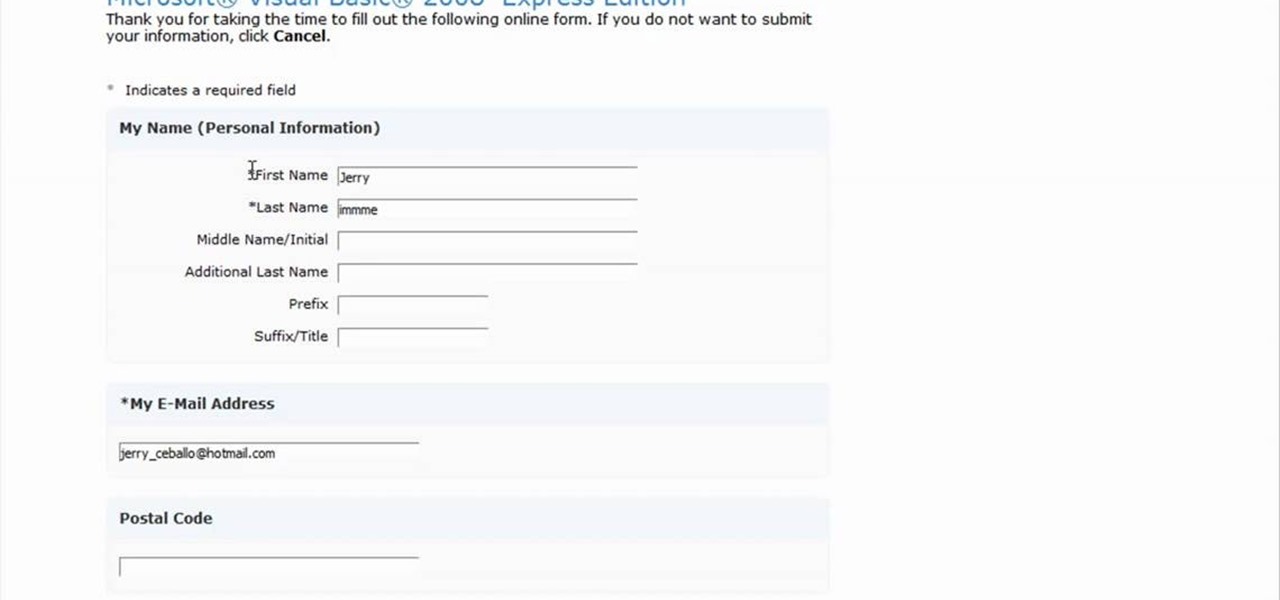
Registering Visual Basics 2008 express edition is quite simple. It is a free registration. First open visual basic then go to the help option. Register the product and click on register now. It will ask you to sign into Microsoft email using your Hotmail account or if you do not have one you can create one and use it there. Use your user name and password where it asks to verify. Fill out all the form information, it may be real or fake, it does not matter. Then you will come to a registratio...
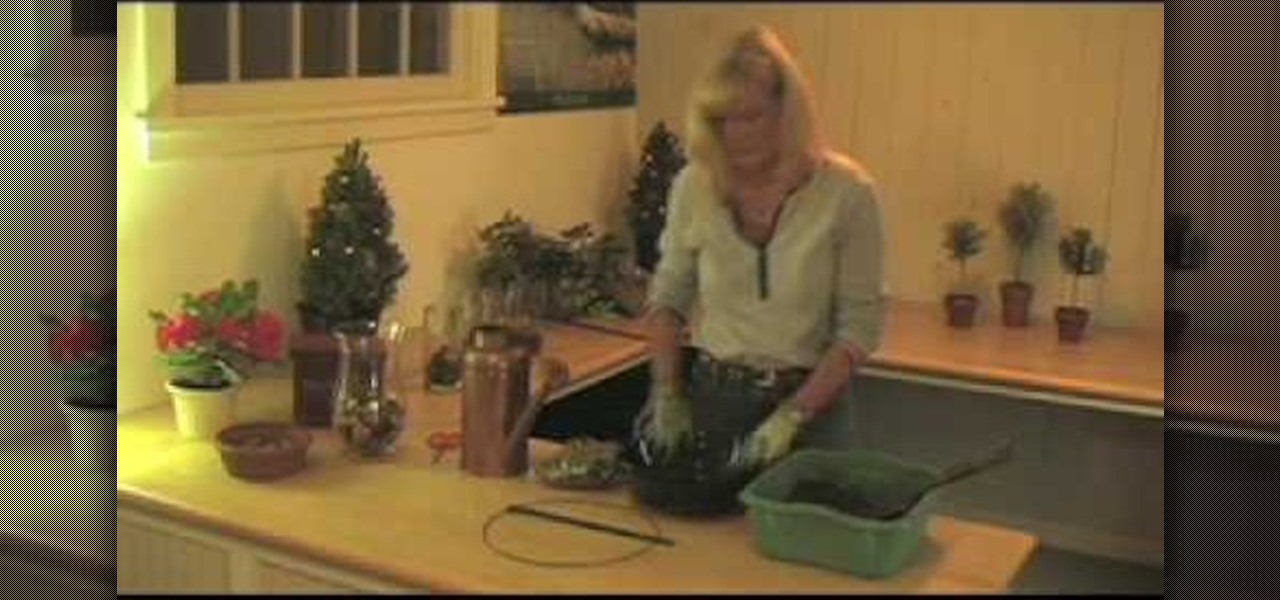
We are shown by a nursery manager how to grow Paper White Narcissus. While not hardy outdoors they are simple to grown indoors. We are shown how to grow in a vase or pot. For the vase, pebbles are placed on the bottom then about two inches of water. The bulbs are put tips up roots down, then a little more pebbles on top. The potted version is filled with a moist soil and water mixture. The bulbs are placed identical with soil lightly on top. With the pot a flowering support structure is place...
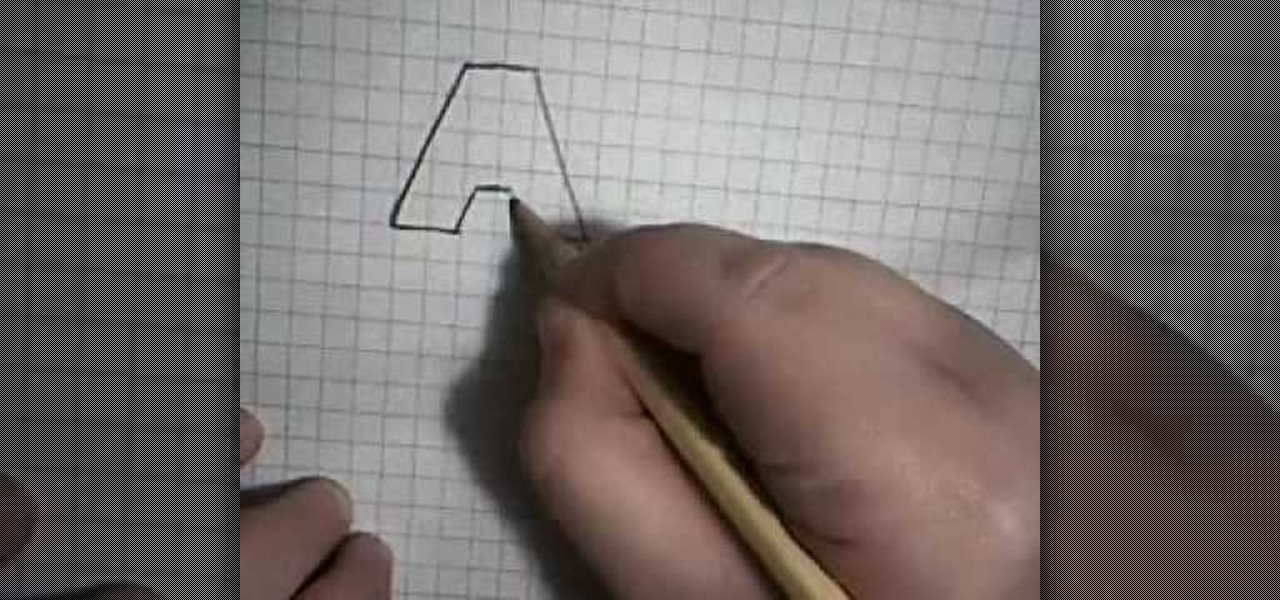
This is an upbeat fun video on how to draw 3D letters; and shows in detail how to draw them from A through L. Start out with a pencil drawing of the letter to make sure it looks how you want it, as you can always erase any mistakes. Then, using a black marker pen, trace over the pencil lines of the letter, then using a gray marker, fill in the 3D depth of the letter, leaving the face of the letter clear. This gives a nice 'cartoon' like effect, which looks great. Watch the second video to lea...
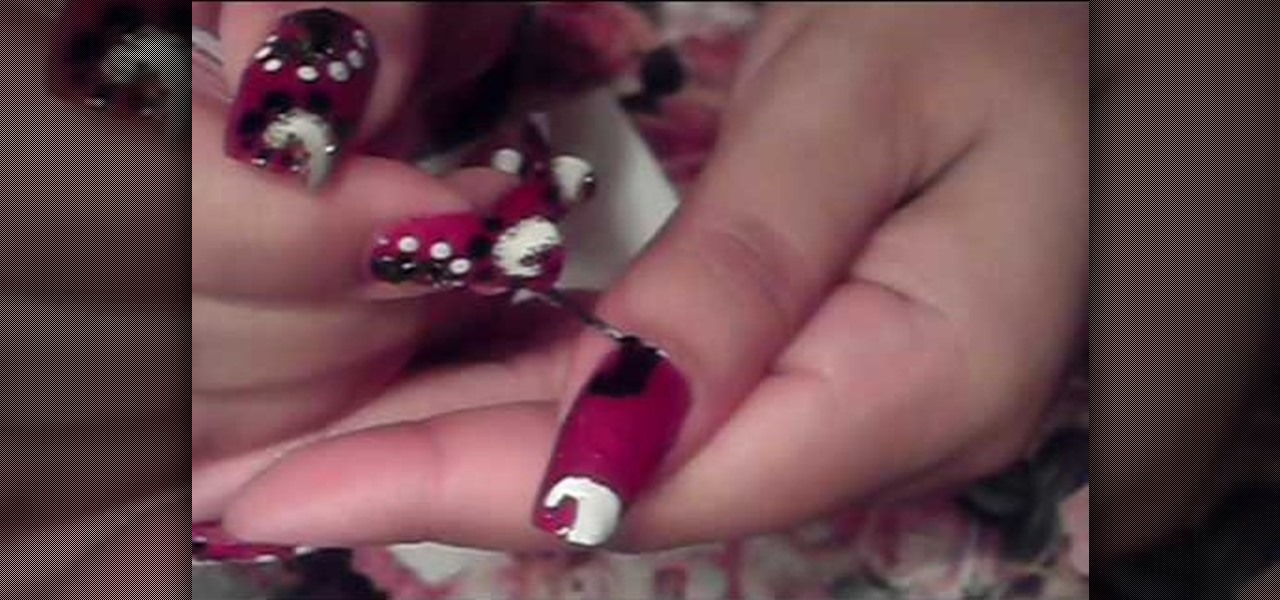
Love4Nails demonstrates a nail design consisting of black and white swirls and dots on a red background. She has already applied a base coat and two coats of red polish. The first step in making the design is the white swirl on the tip. Using the pointed end of a nail dotter, she dips it in the white polish and draws the outline of the swirl, and then fills it in. Next she does the black swirl at the bottom in the same manner.
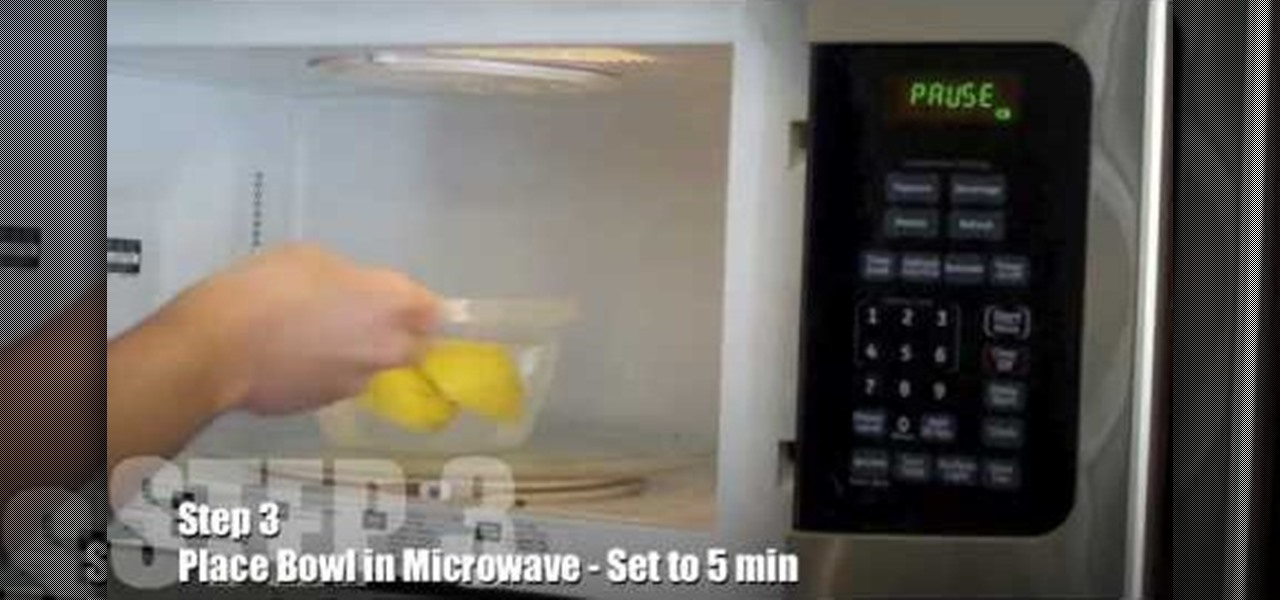
In this video, we learn how to clean a microwave using water and citrus. You will need 1 lemon, 4 cups of water and microwave safe bowl. On a cutting board, slice the lemon in half. Next, place the lemon halves in the microwave safe bowl and fill it with water. When you are done with this, place the bowl into the microwave and set to 5 minutes. Turn on the microwave and when it's done take the bowl and turn table out. Wipe the inside of the microwave out with a cotton towel. If you have stubb...
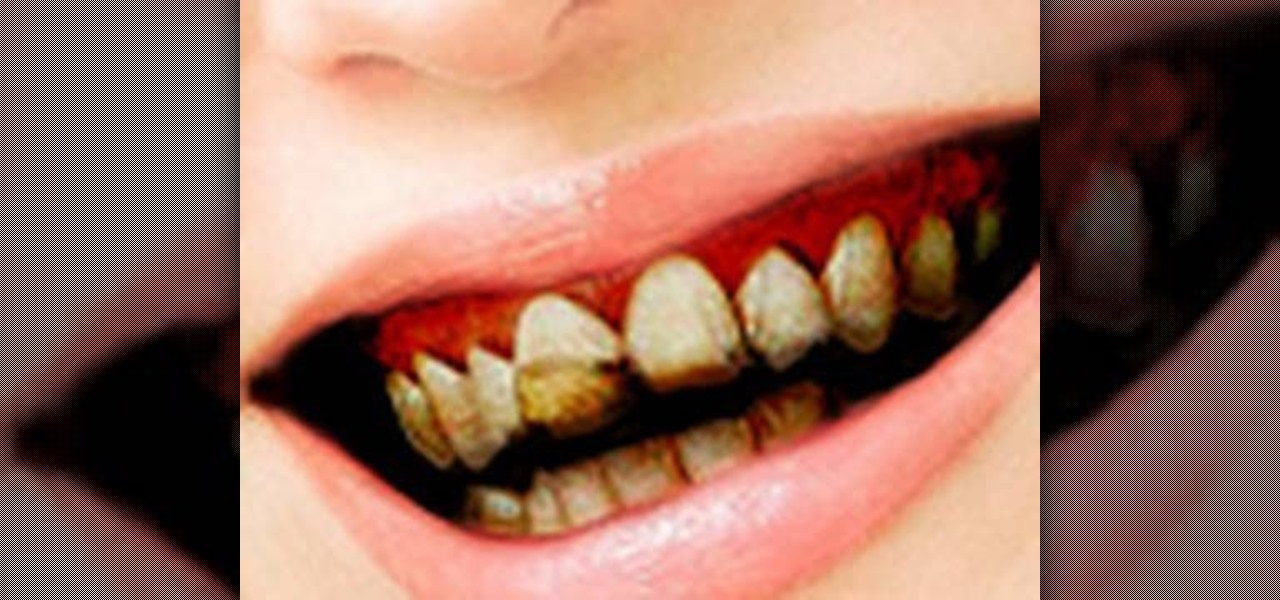
Nobody in the world enjoys seeing somebody with really bad teeth. Or enjoys kissing them for that matter. So this video is perfect for you pranksters out there looking to get revenge on a family member, friend, or even enemy. Find out what it takes to make rotten teeth using Photoshop.

This Software video tutorial shows how to create a glass text effect in Photoshop CS3/CS4. Download a free trial version of Photoshop CS4 from Adobe. Open Photoshop, go to ‘file’ and click ‘open’. In the next box, give it a name, select width and height at 90 pixels, background contents to ‘transparent’ and click OK. Select the color palette and choose the background color and click OK. Now open ‘paint bucket tool’ and fill in the color. Then go to ‘text tool’, select the font, size and posit...
This is a survival video which shows how to make a fire out of chap stick and cotton balls. This is called the wicks/wax principle. For the wick, cotton balls are used. For the wax, any petroleum based product is good. In this case chap stick is used. Take a big chunk of chap stick out of the tube, about 1 inch. Smear the chap stick into the cotton ball. This will evenly distribute the chap stick throughout the cotton ball. Spread out the chap stick filled cotton ball so that it creates a big...

Not a very good artist? Well Joe makes it simple for anyone to create a great looking wiener dog! First he starts with the eyes. He draws two large circles then adds the dots for eyes. Joe gives them a little personality by making the eyes a little cross eyed. He next moves down to the nose where he draws a small round circle and fills it in. Next he follows his way down and creates the long body for the dog. He even includes realistic aspects such as eyebrows and a smiling mouth. Learn from ...
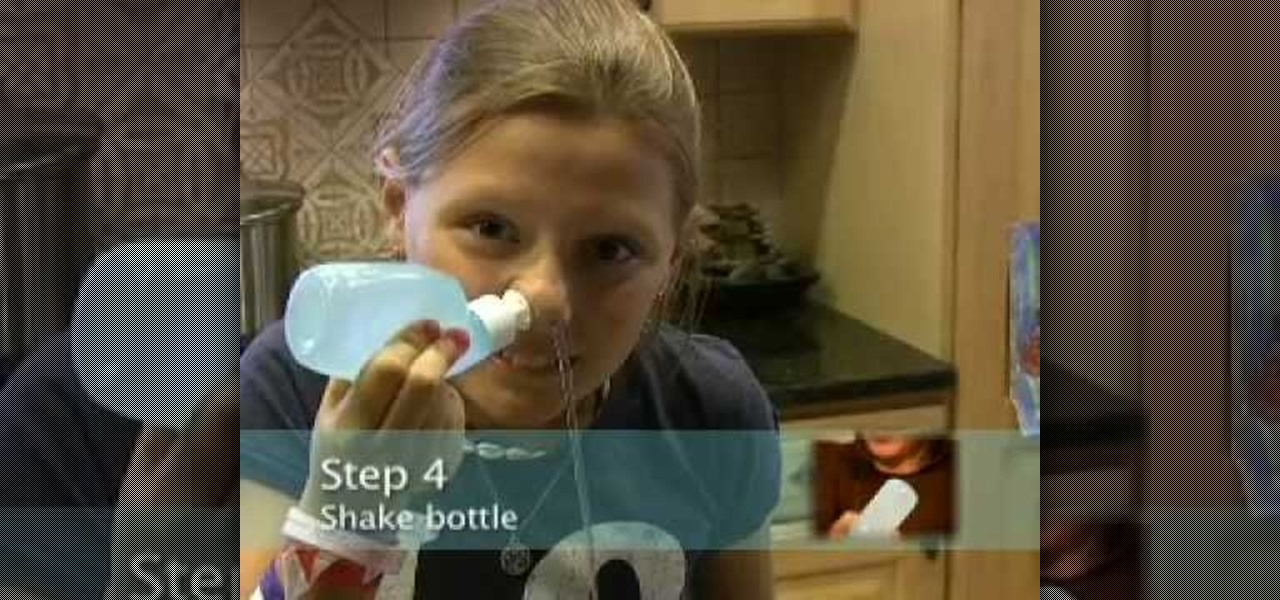
In this video tutorial, viewers learn how to use the Neti pot. The Neti pot is the personal hygiene practice in which the nasal cavity is washed to flush out excess mucus and debris from the nose and sinuses. Begin by filling your pot with warm water. Now add a heaping 1/4 tsp of finely ground, non-iodized or Neti pot salt. Next, lean over your sink and tilt your head. Put the spout into the nostril and raise the handle of the pot. Do the same for the other nostril. This video will benefit th...

Follow the easy instructions of this video to create the perfect kitchen accessory for your dollhouse! The instructions for the mini polymer clay watermelon are quick and easy to follow. First you need red, black, green, and translucent clay. You want a very light green color for the watermelon. Use the pasta machine to mix the colors together. Slice the pieces of green clay and lay them on top of the light green clay. On the largest setting run them through together in the pasta machine. Rol...
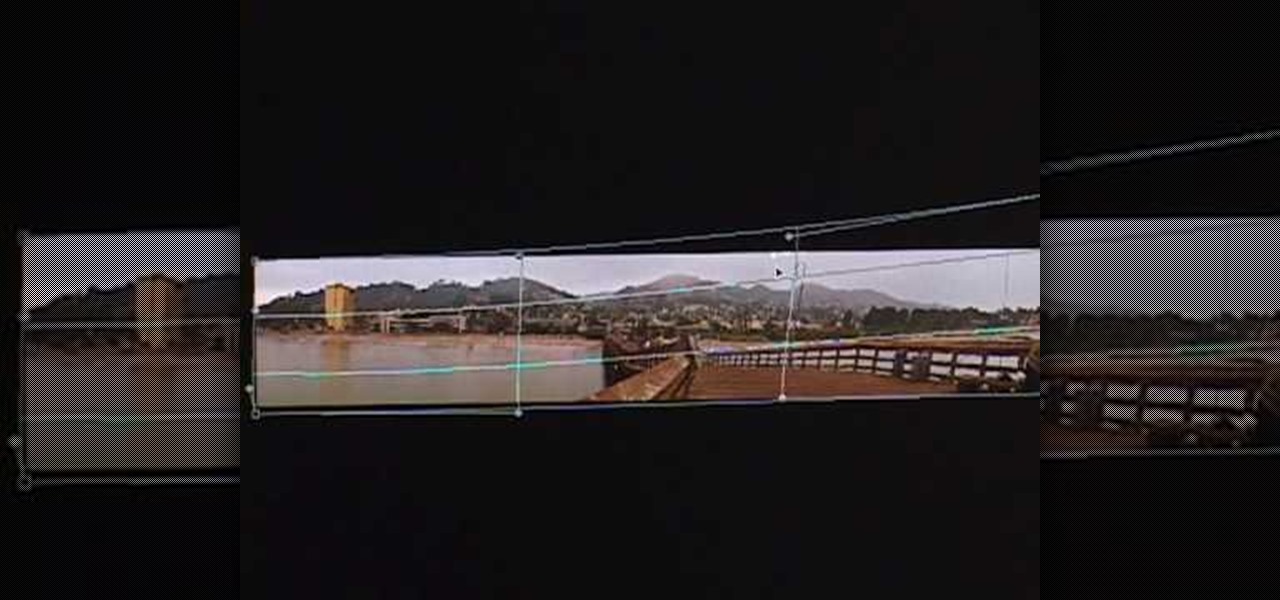
This video in the Software category will show you how to create simple panoramic images in Photoshop. This video uses only five images for this effect. Select the five images and put them in a folder. Go to File -> Automate -> Photomerge. On the Photomerge page select ‘Folder’ and browse. Find and ‘choose’ the folder you created. Under the layout panel on left hand side of the page, select ‘cylindrical ‘option and click OK. Now the panoramic image will appear that will have some blank areas. ...
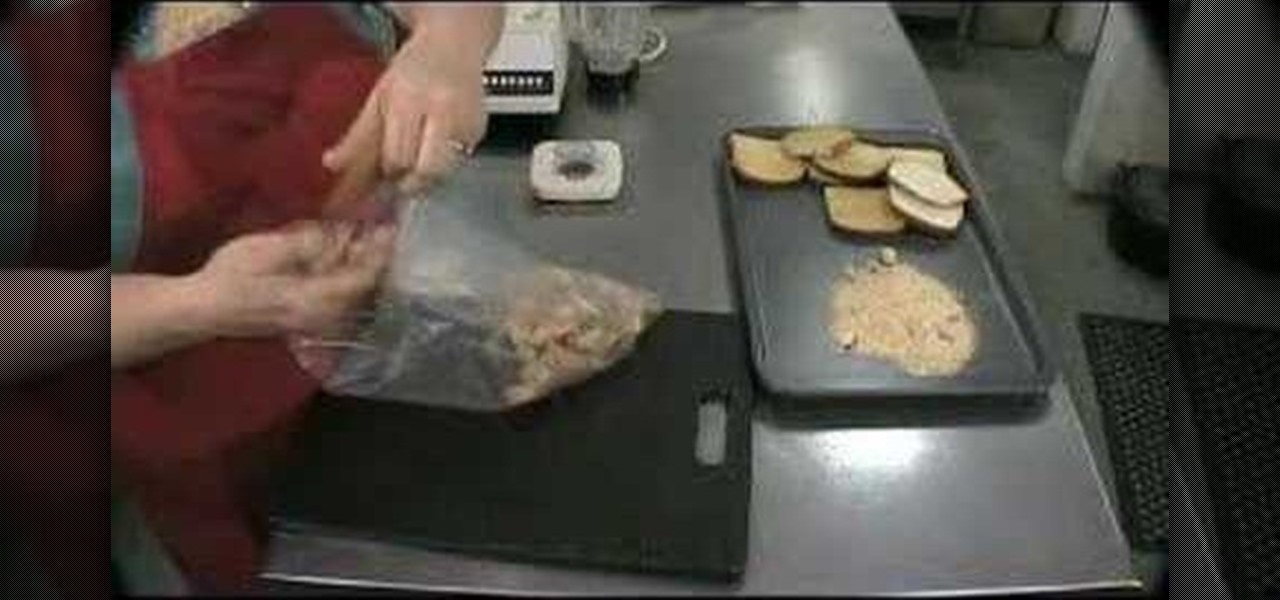
This video demonstrates how bread crumbs can easily be made at home. Two methods are shown for this. For both the methods first bread has to be dried in oven at 230 degrees. For this you can use fresh bread or stale bread. After heating the bread should become dry and hard. In the first method, break the dried bread into smaller pieces and put in a blender. Start the blender and crush them. Your bread crumbs are ready. In the second method Put the dried bread in a plastic bag and close the ba...
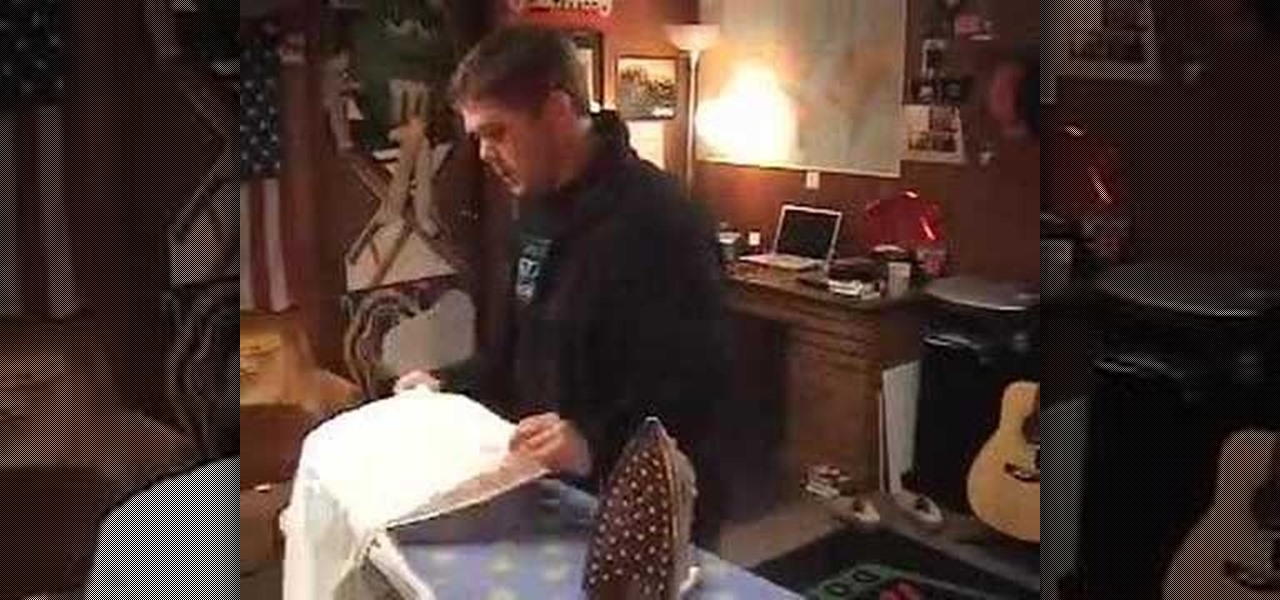
Ironing a shirt is simple and easy when you follow the suggestions outlined by Matt McGuire in this tutorial. You will need an iron, wrinkled shirt, and ironing board. Lay one end of the shirt on the board. Take the iron rubbing it from side to side, pressing out the wrinkles. It is a good idea to fill your iron with water prior to heating it up. This allows you to steam your clothes making it even easier to get a clean press. When done ironing this section, lay the other portion of the shirt...

This video describes the easy process of building a garden retaining wall. First you will need to map out your area for your wall with strings and dig your trench for your stones. You will be filling the trench with gravel to hold your stones in place. Make sure to pack to gravel securely into the ground. You should have a leveling tool to ensure your base is very level. After you make sure that first level is secure and in place you will stack your next level of stone. Once the homeowner has...
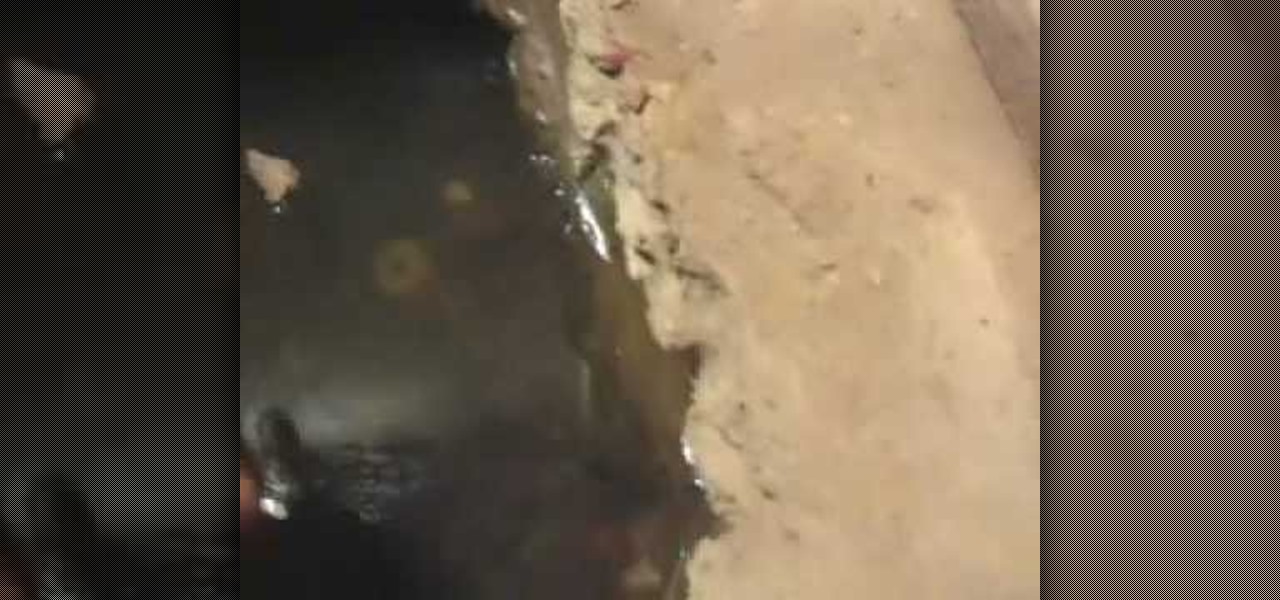
This video is from AskMeDIY and covers how basement sump pumps work to keep your basement dry. The sump pump fits underneath the basement below the concrete slab. The sump pump in the video pumps 2,000 gallons per hour. The presenter turns the pump off to demonstrate how quickly the water would fill in with the pump off. He contends that the basement would be flooded in only three minutes if the pump would malfunction. The pump is plugged into a GFI protected outlet and the pump outlet flows ...
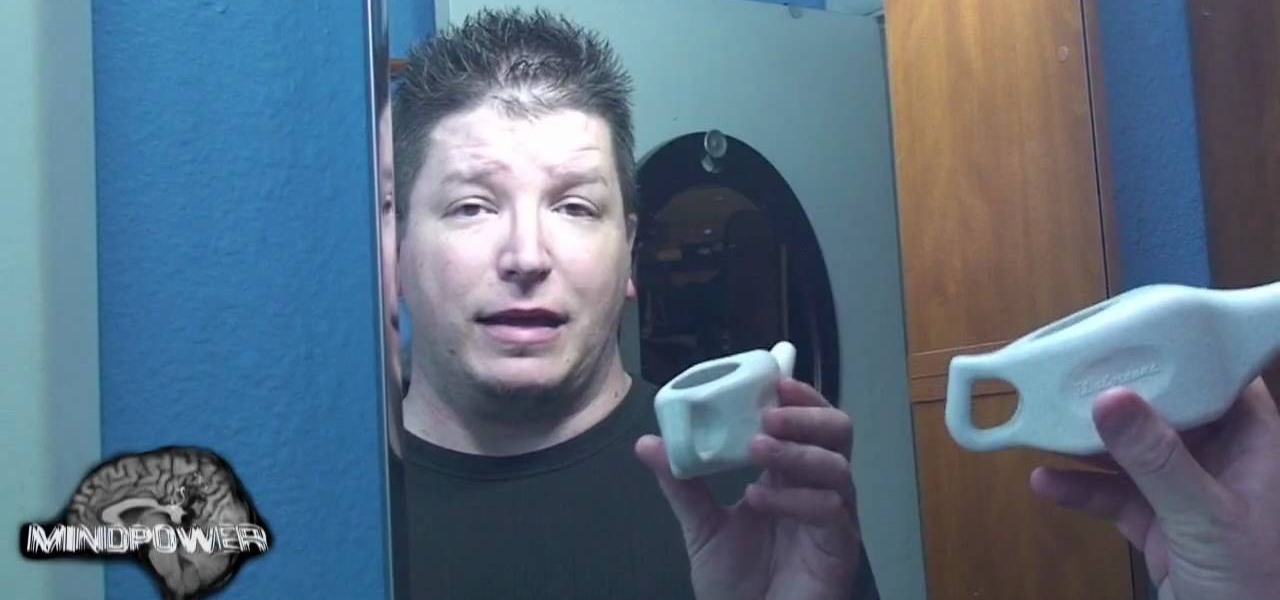
Learn how to use a Neti pot, otherwise known as a saline sinus wash to help clear out your nasal passages. This is a homeopathic remedy for sinus problems or any issues you may have with your nose. Take the packet that comes with your Neti pot, and dump it in. Fill the pot to the guideline with lukewarm water. This will create a saline solution once mixed. Stick the end of the Neti pot in your nose, and tilt your head to the side, allowing gravity to send the saline solution trough one nostri...

Be warned before hand that by making changes your router settings that you know nothing about can damage your router. Start off by opening your internet browser and then in the address bar either type 192. 168. 1. 1 or www.routerlogin.com. A prompt will come up in which you have to fill in "admin" in the first box and "password" in the second one. Look for the "Advanced" option and under it will be "WAN", click it. Now change your "NAT filtering" to "open". Make sure that "Disable SPI Firewal...
First of all to make a glass you need to find a bottle, preferably a gallery glass bottle. Take off the top lid from its pointed top. Clean this cap and if you put it inverted it appears just like a miniature glass. The tutor advises to use empty bottles' caps for making the glasses. You can also add a little ice into the glass (for making ice in glass the tutor suggests watching her other video on YouTube site). Now paint yellow color in the inside of the glass. This shall appear like that t...
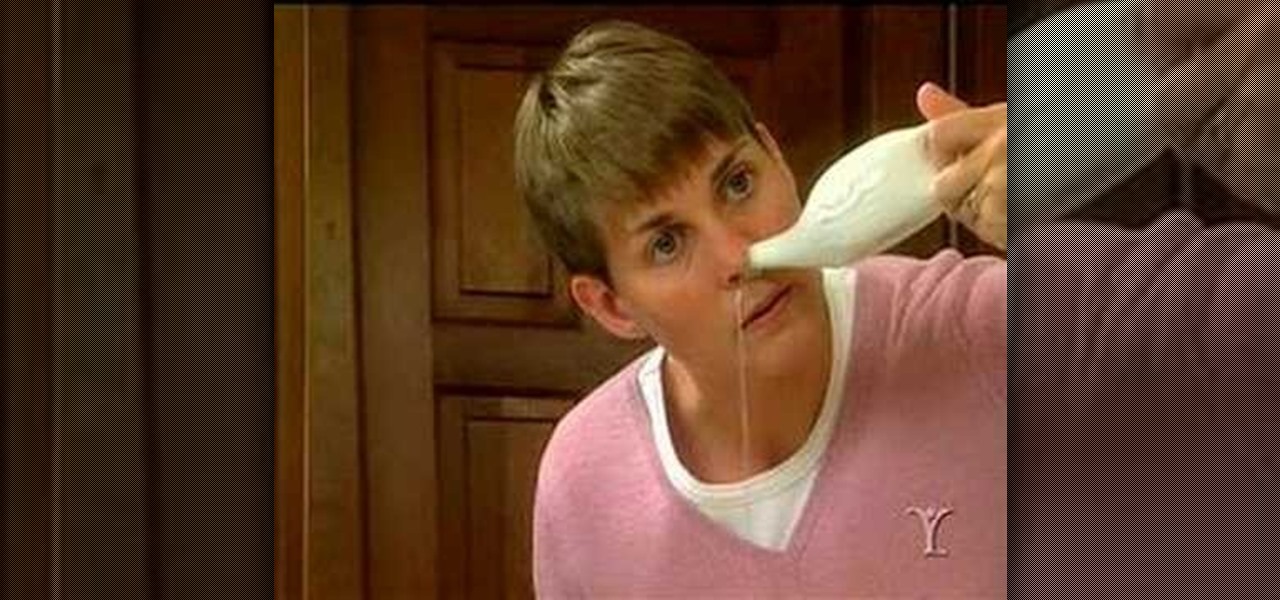
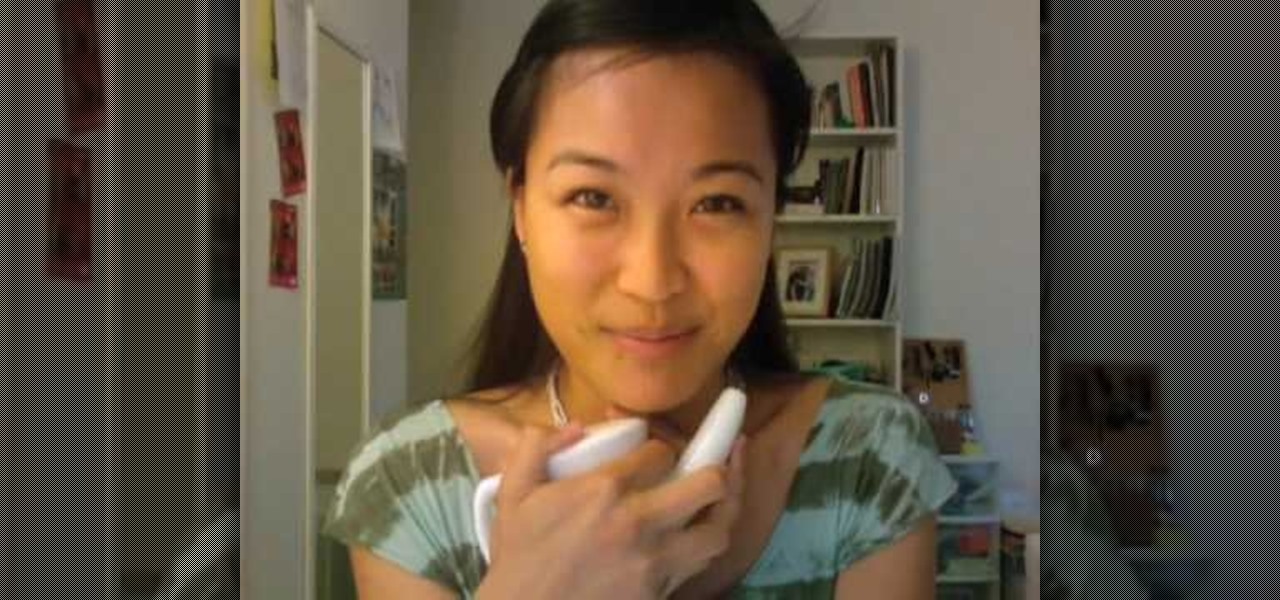
The video is of several different people demonstration how to use the Nasopure, a nasal cleansing device. The woman narrating explains the simplicity of the device, which is similar to a soap dispenser, but simply upside down. The device is filled with salt and lukewarm water. Then it is inserted into one nostril, while the tongue is press against the roof of the mouth, it flushes the slat water through the nose, cleansing the nose and then dripping to the floor. It removes irritants, reduces...
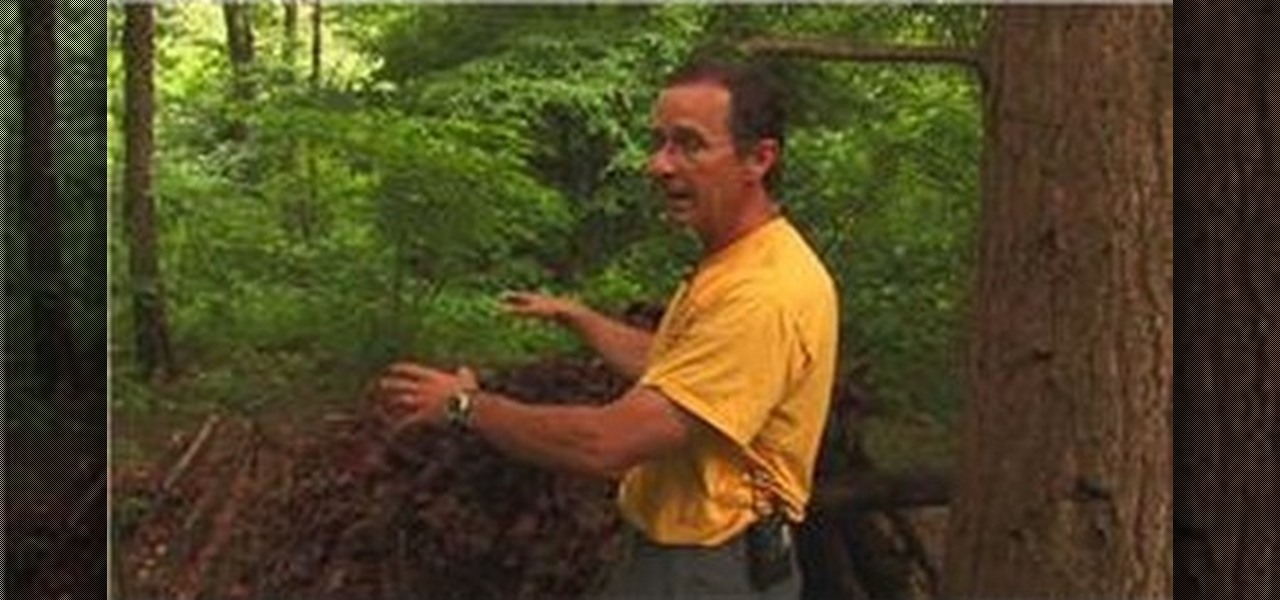
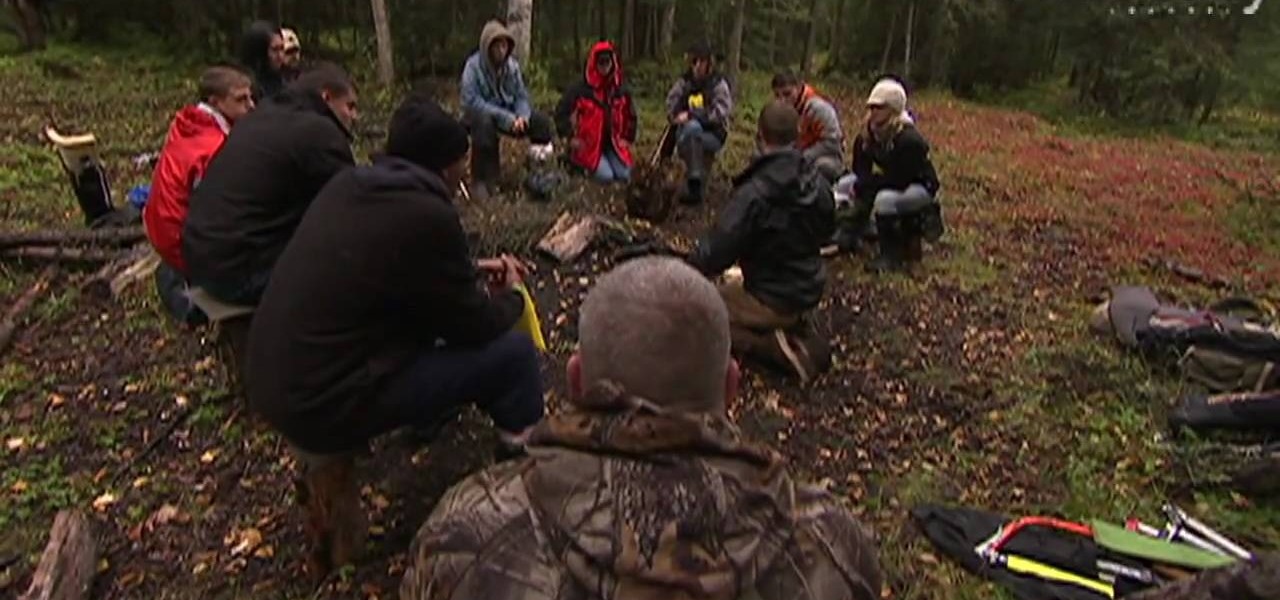
In this how-to video, you will learn how to build a wilderness survival shelter. One thing you can do is use a rain poncho, blanket, or piece of plastic and make a water impermeable shelter with a rope like material. These materials could include anything like a cord or dental floss. You can build a debris hut by using a large stick leaning against a tree. Stack many other sticks around this large stick, and then pile up debris such as dirt or leaves to build up walls. Once the structure is b...

In this video tutorial, viewers learn how to make a reflective text in Adobe Fireworks CS3/CS4. Adobe Fireworks a bitmap and vector graphics editor. Begin by opening Fireworks and create a new project. Create your text and then duplicate it. Align the duplicated text under the original and flip it vertically. Click on the color and select Fill Options. Select Gradient and keep the second option at Linear. Drag the opacity on the left to zero and the right to 100. This video will benefit those...

First thing to do is to create a new pic image called matrix. The next thing you want to do is to change the width and the height of your picture, as well as the resolution. Pick any background color you want, take the paint bucket tool and fill the background. To get the matrix code, go to Filter, Texture, and then finally Grain. You want to set the intensity to 90, contrast to 50, and grain type should be vertical. To get the grain to be green, you press Ctrl+U, press colorize and drag the ...
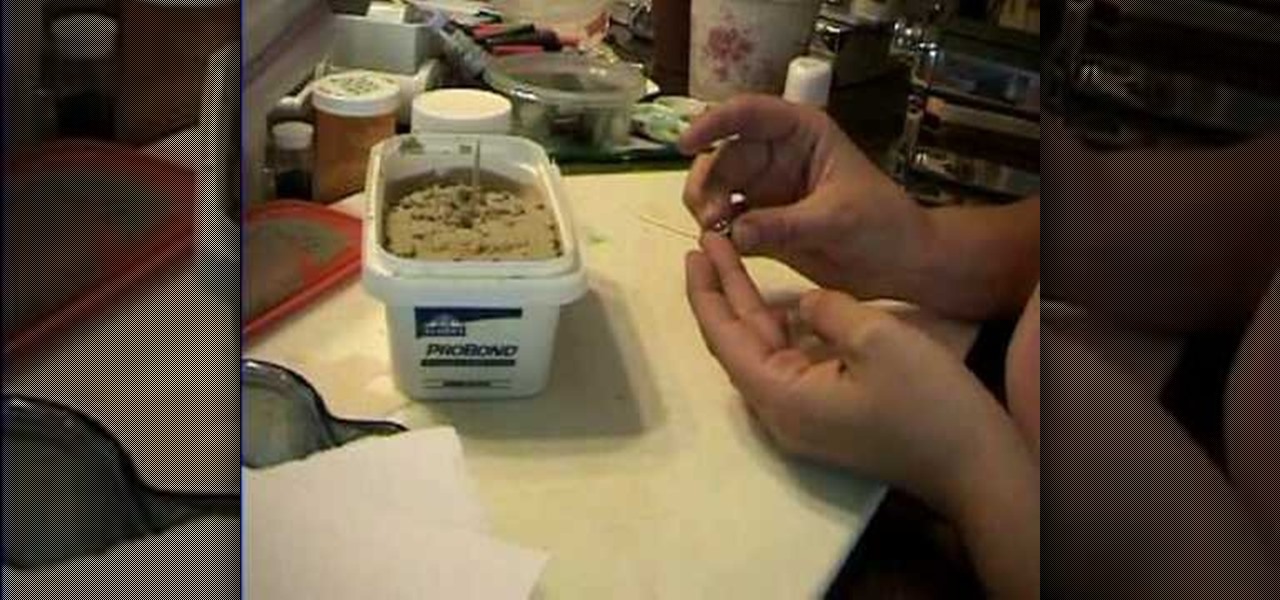
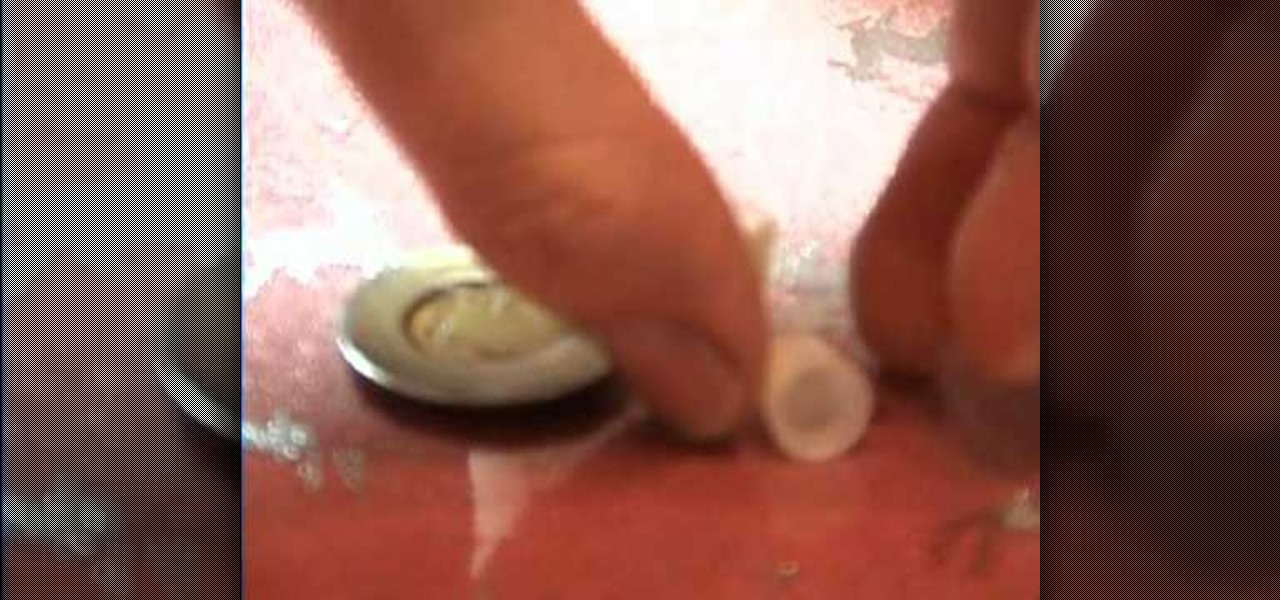
This short video explains how to create a mini milkshake for a doll. Using Elmer's Probond Stainable Wood Filler is preferable because it happens to already be the right color, although using this brand is not absolutely required-any wood filler would do. You can find this at a hardware store. If tiny cups are not at your disposal, don't worry! Our presenter shows us how to use a bead cap in the tiny cup's place. Fill the bead cap with the wood filler, and then using a tiny spoon that can be ...

This video shows the method to create a photo montage in Sony Vegas. Go to 'Options' menu & Preferences. Go to the 'Editing' tab & 'New still image length (seconds)' and put the corresponding value and hit 'OK'. Open the pictures from explorer and you have a montage in which pictures last for a few seconds when another one comes up. Go to 'Tools' menu and 'Scripting' option. Click on 'ApplyTransition_1_2'. Choose 'Standard Cross Fade' from the drop down menu. Fill in 'Overlap Frames' which te...

This video shows you how to make a delicious quiche which is great for breakfast, lunch or dinner. Whisk together some eggs and a small amount of cream, then add some chopped onion and chopped spinach. Dice the pancetta and put it into a heated skillet to cook through. Meanwhile, to the egg mixture add some grated Parmesan and grated cheddar cheese. When the pancetta is ready add it in and season the mixture with salt, pepper and garlic powder.
In this video tutorial, viewers learn how to use the neti pot. A neti pot is a small pot used for irrigating the nasal passages. This pot looks very similar to a tea pot. To use the pot, fill it with warm water. Lean your head over a sink and put the spout into your nostril. Tilt your head to the opposite side of the pot and slowly pour the water into the nose. The water will come out of the other nostril. This video will benefit those viewers who have nasal problems and would like to learn h...

Facebook is one of the most popular Social Networking Sites around. Watch as this video shows you how to make your very own Facebook page so you will be included in one of the biggest things around! First, you want to sign up for an account. "Its free and anyone can join" is their slogan! Go to www.Facebook.com and get to signing up! After that simply login into the site using your user name and password. After that your profile is set up you must simply just personalize it. Fill our your inf...
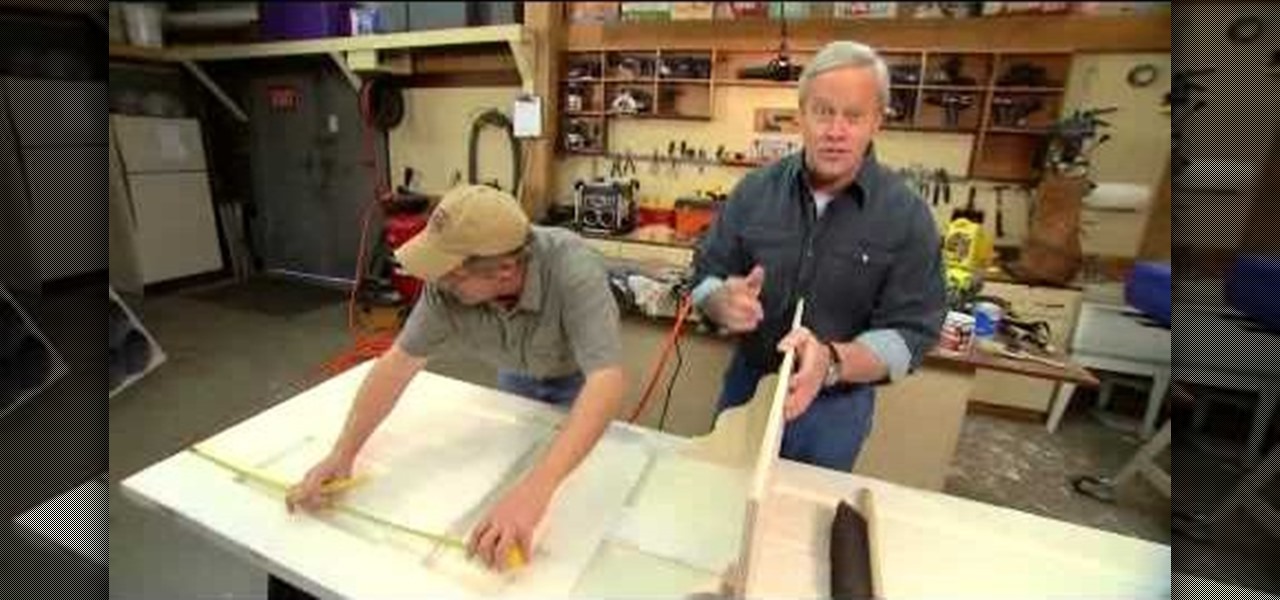
This step by step tutorial will show you how an old door can be turned into a beautiful desk. Danny Lipford explains how an old door can be used to make a headboard, room divider or even as art. He then gives you basic instructions on revamping your door to become a desk. He starts off by removing all the elements that make a door a door, like hinges and door knobs. By filling in the holes left from the missing hardware with bondo you are left with a smooth surface ready to be cut and shaped ...

This video demonstrates a simple method of how to make beef jerky at home. First, combine lean ground beef, seasoning, and a packet of cure is combined in mixing bowl until evenly mixed. The beef mixture is then tightly compacted into a jerky gun. Once the beef mixture is filled to the top and the cap of the gun is inserted, the trigger is pressed on the gun to release the jerky mixture on the dehydrator tray. Once the dehydrator tray is full, it is turned on and the beef is dried until it re...