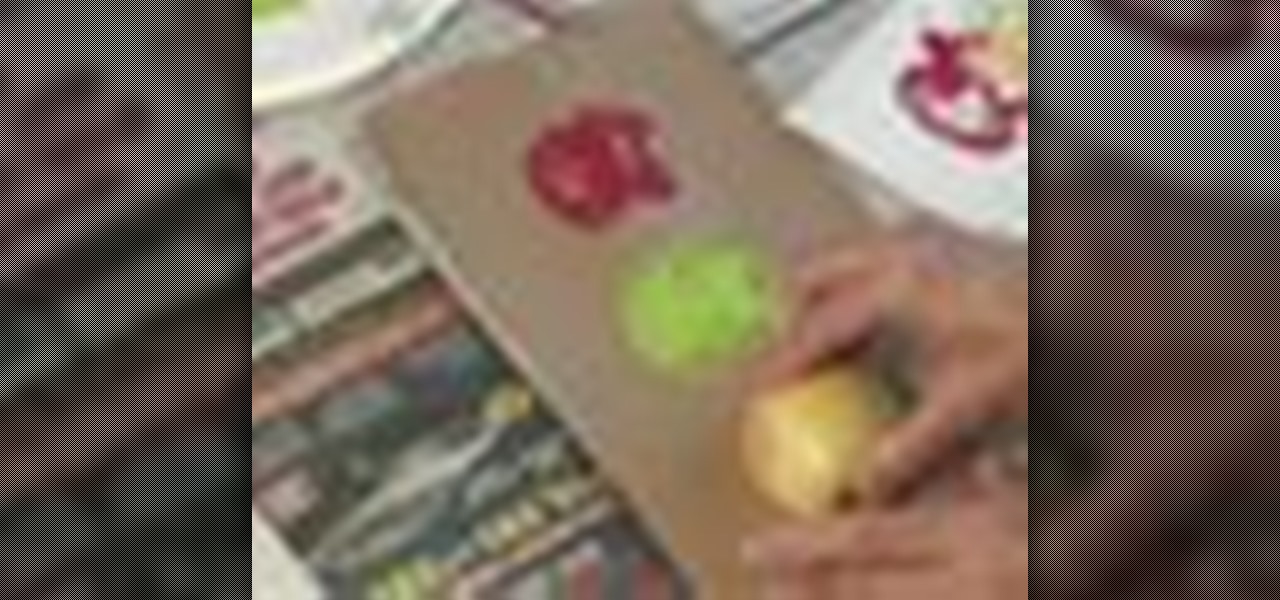
How To: Craft apple stamps
Here's a great craft project you can do with kids or in a classroom. You can use an apple half to stamp apple shapes onto everything from lunch bags to tote bags. This is an easy and cute project to do for the fall.


Here's a great craft project you can do with kids or in a classroom. You can use an apple half to stamp apple shapes onto everything from lunch bags to tote bags. This is an easy and cute project to do for the fall.

In this Software video tutorial you will learn how to make a book cover in Photoshop. Go to file -> new. Give it a name, set width 900, height 1200 and resolution 300 and click OK. You can change these settings if you like. Go to your paint bucket tool and paint the background black. Then go to layer -> new ->new layer -> OK. Now select the elliptical marquee tool and holding ‘shift’ drag from the top left hand corner and make a circle. Go to your paint bucket tool and paint the circle with a...
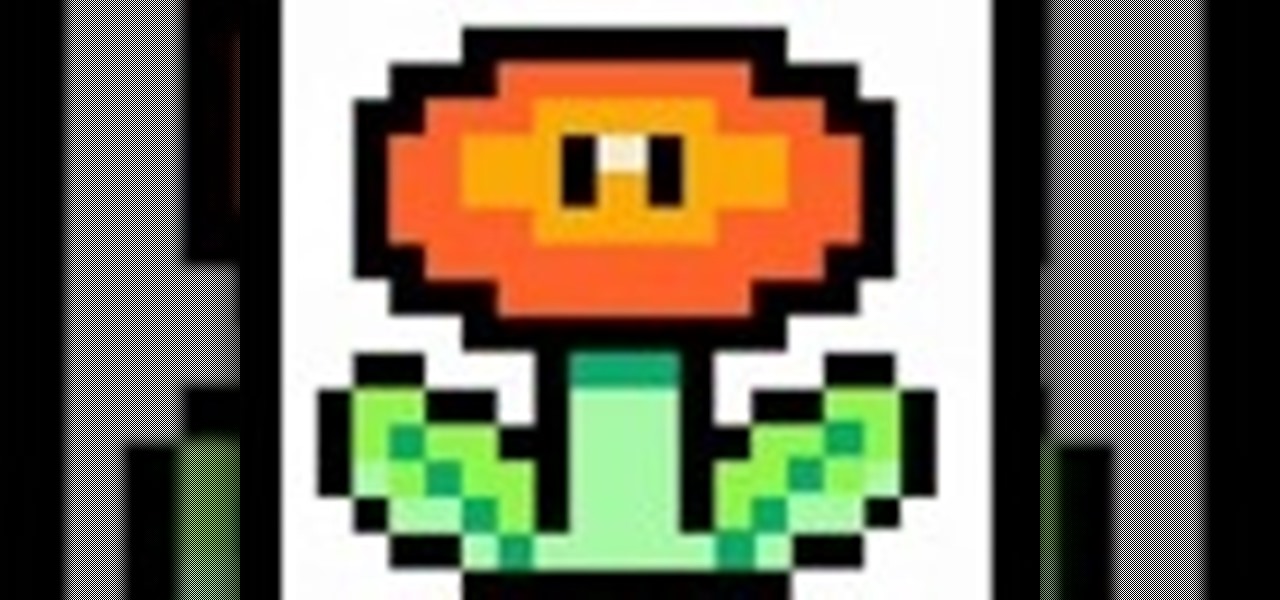
The video illustrates step by step on how to draw the flower by showing every pixel that is being painted. It includes the shape of the brush used and the color. Towards the end of the video, the 16 bit painting of the bullier flower is compared with an 8 bit painting of the same flower by the same artist - zed gamer. It is a 2 minute video at the end of which we can see how to draw and color the bullet flower
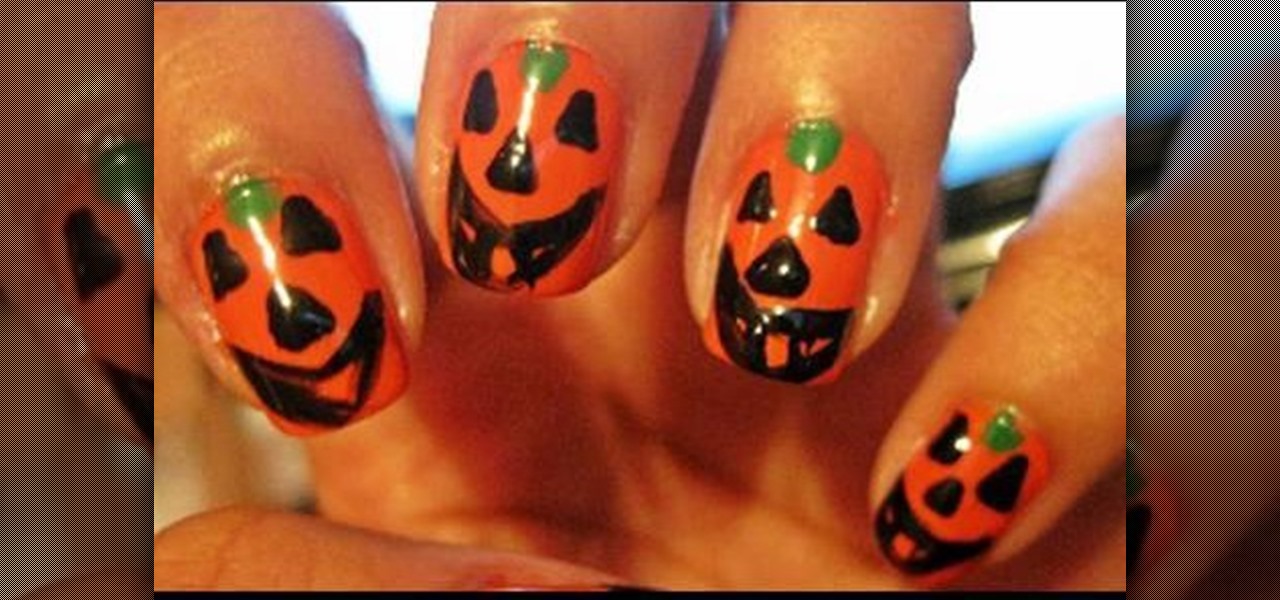
Begin by painting your full nails orange. Any orange will work for this design; just keep in mind that more than one coat of nail polish may be needed to get a bold and opaque shade. I did two coats of orange to get the coverage shown in the photograph.
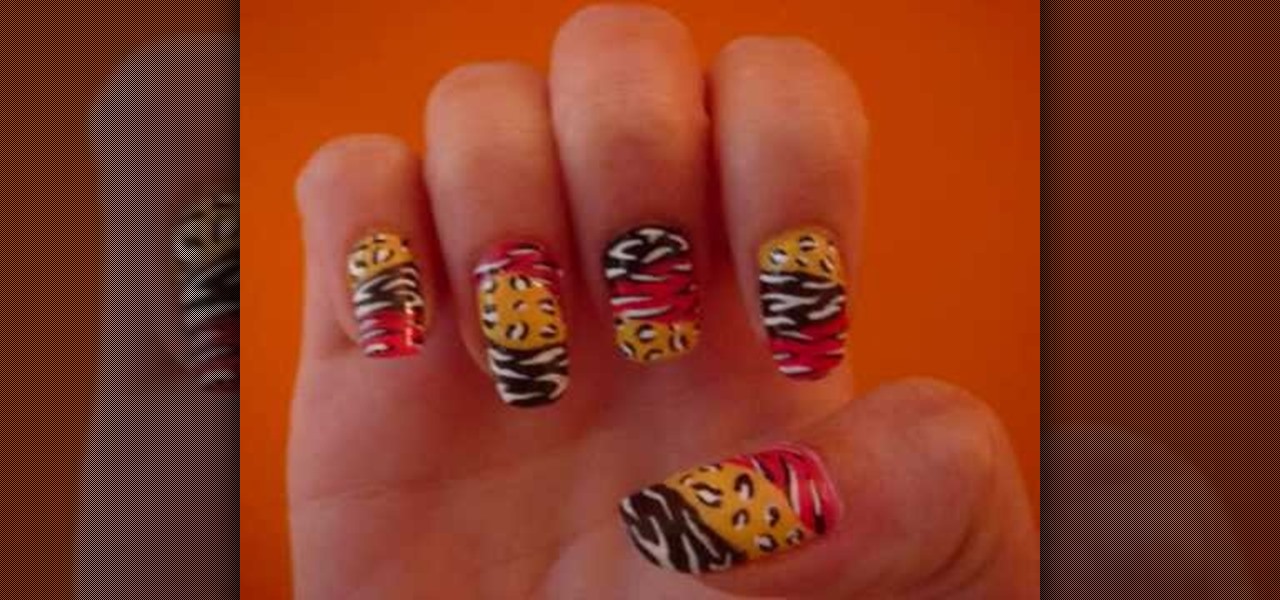
In this video she shows you how to paint party animal print nails. She starts out by showing you all that you will need. First a top coat is used on all of the nails. Next she paints each nail in three different colors, and the colors are pink, black, and yellow. She makes sure that each nail follows the same pattern. She then paints each section in three different animal prints with a small detail color. Last she makes sure that she ends with a top coat and gives them plenty time to dry.

The big question is do you tape or scrape those window frames? If you want to tape. Put two pieces of tape that are longer than the length of each pain. Put them on the top and bottom of the pain. Use your putty knife to hold the tape in place and tear it off a little bit short of the edge. Then put two strips length ways on the pain that is also longer than you need. Take your putty knife and put it in the top corner to hold the tape and tear it off flush to the window frame. Then you paint,...
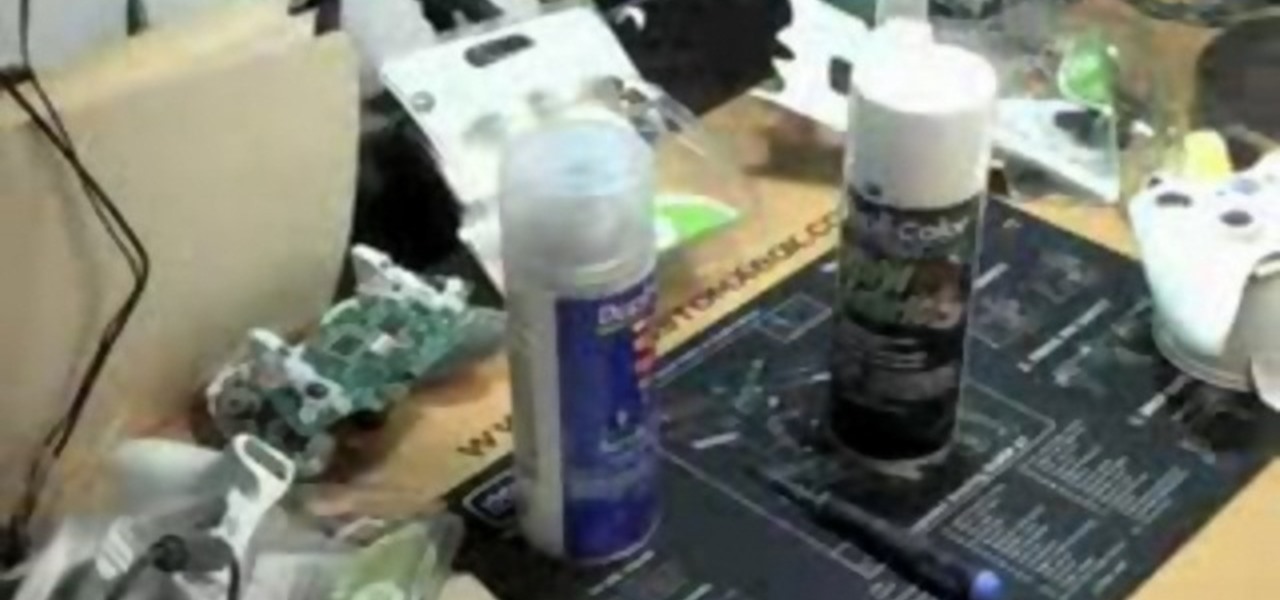
This is a quick guide on how to use Vinyl/Fabric Spray to Custom Paint an Xbox 360 Controller. When people refer to vinyl dye they are referring to paint.
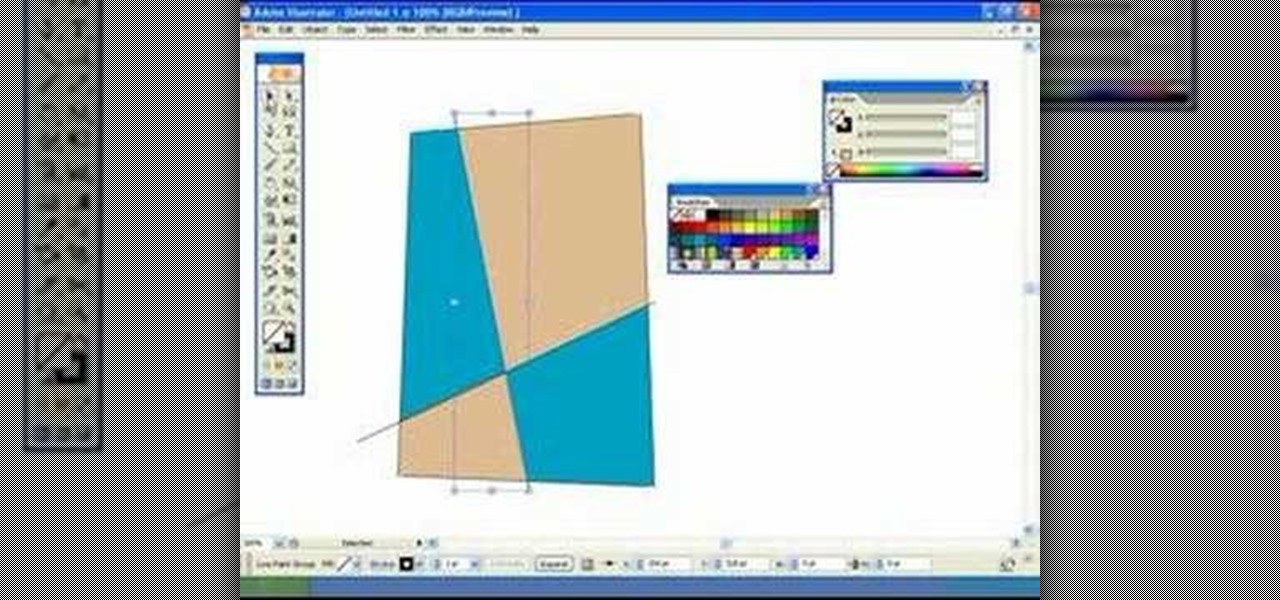
This tutorial will show you how to use live paint in Illustrator. Using live paint in CS2 recognizes empty spaces even those with gaps.
Fix those little scratches before they become big rust marks. Learn how to fix a scratch on your car. Howcast prevents all the necessary steps for ridding your car of that ugly scratch.
Check out this five-part video tutorial on how to apply paint wash weather effects on an RC airplane. If you like building engines and bodies for remote-controlled vehicles (airplanes), then this will definitely help you out, just by learning how to apply some black wash to weather the airplane RC motor. You will learn all of the tricks needed for weathering, like using acrylic paint and thinner.
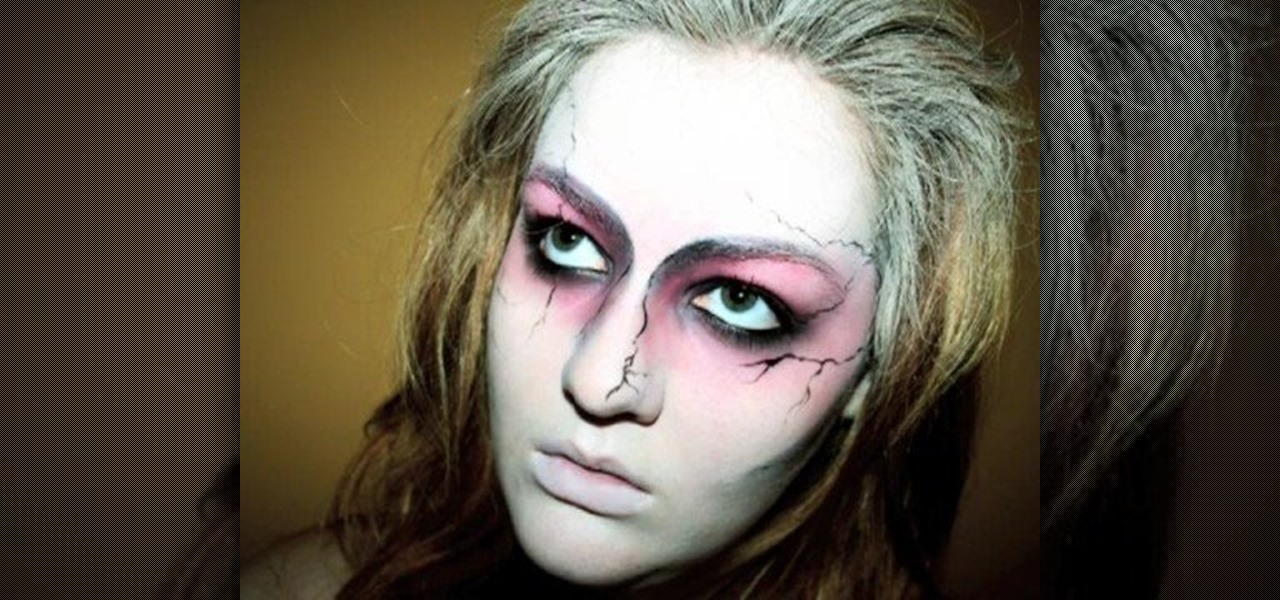
Create a creepy undead look for a Halloween zombie costume with the little help of makeup and the steps in this how-to video. The cosmetics used for this look are: MAC - Pure White Paint Stick, Laura Mercier - Translucent Powder, MAC - Feline Pencil, MAC - Feline Pencil, MAC - Flammable Paint, MAC - Beauty Marked e/s, MAC - Fascinating Pencil, MUFE - Smoky Lash mascara, Guerlain - Kiss Kiss Lip Lift, and MAC - Pure White Paint Stick. Learn how to apply zombie makeup for Halloween by watching ...
This is a short clip examining the use of the Eraser tool for 2D and 3D painting in modo 201 and higher. The eraser tool will erase pixels from the currently selected texture map on a modo model according to the currently selected brush. Choose the size brush you need and simply paint across the surface you need to remove the texture from. Learn how powerful a painting tool the eraser tool is in this modo tutorial.
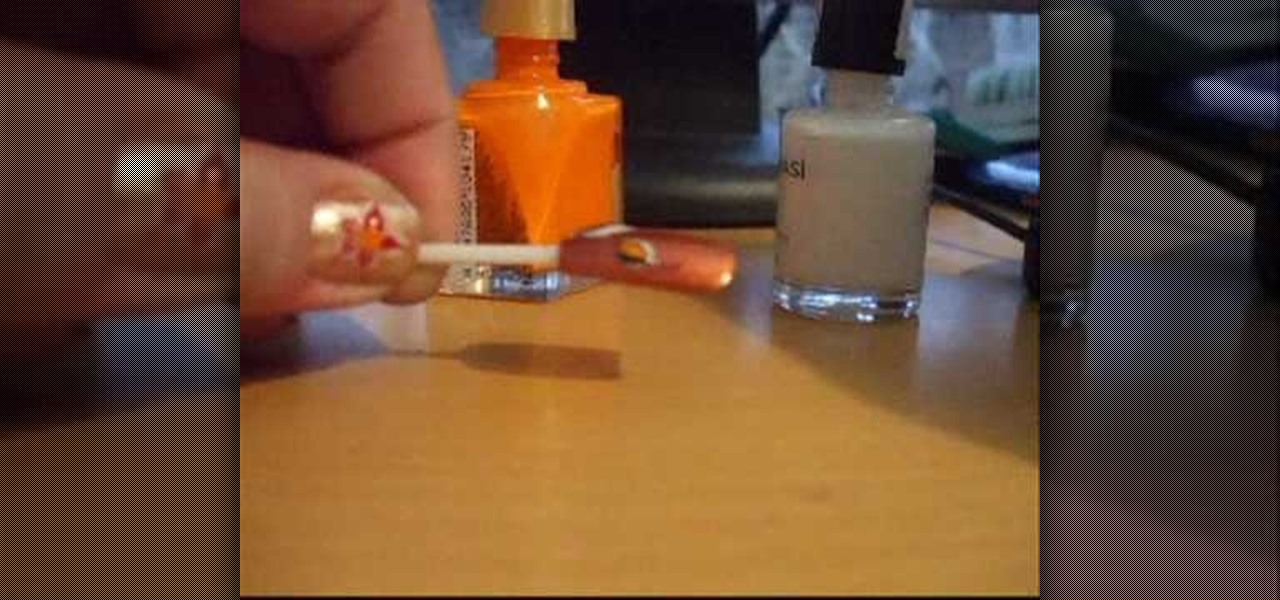
This manicuring tutorial demonstrates how to paint a tear drop or flame-like nail design. You will need four different colors of nail polish and a toothpick. If you paint nail designs frequently, make sure to lay down a protective coat before you lay down any color.

Bring the Italian countryside into your home with this technique. Watch as our host shows you how to decorate your walls with terra fresco. Terra fresco simply involves using plaster and paint. Use two or three different colors of paint for optimum results. This interior design video will appeal to you if you're looking for something simple or dramatic and includes everything from walls to murals to painted furniture.

If you are dedicated Warhammer painter, you know that you need a small, but extremely tidy workspace. Watch this instructional video for tips on setting up pallets, choosing brushes and painting mediums. Expand the limits of traditional Warhammer paints by mixing colors and using alternative brands.
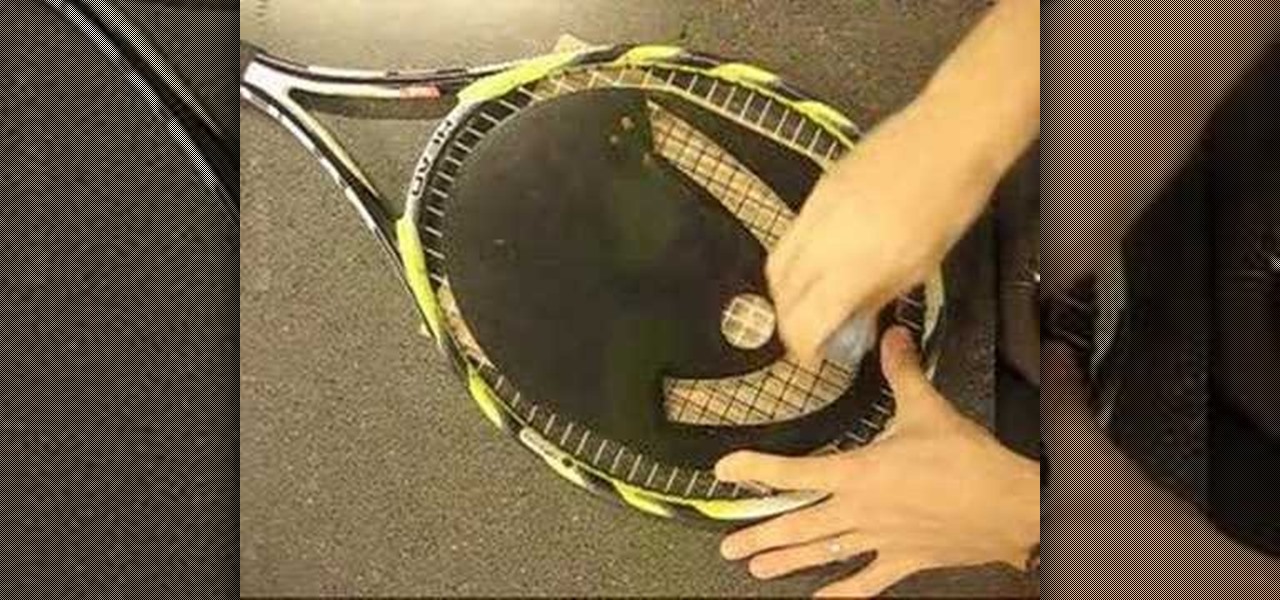
Want to stencil the strings on your tennis racket? Take a look at this instructional video and learn how to stencil. The things you'll need for this process are paint, a protective backing, a stencil, and naturally, your tennis racket. Pay particular attention when picking out your paint as some paint can be detrimental to the strings.
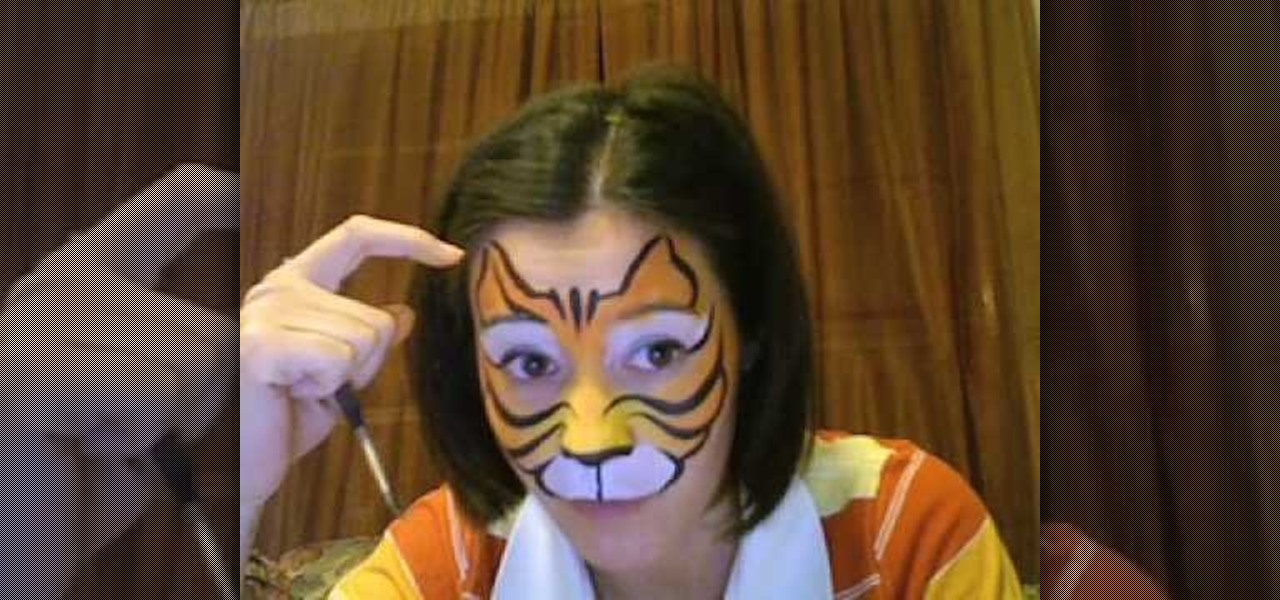
This tutorial video will teach you how to apply a face paint job in the design of a tiger. This face paint design is kid friendly and absolutely grrrrreat! Tony the tiger would be proud.
Learn how to paint digitally to make your painting look more traditional. This video focuses on creating skin tone by using layers.

From Prime It Up and for the beginning painter, an end to end tutorial about painting a 40K Ork to a tabletop standard. This sequence covers how to paint the ork's metal.

This video shows a different, unique way of wearing jewelry...and face paint! Combine the two ideas to create a painting on necklace.

It's Jaws! No it's just face paint, but watch this video to learn the tricks and tips to apply face paint and look like a shark!
Prior to painting, pour some vanilla extract into the paint. The vanilla doesn't stain the paint, and the room won't smell like paint fumes.
Whether you are interested in graffiti, graffiti-style fine art, or just looking to learn more about spray painting this video is for you. It gives a quick overview of the several spray paint tips and the different lines they produce.
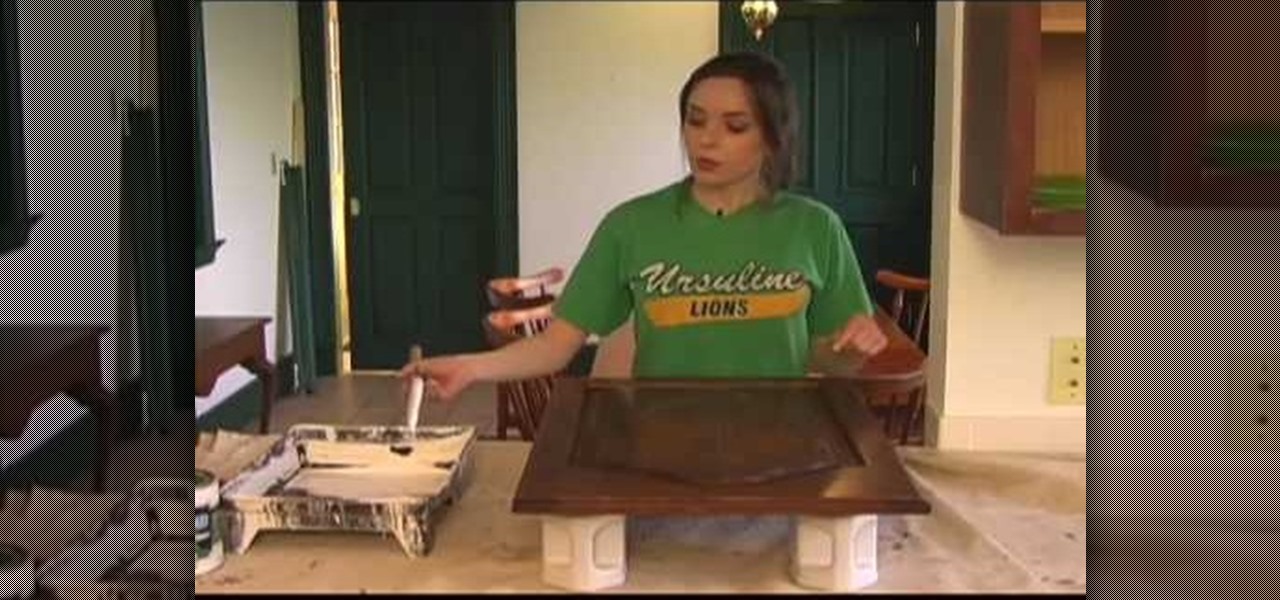
Painting kitchen cabinets is an easy and inexpensive way to bring old cabinets back to life. Meghan Carter shows you how to paint kitchen cabinets and offers a few inspirational decorating ideas for really dressing up your kitchen cabinets.

Tim Carter demonstrates how to paint a door. Simple-to-understand video will leave you with no trouble painting any type of door.
Tim Carter demonstrates why acrylic house paint is one to consider for your home. Tim points out how the painting process is and should be the cheapest part of home remodleing, but if you use the wrong paint you will be repainting too soon. The video uses an exterior house paint which contains both urethane and acrylic polymers.

After you finish Super Scribblenauts, there's still so much to do! That's where the special constellations come in! In this two-part video series you will get a full walkthrough of the second special constellation in Super Scribblenauts with all the solutions!
This 7 part Houdini 9 tutorial series is about how to transfer color using dynamics is a great place to start to understand Houdini's dynamics in a significant way. Part one covers painting setup, two establishing a paint source, three creating paint, four defining paint colors with a solver, five painting with dynamics, six reviews how it works, seven setting up for render output. Learn to paint and transfer color with dynamics in Houdini 9 and get more control over your work in this tutorial.
This video shows you how to dry-mount a painting done on rice paper with silicone release paper. This method is to transfer the silicon adhesive film to the backing material first, then take the release paper off and mount the painting on. Artist, Henry Li gives you everything you need to know to properly mount your beautiful painting on the silicone to transfer as you please.

This video begins by showing what a folding painting canvas looks like and what the final stretched canvas should look like. The first step shown is to make sure the bars are measured and marked with a simple A and B for easy measurement recall. After a wood frame is added over the canvas you must fold the material over the back of the wood and nail in place. Once the canvas is nailed to the frame you must add A, B, C and D markings to continue proper alignment procedure. The last step shown ...

This video demonstrates how to paint a rabbit in leftover ground ink. The style used is called sumi-e. Using a the side of a thick brush, create a filled in circle in the center of your page. This will be the head. Below this circle, add an elongated abstract oval shape for the body. Add a small circle at the back bottom area of the body for the tail. From the top back of the head, add two long thick lines for the ears. Using the thin tip of a brush add the details of the face including the n...

In this how-to video, you will learn how use set up a studio table for watercolor. First, make a water blotter out of toilet paper and tissue folded in half. Fold the towel into the paper. The gator board and paper should be in front of you, with the sketch at the left side. If you are right handed, everything should be on the right side. This allows for ease of painting. The kleenex and trash can should be on the right as well. If you are left handed, everything should be on the left. This p...
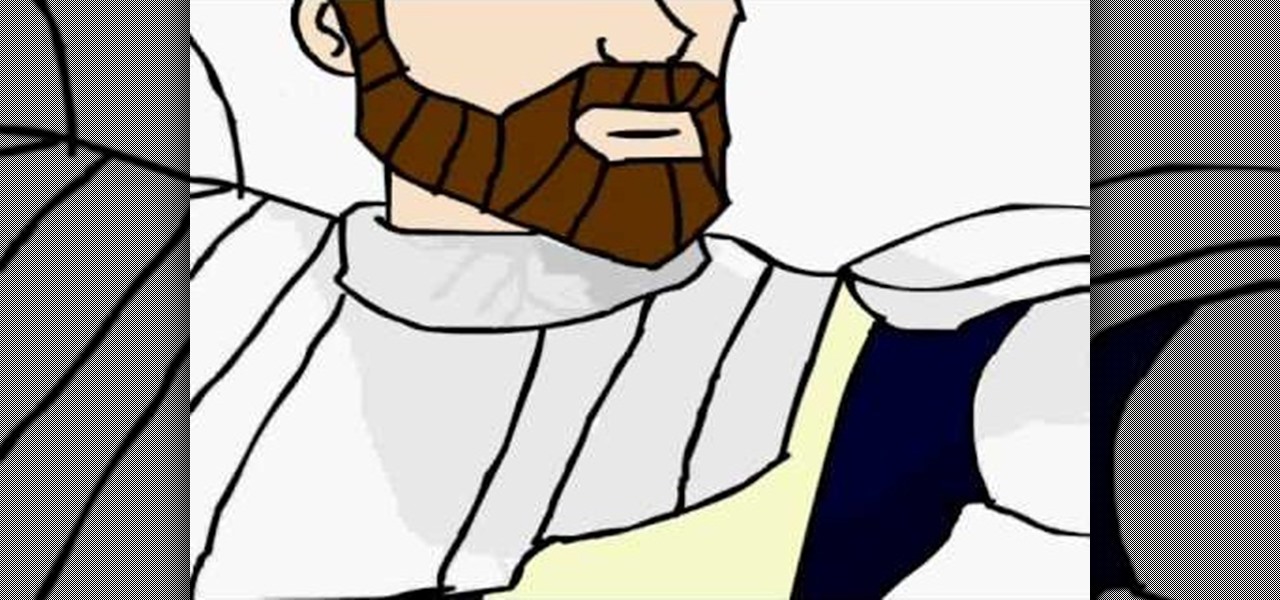
This artist shows how to quick paint/draw Obi-Wan Kenobi utilizing his mouse and pc. He starts out with a rough sketch of his character, making a black outline of his figure. He then goes back over his initial sketch with blue lines, cleaning up the lines, making them smoother. Once the blue lines are completed, the first black line sketch is erased and the blue lines smoothed out even more! Piece by piece, color is applied to each part of the character. It is placed roughly at first but smoo...
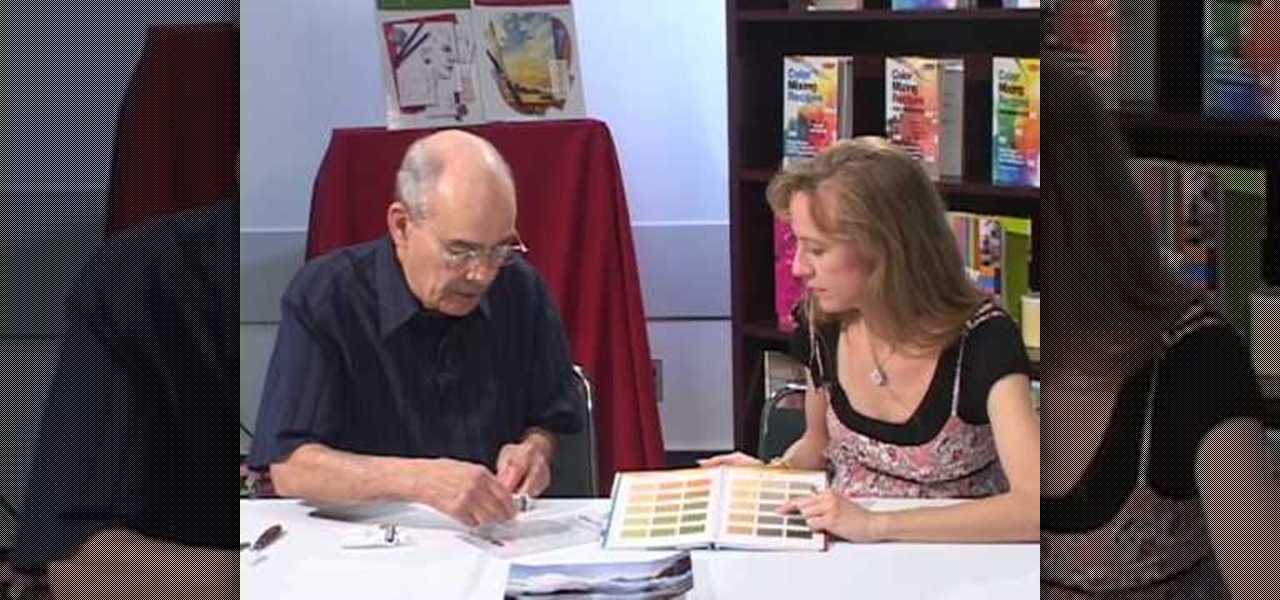
This video was very informative and well planned. However, the video does become boring after the first two minutes. It will become easier for an individual to comprehend with this video if perhaps there are better examples that artists can relate too. Perhaps if the demonstrations would relate to more of a younger audience, more people will be able to be more interested to mix oil and acrylic paints. The video can also be much more interesting if there was also some quiet and peaceful backgr...
If you have an artistic ability, I encourage you to learn how to airbrush on cars. Sure, it may be a little different, but if you already have the artistic ability, the rest is a walk in the park.
A new coat of paint is an easy, cheap way to make your home look instantly better, but dealing with paint fumes for days afterward isn't so fun, especially if you have kids or pets.

In this tutorial, we learn how to make a Halo Needler prop. You will need: knife, scissors, pink straws, paint colors, cardboard, paint brush, and pencil. First, draw the pattern out on a piece of cardboard. Next, cut this out and make four layers of it. After this, glue or tape it together and then line glue everything together. Now, cover this with paper mache until all parts are fully covered and dry. Next, color with your paint and then let it dry until the paint is no longer wet. This wi...
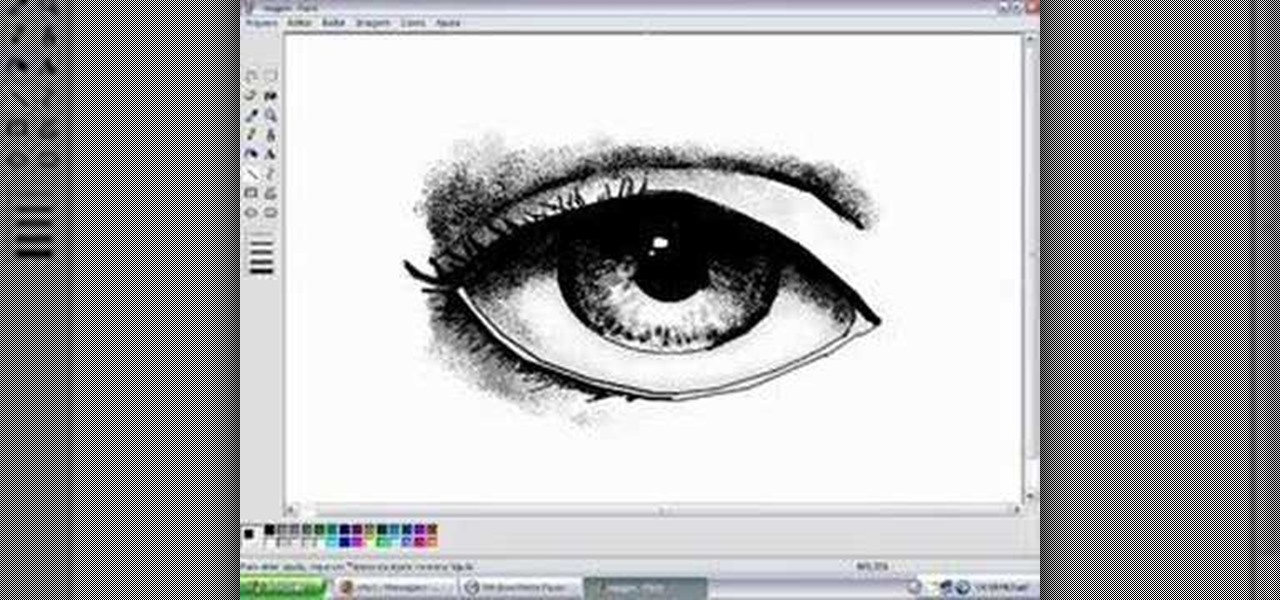
In this tutorial, we learn how to draw eyes in MS Paint. Start out by drawing the outline for the eye using a thin marker. After this, draw on a thicker line at the top of the eye and then draw on the crease of the eye above this. Now, draw in the details of the middle of the eye and start to shade in around the crease of the eye and the middle of the eye. From here, draw in the eyelashes on the top and the bottom of the eye, making them longer if they are for a woman. When finished, save thi...

In this video we learn how to decorate a ceramic lamp base with Simon Leach. First, grab a small paint brush and then apply paint to it. Once you have this, start to paint your chosen design onto the pot. Painting a leaf or a plant will be the most appropriate for a large jar or lamp base. Use a brush that will move along the pot and create unique lines. Go all around the pot until your design is finished. Let this dry and then rinse your pot off when you are done. Let your personality shine ...
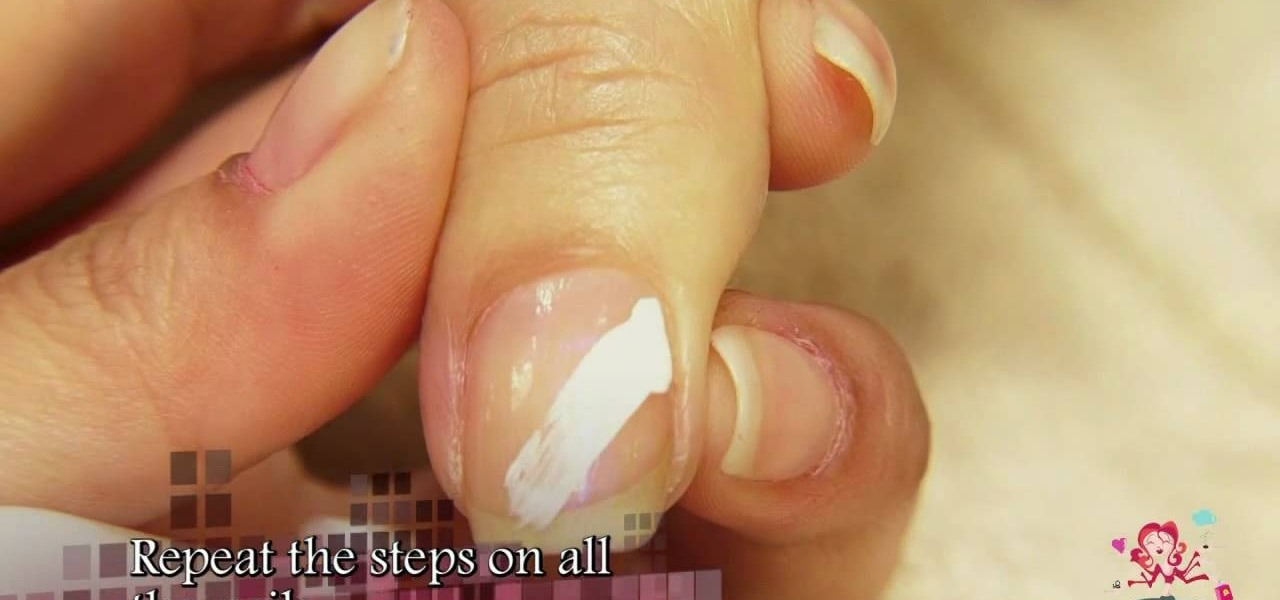
Zebra striped nails don't necessarily mean a big canvas of white paint striped meticulously - and painstakingly - with thin black lines. In fact, if you're going for a more avant garde nail look that's unique yet not too crazy to wear to the office, this minimalist zebra striped look may be it.