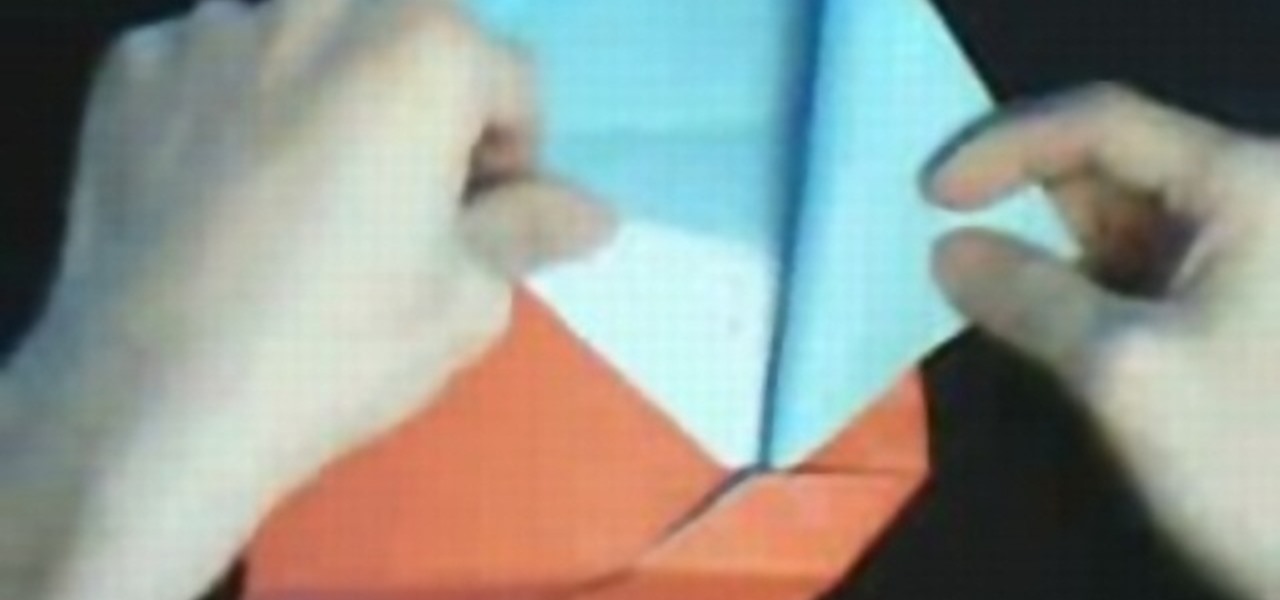
How To: Make the perfect DIY paper envelope
There's no glue required for making this perfect DIY envelope. Learn how to fold your own beautiful envelope with a piece of A4 paper.


There's no glue required for making this perfect DIY envelope. Learn how to fold your own beautiful envelope with a piece of A4 paper.
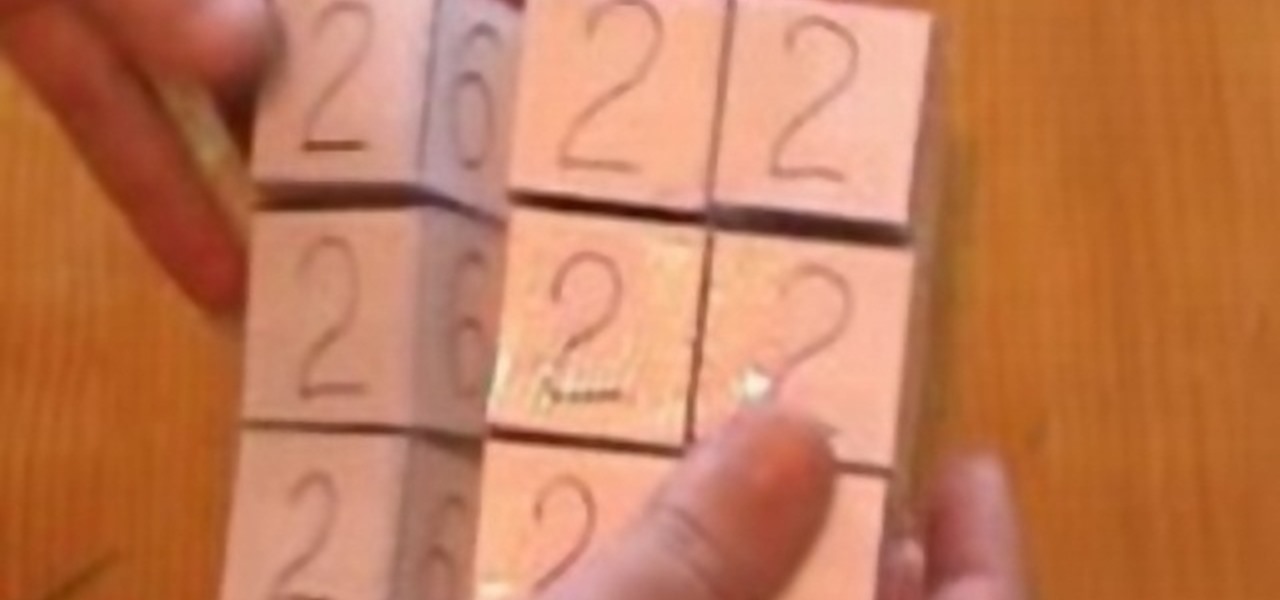
A puzzle of sorts, this paper box toy uses 9 numbered cubes to create an IQ toy that will baffle you.
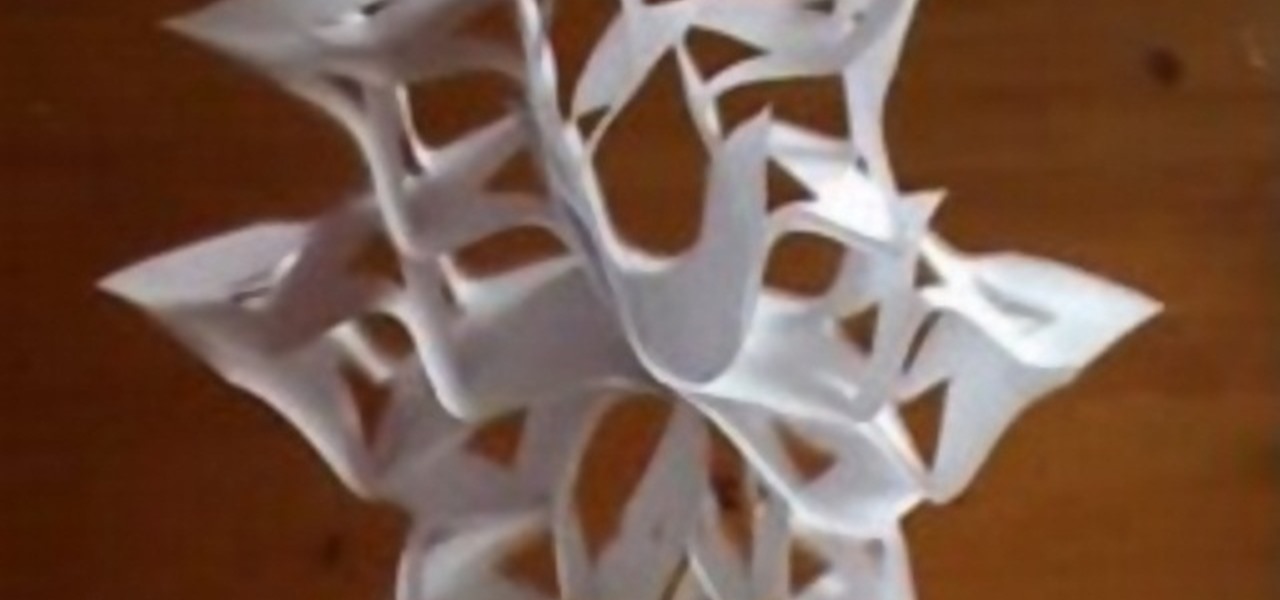
Check out this video to learn how to make a 3D paper snowflake for the holidays. Follow the text at the bottom of the video as supplemental instructions. Remember to use your scissors.

Make an easy one paper flower calender, not using any glue. Use twelve pieces for every month. You may want to watch the video more than once.
Check out this video to make an optical illusion paper toy. Don't be dismayed by the intricacy, just read the text on the bottom of the screen!

How to video about how to make an amazing paper hat. For people who love easy amazing things.
This instructional video will teach you how to fold your very own wallet out of a piece of paper. This wallet is recyclable, durable, and extremely useful if you've lost your other wallet.

Make your own Optimus Prime out of paper. It even transforms!
Looking to add a rare and exotic specimen to your paper garden? Make a bright, colorful 3D paper flower using origami, the traditional Japanese folk art of paper folding. This free origami video lesson presents complete instructions on how to make your own paper flowers from folded paper. For more information, and to get started making paper flowers yourself, take a look!
To remove a bookplate, you will need paper towels, wax paper, distilled water, water colored paper, a weight, and a blunt knife. Cut the paper towel slightly larger than the bookplate itself with scissors. Wet the paper towel and blot it dry with another piece so it is damp. Fit the paper towel over the bookplate, put the wax paper on top of it, and let it sit under the weight for twenty to thirty minutes. Once the paper towel has soaked into the bookplate, gently peel the bookplate off with ...
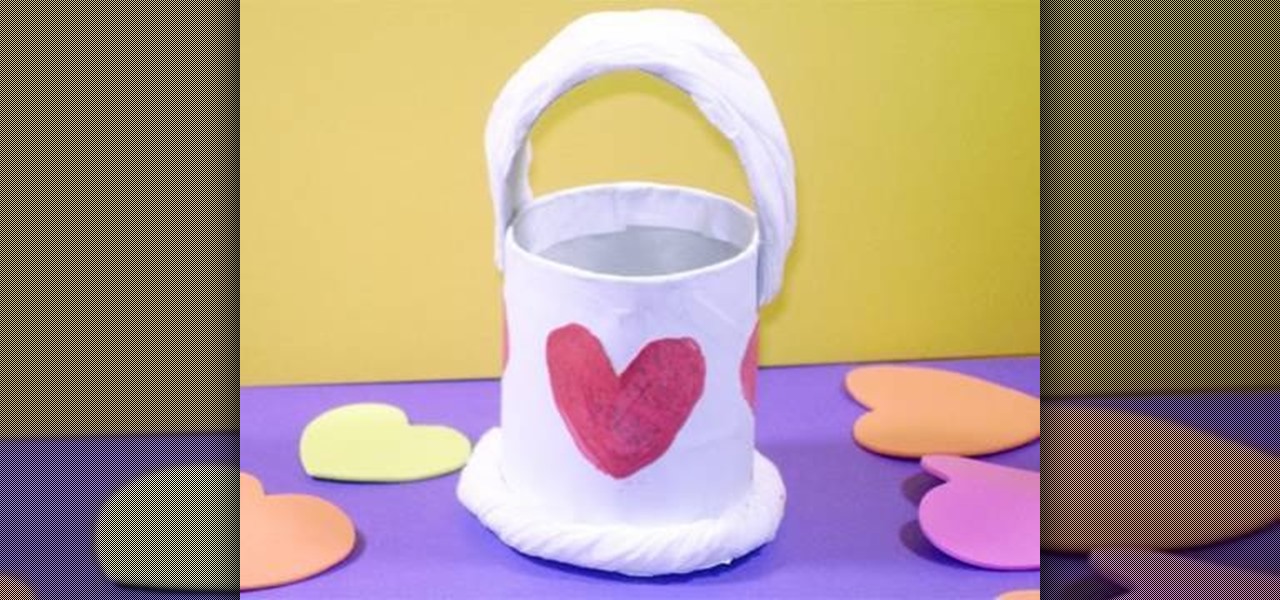
Supplies you will need. 1 toilet paper roll

This video describes how to make flower with the help of paper. Take a card paper, one cutter and screw. Firstly cut the paper with the help of cutter. The cutter cuts paper in form of flower, then cut this paper from corner and then make a hole in the middle of this paper. Now take a another piece of paper of a different color and cut this paper in the shape of a small flower. Now put this small paper in the middle of the first paper and tighten with screw. Now your paper flower is ready you...

Take an A4 SIZED paper. The paper is A4 size and it should be an INSTRUCTION paper. The paper size should be maximum, so that it will fly. Twist the papers into halves. Thus 2 papers are formed using folding. Put the papers horizontally. Fold them into half. So the papers are TWO HALF sized papers. Fold each OF the 2 halves again into 2 FOLDS. So the paper is divided into 1/4 papers. So the paper is divided horizontally 4 times. A line DIVIDES the paper in THE MIDDLE. This is arranged in such...

Paper is not known for it's strength as a building material. It is really amazing what paper can do in the right circumstance though. This video will show you how to use a piece of paper to hold the water in an upside-down glass. It's easy, the effect is very cool and sure to impress, and all you need are a glass of water and a piece of copy paper.
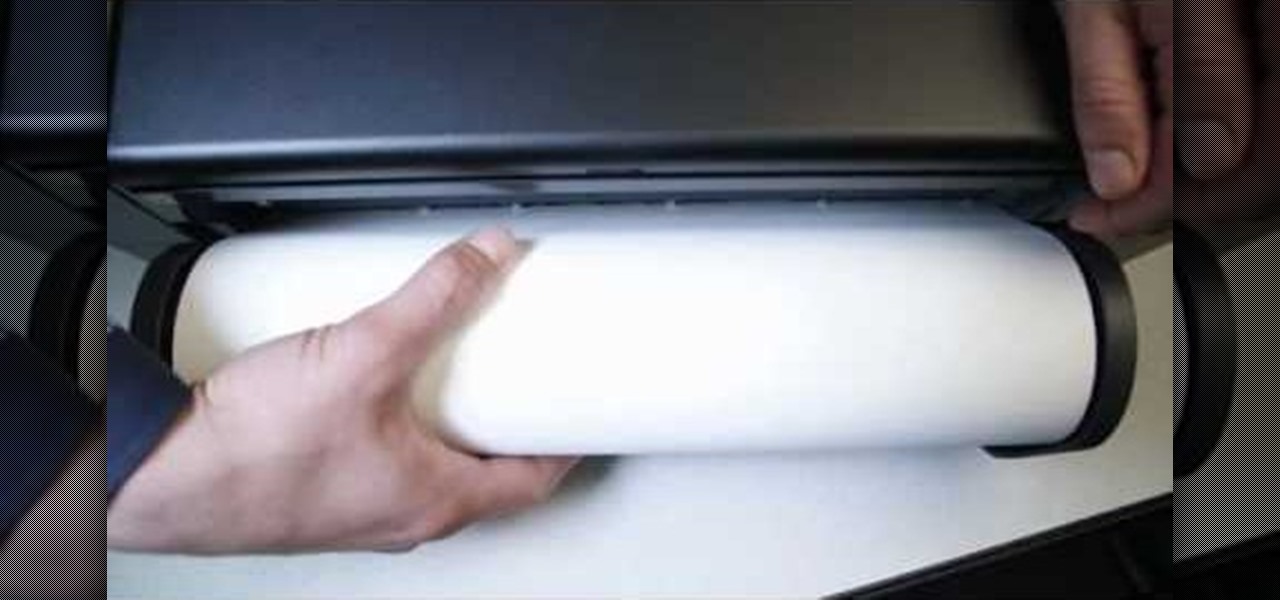
The Epson Stylus Photo R1900 printer can not only print on paper, but it can print from roll paper, too! No more single sheets of paper are needed, which is especially nice when printing banners or larger documents. Epson shows you how to load roll papers such as Premium Canvas Matte and Satin into the Epson Stylus Photo R1900 using the roll paper holders that are mounted on the back of the printer.
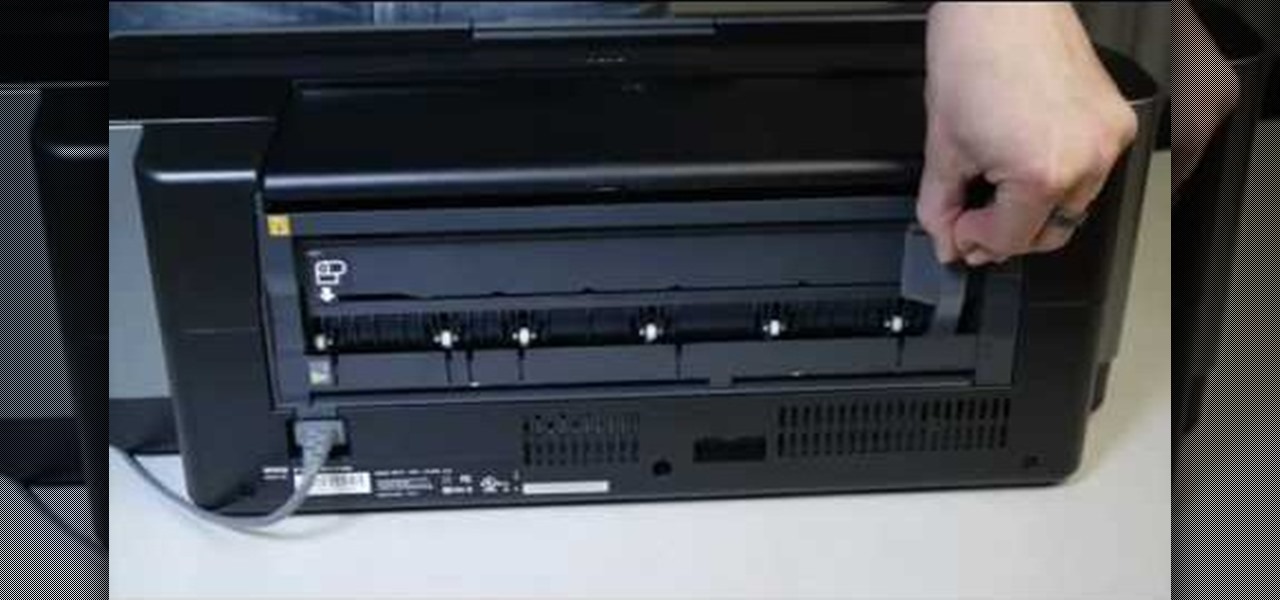
If you have the Stylus Photo Printer (R2880) from Epson at home, you probably figured out how easy it is to load paper into the printer. But what about fine art paper? Paper such as Velvet Fine Art and Hot Press and Cold Press loads into the printer slightly different. This video, straight from Epson, will show you how to load these kinds of papers using the rear single sheet guide.

Not only is origami useful for making things that appear like they should be able to float (like paper swans), it's actually good for producing things that do — like paper boats. With this guide, you'll learn how to make a paper catamaran with origami, the traditional art of Japanese paper folding. For more information, including a step-by-step overview of the folding process, as well as to get started making your own floating paper boats, watch this free origami lesson.
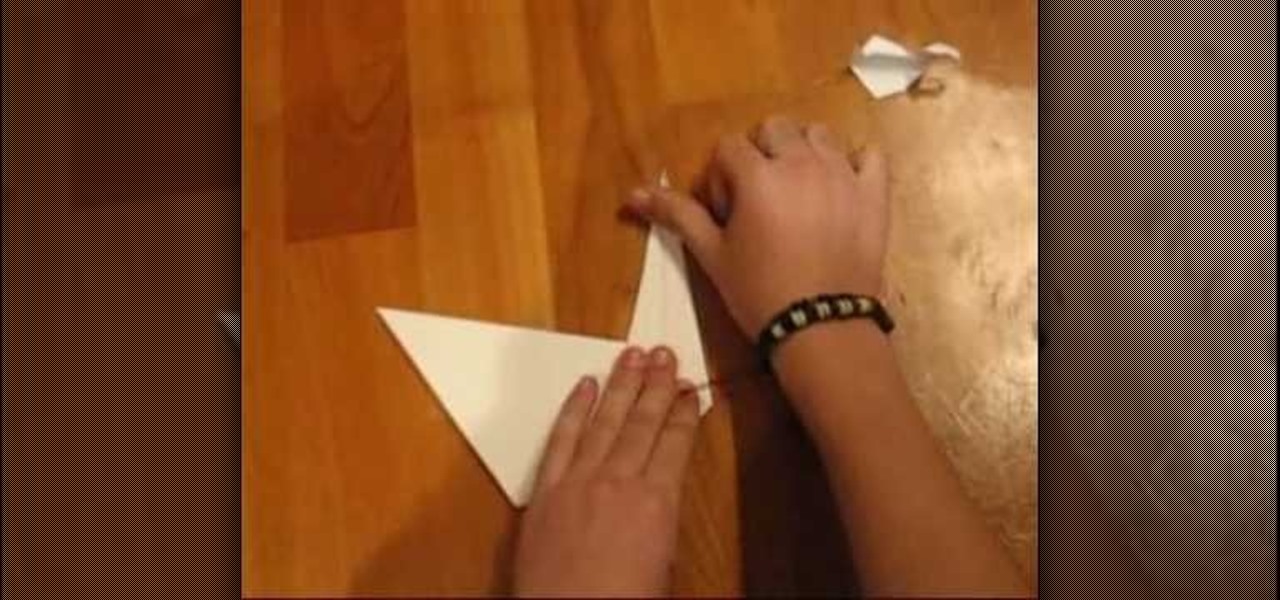
Want to make a tough-guy paper swan in the manner of Prison Break protag Michael Scofield? This video tutorial presents a complete, step-by-step overview of how to make a paper crane using origami, the traditional Japanese folk art of paper folding. For more information, and to get started making your own paper birds, watch this arts-and-crafts guide.

Interested in adding a feline specimen to your paper menagerie? Perhaps a housecat? Have extra paper and time to match? This video tutorial presents a complete, step-by-step overview of how to make a paper cat (neko) using origami, the traditional Japanese folk art of paper folding. For more information, and to get started making your own paper kitties, watch this arts-and-crafts guide.

Interested in adding an avian specimen to your paper menagerie? Maybe some sort of waterfowl? Have extra paper and time to match? This video tutorial presents a complete, step-by-step overview of how to make a paper swan using origami, the traditional Japanese folk art of paper folding. For more information, and to get started making your own paper birds, watch this arts-and-crafts guide.
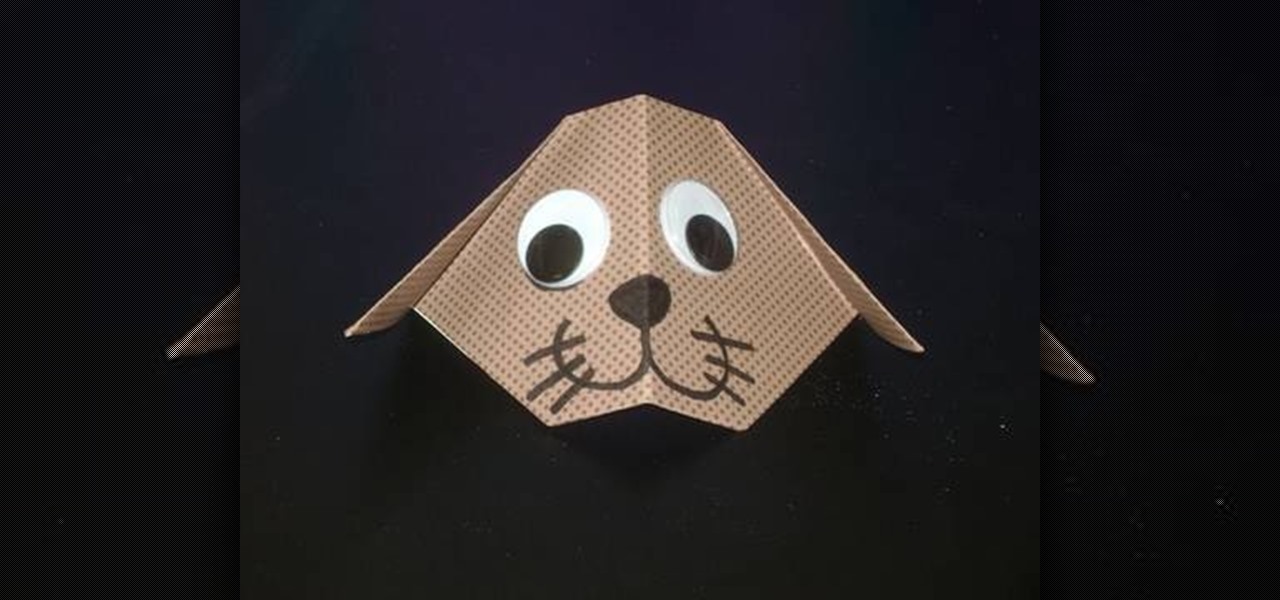
Looking for a fun kids' activity? Have a little bit of spare time and paper to match? Make a paper dog with origami, the traditional Japanese folk art of paper folding. This free origami video lesson presents complete instructions on how to make your own canine from folded paper. For more information, and to get started making paper puppies yourself, take a look!

Looking to add specimens to your paper menagerie? Make a jumping paper frog with origami, the traditional Japanese art of paper folding. This free origami video lesson presents complete instructions for making your own leaping amphibian from a sheet of folded paper. For more information, and to get started making your own jumping paper frogs, take a look!

This video shows how to weave paper. This paper can then be used to make crafts such as origami. You may want some supplies: a cutting board, a paper cutter, scotch tape, and square origami paper (6"x6"). Start with two sheets of paper. Cut the paper into thin strips, 1/2" each. Reassemble one of the squares. Carefully align the pieces close together. Place a piece of tape on the top, and tape it to the cutting board. Take a strip of the other color paper, and weave it through every other str...
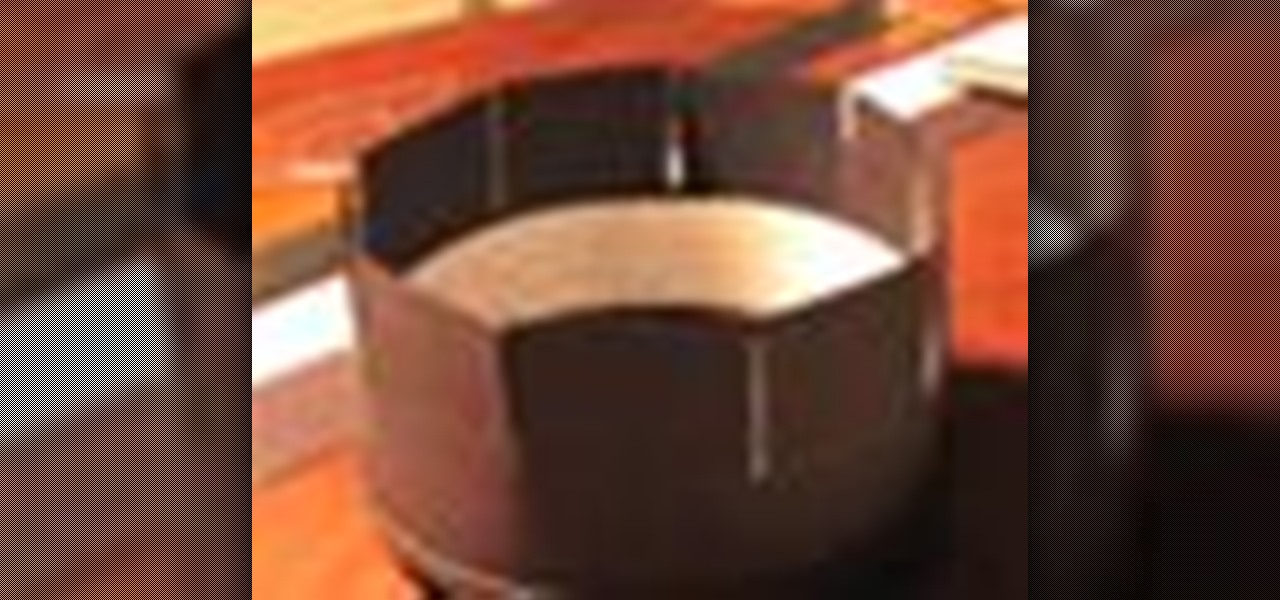
For a fun novelty project, try making a zoetrope at home. * A plastic coffee can lid
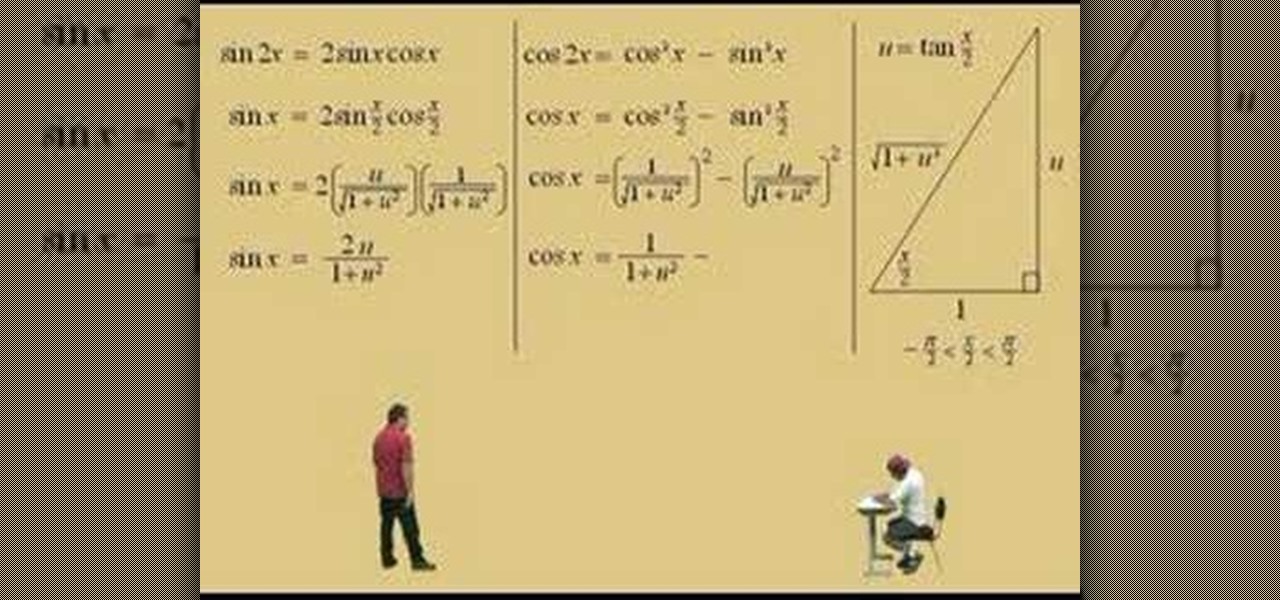
Lawrence Perez, from Saddleback College, and his assistant Charlie, give this two-part calculus lesson on integrating with special substitutions; rational functions with sine and cosines: Karl Weistrass method.

In this tutorial, we learn how to mix and make paper mache. To do this, you will need: flour, water, and a large mixing bowl. Start off by pouring the flour into the mixing bowl, then adding in warm water in the same amount as the flour. After this, mix it together until you have a thick consistency. It should not be like water, more like a thick soup. Add more of the ingredients until you have this consistency. After this, dip your strips of paper into the mixture. Use them to place on your ...
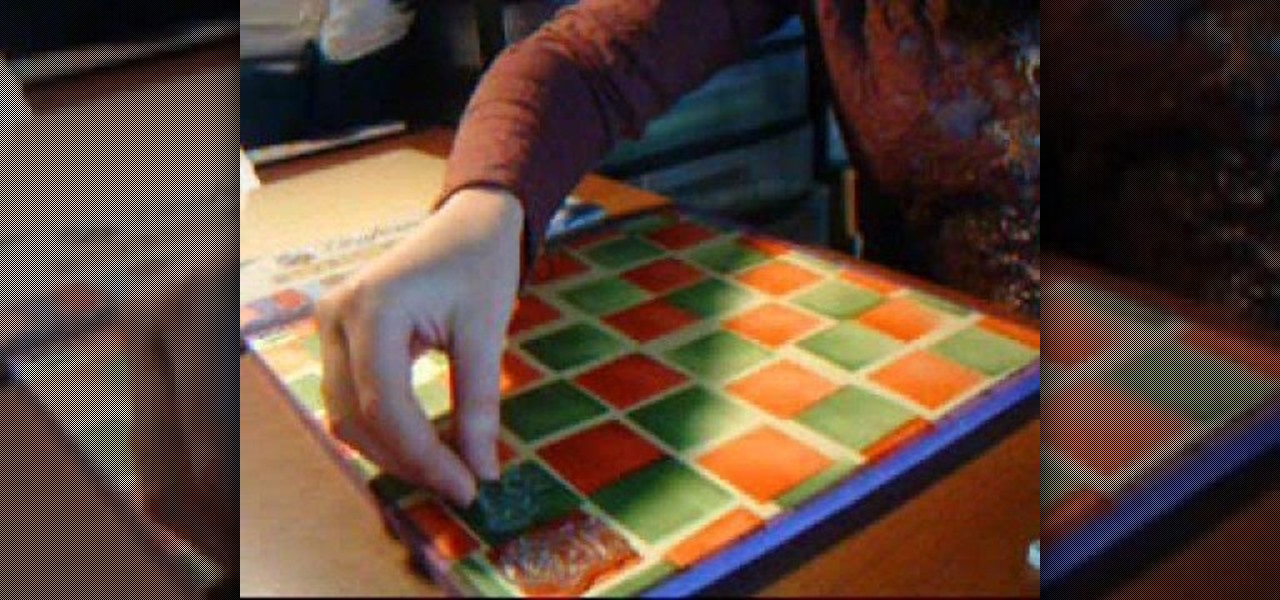
In this video, we learn how to stamp your own customized X-mas patterned cardstock. You will need: green/red stamp pads, Christmas stamps, light yellow plain cardstock and a stamp foam mat. First, stamp your yellow paper as you wish with the green and red stamp pads, you can make any pattern you'd like. Then, place on your stamps on the paper and press the clear stamp press down onto them. Now, apply your stamp color and press back onto the paper. This will make the different stamp shapes pre...

This video shows us how to make a paper ninja star easily. Firstly you need is 2 sheets of paper, tape and scissors. Firstly take the first piece of paper and fold it into half and then fold it in half the same way. And then fold it in half in the opposite way and then do the same with the other piece of paper. Now using a scissor cut the closed end of the paper and make sure you don’t cut off too much and then in the second cut you have to make a one sided pointed and go diagonally to the ot...

If paper art is your forte and you are looking for some new and exciting ideas to do with paper, then your search ends here. Watch this video and teach yourself how to make a do-it-yourself zine. Sam Proof tells you how to make a zine in minutes. You will be needing a sheet of paper, a pair of scissors and a pen. The instructions are all very easy to follow. You can use this idea to create your own comic booklet or anything that needs printing in a zine.
Not to diss real flowers or anything, but while they're pretty and all up front wrapped up in that tight bouquet, after a few days they start to look more dreary and sad than the last Nicolas Sparks movie.

Don't spend a lot of money on gift wrapping this year! You can take a stack of plain brown paper bags and use inexpensive markers, paint and seasonal stencils to decorate them for the holiday season and turn them into decorative gift bags.
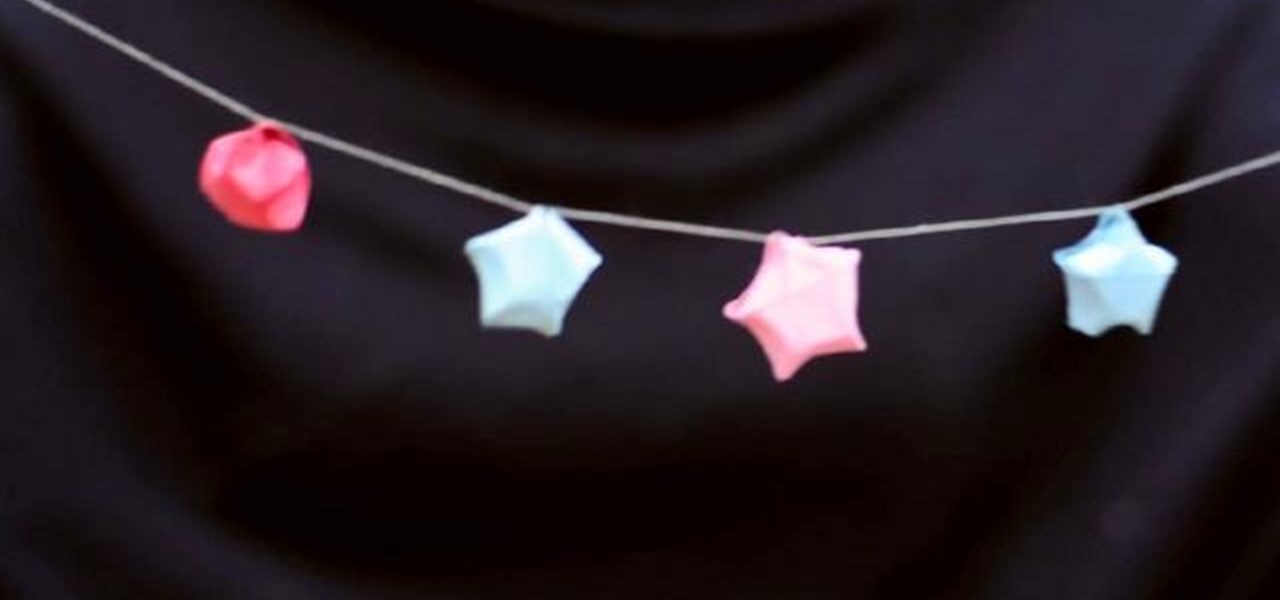
Have a green Christmas this year! Instead of buying more mass produced holidy decorations, make your own! This short video shows you how to make your own Christmas garland of tiny stars using recycled paper. Any festive color will do for these stars!

This is a fun and easy project you can do in an afternoon. Why spend money on expensive ornaments when you can go green to decorate your Christmas tree this year? All you need is some festive paper and thread.
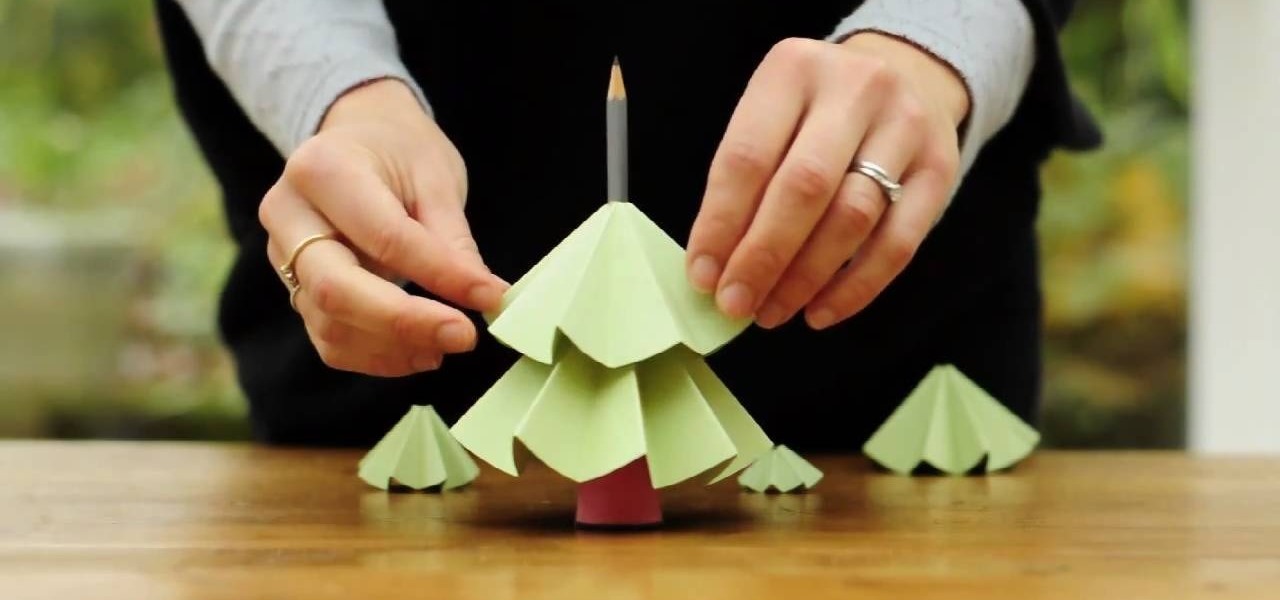
This tutorial shows you how to take several circles of recycled paper (from sixteen centimeters to four centimeters in diameter) into a lovely Christmas tree decoration. Fold each of them in half several times, cut a hole in the tip, then just stack and decorate!
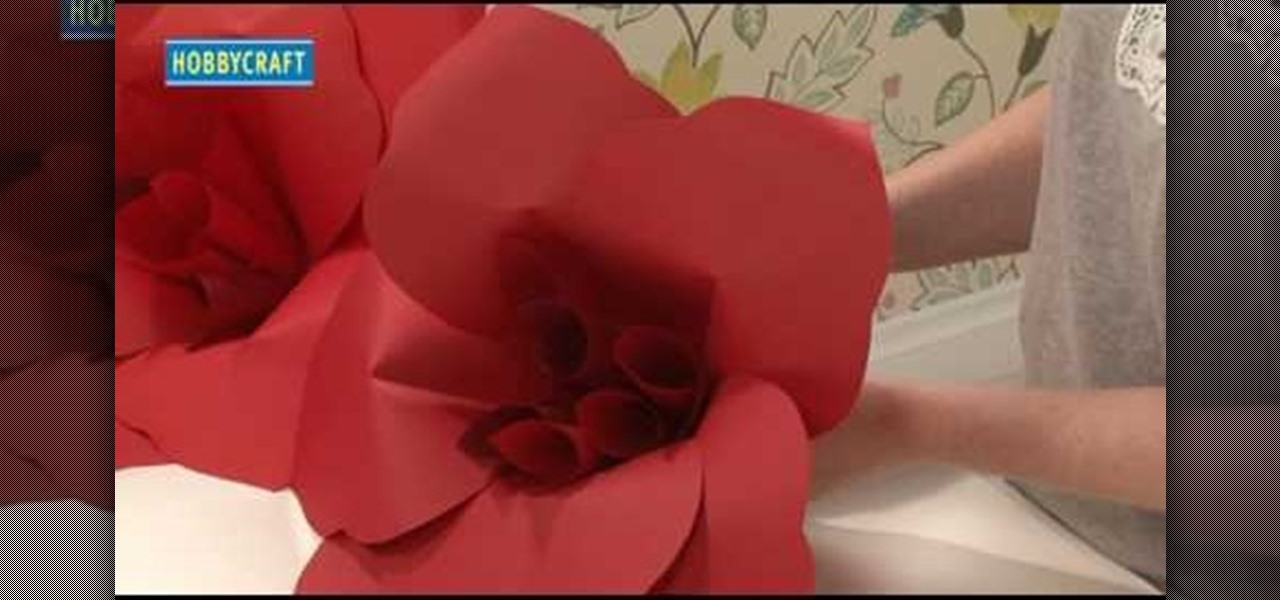
If you need to decorate your house fast for the holidays, then supersized decor is the way to go. Yeah, you could buy those tacky big Christmas ornament balls fastened with big red ribbons at the store, but if you're looking for elegant Christmas decor then making it is the way to go.

All you need is some stiff paper, like craft paper or card stock. Then follow this video to fold two pieces (make sure they are roughly the same size) into a lovely and easy gift box. Then wrap it and stick it under the tree!
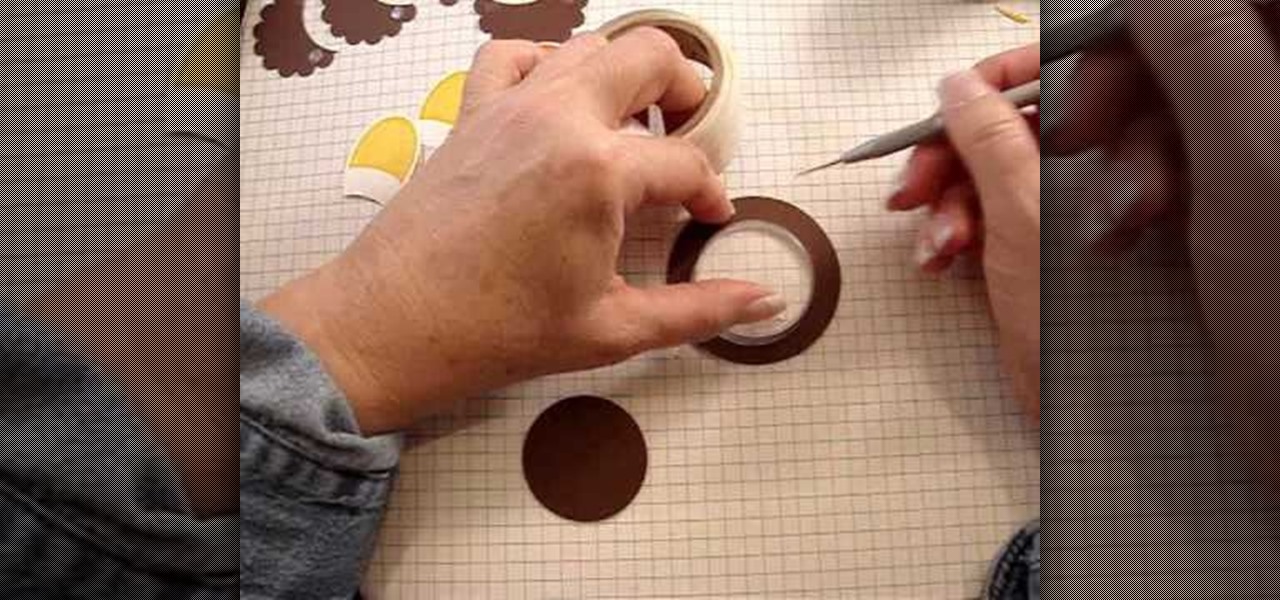
By using the Sweet Treat cups, cardstock and a few extra crafting supplies, you can incorproate delicious jelly beans (or any other small, autumn-colored candy) into a crafted paper turkey. This is a great little decoration to put on the kids' table this Thanksigving season!

This video explains how to make Vincent Valentine's arm guards in under 20mins. The supplies needed to complete this task include card paper, tape, gold spray, pencil and scissors. A ruler must be used to measure the length of your hand and fingers so you can correctly size the arm guards. Card paper is the cut into many small circles and placed around all of the fingers and then painted with gold spray. The hand portion is created by wrapping your hand with card paper and pulling tight befor...
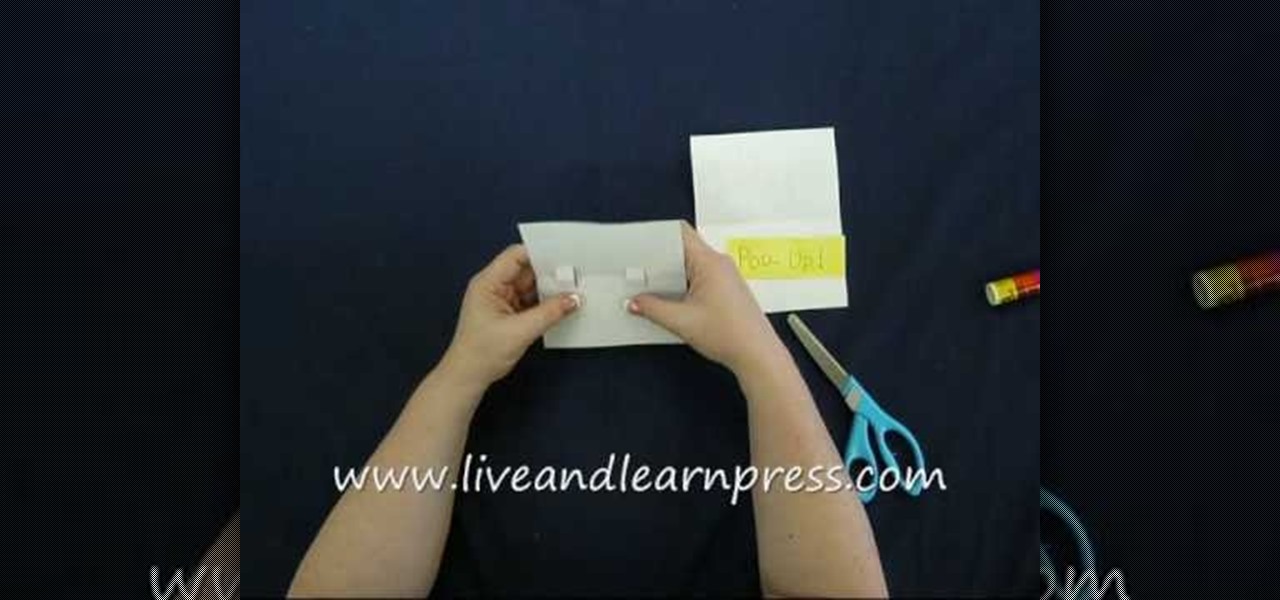
In this tutorial, we learn how to make a pop-up book. First, take a piece of paper and fold it in half. From here, take another piece of paper that is the same size and fold it in half. Then, cut small slits in the middle where you folded it. Then, fold these slits into the middle and pop them out from it. Then, fold the paper again and it will be a stand for the middle. Add glue to the middle and then place what you want to pop up onto this. Let it dry and then fold it down. Then, glue the m...

Looking for your next craft project? Why not a bright and festive paper box? This video guide from Dawn of Dawn's Stamping Thoughts will teach you everything you need to know. For all of the details, and step-by-step instructions, take a look.