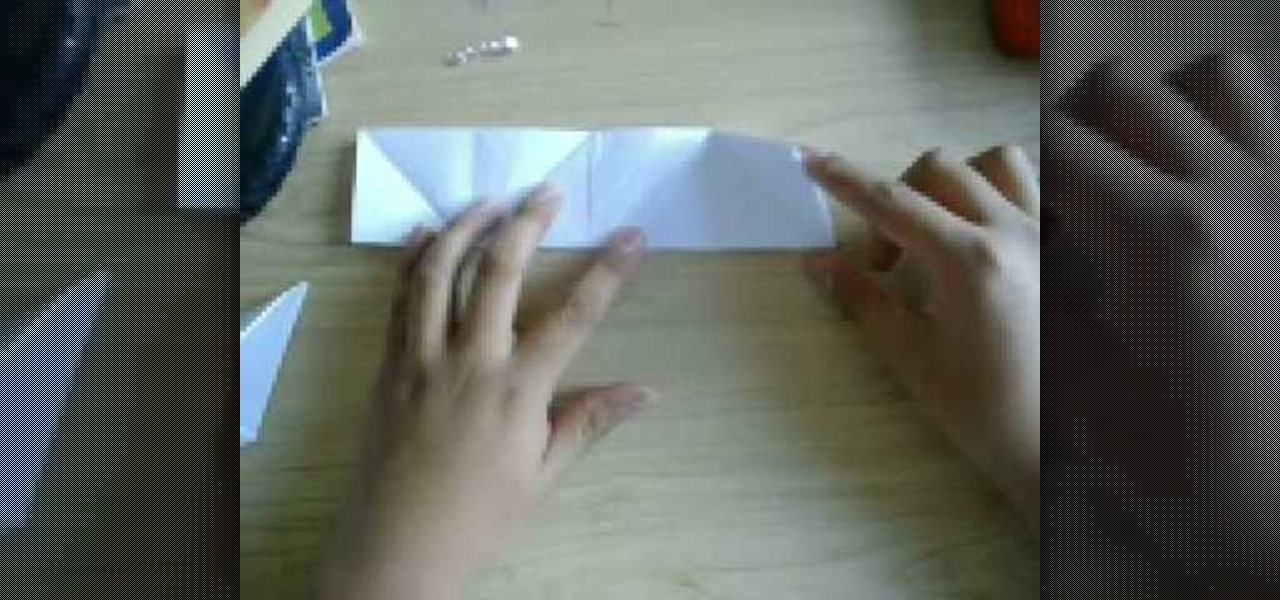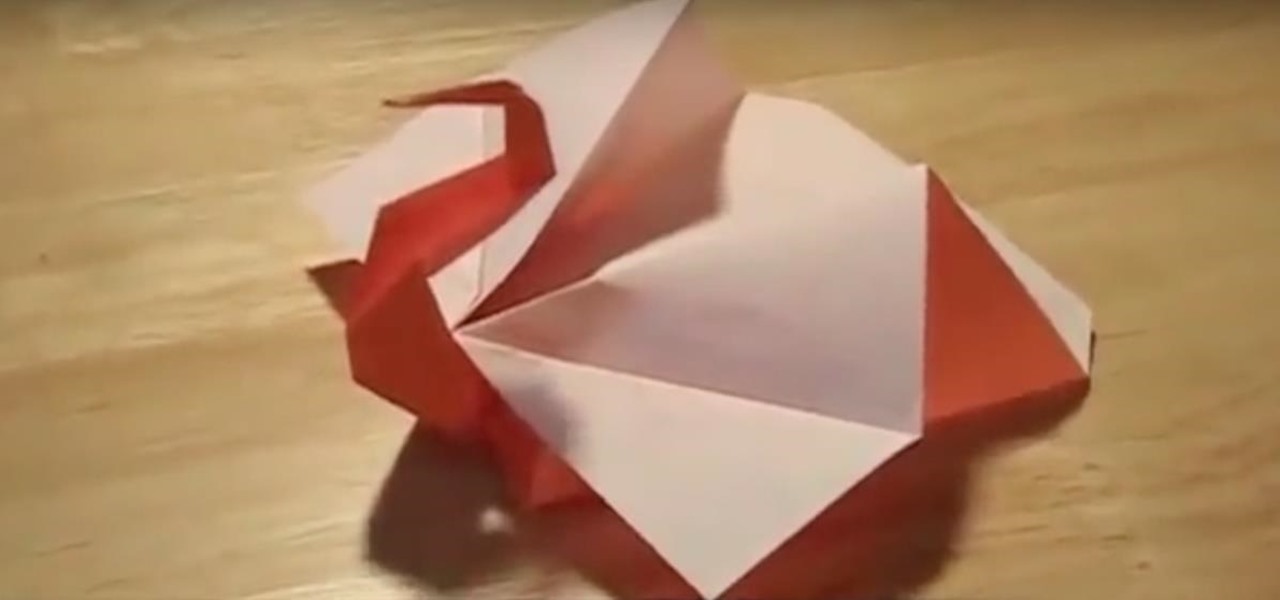
If you fold this out of some blue, green or violet paper, it's a peacock! But if you decide to make it from brown, orange or yellow paper, it's a turkey! Make a dozen of them to use as Thanksgiving decorations!
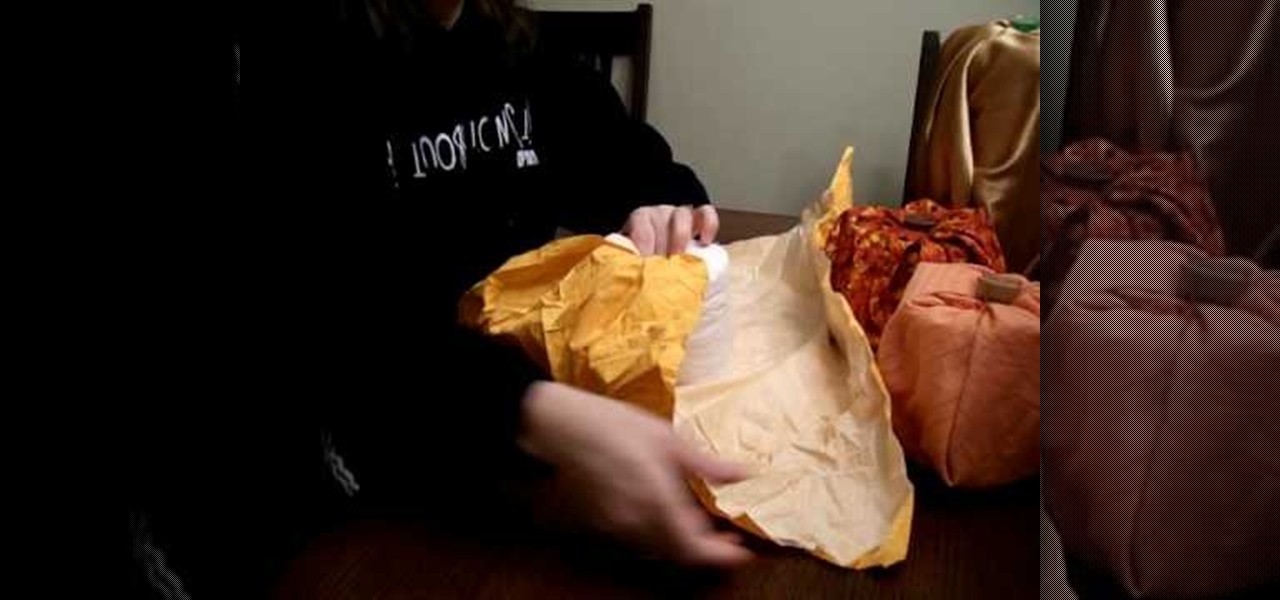
You can create some lovely and cute cloth pumpkins to decorate your house for Thanksgiving! All you need is some scrap material in fall or pumpkin colors, and a few rolls of toilet paper. Wrap the fabric around the toilet paper, tuck and secure!
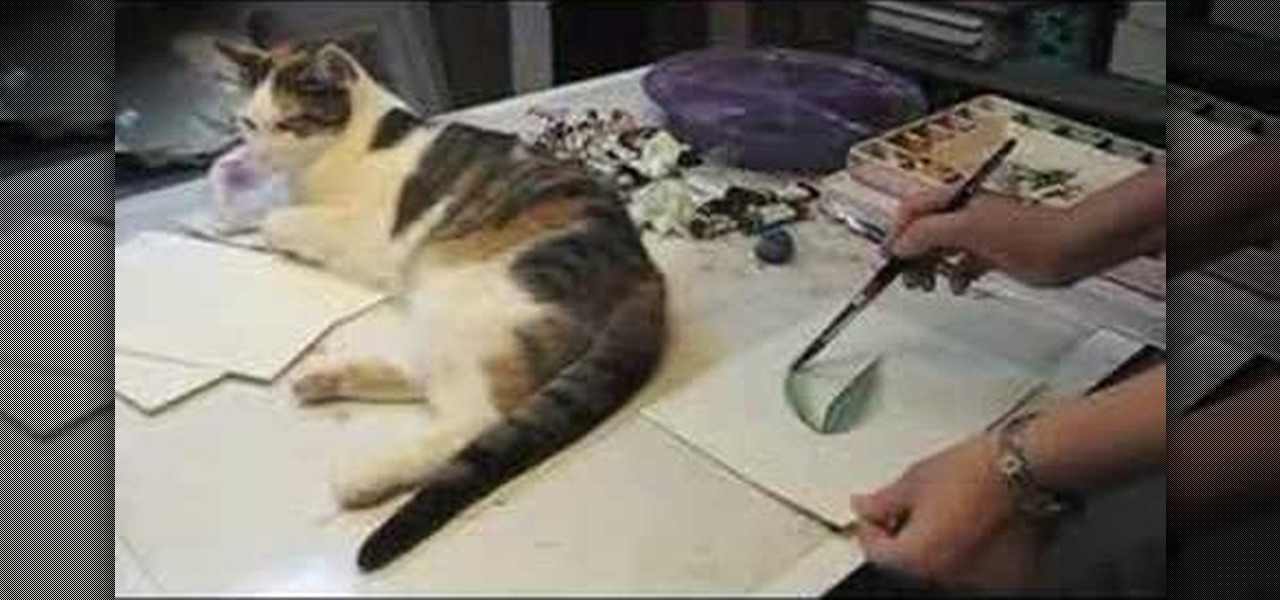
In this tutorial, we learn how to use the cold pressed watercolor paper technique. Start out with one leaf, then use your brush to apply more color above it. Continue to apply the paint and try to blend it. It will be difficult to blend and get a smooth effect, but it will look great. You can also add your paint to the dry paper by brushing on more paint and creating different layers with your brush. Once you apply enough, you will get the smooth look with the paint and it will look great. Ei...
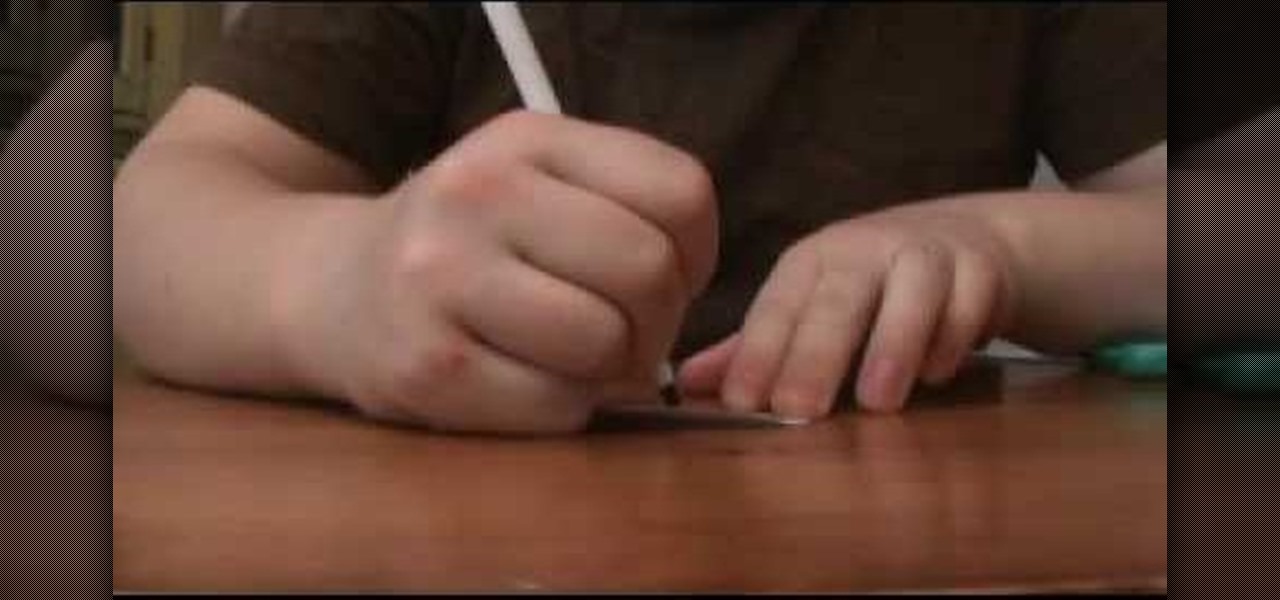
In this tutorial, we learn how to cheat on a test in a short sleeve shirt. First, take a piece of paper and cut out a circle from it. Make sure it's small so it can fit in the palm of your hand. After this, write down all the answers or information that you need onto this piece of paper. Once you're finished, take the paper and stick it into the palm of your hand. Make sure the writing is facing out towards you. Then, when you need the information you can simply open up your hand, then close ...
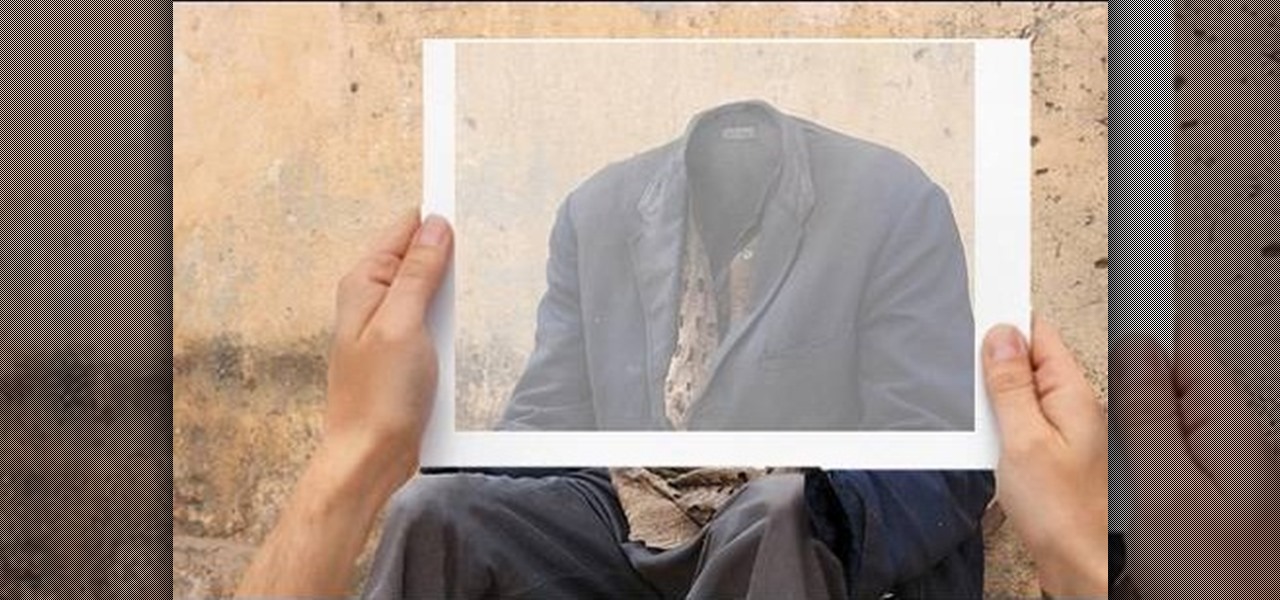
Desperately want to see what's inside an envelope without anyone knowing you've snooped? There's an easy trick you can use to make paper turn invisible - just long enough to read through it without leaving any trace behind! You just need to get your hands on some hexanes.

This tutorial shows you how to take a paper bird cage and add some embellishments and extra decorations. Use this as a hanging ornament, turn it into a home decoration, incorporate it into your next scrapbook project, add it to a colage or anything else you feel inspired to do!

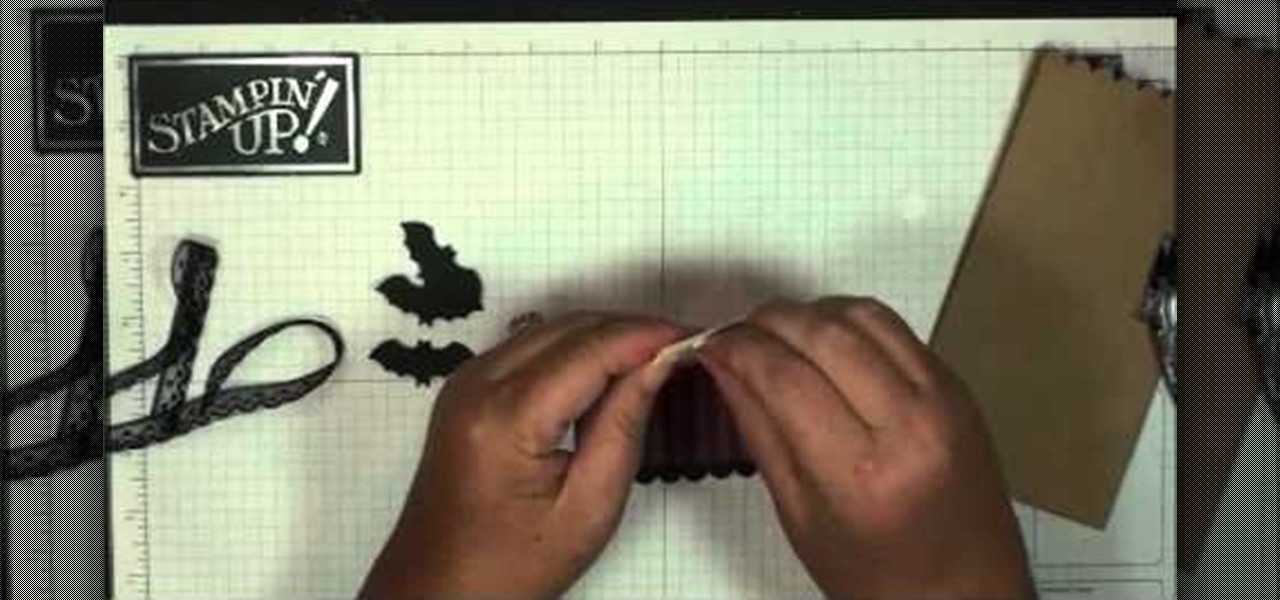
Whether you're looking for something extra to hand out to your trick or treaters, or party favors for a Halloween party, this tutorial shows you how to make a cute treat bag. You can make this bag using just some mini paper lunch sacks at the grocery store, plus a few extra paper crafting supplies.

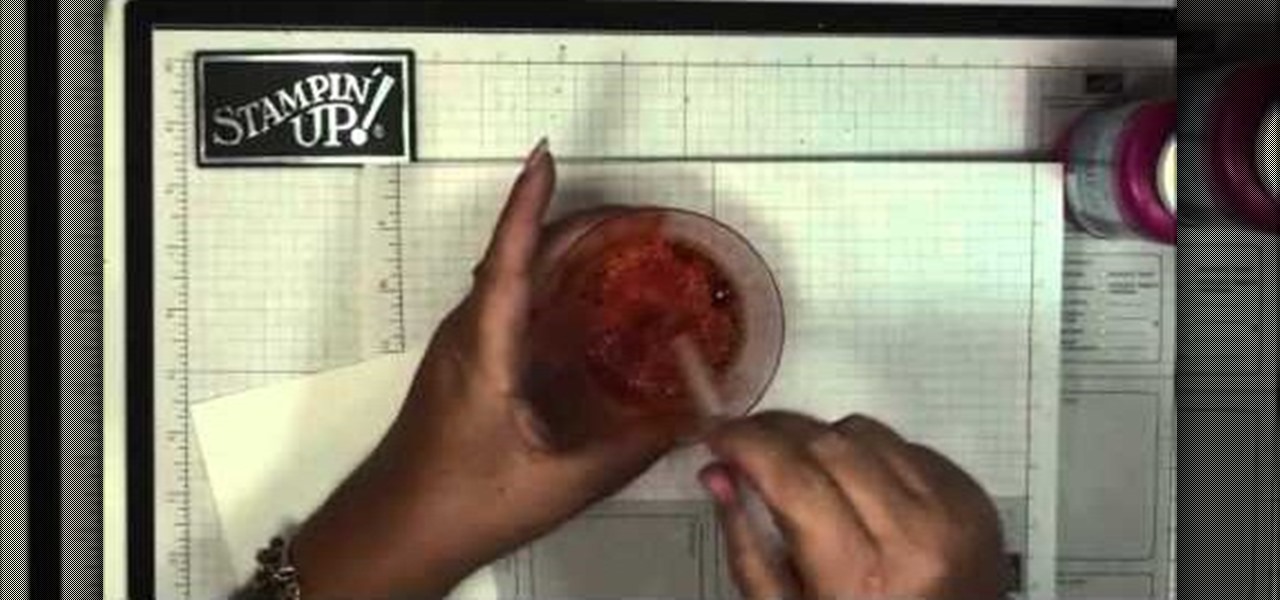
Here's a fun technique you can use to create a unique background for your next greeting card, scrap book or other paper crafting project. All you need is some bubble solution and a few drops of re-inker in your favorite color.

This is a simple craft you can make with a child who loves to play dress-up. You'll need cardboard or posterboard, aluminum foil or reflective paper, glitter pencils, a circular trace, a paper puncher, markers or colored pencils, glue and safety scissors.

Teach your child how to tie shoelaces, and have fun at the same time! You can make a pair of paper shoes with laces by using recycled cardboard, foam leaves, a glue gun, a hole punch, scissors and, of course, a pair of shoelaces!

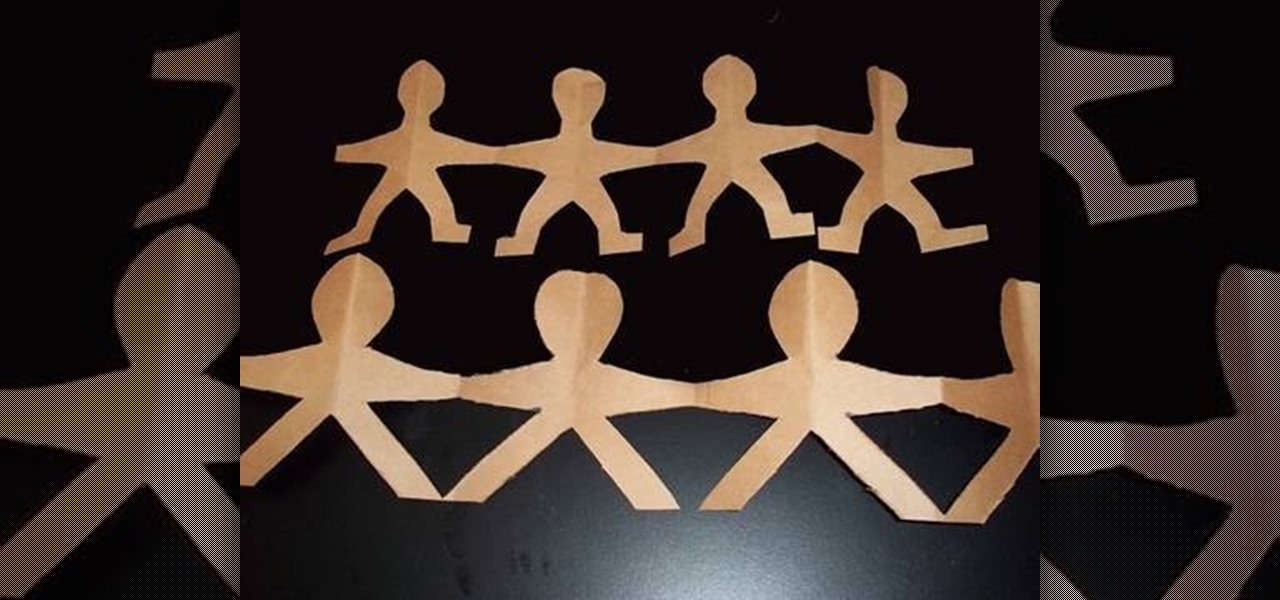
This is a very basic and very easy tutorial on how to make a chain of people holding hands. All you'll need is a large piece of paper, a pen to trace out your silhouette, and a pair of scissors.

In this tutorial, we learn how to fold a paper rose. First, you will grab a napkin and unfold it. From here, roll the napkin around two fingers. Then, take it off and go two inches down from the top. Roll around this quickly, stopping half way. Grab the corner of the napkin and bring it up. Then, pull the rest down and continue to twist. Take your flower and make a leaf, then twist around the stem tightly. Put your fingers in the middle of the rose and use your finger to swirl it around. This...

In this video we learn how to make a paper bag mini. Start out with your paper consistent throughout the entire bag and then distress the pieces that you place on it. When you open it up it will have several pages inside of it. Use different types of stamps, distressing, and tags to make this unique. Use a lot of tags to put notes and sentiments on and then add in designs that are all your own! Add in as many pages as you would like to and create something interesting. Leave it plain or add i...

A great craft for a rainy day! This project is very simple and only requires some construction paper in various colors (brown, pink, red, orange, purple, yellow and blue), glue, scissors and brown marker. You can add glitter or stickers to the 'frosting' if you want.

Start with a clear glass locket, and then follow these instructions to make a few cute paper inserts to put inside your locket. Add a few personal touches, and you have a versatile and creativity-inspiring accessory that lets you dress up your wardrobe in a unique and clever way.

In this video, we learn how to write an essay for school. This is important because it will help you get into college! The main parts of an essay are: the title page, outline, body, introduction, conclusion, and footnotes. Make sure your title page has the title of the paper, the student's name, teacher of the class, and due date for the paper. For the rest of the pages, make sure you follow the guidelines that have been set by your teacher to properly write. Add in a lot of details and make ...

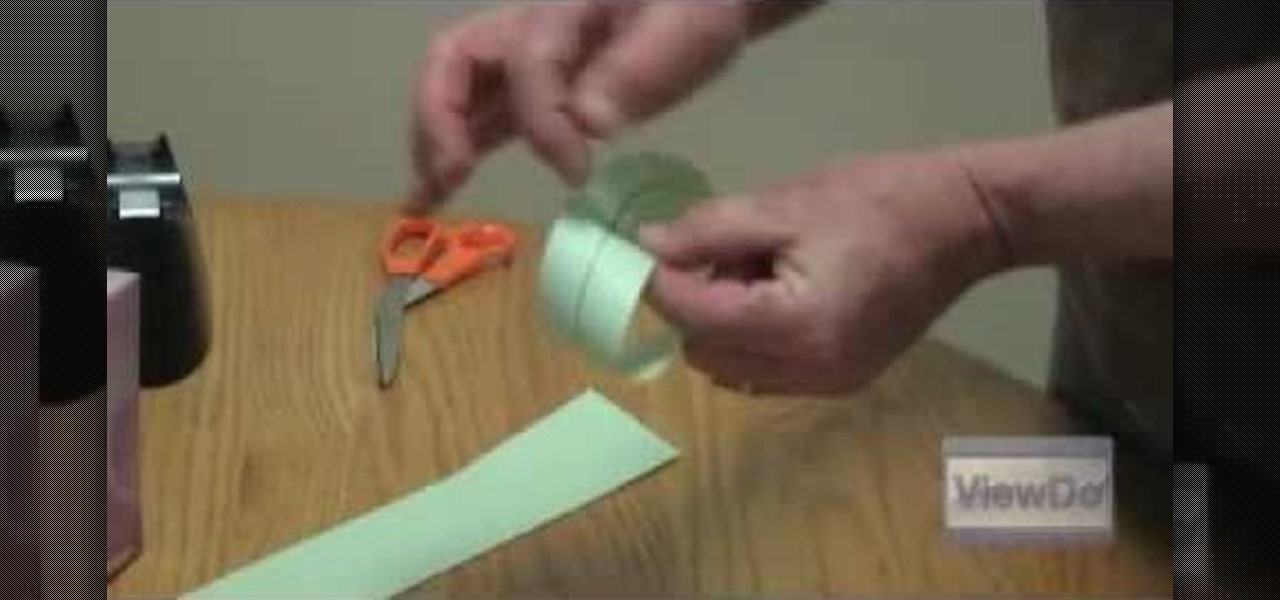
This video will show you how to make a 2 dimensional object in a 3D world. A well-known example of this is a mobius strip, which can be made with a strip of paper, scissors, and some tape. After cutting out a long strip of paper, you should take the strip of paper, give it a half twist and tape it together, making a loop. This loop, or mobius strip, exists in a three dimensional world, where by following the loop, you seem to always arrive at the same point. Furthermore, the loop can by cut d...

In this video, we learn how to quickly make an origami kusudama. This only requires six pieces of paper to make. First, fold one piece of paper into a triangle, then open it up and fold it in a triangle on the opposite side. Open this back up then flip over. Bend in the edges to make a new triangle, then press down the creases on the side. Bend the middle of the triangle up to the point on both sides. Bend these back down, then fold over the side and make a crease. Open up the bottoms where y...

In this video, we learn how to move from notes to a rough draft of a research paper. First, you need to place all your notes in order and create an outline for your paper. Find out what important information you need, and filter out all the information you don't. After this, you can begin to fill in your outline and add any additional information into your outline. After you have this completed, you can start to write your rough draft using the outline you just created. Keep your notes around...

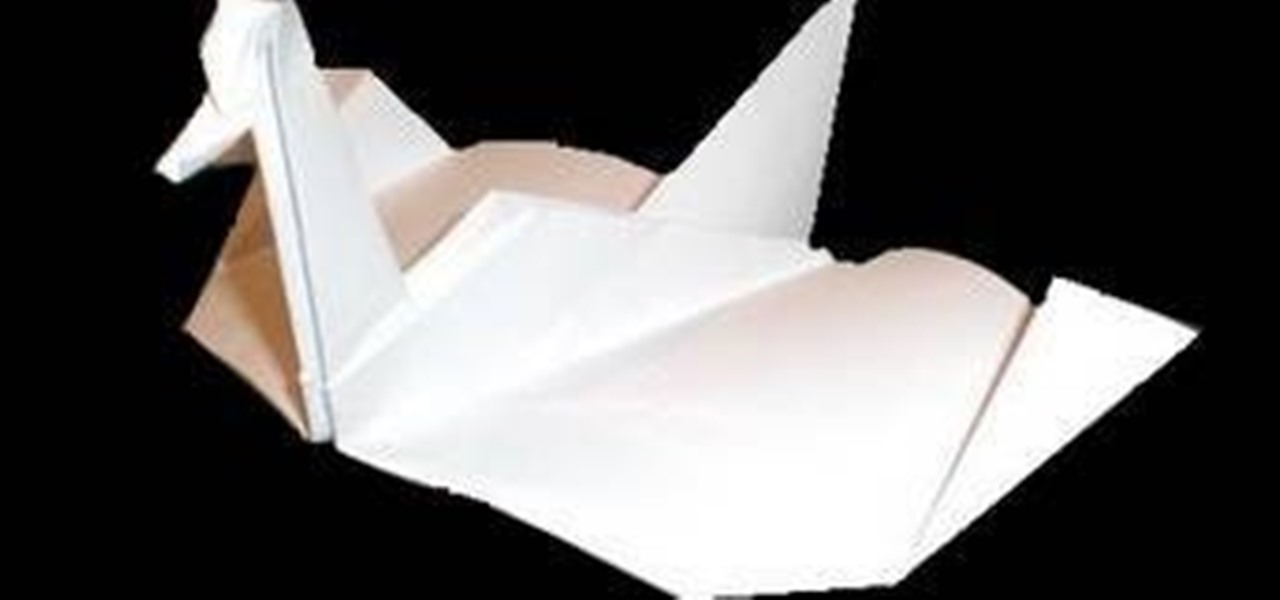
Watch this origami tutorial and in no time at all you'll transform an ordinary piece of paper into a fabulous, beautiful swan, unsuspectingly reenacting the classic gratifying story of "The Ugly Duckling." All you need are two hands with more or less dexterous fingers and a piece of white origami tissue paper or printer paper.

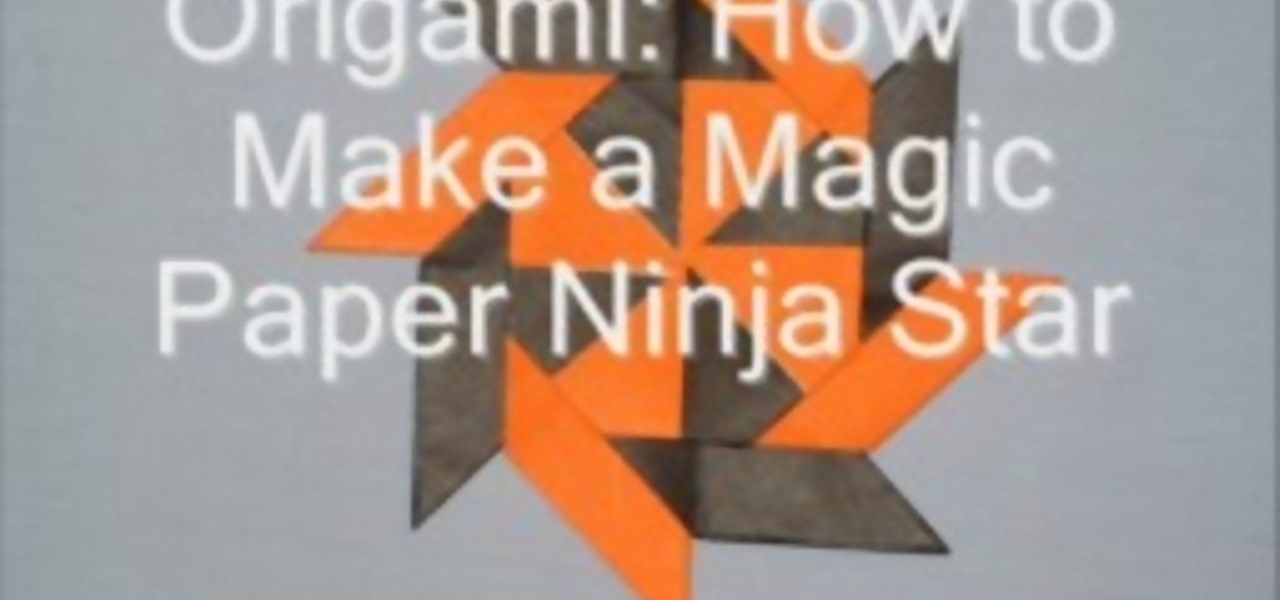
This video tutorial is in the Arts & Crafts category where you will learn how to make a magic paper ninja star. For this you will need 8 sheets of square paper, all of the same size. Fold one sheet in half, open it up and fold both corners of one edge inwards along the centerline. Now fold the whole sheet in half inwards. Then fold the lower part in a triangular pattern, make a crease and open up the sheet. Fold the lower part inwards from the center and collapse the sheet over the fold. Do t...

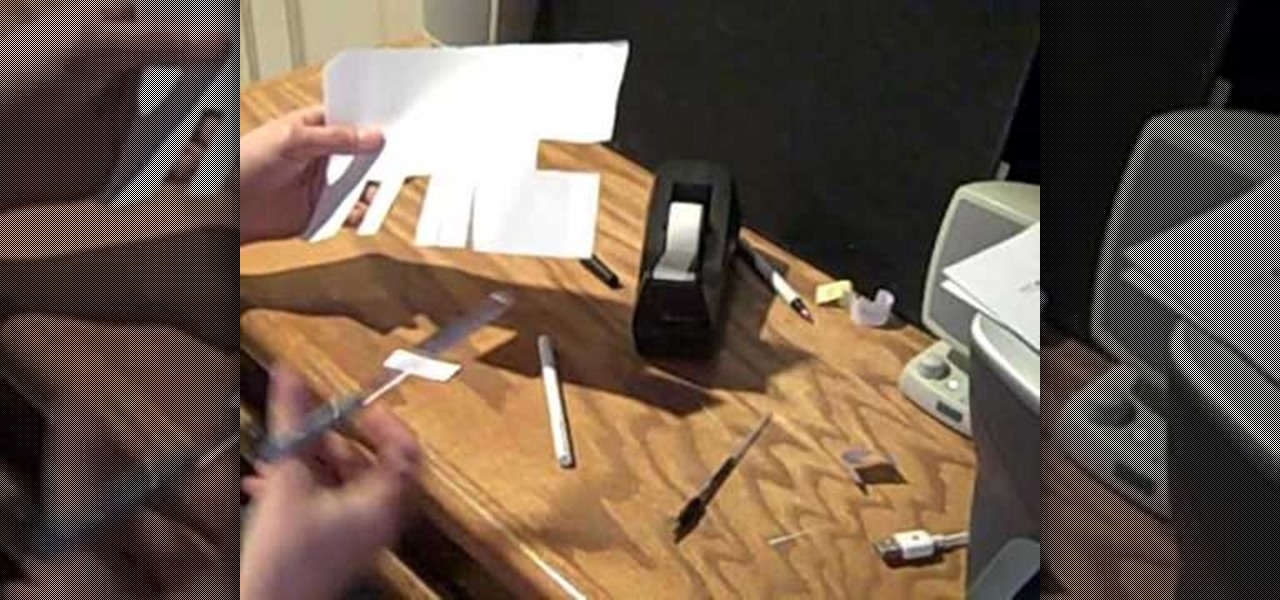
In this tutorial, we learn how to cheat on a test with a hollowed pen. First, grab your pen and take the top off the ink of it. Now, cut a small slip of paper out of a piece of copy paper. After this, write down the answers that you need for a test. Next, use the scissors to cut the side of the pen and make a slit in it. Now, attach the answer strip to the ink of the pen and place it back into your pen and put the top back on. Now, the sheet of paper that has the answers on it will hide in th...

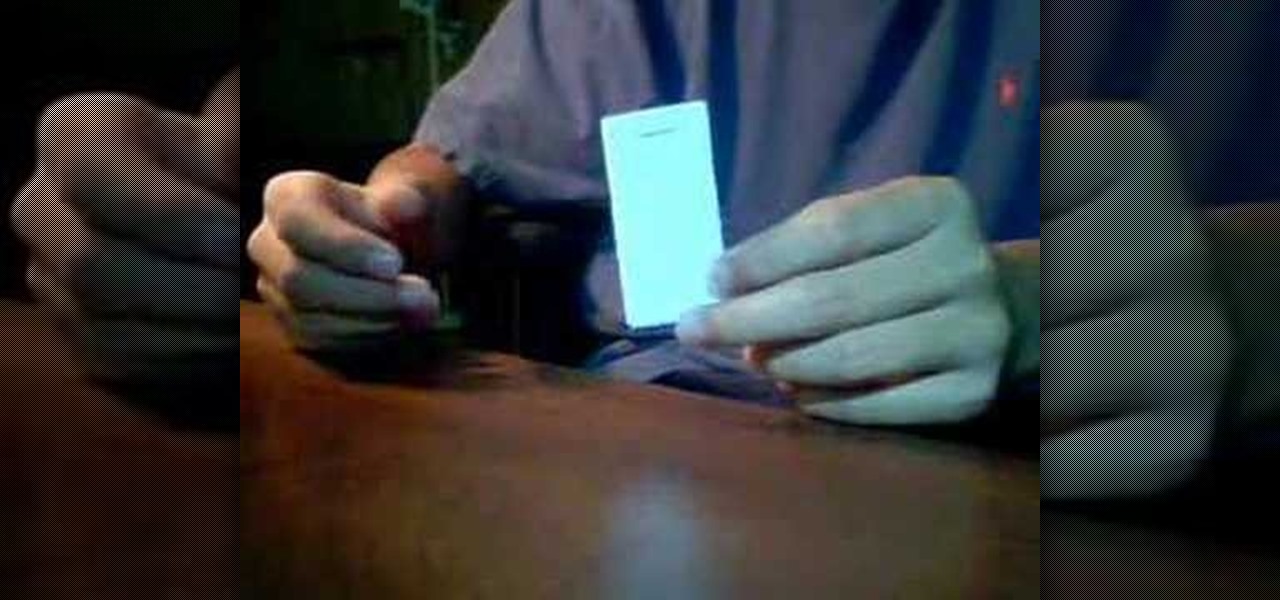
In this video, we learn how to make a compact cheat sheet for a test. First, grab a sheet of copy paper and fold a rectangle into the bottom and make a crease. Next, do this once more, and on the other side as well. Then, tear the paper where the crease was made and fold the strip into a small booklet. Next, use a stapler to staple the side of all the papers together. Next, you can write in all the answers and questions that will help you cheat on your test. Hold this in the palm of your hand...

In this video tutorial, viewers learn how to fold a paper airplane. Begin by folding the paper vertically in half. Then open the fold and fold the 2 top corners to the center crease to form a triangle. Now fold the top point down so the it tucks underneath the fold to form a envelope shape. Then fold the 2 top corners to the center crease to form a triangle once again. Now fold it vertically in half and fold the wings down so that they are aligned with the bottom of the plane. This video will...

This next tutorial is for those who are looking to add a bit of fun to their room or even class setting. This tutorial is going to show you how to make homemade throwing darts using nothing more than some paper and tacks.

In this tutorial, we learn how to make a paper cigarette from a cigarette foil. First, fold a piece of foil length wise, then flatten out the creases. After this, unfold the paper and tear it in half. Now, fold half of it in half again to make the stem of the flower and twist the top. Use the other half of the foil to make blossoms and flower petals. When you are finished shaping these, attach to the stem of the flower and shape more to make the flower look more realistic. Attach more leaves ...

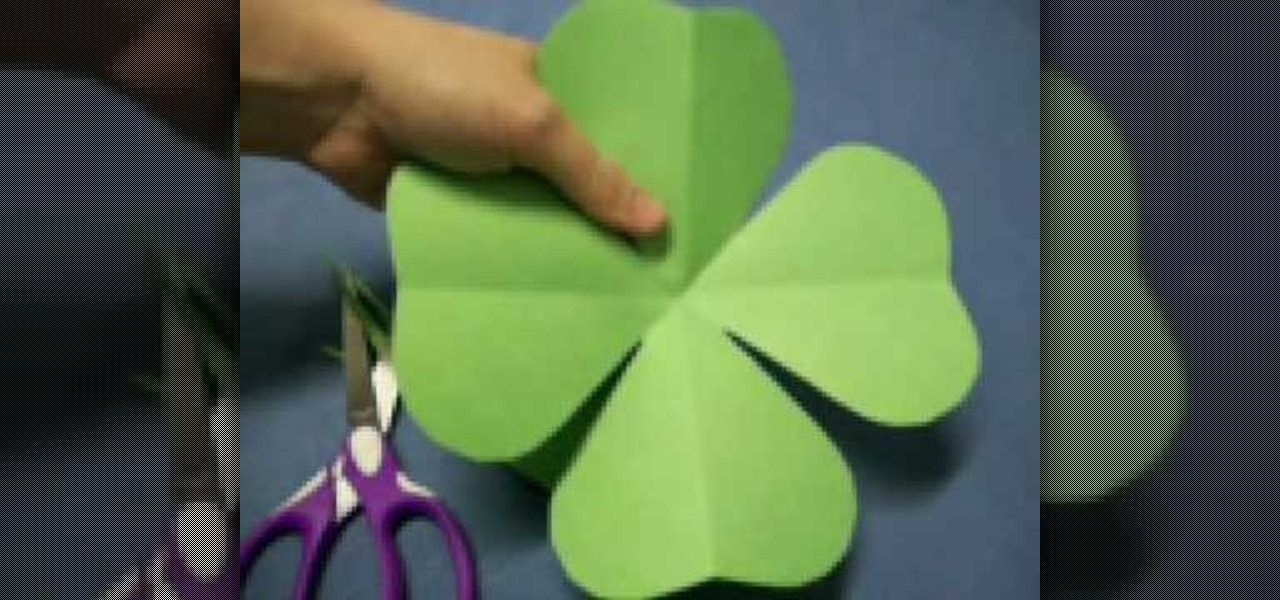
In this tutorial, we learn how to make a four leaf clover pattern. First, fold your paper in half, then fold it in half in the other direction. Next, fold the edges making a point and then cut a half an inch along the edge, making a cone shape. end the shape on the right side, making a heart shape. When you unfold, you will have a four leaf clover! You can use any size of paper to make this, just make sure you use green paper to keep the theme Irish. This is a great project for kids to learn ...

This video tutorial is in the Arts & Crafts category which will show you how to make a paper football that flies well. For this you will need a piece of paper. Fold it half way along the longer side. Open it up, flip it over and fold it again. Now tear it along the fold. Now fold it again in half along the longer side. Then take a corner that is away from the seam and fold it back along the other edge of the fold to make a triangle. Now fold the triangle back over the sheet. Keep repeating th...

In this video tutorial, viewers learn how to make a paper rose with a napkin, Begin by orienting the napkin lengthwise. Then pinch the napkin corner with your right index and middle fingers. Now wrap it around the fingers. With your left hand, squeeze to create the size of the rose flower. Then hold the flower with your left hand and twist the stem. Now hold the end of the stem twist and pull the corner upward to create a rose leaf. Pinch the leaf into place and pull the excess napkin downwar...

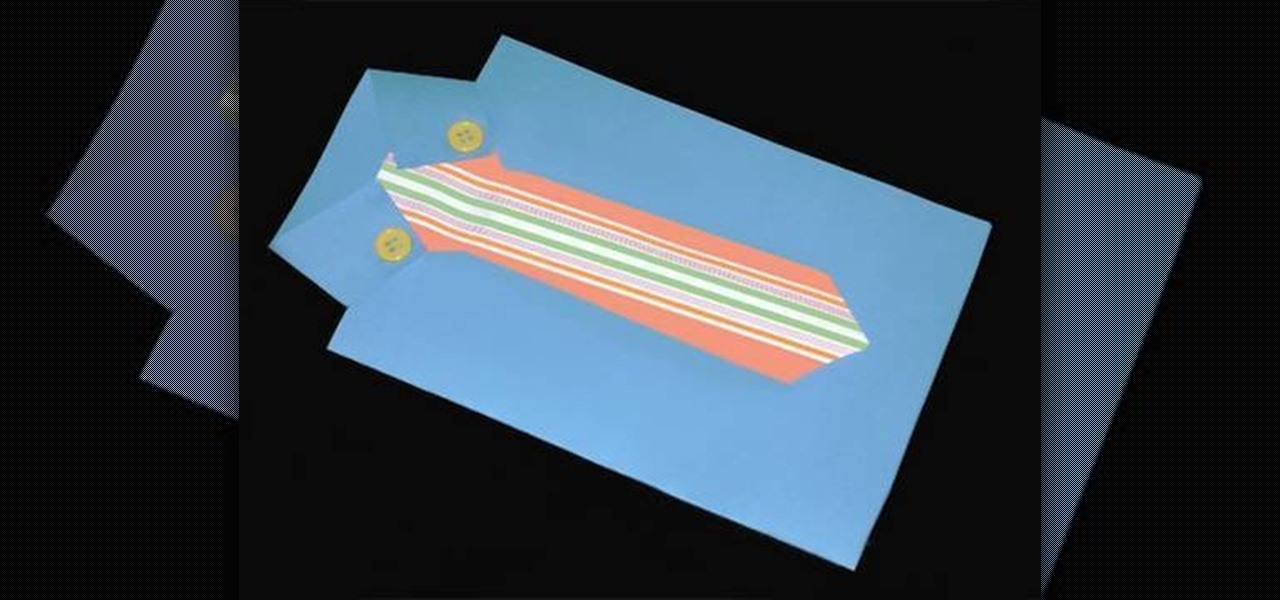
One activity (perfect for Father's Day) to do with your children is making cards. The card in this video is a "shirt and tie" greeting card that's perfect to make with you children. To make this paper kids crafts shirt and tie card, you'll need to have a few materials: colored paper, 2 buttons, glue and scissors.

Paper houses don't make very sturdy shelters for those living inside, but paper jewelry boxes make excellent storage boxes for keepsake jewelry. Using the right method (ie. the one presented in this video) you can create a very sturdy jewelry box out of paper.

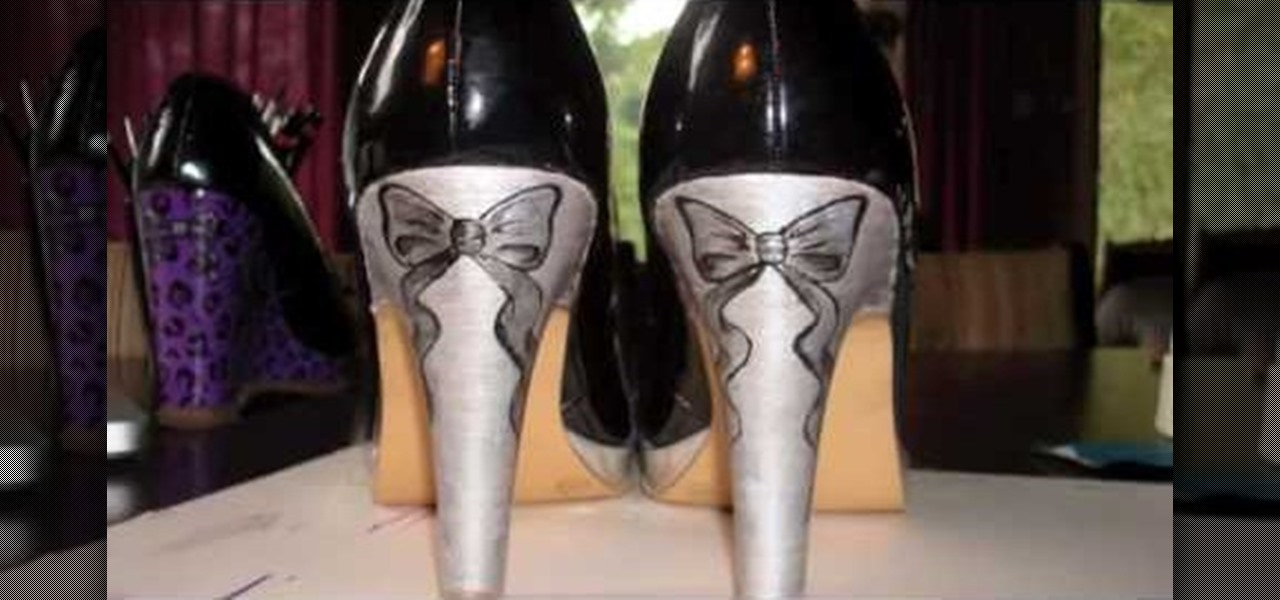
In this tutorial, we learn how to paint a pair of high heels with Anne. You will need: paints, varnishes, paintbrushes, pencils, pen, designs, scissors, sticky tape, and carbon paper. First you will need to paint both of your heels with a solid color, doing two base coats. Next, pick out a design you like and cut it out with carbon paper and tape it to the heels with sticky tape. Make sure to place the carbon paper facing down. Next, use your pen to trace the pattern along the heel. Now use a...

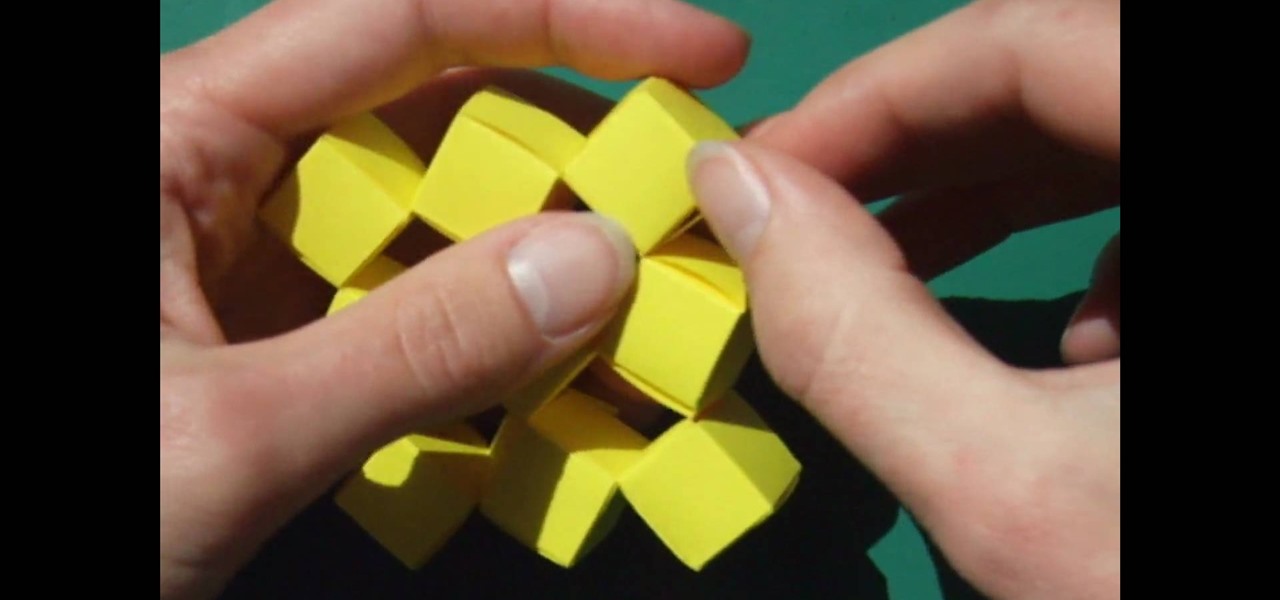
You'll put Mr. Lance Burton out of business once you acquire how to make these easy but impressive magic cubes. Made out of many thin sheets of paper, these cubes are attached to one another without glue or tape and move a full 360 degrees.

Looking for an easy 3D origami project? This video tutorial presents a complete, step-by-step overview of how to make a simple 3D pig using origami, the traditional Japanese folk art of paper folding. For more information, and to get started making your own paper pig sculpture, watch this arts-and-crafts guide.

Looking for an easy modular origami project? This video tutorial presents a complete, step-by-step overview of how to make an impressive 3D dodecahedron using origami, the traditional Japanese folk art of paper folding. For more information, and to get started making your own modular dodecahedrons, watch this arts-and-crafts guide.

Looking for a geeky craft project? With this guide, you'll learn how to make a paper X-wing fighter with origami, the traditional art of Japanese paper folding. These instructions are based on diagrams by Philip Schulz. You'll start from the origami frog base which you can find in another video. See how to origami a Star Wars X-wing Fighter. For more information, including a step-by-step overview of the folding process, as well as to get started making your own paper Star Wars X-wings, watch ...

Aspiring ninjas, come hither! In this video, learn how to fold a sharp origami ninja star with paper and your folding skills! Get step-by-step instructions on how to fold this super ninja weapon out of paper in this free video.

With this guide, you'll learn how to make a origami balloon that can double as a water bomb if you're feeling sinister. For more information, including a step-by-step overview of the folding process, as well as to get started making your own colorful folded-paper water balloons, watch this free origami lesson.

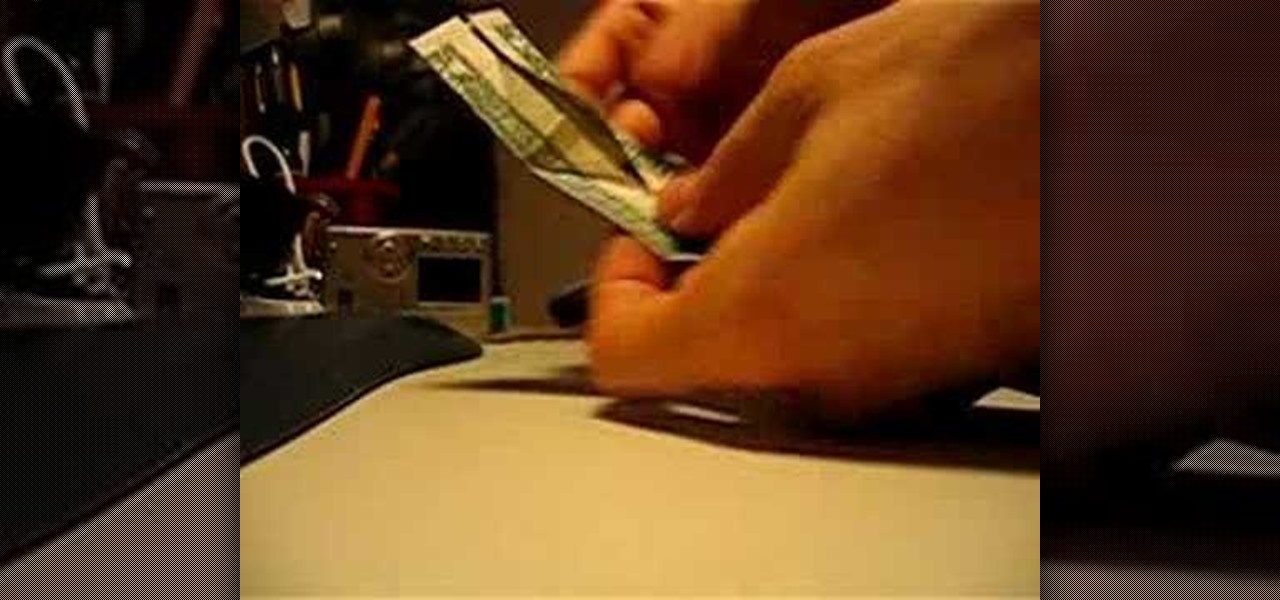
Looking for entertainment on the cheap? Have a dollar? With this guide, you'll learn how to make a folded-paper dress shirt from a dollar bill using origami, the traditional Japanese folk art of paper folding. For more information, including a step-by-step overview of the folding process, as well as to get started making your own dollar bill shirts, watch this free origami lesson.

Graffiti master Wizard spit some more knowledge at us with only his hands, drawing a gangsta figure for a viewer named HQ in his signature style, working quickly in sharpie on graph paper to create something that the more clumsy-handed among us couldn't produce with a lifetime of effort. If you think you're up to the challenge though, copying Wizard's techniques on paper will greatly improve your skills before you take them to the streets, so that when you really want to leave your mark you w...


