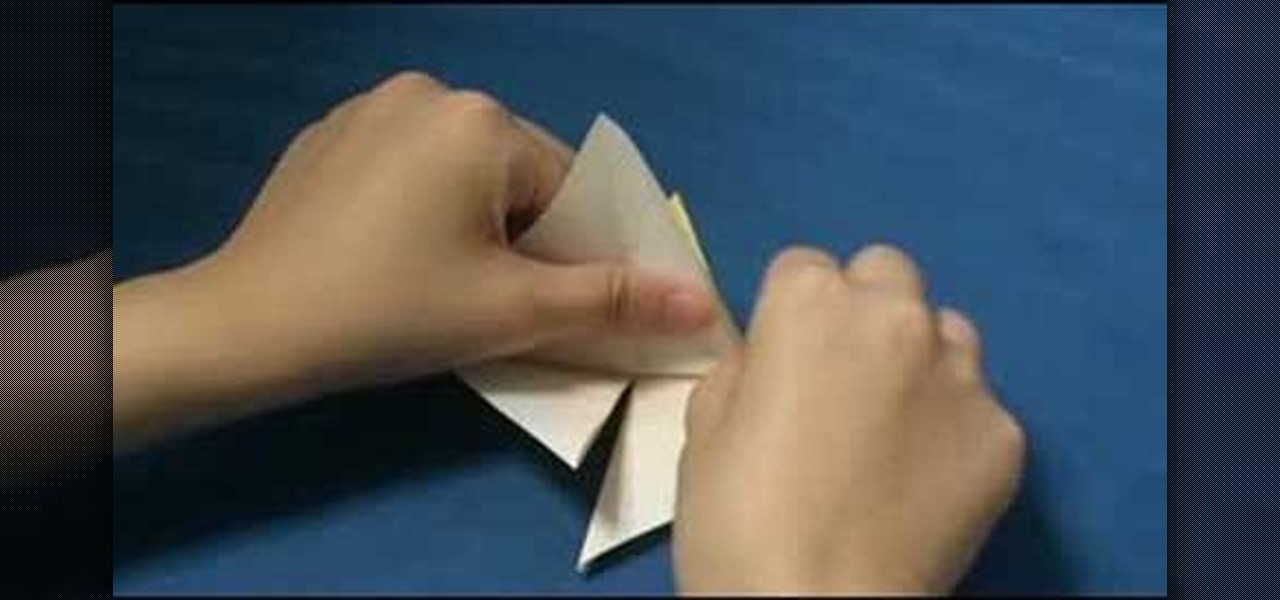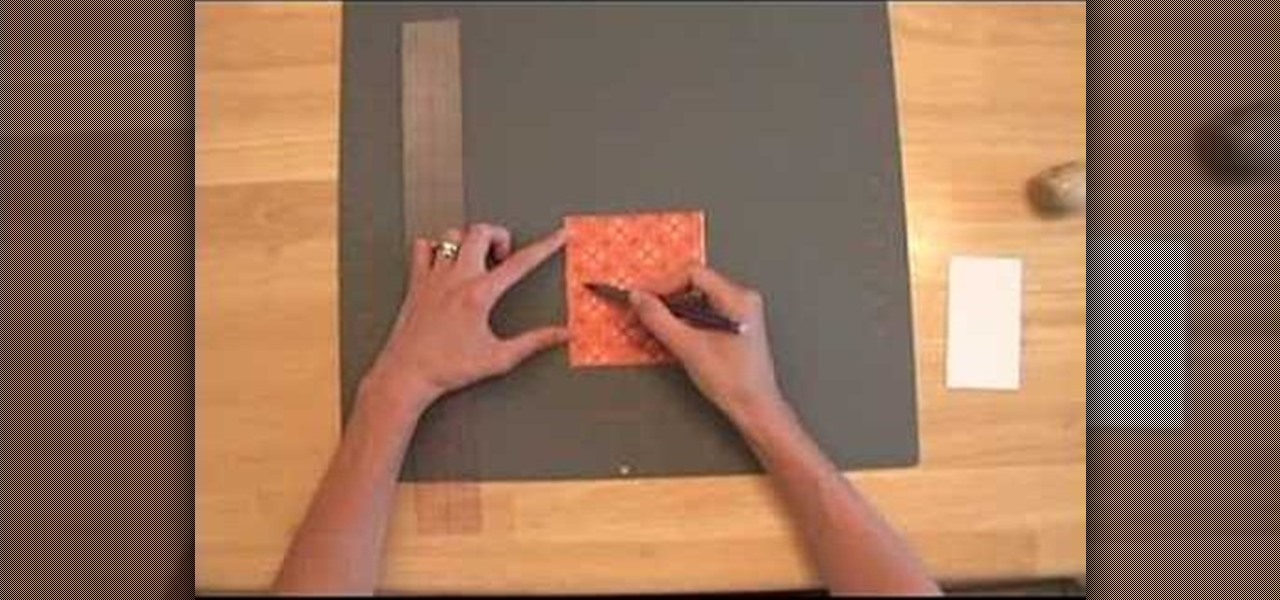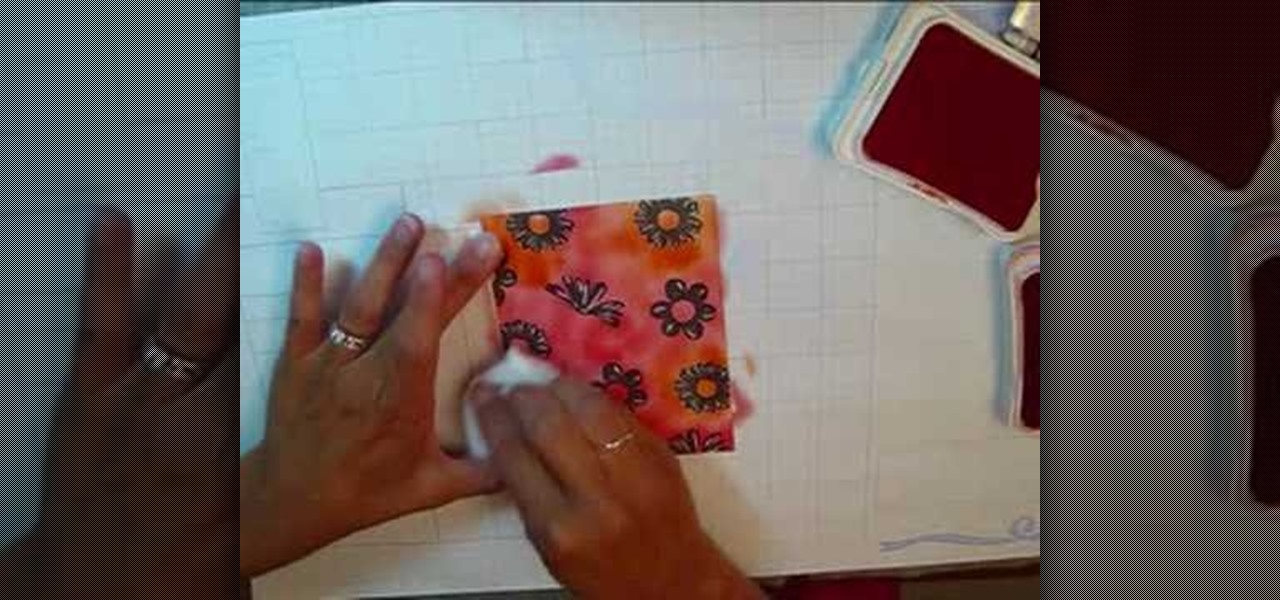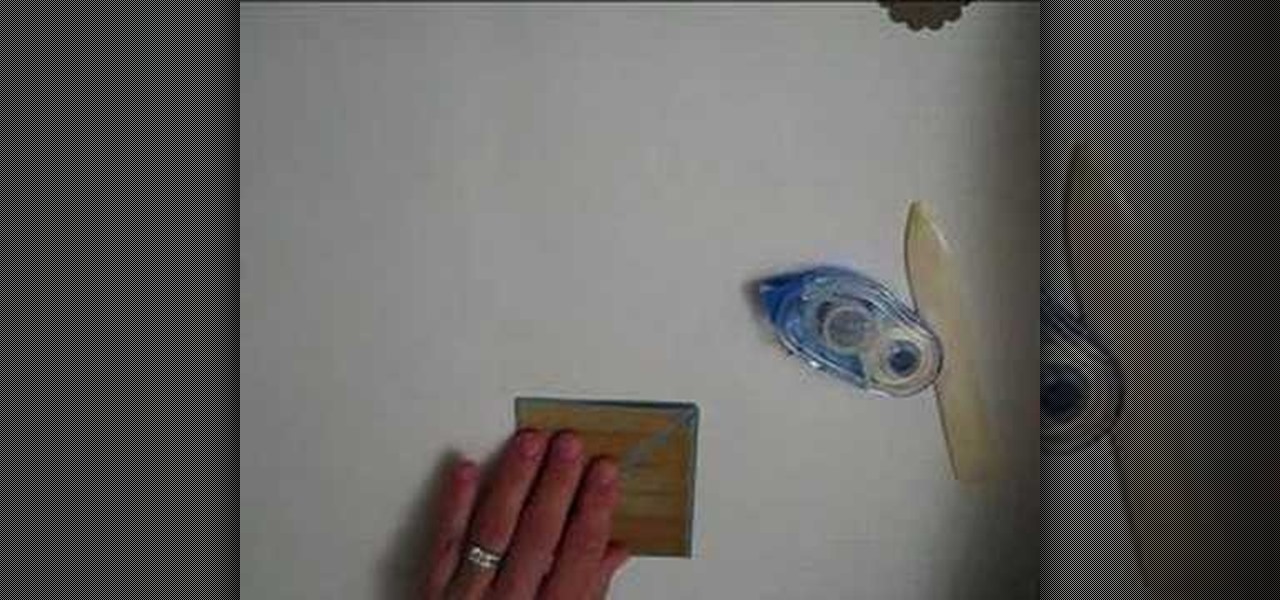
Watch this instructional origami video to fold an origami fiddler crab. You will need one piece of origami paper to compete this paper craft project. The fiddler crab is a difficult origami endeavor, so be patient. When completed, decorate your origami fiddler crab with cute black eyes and pink claws.
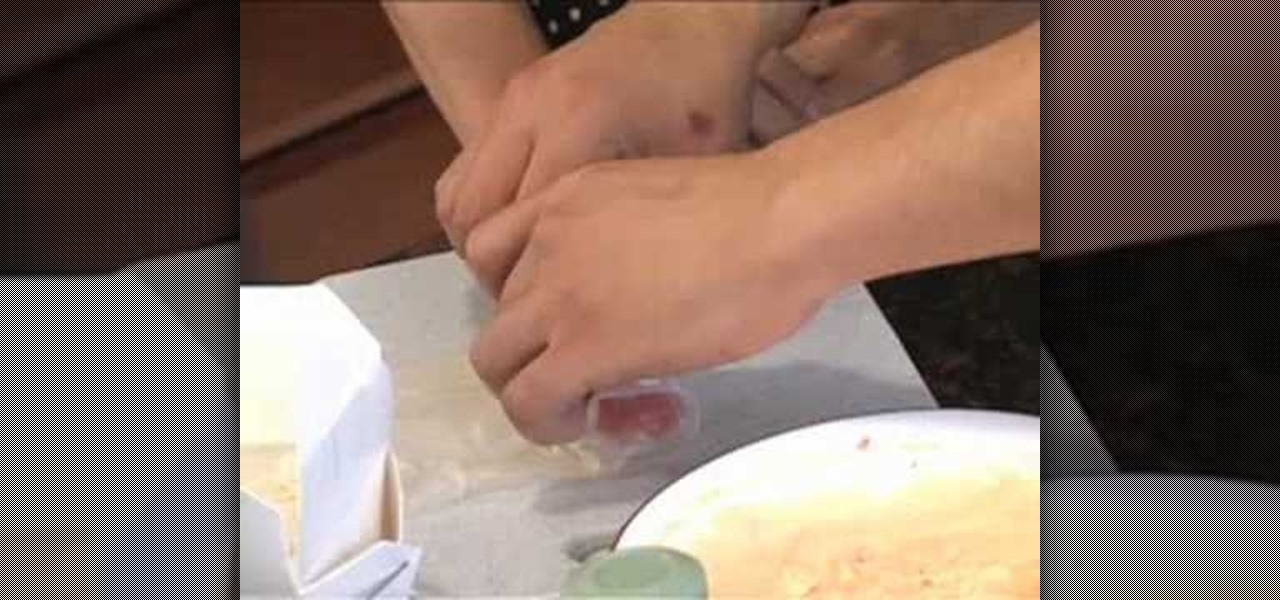
Have some leftover Chinese take out rice? Make your self some tuna rolls. Watch this cooking how-to video as the 2 Minute Chefs show you how to make tuna rolls with rice paper. Tuna rolls are very healthy and easy to prepare.
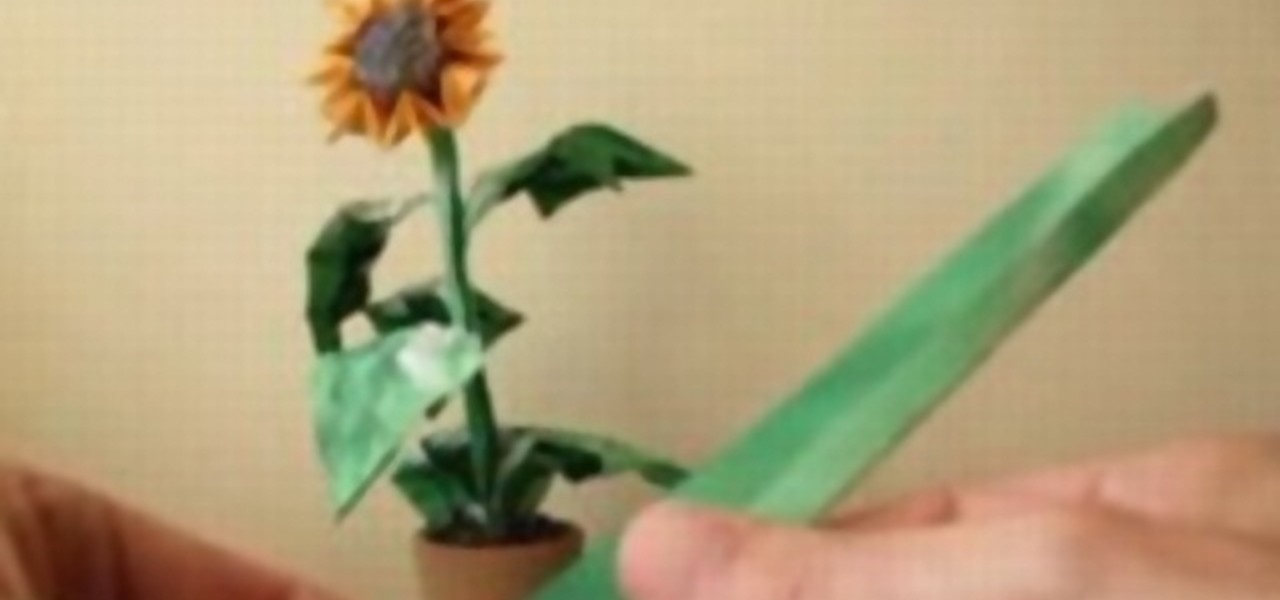
Watch this origami video to fold an origami sunflower, complete with paper stem. This is a pretty difficult flower to fold. You will need many pieces of origami paper to complete this sunflower design. Fold several of these impressive origami sunflowers to make a bouquet.
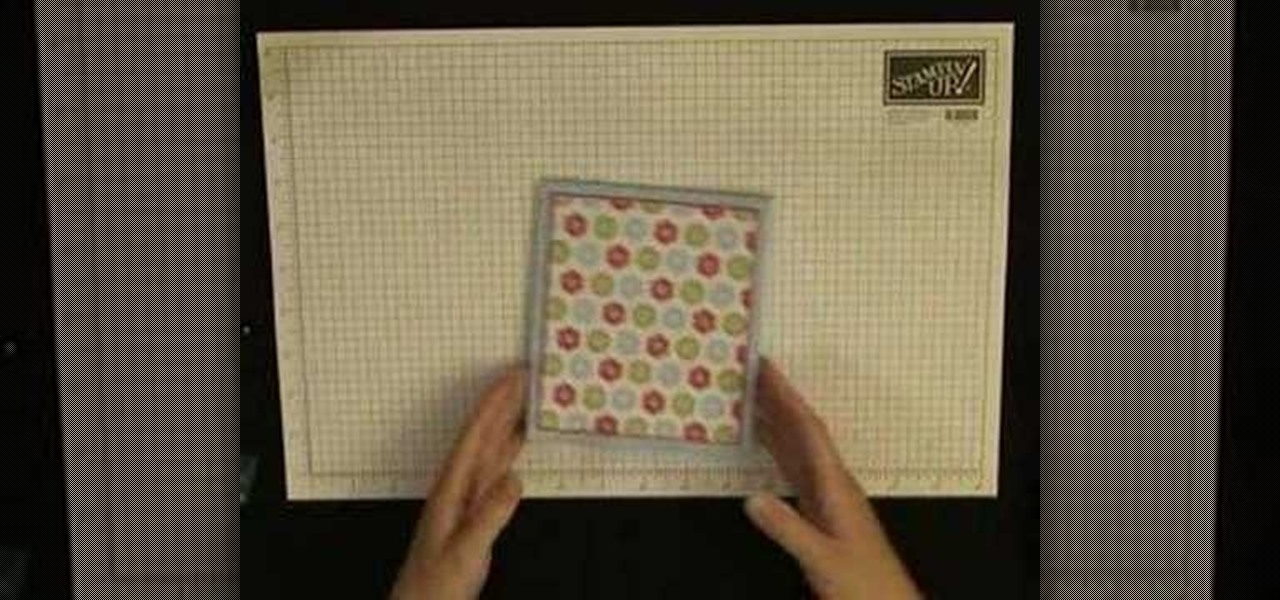
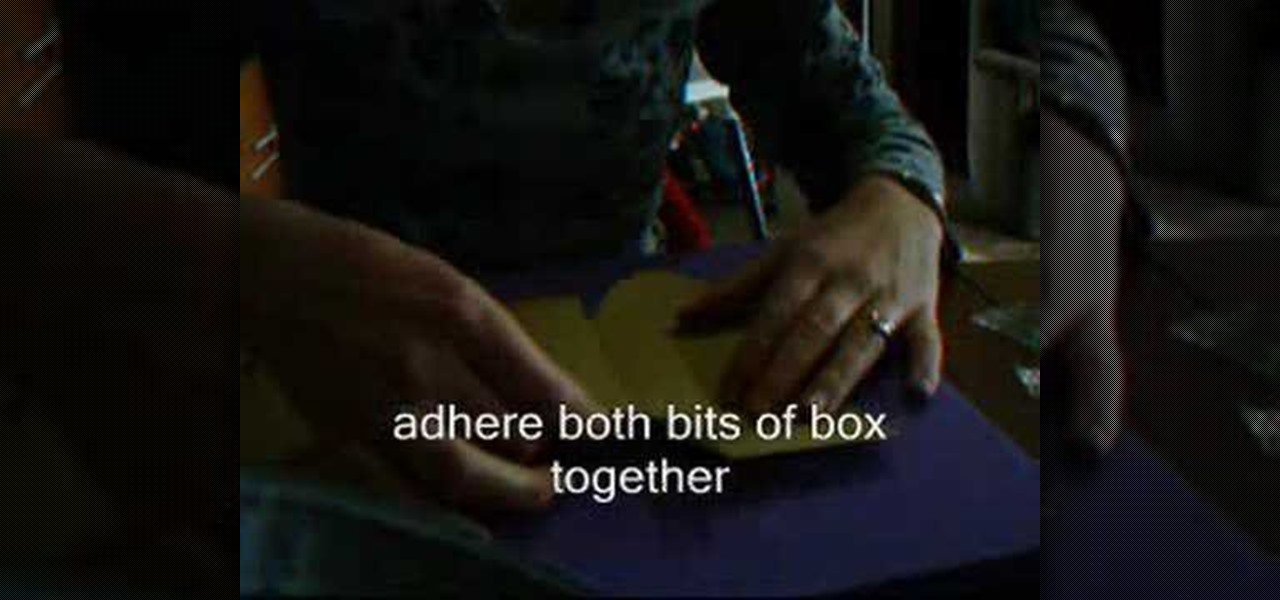
Watch this video tutorial on how to make a note card holder that holds four note cards and four envelopes. You will need a large piece of cardstock to complete this box. Use double stick tape to hold the joints together. You can decorate the outside with store bought cut outs or use recycled scraps of paper and ribbon.
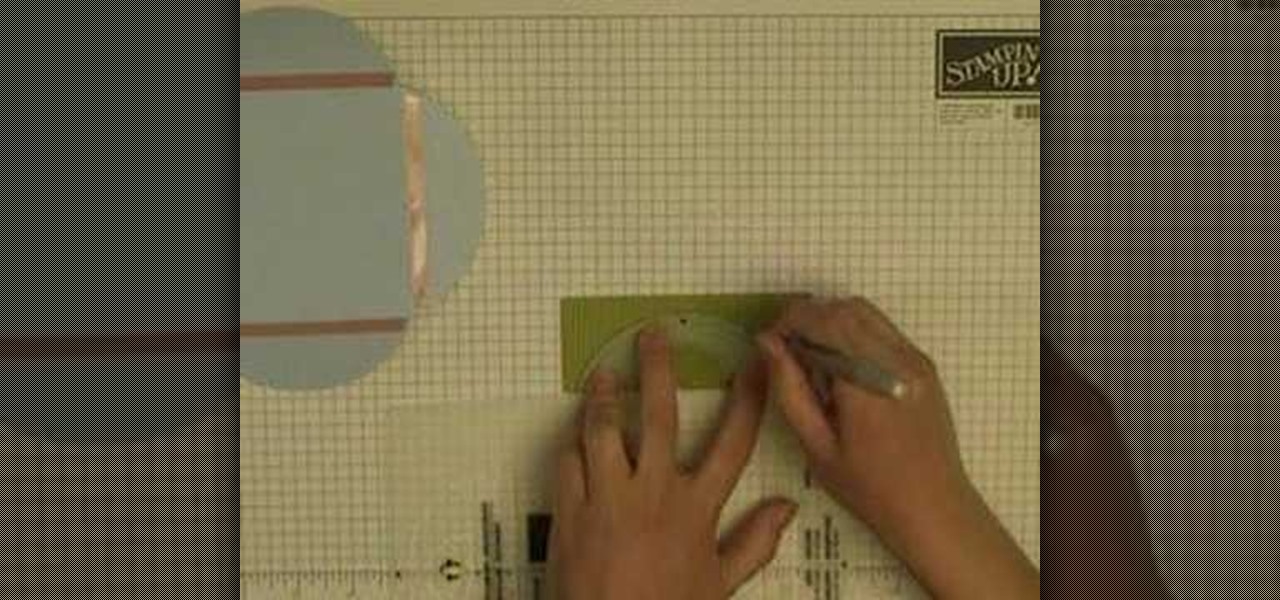
This is a video tutorial on how to make a box with a scalloped lid. You will need a large piece of cardstock to craft this box. Use double stick tape to hold the joints of the box together. You might need a stenciling tool to make accurate cuts. You can use store bought or use recycled scraps of paper ad ribbon to decorate the outside of the box.
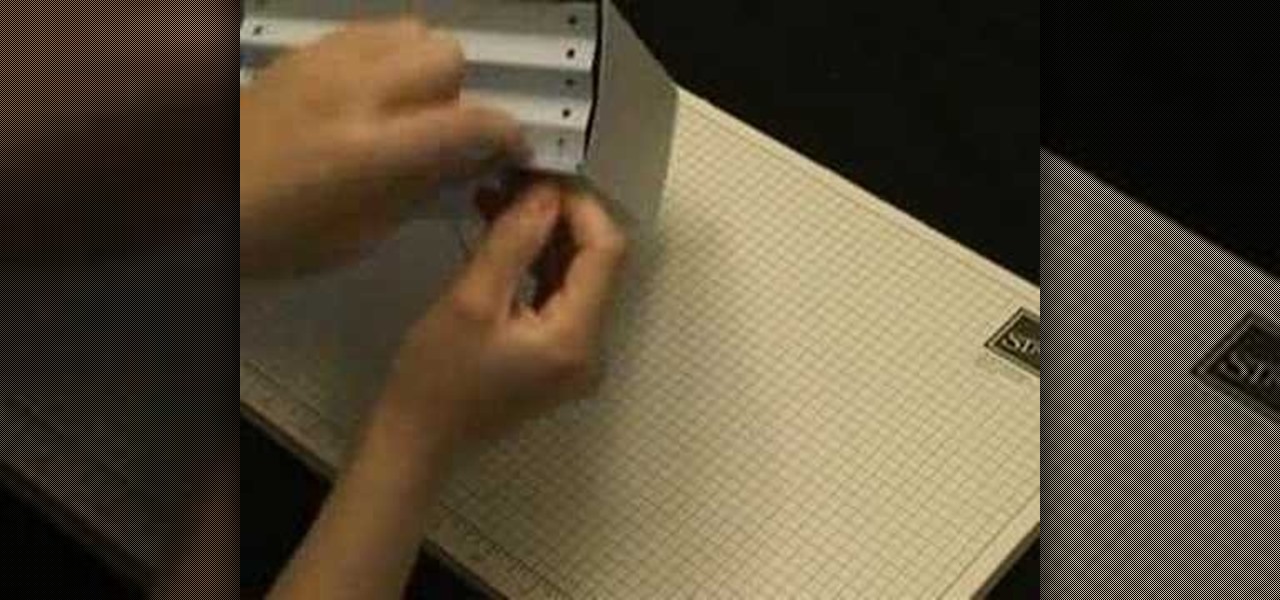
Watch this video tutorial on how to make a card organizer. You will need one large pice of cardstock to make this paper box. Use double stick tape to hold the joints together. When finished, you will enjoy having this homemade box to keep your hand crafted greeting cards.

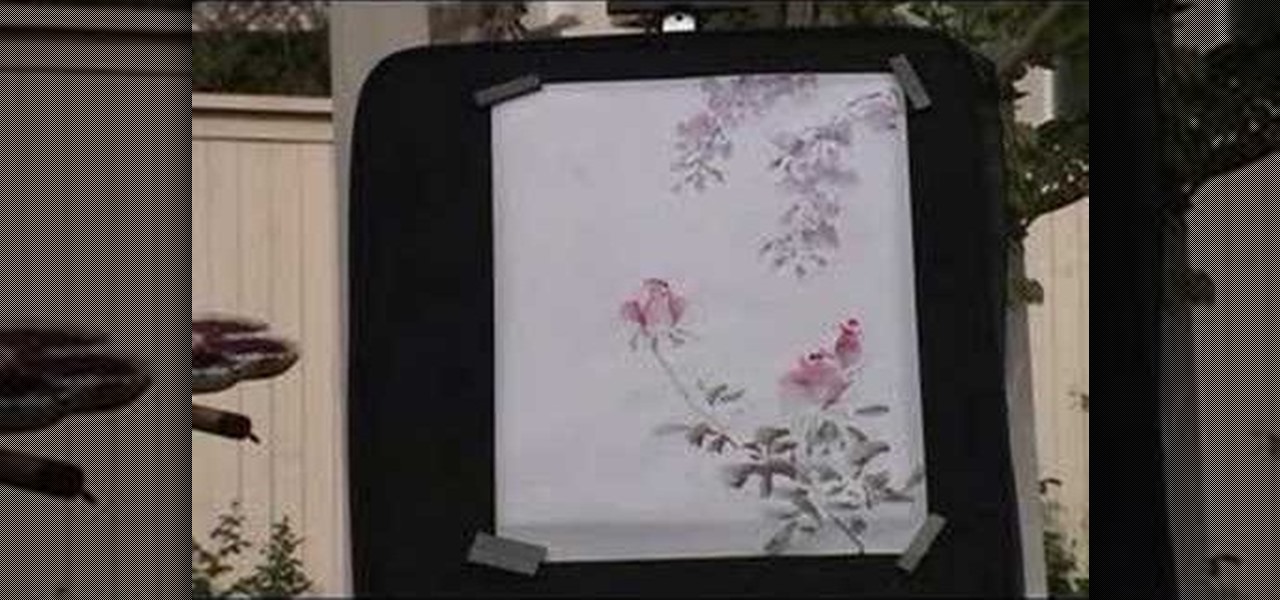
Watch this instructional painting video to paint roses and wisteria flowers with bees using watercolors on Chinese rice paper. This fluid style of painting takes lot of practice and does not allow for mistakes. Every brush stroke counts. Get out some newsprint paper to practice painting these beautiful flowers and bees.

This instructional origami video will show you how to fold an origami recycle bin out of recycled paper. You will need one piece of scrap paper complete this origami project. When you are finished folding this origami box, don't forget to recycle it.

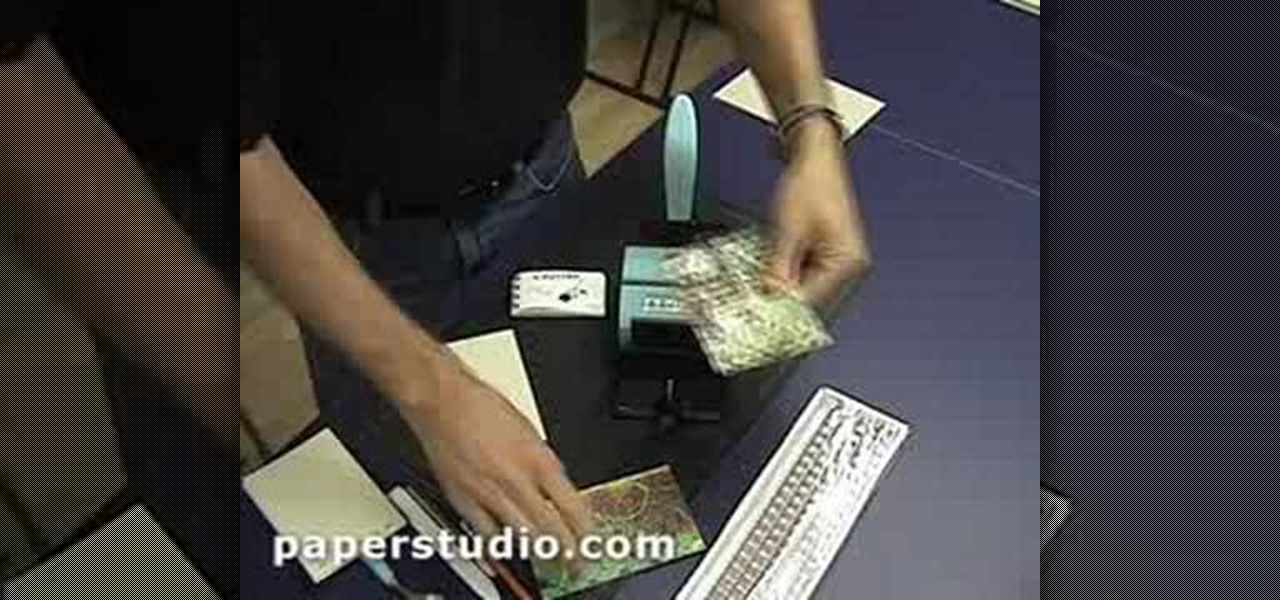
Watch this instructional book making video to make a Zutter binding for your hand made book. A Zutter is a tool for punching in coil binding. Choose the paper and binding material that your would like to use for your book. This is an easy way to make spiral notebooks and bound books for gifts, school projects and manuscripts.

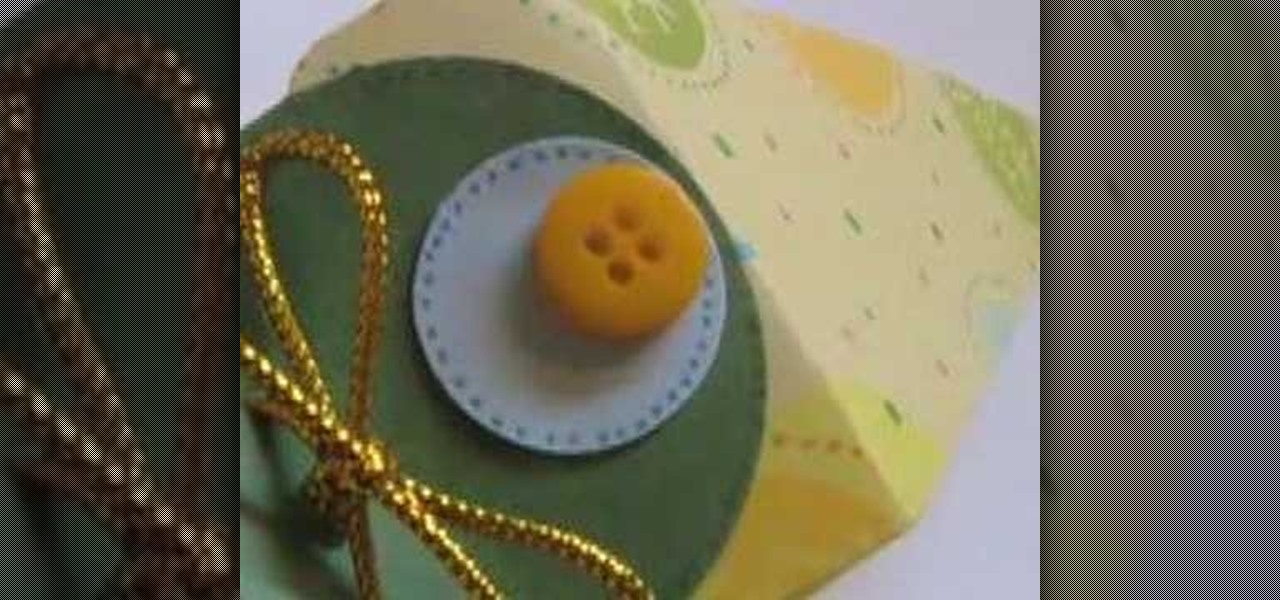
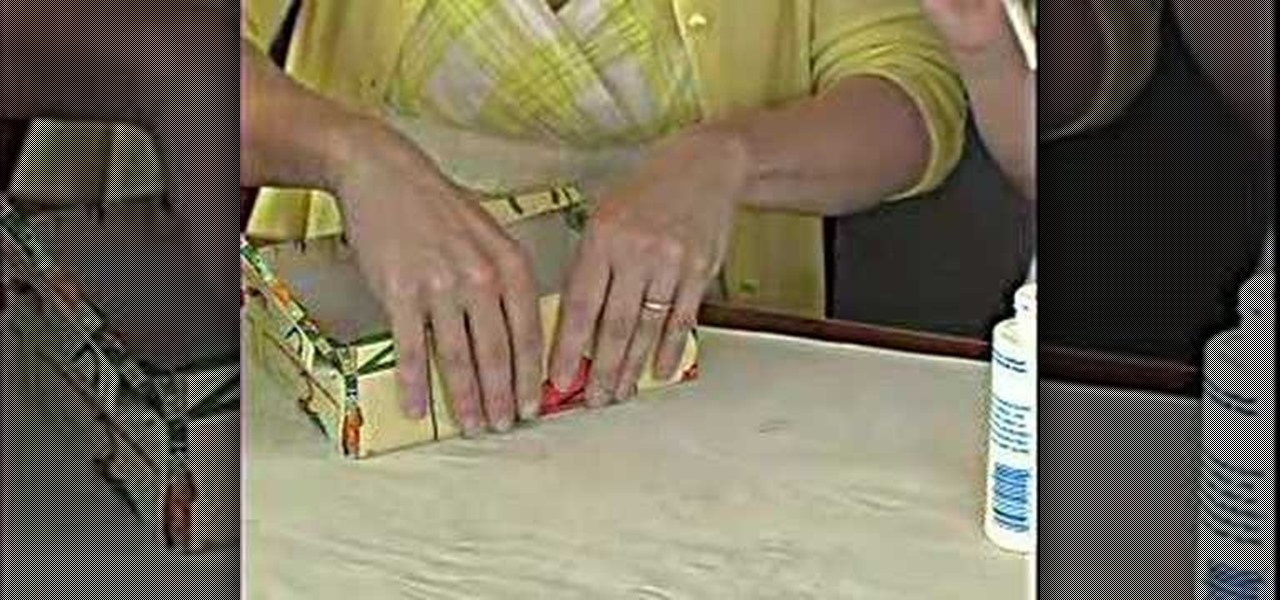
Watch this instructional arts and crafts video to make a charming pyramid shaped gift box. Fill this gift box with candies or other small surprises to give a personalized, yet affordable gift to a friend, teacher or boss. You can use store bought wrapping paper or use recycled pieces of scraps and ribbon. This unique gift is also good for holiday parties, grab bags, valentines, party favors and birthdays.

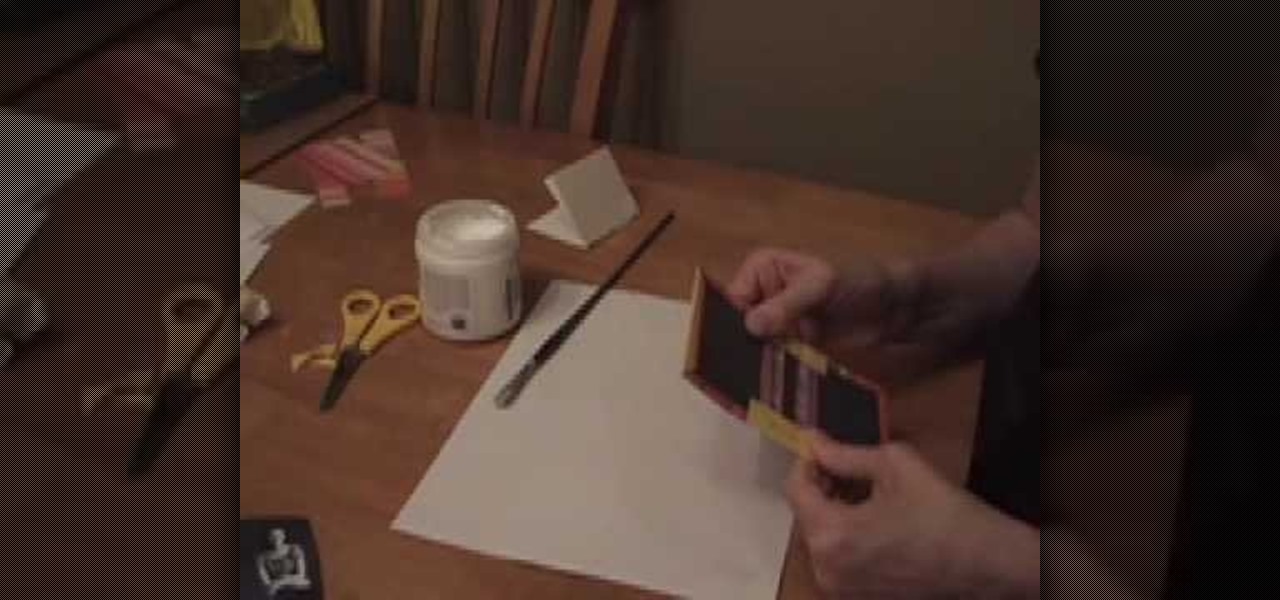
Watch this bookmaking tutorial to make a fun tiny sized art journal. You will need five sheets of paper, one sheet of card stock, two pieces illustration board of equal size, and a smaller piece for the binding. You will also need some decorative paper, glue, a needle and thread. These miniature journals are small but can hold a lot of information, depending on how you fill their pages.

Make a book using the five-hole pamphlet stitch. You will need paper, a bone folder, an awl and a needle and thread. Watch this instructional video to make a quick paper book for sketches, notes, illustrated stories, and picture albums.

From the creators of the Diet Coke and Mentos experiment, EeepyBird demonstrates how to have fun with sticky notes. All you need is a stack of post its, and a glue stick. Glue each post it to one another, alternating sides, to create a chain. Next connect in a post it circle & you get an amazing post it pinwheel! Fun paper craft project. Enjoy.

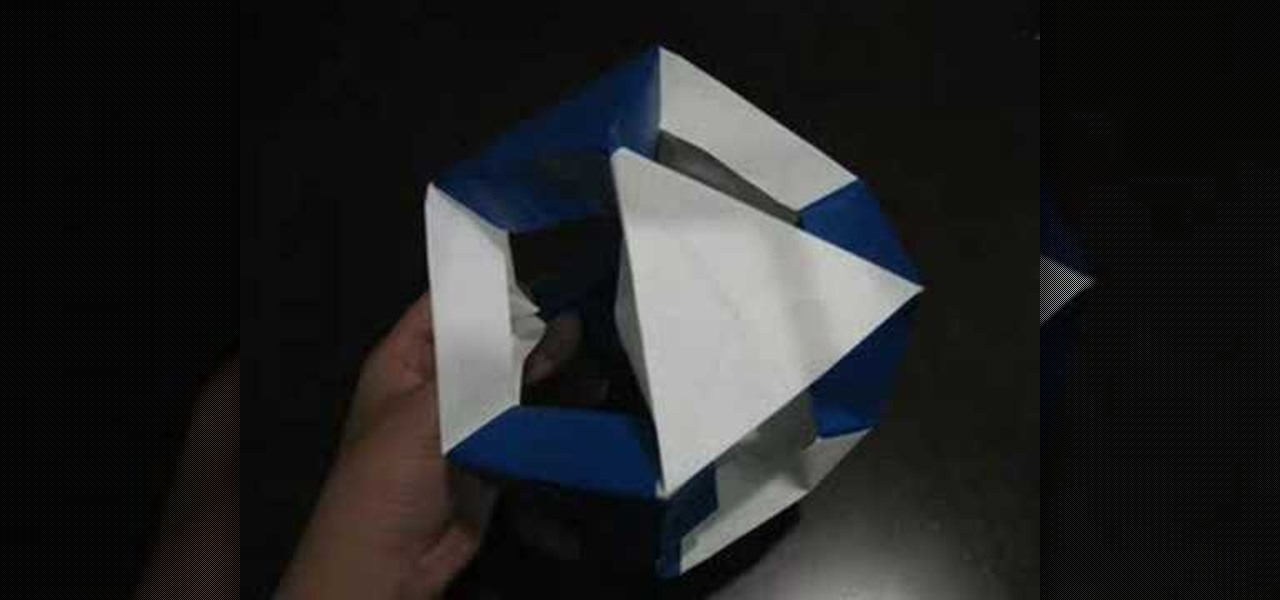
Watch this instructional origami video to fold a complex origami cuboctahedron by designer Tung Kem Lam. You will need eight pieces of origami paper to fold what are called jitterbug modules. Connect the origami modules as shown in the visual guidelines. The origami cuboctahedron can teach you about structure and geometry as well as paper folding.

Watch this instructional origami video to fold an origami frisbee or eight pointed star. You will need eight pieces of origami paper to complete this project. This origami eight pointed star is based on an alteration of the traditional origami frisbee. You may want to look at an instruction booklet in addition to watching this video to successfully fold all eight pieces of origami paper.

Watch this instructional origami video to fold an origami paper crane. Tsuru is the Japanese word for crane. The Japanese crane is considered a national treasure and regarded as a symbol of good fortune and longevity. With a little patience, the origami crane is not difficult to fold. Fold a few origami cranes and give them to your friends as gifts and good luck charms.

Check out this instructional science video to learn how to make a compass floating in glass of water. You will need a sewing needle, a standard refrigerator magnet, and a piece of toilet paper. Nestle the needle into the toilet paper and place it into a glass of water. The toilet paper will absorb the water and inevitably sink, but the needle will become an instant compass pointing north and south without fail. Have fun with this science experiment with the kids by playing with the magnet.

Check out this step by step instructional video to learn how to make a Cosplay Sword from cardboard and wood! Make sure you have all of the following materials to start making your Cosplay sword: spray paint, hard cardboard, wooden dowel, bendable metal wire, silver colored tape, embellishment, super glue, hand saw, paper clay, masking tape, scrap papers, pen knife, and a PVC pipe. Watch this Cosplay video and enhance your role playing with this tutorial!

Not sure what to origami today? Watch this how to video to learn how to fold a fish out of origami paper. Give Japanese origami folding a try with this how to video tutorial on folding a garden fish.

Not sure what to origami today? How about something that predicts the future or just about anything else you want? Watch this how to video to learn how to fold a fortune teller out of origami paper. Give Japanese origami folding a try with this how to video tutorial on folding a classic childhood toy, the fortune teller.

Not sure what to origami today? Watch this how to video to learn how to fold a crane out of origami paper. Give Japanese origami folding a try with this how to video tutorial on folding a crane.

This instructional video shows how to make a simple and very effective paper airplane that can stay aloft for about half a minute. It is a simple and elegant design which does a fantastic job of balancing the weight of the craft forward and makes for a highly stable and effective airfoil. It's a great deal of fun to make and almost as much fun to fly. Give it a try! Watch this video origami tutorial and learn how to fold a paper airplane.

This tutorial shows you how to make a basic Japanese style book. You'll need two different styles of paper, a cutting surface, a ruler, a paper cutter, and a ruler. Watch this video bookbinding tutorial and learn how to make a Japanese stab book.

Make this card using the crayon resist technique, demonstrated in this video using CTMH products. This technique really helps the colors pop, sealing parts of the paper that you don't want the stamp ink to stick to. Watch this video card-making tutorial and learn how to use the crayon resist technique to make greeting cards.

Make a triangle tri-fold card, demonstrated in this video using CTMH products. You'll need fancy cardstock and a paper cutter. Follow along with the step by step instructions and adapt them to make a card just the way you want the card to look. Watch this video card-making tutorial and learn how to craft a triangular tri-fold greeting card.

Sue from Paper Source demonstrates rubber stamping techniques. Rubber stamps are a versatile tool for decorating card, scrapbooks, or any paper design project. Watch this video crafting tutorial and learn how to use rubber stamps and ink.

Putting foam onto a die will allow for a crisper paper cut-out. These dies can be used to easily make stamped images for scrapbooking, card-making, or any other paper design project. Watch this video crafting tutorial and learn how to install foam onto a QuicKutz Revolution die.

Is your kid's desk all cluttered? Help them stay organize by making an easy desk desk set for your child's school supplies. Watch this how to video tutorial as our host shows you how to make a pencil holder using a can, paper and some glue. Have your children help you with this fun activity.

The Professor of Silliness returns with some paper. Follow this simple example to turn your face upside down and make a singing puppet. just draw a necktie on a regular sheet of paper and trim the collar accordingly. Place two little eyes on your chin. Now here's the difficult part. You have to hang upside down and hold the paper necktie up to your chin, covering your nose. Now you sing, or lipsink, to your favorite songs, as the adorable songbird, Mr. Chin.

Any old box can provide the template for making a gift box. Trace the pattern out onto the desired material, and then cut it out. Watch this video paper design tutorial and learn how to hand make a fancy gift box.

This video origami tutorial shows how to fold the classic flapping bird. Learn how to use the traditional Japanese art of origami to make a flapping bird out of paper. Follow along to fold your own!

This is a video showing how to fold a flapping crane using Origami techniques and paper. Learn how to use the traditional Japanese art of origami to make a flapping crane.

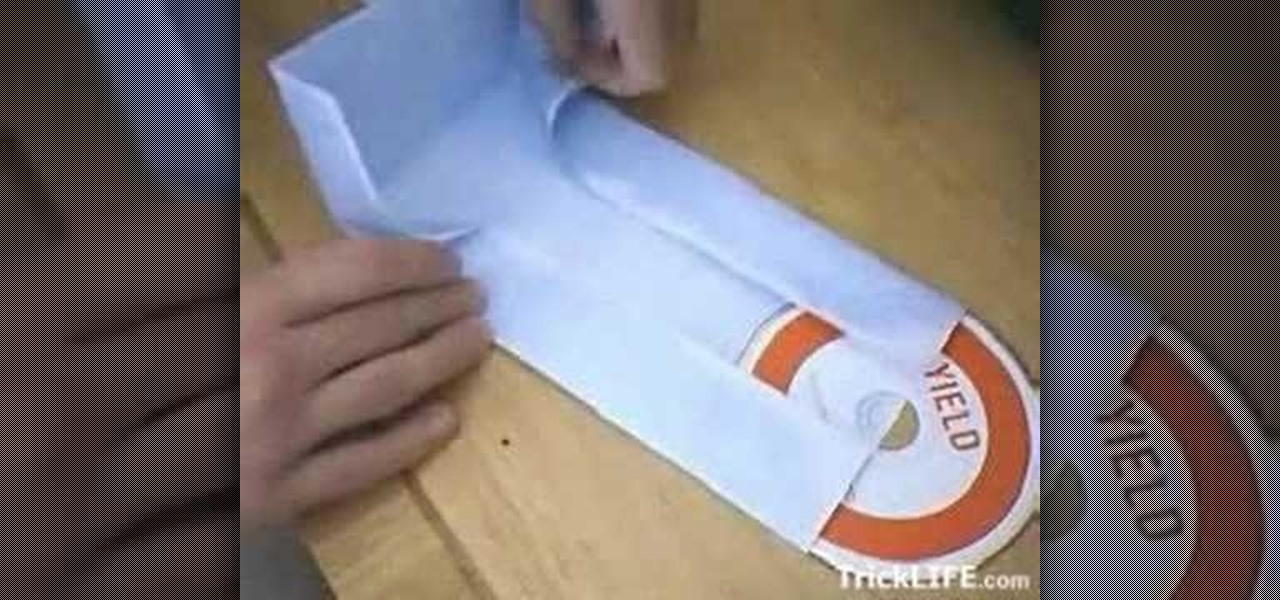
Lost the jewel case for one of your CDs or making a mix-CD as a gift? Don't let that CD get scratched. Here's a real simple method to fold a quick and easy case for any stray CD. Watch this video tutorial and learn how to make your own today!

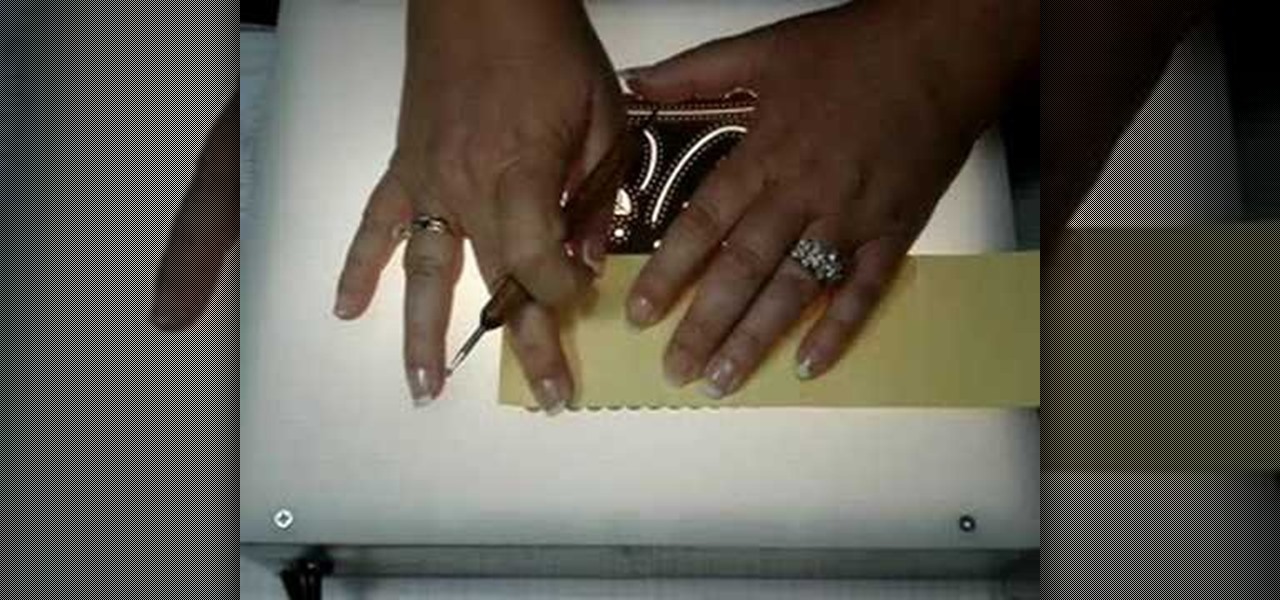
This video will teach you how to dry emboss paper items such as a little box. This is a useful technique that will add a nice touch to your boxes and paper items. Your work will be looking professional once your items are embossed.

Don't you miss the good old days of summer that was filled with pinwheels, apple pie and lemonade? This paper design video will give you tips on how to make a cute pinwheel for summertime fun. Bring these along to your next barbecue or summer picnic and everyone will love you!

This tutorial paper design video will show you how to make a greeting card that practically explodes with cuteness. These cards look so cute folded, and even cuter when they're opened. You can make these greeting cards for family and friends, no matter the occasion.

This video will show you how to make an adorable teabag holder that opens up and holds two teabags. This is a very cute gift idea or stocking stuffer idea, and a great thing to bring along to the office. Everyone will marvel at your skill with paper design when they see this project.

This video will teach you how to make a nice shiny polished stone effect on your cards. This technique will give your greeting cards a touch of professionalism that all your friends and family will admire.

This video will show you hot to make a very nice looking chalk lines design. This design looks great on arts and crafts projects and other paper designs. You'll need some pastel colors and a few other materials.

This tutorial paper project video will show you how to make your very own greeting card holder. This card stand will keep your cards upright, and it's a great idea to have this on a desk or other surface.


