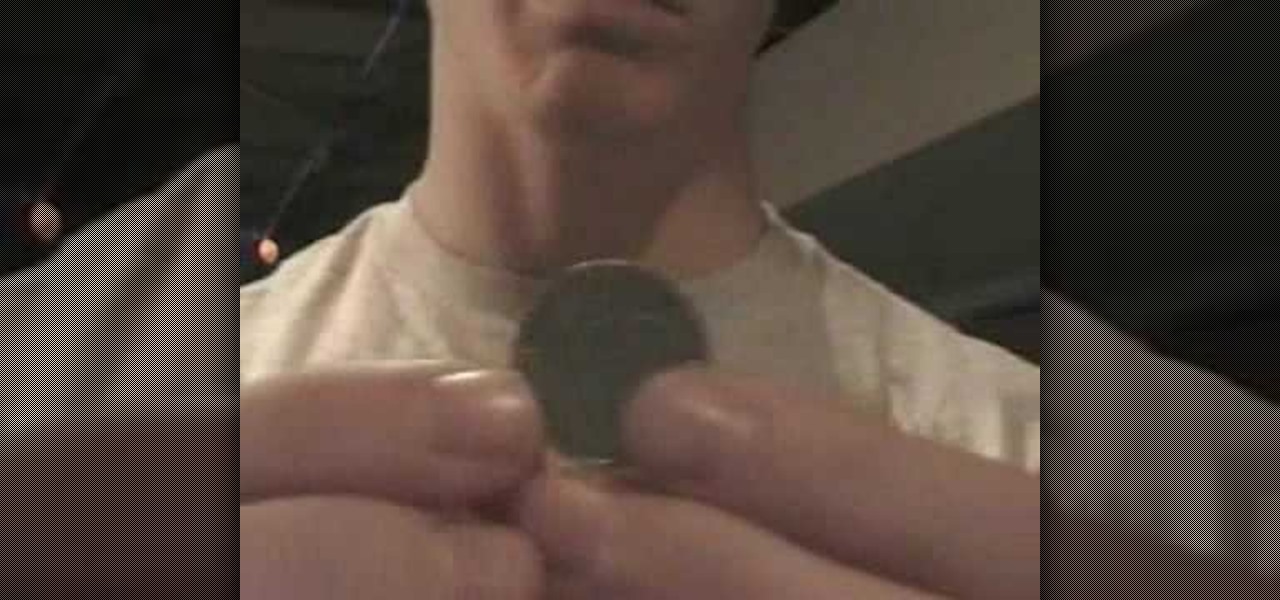
How To: Bite a quarter and spit it back together
This is a classic trick David Blaine did in his first special and here the secret is revealed. Bite a quarter and spit it back together.


This is a classic trick David Blaine did in his first special and here the secret is revealed. Bite a quarter and spit it back together.
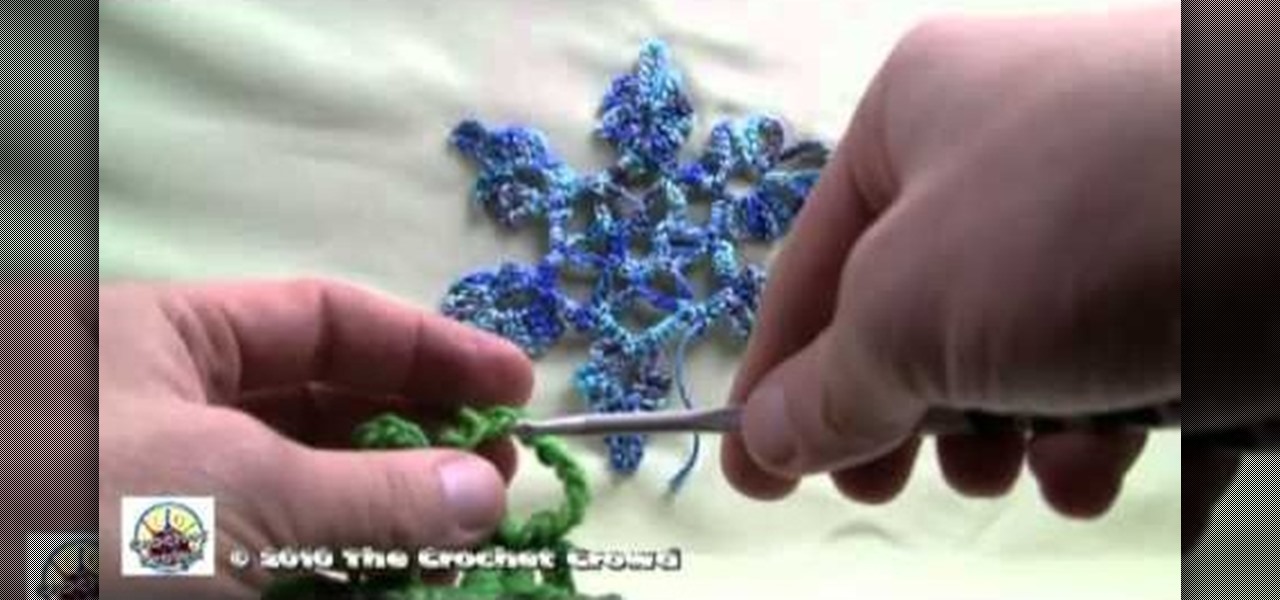
This is a lovely idea to decorate for the holidays, and it also makes a wonderful gift to give. This uses a special pin technique to keep the project in place, and also uses glitter for a little extra added glitter.

This isn't a real Moebius scarf, since it has not been stitched in the round. However, you can use this knitting technique to turn a regular straight scarf into a Moebius scarf (named after the Moebius strip, a paper loop that has only one side).
It's like the hand turkey, but with a Christmas theme! Make a Rudolph the Red Nosed Reindeer with your children! You will need craft foam, pom poms, non toxic craft glue, markers, googly eyes, a paper back and safety scissors.
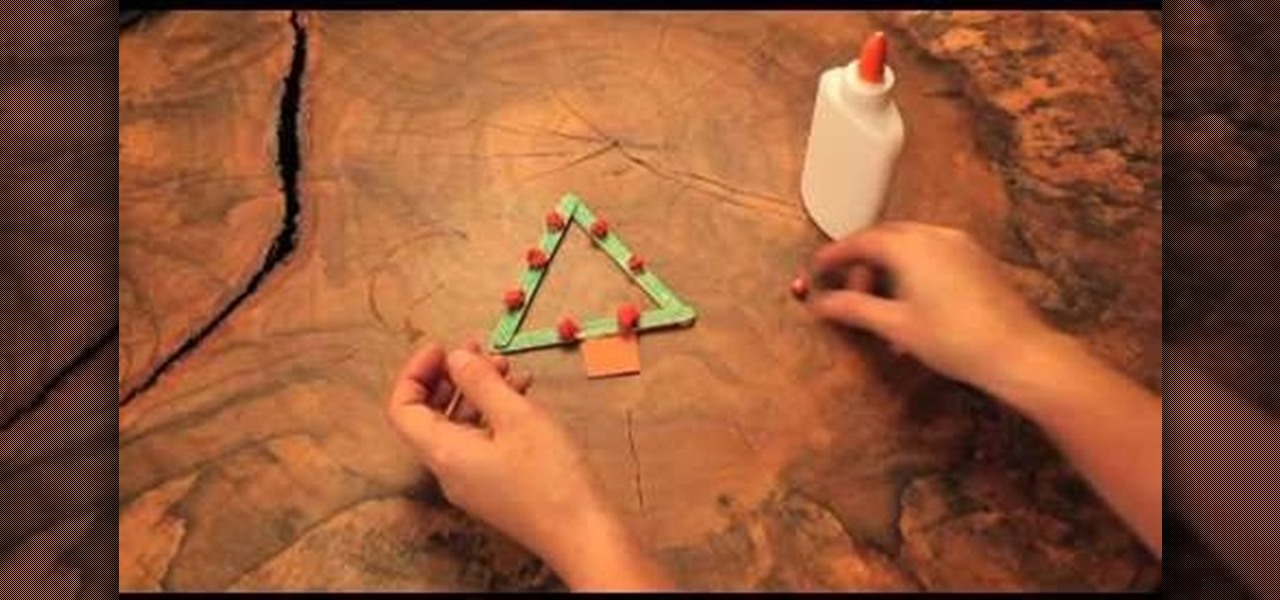
You can make Christmas ornaments with your children! You will need craft sticks or popsicle sticks, crayons or markers, non toxic craft glue, yarn, tissue paper or pom poms and safety scissors. Now, make your own Christmas tree shaped holiday ornaments.

This project is great for anyone who is new to origami, or a project you can do with your kids. Take a regular piece of origami paper (10 cm by 10 cm) and follow the instructions in this video to fold your own origami fox.
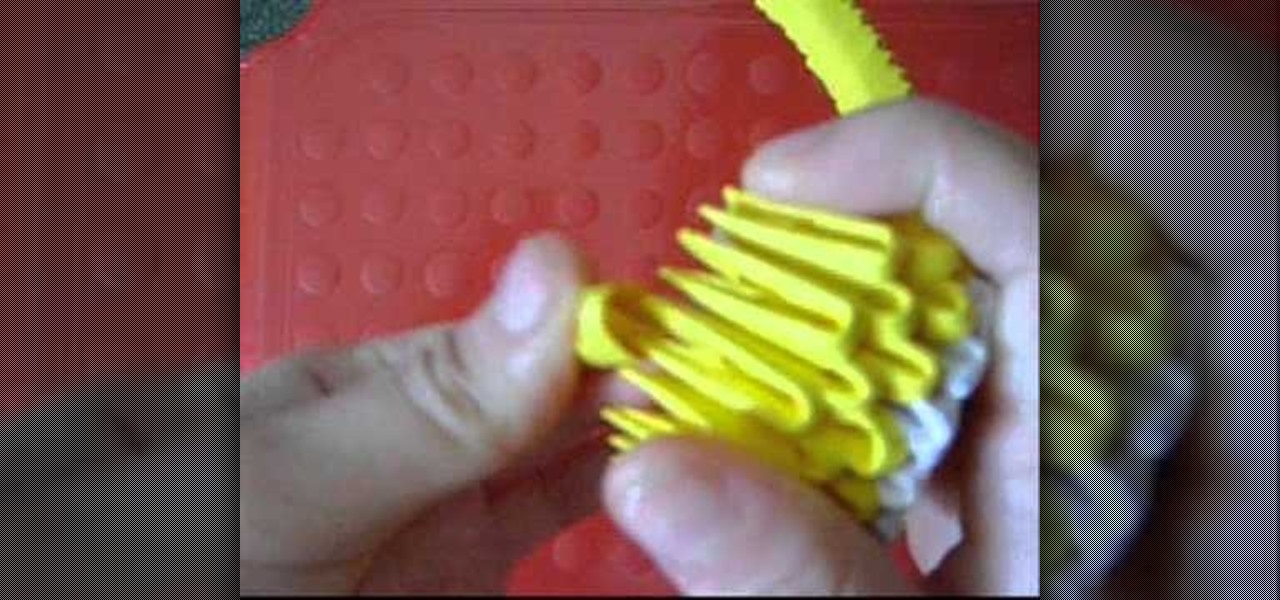
You will need to have mastered the art of folding the triangles and a base before attempting this. If you have, then follow along and learn how to make your own lemon halves out of yellow and white origami paper!
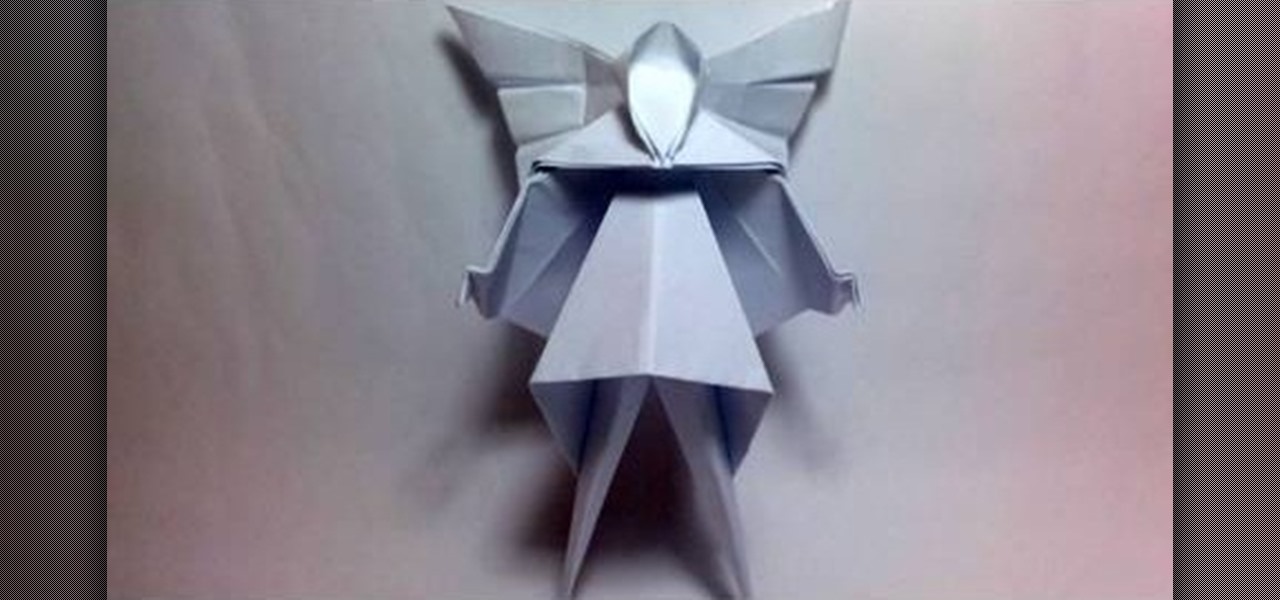
Why buy an expensive tree topper when you can fold your own lovely Christmas tree fairy or angel? This also makes a great ornament! Start with a piece of origami paper, 18 cm by 18 cm, and follow the folding instructions in this video.
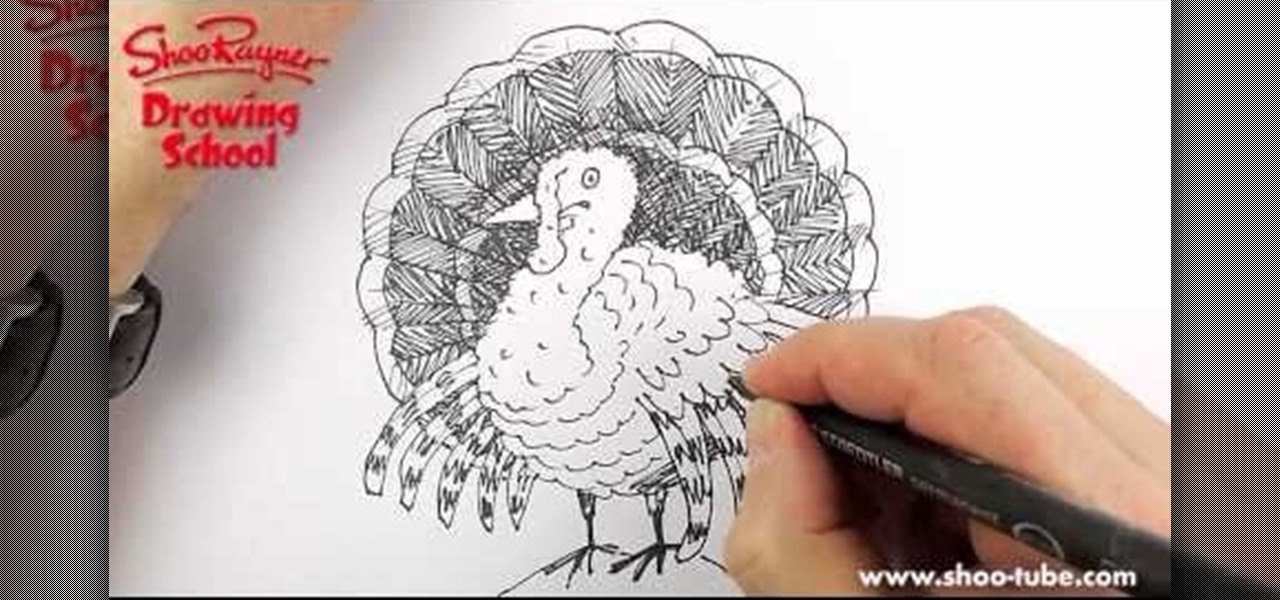
This guy looks a little nervous - as well he should be, for it's Thanksgiving season and someone might be wondering how he'll taste in a deep fryer! All you need is some paper, pencils, ink pens and an eraser!

This tutorial shows you how to make a lovely Christmas wreath out of cardstock, a few gems and some ribbon. You can include this as an embellishment to your handmade holiday cards, or include it in one of your scrapbooks.
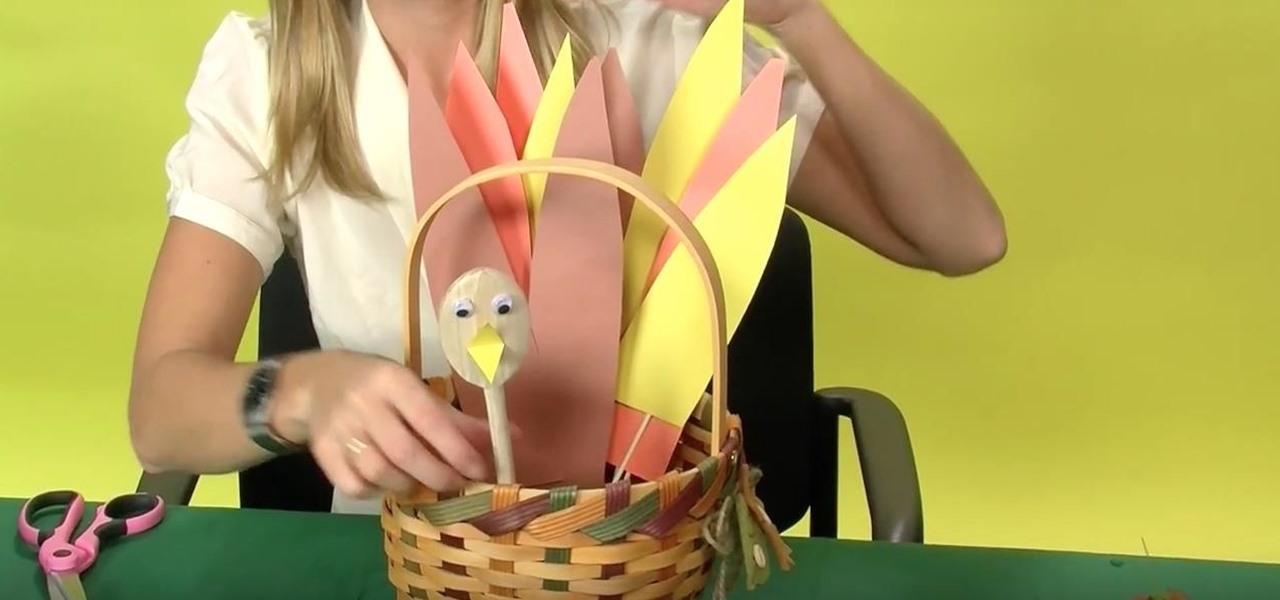
Serve your rolls and bread sticks in style! Take a basket and turn it into a Thanksgiving-themed breadbasket. You will need a basket, a glue gun, googly eyes, food safe skewers, a wooden spoon, scissors, colored construction paper and a block of florist foam.
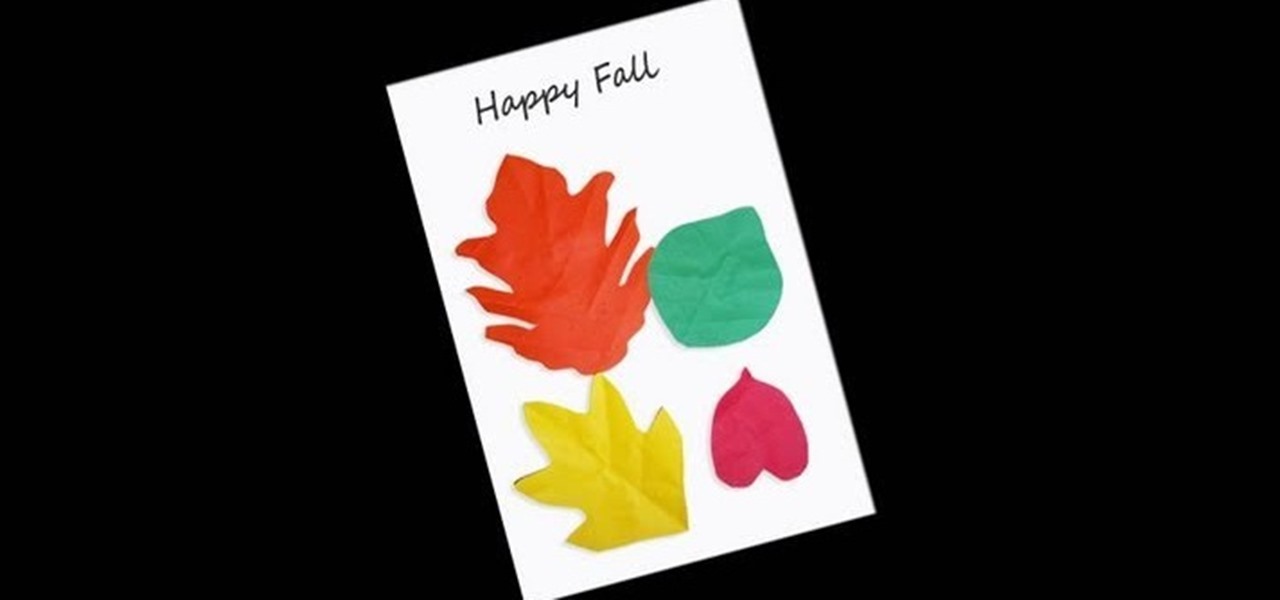
Here's a fun craft project you can make with your kids to celebrate autumn! Create a fall themed card, complete with colored leaves. All you will need is some white cardstock, red, yellow and green construction paper, a pair of safety scissors and some non-toxic glue.
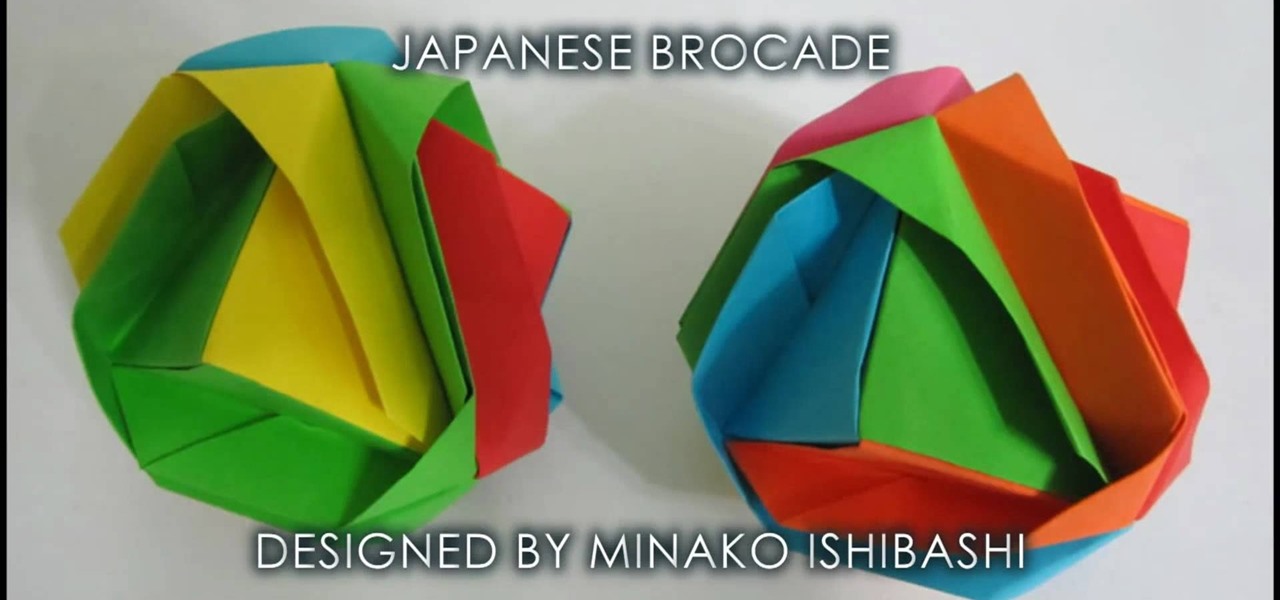
When you hear the word "brocade," you're probably thinking more about richly woven fabric than folded paper. Well, this origami Japanese "brocade" is based on the brocade look - an embossed, studded cloth.
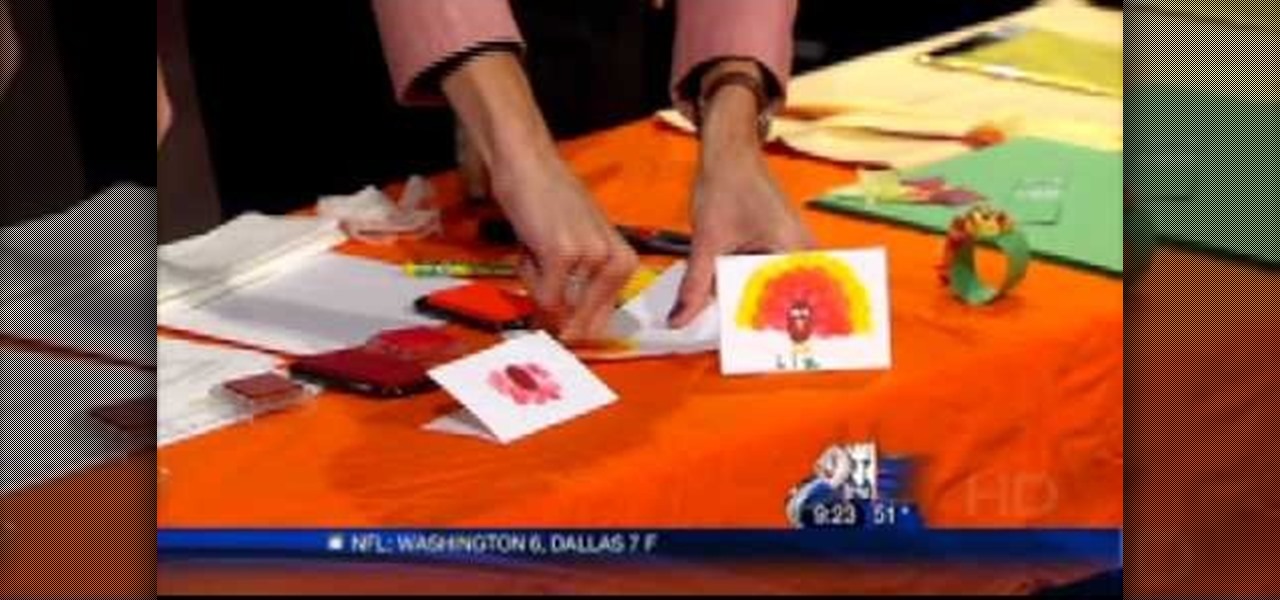
Want something that will both keep your children occupied while you're busy cooking Thanksgiving dinner, while still getting them into the spirit of the holiday? Here are some great ideas for art and craft projects you can give your kids, like turkey tags and paper napkin rings.
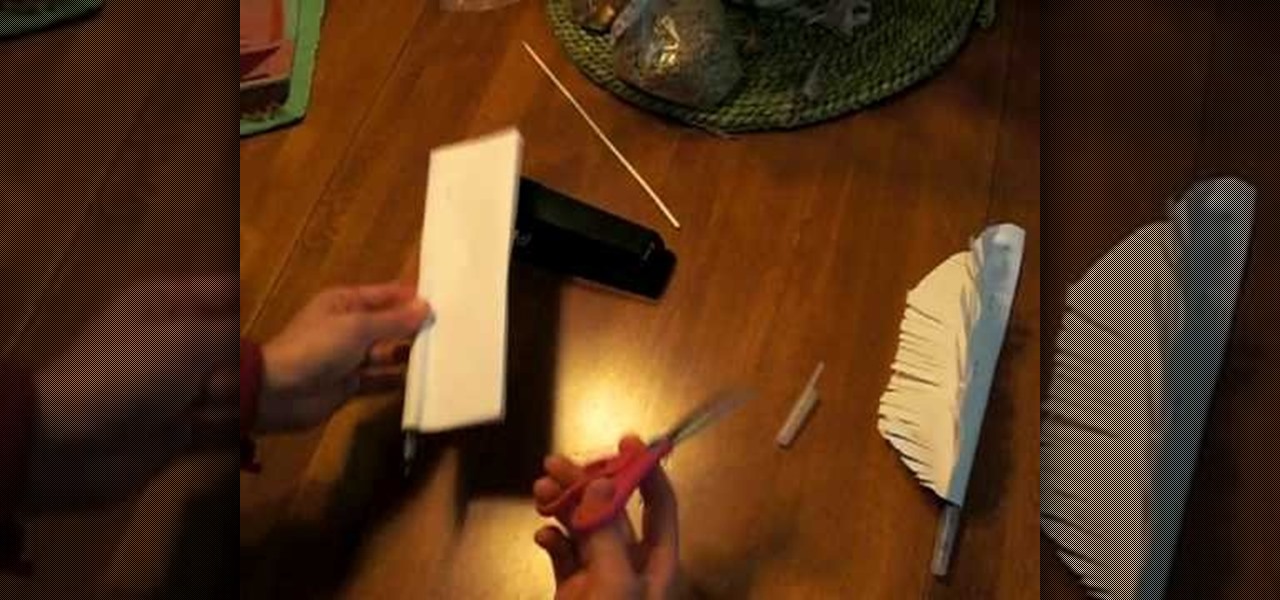
This is a fun and easy craft you can do with your children, by making a replica of the old feather quill pens - with none of the mess! You'll need some white construction paper, a regular ball point pen, some scissors and a stapler.
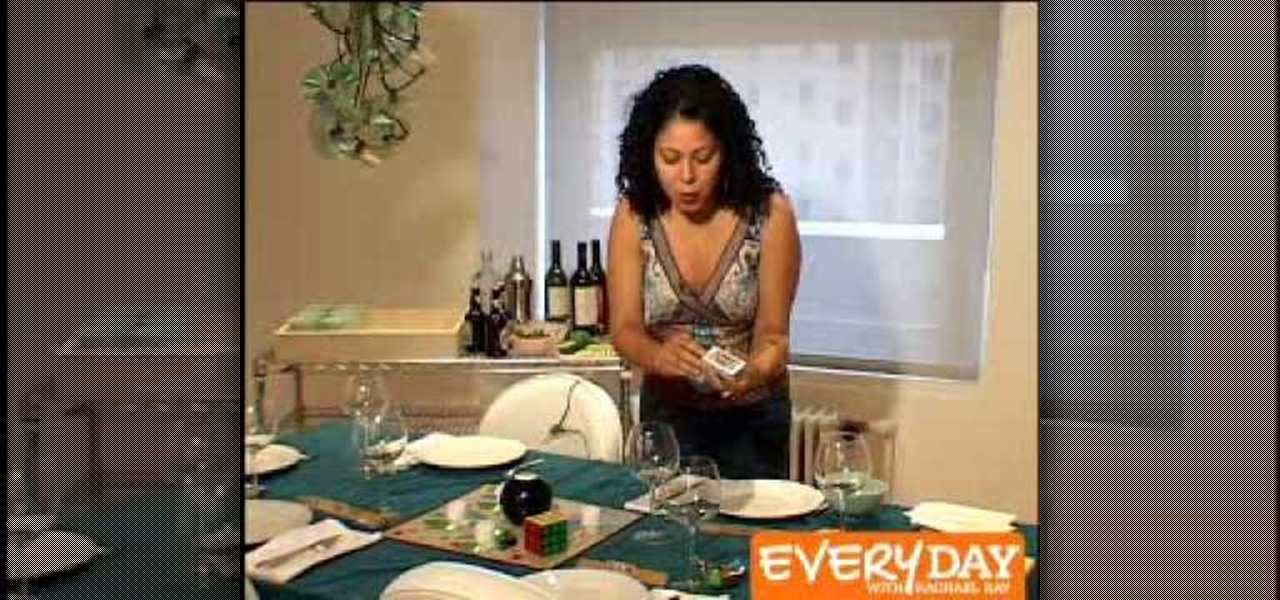
Make sure your guests feel special and included the next time they visit your home for a dinner party or a birthday party by checking out this entertaining video. From icebreakers to fun mini games to mood lighting, you'll learn everything you need to set a party perfect mood.

In this tutorial, we learn how to draw a plan view with art markers. First, you will draw a dot in the center of the paper and then draw lines out from here. After this, use the lines on the paper to create the proportions for the buildings. After this, draw in squares and lines to help create the ground and buildings. Then, you will add in details to the building and then draw in plants and grass around the edges. After this, erase any background lines from the drawing and then color it in. ...
Orchids are some of the most beautiful flowers that you can own, but they are tropical and if you live somewhere with bad winters you have to take special steps to take care of your plants. Watch this video to find out how.
Feeling blue this Halloween is now a good thing. Thanks to James Cameron's insanely popular "Avatar," we're sure to see plenty of blue-bodied and blue-faced girls and guys prancing around WeHo this Halloween. But the difference between a mediocre "Avatar" costume and an excellent one lies in the makeup.
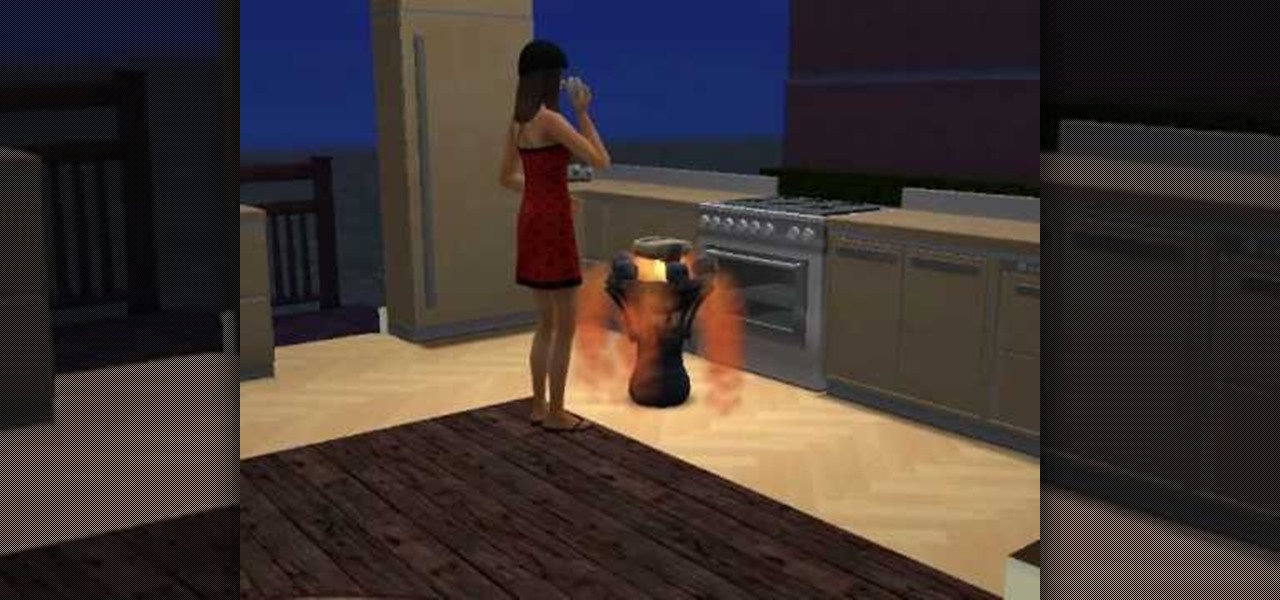
Here's how to zombify your sims in Sims 3 without cheating! Kill off one of your sims, and then give another one a job working with the paranormal. Once they've been promoted high enough, you can find the special resurrection phone... a direct line to the Grim Reaper. Buy back your dead sim, and he'll return as a zombie!
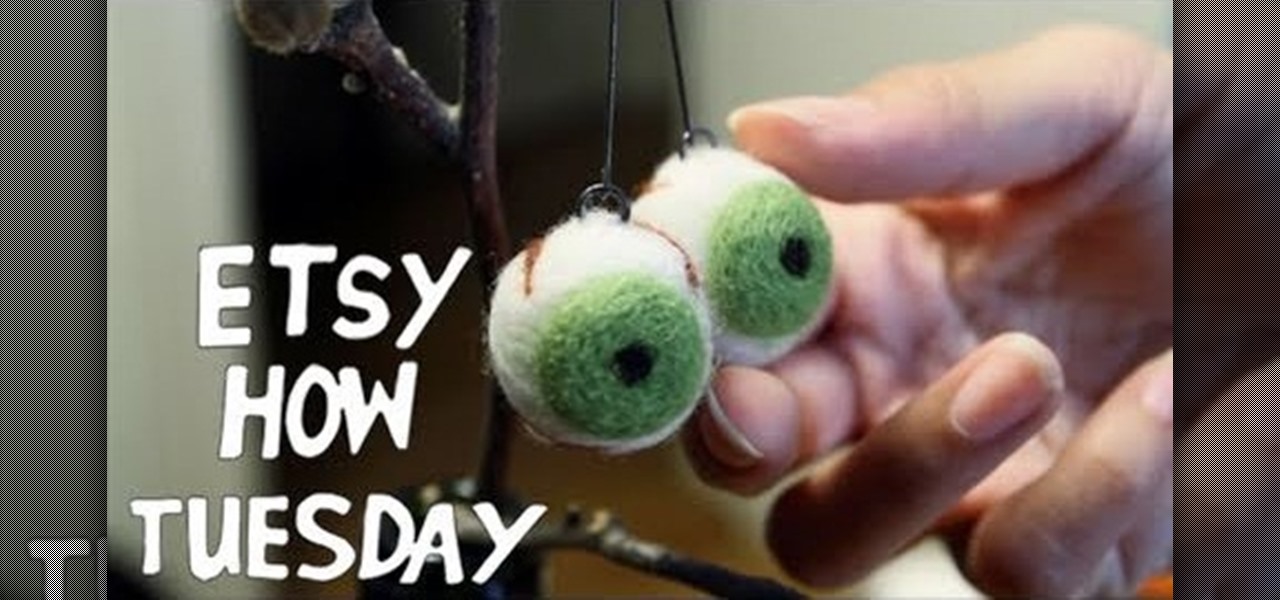
This makes the perfect creepy decoration for Halloween! You can felt a few scraps of wool and use that to make some really awesome and creepy eyeballs. In addition to the wool, you'll also need some special felting needles and craft foam.

Create a secret message for your friends without anyone knowing what you're up to! You can make some easy invisible ink using just some milk. Write your message in milk-ink using a Q-tip. Then let it dry for at least half an hour. The paper will look normal - only an iron will reveal your writing.
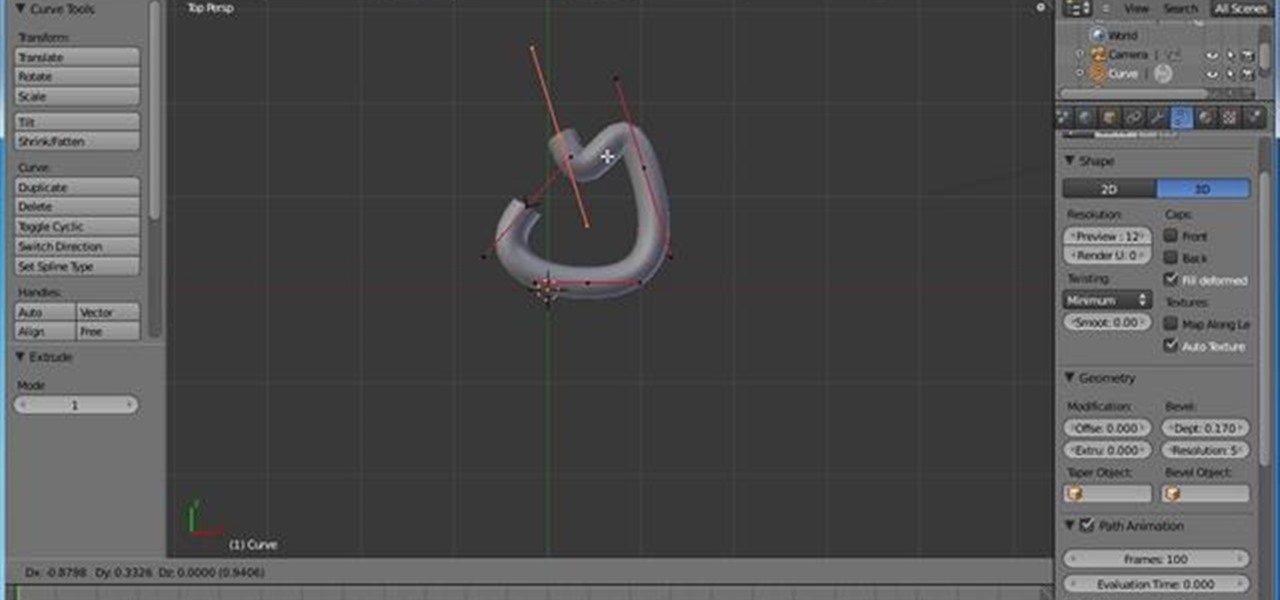
Start with a new project, and then use the curves toolbox to create a pile of guts sitting on the floor. Then you can go in and use all the texture editors to add that special offal texture and create a realistic looking pile of guts!

Teach your young child about shapes! This tutorial shows you how to make a teacup out of rectangle shapes - both perfect and trapezoidal. All you need is some colored paper, glue and safety scissors (and markers or colored pencils to decorate your tea cup)
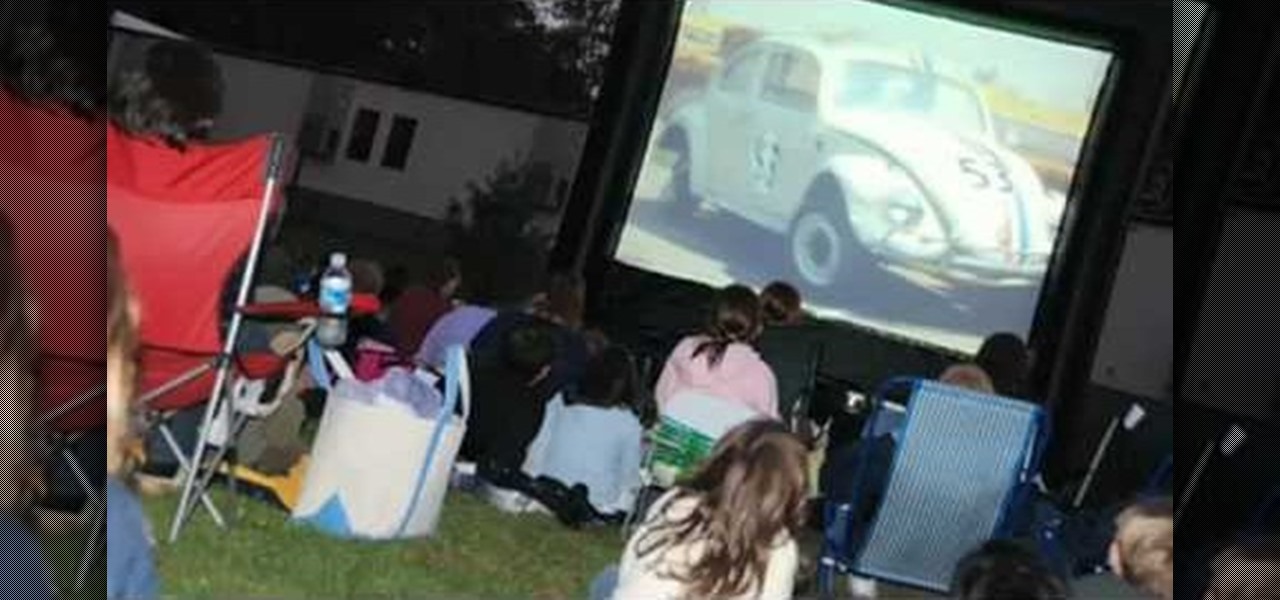
Make family movie night extra special by holding it outdoors! If your backyard is big enough and the weather where you live lets you, you can set up your own home theater in the backyard! All you need is a screen, projector, DVD player and a sound system.
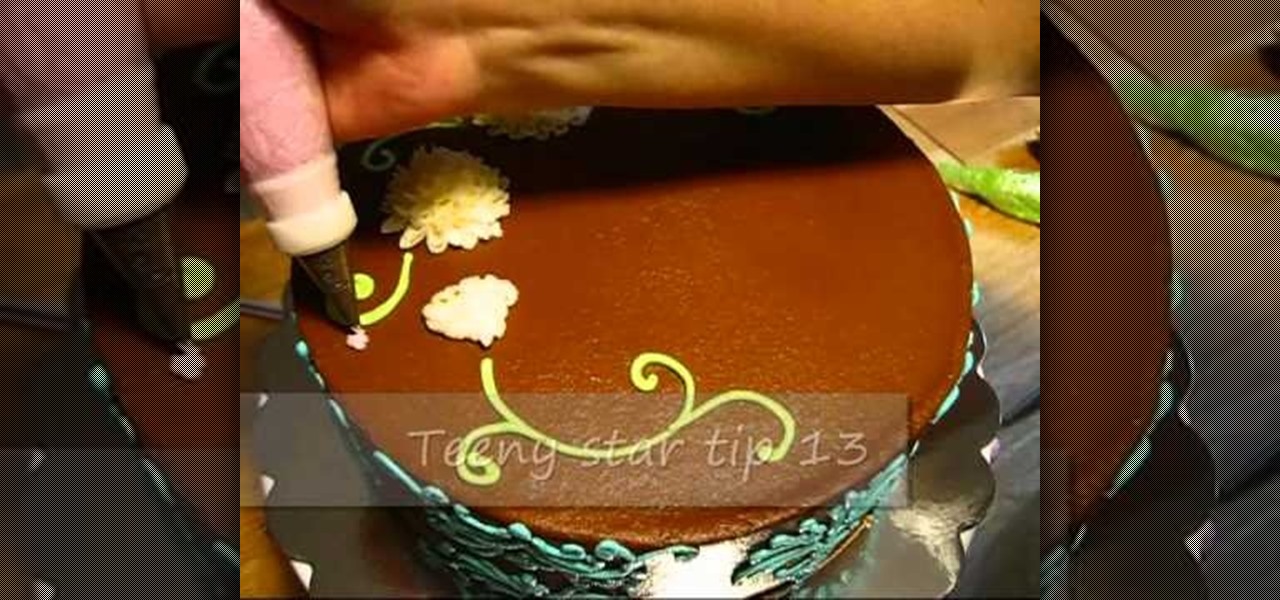
Birthdays can be made even more special if you bake and decorate the birthday cake yourself. While we would never turn down a cookies'n'cream ice cream cake, chowing down on a cake made by a loved one is a much more cherished experience.
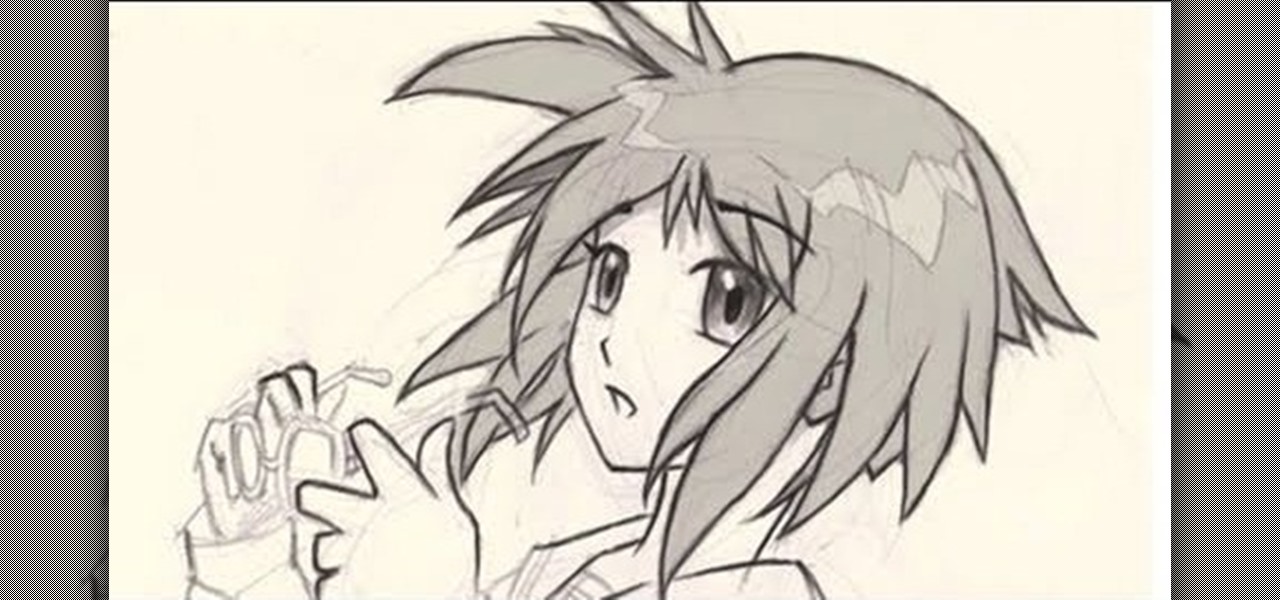
This is a very basic tutorial for those interested in learning how to draw anime girls, focusing on how to draw their face in a 3/4 profile. Follow along with this easy tutorial, using a pencil and paper to show you this simple anime technique.
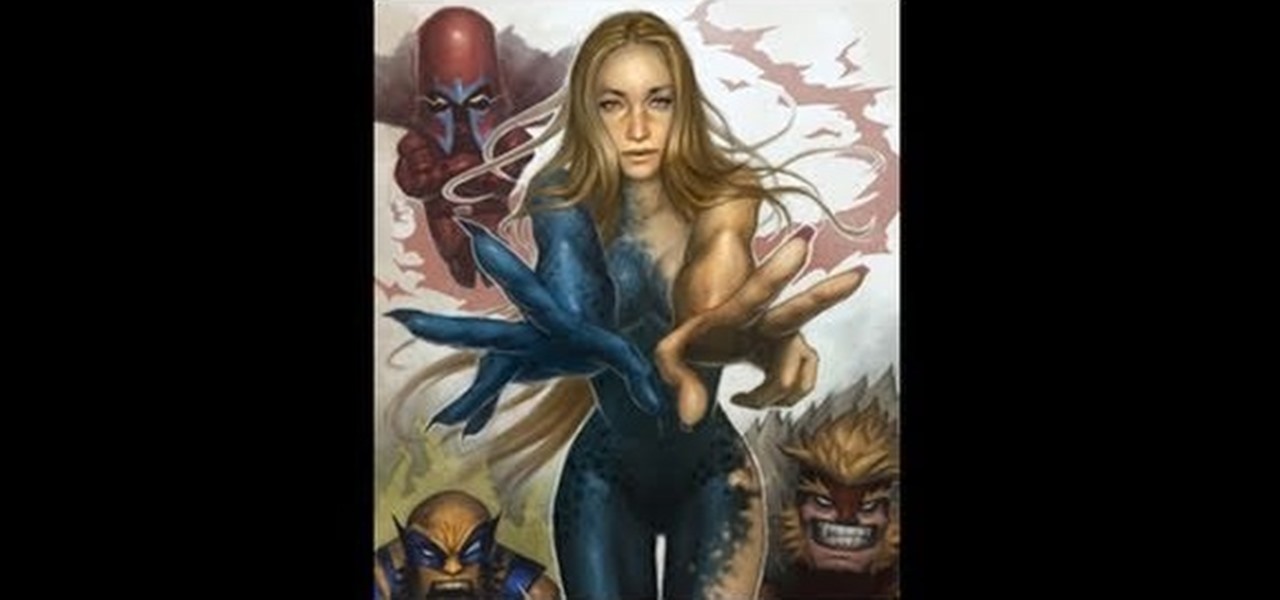
This step by step tutorial shows you how to start with a blank file and then go step by step to create a digital painting of the X-Men superhero Mystique. It pays special attention to details like her hair and her unique skin texture.
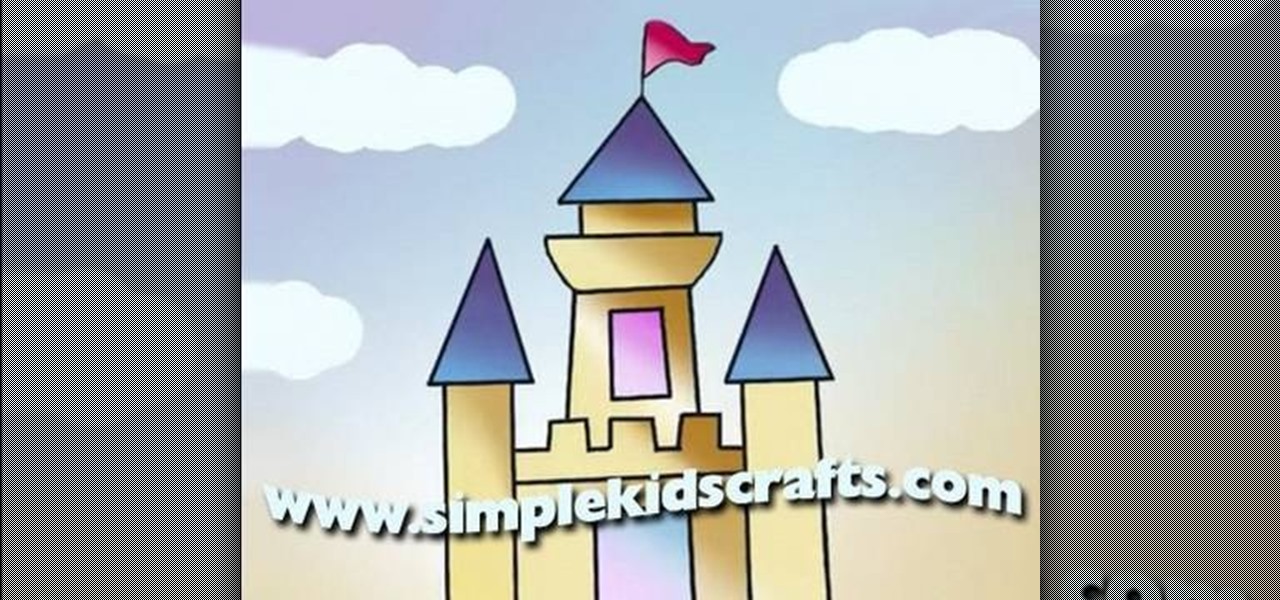
This basic drawing tutorial is aimed at young children who want to learn how to draw a very basic castle, with one middle tower and two smaller turrets off to the side. Follow along with your child - all you'll need is some paper, a pencil with an eraser and a few markers!

This is a great way to teach your child about basic shapes and basic animals! All you need are some paper triangles, and maybe a googly eye and a bit of glue! Use four triangles to make the head, tail and fins for your fish!
There's no better way to celebrate the discovery of the New World than by recreating Christopher Columbus's three ships from the famous voyage— the Niña, Pinta & Santa Maria. In this short ship-building how-to, you'll learn a simple activity for you and your kids, where you'll make miniature ship models of Columbus's boats with egg cups, brown paint, white paper (sails), toothpicks, clay and glue.
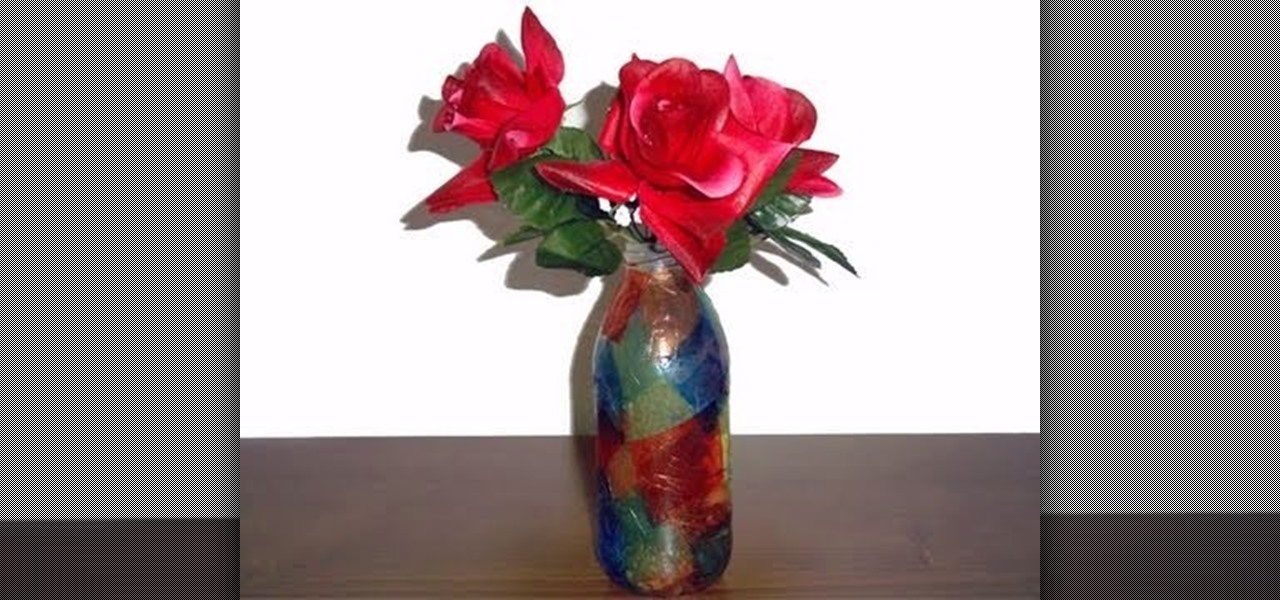
This craft is great for Mother's Day! Turn a recycled glass bottle into a beautiful flower vase to give as a gift! You'll need to find a sizeable glass bottle and then gather some colored tissue paper, glue diluted in water, a plastic container, scissors, polyurethane sealant and a paint brush.

Make your own thank you note cards to send to friends, family, gift givers or hosts. This tutorial shows you how to create cards using cardstock and designer paper along with a few stamps to create your own lovely fall themed stationery.
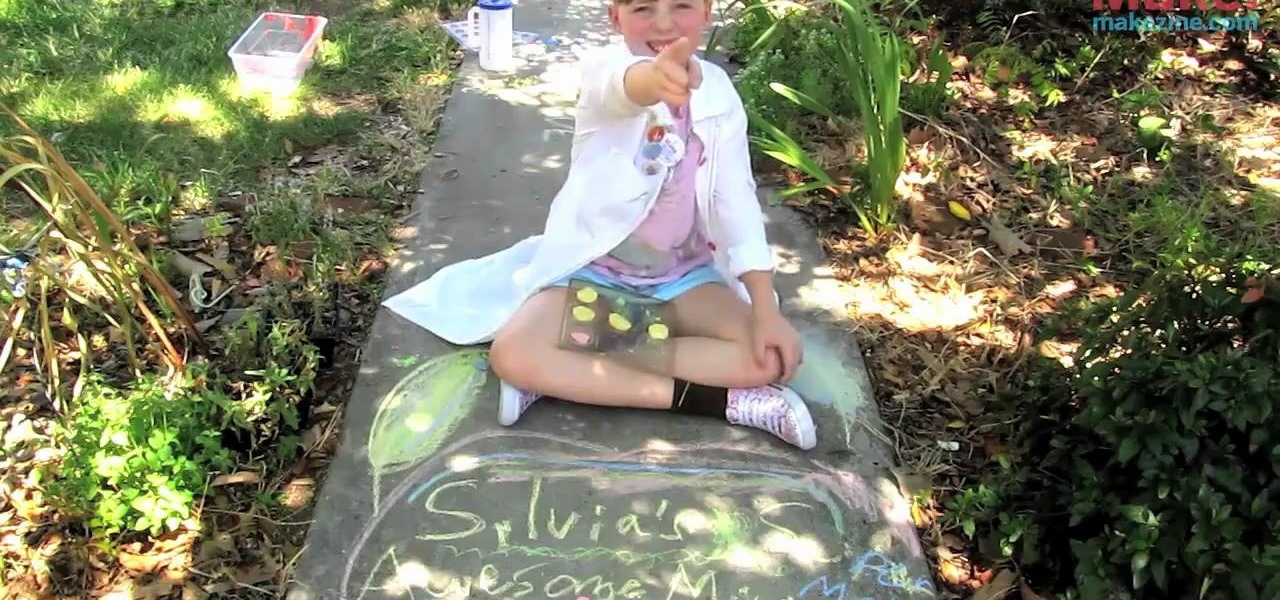
Let your creativity out by making your own sidewalk chalk, which you can color however you want. You'll need plaster of paris, a mixing bowl, powdered tempura paint, warm water, wax paper and tubular molds. Once you mix everything and colored with the paint, set your mold, let them dry and then start drawing!
Take film footage of the ocean! This tutorial shows you how to attach a special mount for the GoPro Surf Hero to your bodyboard. All you really need is a drill and a little hardware to firmly attach the mount. Then attach your camera, and you're ready to film!
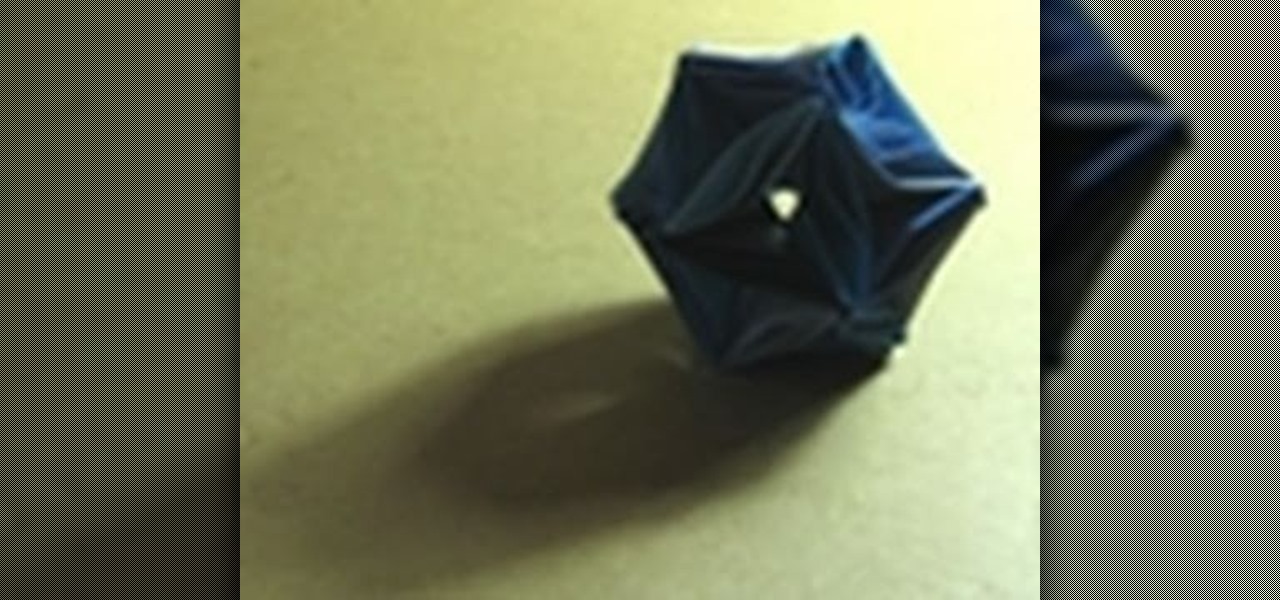
Start with ten squares of paper in as many different colors as you would like, and then cut them into three equal rectangles. Then fold thirty small waves, and assemble into a twenty-sided polygon (icosahedron). Perfect for a geometric Christmas tree ornament.
In this tutorial, you'll learn how to use a Mac, a printer and heat transfer paper to create custom t-shirts from your digital photographs. It's an easy process and this video presents a complete guide. For more information, including a full demonstration and detailed, step-by-step instructions, watch this helpful home-computing how-to.
In this tutorial, you'll learn how to use special search parameters like "site:" to improve the quality and specificity of your Google search results. For more information, and to get started using these handy search tricks yourself, watch this hacker's how-to from CNET.
In this tutorial, we learn how to potty train and housebreak a dog. There are a lot of techniques out there, but you will want to do in the most fast and effective manor. Some pet owners want to paper train their puppies. This may work, but it will take longer to get your puppy to associate going to the bathroom with paper. Don't let your dog pee in the house in the beginning, or this will let your dog think it's okay for them to do this all the time. Focus on all the aspects of dog training ...
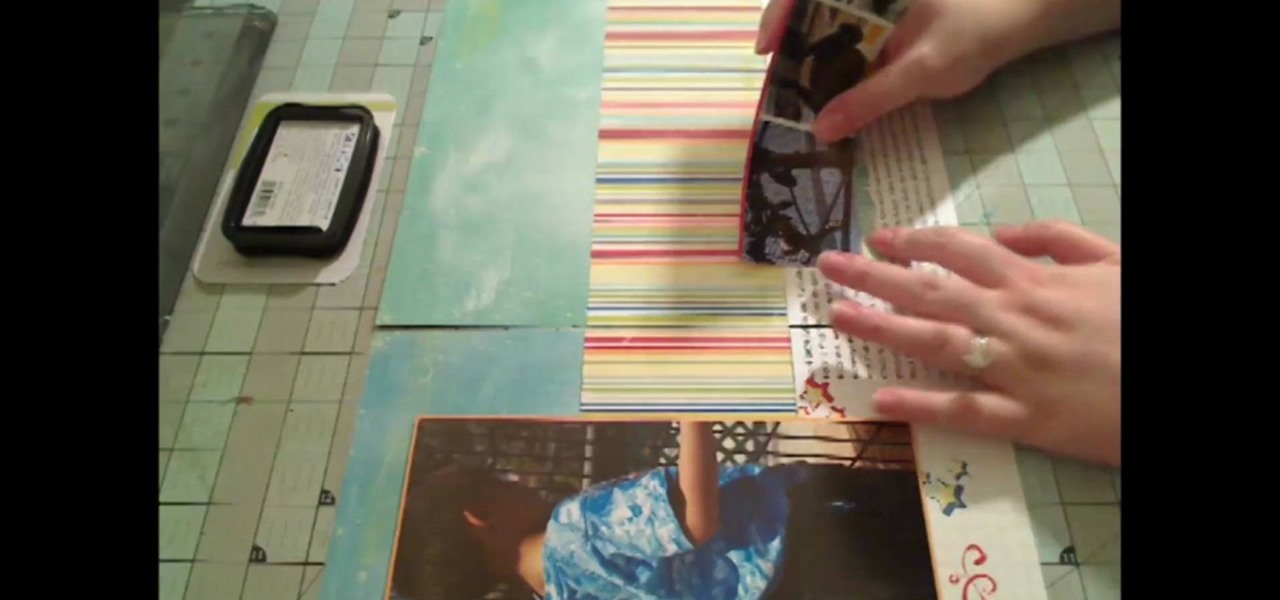
In this tutorial, we learn how to make a 12" by 24" two-page scrapbook layout. First, you will need to gather all of your papers and stickers that you want on your pages. Also, grab your pictures you want to use. Next, figure out where you want to place your photo, then glue it down. After you do this, add on an additional photo in another space of the paper. Place a background underneath the picture first if you want to give it a matted look. Also make sure to place in any stickers that you ...