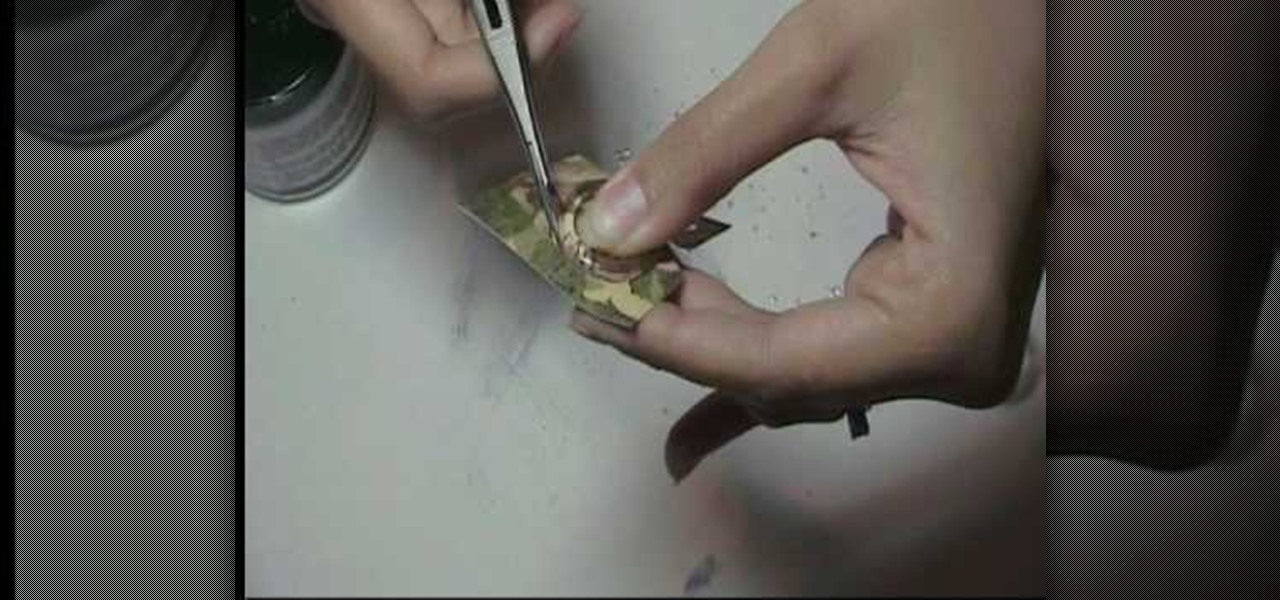
In this video, Marion shows you how make your own custom buttons. She first picks-out a piece of scratch paper, a clear button, and glue (glassy accents). You then apply some of the glue onto the button and lay the button onto the paper and let it dry. Next you would cut the paper around the button as close as you can with precision scissors. You would now use a file to sand the edges of the paper down. That is how Marion shows you, how to make a customized button.
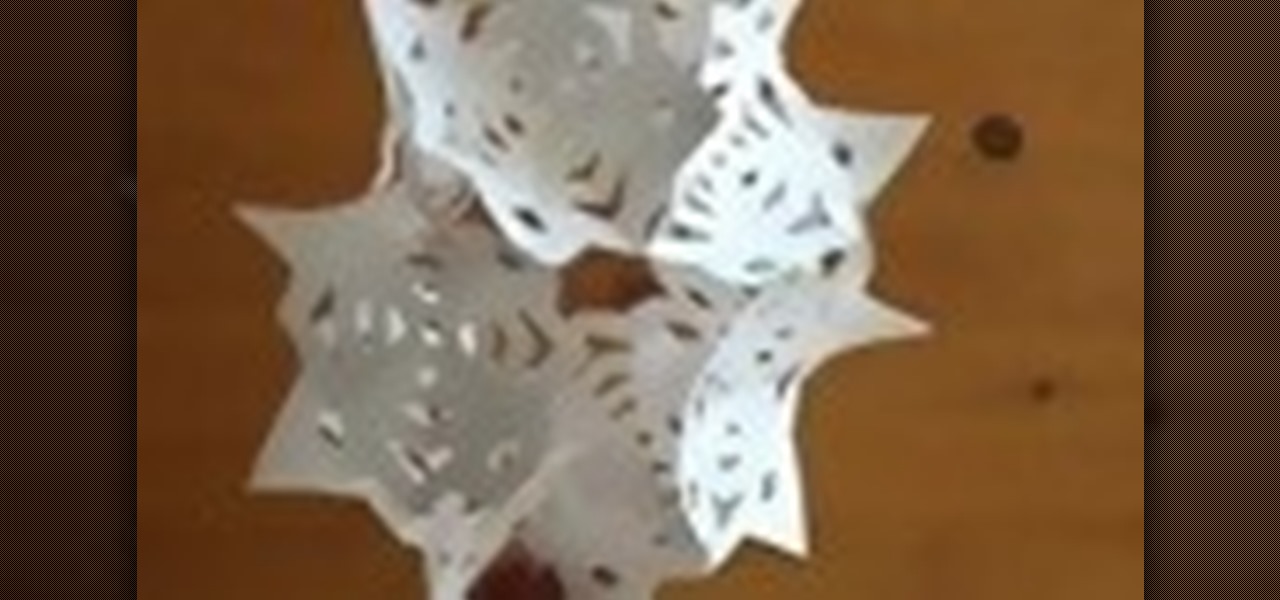
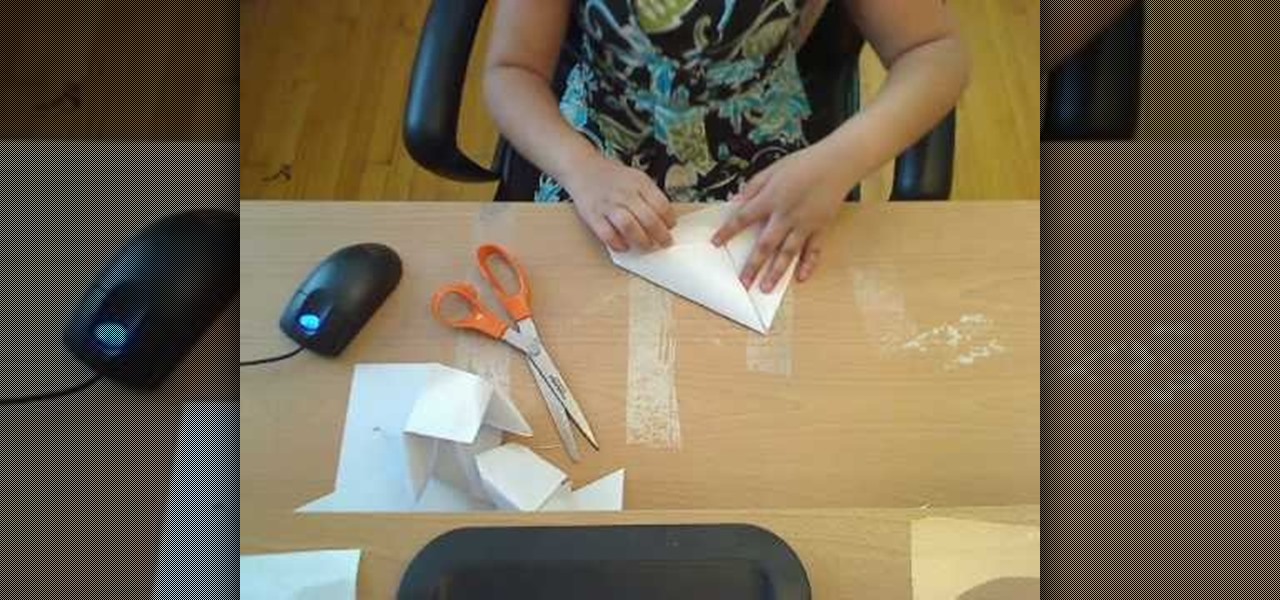
This video shows you how you can easily make a simple but beautiful 6-pointed paper snowflake. The video starts with all the things you need to make this snowflake, like a A4 size paper, a scissors etc. The instructions are shown on the screen as the skilled hands show you how easily you too can make a paper snowflake within a couple of minutes. Can't say you will find a better video tutorial on how to make a beautiful paper snowflake.

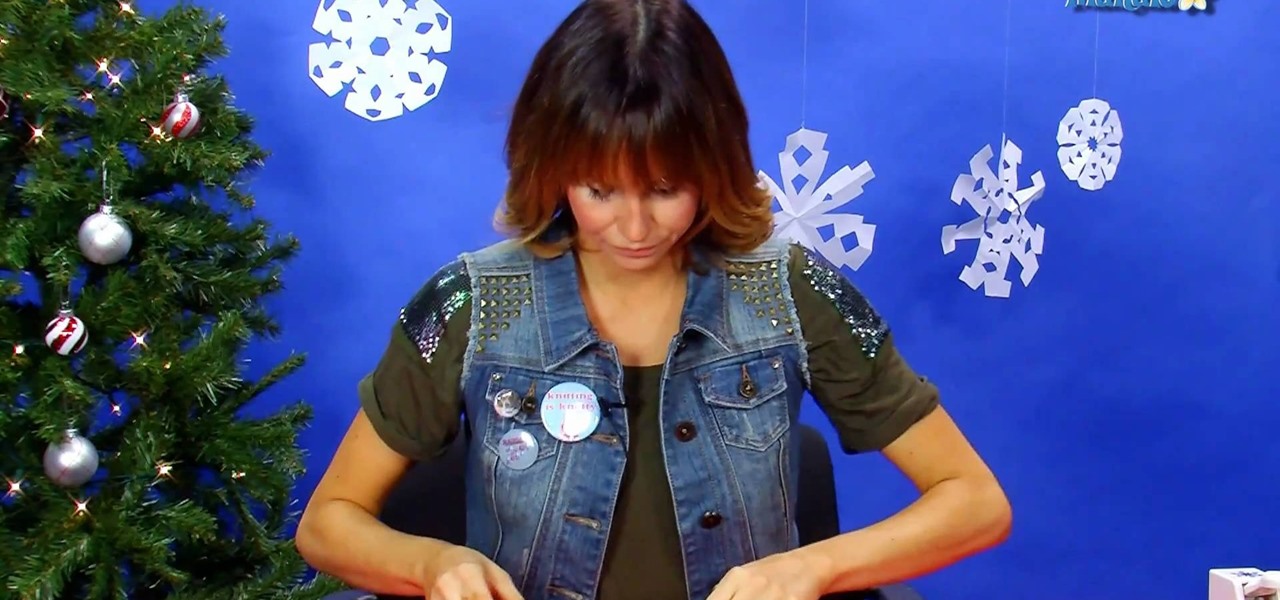
This video is about how to make a cool snowflake using a paper. For this you have to take six equal square of any paper. Cut 4 silts on both the sides. Do not join cuts. Take 1 piece of paper and place tap .Flip over one repeat on all . This will be one side of snowflake. Repeat on all the pieces of paper. Staple together ends. Join all 6 in the middle .The 3d cool snowflake is ready to use it.

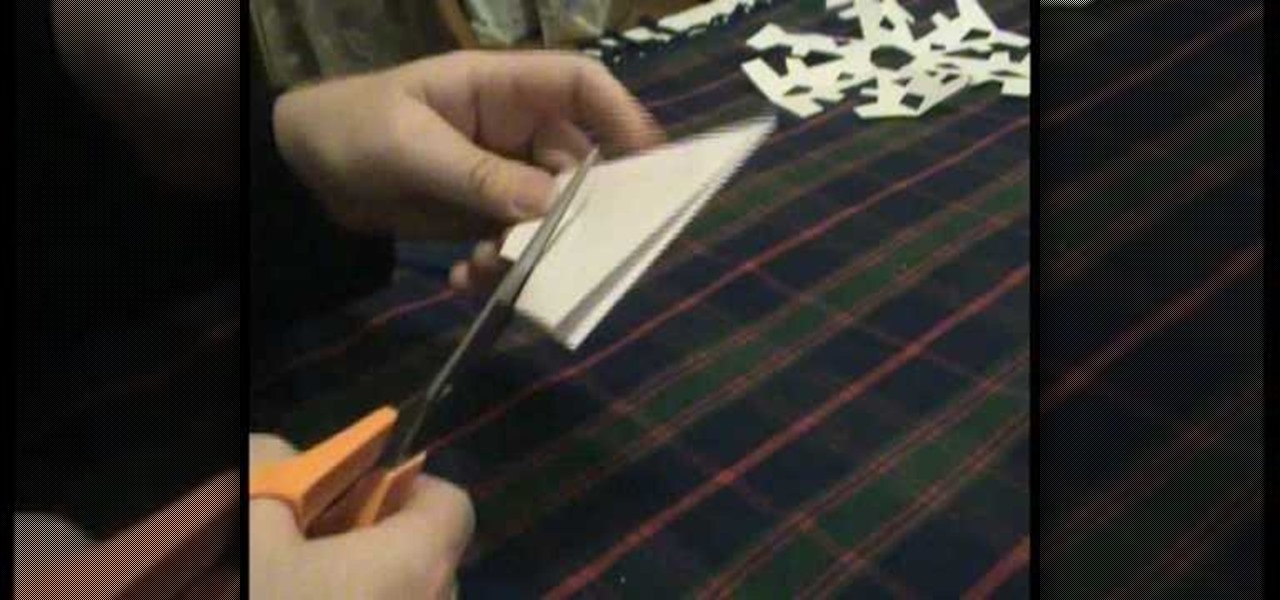
This video will show you how to make an interesting 3D paper snowflake. You will need 6 pieces of paper, some scissors, glue and a stapler. First, make 6 squares which are the same size. After folding the squares across its diagonal axis into a triangle and folding it over again, hold the triangle so that its open ends are facing outwards. Cut diagonal lines along the line of the triangle towards the center, stopping close to the middle line. After opening the paper, take the two ends of each...
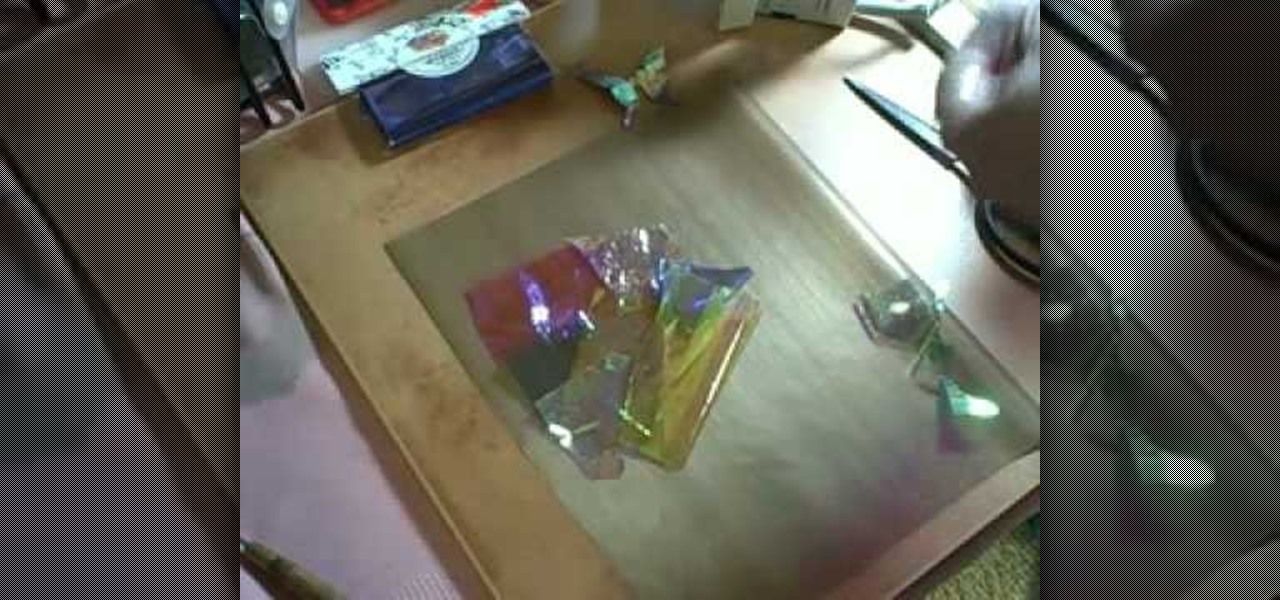
Make a cool drinking or water container, or simply a great decorative gourd ornament. But before you can decorate the gourd, you need to make the decorations. Learn how to make Opals and Fantasy Film glass paper for a gourd.
For the crafting project in this how-to video, you will need a three inch wide strip of tissue paper. Follow along with the step-by-step instructions and fold a pretty paper flower, that will last longer than the real thing. Watch this video tutorial and learn how to make a tissue rose.

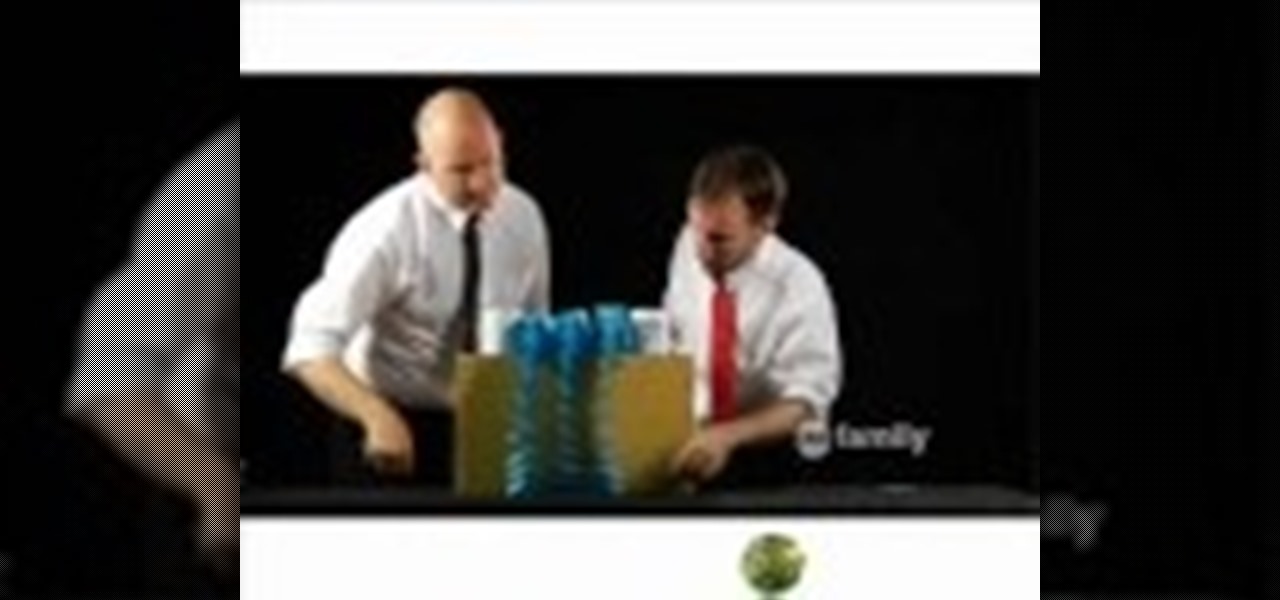
From the creators of the Diet Coke and Mentos experiment, EeepyBird show us how to have fun with sticky notes. Create a cool blue post it waterfall effect. Stack several post it pads. Tape together in sections. Let the paper water flow! Cool paper design trick.
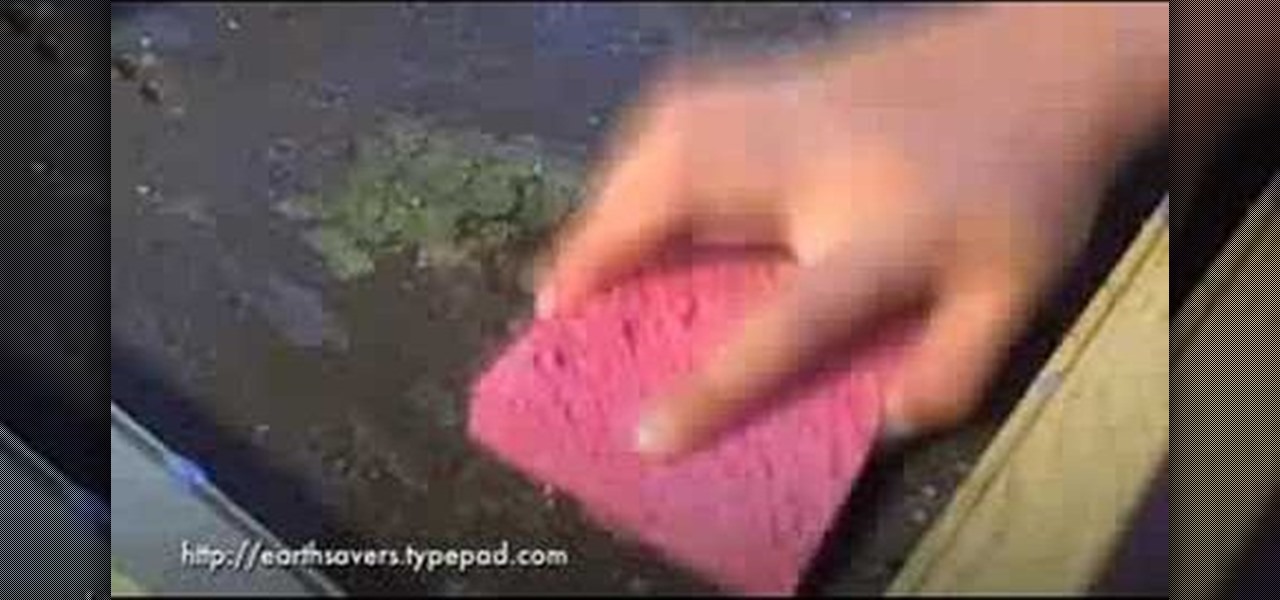
Join Emma & Grace as they show you how to recycle old cereal boxes, coffee carriers, artwork and junk mail into beautiful works of art. Watch this instructional video to shred pieces of paper garbage, blend it into a pulp and press your own recycled paper.
Sue at Paper Source demonstrates blind embossing, a technique that raises an image without color. Think braille. It adds finish to an envelope or personalizes stationary. Watch this video crafting tutorial and learn how to use a desk paper embosser.
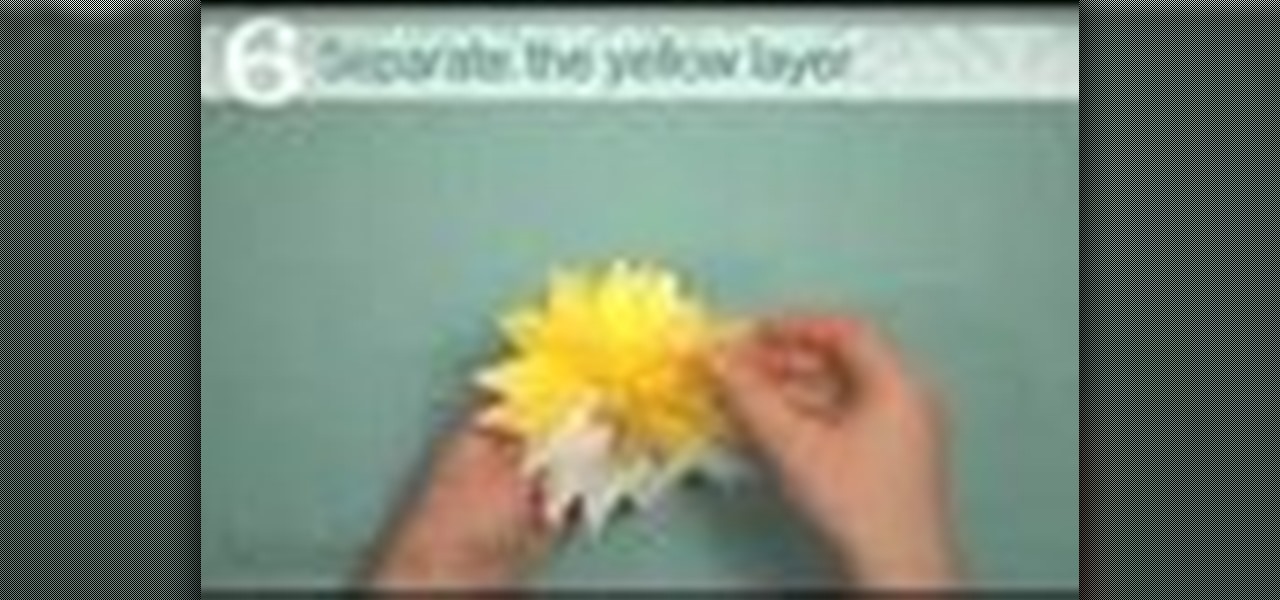
Good Housekeeping shows how to fold paper flowers to use as clever napkin rings at an Easter or spring party. These colorful daffodils add a little bit of cheer to the decor. Learn how to fold these tissue paper daffodil napkin holders by watching this home crafting video.
This video will show you how to make your very own paper clip topper for a jumbo paper clip. This is an extremely cute arts and crafts project for work or home.
This paper basket is great for any occasion, and it would look especially great on Easter filled with M&Ms or other candy. Your family and friends will definitely love it when you make them this adorable paper basket.
This video tutorial shows step by step how to make roses from paper, with no stamping at all. Watch and learn how to follow this quick and easy method to create a pretty paper rose.
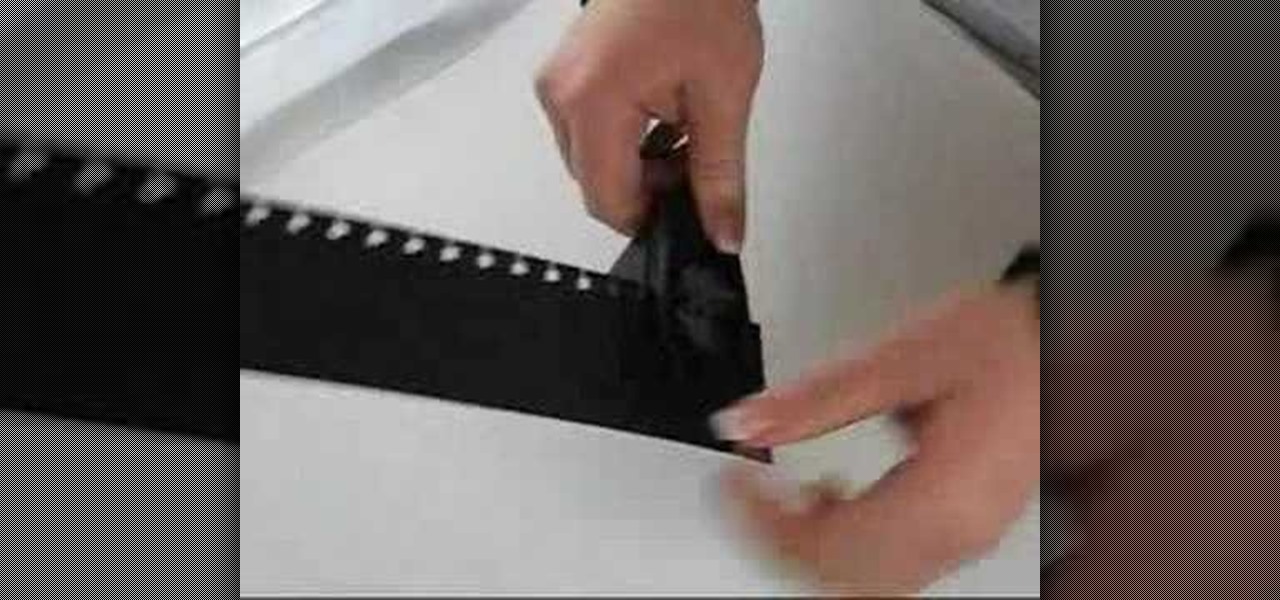
Using just paper and a paper punch, this how-to video shows how to a make a card in the design of a piece of film strip. This card is especially appropriate for movie lovers, and is really simple to make.
Learn how to make a cut-paper portrait by taping an image to a paper, cutting out the silhouette, cutting out the details, checking your progress, cutting off the tape, making some final touch-ups, and placing and gluing the image.
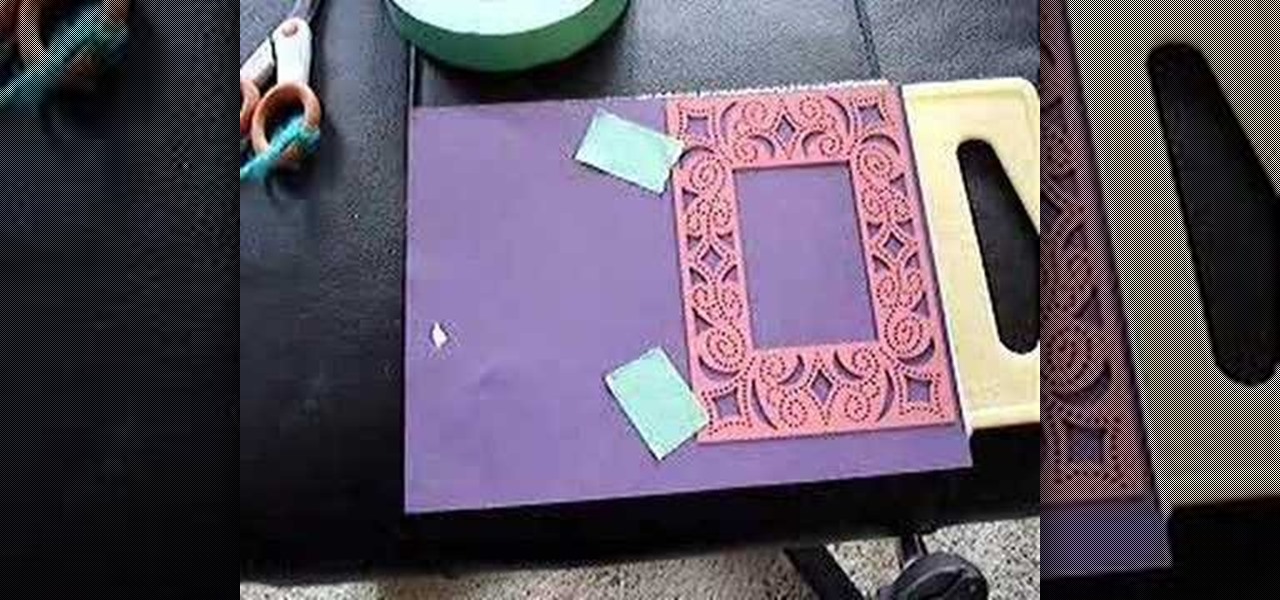
This video demonstrates making a paper piercing and cutting project using a template or stencil. The demonstration produces a frame with decorative piercings and cuttings. The frame shown is suitable for scrapbooking, card making or other paper crafts.
Watch to learn how to make a paper slinky by folding paper into certain components.
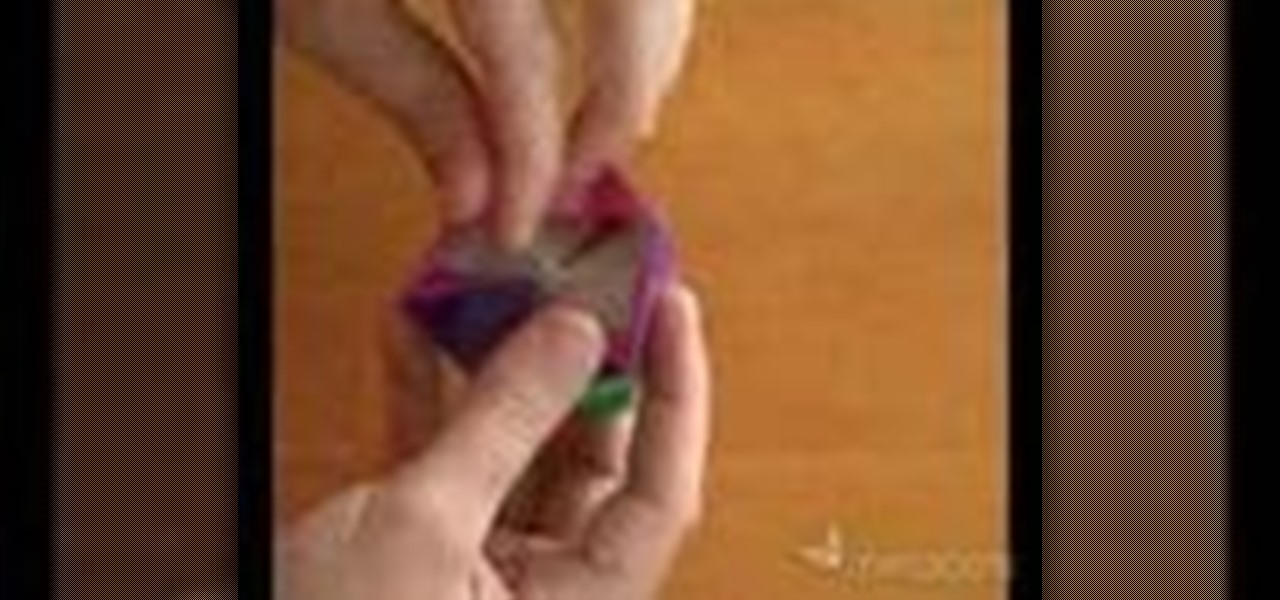
Make a yin yang paper box. It's really fabulous. It's kind of like origami, but not really.
Check out this video to learn how to make a paper ninja star by folding paper and licking it.
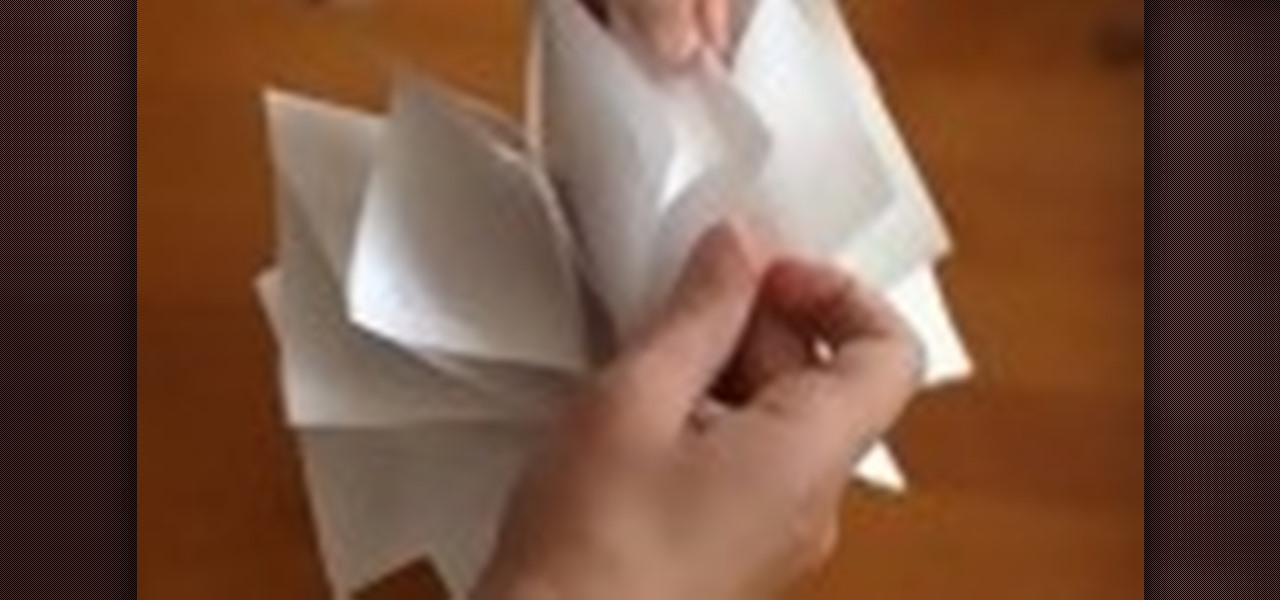
With just some paper, scissors, and staples you can make this cool ball of paper roses. It will make a great centerpiece.
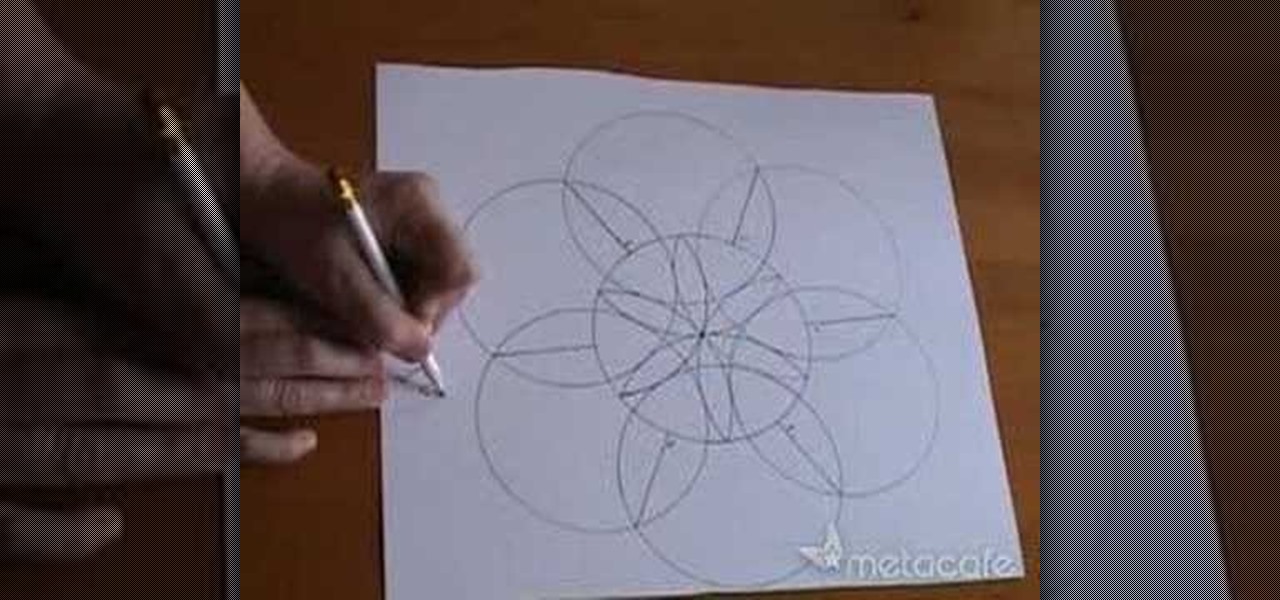
Use a 35x35cm piece of paper to trace your CD into a flower shape. Use a pencil and scissors to complete the design.
Make a 3D paper snowflake using origami techniques and a stapler. You need ten 4x4 squares of paper.
If you love origami you'll love this project. Watch this video and see how simple and quick it is to make a 3D paper star.
For origami lovers, learn how easy it is to make this twisting and jumping paper toy.
For origami lovers, watch this video an learn how to make an unbelievable hexagon paper toy.
Watch this video and see how easy it is to make this paper toy. It looks like an origami flower, but it is a tad more complex. Have fun playing with it.
In this video, you'll be shown how to make Christmas crackers for the holidays. It's a cheap, easy and fun art project you can make with the kids. All you need is wrapping paper, some toilet paper tubes and glue and you're good to go!
Called a "crazy paper thing" by the owner, the description is perhaps a little too vague to describe the sheer genius of this transforming paper module of cubes.
This how to video is by a young girl Rida Sharief and teaches you how to construct a hat from simple construction paper. First step, you fold the paper in half and crease the paper with your fingers. Next step, you fold it again in half and crease with your fingers. Next open back up so that the paper is only folded in half. Then, fold triangles inward almost all the way down, but leave space for flaps. Finally, fold the flaps up and you have your own self-constructed paper hat. To wear it si...
Learn to make this easy mini paper Uzi gun for gaming with your friends! Supplies: Scissors, Scotch tape (Note: DO NOT USE MASKING TAPE OR DUCT TAPE; IT WILL NOT TURN OUT WELL), lots of paper. 1. Take one piece of paper and roll it up from top to bottom to make a short tube. Tape it. 2. Take another sheet of paper and do the exact same thing that you did to the first one and tape it as well. 3. Take a sheet of paper and roll it up from side to side (long ways). Make the hole in the middle abo...
This video tutorial will show you how to build a paper gun that can shoot. The idea behind this is to build a paper gun that can shoot paper pieces and other items, with power from your mouth. This video should help you in the making of your paper gun, which is more like a blowgun.
Paper embossing stamps a design into the paper, but doesn't allot for any color. Ink and chalk can both be applied to an embossed design for color and to bring out the shape of the embossing. Ink can add vibrant color, while chalk adds a soft finish to the embossed design. Watch this video tutorial and learn how to use ink and chalk on embossed paper.
This handy tutorial video will teach you how to make a wallet out of paper using: (1 sheet if cardstock, 2 sheets if printer paper), scissors, tape, and something to write with.
This how-to video tutorial demonstrates how to weave paper strips together to create a braid like shape. Learn how to fold a paper braid for craft, paper, and even scrapbooking projects.
Watch this how to video to learn to make polyhedra using hanger tape paper and zip ties. This step by step tutorial will teach you to make a cuboctahedron.
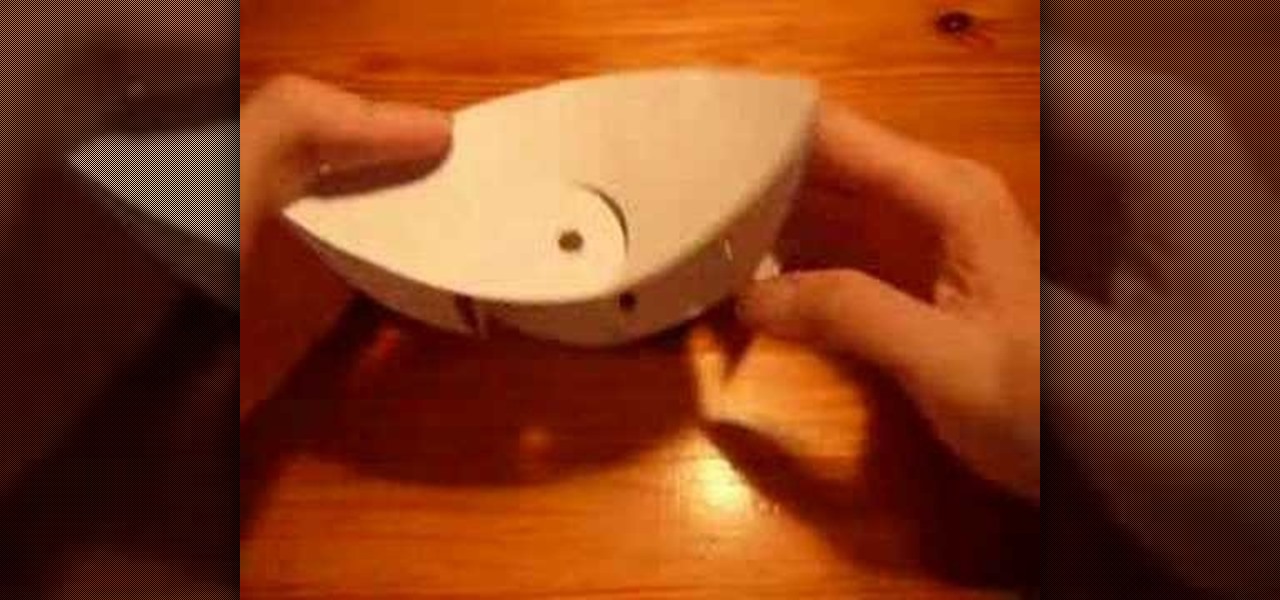
This video demonstrates the fun and easy way to make a paper tortoise. Best of all, it is made with any normal piece of paper, so you don't need origami paper!
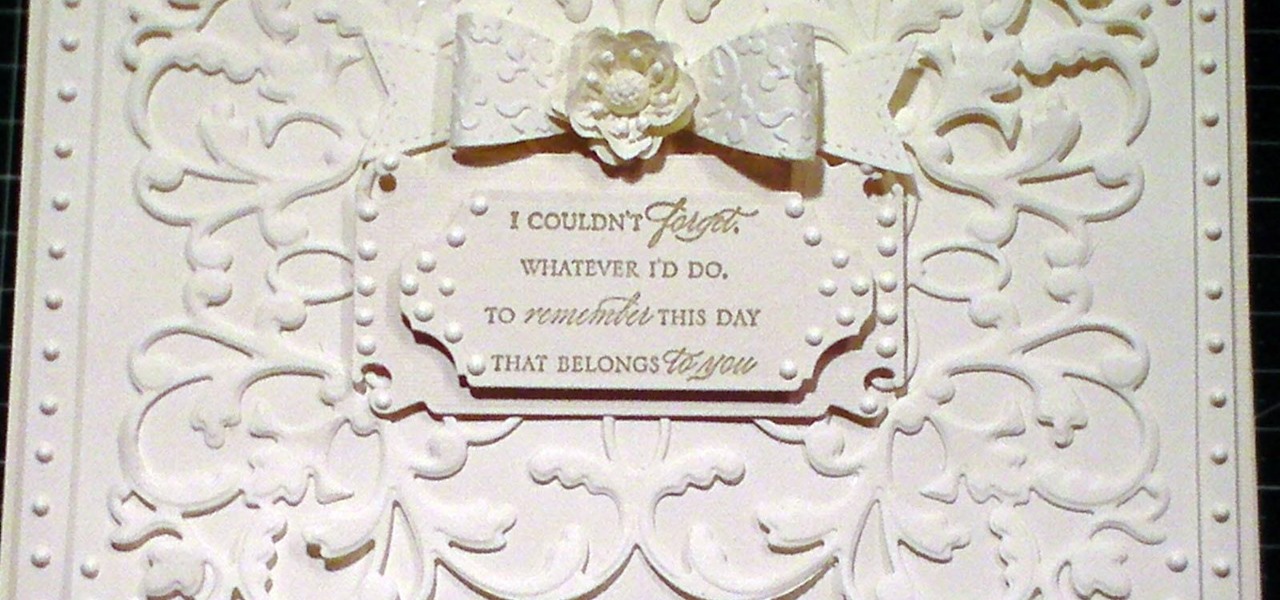
This cardmaking tutorial shows how to make a truly elegant and quick card, that could be made for so many special occasions. The card looks amazing in the Ivory tones and has the look for being embossed, however it is a simple die-cut. Step 1: Items Used
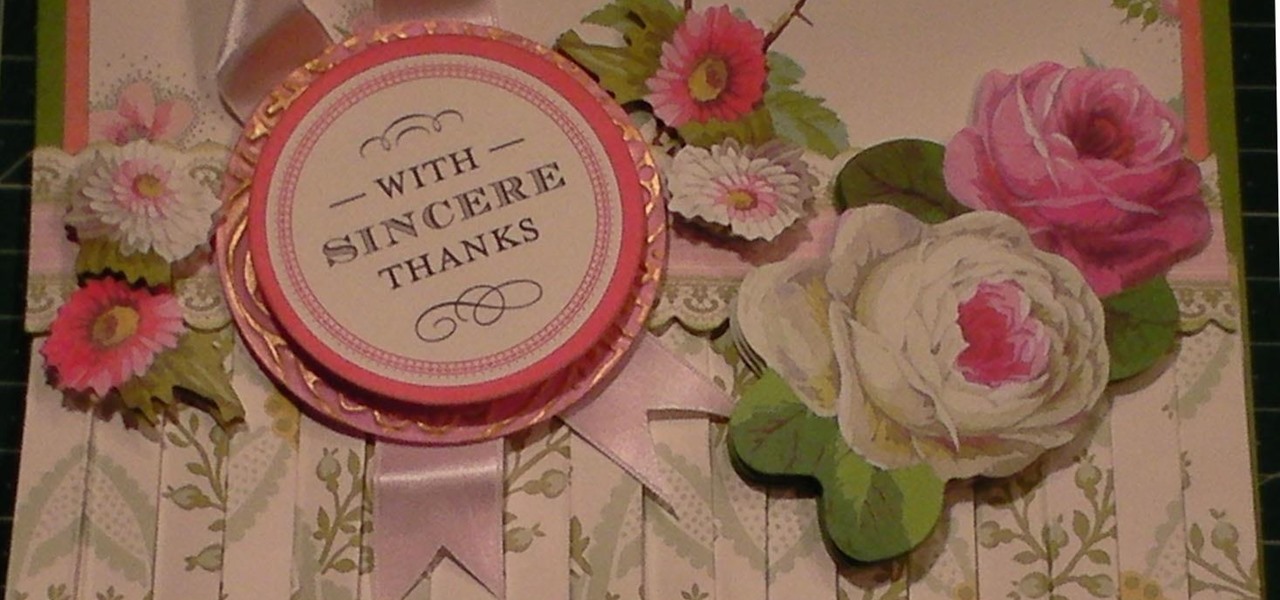
This card is a classic Anna Griffin style card and I use lots of her goodies to make this, including the 3D papercrafting special effects embossing folders to make the folded skirt and 3D stickers to finish the card. To make the card it is surprisingly easy and I show you how. Step 1: Items Used
It's time to teach your kids about animals! To get your little one thinking like an animal, why not help them look like one? In this tutorial, featuring John Lithgow, learn how to turn common household items like paper plates and paints to create fun, realistic looking animal masks with your kids! You will also learn how to make special doggy treats and bird feeders so that you can really get on all fours with your animal buddies! Have fun!
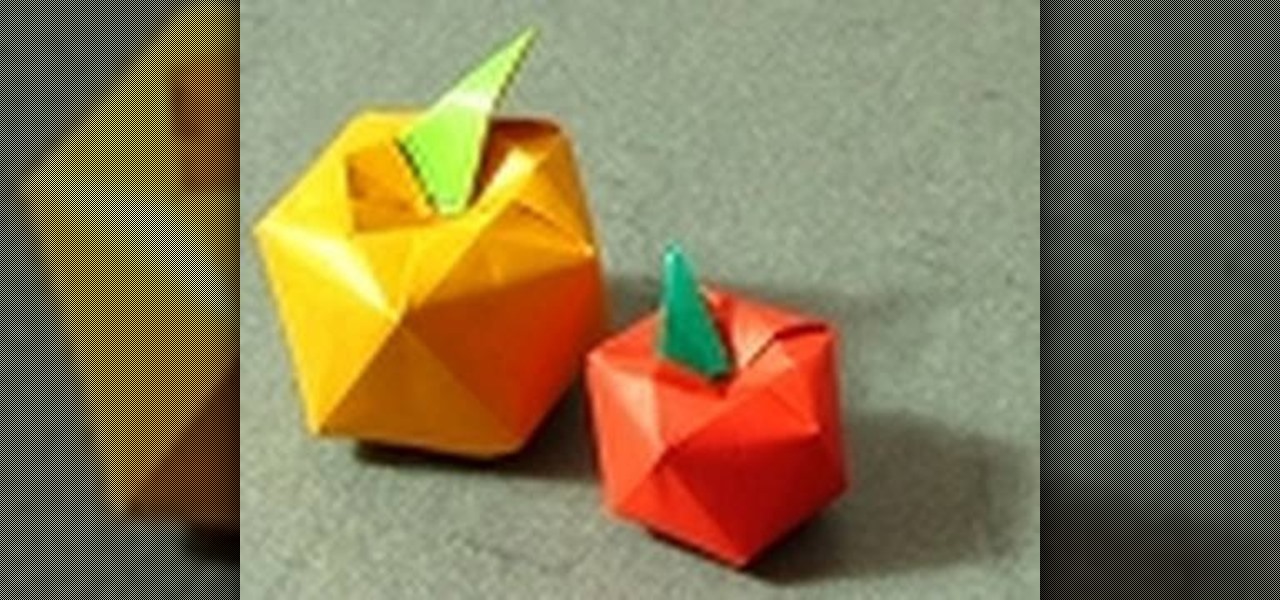
Get ready for Teacher's Day or simply show your teacher how much you care by making one of these cute as a button grannysmith apples. Apple-shaped pencil holders and notepads are sweet, but these origami apples show you took a bit of time out of your busy day to really make something special.