PowerBook Medic is the ultimate resource for Mac computers and electronics repair. They have helpful tutorials on most Apple products including the MacBook, MacBook Pro, PowerBook, iBook, iPhone, iPod, and more, covering topics from disassemblies, to RAM upgrades, to replacement hard drives.
PowerBook Medic is the ultimate resource for Mac computers and electronics repair. They have helpful tutorials on most Apple products including the MacBook, MacBook Pro, PowerBook, iBook, iPhone, iPod, and more, covering topics from disassemblies, to RAM upgrades, to replacement hard drives.
PowerBook Medic is the ultimate resource for Mac computers and electronics repair. They have helpful tutorials on most Apple products including the MacBook, MacBook Pro, PowerBook, iBook, iPhone, iPod, and more, covering topics from disassemblies, to RAM upgrades, to replacement hard drives.

PowerBook Medic is the ultimate resource for Mac computers and electronics repair. They have helpful tutorials on most Apple products including the MacBook, MacBook Pro, PowerBook, iBook, iPhone, iPod, and more, covering topics from disassemblies, to RAM upgrades, to replacement hard drives.
PowerBook Medic is the ultimate resource for Mac computers and electronics repair. They have helpful tutorials on most Apple products including the MacBook, MacBook Pro, PowerBook, iBook, iPhone, iPod, and more, covering topics from disassemblies, to RAM upgrades, to replacement hard drives.

PowerBook Medic is the ultimate resource for Mac computers and electronics repair. They have helpful tutorials on most Apple products including the MacBook, MacBook Pro, PowerBook, iBook, iPhone, iPod, and more, covering topics from disassemblies, to RAM upgrades, to replacement hard drives.

PowerBook Medic is the ultimate resource for Mac computers and electronics repair. They have helpful tutorials on most Apple products including the MacBook, MacBook Pro, PowerBook, iBook, iPhone, iPod, and more, covering topics from disassemblies, to RAM upgrades, to replacement hard drives.
PowerBook Medic is the ultimate resource for Mac computers and electronics repair. They have helpful tutorials on most Apple products including the MacBook, MacBook Pro, PowerBook, iBook, iPhone, iPod, and more, covering topics from disassemblies, to RAM upgrades, to replacement hard drives.
PowerBook Medic is the ultimate resource for Mac computers and electronics repair. They have helpful tutorials on most Apple products including the MacBook, MacBook Pro, PowerBook, iBook, iPhone, iPod, and more, covering topics from disassemblies, to RAM upgrades, to replacement hard drives.
PowerBook Medic is the ultimate resource for Mac computers and electronics repair. They have helpful tutorials on most Apple products including the MacBook, MacBook Pro, PowerBook, iBook, iPhone, iPod, and more, covering topics from disassemblies, to RAM upgrades, to replacement hard drives.
PowerBook Medic is the ultimate resource for Mac computers and electronics repair. They have helpful tutorials on most Apple products including the MacBook, MacBook Pro, PowerBook, iBook, iPhone, iPod, and more, covering topics from disassemblies, to RAM upgrades, to replacement hard drives.
We adore all the cute little valentines, heart-shaped candies, and heart-embellished gift boxes and gift bags that pop up on shelves around Valentine's Day, but (ironically enough) they lack the heart that makes Valentine's Day presents truly special.
This style of table is often only seen at restaurants, but you can easily build a set for your own home - a square, high-set pub table with four matching stools. A stylish addition to any kitchen or dining room.
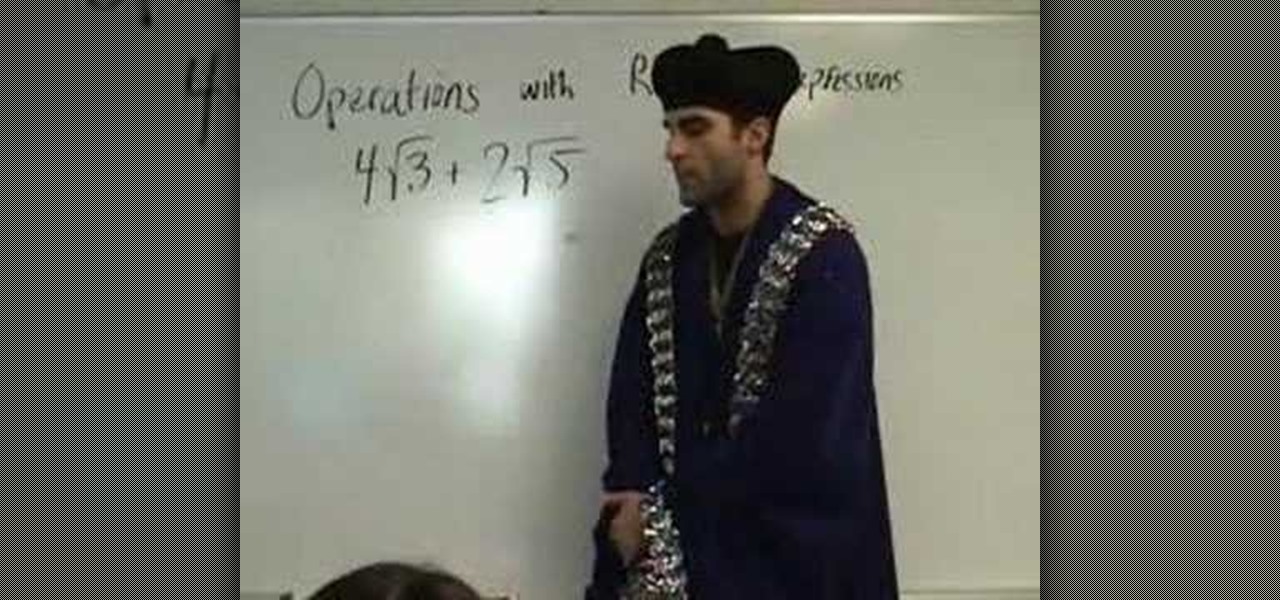
Radical expressions are those in which the radical symbol (under root sign denoting the square root or the nth root) is present (either multiplied or added). Solving these is a bit tricky, but involves similar algebraic maneuvers in a different way.
This video explains how to make paper flowers in just a few simple steps. The first step to make a paper flower is to take a simple piece of white printer paper and draw any design you find suitable on the blank paper. The next step is to fold the paper over two times to create a smaller square. The second step requires the paper be folded from it's edges into a triangle shape. The last step involved opening the paper from below to give the flower a three dimensional shape. It is shown that m...
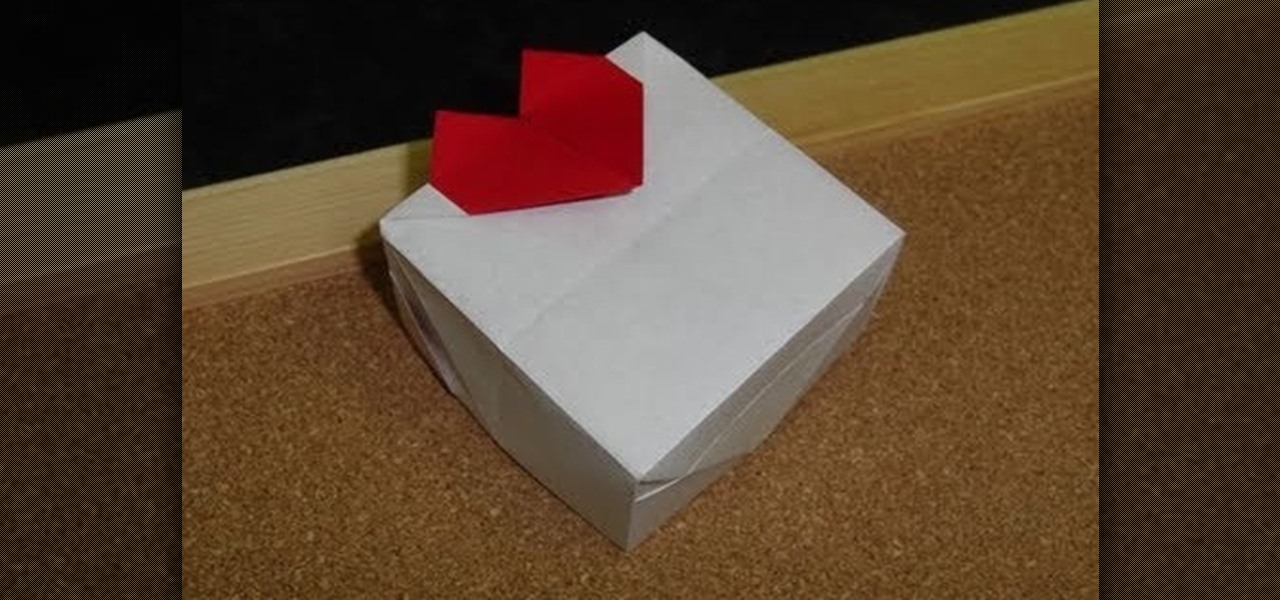
In this tutorial, we learn how to make a paper cup cake/muffin basket. First, take a piece of paper and fold it in half. After this, curl the edges up from each of the corners until you end up with a small square in the middle of the paper. Use scissors to create slits where you will make the tabs to construct the box. After all the tabs are cut, push them together so you have a small basket with a neat line. To finish this up, add a handle to the top and push into the sides. Then, draw on an...
This video contains different techniques to draw Naruto Sage Mode. The first step is to draw the basic outline of the characters face along with the ears and nose. After completing the basic outline the eye outline and details are then placed. The Lips and nose are drawn third to finish the basic features of the character. Dark shading around the eyes must be completed to give Naruto sage mode more realism and detail. The hat is one of the last parts of the character created involving a simpl...
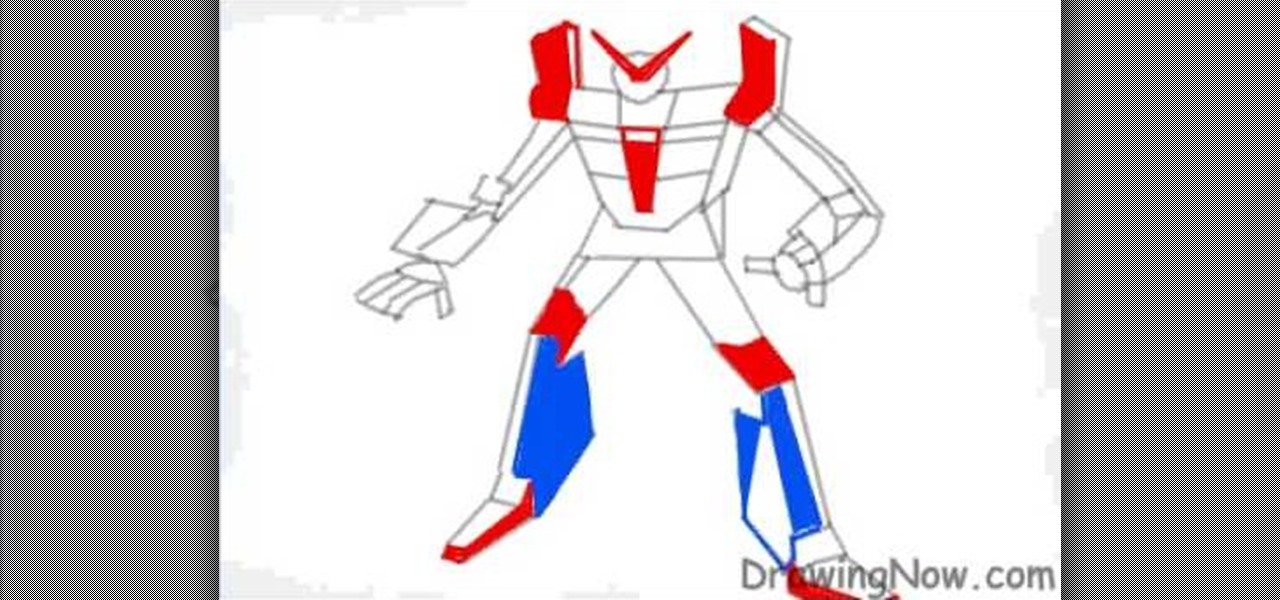
In this video, we learn how to draw a robot. Start off by drawing the outline of the robot, then draw in the details of the robot's exterior. Make sure to use squares to make it appear like the robot is a bunch of metal pieces put together. After this, you will fill in the robot with different colors of your choice. Make sure to add in small details around the figure to make it look more realistic. You can also add in shading to make it appear 3D. Once you are finished with the robot, make su...
In this video, we learn how to make & decorate an American flag cake. To make the cake, you will need a cake pan that is in the shape of the flag. After you bake the cake and it has cooled off, then mix up red and blue frosting to go with the white. Use a pipe with frosting in it to start to pipe the different colors for the stripes onto the cake. Leave a small square where you can put the stars. Then, use a star pipe to place on the stars to the upper corner of the flag, then let it set and ...
In this tutorial, we learn how to draw hands in the anime style. When you are drawing hands, they have a square look to them. So, start out with that shape and then start to draw the fingers onto the hand. Indicate where the joints will be and then you can further elaborate with the fingers. Make sure you make the fingers the correct sizes. The pinkie should be away from the wrist, as well as the thumb. Use a line to help center all of the fingers and then draw them around this. When finished...
In this tutorial, we learn how to make an array of paper roses. Use any colors of paper you want with this to add a special touch to them! Now, you will take the pattern or color of your choice and fold it up into a square. after this, fold it into a triangle and then cut the edges of this off. After this, cut the bottom off and open it up, it should be a flower shape with a hole in the center. After this, repeat with several other papers and then cut the flowers up into halves. From here, yo...
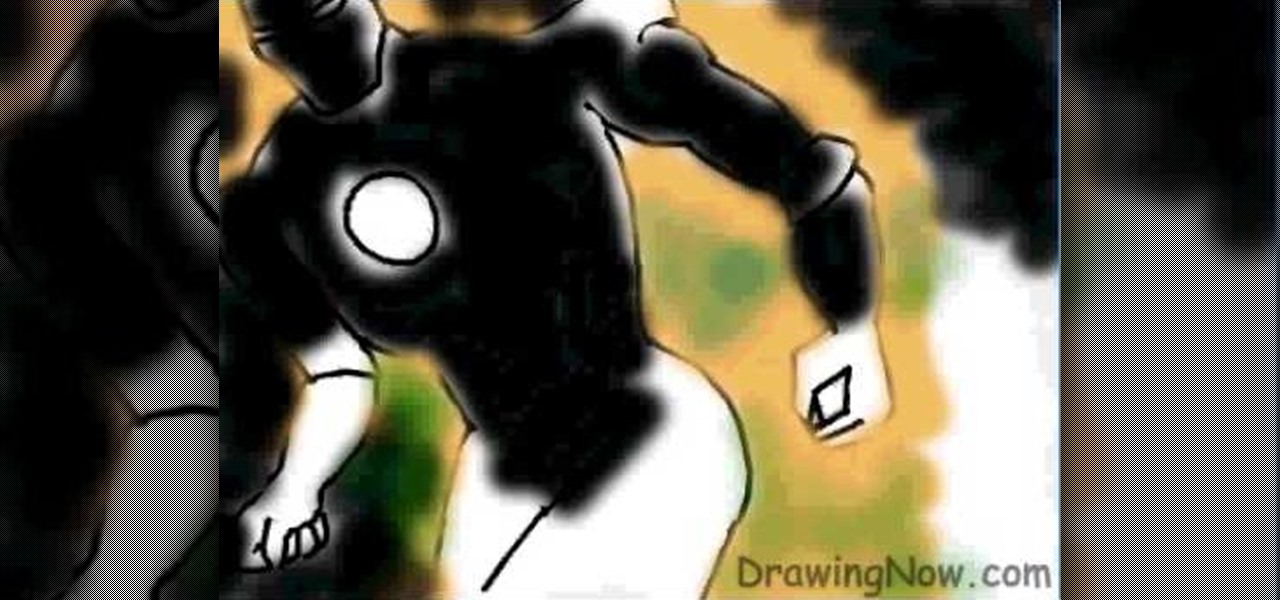
In this tutorial, we learn how to draw Ironman. First, draw the outline of the body, make sure to include the heart in the middle of the body and the squares to make it look like metal on the outside. From here, start to add in the finer details on the body as well as the features on the face. Once finished, erase the background lines and then color in the background of the drawing. After this, color in the character with the appropriate colors and then define the features. This will finish u...
In this video, we learn how to cheat on any test using an eraser. First, take your eraser, it should be wide and thick, not one that comes on the top of a pencil. After this, you will cut a hole out of the middle of the eraser. You can do this easily using a straight edge blade. Once finished, you will take a small piece of paper and write down the answers or information you need on it. After this, you will fold the paper up into a tiny square and then place it into the hole in the eraser. Ta...
In this tutorial, we learn how to make a Saw 2 death mask. Start off by grabbing an old helmet and covering it with plastic wrap. Then, make paper mache over it. From here, cut a piece of rubber into small strips. Then, draw and cut three stripes on a piece of cardboard. Then, use two strips for the shoulders and one for around your waist. Then, make the front chest piece with cardboard. From here, make a square with Styrofoam and cut out a piece of an egg carton. Now, draw the eyes and mouth...
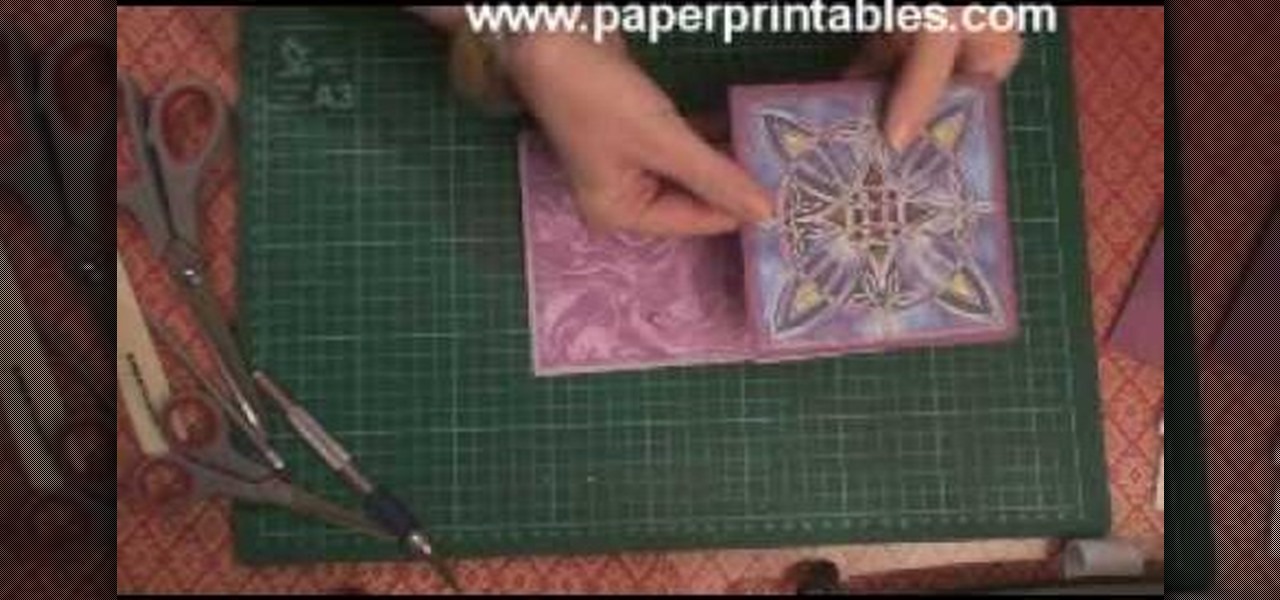
In this tutorial, we learn how to make a half/quarter easel card. First, grab several pieces of colors of card stock that you like. After this, fold the main one up into a square. After you have folded this, fold the edges into the middle and push the creases down. From here, you will glue the bottoms of the other pieces and glue them onto each other so they are backgrounds. After this, you will create a border around the front main picture. When finished, fold this up and then you will have ...
In this video, we learn how to calculate a limit at infinity with a radical. The idea is to take out the higher power of 'x' in the denominator first. If the x squared is under a radical, take that out so you're left with just 'x'. After this, divide every term by 'x'. Once you are finished with this, you can rewrite the equation. Next, you will use the rules of math to find the answer of the equation. This is hard math to do if you aren't used to it! Make sure you practice with the samples i...
In this tutorial, we learn how to find the arc length of a function. All you're doing when finding arc length is finding the curve between 'a' and 'b'. Imagine this as a string you're pulling straight to see how long it is going to be. The formula says if your function is in 'y=x' you have to take one times the derivative squared. This is a basic formula that you will use to find the arc length. When you plug in your values to this equation, you will find the answer. Practice with the example...
In this tutorial, we learn how to draw a sphere in 3D. First, draw a circle and a square around it with a light pencil. From here, you will use the side of the pencil to shade in the sides of the circle. Then, draw a half circle next to the circle to make it look like it's shadow. Shade that in and then add in more dark markings to the circle, leaving a small white area on the top of it. After this, draw in the outline of the circle and erase any stray lines. This will complete your sphere, e...
Make your own tiny katana out of paper! All you'll need is some durable printer paper or origami paper, double-sided photo album squares, quick drying craft glue, a small craft knife (like an x-acto knife), a straight edge and a cutting mat.
In this video, we learn how to make a great 3D paper snowflake. First, fold a square blue piece of paper into a triangle. Then, draw lines from the middle to the top going in the triangle shape. Cut these lines on both sides, avoiding the middle and the very top. Make sure you don't cut in the middle either. After this, open up the folder and take the inside. Roll it up and then tape it together so there's a ring on the inside. Flip it over, then make another ring on the top side and tape it....
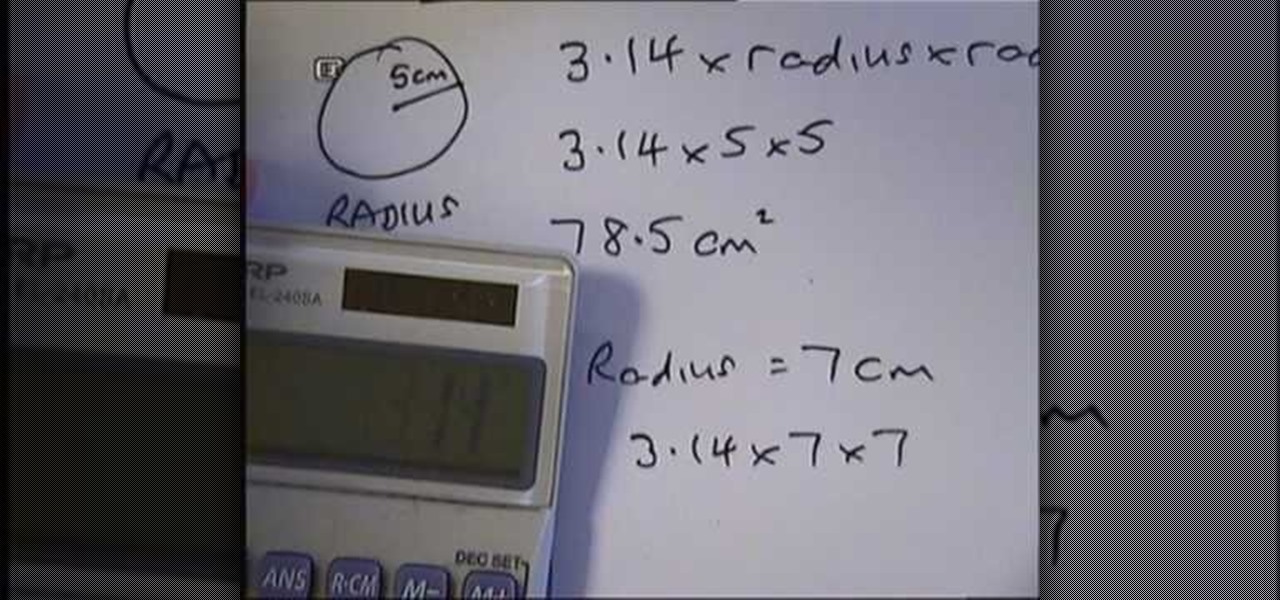
In this tutorial, we learn how to find the area of a circle. The line from the middle to the edge of the circle is called the radius. Find what this is in your equation, then multiply (3.14 X radius x radius). This will always work out the area of a circle for you. So, do this equation with your calculator or by hand, then you will have the correct answer for the area. Make sure to add the units squared after you get the answer. If you are given the diameter (line all the way across), you wou...
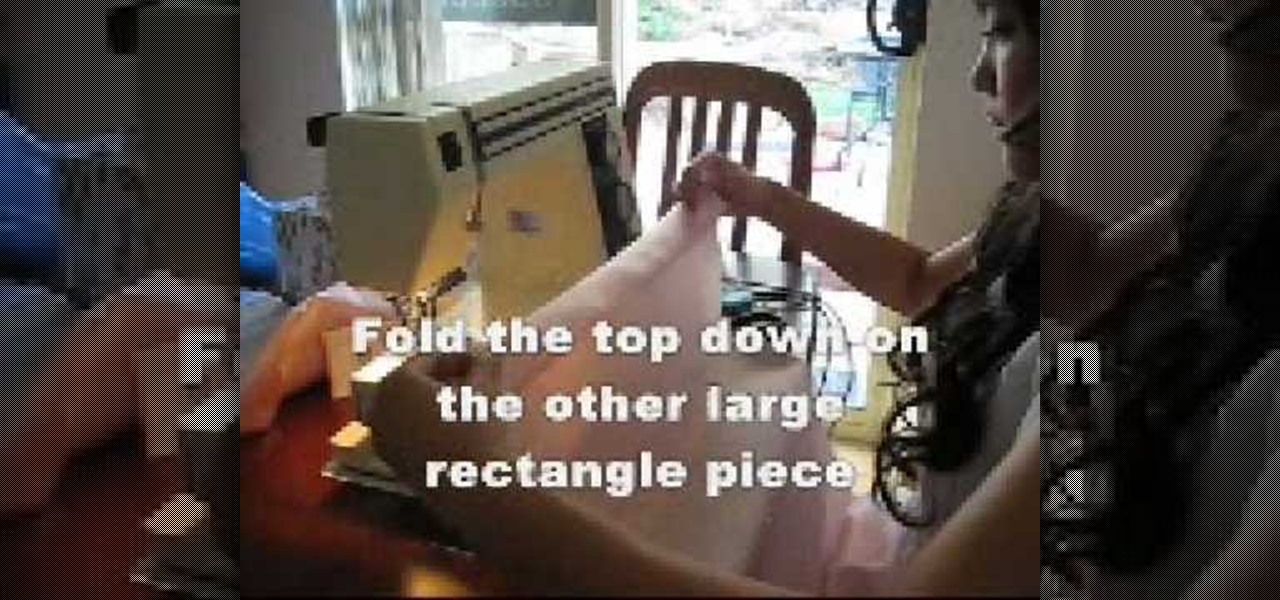
In this tutorial, we learn how to make a basic princess pillow case. First, you will need to have a large piece of pink silk fabric. Lay this out flat, then cut out a 45x75 cm rectangle. Once finished, separate the two pieces of the fabric, then cut a new piece 45x20 cm. Then, lay the fabric facing up and lay some lace on top with the frills facing inward. Sew together the fabric and lace all the way around the entire pillow case. Fold the top down on the other large rectangle piece, then rep...
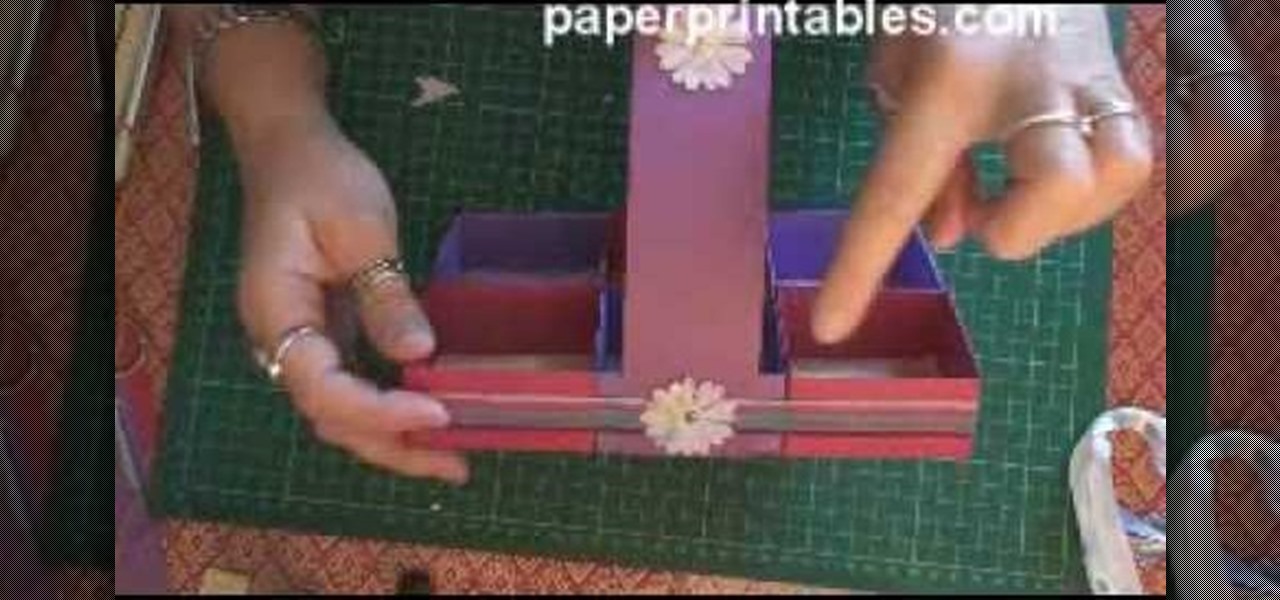
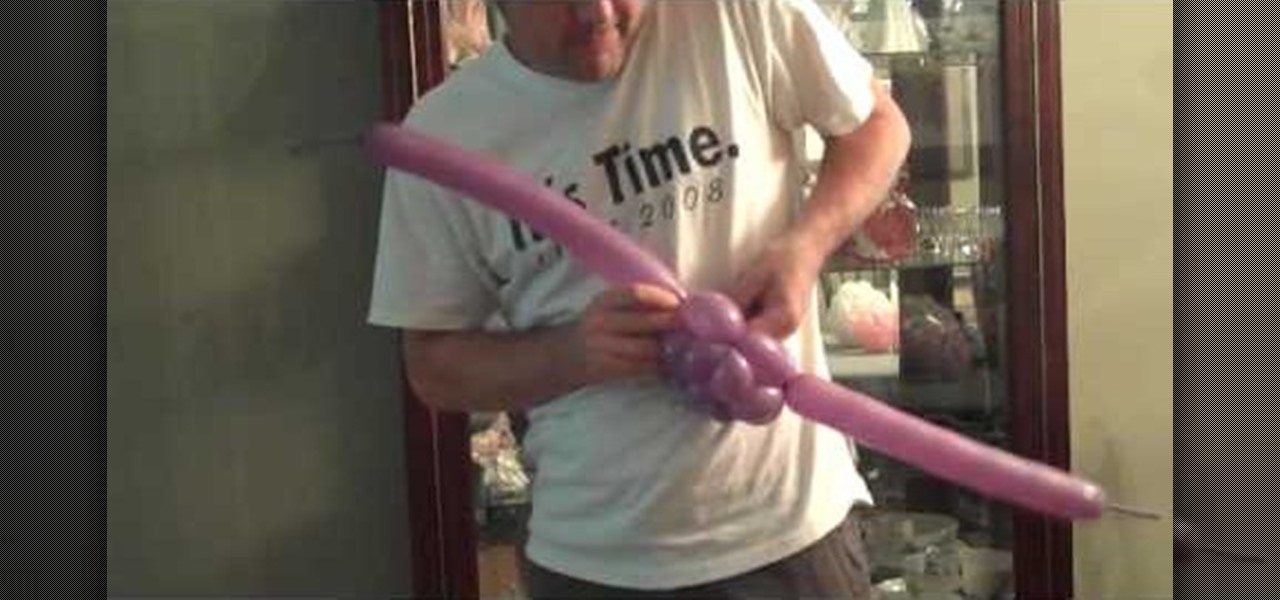
In this video, we learn how to make a balloon basket. This will be a square anti-prism made of white balloons and pink balloons. But, you can change the color if you would like. Start out by creating large and small bubbles inside the first balloon. Then, tie this with the other balloon and connect them both together. After this, you will have the bottom of the basket. Create a bunch of bubbles connecting both of these and attach it to other bubbled balloons to create a large top above the ba...
In this video we learn how to make a unique paper rose. First, grab a square piece of paper and fold it into quarters while maintaining the fold. Then, fold along the diagonals and fold lower in half twice and the top in half twice. Then, fold the halves in half and repeat the previous steps. After this, follow the folds that you created, rotating the paper as you continue to fold. After all of the lines are lined up and you have folded it, it will become a unique paper rose that you made! En...
Sometimes a good looking accessory can be made by using simple things and a little bit of your own ingenuity. This video is a perfect example of the same.
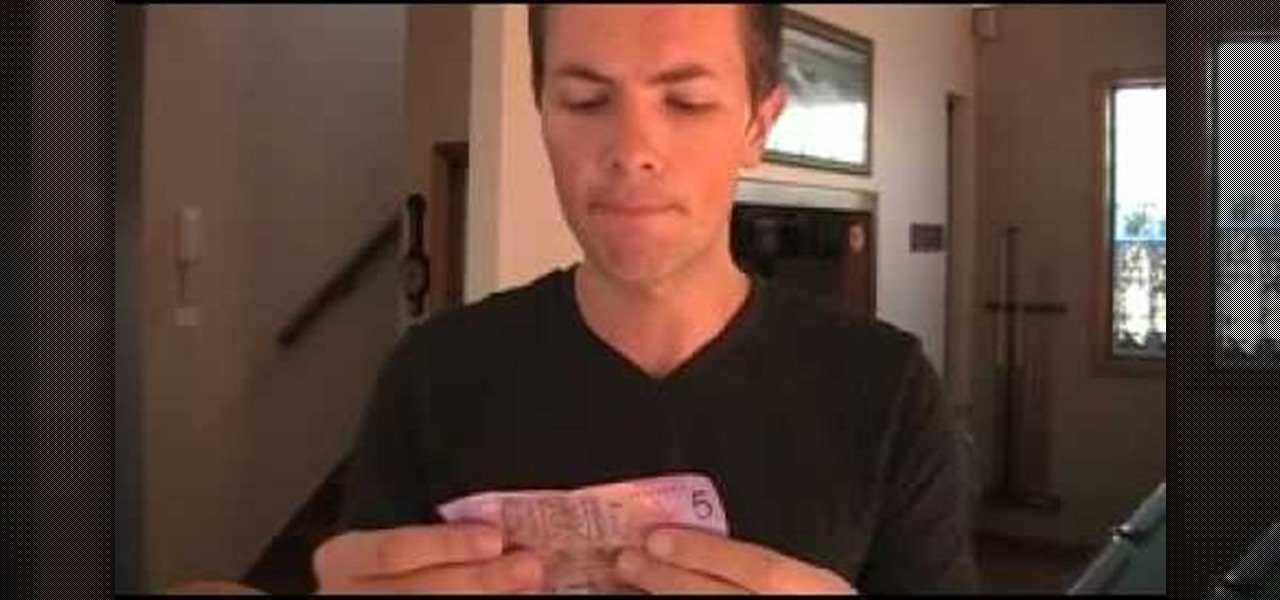
It's possible to attract women using magic tricks, and Alex will teach you how to in this video. You can do this during the day or in bars and clubs, which will entertain one women or an entire group. First, take a small piece of paper, a piece of money will work as well. Fold it up into a small square and then fold it again into an even smaller piece. Hold it in your hands and then blow on your hands. A piece of plain paper will appear. Pretend to walk away, then the girl will call you back ...
In this video we learn how to draw the iris of an eye. First, draw the outline of the eye and then draw the first layer of crosshatch on the eye. This is just diagonal lines overlapping each other. For the next step get out your 3B or 2B pencil and go over the first layer that you just made matching the tones of your reference image. Then, add in the darkness for the pencil making it completely black. Leave a square on the upper corner of the eye that is white to create a glare. Then, add in ...
Tutting is basically the human body's way of trying to become a square. Or a triangle. Or a rectangle. That's because tutting is a type of street dancing that involves moving the body to create geometric positions, usually with right angles.
In this tutorial, we learn how to tie a scarf from Lucky Magazine. The first way to fold a square is to fold it into a triangle, then fold it down until you are left with the bottom. Put it around your neck, then knot it and tuck the knot into the neck area. The second way to tie a scarf is to take a long one and place it behind the neck. Then, wrap it all the way around and tie it in the back. Now your neck will be completely covered with no chance of chills. These are both great ways to tie...
In this video, we learn how to make the best paper snowflakes. First, take a dark blue and white piece of paper and fold it up into a square, then fold into a triangle. Next, grab a pair of scissors and start to cut along all of the sides of the paper. You may have to do this a couple of times to get the shape right, it will be helpful to use a diagram to show you where to place the scissors. When you are finished, open up the piece of paper to see your snowflake! String this with other snowf...