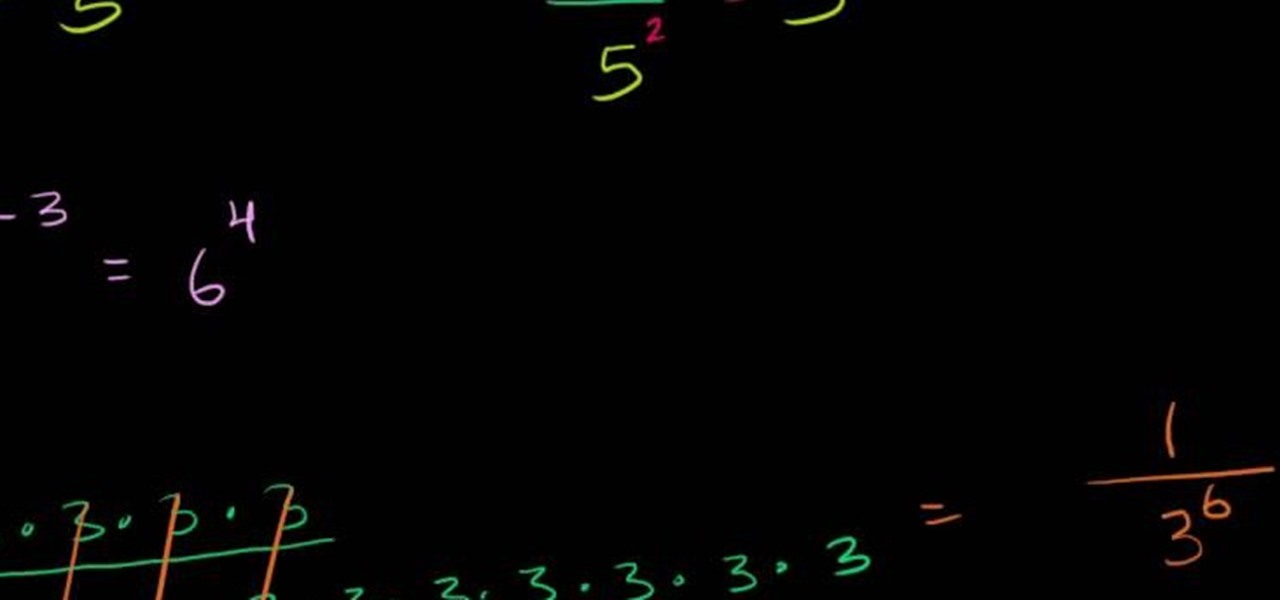
Exponent of a number is nothing but the number multiplied to it self the exponent number of times. So five squared it equal to five multiplied to it self. Now when an exponential number is divided with another such number the result is the number raised to the different of the exponents. That is the ratio of x raised by a to x raised by b is x raised to (a-b). Similarly if we multiply a exponential number with other such number, the result is equal to that number raised to the sum of exponent...

You have to start by placing the handkerchief on a flat surface, you grab the center pull up and you will see all the points dangling dry your hand down and then what you need is to fold the bottom up then if you twist the hand around the handkerchief just to hold it in place . The way it should actually be folded is with the fold in behind and the puff in front but it is easier if u wrap it around your hand. The way it will be placed in the pocket is by simply pushing it down, the edge of th...

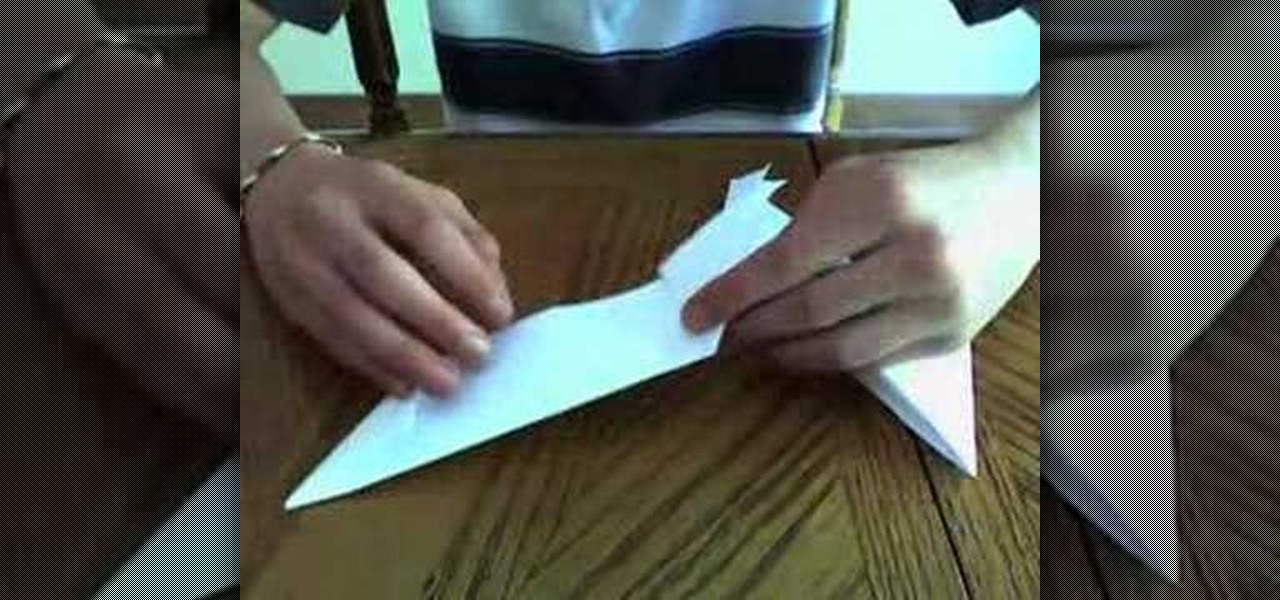
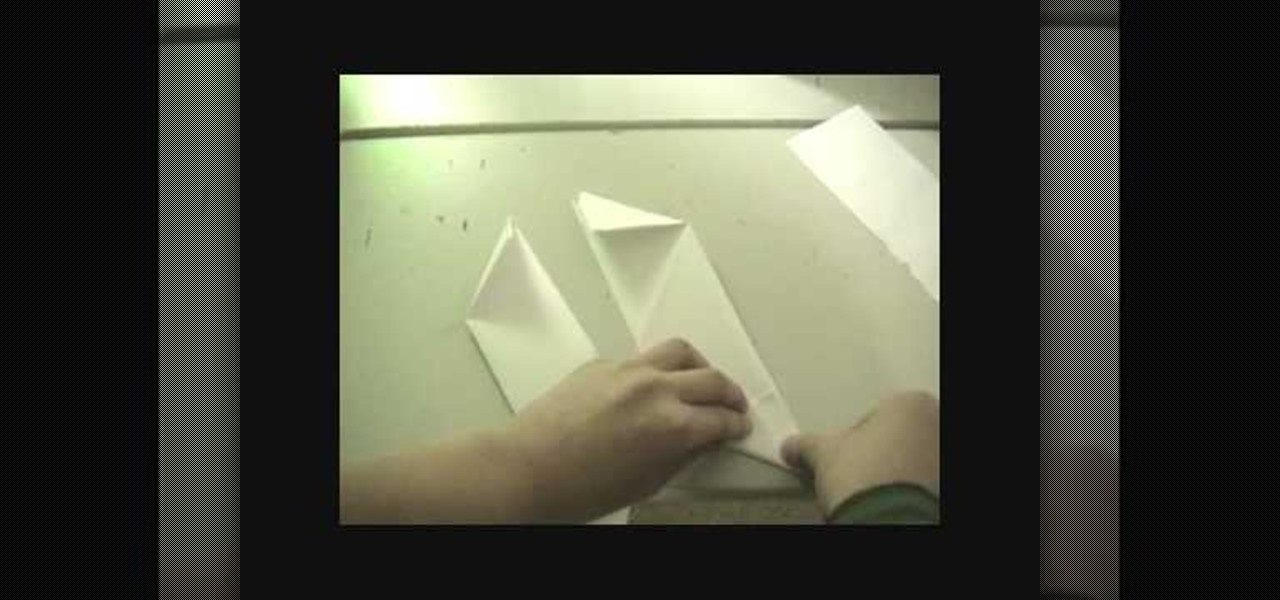
In this Arts & Crafts video tutorial you will learn how to make a folded paper ostrich with origami. For this project, you need a square sheet of paper. First you fold it diagonally across to form a triangle and cut it off in two. Then take one piece, fold it in half to form a smaller triangle, open and fold down along the centerline from the top of the triangle. Open it up and again fold along the centerline from the base of the triangle. Now fold from one of the corners up to the intersecti...

In this video, we learn how to throw a football the correct way with Steve Hand. First, get a good grip on the ball using your throwing hand. Put your hand on the laces, not the spaces. Now, get the proper foot position by squaring your feet with your shoulders. Put your weight on your back food then step into the throw. Finally, cock your back and step into your throw and release the football. Make sure you keep your elbows to the side of you and they are not facing too far down or too far u...
In this how to video, you will learn how to make bag tags. You will need a tape runner, embellishments, elastic, a plastic bag, letters, cloud 9 rain dot eyelets, a trimmer, bits of card stock, and hole punches. First, cut the card stock and make it a square shape. Next, decorate the card stock with embellishments and the name of the child it is for. You can use the adhesive to stick these on. Next, cut more card stock and wrap it the piece around the decorated card stock. From here, place th...

This video shows you how to make a simple paper popper in three simple steps. Take a rectangular piece of paper and fold one quarter over. Fold it over once again in the same direction. Flip the paper over and make it into a square by folding again. Open out the side just a little bit, so that you can see the fold still inside. Sweep your arm down from a height really quickly and you will hear the sound of a "crack" as the paper pops on the way down. You can do the same thing again if you ref...

This video illustrate how to make Chinese paper lanterns with origami. here are the following steps.Step 1: Take a string for holding the lanterns.Step 2: Now take a square sheet of paper and fold it diagonally so that two diagonal intersecting crease are formed.Step 3: Now hold the crease together and push it upwards to form a triangle.Step 4: Now fold the triangle into two equal triangles, do the same with the other side also.Step 5: Now fold one triangle and crease it to the center, repeat...

In this Weapons video tutorial you are going to learn how to make a paper shuriken (or ninja star). Take a square size paper and cut it into half. Then fold each piece in half lengthwise. Fold one end to make a triangle and fold the other end in the opposite direction to make a triangle. Now fold the ends again to make a bigger triangle. Then each sheet will form a ‘Z’ shape. Now place one sheet on top of the other forming a cross. Then fold in the protruding triangles of one over the other p...

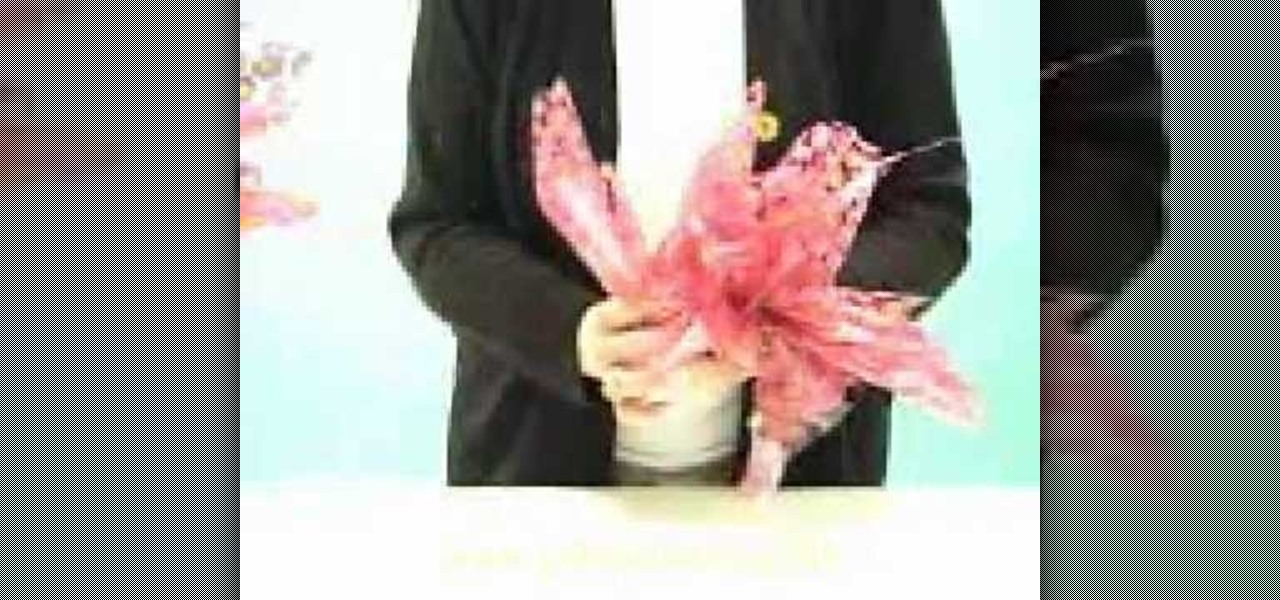
Learn how to make your homemade gift basket exciting by creating plumes with Debra Paulk. This method for adding spice to your gift basket is simple, cheap, and makes your gift basket look professionally made. These baskets are great for birthdays, a loved one, someone in the hospital, or any special occasion. Debra starts by rolling out several feet of cellophane, and folding the cellophane into a square, then folding the square in to a triangle. She then cuts the crease in the triangle, cre...

In this video, you will learn how to find the area of a rhombus. The formula is A = 1/2 d1 * d2. The d1 is the diagonal inside the rhombus, while d2 is the other diagonal inside the rhombus. You will need to find the length of these lines in order to complete the formula. For example, if one length is 5 and the other is 4, then you should plug in the numbers into the formula. This will equal 20 divided by 2, or 10. 10 units squared is the answer to this particular problem. Viewing this video ...

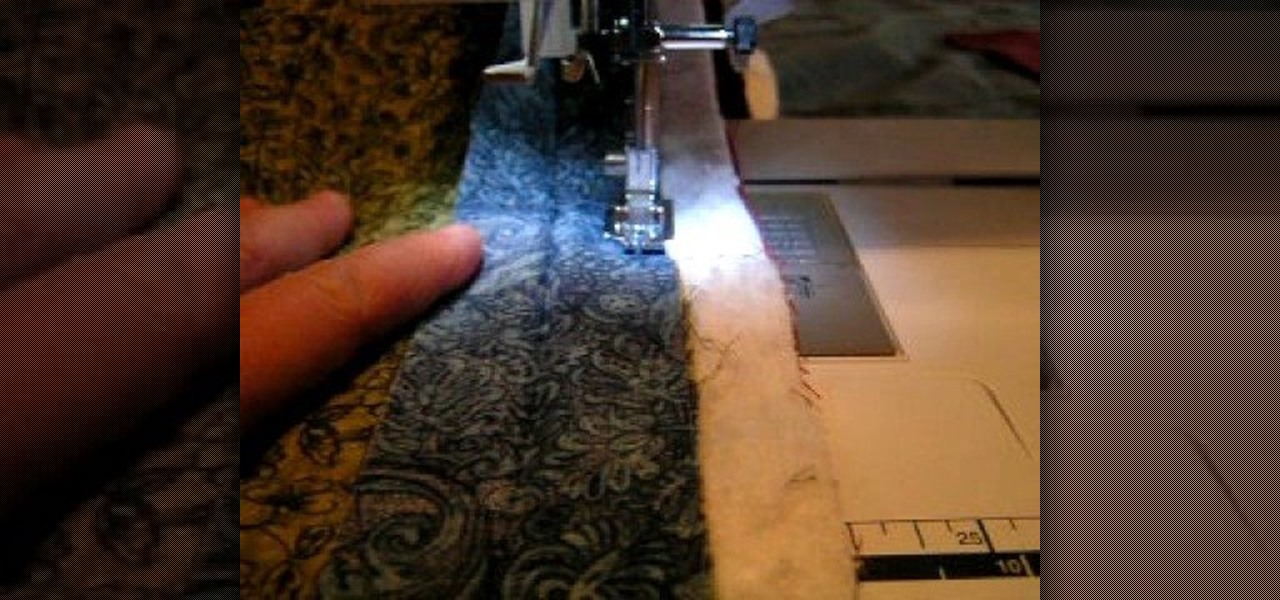
This video demonstrates how to attach a binding to a quilt. At the point of the video, your quilt should be complete up to attaching the binding. It should already be pinned and basted. You should have quilted together all of your squares into your desired pattern. Your batting should be cut. You should be in the final stages of assembling the quilt.

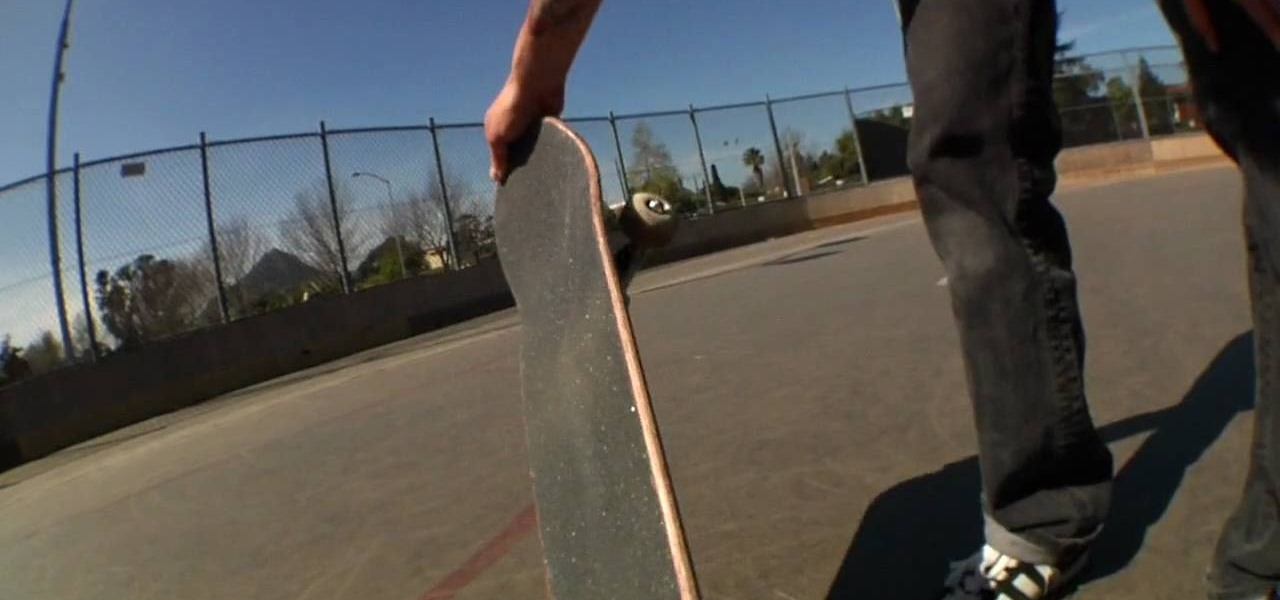
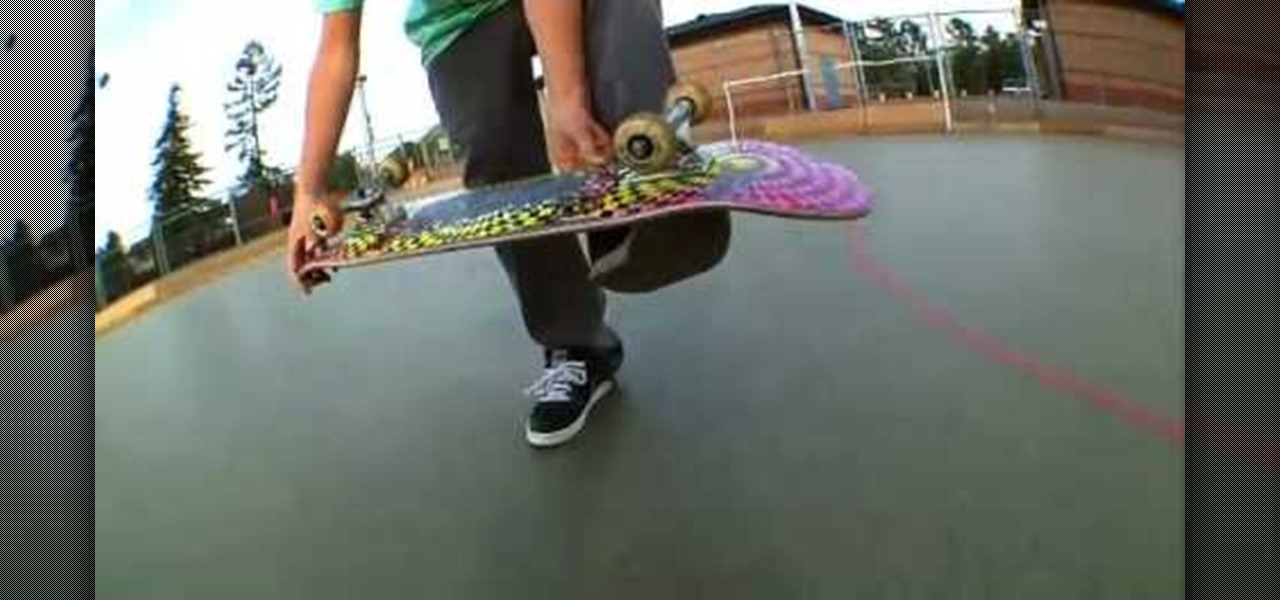
In this video tutorial, viewers learn how to do a kick-flip on a skateboard. Begin by putting the back foot on the tail and the front foot near the center of the board. Place the feet in an angled or squared position. Ride at a moderate speed. To perform the kick-flip, pop the tail down and flick the front foot outwards. Then catch the board in mid air with the back foot and then with the front foot. Try to land on the bolts of the board. This video will benefit those viewers who enjoy skateb...

In this Weapons video tutorial you will learn how to fold a ninja star (shuriken) out of paper. Take a square piece of paper and fold it in half and tear it off to get two pieces of rectangular paper. Fold each piece of paper in half lengthwise. Then fold one end of each paper like a triangle. Fold the other end in the opposite way. Now fold both the ends to get a bigger triangles and the final shape of the paper should be like ‘Z’. Put both the pieces over each other in the form of a cross. ...

This video illustrate us how to draw a graffiti character. Here are the following steps:Step 1: First of all take a paper and start drawing a semi circle and then from this semi circle draw another semicircle bigger then the previous one.Step 2: Now draw two oval within the semicircle and one small square showing the face and the belly of the character.Step 3:Now draw two lines sideways to the character and draw a small circle on these lines showing a tree.Step 4: Now write free hand letters ...

After you set up live TV on your HP Touchsmart PC, tap the house icon and open the live TV title. In this menu, you can browse different categories and programs of TV, as well as future programs. However, you can't watch one program while you record another. To go into full screen mode, tap the square in the top right of the screen, where several controls are available. To record a program, tap the record button, which is a small red circle. If you want to schedule a recording, go to the "On ...

To begin with, you may want to learn how to kick flip before you try to do a casper flip as that is half of the trick. Try practicing it at a low speed as there is a lot of movement with your feet and this will help you keep control of the board. Now set your front foot on the two bolts in the front of your board and have your back foot square. Pop the board up like a normal kick flip, sliding your foot underneath the board as you flip it and when it is flipped over, spin the board back aroun...

If you've ever been curious as to how the traditional Islamic hijab is worn, then this video is perfect for you. This video will show you how to properly wear the hijab and the type of hijab it begins with is the square hijab. Begin by folding it into a triangle and placing it upon your head and pin it underneath your chin. Then, take either the right or left side and wrap it around your head and tuck it underneath, near the same place you pinned it. Lastly, take the other side and flip it ov...

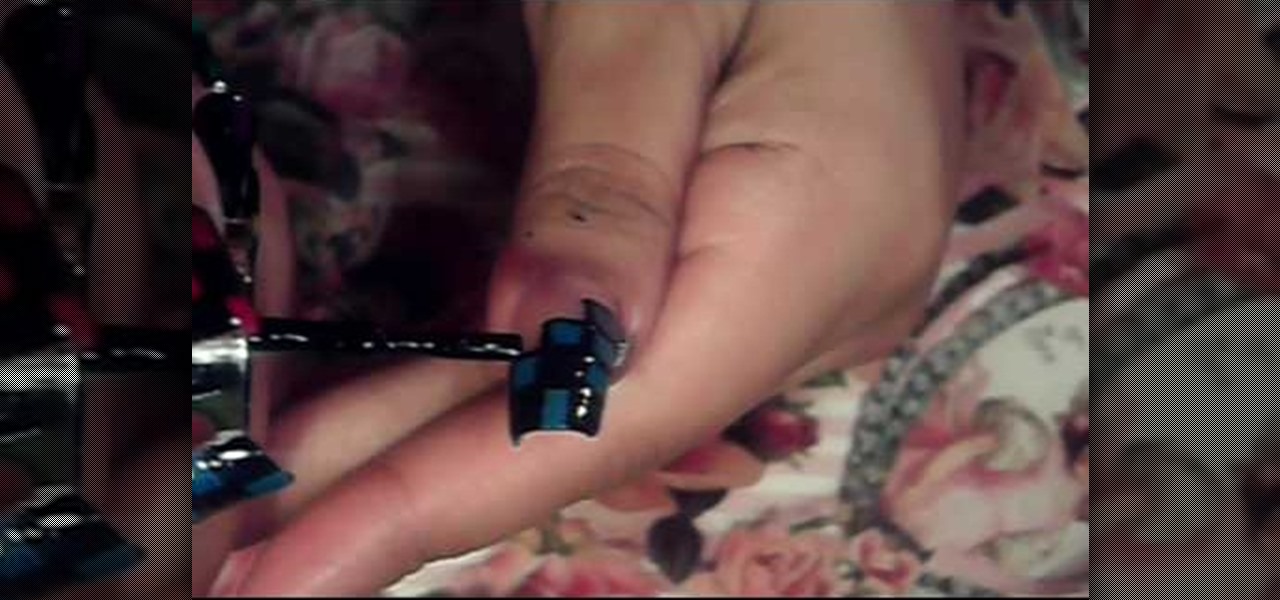
This video is about how to paint your nails with a colorful checker art design. The first thing that you will have to do is to apply the hydrating base coat on your nail. After putting the hydrating base coat on your nail, get a piece of paper for you to place the black nail polish. After placing the black nail polish on the paper, use the dotting tool and place a series of zigzags on the nail. The next step is to fill in the zigzags depending on the color you want. After filling in, make a s...

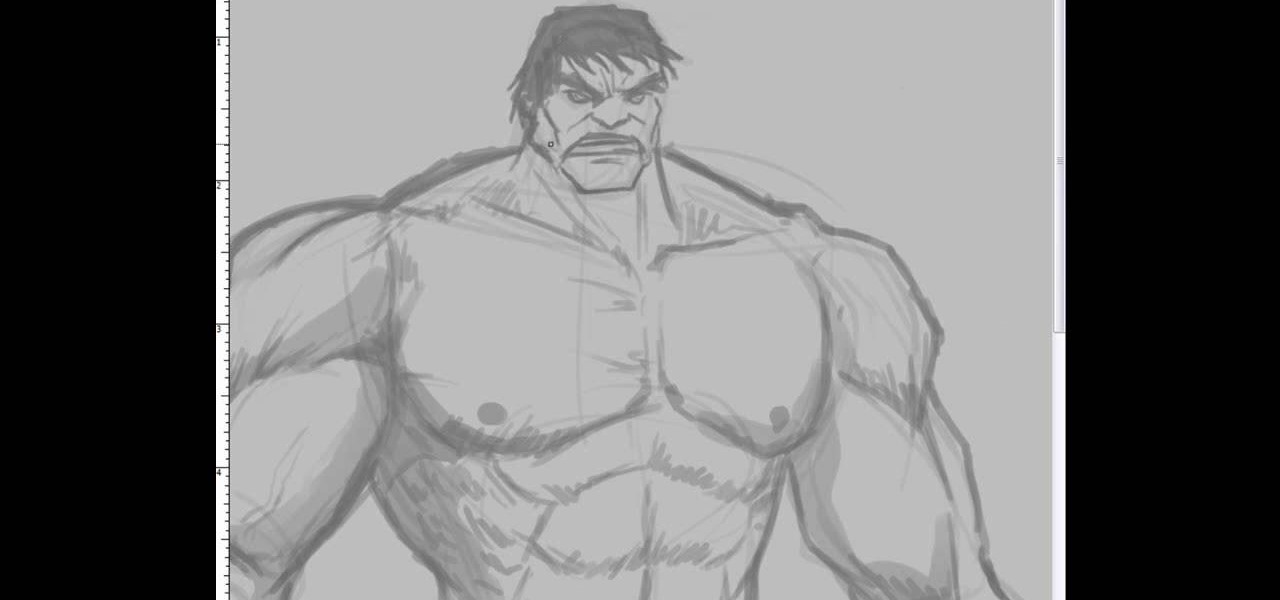
This video illustrate us how to draw the incredible hulk. Here are the following steps:Step 1: First of all take a sheet of paper, pencil and pencil color.Step 2: Now draw a square with round edges representing the face of the hulk. Within the face draw eyes and a big mouth and hairy eyebrows.Step 3: Now from the bottom of the circle draw an oval with wavy structure on it showing the six-pack abs of the hulk.Step 4: Now from the down side of the abdomen extend two legs with muscular legs and ...

This video shows how to make a bay girl and boy head made of clay. The first thing you need to do is get a small round ball of clay that is a skin color color. Then you get the small black beads and place it firmly on the ball they will act as the eyes. Then make the eye creases on the side of both eyes. After that you add the other physical features like nose, mouth, ears, and eyebrows. The last thing you do is fold two square pieces of clay into the shape of a bow then place it on the top o...

This Sports video tutorial will show you how to practice away from the golf course. This video is from Golf Link. Sandy LaBauve presents this video tutorial. You can work on your grip while watching TV. Sitting on your sofa, take your golf club and keep on practicing on the correct grip. Make sure the face is square, use the visual check points, lower your hand and feel the grip. Check your posture in the mirror. Use your backyard to practice your arm swing. And finally you can work on your p...

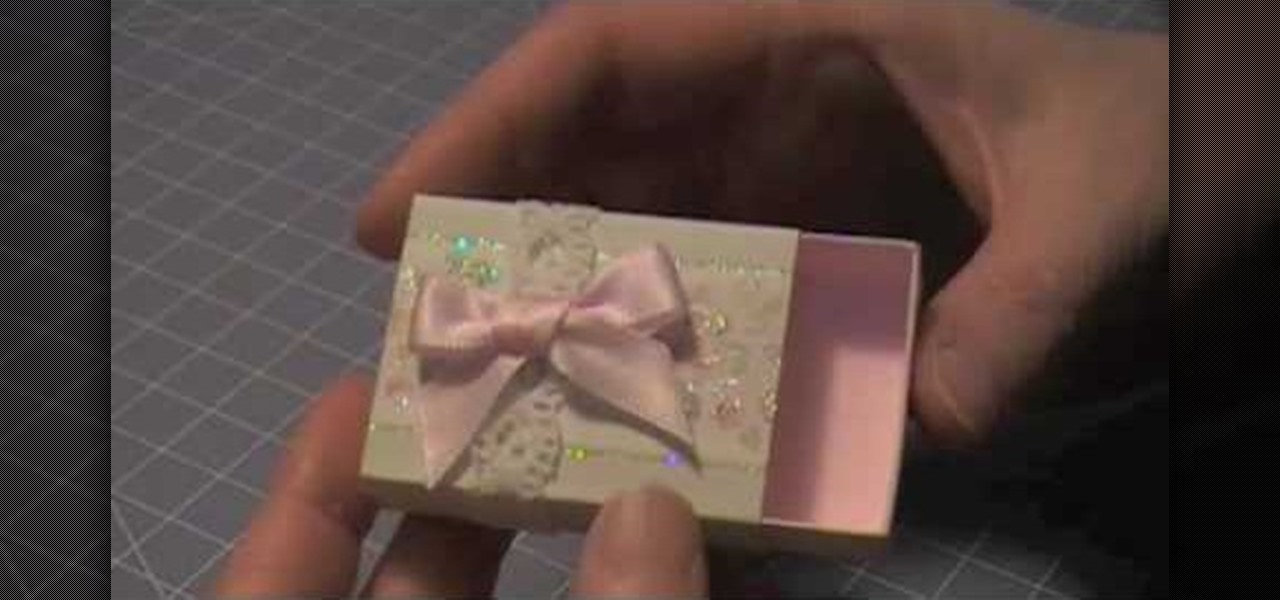
The Artful Paper Doll demonstrates how to make a Marie Antoinette inspired matchbox. Trace the matchbox template onto a piece of decorative paper. Score the template on the creases and then cut the template out of the decorative paper. Fold the creases up. Affix the creases into a square basket shape with dabs of glue to hold the flaps closed. Fold and glue the ends of the box sleeve together. Slide the basket into the sleeve to form the matchbox. Embellish the box as desired. The box can be ...

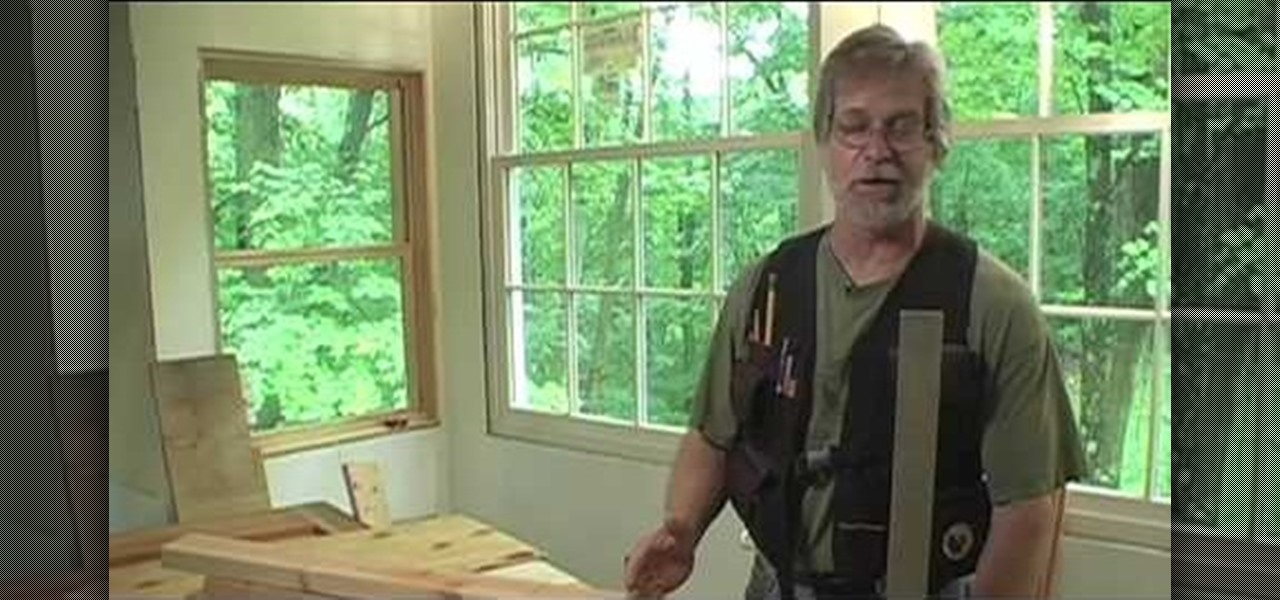
In this video tutorial, viewers learn how to stack cut lumber. This process if very simple to do. It will save the worker a lot of time, instead of measuring and cutting each piece individually. The stack cut will cut a number of lumber into the same length. This can be used to cut a single stack or an entire unit. Begin by squaring up one end of the stack. Mark your measurement on top. When you cut, it will leave a mark on the next board. Continue to cut through all the lumber. This video wi...

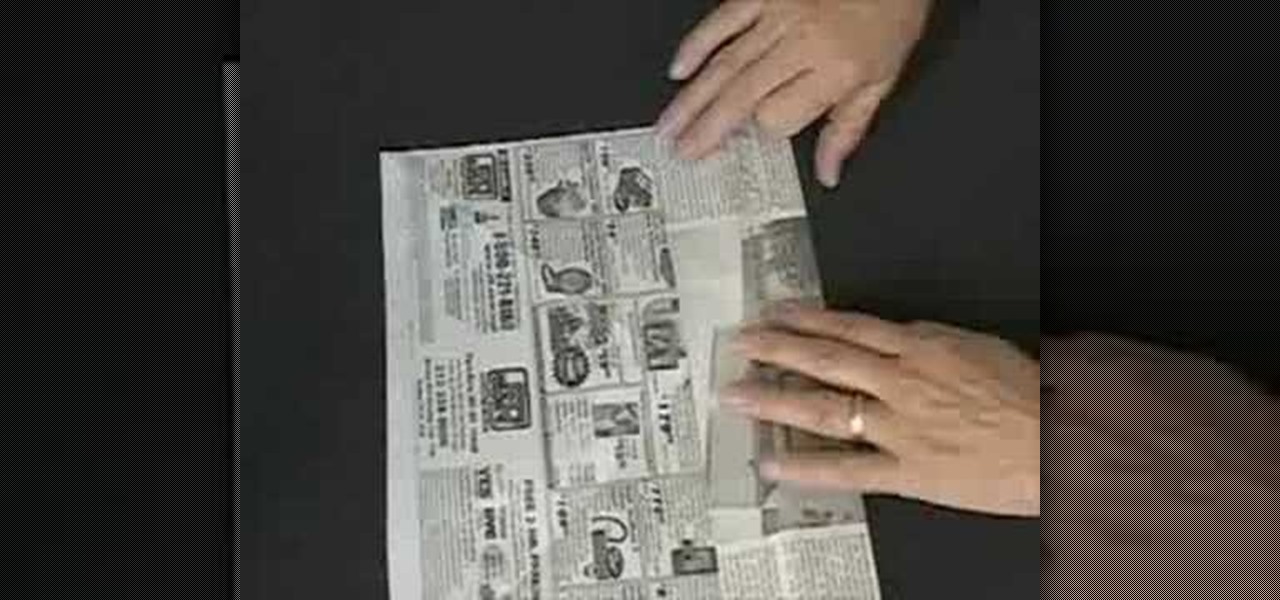
Have you ever thought about creating small boxes out of newspaper? Tomoko Lipp shows you a simple folding and cutting method to do this. Making these can be another way to recycle and be environmentally conscious. You might also consider using them for a unique gift box idea or for storing small items. All you'll need is some newspaper, a pair of scissors, and a pen to mark a few measurements.

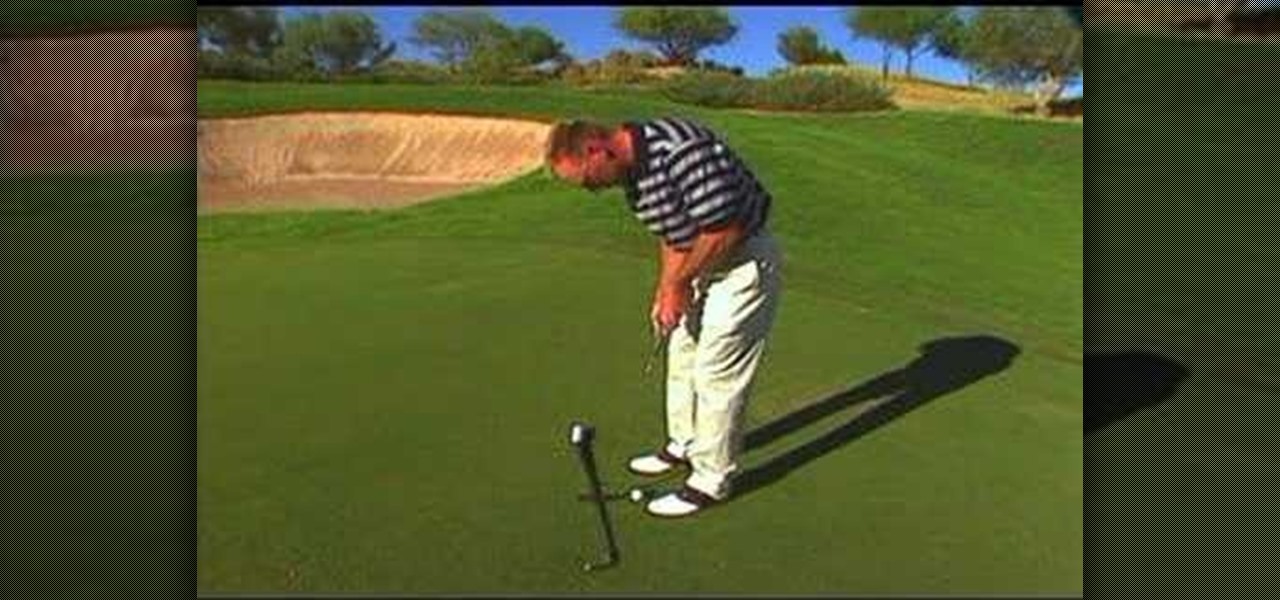
The difference between a professional put and an amateur put is in the finish of the put. The professional moves his shoulders directly parallel to the target line while moving his eyes instead of his head to follow the ball. The amateur swivels their entire body to follow the ball which creates an inaccurate shot. This movement lifts the body which completely messes up a shot. For practice you can practice swinging your putter exactly the same path of a straight line. This will help create a...

The video shows how artists enlarge and copy from photographs. First grid lines are drawn on the reference photo. Then grid lines are drawn on the paper with enlarged or reduced grids. Now draw the lines from the reference photo to the drawing paper one square at a time. Now complete the outlines from the reference photo. Erase all the grids and you have only the outlines. Add details and area of tone. Darken the dark areas and you have a replica of the reference photograph. The same techniqu...

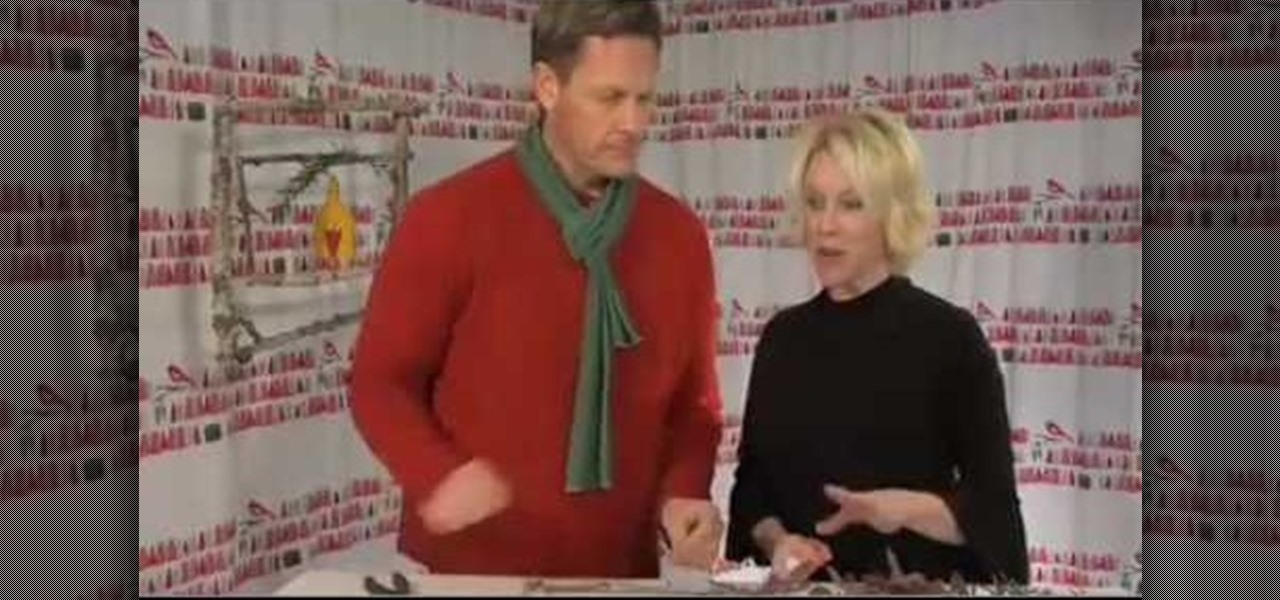
Six Minute Style host Susan Doherty is on location in Montana at the Nine Mile School house with Kurt Seer who shows how to create a 3 dimensional wreath mobile. He uses birch as his base. You can use any wood you choose. Make a square out of four branches. Knot, tie and twist floral wire at cross sections of the wood frame. Leave a little tail for the decorations. Tie dried rosemary in the wire tail. Tie leaves and greenery around the frame using wire. Not only for Christmas, you can create ...

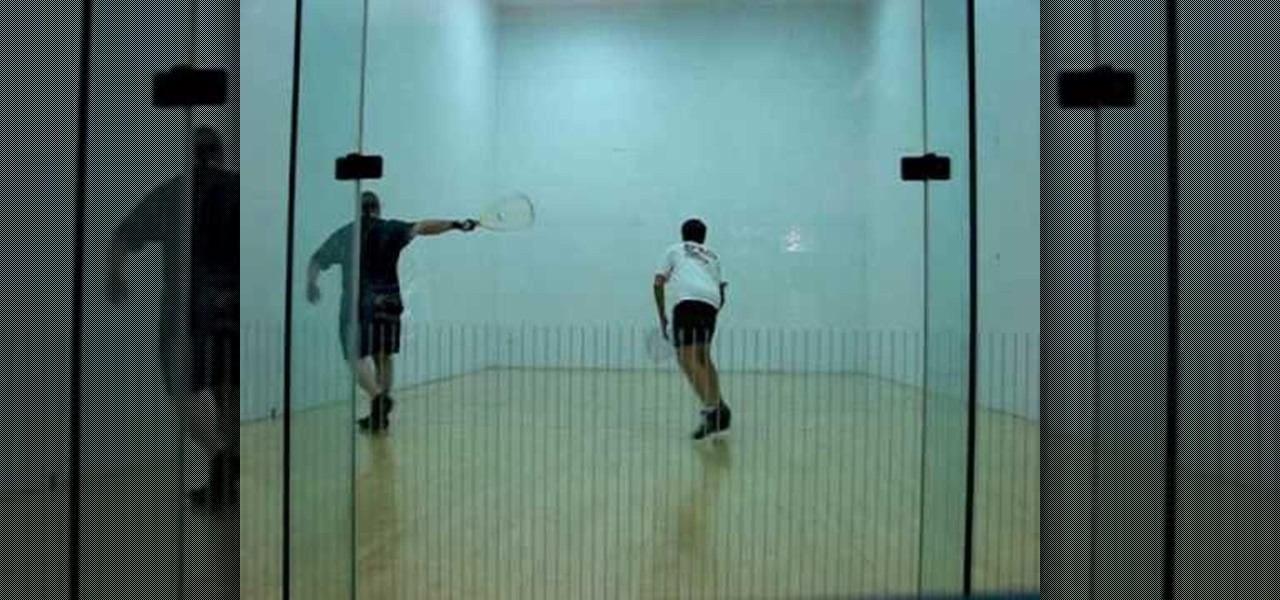
This video illustrates how to play Racquetball and how to teturning the Lob Z. Your main priority should be to cut off the Lob Z at or around the dotted line. If the serve is low in your hitting zone, take an aggressive shot like down the line or cross court pass. Make sure to square up to the side wall as shown in the video. If it is a good serve and the ball is high in your hitting zone, play it safe and go up to the ceiling. This will get your opponent out of center court and allow you to ...

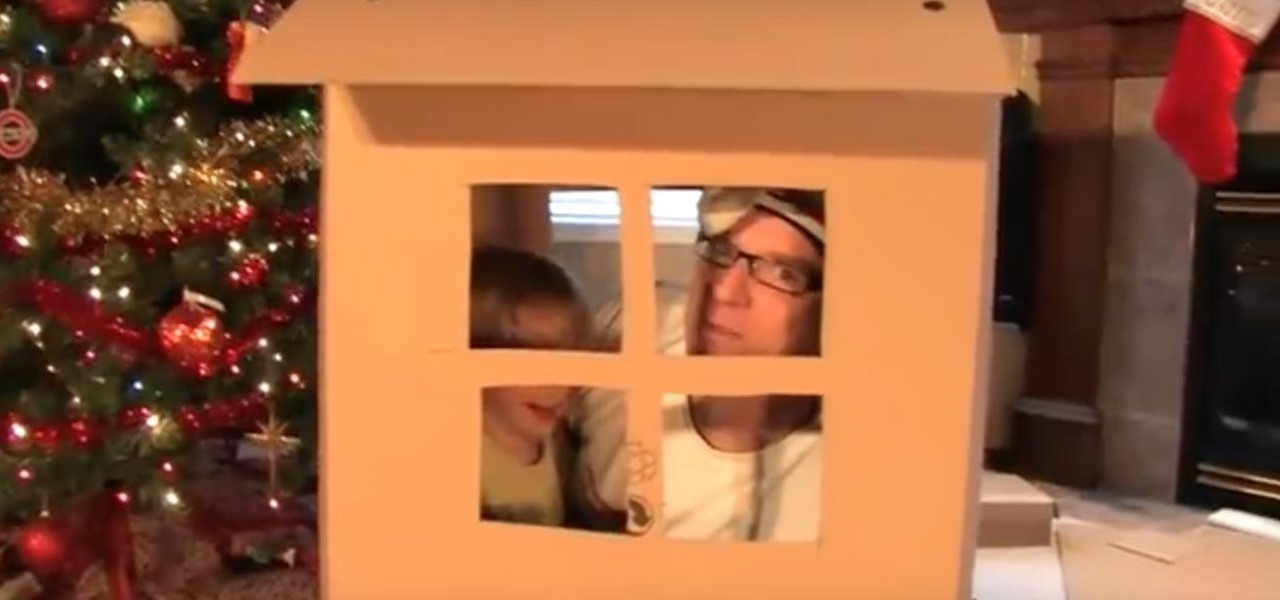
In this video tutorial, learn how to make a cardboard house with leftover cardboard that you may have sitting around from the holidays. You will need cardboard and plastic box rivets.

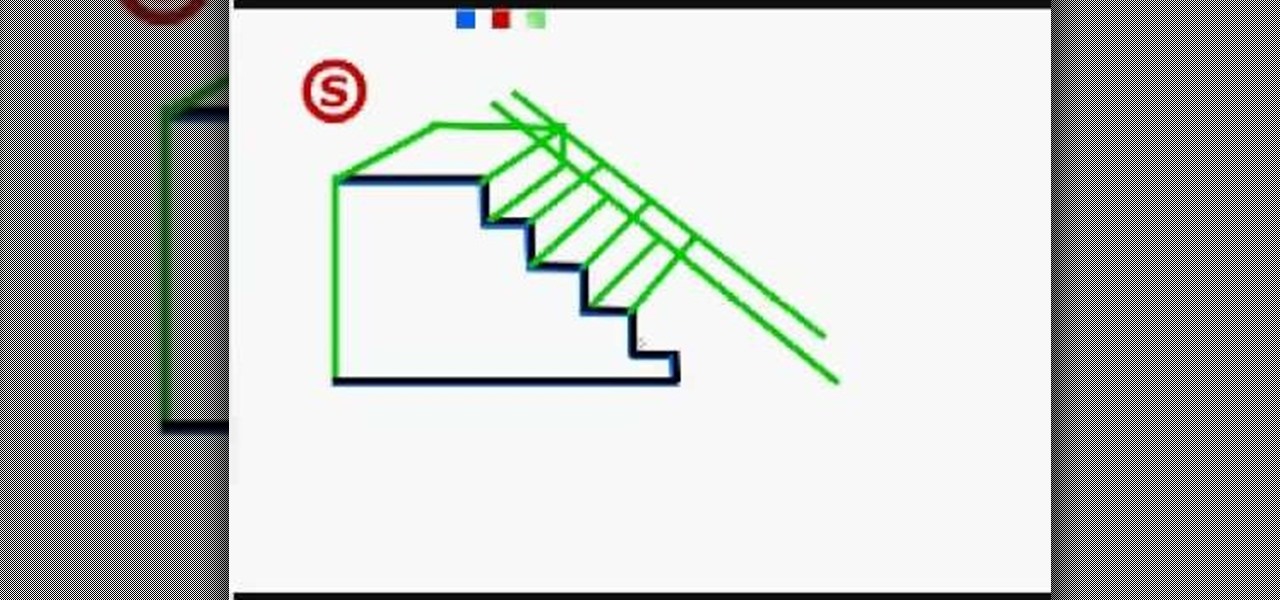
This wordless video shows how to draw a staircase in 3d. Start by drawing the steps in one dimension. Extend two lines at the top of the stairs the width you want the steps to be. Draw another line between them to make a square. This creates a landing. Draw two lines downward and parallel to the steps from the line at the top of the stairs. This will create a rail and a second base. Then extend lines from each jut of the one dimensional steps, stretching the lines alternately to the base and ...

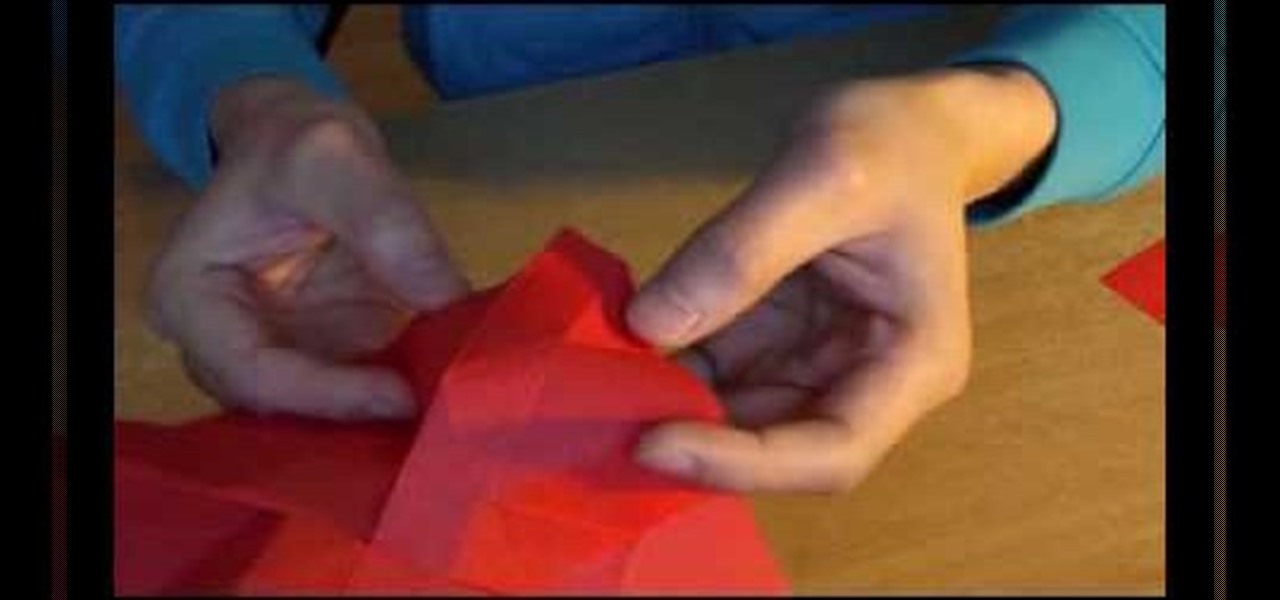
Make an origami rose for your love on Valentine's Day. This easy to follow video shows you how with romantic piano music to calm you while doing it! Start with a piece of red paper then make the initial guide line folds. You then start by folding in the corners then making more guide folds. Then the edges get folded in as you slowly start to see the flower develop. Then, you make a fold in the center and start to work your way around as the flower takes shape. A twist starts at the center the...

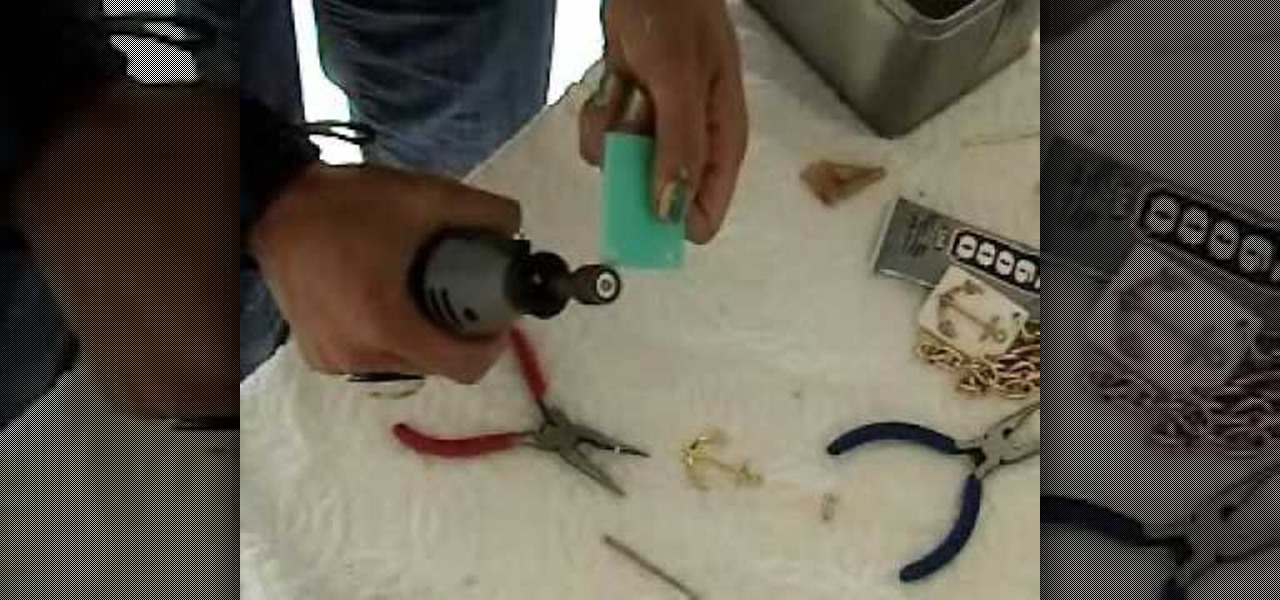
Learn how to make your own jewelry starting with a gold anchor and plastic gold chain necklace by following the steps Kandee outlines in her tutorial. You will need a drill, some attachments for it, a gold pendant, gold chain, and clasps to connect your necklace. To begin, create your pendant by gluing an anchor charm to a plastic square pendant. Once you have created the pendant, drill holes in the upper portions of the pendant. Then connect the gold chains on each side of the pendant using ...

MRTV demonstrates how to make a scarf necklace. Making a scarf necklace is very easy and doesn't require cutting, sewing or altering. If you know how to tie a knot and you have a scarf then you can make a scarf necklace. Fold a square scarf into a triangle. Take the tip of the triangle and fold it in. Roll the scarf up and knot it loosely in the middle. Make knots in the loose ends of the scarf, using your desired length to determine how many knots to make. Tie the ends of the scarf together ...

This video, for simplekidscrafts.com, tells us how to make an origami necktie. This is a very easy crafts project, suitable for kids and adults alike. It doesn't require a long list of materials, only a sheet of origami paper is needed. The sheet of paper is then folded ten times to transform it from just a square of paper into a decorative origami necktie. The video has no audio instruction, but encourages you to follow the folding technique exhibited by the child in the video. The camera is...

Betty's Kitchen offers recipe for Cheese and Onion Stuffed Hamburgers

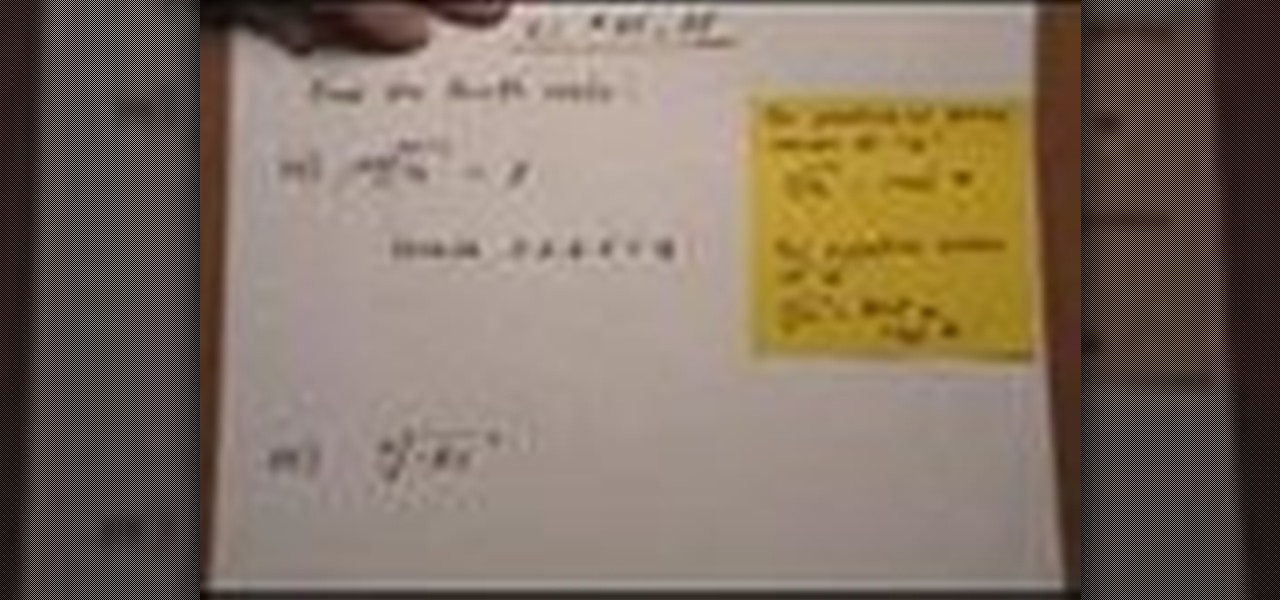
In this video the instructor shows how to find out the fourth roots of a number. The properties of fourth root says that for any positive number of a, its fourth roots are real. And for any negative value a, its fourth roots are not real. So split the number inside the fourth root as the product of two perfect squares and then cancel out the power with the fourth root giving its roots. As the fourth roots of a positive number are real, the answer you get is correct. But you cannot find out th...

This video from Origami in 30 Seconds demonstrates how to make a paper box in 30 seconds. Start with a square piece of paper and fold it diagonally to make triangles from both corners. Unfold it, and fold each corner into the middle. Unfold two of the sides and fold the edges of the other sides toward the middle. Turn it over and fold the triangular corners back so they touch in the middle. Fold the corners over backwards. Take the two sides and pull them out, and fold the outside corners in ...

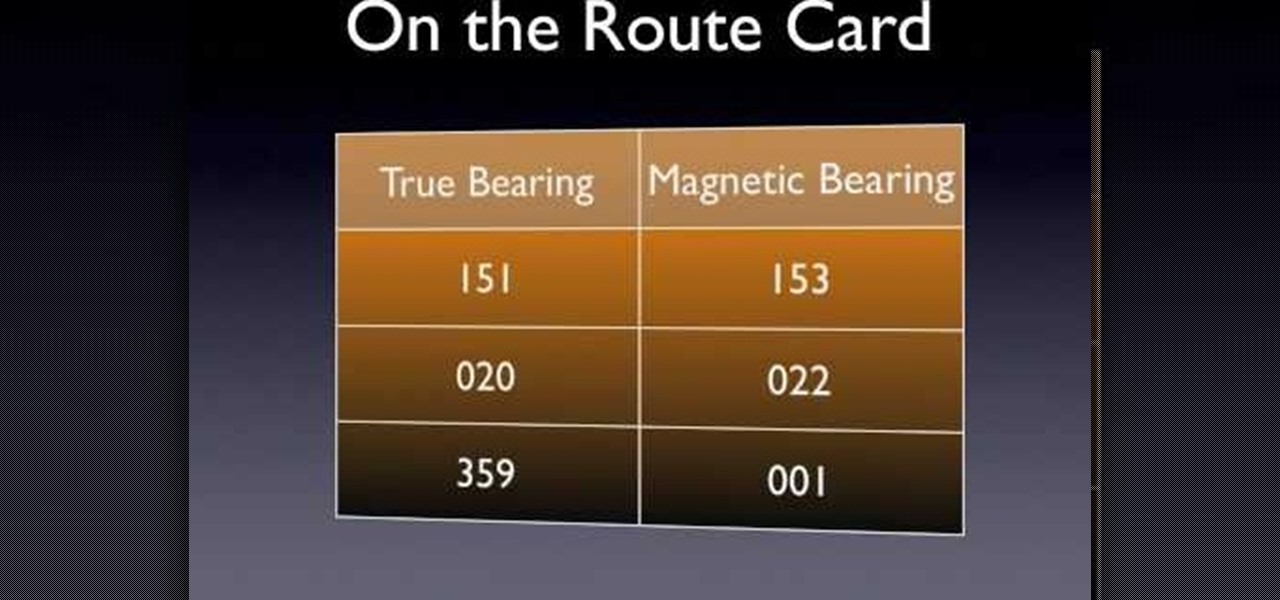
Without good navigational skills, your expedition could lead to failure or result in a dangerous situation. Try to use a laminated map which is better in wet conditions. 1:25,000 scale maps provide the greatest detail. One grid square equals 1 kilometer. Use map keys for reference. Don't mistake boundary walls for footpaths. A compass points to magnetic north and the top of the planet is called true north. Magnetic north is constantly moving and its position relative to true north is differen...

The video demonstrates the solving of radical equations in algebra. The first thing to be done is to keep the radical number on one side and the other numbers on the other side. The radical is then changed to a rational number by squaring, cubing etc. Once the roots are removed, it becomes a simple equation which can be solved by keeping the unknown number on one side and the rest of the numbers on the other side. The value, thus arrived at, is checked by putting the value of the unknown numb...

The video is a step by step process for drawing a SpongeBob using a coin and crayons. First he took the coin and drew two circles nearer to each other using a black crayon. Then he added a black dot to its center so that it looks like the eye of SpongeBob. He drew the lens of the eye using green crayon.


