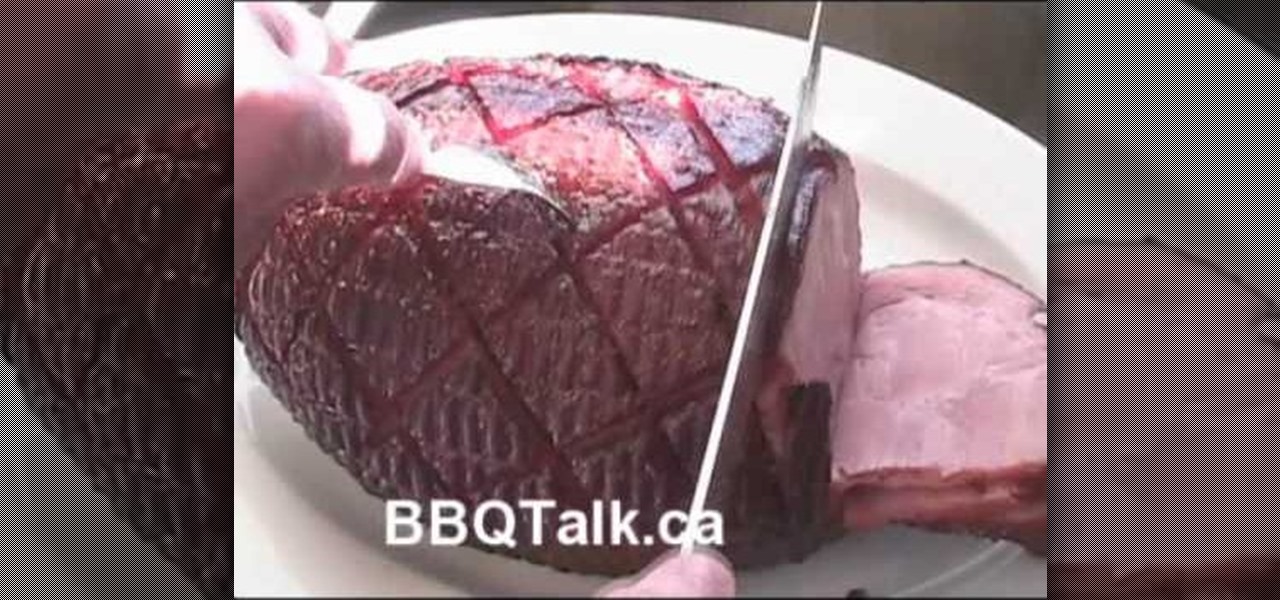
This video shows the secrets of smoking a ham in simple steps. An excellent summary is given below. First slice the ham for about 1/4 inch, turn over and slice it in a criss-cross pattern. Turn over the ham, repeat the same process and place the ham on BBQ with 250 set in it. For the paste add pineapple juice, BBQ sauce, mustard, maple soup and stir them well. After an hour apply the paste on the ham nicely into the sliced areas and all over it. After cooking slice down the ham carefully and ...

This video illustrates the transfer of paper patterns on woodworking projects with Lowe's. If you have a pattern in a piece of paper for the woodworking project. Draw the grid for the pattern in a piece of paper. Even though, the piece of wood is six times larger than the pattern in paper. Draw the grid in the wood with One and half inches by the use of ruler. Then check out each and every box of grid in a pattern, trace the shape of each boxes in the wood. After finishing all the grid boxes ...

Do you like Pakistani style urad daal? Well, with this video, you can make your own with the following ingredients:

In a large bowl combine 1/2 cup salt
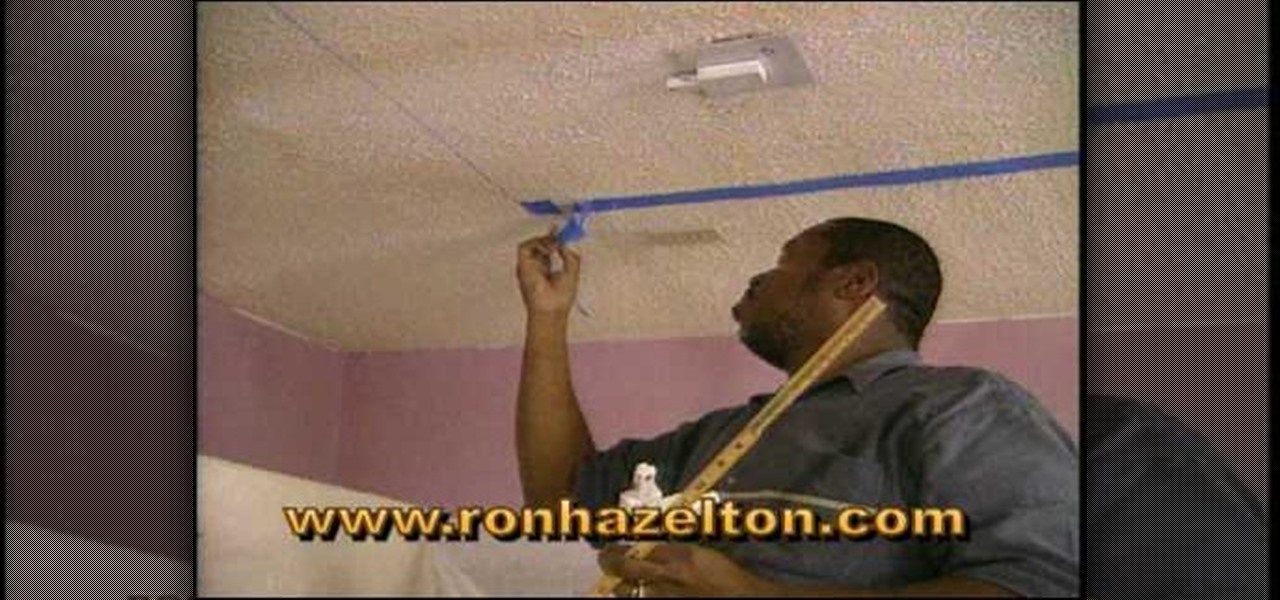
This video shows how to install track lighting where you want to add or direct light. The first thing to do is to turn off the power to the circuit. If you don't have an electrical box where you want the lighting, you can purchase one at any home improvement store. If you have one, you will also need a track lighting adapter. Use masking tape for the pattern that you want, start around 18 to 24 inches from the wall. Remove the tape and replace it with chalk lines. Cut the tracks to size and a...
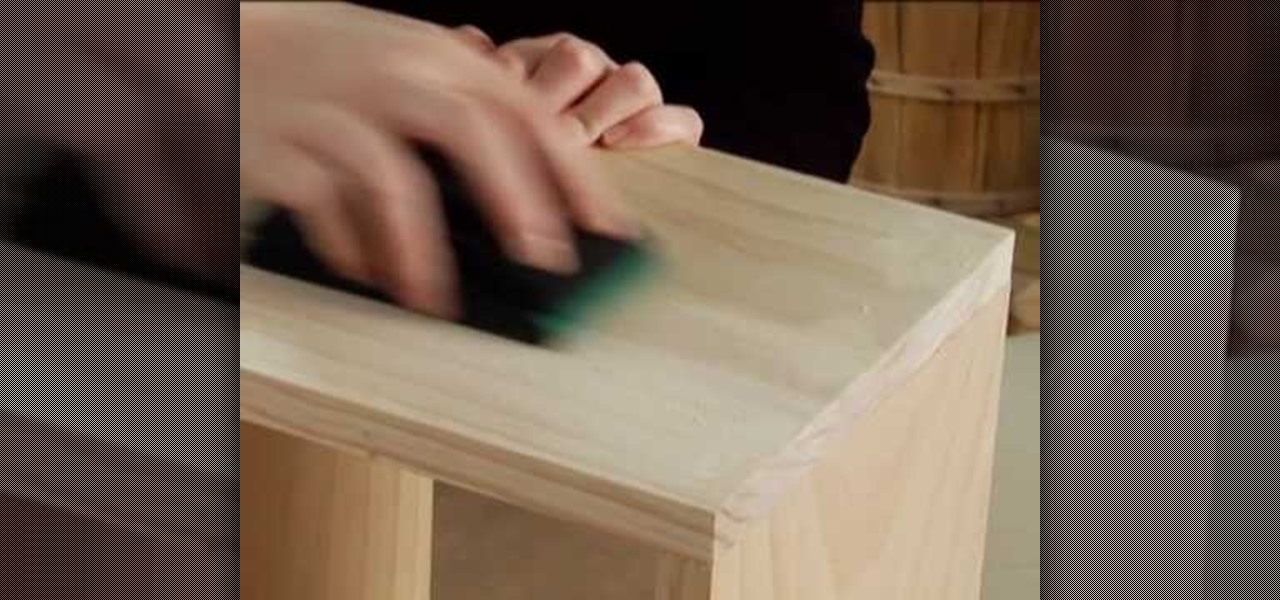
This video describes how to improve one's skill when performing home based projects with wood which is a useful skill if one wants to build a table, chair or even a box. In this video one will learn how to sink a nail, cover the hole and leave a sanded finish. For example it is important to drive all nails 1/8 an inch into the surface of the wood so the filler can cover the hole properly and avoid leaving sharp edges or uneven surfaces. Overall this video is simple, easy to follow and useful ...

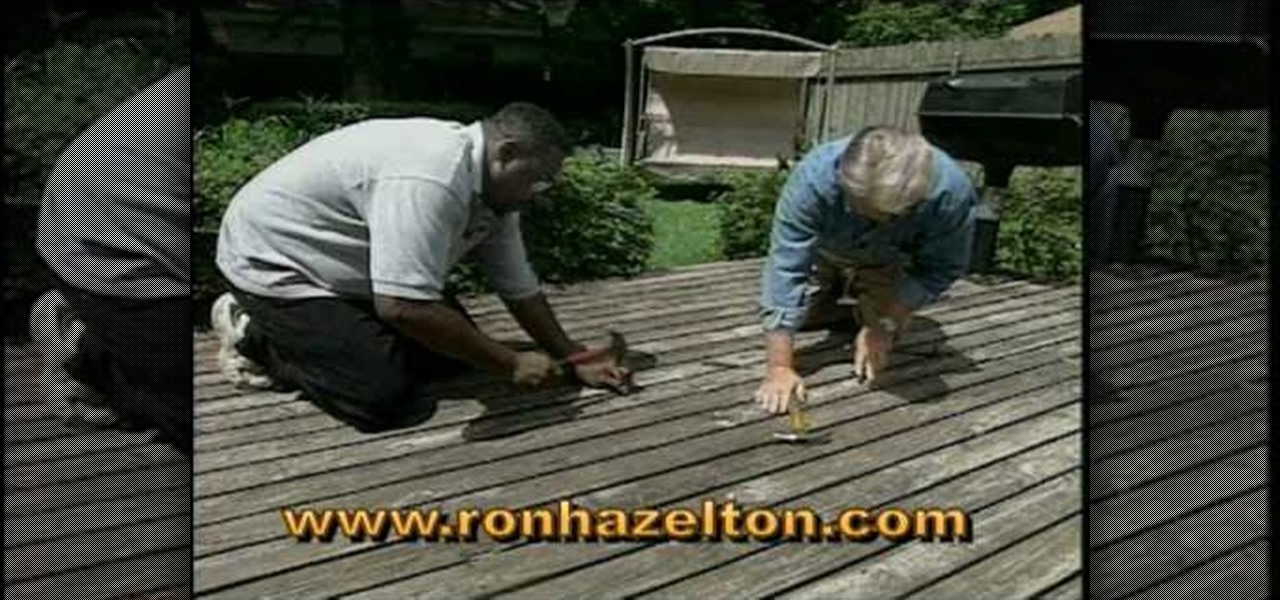
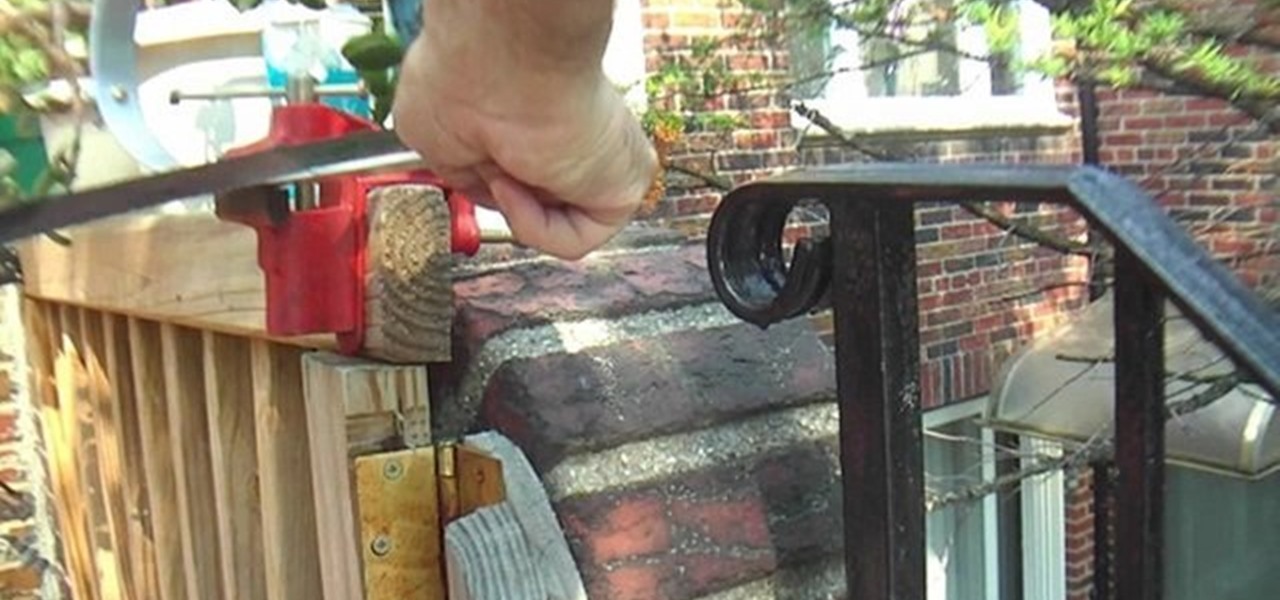
Ron Hazelton shows how to restore a weathered and worn deck. Twisted boards can be straightened using a notched 2x4 as a lever, then secured with 5 inch screws. Remove popped nails, and replace with longer thicker nails. Use a punch to countersink slightly high nails. Clean the deck with wood soap and a long handle brush, using a pressure washer to rinse. Apply sealer to the dried wood and let it cure, then enjoy your reinvigorated deck.
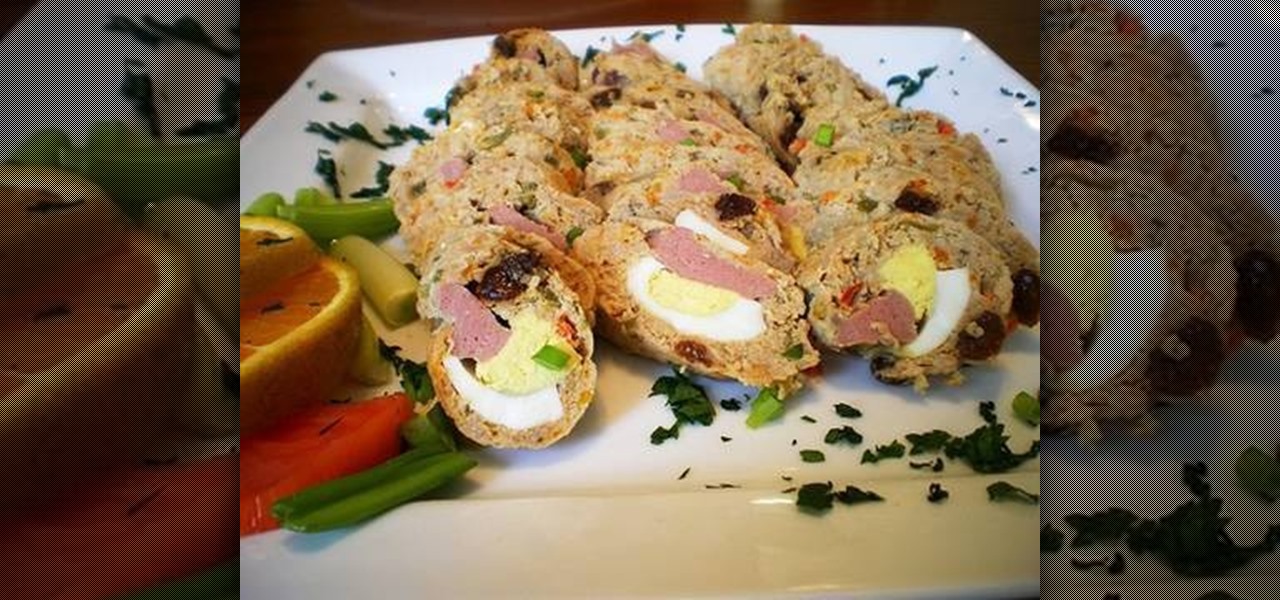
How to make Filipino embutido or meatloaf. Gather together ground pork, ground sausage, hard boiled eggs, sweet pickle relish, sweet sauce, cheddar cheese, green and red bell pepper, raisins, minced onions, and breadcrumbs. In a large container add ground pork, sausage, breadcrumbs, and 2 raw eggs. Then mix well. Once mixed add red and green peppers, onion, pickle relish, cheddar cheese, and mix well. Then after mixed add in raisins and tomatoe sauce. Mix well again. Flatten mixture onto a ti...
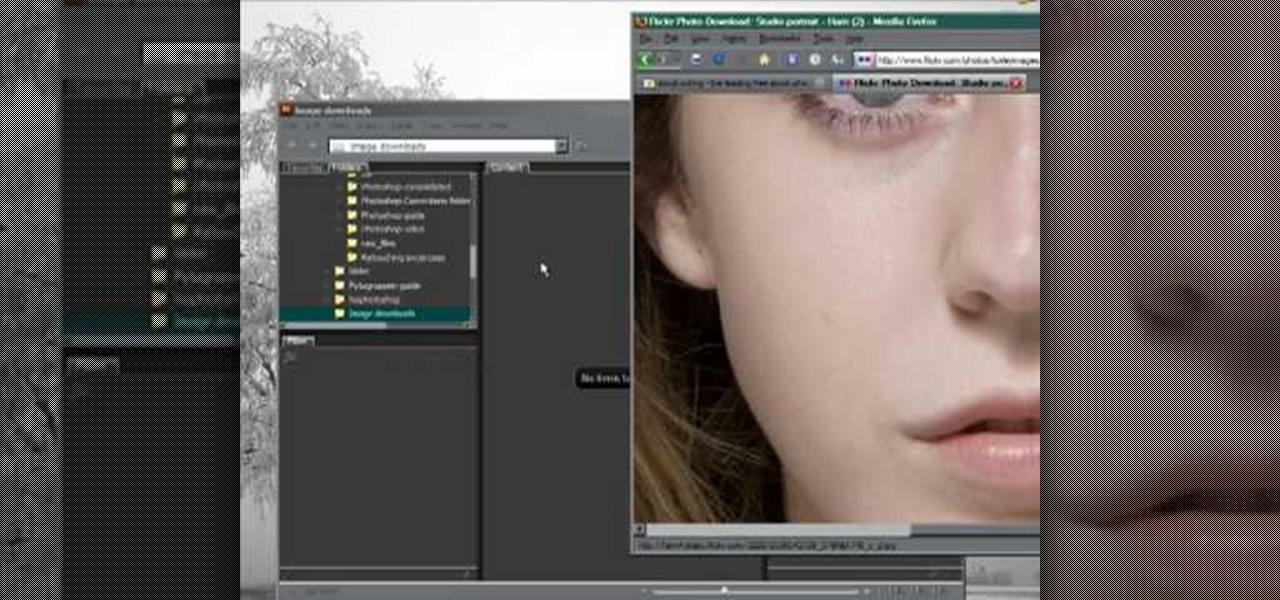
Need some high quality images to work on? High resolution images are those that are at least 300 dpi (dots per inch)... In layman's terms, high quality. When an image is less than 300 dpi, you will notice a loss in quality and an add-in of pixelation when printed.
Looking to make this Christmas a DIY Christmas? Why not make your own Christmas tree skirt, customized to fit your personality and home decor! Nothing says it’s Christmas like a beautiful Christmas tree. Now you can decorate the area below with a handmade Christmas tree skirt that you can be proud of.
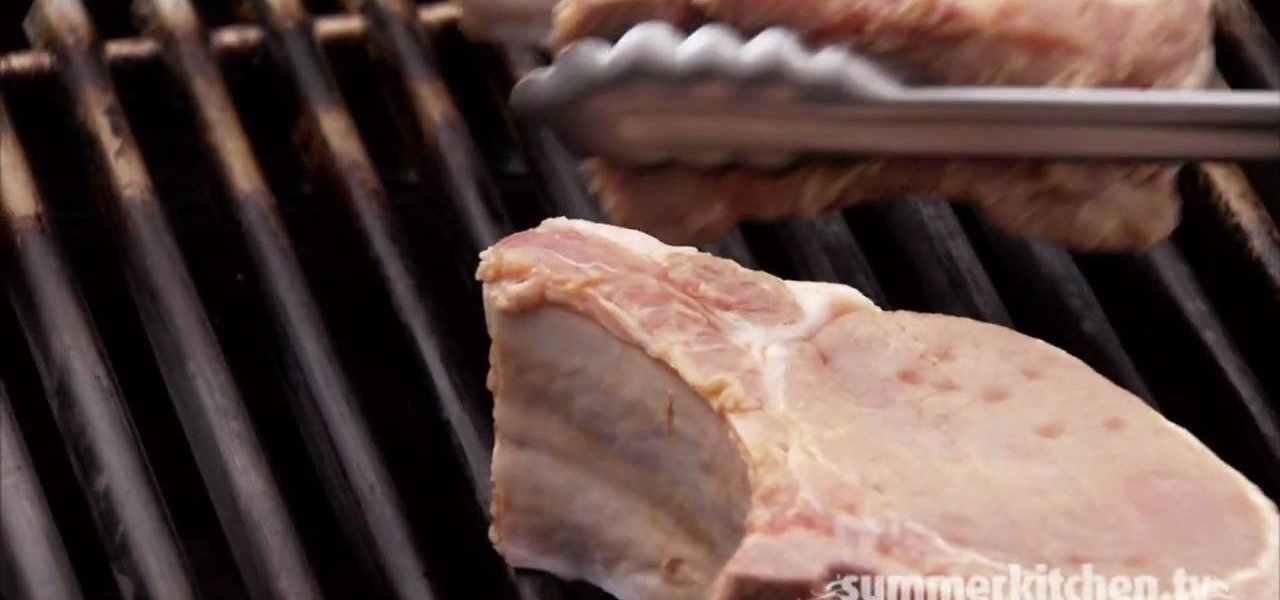
Properly cooked pork chops are juicy and delicious, especially off the grill. Chops come from the loin and there are three cuts; the rib chop, the loin chop, and the sirloin chop.
Need to shoot a film for class and realized you don't have a Fisher Dolly and your cinematographer's hands are a little to shaky for what you would consider good filmmaking? Well, this video tutorial will show you how to make your very own steadycam. Check out how a nautilus design transforms into a more suitable steadycam; the gimbal is the key, and gimbals are very hard to find, especially the right one.
In this video cake decorating tutorial, the instructors take you through the steps of learning how to cover a cake with rolled fondant. To follow these directions, you will need a cake made with whole eggs (as that affects the consistency), buttercream icing, piping gel, a one inch brush, rolled fondant, two fondant smoothers, a rolling pin, powdered sugar, cooking spray, and a mini-pizza cutter. Fondant adds a beautiful and impressive finish to a cake, and is not as difficult to apply as one...
Add a little South American flavor to your wrist by learning to make your own Peruvian bracelet. You'll need some heavy string and some macramé skills to craft your own Peru-style bracelet, but trust us—it's not hard. Just follow along with the video and see how easy it is.
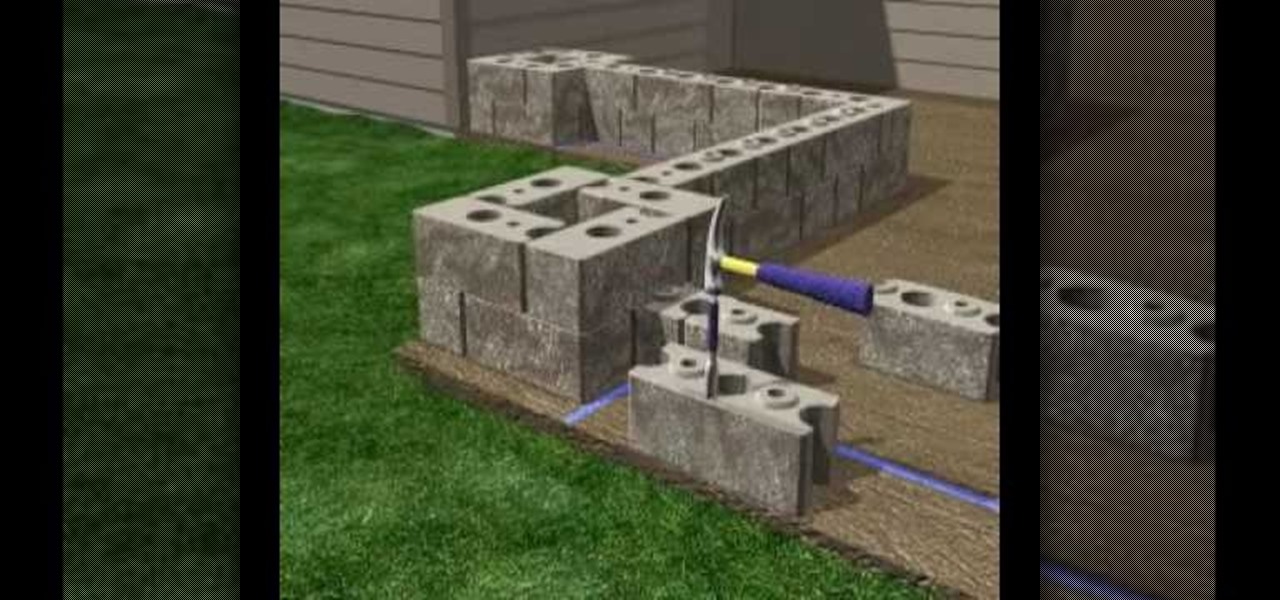
In this how to video, you will learn how to build a patio enclosure with seating walls. You will need measuring tape, a level, a dead blow hammer, a square, masking tape, safety glasses, and work gloves. You will need the courtyard collection as well. First, draw out a plan for the enclosure. Mark the locations of the posts and panels with tape. Openings should be three to four feet wide. Start building walls at posts. Adjustments must be made at corners. Start by placing four corner blocks. ...
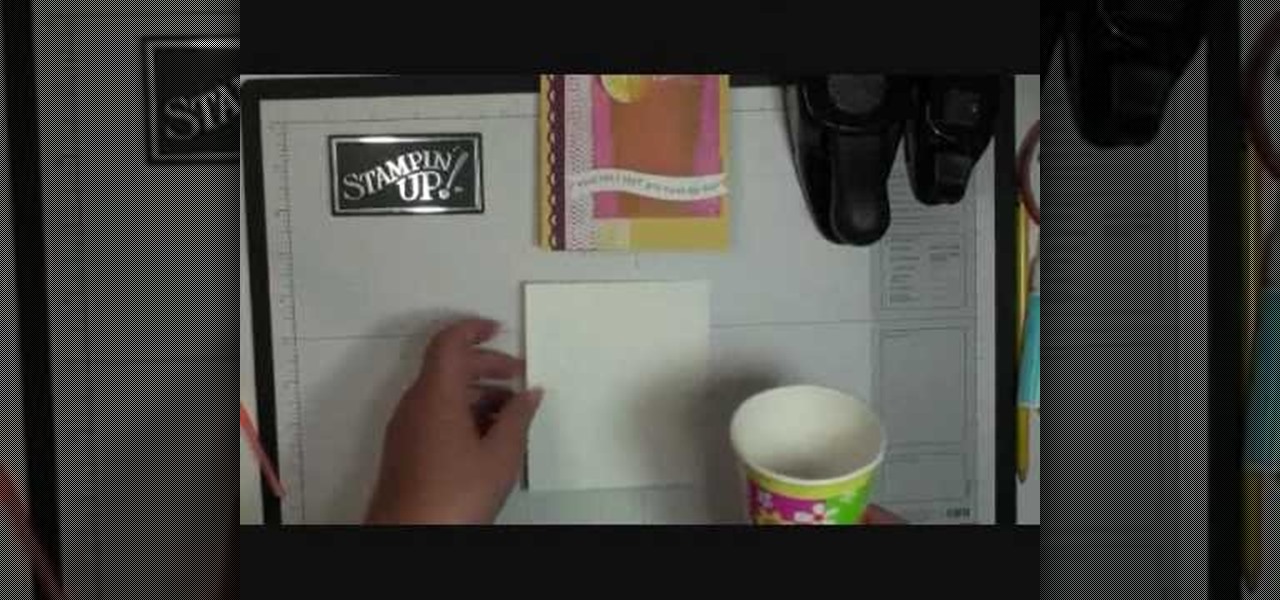
Dawn Griffith creates a cute card with a 3D lemonade glass embellishment from start to finish. Create a template by making a rough sketch of an 8 ounce paper cup onto a piece of white cardstock and cut it out. Take the template and either trace it onto a piece of vellum cardstock and cut it out, or use Dotto adhesive to attach the template directly to the vellum and then cut around the shape. Score each side at about 1/4", fold on the score lines and trim the overlap at the top. Apply sticky ...
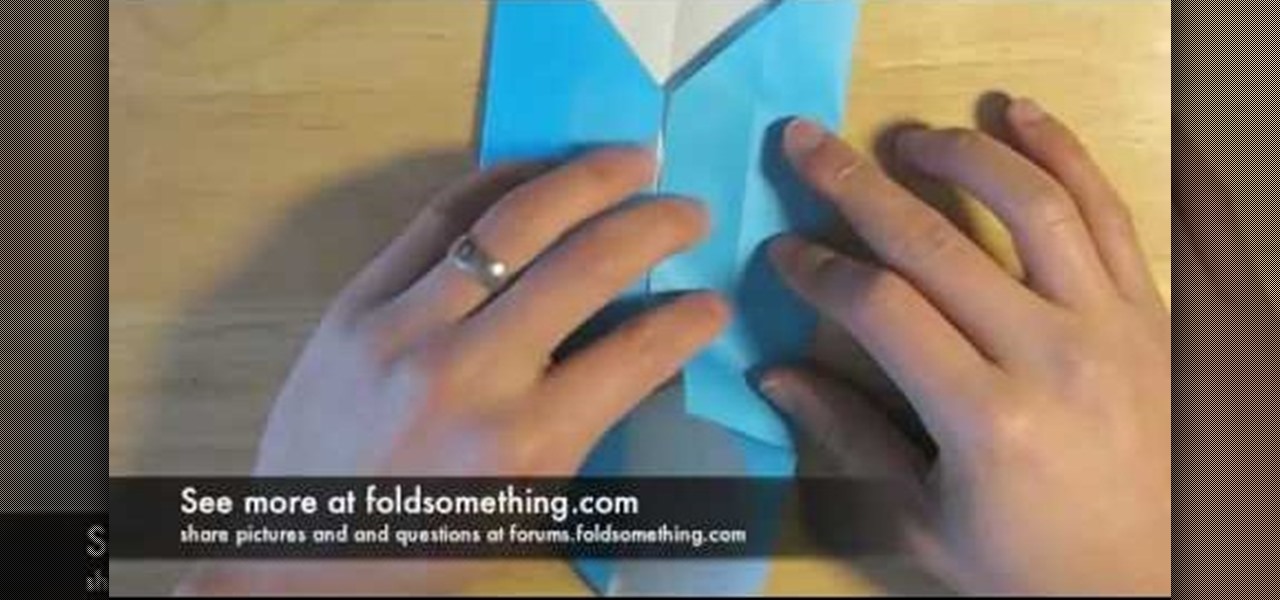
Links of Love is showing you how to make origami heart shaped cuff-links. Start with a 20.5 cm square of paper. If you want to make a cuff link you can wear you should use a square the size of 4 to 5 cm. Fold a good crease and then unfold. Fold two corners in toward the middle and then unfold. Fold one side in toward the middle crease. Only crease up to the crease of the corner fold. Unfold and fold the side into the new crease just made. The creases are guidelines that will be used later on ...
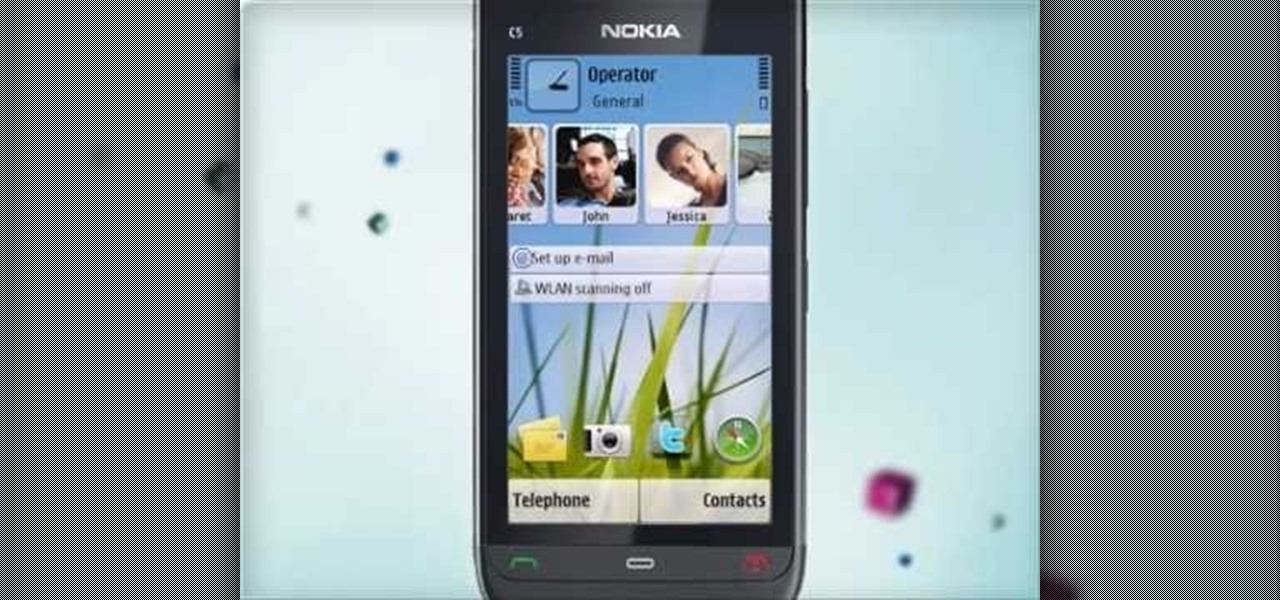
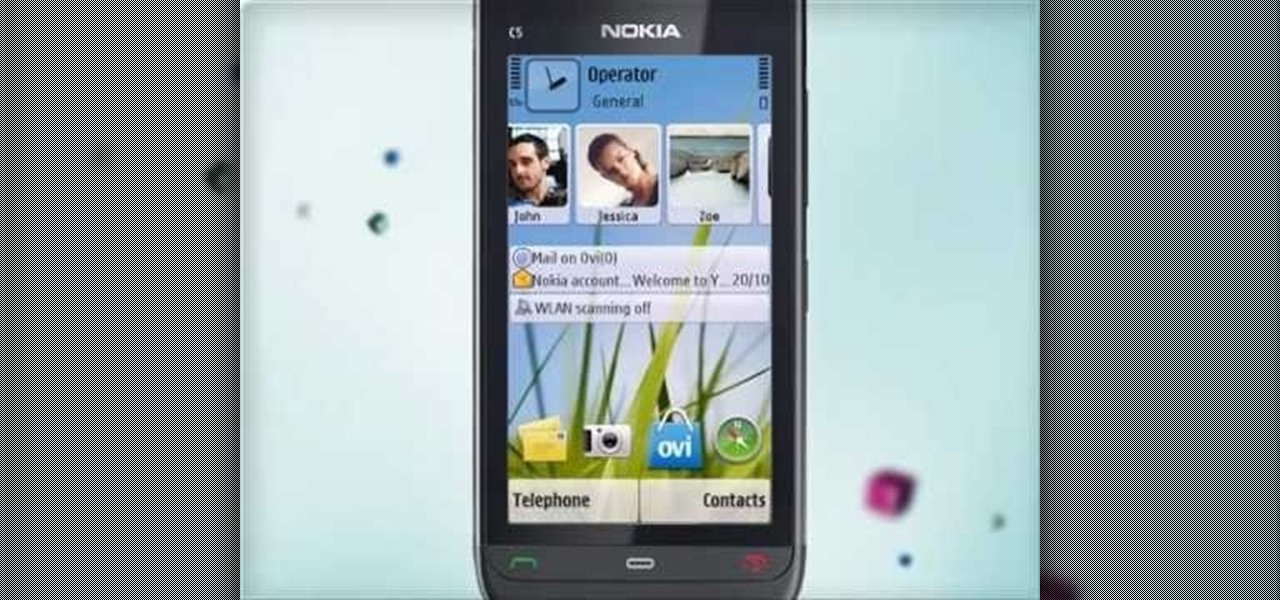
Learn how to use Ovi Maps on your device. See your current location, find a place, plan a route, and more. The C5 is the first offering in Nokia's new "C" series of mobile phones. It runs on Nokia's Symbian OS and features a 2.2-inch screen and 3.2-megapixel camera. Want more? Search WonderHowTo's sizable collection of C5 video tutorials.
Learn how to use the touch screen to perform different actions. Learn how to control your device by tapping, swiping, scrolling or dragging. The C5 is the first offering in Nokia's new "C" series of mobile phones. It runs on Nokia's Symbian OS and features a 2.2-inch screen and 3.2-megapixel camera. Want more? Search WonderHowTo's sizable collection of C5 video tutorials.
Get familiar with the home screen in your device. Learn how to personalise the home screen to make it yours. Also learn how to set an alarm using the home screen. The C5 is the first offering in Nokia's new "C" series of mobile phones. It runs on Nokia's Symbian OS and features a 2.2-inch screen and 3.2-megapixel camera. Want more? Search WonderHowTo's sizable collection of C5 video tutorials.
Learn how to make contacts that include a photo in the contact information displayed on the home screen. Also learn how to add a web feed to contact information and how to remove a contact from the home screen. The C5 is the first offering in Nokia's new "C" series of mobile phones. It runs on Nokia's Symbian OS and features a 2.2-inch screen and 3.2-megapixel camera. Want more? Search WonderHowTo's sizable collection of C5 video tutorials.
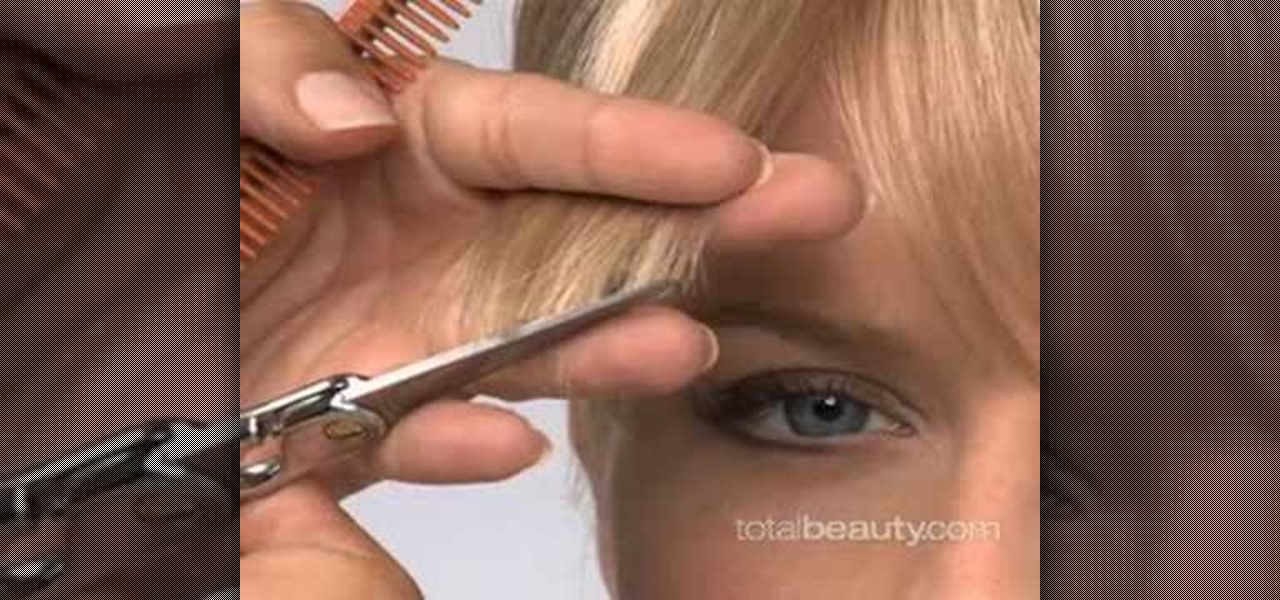
Bangs are one of the easiest and quickest ways to change up your look. Even if you're going from slightly overgrown bangs that graze your cheekbones to blunt cut bangs on your forehead, the change is instant and can do wonders to flatter your face shape.
You don't need a big name hairstylist who claims he's done Jessica Simpson's hair in order to get luscious, enviable locks. In fact, all you need are cheapo, basic velcro hair rollers.
With the first installment of "Harry Potter and the Deathly Hallows" out, don't be surprised if you find yourself more than ever wanting to whip out a twelve inch phoenix feather wand and wrist twirl your way to defeating your own personal Voldemort. While this video won't teach you how to do magic (so sad), it will teach you how to craft a very cool-looking "Harry Potter" wand that can do the "lumos" spell.
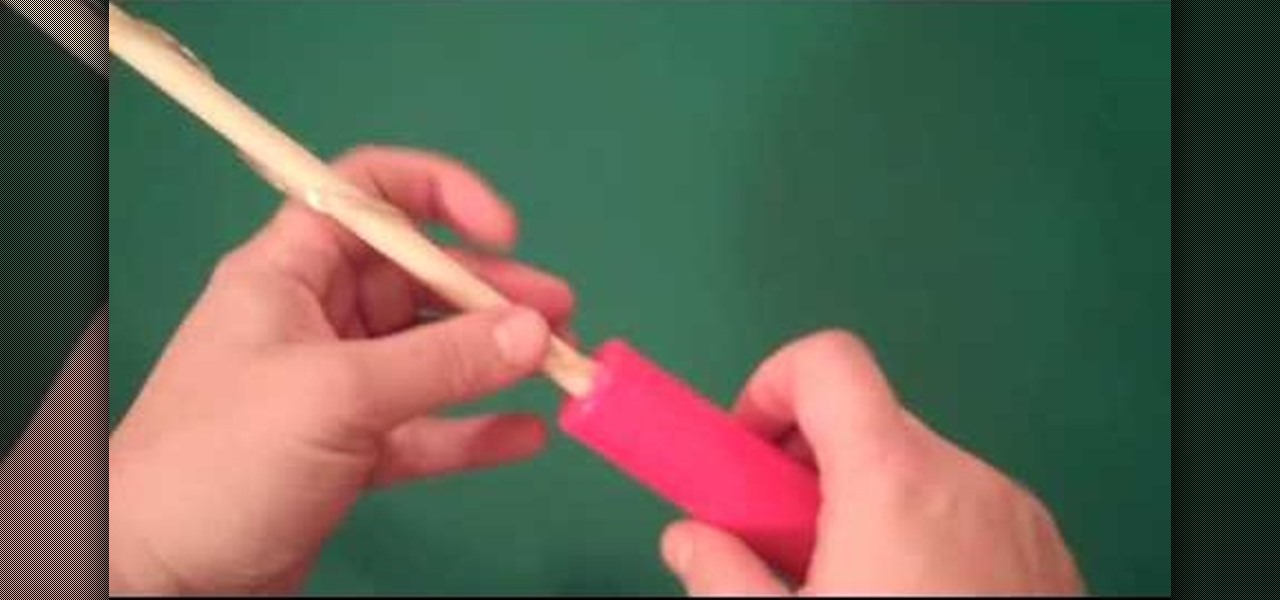
In this video we learn how to make a candy DNA model. First, purchase some black licorice and another color. Grab two each from the pack and then purchase some gummy bears. After this, pick out four different colors from the gummy bears bag. Take your scissors and put the licorice together. Cut one inch pieces so you end up with six of them. These will represent the sugars in the molecules. Once you do this, you will take the string and push it through the holes that are in the licorice. Laye...
Juggling is the key to all free styling tricks. Juggling helps the players feel for the ball and his ability to strike the ball on the volley. To juggle use the top of the foot down toward the toes to strike the middle of the ball so that it goes straight up in the air. After practicing this type of juggling continue juggling with one foot, keeping the ball moving straight up in the air about 10 inches. The player should continue practicing juggling with one foot until he can juggle the ball ...
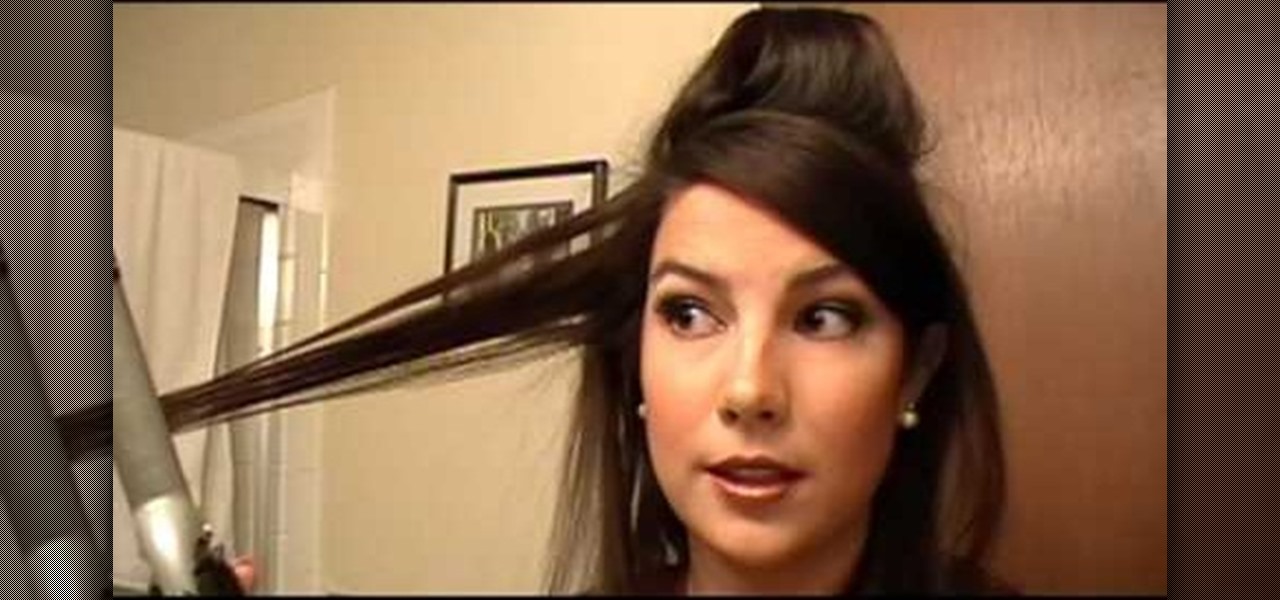
In this video, we learn how to curl your hair using a 1-1/4" curling iron. First, section your hair off into one inch pieces and then heat your curling iron up. After this, roll the hair in the curling iron and pull it up to the root of the hair. Leave this in for several seconds and then release the hair from the iron. Then, continue to do this for the rest of the sections of the hair. Slowly release the clamp so your hair doesn't get caught in it. When finished, style how you'd like and the...
Leggings have the unique ability of covering you up (as long as we're not talking sub zero temperatures here) and keeping you warm and fashionable at the same time. They allow you to continue wearing certain fall dresses into fall. and look great in a pair of boots.
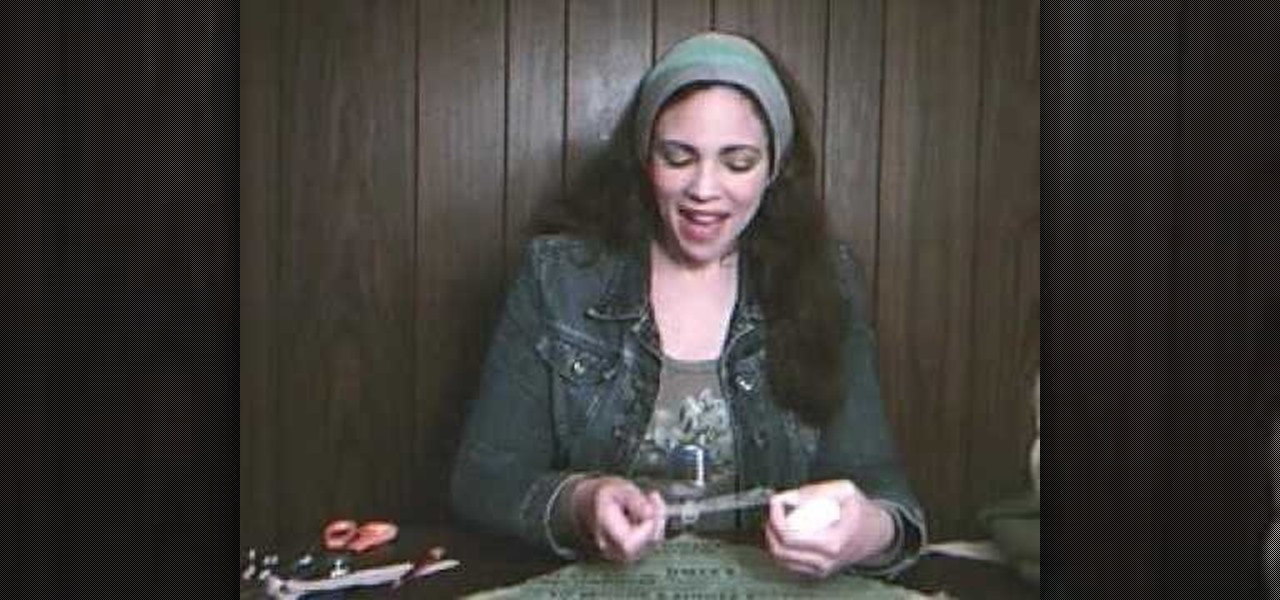
In this tutorial, we learn how to recycle an old t-shirt into a no-sew head scarf. First, lay your shirt out flat on a table and download the paper pattern from the video. From here, measure sixteen inches from side to side on the t-shirt that you are using. After this, follow the paper pattern on the shirt and cut out the pattern with scissors. Once you have finished this, use a fabric bonding agent to make the edges less frayed and fold them into each other. This is great for the environmen...
This tutorial shows you how you create a boffer larp safe pair of werewolf claws. Start with some basic heavy gloves, like gardening gloves, then cut out your claws from foam (at least three inches long!), and then follow along with the tutorial to end up with your own awesome monster claws!
In this video we learn how to make balloon wolverine claws with Michael. This is very simple, you just need two balloons that are 250 and two balloons that are 160. Use gray balloons to make them look more like claws. From here, you will take your blue 260 and inflate it then tie it. Make sure there is 4-5 inches left on the tail. This will allow you to tie the balloon and create pinch twists with it. Continue to twist the balloon, then incorporate the gray balloons in with it. When finished,...
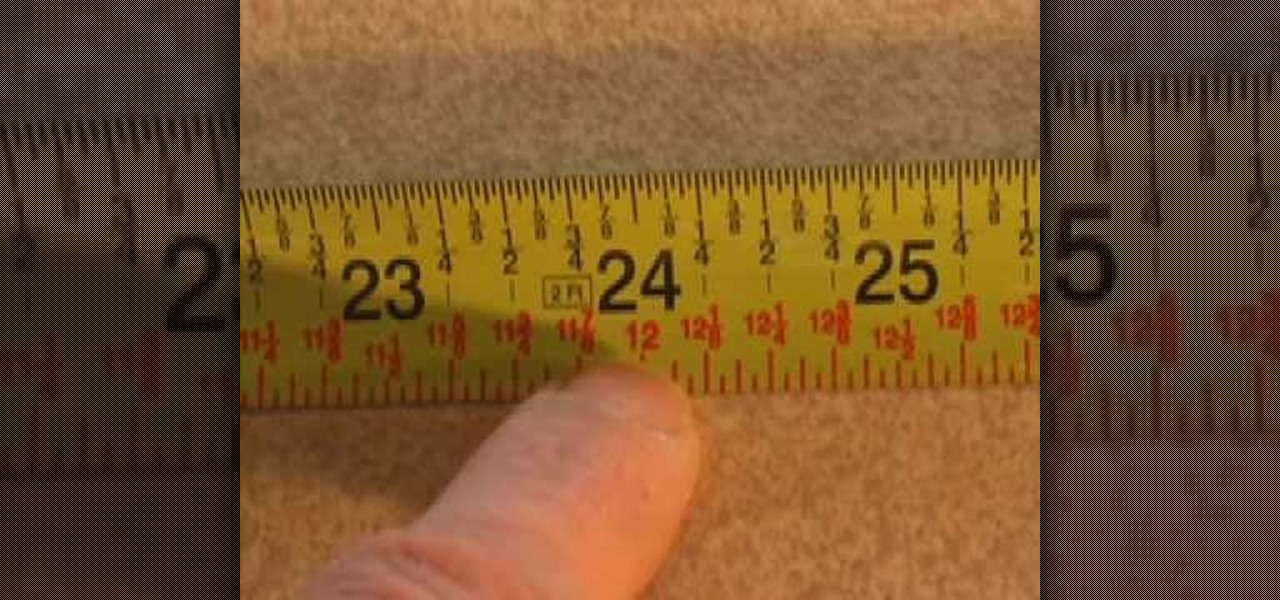
In this video we learn how to take accurate measurements in your home projects. First, you need to pick up the right tape measure for your project. Once you have picked out the right tape measure, you'll be able to use it for what you are trying to do. Now, learn how to read the numbers that are listed on the tape measure and find the precise measurement of your project. Make sure you take down all of the inches so you build everything correctly and don't have to go back and fix anything that...
In this video, we learn how to make a rose out of a bar napkin. First, take your pointer finger and thumb and get them moist. Then, grab the upper right hand corner of the napkin and gently roll it over. After this, keep rolling it towards yourself until you have rolled the entire thing. Next, roll then entire napkin up in a cylinder and find the tip in the middle. Grab this and then twist it to bring it out to the top. then, go down a few inches and squeeze and twist. Flare out the petals an...
In this tutorial, we learn how to tie a necktie on someone else. First, pop the collar and drape the tie around the neck with the wide end on your right. Then, tug the wide end down, so it hangs 12 inches below the narrow end. After this, cross the wide end over the narrow end, and bring it up through the neck loop and down the front. Swing the wide end to the right, pass it under the narrow end, then cross it back over the right. After this, push it up through the neck hole. Now, tuck it thr...
In this tutorial, we learn how to fold a paper rose. First, you will grab a napkin and unfold it. From here, roll the napkin around two fingers. Then, take it off and go two inches down from the top. Roll around this quickly, stopping half way. Grab the corner of the napkin and bring it up. Then, pull the rest down and continue to twist. Take your flower and make a leaf, then twist around the stem tightly. Put your fingers in the middle of the rose and use your finger to swirl it around. This...
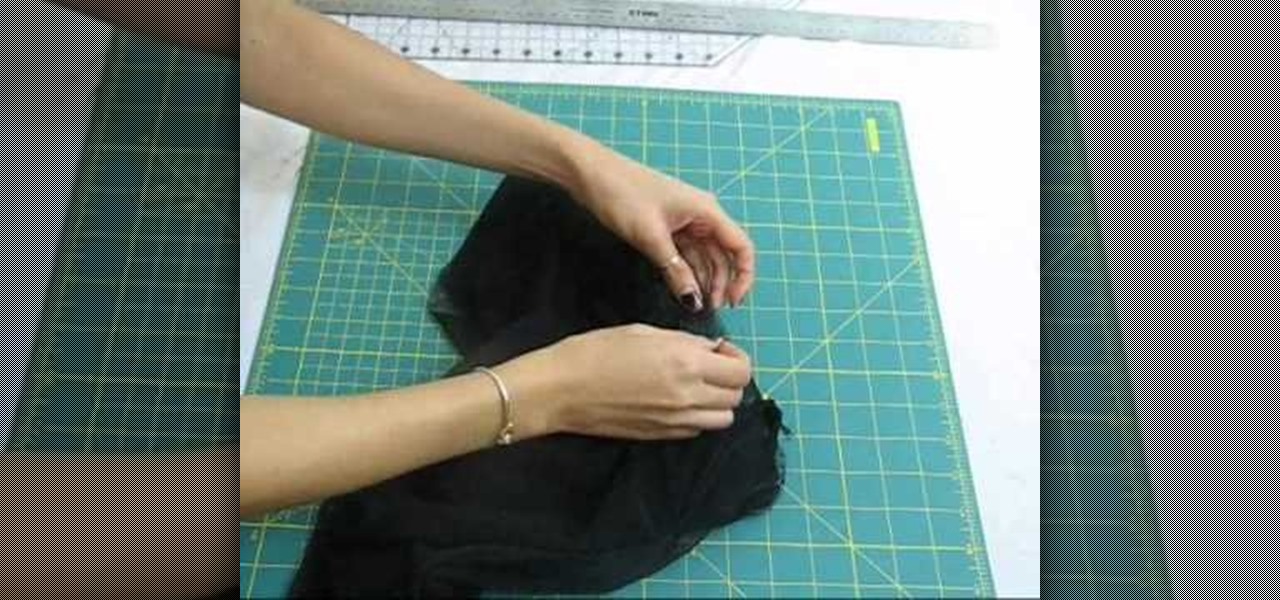
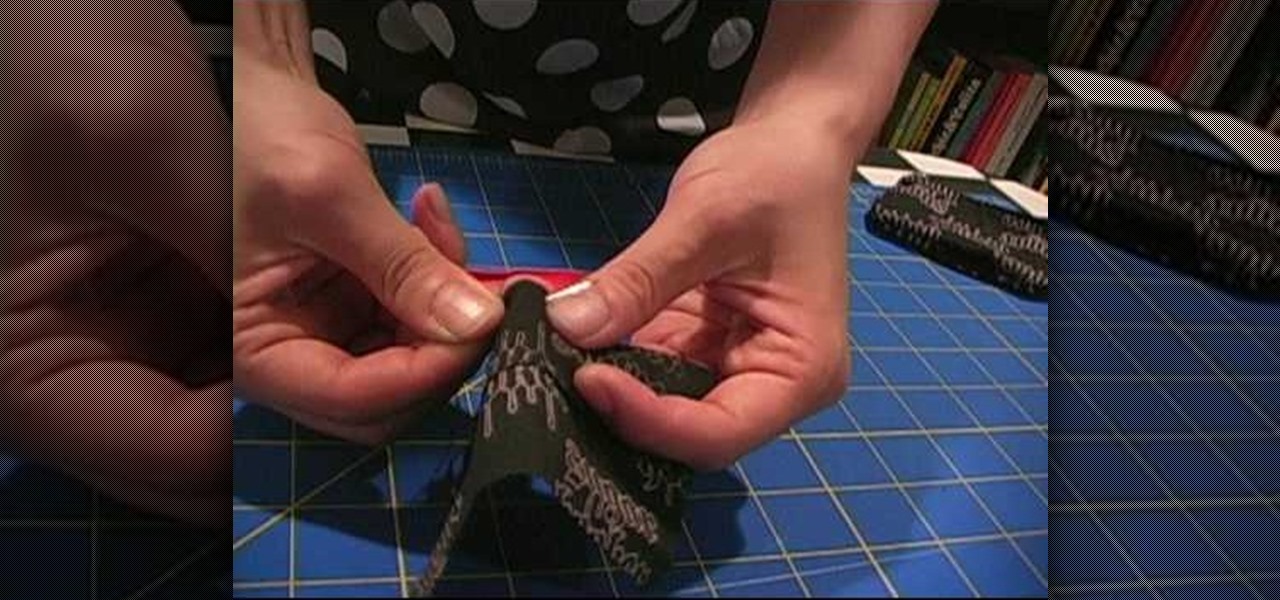
In this video we learn how to make a zipper purse or mini fanny pack for your belt. First, fold a bandanna in half and cut out a rectangle. Then, cut a rectangle out for the belt loop too. Next, take one of the bigger rectangles and cut it about 1.5 inches from the top. Then, sew these two pieces together using a needle and thread with white thread. After this, pin down the zipper to the back and sew up the sides. Then take the other piece and stitch it to the front side of your other rectang...
In this tutorial, we learn how to crochet a fringe on a scarf. Start be going to the end of your last row with your hook. Then, chain one and pull it tight. Next, decide how long you want your fringes to be and pull your thread that long. After this, cut it on the bottom and pull the loop out of the chain. Now, take your hook under the first stitch and fold three twelve inch strands in half. Then, hook these onto the crochet hook and catch the tail with the strands. Continue to crochet the fr...
This video tutorial is in the Fine Art category which will show you how to fashion a wallet from duct tape. For this you will need an X-acto knife, duct tape of any color and a tape measure. Rip off a piece of tape about 10 inches long and place it sticky side up. Rip off another piece of same length and place it on the 1st piece face down but, covering only half of the tape as shown in the video. Fold down the 1st piece on top of the 2nd so that you will have only one half piece of sticky ex...
In this tutorial, we learn how to make cucumber kimchi. To make this, you will need: 20 cucumbers 3 inches in length, 1 c sea salt, 10 c water, 2 c garlic chives, 1 c green onions. For the sauce, you will need: 1 c red pepper powder, 6 tbsp fish sauce, 6 tbsp water, 2 tbsp sugar, 2 tbsp minced garlic, and 2 tsp minced ginger. Once the cucumbers are cut, place them into boiling salt water and let sit for 15 minutes. After this, combine all the sauce ingredients and then mix the cucumbers up wi...
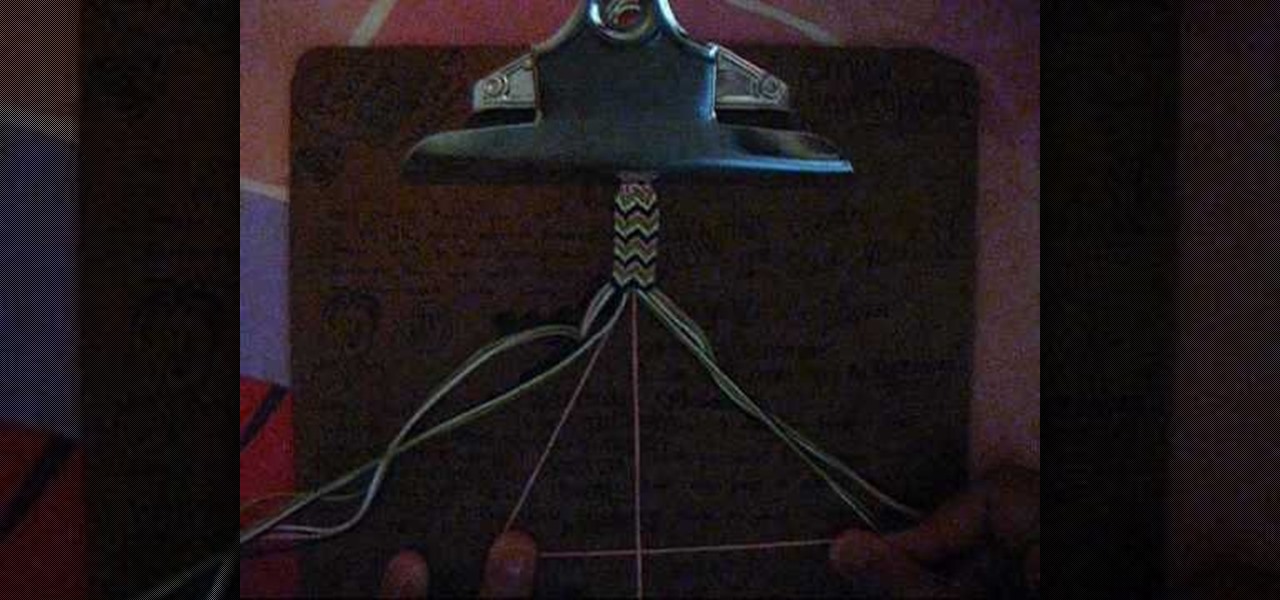
In this tutorial, we learn how to make a double arrowhead friendship bracelet. First, you will need two strings of the color you want that are 70 inches long. Then, tie these into a knot and put it underneath a clipboard. Now, separate these into four groups, then start to separate into colors. After this, find the color in the middle and start to braid and pull twice. Then, you will start to braid the other pieces of string in together so you are making to arrowheads right next to each other...