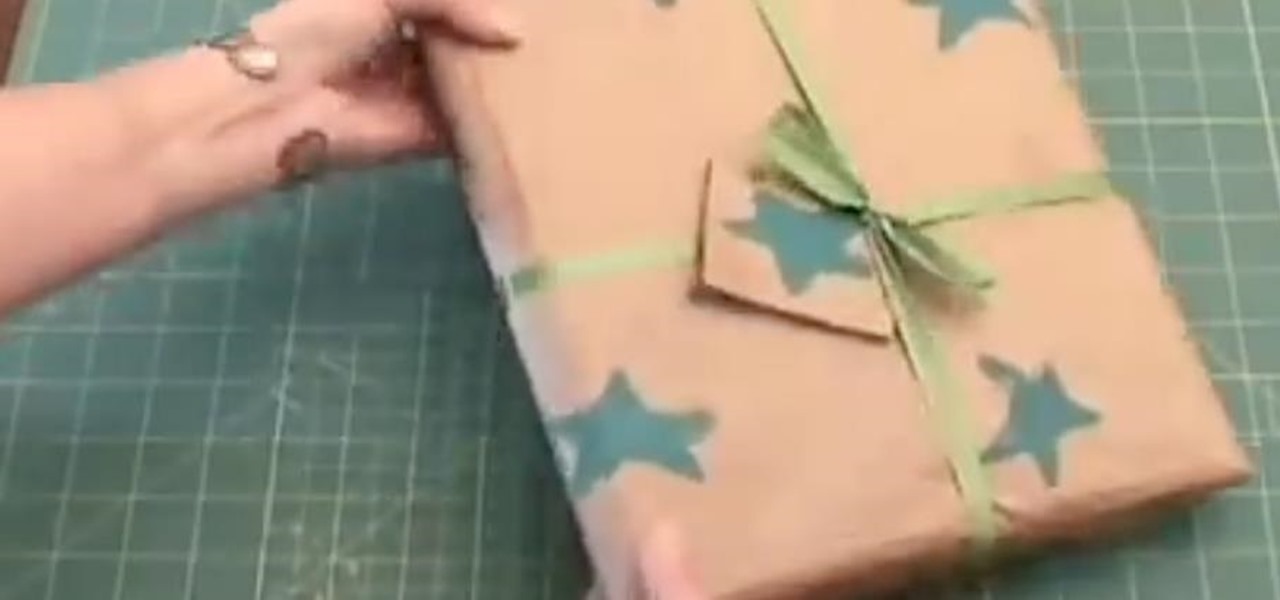
In this video tutorial, viewers learn how to gift wrap using recycled material. The materials need for this project are: a potato, large paper bag, tape, ribbon and paint. Begin by cutting the potato in half and draw a simple shape onto the sliced surface of the potato. Then cut out the negative part of the shape with a knife. Now open the bottom of the paper bag and cut down the side so that it lays flat. Then brush some paint onto the potato stamp and press it down along the paper to form a...
Kids make the darndest things, don't they? And whether all they've done is scribble a bunch of modern art-esque lines using five Crayola crayons in one hand at the same time or simply stamped their hands with paint on paper, parents always think their efforts are cute and deserving of praise.

The two sides of your face are more like sisters than twins, and the same thing goes with eyebrows. Though it's not possible to achieve a perfect double of one brow on the other side (sometimes the angle will be off, or one will be thicker than the other), there are steps you can take to even them out.
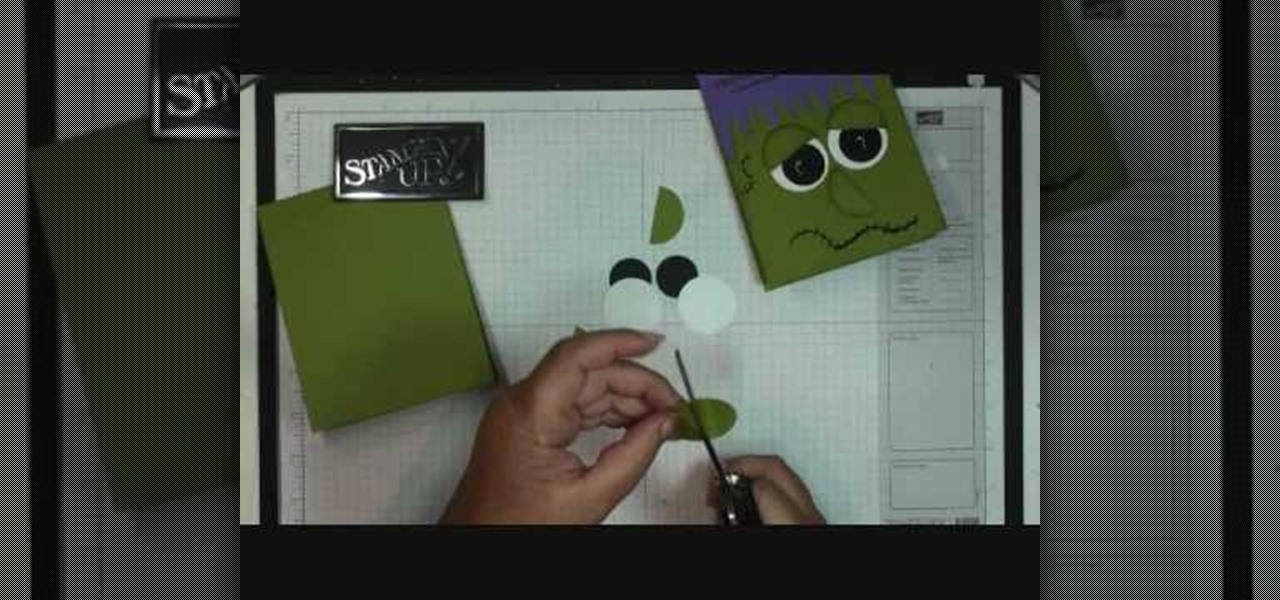
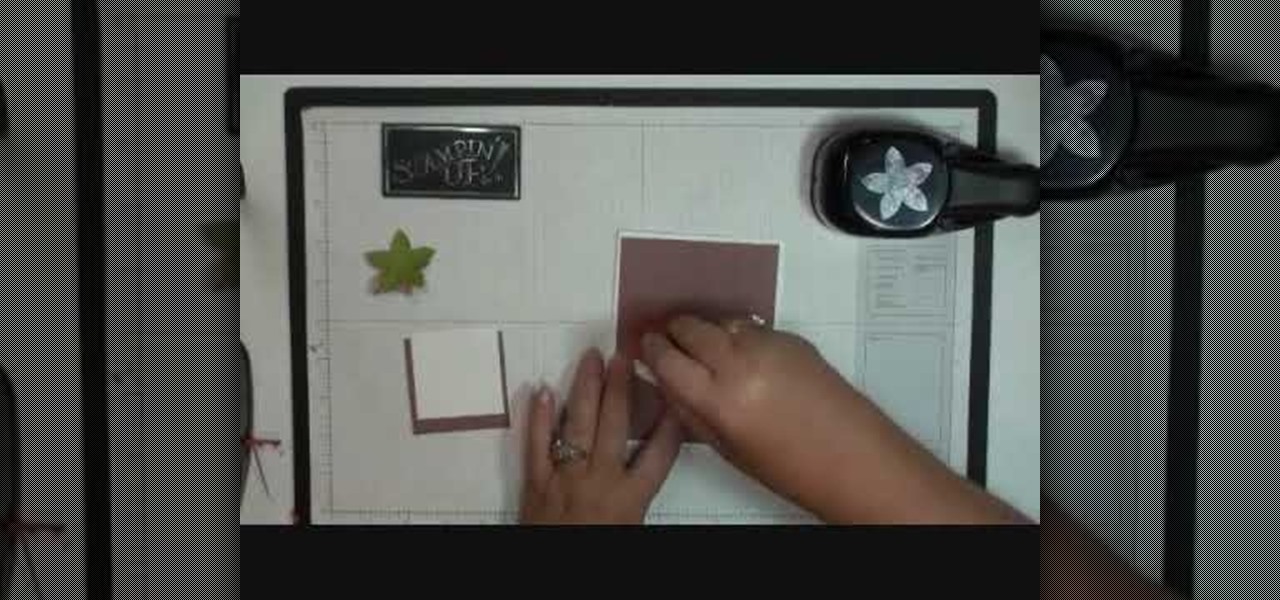
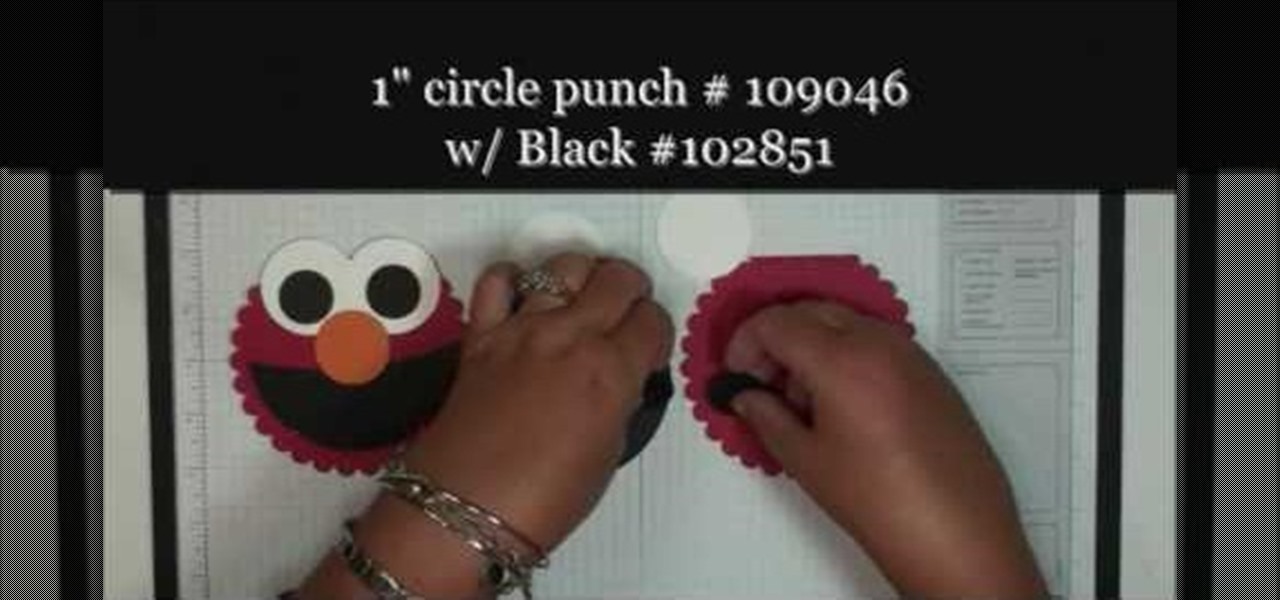
In this video tutorial, viewers will learn how to make a Frankie card. This video provides all the materials required to make the card. The materials required include: old olive card stock that is cut at 4 1/2" x 11", lovely lilac card stock that is cut at 2 1/2" x 5 1/2", stylus tool, Smarty Pants stamp set, 1" circle punch with 2 black card stocks, 1 3/8" circle punch on whisper white and old olive card stock, glue and a black market pen. This video will benefit those viewers who enjoy art,...

In order to make Matchbox Mini Chocolate Bar Holders with Cricut, you will need the following: Tag Bags Boxes & More cartridge, card stock, a bone folder, two sided tape, a cuddlebug, Stampin' Up stamps, ink pad, ribbon, a circle hole punch, and adhesive.

To perform the color burst technique using Adirondack paint, you'll need to shake a new dabber really well. Then, you will need to turn it upside down onto a craft sheet, until the paint starts to come out evenly. Once if comes out evenly, you are ready to use. Make sure you recap it, whenever it isn't in use.

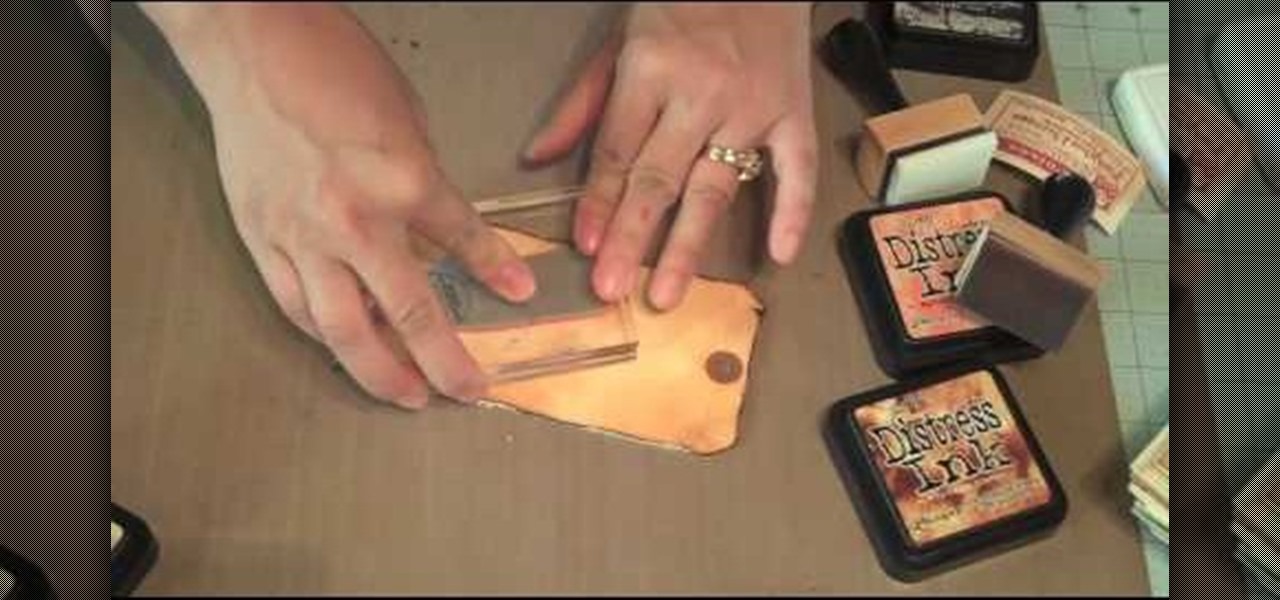
This video describes how to use distress ink. First we have to take a paper that we want to work on. Next take the distress ink colors. Spread the lighter colors first on the paper. Take the first color and spread it on throughout the paper. Next take the vintage photo and work on the edges with it. Next take the spiced marmalade ink and spread it on the edges again. Next take the paper and apply the paper edges directly to black soot ink pad. Next wait for sometime until it dry. Next take th...

In this how to video, you will learn how to make a stuffed animal in Girlsense. To do this, open the program and select a long dress. Make the dress black. Next, create an outline of the stuffed animal at the bottom of the dress. Next, erase the body and any excess areas of dress. Next, select the stamps and choose a circular shape. Increase the size so that it covers the interior of the stuffed animal shape. Choose the color you want. Next, select a triangular shape and choose a color for it...

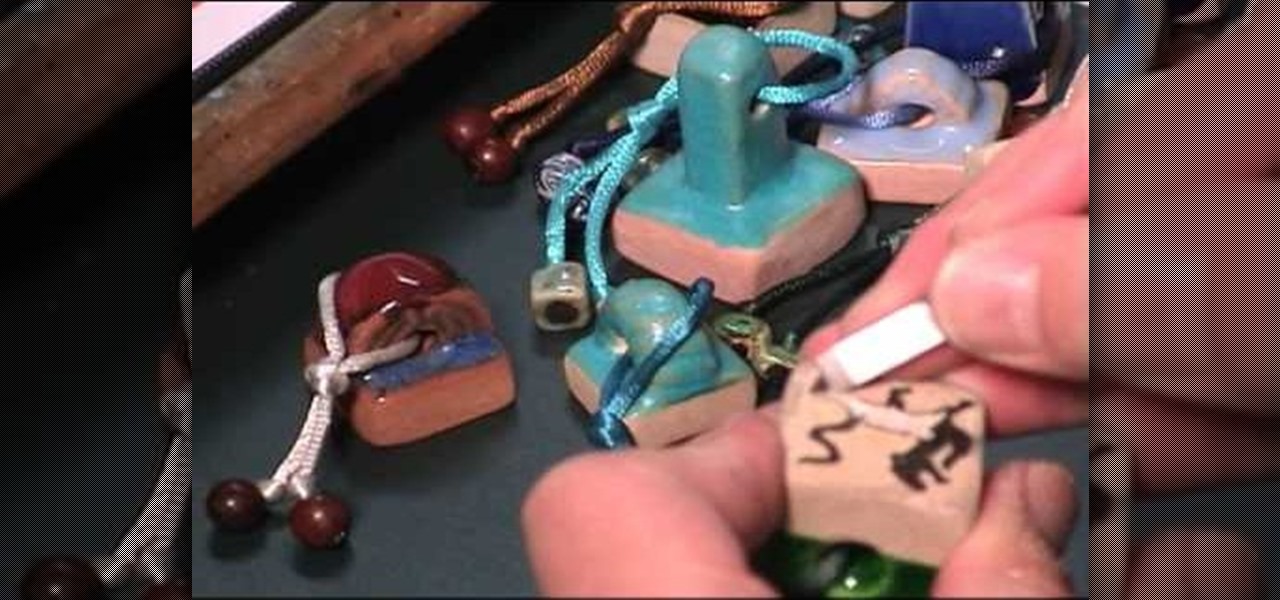
Henry Li from Blue Heron Arts shows how to carve a tiger design stamp onto a pottery seal for use with Chinese seal engraving. This technique shows how a pottery seal can be made without having to use a kiln. You will need a pen, pencil, marker, charcoal, knives, and soapstone. The first thing that needs to be done is to create a design. In this tutorial, Li uses a Hahn Dynasty tiger design, which must be flipped by using the computer. The charcoal is then used to duplicate the image onto the...

It might seem easy to a few, but some of us out there grew up with email and consider "the letter" an artifact. However, writing a letter is the ultimate in class and shows someone you took the extra time to get in touch with them. Whether you are writing a business letter or a friendly letter, these tips will guide you in properly writing that letter to a special someone, friend, or client.

Post-it notes are definitely not the chicest of accessories. After all, they spend 99% of the time grazing our office cube walls and computers and organizers. But they can be turned into a hefty decorative item when you slip one of the pads into this scalloped bright post-it note holder.

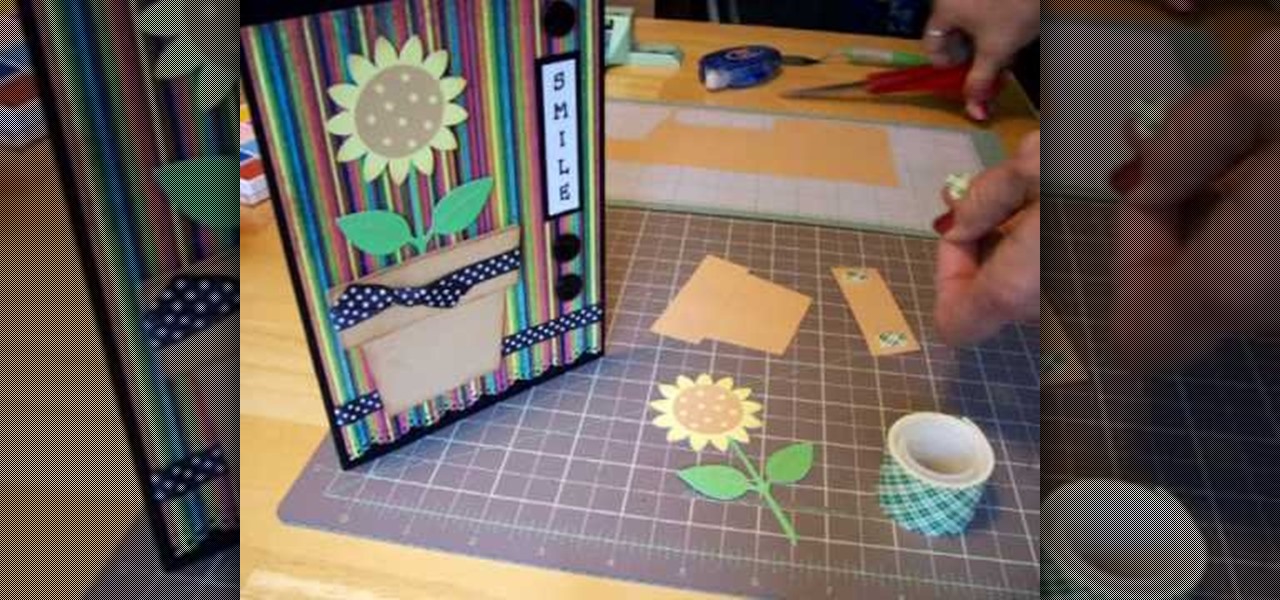
In order to make a Cricut Sunflower card, you will need the following: card stock, Walk in My Garden Cartridge, ribbon, decorative paper, chalk, scissors, 2-sided tape, an ink stamp pad, adhesive, and pop dots.

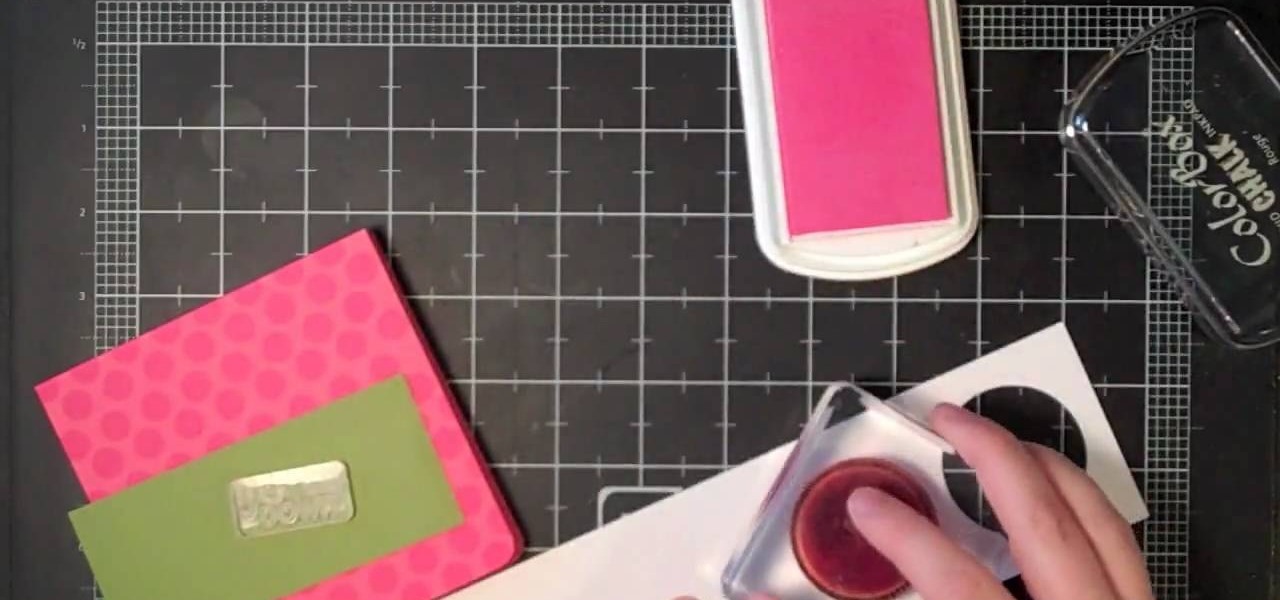
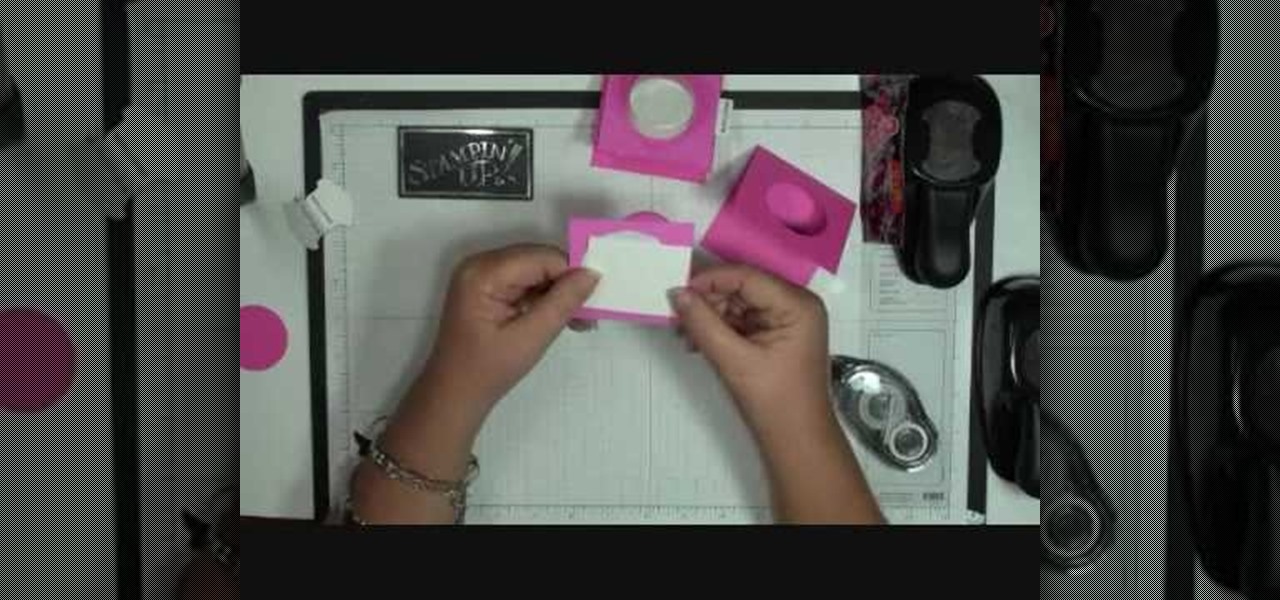
Dawn5377 teaches you how to make a pink sweet treat cup door. You need a stamp from the sweet center set and you use it on a small piece of pink cardboard. You punch the middle out. Also punch the middle of another piece of pink cardboard. Insert the treat cup door and stick it in. You use dimensional to hold a white piece of paper, which acts like a tray under the plastic dome. You add some sweet treats inside and stick the other pink piece (with the heart) on the other side. Also remember t...

Instead of using Photoshop, why not give Apple's Aperture a try? Aperture is designed more for post-production work for professional photographers, letting you cull through shoots, enhance images, manage massive libraries, and deliver stunning photos.

In this video, we learn how to make beautiful acetate butterflies. First you will need to make sure you have alcohol inks on hand for the colors you want to make. To start out, stamp the butterfly with black ink onto a piece of plastic acetate. After you have done this, use different colors to fill in the butterfly how you prefer it to look. After you do this, cut out the butterflies and then you will be able to use them for what kind of craft you want to do. These are cheap and easy to make ...

In this video, we learn how to make a double flap card with Stampin' Up!. First, cut out the card in green, then add a creamy caramel color to the top of a white piece of paper. Now, add a green piece of paper that is slightly smaller to the top of the caramel color paper. Add another piece of white on top of the green, then layer then together on the card. Add in a walrus and a little kid stamp to the cards and place them onto scalloped punches. On the bottom, apply striped paper, then apply...

In this video, we learn how to make January thank you notes with Stampin' Up. First, you want to choose what you want your notes to say. You can use a small card stock that is 3" x 3". Then, use a border hole punch and apply it on in different colors you prefer. After this, you will want to stamp on a message that says thank you in black on the front of the card. Next, you can lay a heart punch out on top of the card to give it more personality. You can also place the heart on first and let t...

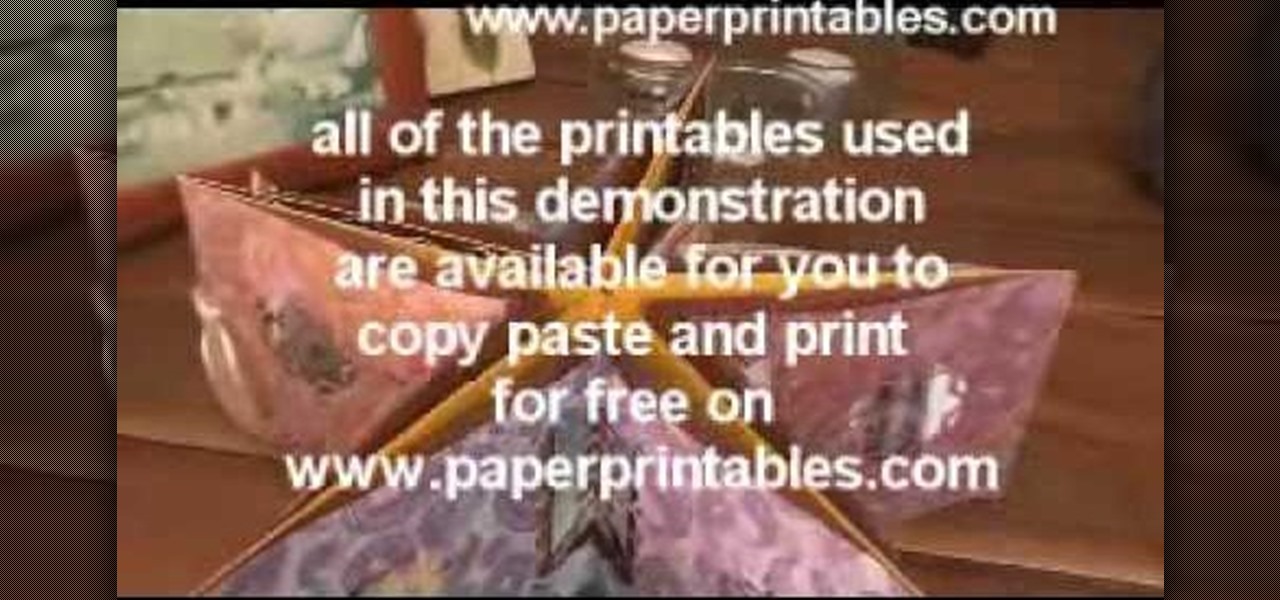
See all the steps required to make this nifty photo album, which can be used as a picture greeting card or a simple scrapbook for yourself. Despite its complicated look, it's really not that hard to make. This stunning star album card can be made up as cards including many messages, pics, stamps, etc., or they can be made up as miniature scrapbook albums — especially great for kids after a special day out. It's good for a series of "happy" photos to cheat someone who needs "get well" messages.

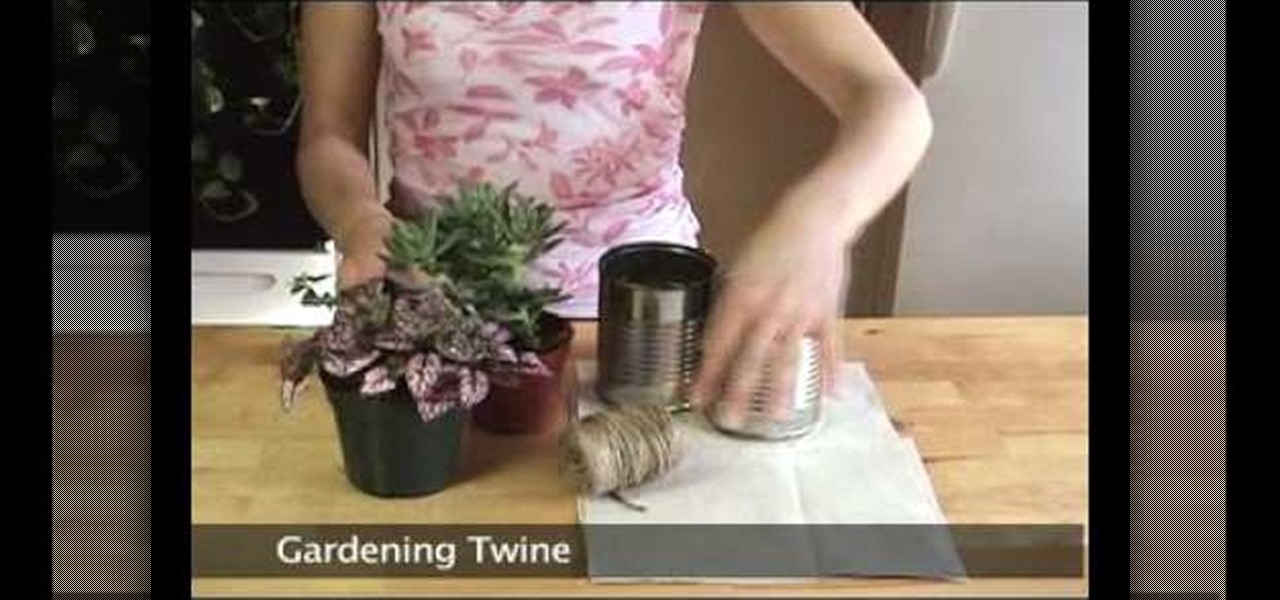
This video shows how to make a eco friendly plant holder. The first thing you do is trace a fabric around the tin can this is to give it a better look. Then stamp the letters on the fabric of what you want to name your plant. After that poke about ten holes at the bottom of the can. Then glue the back of the fabric to place it on the can. Now wrap the fabric around the can on the sticky side. Lastly tie twine around the can for extra protection to hold up the fabric. Then put in the plants an...

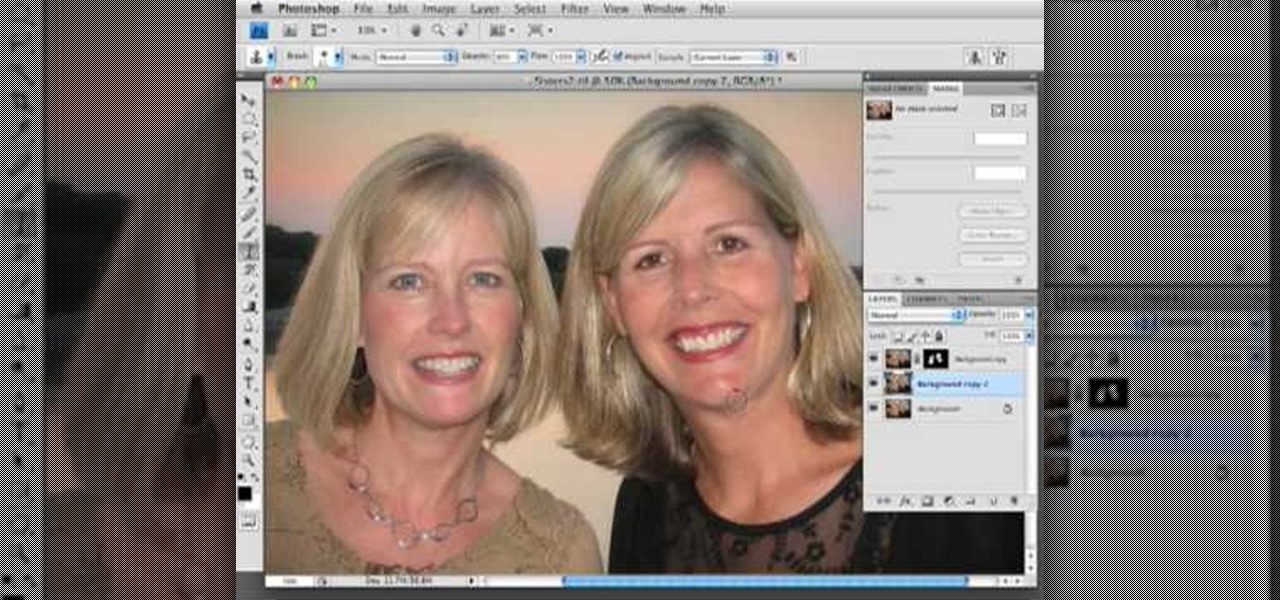
In this video, we are given ways to clean up an image, or remove unwanted objects in an image using Adobe Photoshop. The first tool that we are shown is the clone stamp tool. It allows you to clone a certain sample of an image, for you to use to paint over the object in the image you don't want anymore. In the video, the narrator shows us how to seamlessly take a man out of an outdoor setting. The next tool that we are shown is called the patch tool. In the video, the narrator uses the patch ...

Melanie, of Christmas with the Cricket, has an awesome new video from the Simple Card Monday edition. Her video details a valuable tutorial on how to make a Christmas card. All you will need is some paper, pens, stamps and some common house hold tools in order to do this. This is a great tutorial that will ultimately save you money on your holiday expenses this year. Just follow the steps in this useful and entertaining video to get started on creating a nifty looking Christmas card.

Dawn5377 teaches you how to make a pink sweet treat cup door. You need a stamp from the sweet center set and you use it on a small piece of pink cardboard. You punch the middle out. Also punch the middle of another piece of pink cardboard. Insert the treat cup door and stick it in. You use dimensionals to hold a white piece of paper, which acts like a tray under the plastic dome. You add some sweet treats inside and stick the other pink piece (with the heart) on the other side. Also remember ...

Mary, from Cardztv, with her love for owls, shows you how to make a Christmas card with an owl on it, in this video. She shows you how to use plastic stamps to create this cute card, along with the Cricut machine from Provo Craft. In this particular video, she uses the Winter Wonderland cartridge for the Cricut machine. She shows you how to make each individual embellishment that's used to create the card. Mary's tutorials make card making easy.

This art and craft video shows us how to make a five petal paper flower with stamping up. One can make this pretty card easily by following the instructions which is given clearly in the video. One can come become aware of various modern craft materials like different papers, punches available in the market and how to use them creatively. By watching this video one would be more interested in such craft work as it is done neatly without any mess.

Sanjay Kummah takes us through the process of making Tomato Cut Salan. # Cut the top off the tomatoes

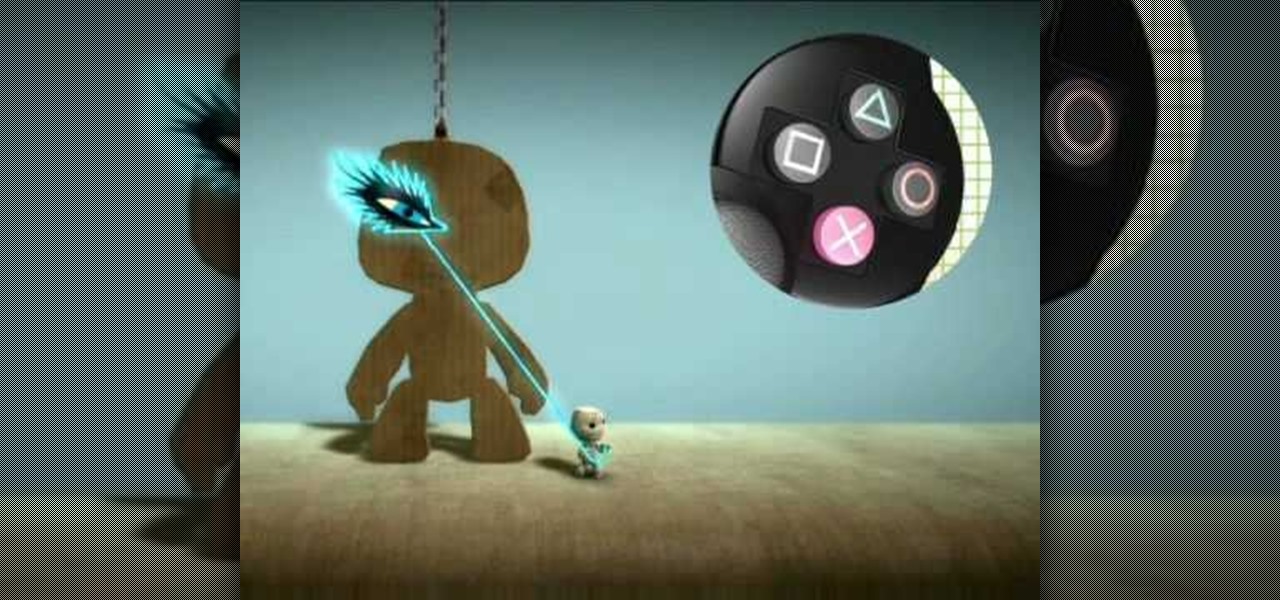
Stick it to them! Learn how to resize, rotate, and stamp your sticker collection in LittleBigPlanet.

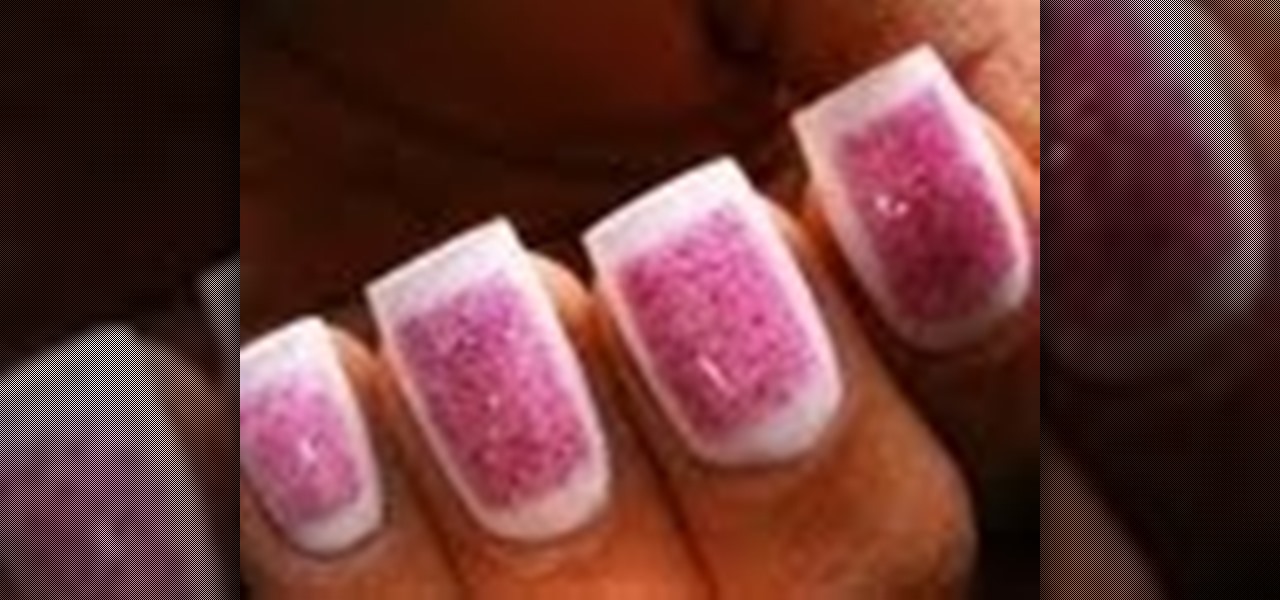
In this video , I shall share with you girls a very simple and fun way to go glitter nails to get a gel like effect and a framed look for this glitter ! Check out the video and you will be surprised how easy it is to get these simple and clean lines on the nails !

In this tutorial, we learn how to make a slit flower frame card. First, gather all your cardstock together in the colors that you would like. Then, take the first one and cut a circle window in it using a blade and a template. Then, punch slits on the outer frame of the window. From here, shade the petals and pull them out from the card to stick out. Then, place a rubber stamp with hearts on the other place of card stock. Then, turn the flower frame over and apply foam tape to the back. From ...

In this video we learn how to make a paper bag mini. Start out with your paper consistent throughout the entire bag and then distress the pieces that you place on it. When you open it up it will have several pages inside of it. Use different types of stamps, distressing, and tags to make this unique. Use a lot of tags to put notes and sentiments on and then add in designs that are all your own! Add in as many pages as you would like to and create something interesting. Leave it plain or add i...

You never know what you might stumble across on your next visit to a flea market or thrift store. Real gold is very soft, so biting down on the piece is a time-honored test for real gold. You can also examine your jewelry for a maker's carat stamp or discoloration that may indicate fake metal.

In this video, we learn how to remove acne spots with Photoshop. First, open up the picture and zoom in on the acne you want to remove. Now, unlock the layer by right clicking and unlocking it. Next, use the clone stamp tool while pressing alt to clear the skin where the blemishes are at. Click constantly on the acne until all of it is done. You want to click as many times as possible to get the best effect in removing this. When you are finished with this, duplicate the layer, then change th...

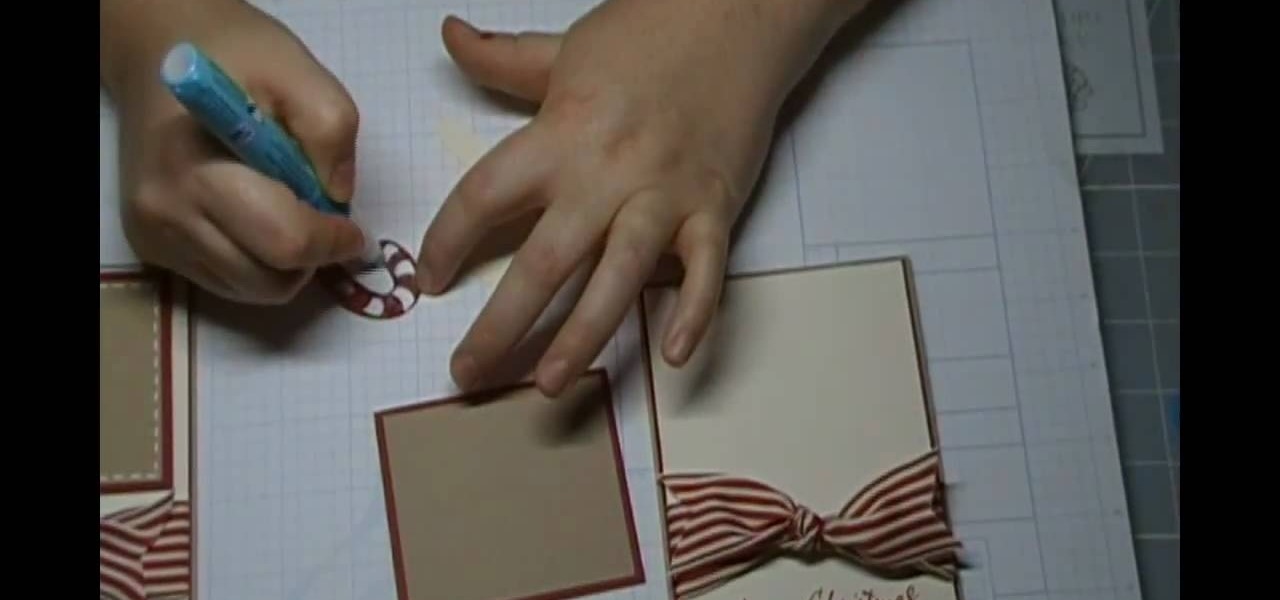
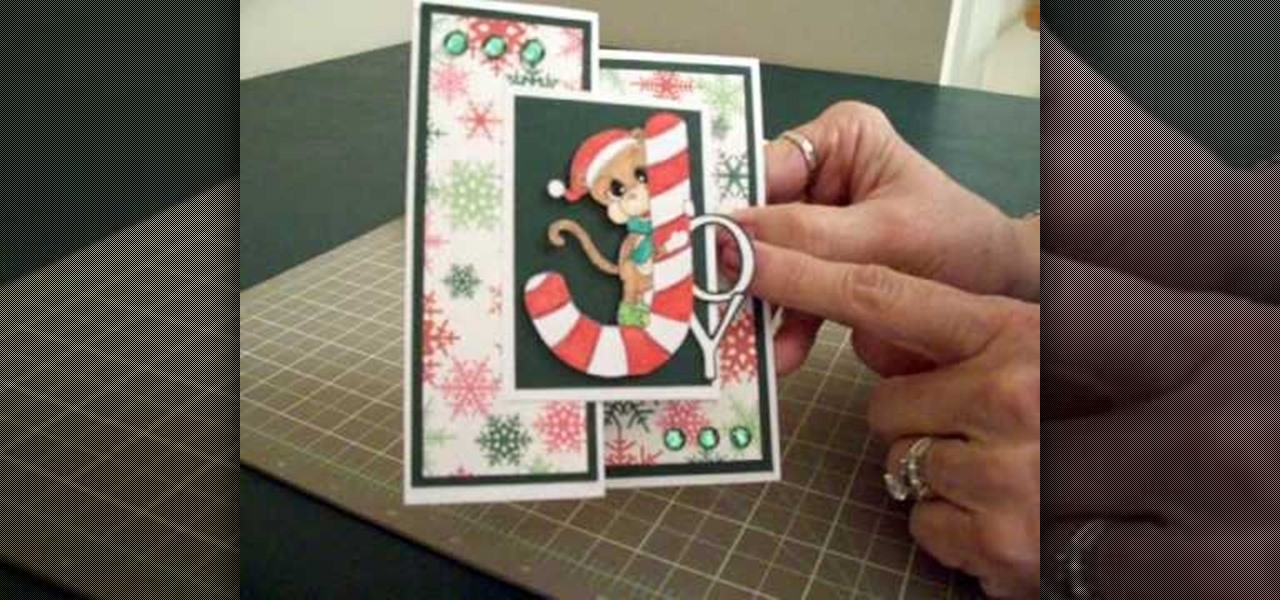
In this video, we learn how to make a Joy S-fold Christmas card using Cricut George. First, fold the card and mark it so it's in the S shape, then stamp the background of the card with colored snowflakes in different sizes and shapes. After this, use a black outline along the sides of the papers, then add in a black piece of paper to the middle of the top fold. Apply a monkey with a Santa hat to the front and wrap him around a J shaped candy cane. Add in the letters "o" and "y", then add in a...

This video tutorial is in the Arts & Crafts category where you will learn how to make a multi-layered embossed floral gift card. Take a piece of 11 x 8 1/2 inch Stampin' Up card stock and fold it in half. Next you punch out layers of colored paper of rose red, very vanilla, regal rose and blush blossom colors of different sizes as stated in the video using the Boho Blossom Paper Punch. Now you take a Sizzix Big Shot Die and cut out a craft paper and set the cut outs aside. Now you got to stam...

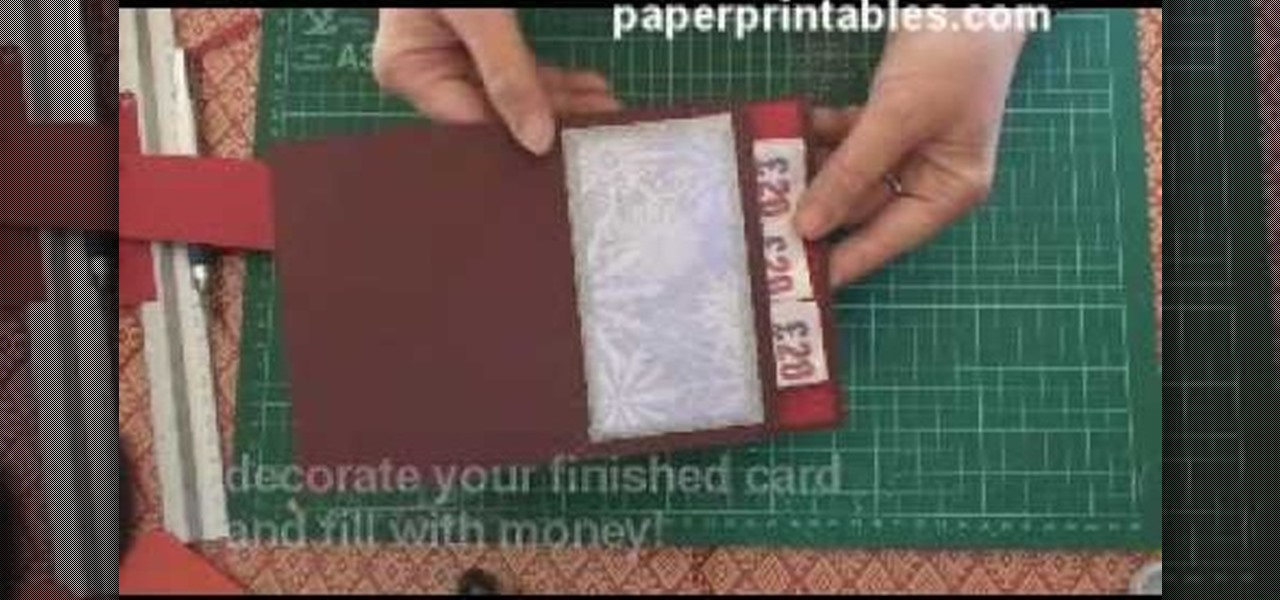
To make this pop-up card, you just need two sheets of card stock. This pocket pop-up card is made specifically to hold money, which works great for birthdays and holidays, especially Christmas. This super simple pop up pocket card is easy to make, and it doesn't just have to hold money… it can hold gift vouchers or plastic cards, also. Super base for decorating either with stamps or designer papers.

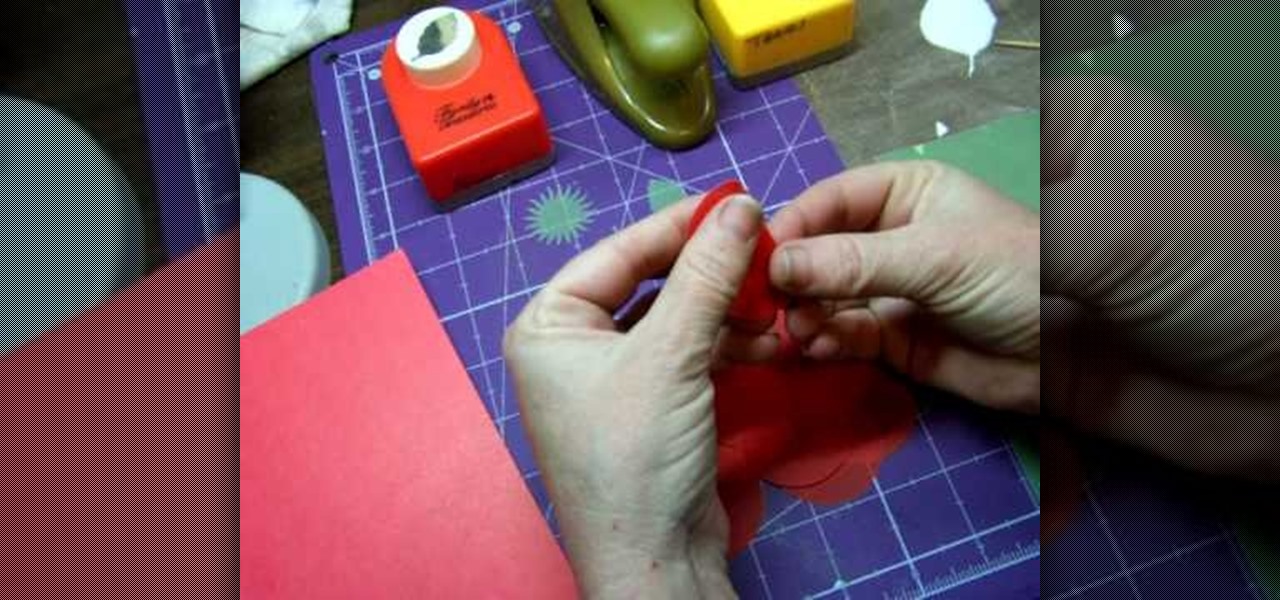
Stampin' UP! punches make just as fun designs as their line of stamps. In this tutorial, learn how to fashion basic flowers out of punches. These flowers make great additions to your scrapbooking or greeting card crafts.

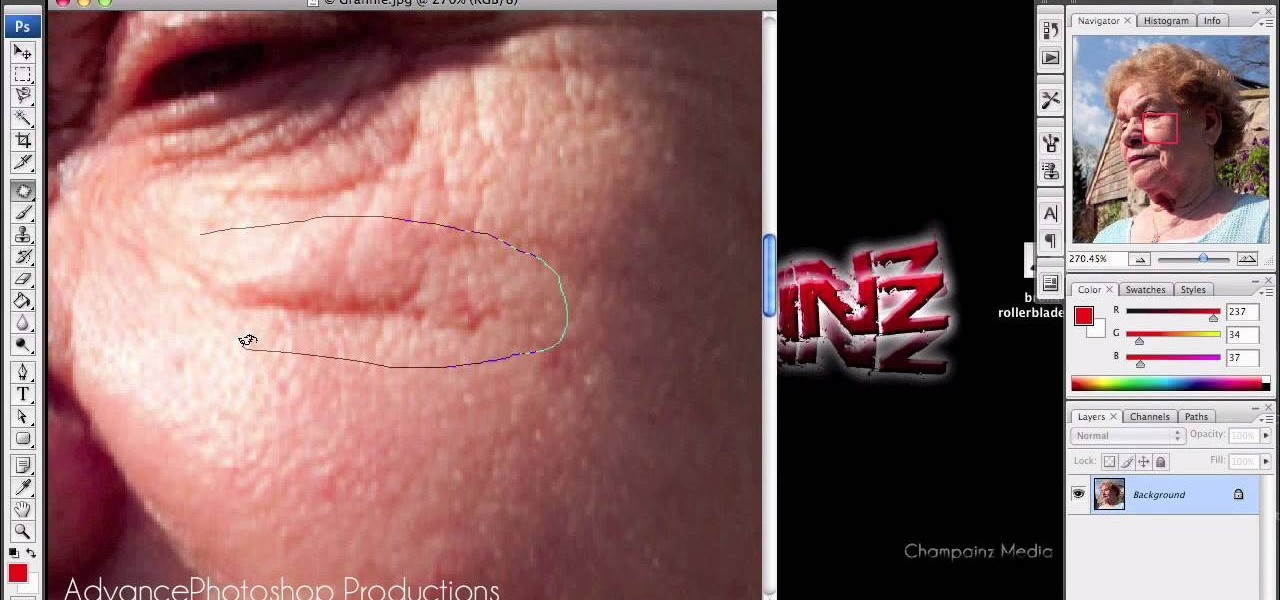
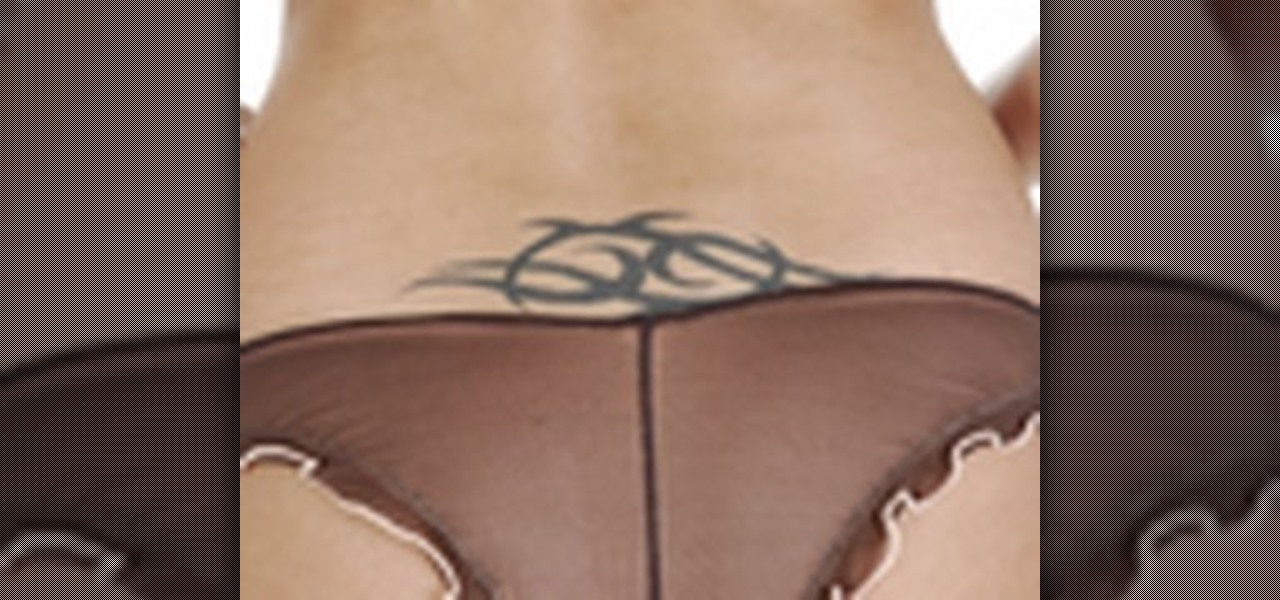
This video shows you how to remove a tattoo from a photograph using Photoshop. First, select the tattoo using the pen tool, to get a very accurate line around the tattoo. Make sure the "Paths" button is punched in. Drag the mouse and click several times to make a path around the tattoo. Right click on the path and choose "make selection". Feather the selection with a feather radius of about 8 pixels. Use the clone stamp tool and a large size brush. Hover outside the selection and click to sam...

In this how to video, you will learn how to get rid of shine using Photoshop. This is useful if you took a picture using too much flash, causing shine to appear on the faces of those in the photo. First, open the image in Photoshop. Duplicate the background layer. Select the clone stamp tool on the left and select a brush with no hardness. From here, change the opacity to 80 percent. Click the option key on an area of cheek. Now, click on the dots of shine on the faces. This can be used on wr...

In this Arts & Crafts video tutorial you will learn how to create a box to hold a mini album or small cards. Take a shiny card stock 10.5 x 6 inches. On the 6" side, score at .5" and 1" on both sides. On the longer side, score at 3, 3.5, 7.5 and 8 inches. Cut out the corners on the flap side of the card as shown in the video. Do a step cut on the other side of the card as in the video. Round the four corners with a corner rounder. You can do some stamping now if you want or you can also glue ...

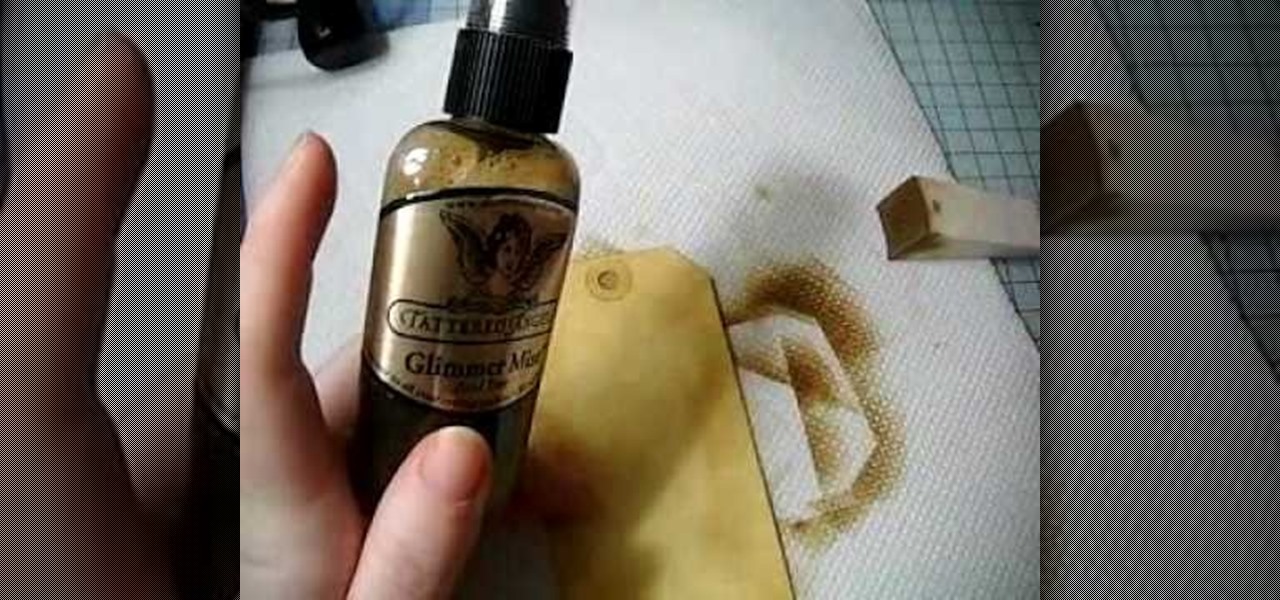
In this Arts & Crafts video tutorial you will learn how to make a distressed scarpbook tag. Take two tags, one red color and one yellow color and strip the threads off. Take a light color ‘Distress’ ink on a sponge and dab one side of the yellow tag with it to give it a light rough look. Now take little darker brown ink on another sponge and dab the edges of the tag with it. Then place the tag in a box and spray Glimmer mist on the tag. Dry the tag with a dryer. Now dab some more brown in...

Stampinmama1 shows us how to soften edges of paper with ink sponges. When you sponge, you get a little softer look onto the paper. You're going to want to use a round stamping sponge and you would want to cut it up into six pieces to have more control over them. Rub your sponge directly onto the pad, grind it on pretty hard. Go right along the edge of your paper, ink it up again and keep going. You will get a soft feathery edge instead of a fairly bland edge with no soft look to it.


