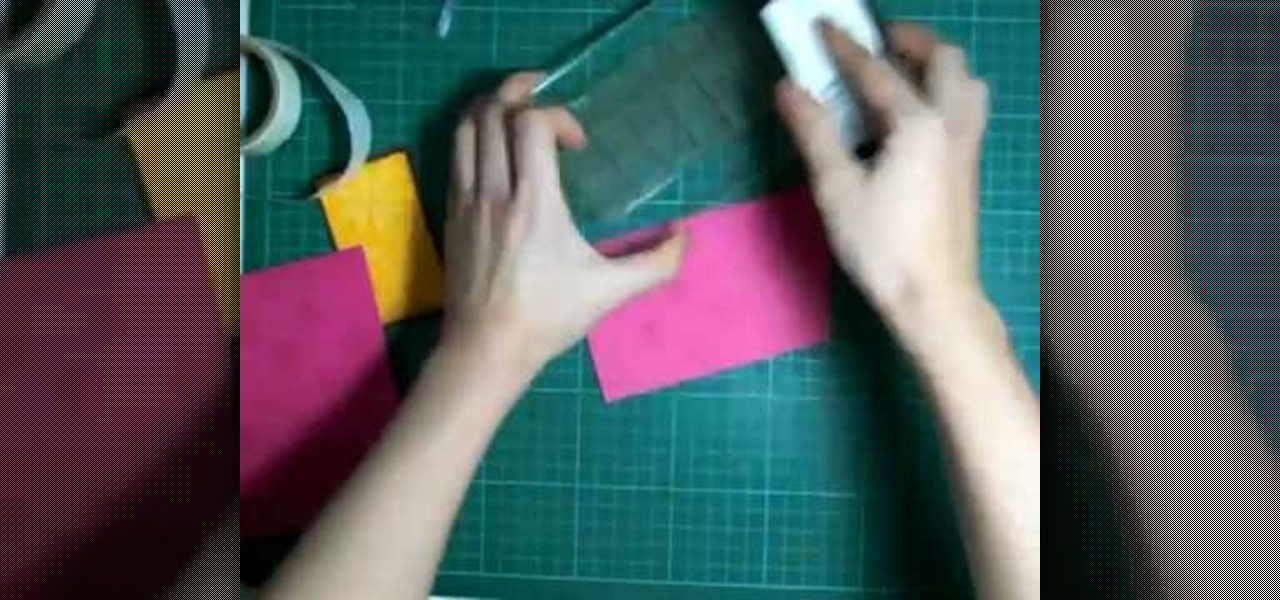
In this first of a two-part video tutorial on the Clone Stamp tool in Photoshop. Learn to use the "Alt" key to sample. Beside removing blemishes, you will learn that you could use Clone Stamp tool to create objects in your image.

Find out the best ways to use the creep swab in Houdini. An architect in New York came up with a very clever means of distributing various shapes onto a surface using a creep swab. So, if you want to know how it's done, watch this two-part video, which focuses on using the creep tool in conjunction with copy stamping to achieve some unique results in Houdini 9.
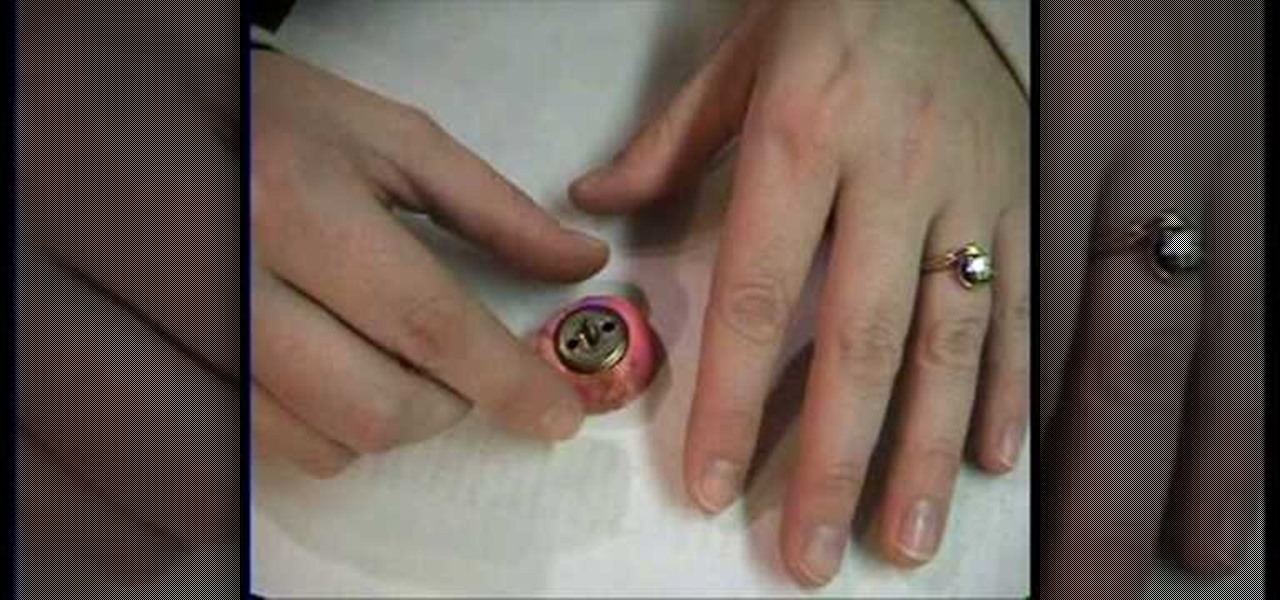
GardenOfImagination demonstrates how to make clay molds. To make clay molds with rubber stamps you can use your scrap clay. First, you need to condition your clay by working it in your hands. This will make it easy to work with and get all of the wrinkles in it. Then roll it into a ball and flatten it out just a tiny bit to get it ready for the rubber stamp. Next, pick out the rubber stamp you wish to use for your mold. Make sure that the clay is spread out to the size that you need. Then tak...
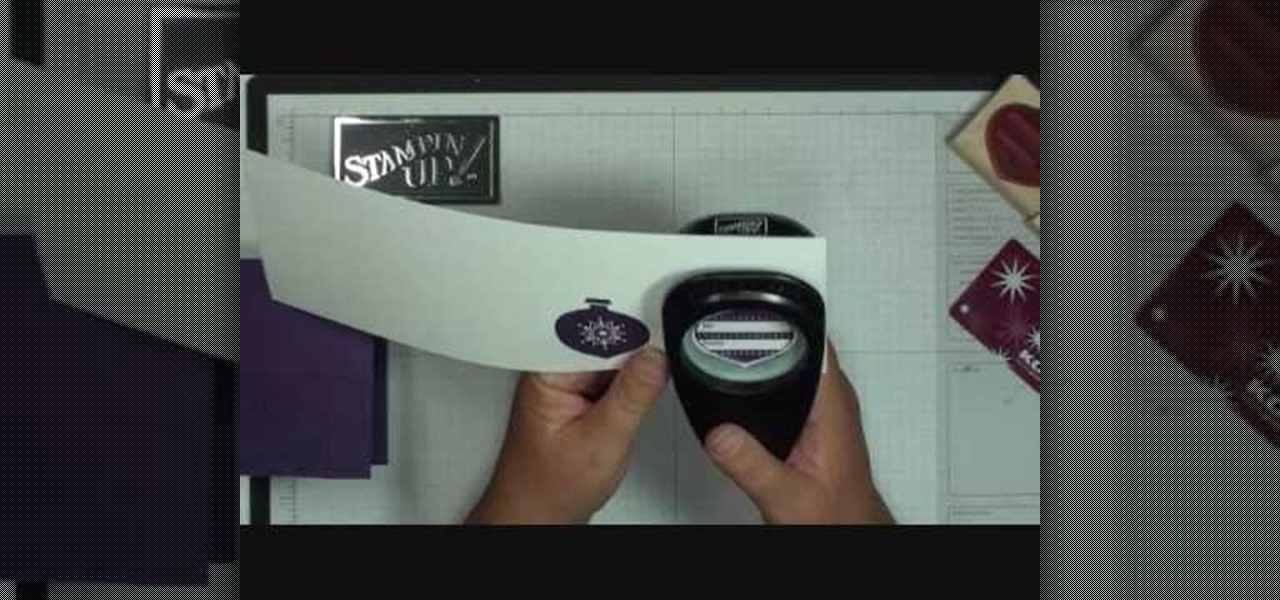
Make a Christmas Gift Card Holder Materials

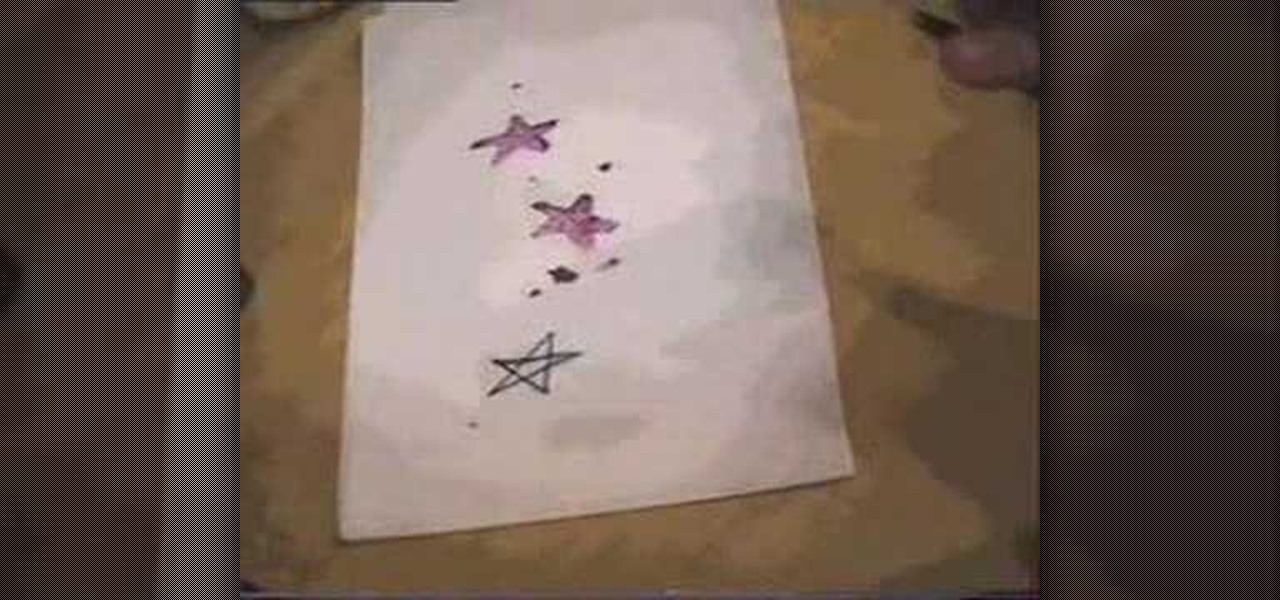
This video tutorial shows a technique to mock watercolor with stamps and markers. Learn how to create the look of watercolor without the mess.

Make It Mine associate editor Tea Benduhn shows you how to emboss velvet using a rubber stamp.

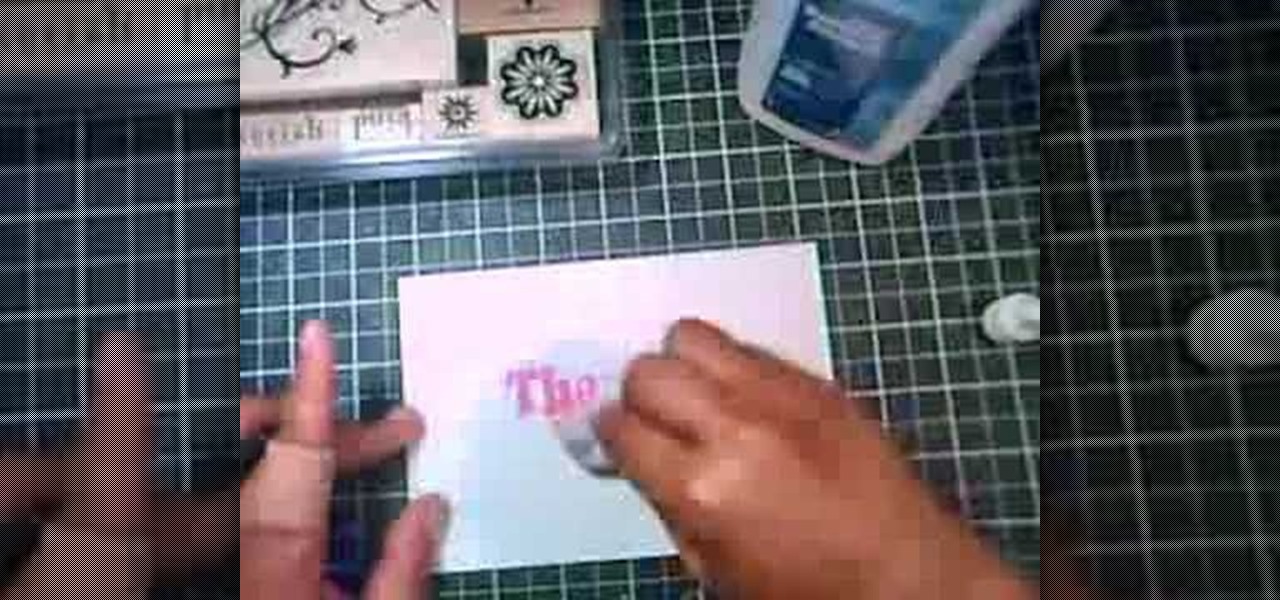
In this Arts & Crafts video tutorial you will learn how to stamp & heat emboss on a card. First you rub in a powder on the paper on which you are going to emboss, because embossing powder is really sticky. Then you select the stamp that you want to emboss and apply sticky transparent ink on the stamp. Make sure you do a through job of this. This will make the embossing powder stick to it. Now stamp the card and press it evenly to ensure that the impression is complete. Then pour embossing pow...

This video tutorial by photoshopuniverse shows you how to create a postage stamp in Photoshop. First take a suitable image and decide the shape of the stamp. Corp the image to suit the shape of the stamp by selecting the area and choosing corp and increase the canvas size as shown in order to create the perforated cutout. Transform the image into a regular layer and once again increase the canvas size to create a back ground with an appropriate color as shown. Add a layer mask, chose the brus...

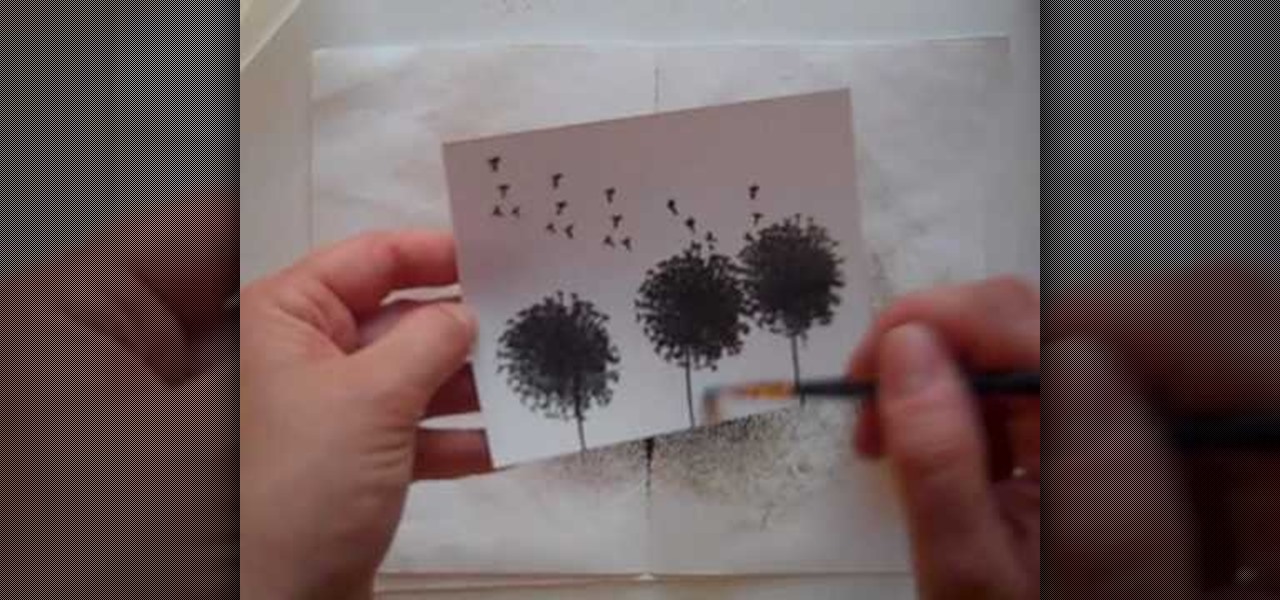
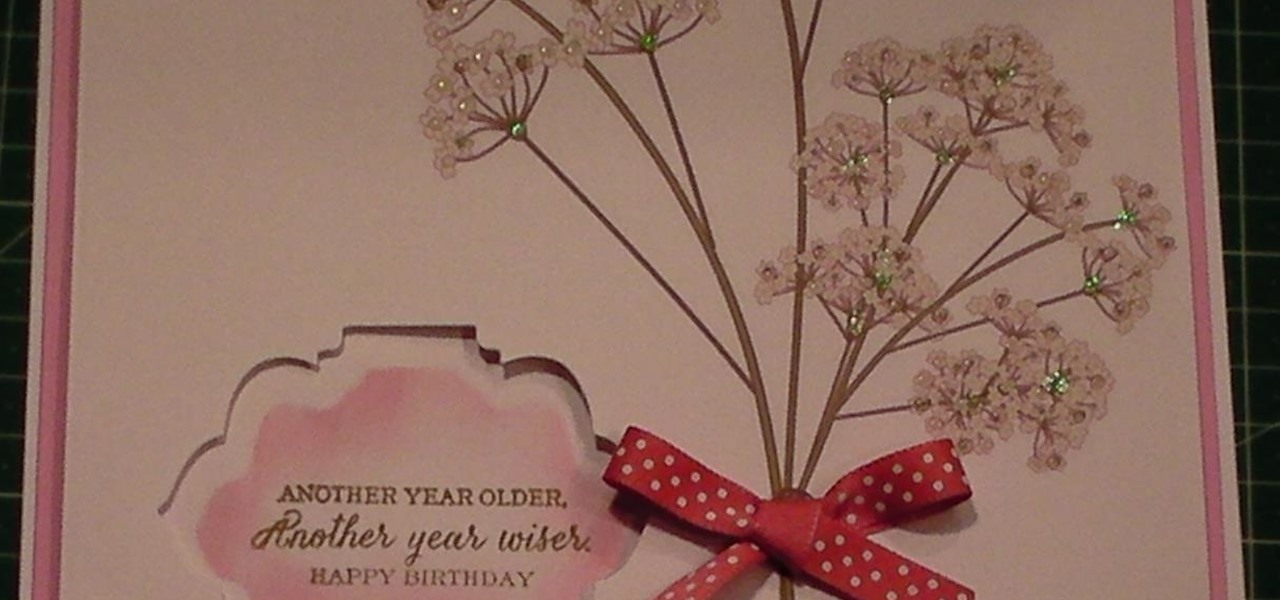
Anyone interested in scrapbooking can learn how to do the Brayer technique with ink refills for cards with this video tutorial. You will need a piece of glossy cardstock as well as stamps. Make sure to keep your fingers off the paper to avoid smudging. You will need the dandelion stamp to stamp the cardstock. Add a stem stamp to your flowers followed by the dandelion fluff along the top of your paper. Then, emboss your stamps with black embossing powder making sure to use a separate piece of ...

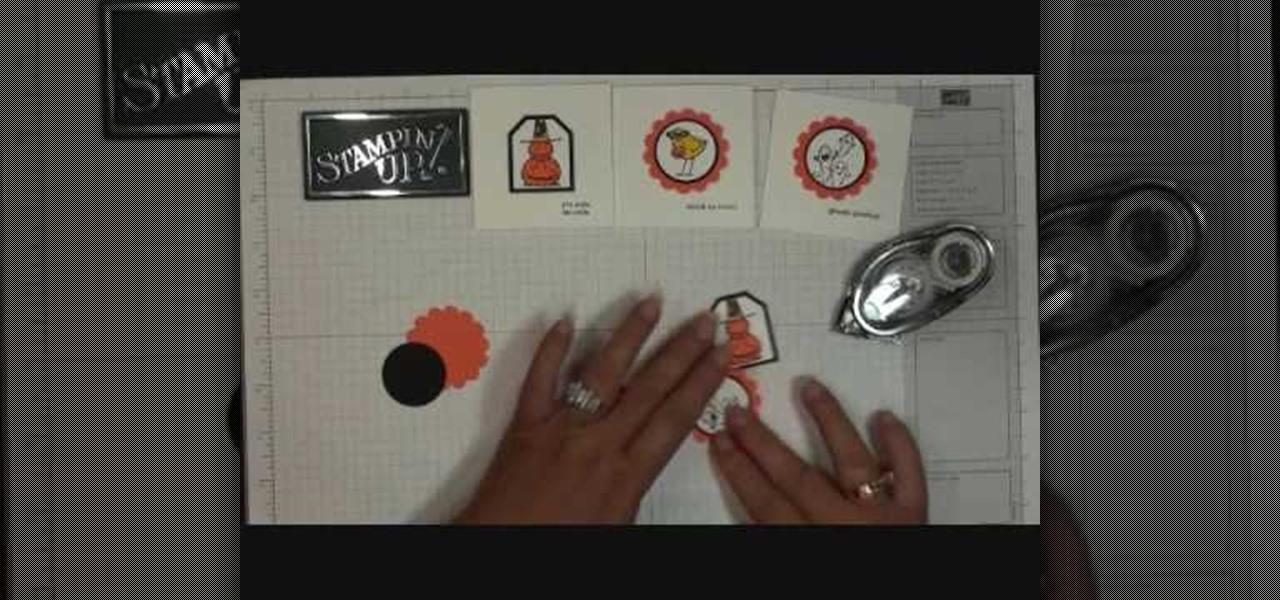
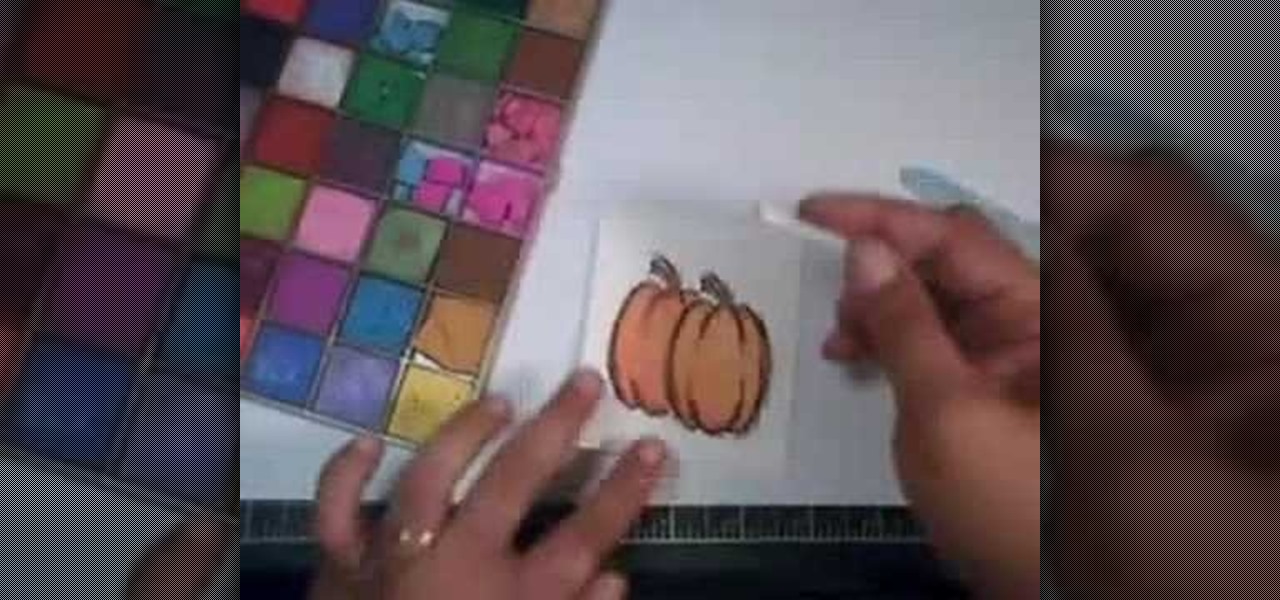
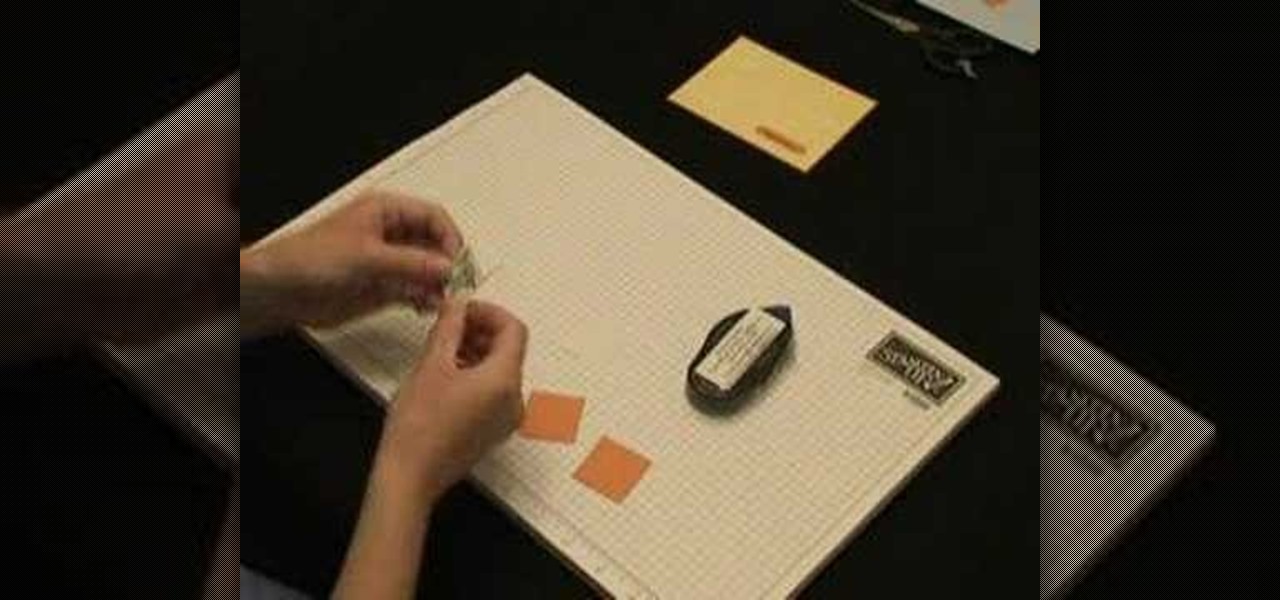
We learn how to make a fall themed thank you card with Stampin' up. The Stampin' up set she used today was the Halloween theme. Firstly cut out your stamps. Then choose the colors of your liking to color your stamps with. Thereafter, cut out your stamps in any design. Continue on with cutting a rectangle that is just a little bigger than your stamp. Glue the stamp to the orange rectangle for a background. Then you are done, but you can add even more to your stamp with glitter and sparkles.

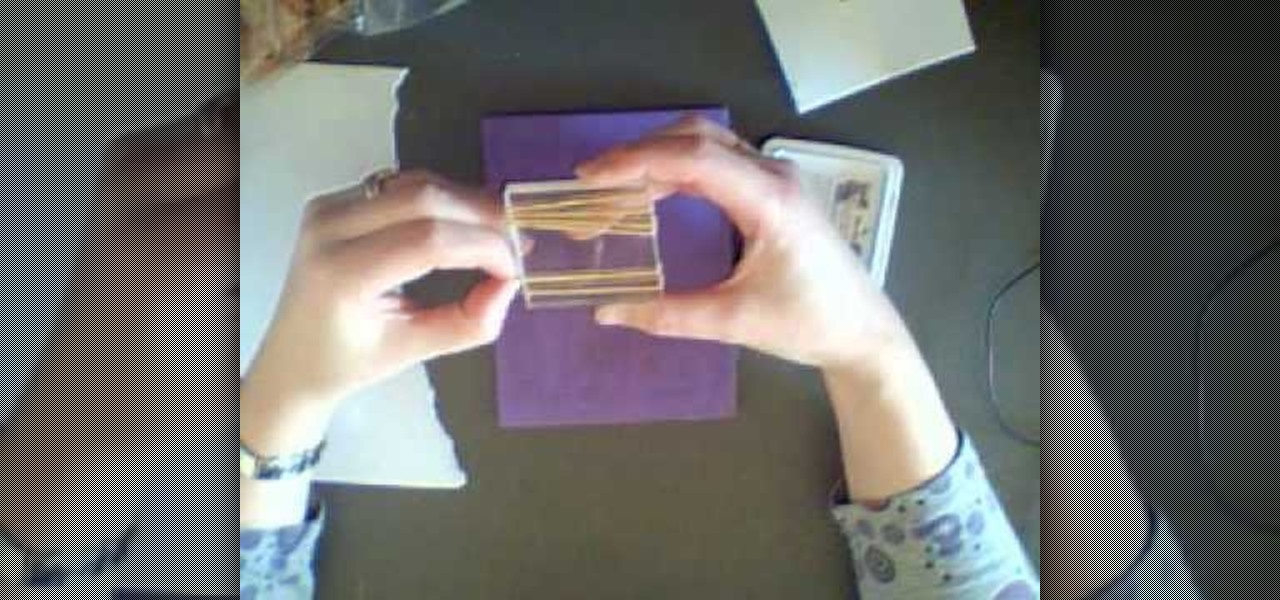
First of all you need an acrylic block, stamping pad, packet of rubber bands and a piece of paper. Open the rubber band packet and then you have to choose several rubber bands which are of same size. Now you have to get these rubber bands on your acrylic block. You can also use a wooden block or an old stamp instead of acrylic block. Now you have to sort out the rubber bands so that they are placed in order with a gap of around a quarter of an inch between each one. You also have to adjust th...

This video tutorial will show you how to make a wooden jigsaw puzzle, but not an ordinary one -- a postage stamp wooden jigsaw puzzle. This puzzle video will show you how to cut a postage stamp into ten poplar jigsaw puzzle pieces using the freehand continuous method.

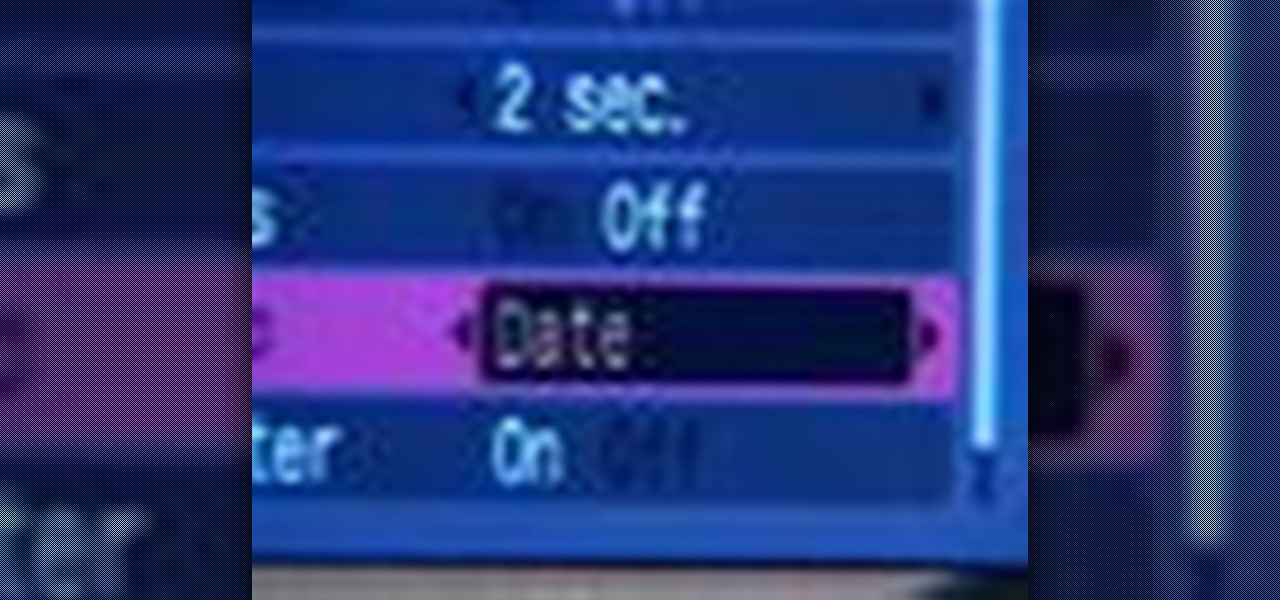
The date and time stamp on a digital photo is great--if wanted there. This how-to video offers tips on using the time stamp on the Canon PowerShot SD600 digital camera. Watch this photography tutorial video to learn how to use the date and time stamp on a Canon SD600 camera.

You will need the following materials: a Green Galore #101768, cut at 4 1/4" by 11' scored at 5 1/2", a piece of Whisper White #100730 cut at 2 1/2" by 1/4", Real Red #102482 cut at 2 3/4" by 1/2", a piece of Whisper White for the door to release the treats from the card, cut at 2" by 2/12", a strip of Real Red cut at 1" by 5 1/2" and a circle of Green Galore with a 1 3/8" circle punch #104401. First use the larger piece of white and the stamp set #120780. Use the clear block #118485 and Gree...

This is a great tutorial on making wonderful little artsy butterflies with your own two hands! They're sparkling butterflies, which you make with fantasy film, a butterly image, permanent ink that dries on non-porous surfaces, craft iron, acrylic stamps, and a non-stick craft mat.

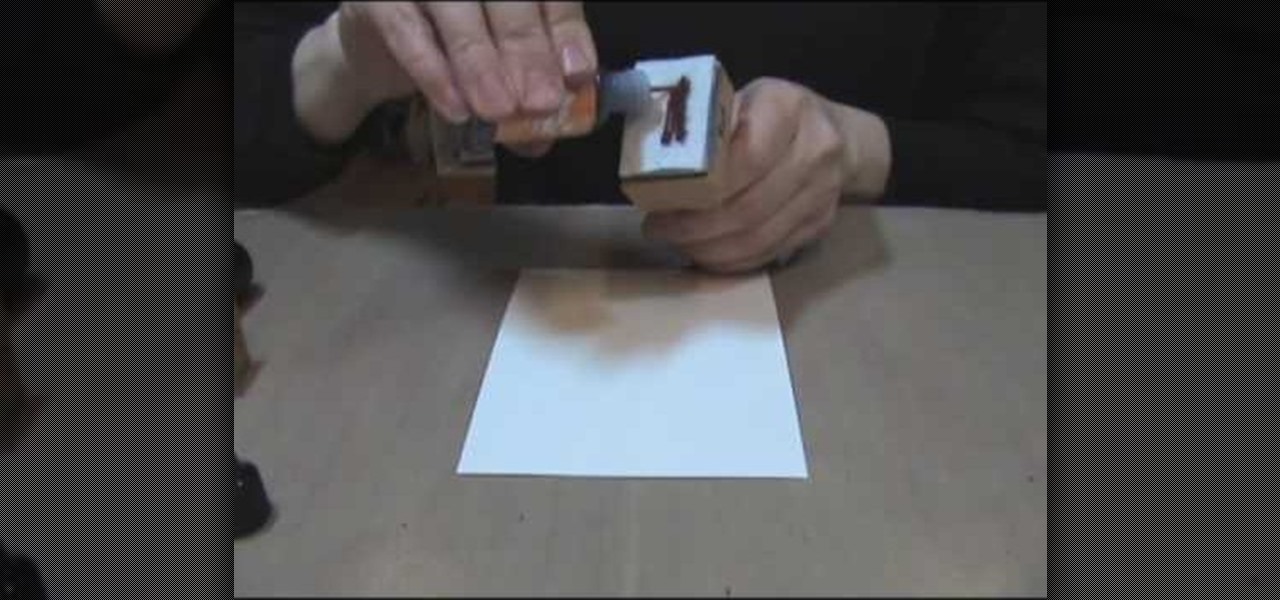
In this video, we learn how to make zebra and tiger prints with Ranger's alcohol inks. First, you will need some alcohol ink in black, gloss paper, a stamp, and felt. Now, take your felt and cut it into small strips. Make lines like a zebra or tiger would have. Next, push these strips onto the stamp bottom, arranging them to look like a zebra. After these are stuck on securely, trim off any edges and make some pointed. After this, you will squirt the black ink onto the bottom of the stamp on ...

In this video tutorial you will learn about a very powerful feature in Houdini called Copy Stamping.

This is what we'd call a hybrid craft if we've ever seen one. Using a rubber stamp on a cake does sound kind of strange (they usually go on paper, right?), but as long as these stamps are new and unused, they actually function really great for decorating on fondant.

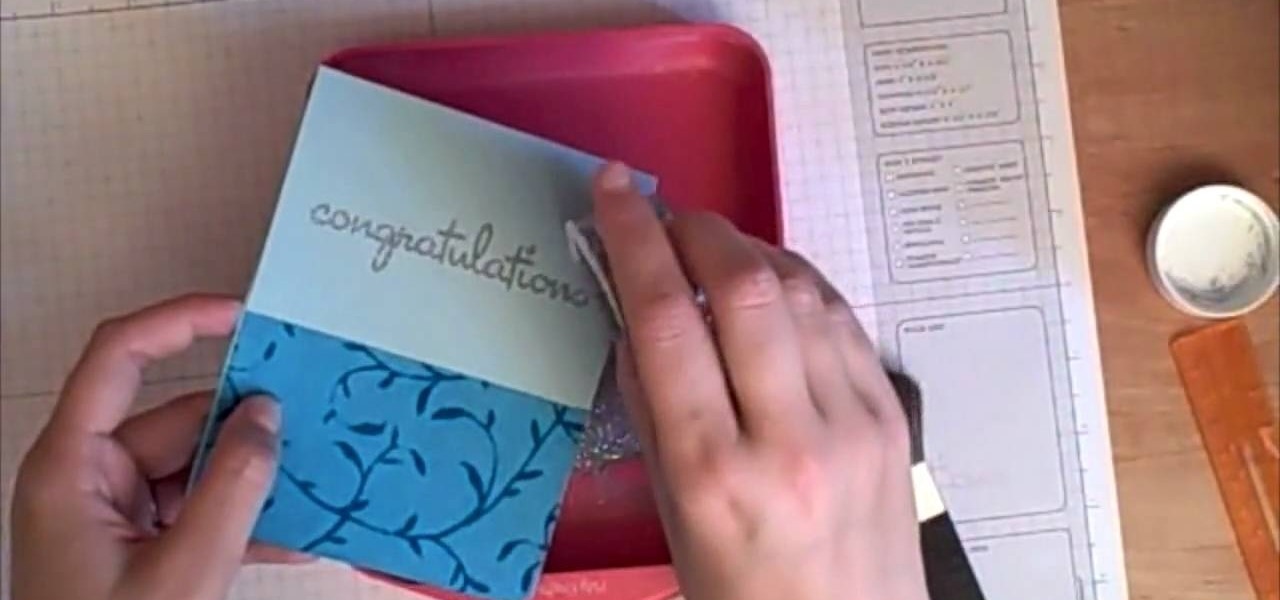
Handmade cards with rubber stamps can be made easily with the following instructions. First, fold a sheet of cardstock in half horizontally or vertically, whichever way you prefer to make your card. Then, trim around the edges with scrapbooking scissors to create a design, or leave the edges straight. You can also find rubber stamps with inspirational messages that you can stamp straight onto the cardstock. Now you can decorate the card front with any rubber stamp you like, but stamp it onto ...

In this tutorial, we learn how to create a marble effect for paper design. You will need: rubbing alcohol, ink, stamps, and a cotton ball to get this effect. To start, you will Need to first dip the cotton ball in some rubbing alcohol and then add it to the ink. Dab this onto the paper all over. From here, you will color your stamps with dye ink and stamp it over the paper where you made the marbled effect. When finished, you will have a cute image over the marble design and then you can add ...

It's never too early to begin crafting for one of the funnest and spookiest holidays of the year: Halloween! No doubt you're going to be attending at least one Halloween party or get together this year, so why not show the hostess with the mostest some love for putting together an awesome party?

In order to create a watercolor effect with Stampin' Up markers, you will need the following: Stampin' Up markers, Stampin' Up pastels, stamps, color spritzer tool, a water resistant ink, cotton swabs, a blow dryer, aqua painter brush, and watercolor paper.

Accidentally stick a time stamp on an image file? Get rid of it with Photoshop's touch-up tools. Whether you're new to Adobe's popular image editing software or simply looking to pick up a few new tips and tricks, you're sure to benefit from this free video tutorial from Tutvid. For more information, and to learn how to get rid of digital photo time stamps yourself, watch this digital photographer's guide.

Are your electrical switch covers in your home just too boring for you? Tired of all those receptacle covers just being plain, old beige or white? Then a little arts and crafts project and some fantasy film might be your answer.

In this video, we learn how to stamp your own customized X-mas patterned cardstock. You will need: green/red stamp pads, Christmas stamps, light yellow plain cardstock and a stamp foam mat. First, stamp your yellow paper as you wish with the green and red stamp pads, you can make any pattern you'd like. Then, place on your stamps on the paper and press the clear stamp press down onto them. Now, apply your stamp color and press back onto the paper. This will make the different stamp shapes pre...

In order to make ghosted images with white ink and distressed ink, you will need the following: a heat gun, Adirondack ink pads, distress ink pads, blending tools, stickles, stamps, card stock, stamp press, a stamp press, scissors, glue dots, adhesives, brads, paper trimmer, and nonstick craft sheet.

Any artist who excels enough in his profession will create some sort of signature on his painting to notify other it's his work. Some painters, like Jan van Eyck, are cryptic with their inscriptions, putting it in almost impossible to see areas in the painting, while others, like Chinese painters, put their literal stamp on paintings with a carved seal stamp.

In order to make a scallop square card with Stampin' Up, you will need the following: a big shot, a large scallop square # 115950 Bigz Clear die, stamps, adhesive, design paper, mini glue dots, decorative ornaments, and card stock.

In order to make a Cuttlebug Smoosh Card, you will need the following materials: card stock (at least 3 different prints or colors), a ruler, distress tool, double sided tape or glue, distress ink, watermark stamp pad, decorative accessories, and scissors.

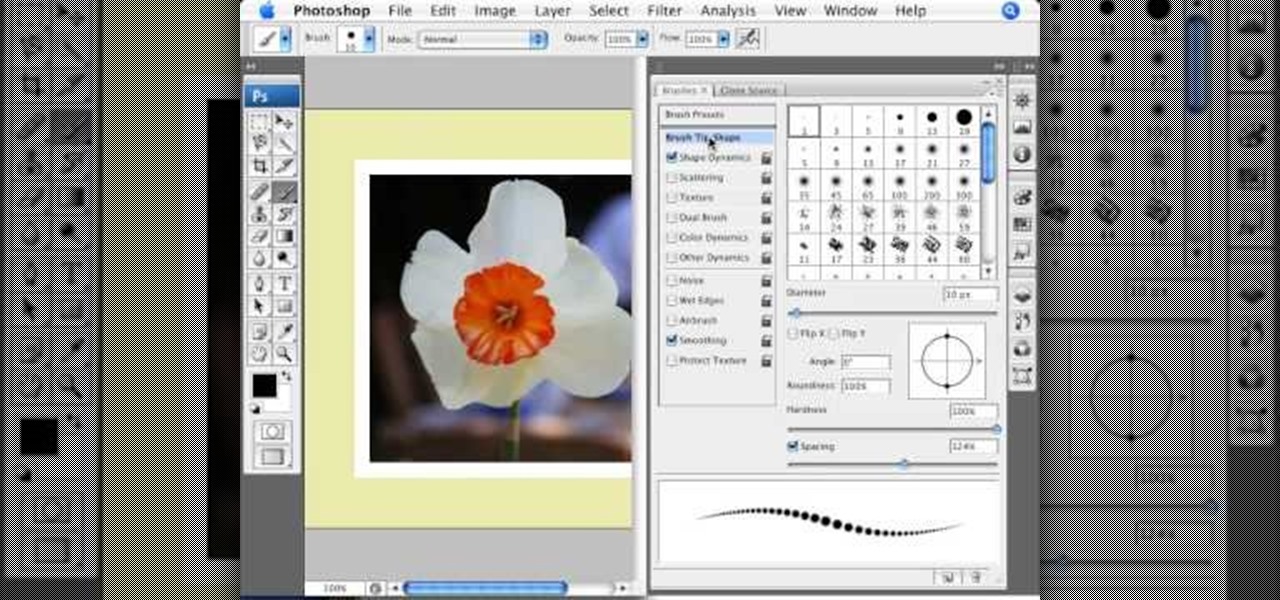
This beginners Photoshop CS3 tool will introduce you to the clone stamp tool. The clone stamp tool is most often used to eliminate parts of an image by cloning a part you DO want and "stamping" it over the parts you DON'T want. If you are new to editing images in Photoshop, you should definitely watch and learn how to use the clone stamp tool. This tutorial is best viewed at full screen.

Dawn Griffith creates a cute card with a 3D lemonade glass embellishment from start to finish. Create a template by making a rough sketch of an 8 ounce paper cup onto a piece of white cardstock and cut it out. Take the template and either trace it onto a piece of vellum cardstock and cut it out, or use Dotto adhesive to attach the template directly to the vellum and then cut around the shape. Score each side at about 1/4", fold on the score lines and trim the overlap at the top. Apply sticky ...

This tutorial features the Peachy Keen stamp line, and shows you how to punch out, color and use your own embellishments. These make great accents, decorations and gifts, especially for the holiday season. All you need besides the stamps are your favorite paper crafting supplies.

Is it your pet parakeet's birthday? Here are some tips and techniques on how to make a hand stamped birthday card using Stampin' Up!'s Pun Fun stamp set. You can make up your own puns, or alter this card to suit other pets and other holidays. Make greeting cards for all occasions with stamps and unique hole punches.

Potato printing is a fun and easy way to make prints and stamps. You will need a potato, a knife, paints, paper, a pen, a paint brush, and an old plate. Watch this video printmaking tutorial and learn how to make a potato stamp. Start decorating!

See how to quickly add watermarks, date stamps, and time stamps to digital photos using Mark IT Now! software with Bill Myers.

This video introduces you to the basic stamp to create your own electronics. The basic stamp is a microcomputer that can be programmed using basic to do anything from turning on a LED light to cellphone ringtones.

This is an amazing product that all crafters need to have, not only will it save your craft stamping storage but it enable you to start using all those wooded stamps you haven't used for years! or just to add a back to red polymer stamps so you can use them with your stamping blocks.

Instead of a tutorial this is really a card idea for what to do with large stamps/images/rub ons/stickers etc.. and a really quick & easy option. Step 1: Items Used

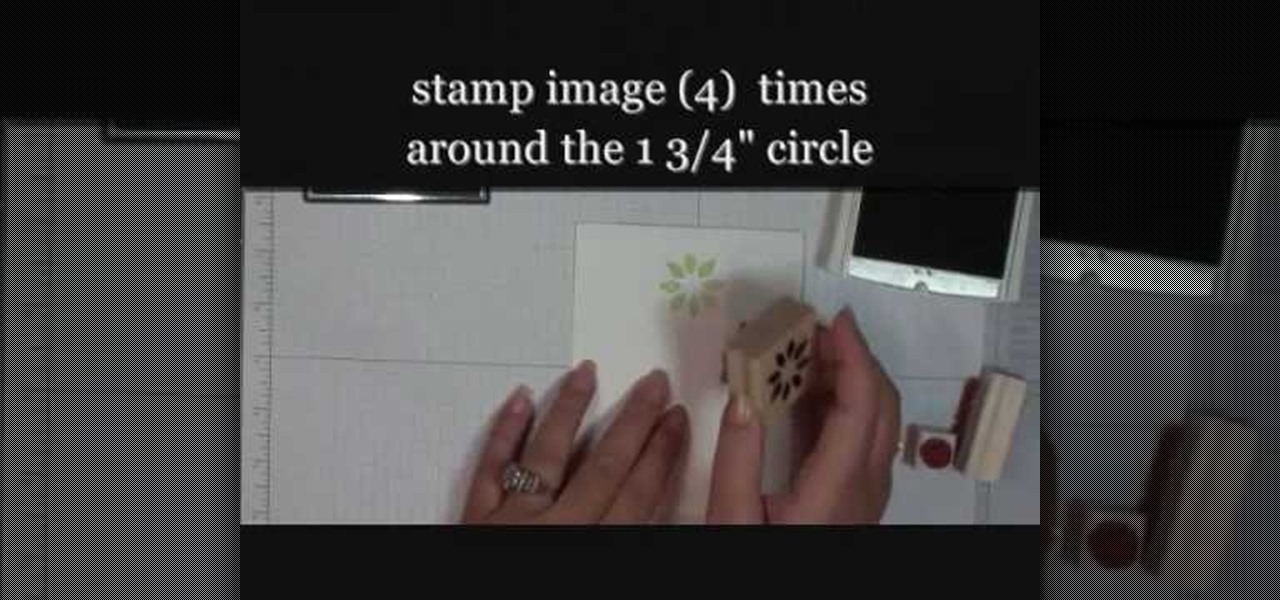
Learn how to make a "Berry Christmas" wreath card with Stampin' Up! Making a wreath card is very easy and simple to make. Use whisper white paper cut at 4 1/4" x 11" and cut a whisper white 1 3/4" circle punch which will be used as the base for the wreath. Place the circle in the center of the card. Use the Berry Christmas stamp set from the Holiday Mini. With the Certainly Celery ink pad, stamp image 4 times around the circle. Then, remove the circle. Fill in the circle space with more image...

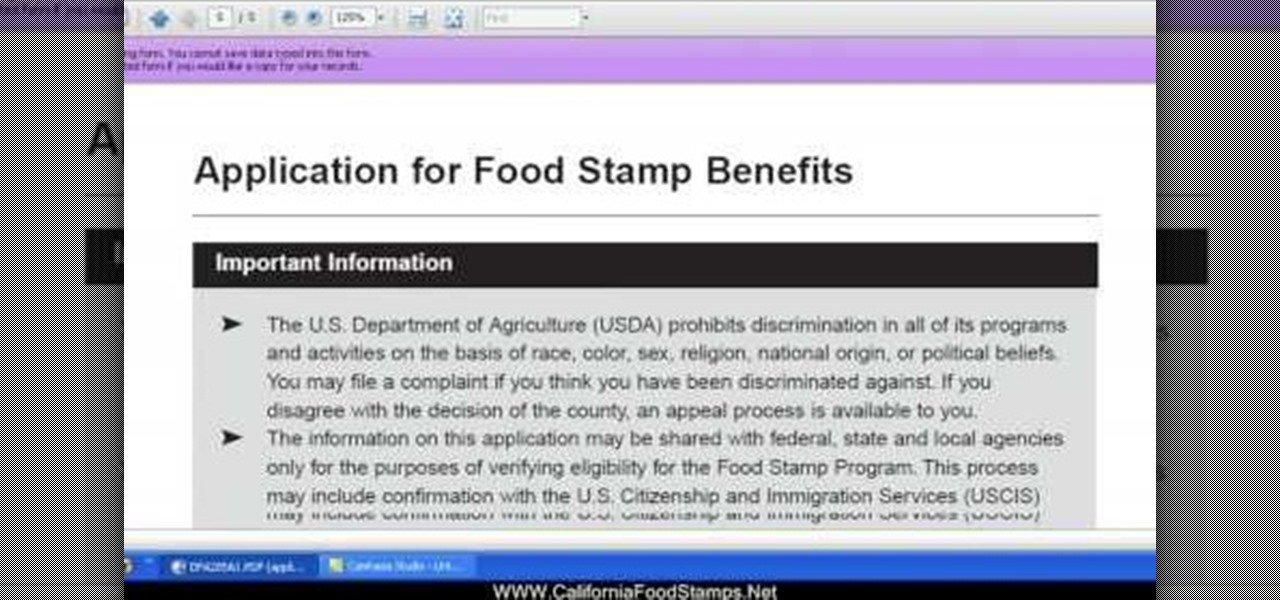
In this tutorial, we learn how to apply for California food stamps. First, to go the website: California Food Stamps. After you are on this site, you will see a pop up where you can enter in your name and e-mail, as well as more information about food stamps in California. After you enter in your information, you will receive an e-mail with two links on it. One will be for the application and the other will be to find an office near you. Print out the application and fill it out entirely, fol...


