Want to create complex paper cut outs that a die cut machine just can't handle? One option is to use the Craft Robo, which will let you create your own welded shapes and patterns on your computer and then cut them out on your paper.
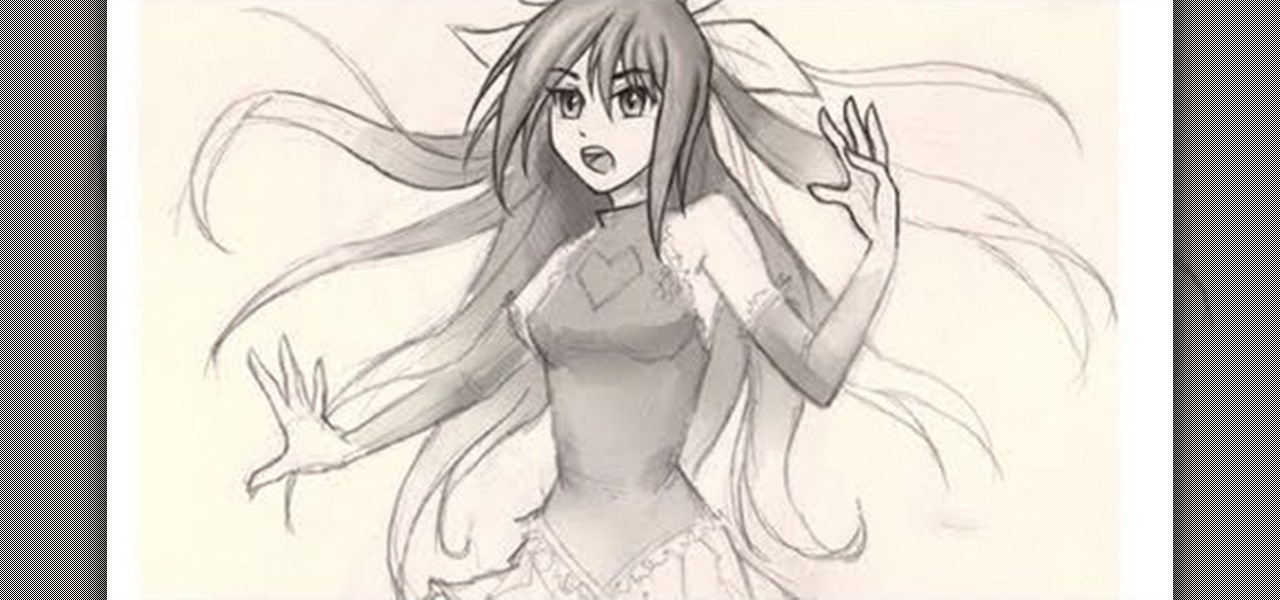
This is a quick tutorial which nevertheless will teach you how how to properly draw the body of an anime or manga style girl. Break everything down into geometric shapes and then make small alterations to your shapes for your figures and drawings.

In this video we learn how to make a decorative paper rose. First, take a piece of paper and cut several heart shapes out of it, making them different sizes. Once these are cut out, curl the edge over with a toothpick, pencil, or by hand. Set these aside, then use a grab a green sheet of paper. Roll the edge of the paper up and then cut the rest of the paper from it. Create a leaf in this and then tape it all around. Now, twist this tightly and place the curled ends of the heart shapes away f...
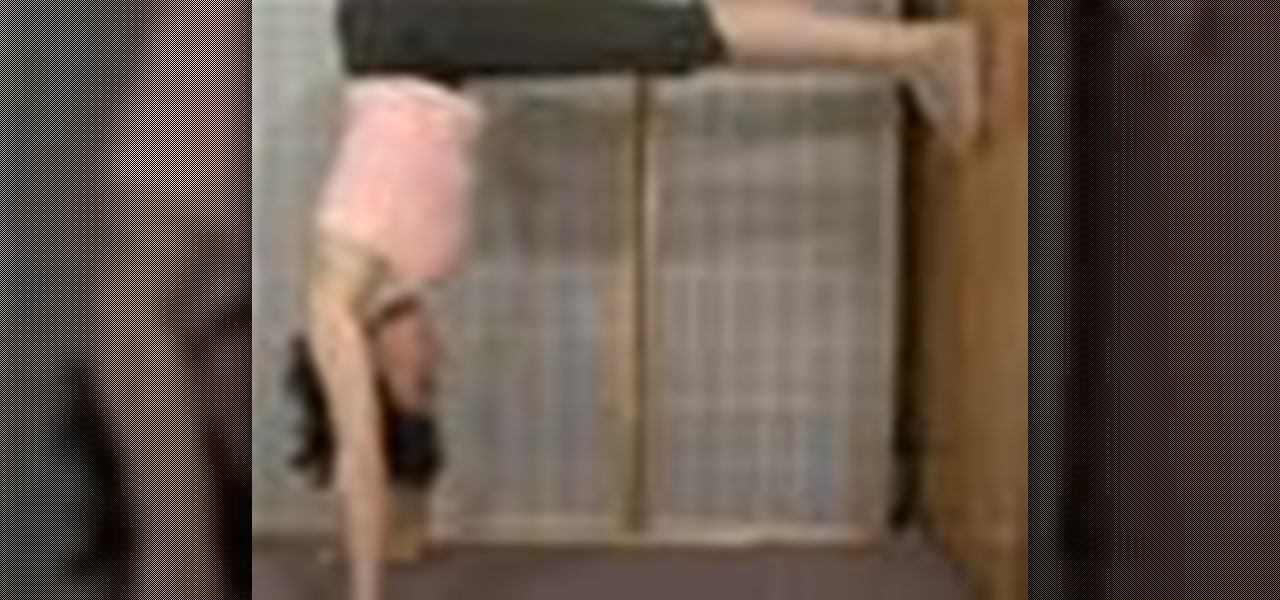
Balance your life— balance yourself— all with this L-shaped handstand and some chia lemonade. This video will show you the recipe for a healthy chia lemonade drink, full of Omega 3 fatty acid, plus the L-shaped yoga handstand that will help you get a real feel for balance.

Do you like making fun-shaped cookies? Have you grown tired of the cookie cutter cookie cutters you can buy at the store? Watch this video to learn how you can easily make your own cookie cutters in whatever shape you want!
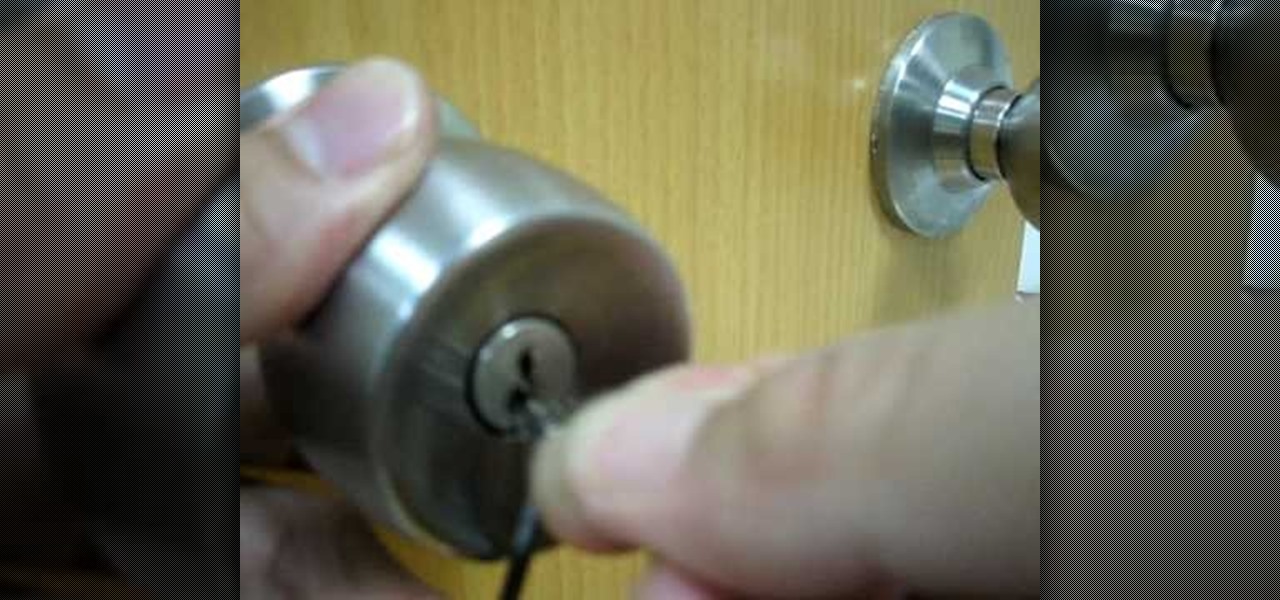
In this tutorial, we learn how to pick a locked door with a paperclip. First, open up your paperclip and then twist the end of it so it's a spiral shape. Then, scrub over the pins and create a spiral shape with these as well. Try your best to make the shape of the paperclip to look like the unlocking saw. Now, take a tension wrench and force it into the bottom of the lock. Then, stick the paperclip into the top of this and turn upwards several times going quickly. When you hear the lock come ...

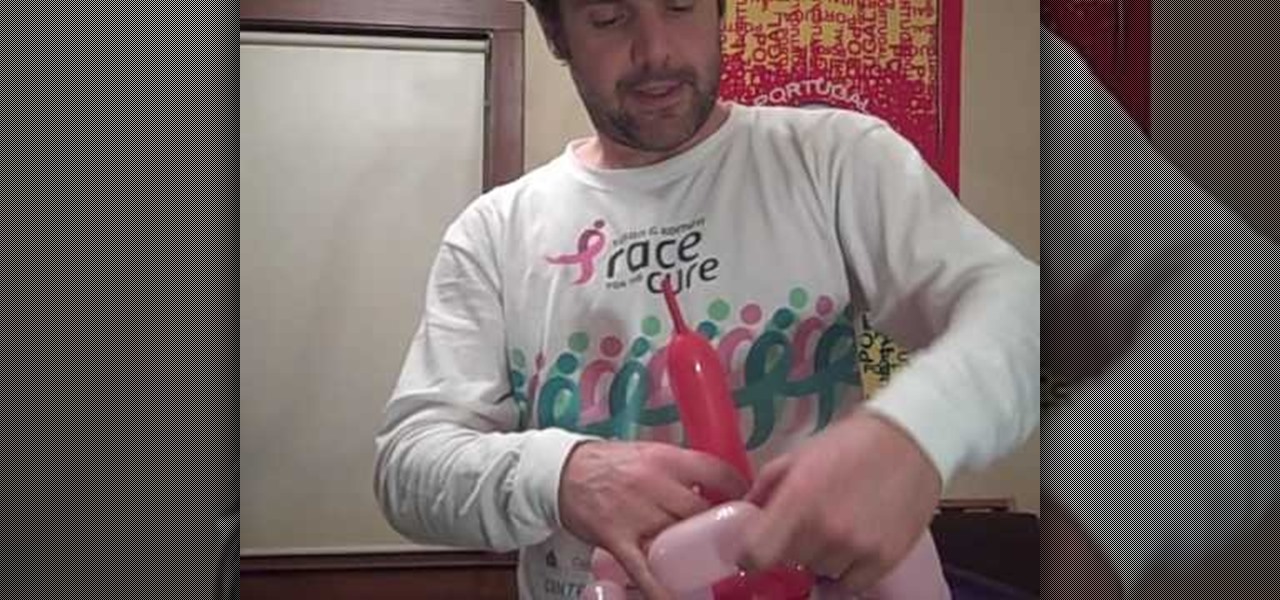
Balloons come in various shapes and sizes and if used properly, can be combined to create complex shapes that mimic real life objects. Choosing the correct color of balloons also adds to the realism in the completed object.
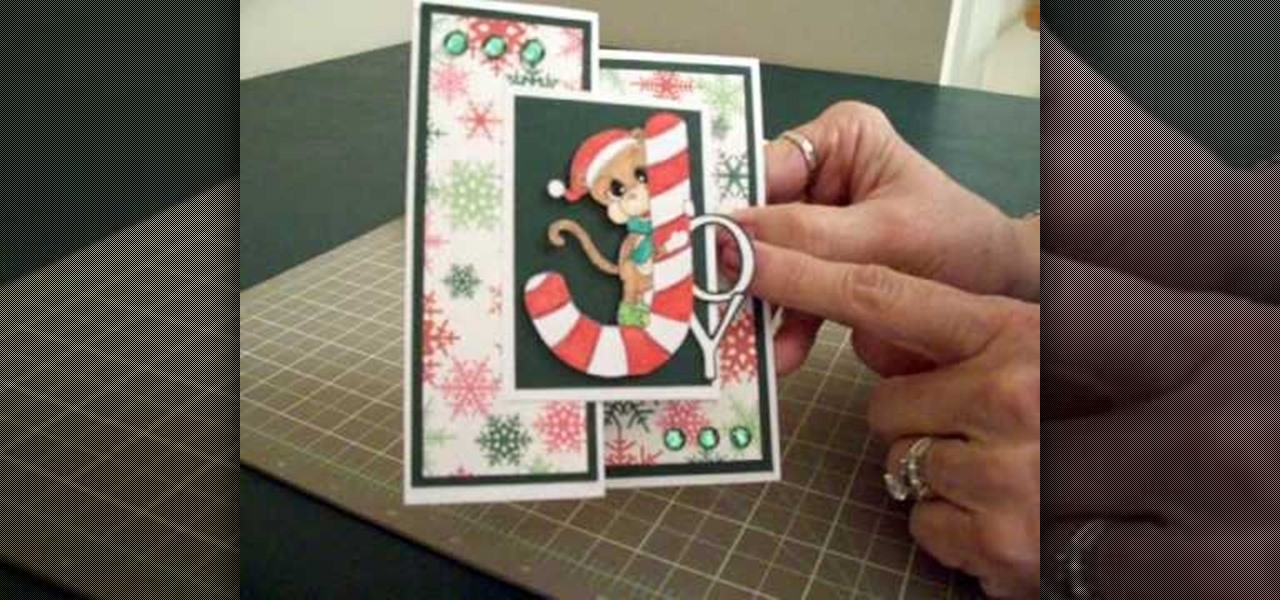
In this video, we learn how to make a Joy S-fold Christmas card using Cricut George. First, fold the card and mark it so it's in the S shape, then stamp the background of the card with colored snowflakes in different sizes and shapes. After this, use a black outline along the sides of the papers, then add in a black piece of paper to the middle of the top fold. Apply a monkey with a Santa hat to the front and wrap him around a J shaped candy cane. Add in the letters "o" and "y", then add in a...
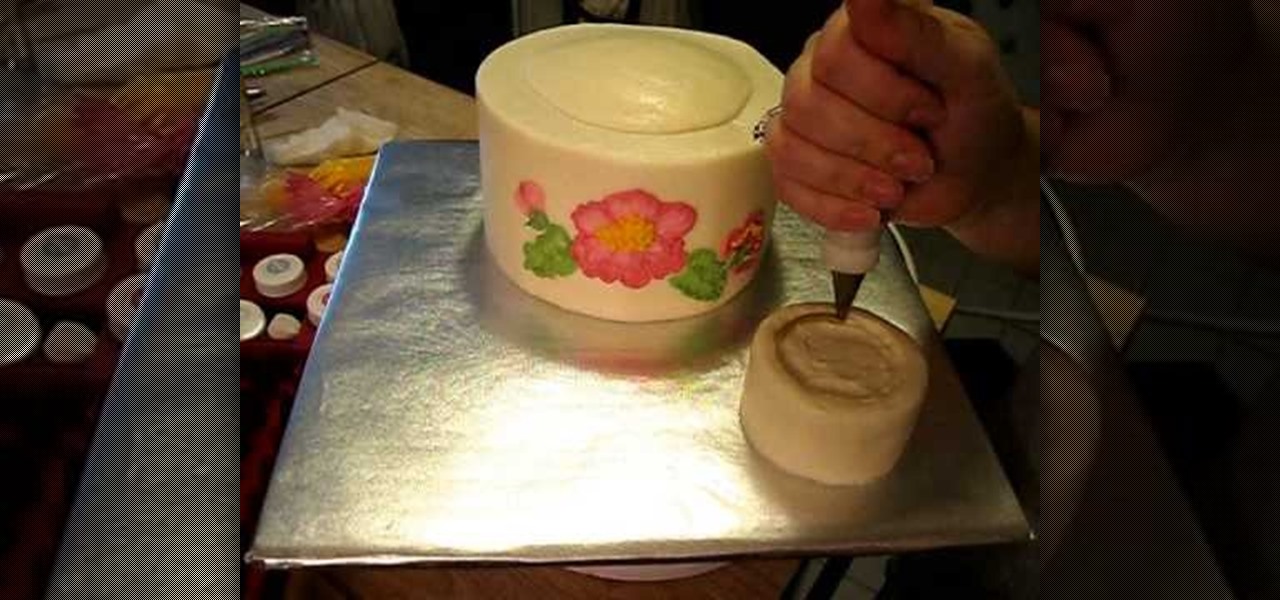
Form cups, which you can get from any cake decorating store, are easy ways to get your fondant into uniform and easy to use shapes. You can use a form cup and a few cake decorating tools to make your fondant shapes look exactly like a face!
Singing too much? Had a bad fight? Your voice is trashed right? How do you get it back into tip top shape? This video will give you all of the hot tips and tricks on getting your body to heal more quickly and get you back into fighting shape!
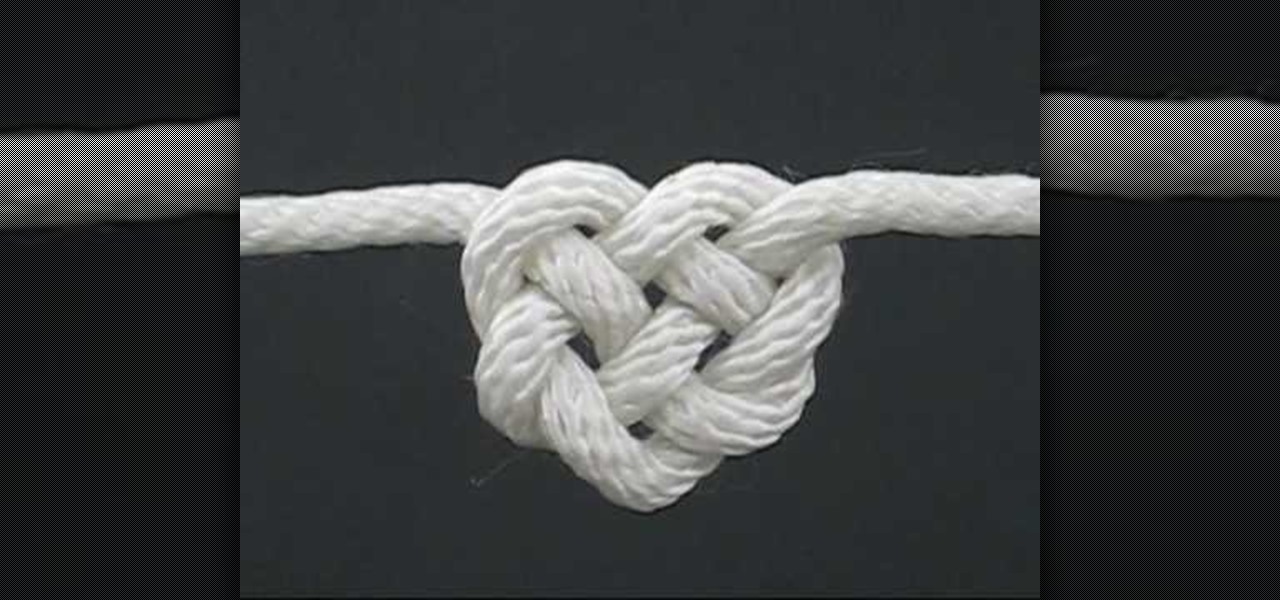
In this video, we learn how to tie the Celtic heart knot. Start off with your rope and make a loop in the middle of it. Now, bring the working en on the right side into the loop so you have a circle. Now, bring that end back into the knot and braid it through the other loop. Next, push this through the bottom loop, then braid it through the lines that are on the shape. After this, you will see a heart shape start to form. Pull gently on the heart with both sides of the rope and shape the midd...
In this tutorial, we learn how to draw a simple cartoon dinosaur. Start by drawing a rectangle and give it eyes on the upper right hand corner, then nostrils. Start drawing a body that has a jelly bean shape. Now, create small arms on the side of the body, that are smaller than the rest of the body. These arms should have a cylinder kind of shape to them. Now, draw some legs onto the bottom, using large cylinder shapes and little pointy toes. There should be adequate space in between each of ...
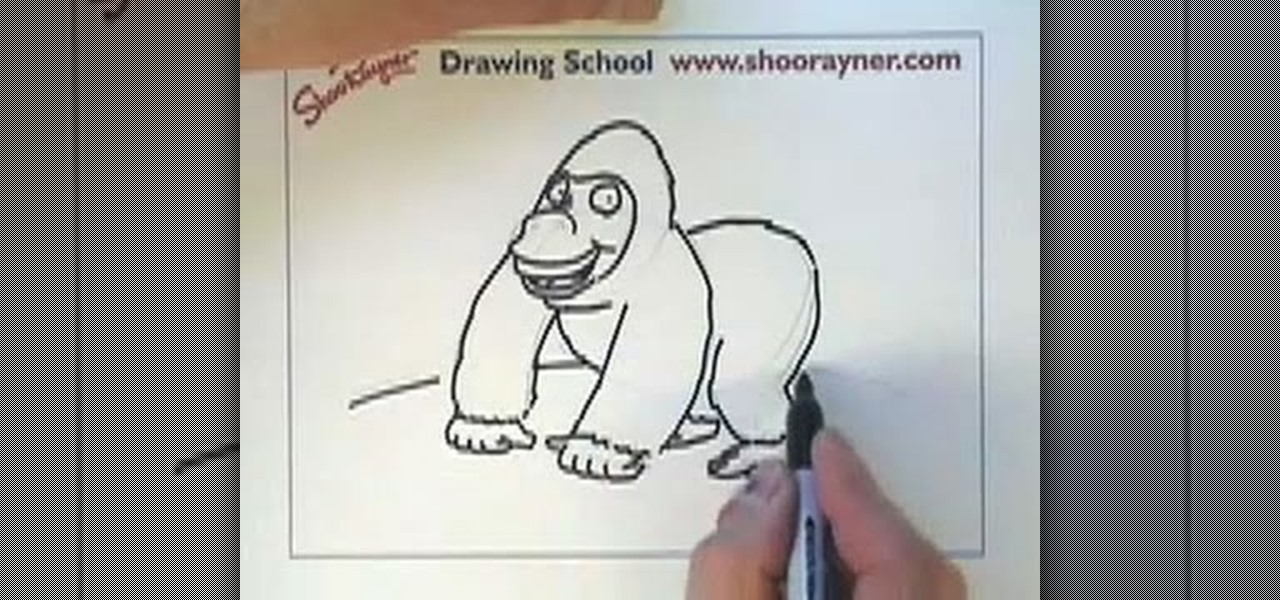
In this tutorial, we learn how to draw a gorilla. Depending on what type of gorilla you want to draw, there are various ways to change the look easily. To start, draw a bean shape that will be the body. Next, draw a smaller bean shape for the head on the side of the other shape. Now, draw the middle of the face, making eyes in the middle underneath the brow bone. Now, make the nose and mouth of the gorilla. After this, continue back down on the rest of the body and draw arms and legs for the ...
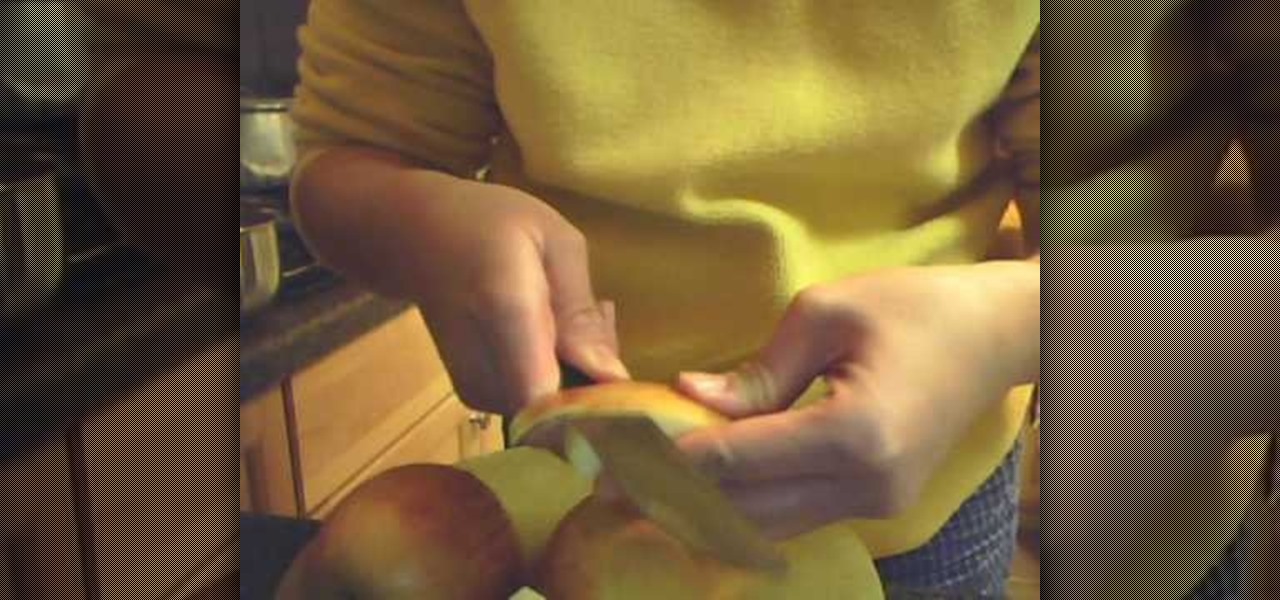
In this tutorial, we learn how to make a bunny shape out of an apple. First, grab your apply and cut it in half using a sharp knife. Next, cut a quarter out of one half of the apply. Now, take that cut quarter and cut out the very middle of it. Next, make a v-shaped cut on the outside of that same quarter. Next, cut another quarter out of that same half and make the same cuts as the one before. Cut two more quarters out of the remaining apple and remove the skins. Place the apples in an ice b...
In this video clip, you'll learn how to use the Boris vector shape generator within Final Cut Pro. Whether you're new to Apple's Final Cut Pro non-linear video editor or just want to better acquaint yourself with the popular video editing program, you're sure to benefit from this video tutorial. For more information, including detailed, step-by-step instructions, watch this tutorial.
In this tutorial, we learn how to make ring skirts. First, cut out for 22.5 x 5.5" shapes out of black polyester. Next, cut a 21.5" x 4.5" rectangle out of cardboard. After this, iron down all your shapes so they are flat, then place the cardboard on the other shapes so you can see material sticking off of four sides equally. Next, fold the excess fabric onto the cardboard and then iron it down, then pin it on all sides. After this, sew the sides with a sewing machine and remove the pins. Do ...
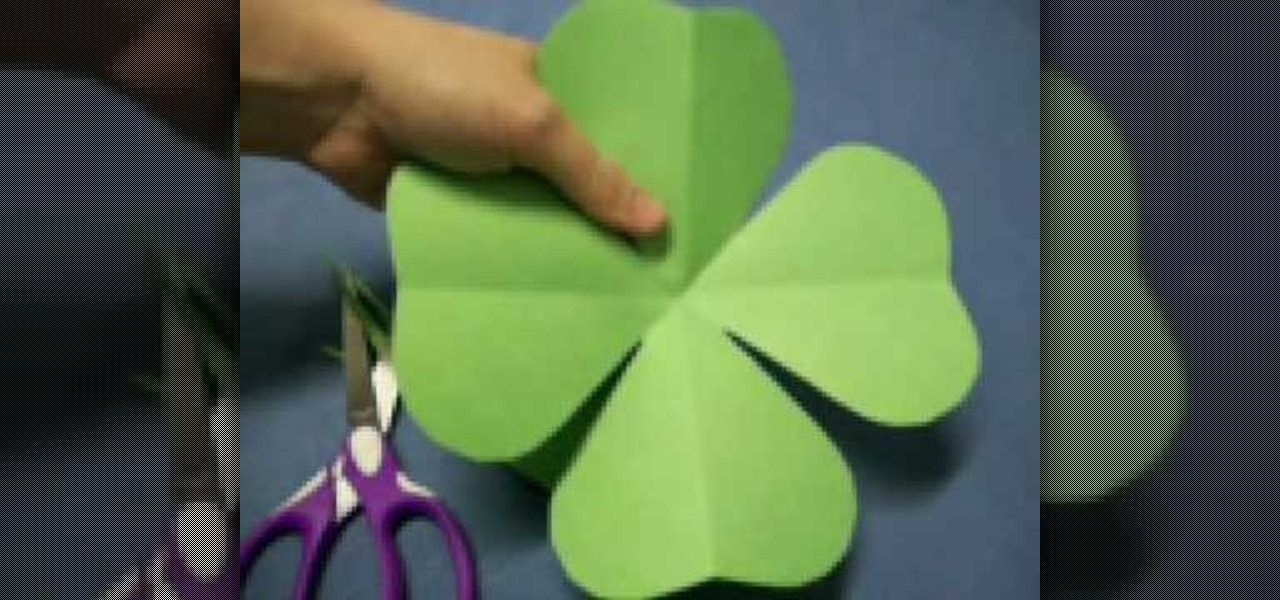
In this tutorial, we learn how to make a four leaf clover pattern. First, fold your paper in half, then fold it in half in the other direction. Next, fold the edges making a point and then cut a half an inch along the edge, making a cone shape. end the shape on the right side, making a heart shape. When you unfold, you will have a four leaf clover! You can use any size of paper to make this, just make sure you use green paper to keep the theme Irish. This is a great project for kids to learn ...
In this video, Dina Prioste shows us how to do a yoga l-shaped hand stand. Come into a long plank pose and lift your hips up to come into downward dog. Work on getting your back nice and long in this position. Next, sit away from the wall with your feet flat up against the wall. From here, take your hands and flip over into a tabletop position. Now, lift your hips up and come into a short downward dog with your heels against the wall. Now take both feet to the wall to come into the l-shape. R...
Using a geometric shape to mask out a portion of one video, so that you can substitute in a different video on top of it. Whether you're new to the Blender Foundation's popular 3D modeling program or a seasoned graphic artist just interested in better acquainting yourself with the application, you're sure to be well served by this free video tutorial. For more information, including detailed instructions, take a look!
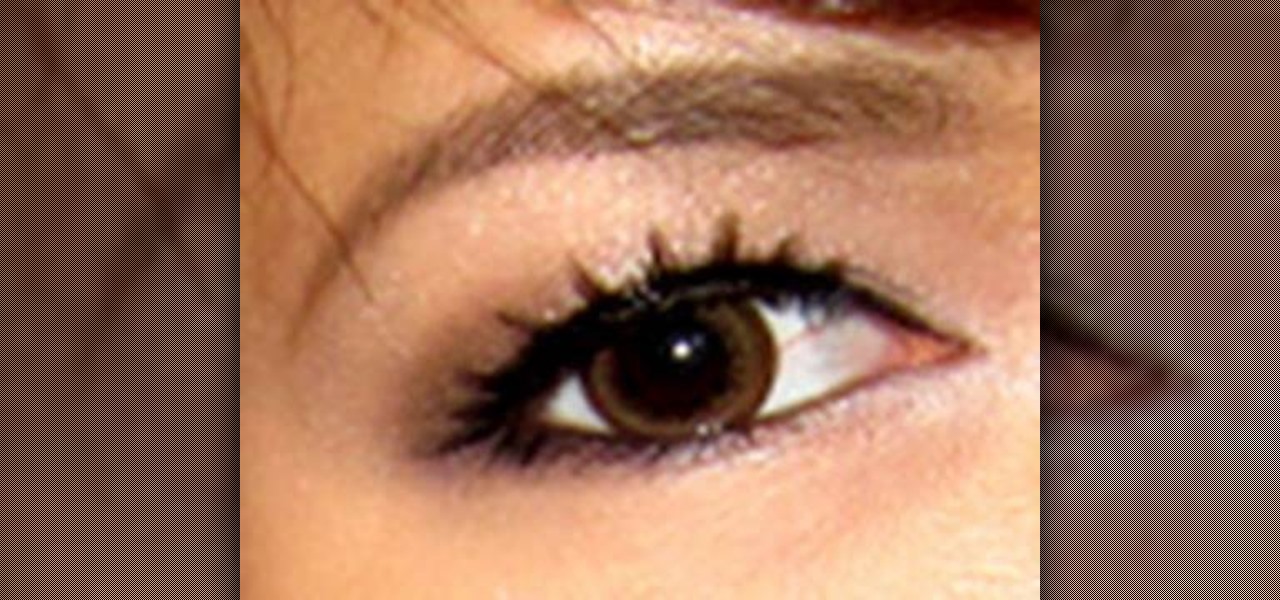
So you've just gotten back from an extremely costly brow shaping at the salon du jour of Beverly Hills (your aesthetician swears it's a favorite of Kristen Dunst). What do you do now that you have the perfect pair of brows?
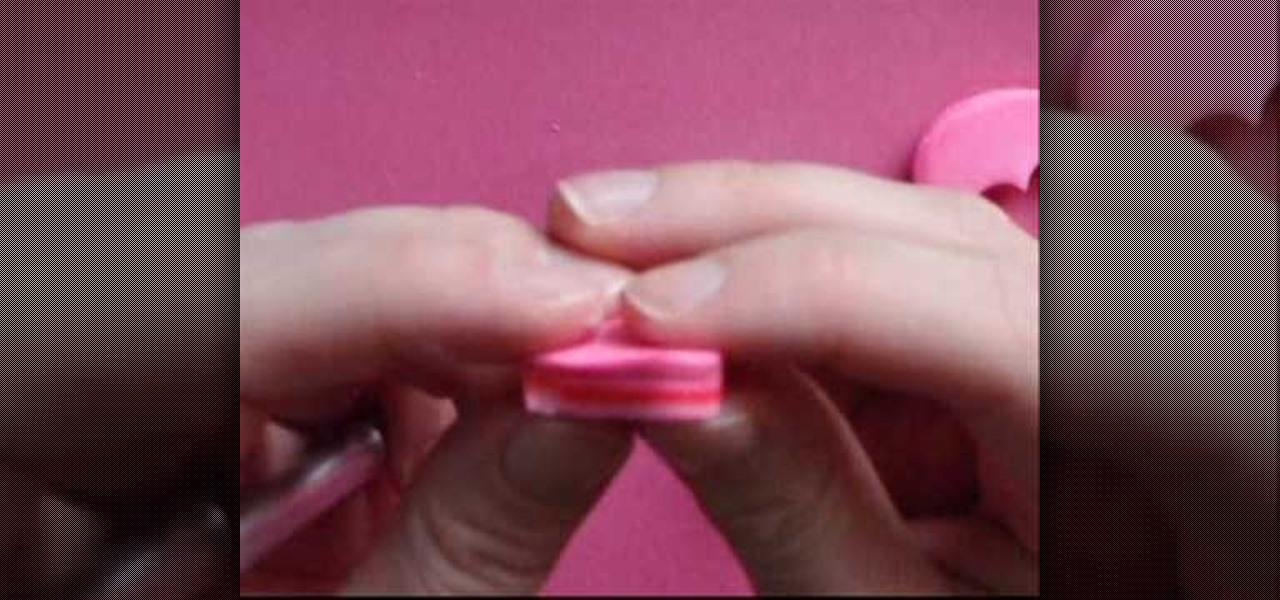
Give her a Valentine's Day gift that will last forever by making this romantic red, pink, and white polymer clay Valentine's Day heart shaped cake.
More advanced origami projects call for more advanced papers. In this tutorial, you'll acquire the art of paper making. Specifically, you'll learn how to make your own origami tissue foil paper, which has a much stronger hold than normal origami paper.
What could be more romantic than serving your partner with a tasty mango shaped like a lovely flower?
Have a love of money and crafts? With this guide, you'll learn how to make a heart-shaped money ring from a dollar bill with origami, the traditional art of Japanese paper folding. For more information, including a step-by-step overview of the folding process, as well as to get started making your own cardioid money rings stars, watch this free origami lesson.
Eyebrows can make a great deal of difference on someone's face. In this video courtesy of Beat Face Honey, learn how to apply the most important thing on your face! Learn how to shape, tweeze, and place your eyebrows as well as some do's and don'ts, and don't evers!
This Yasmine’s World video demonstrates eyebrow threading. Use standard sewing thread for the process. Take a piece approximately two to three feet long. Tie the ends in knot. Hold the large thread loop in both hands. Twist it six or sent times, so there is an X shape in the middle. Working on the right eyebrow, pull the right hand in a tweezer motion. For the left eye, make the motion with the left hand. This motion moves the thread. Working on the right eyebrow, place the left vee of the ...
Get creative - Stray away from the same old cakes and add a new cake shape to your resume! In this cake decorating tutorial, learn how to make a teapot shaped cake! Perfect for a Alice in Wonderland themed party or for someone who loves tea and or coffee!
In this how-to video, you will learn how to dress for a rectangular body shape. This means straight up and down without much of a waist. This means you should emphasize your waist at all times. Try a checked top, as the horizontal pattern will give the illusion of curves while an empire line will add shape at the bust. You can further emphasize this with chunky knits and textures. This will help emphasize this. Also, floaty dresses should be used. Cinched waists, flowing skirts, and plunging ...
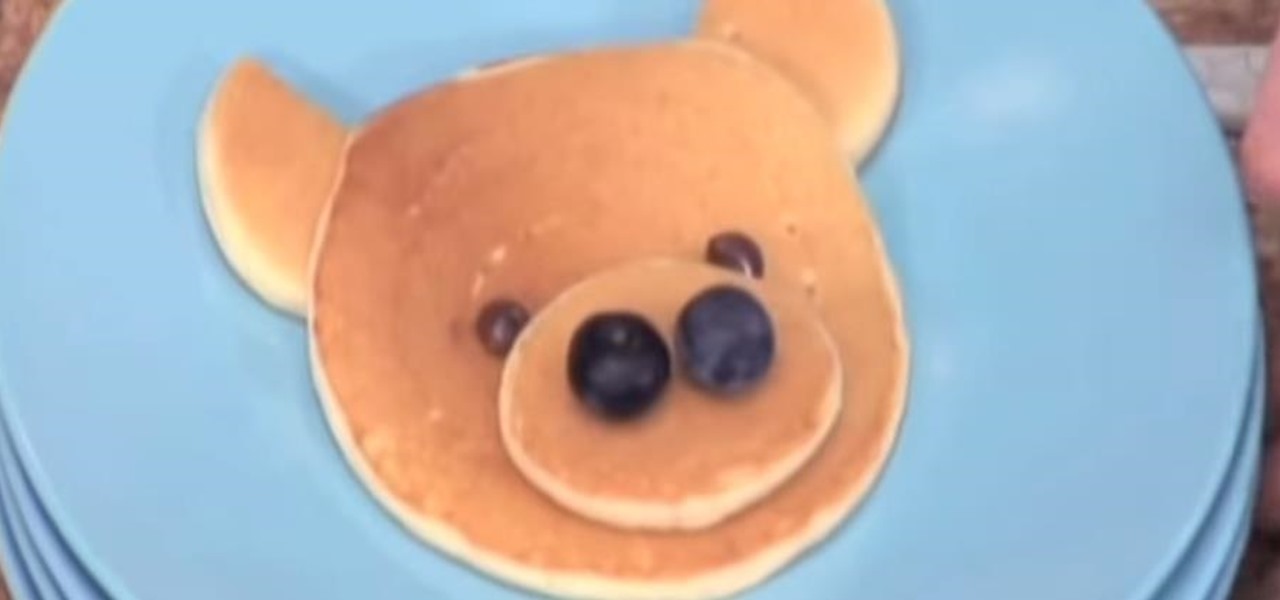
Liv Hansen with Betty Crocker TV demonstrates how to make pancakes in fun shapes that kids will love. Make sure to pour your pancake batter into a squeeze bottle for better control when creating your pancake shapes.
A compelling and quick moving tutorial on making the Windows Vista logo with Adobe Photoshop. The logo can be made quick without going too in depth into some of Photoshop's more advanced features. Starting with a circle a gradient shade is layered over the shape. Two circles are cut out and shaded white to give the circle a 3D feel. Then adding a drop shadow to the entire shape really gives it the logo's appearance. The windows themselves within the logo are cut to shape and copied and moved ...
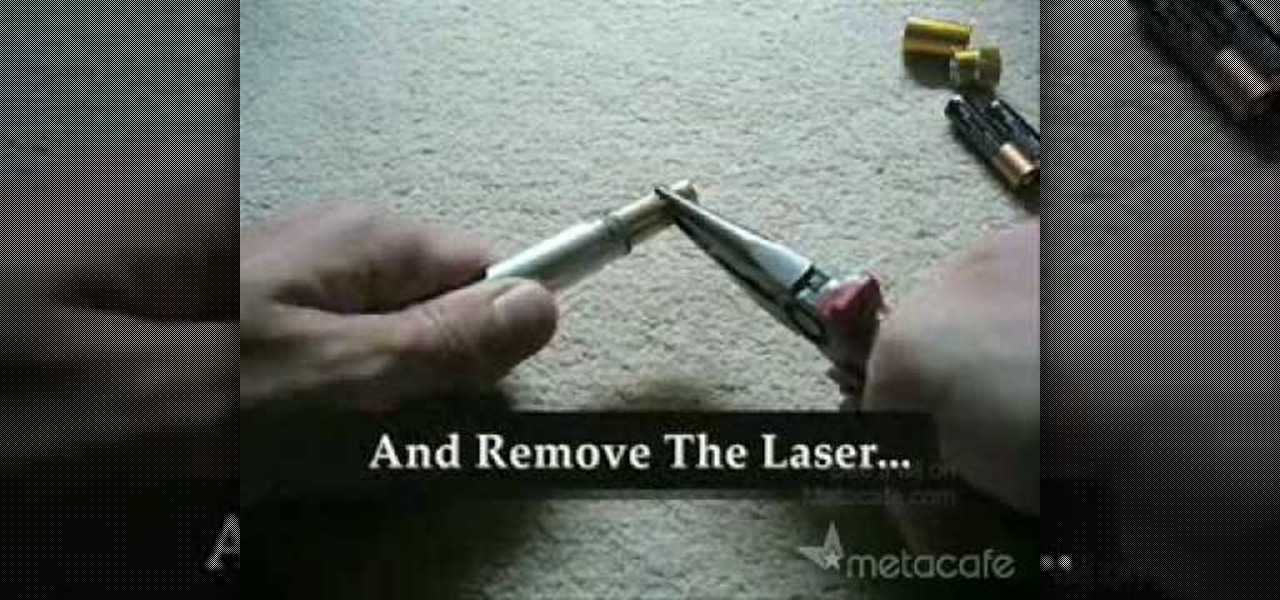
In this video, learn how to modify your laser pointer to make fun, new shapes. This video will show you how to make an extremely cool new toy and impress everyone. Imagine what your class reaction will be when you start pointing to things with a funky shape instead of a typical pointer. Laser pointers are great for presentations, cat toys and just general fun. Why not modify yours and make it your own?
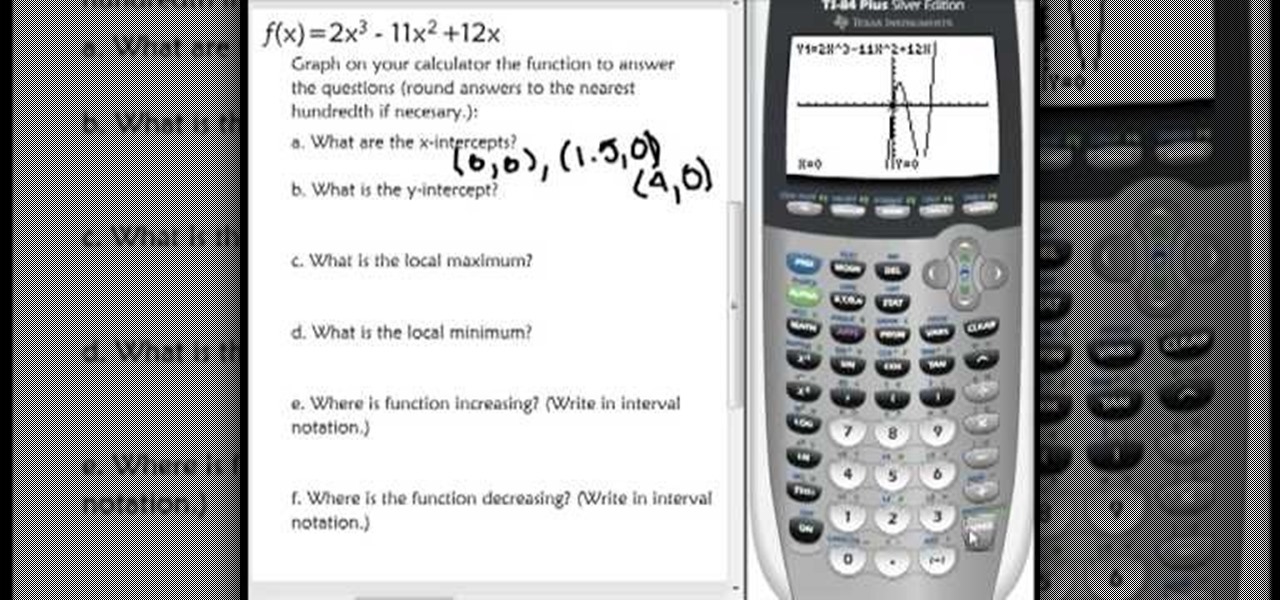
In this video the teacher shows us how to use a TI-84 plus graphing calculator to graph a function, adjust the view window, and determine the values of several types of critical points on the graph such as x-intercept, y-intercept, local maximums, and local minimums. After entering the function in the Y= editor she presses the ZOOM button and selects Z-Standard this adjusts the view window to a range of -10 to 10 on both axis. To find each of the critical points requested the teacher uses the...
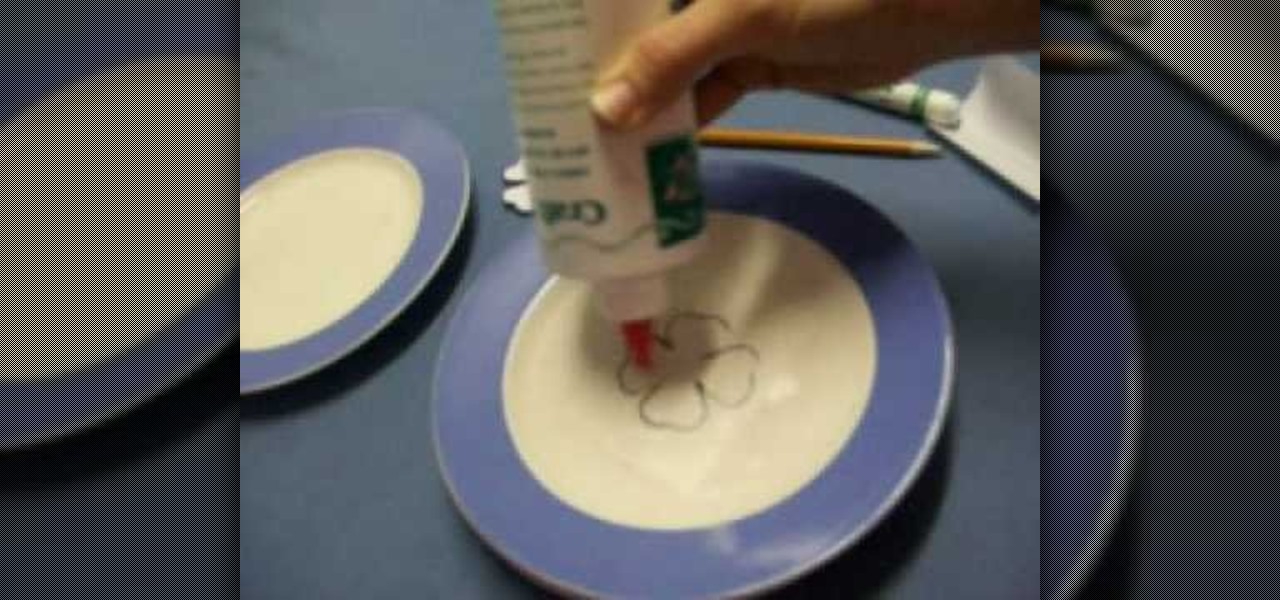
In this how-to video, you will learn how to make a four leaf clover pendant. Start off with contact paper and place it on a smooth flat surface, such as a large plate. Trace a four leaf clover shape onto the paper using a pencil or pen. Fill the entire shape in with glue. Once it dries, you can color the pendant with a green marker. Finally, you can peel off the contact paper. The four leaf clover shape will come right off with it. Viewing this video will show you the fastest and easiest way ...
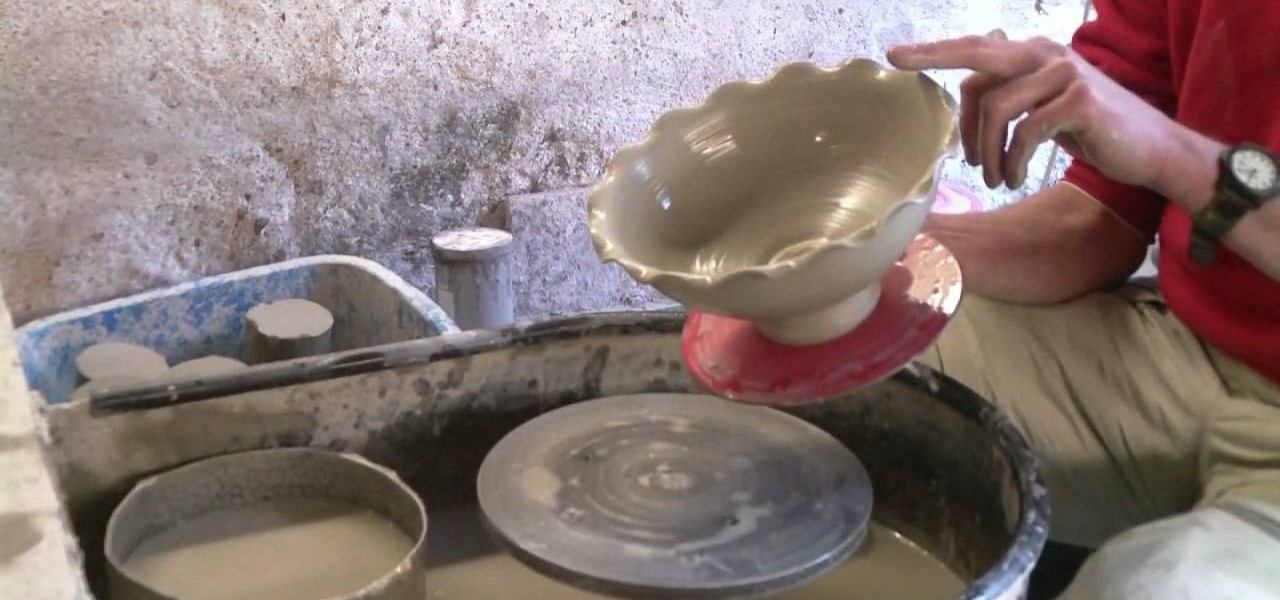
This video illustrates the method of throwing a wavy edged pottery bowl. This process comprises of the following stepsStep 1This process needs clay, pottery wheel and water in a bowl.Step 2Place the clay on the moving wheel.Step 3Now give the clay a desired shape with the help of your hands.Step 4keep wetting your hands at desired intervals and insert your fingers inside the clay so that it gives you the shape of a bowl.Step 5When your desired shape and size is ready take the clay bowl out of...
In this how-to video, you will learn how to create a simple terracotta clay wall hanging vase with a pottery wheel. Begin by throwing a piece of clay on the pottery wheel. Now, make a circular shape with the clay. Next, widen the shape and then make a bowl shape inside. Now, bring the shape up so that it is elongated. Keep doing this until you get to the desired shape. Now, narrow the base of the clay. Make sure that the width tapers smoothly. Now, refine the top and inside of the clay. Take ...
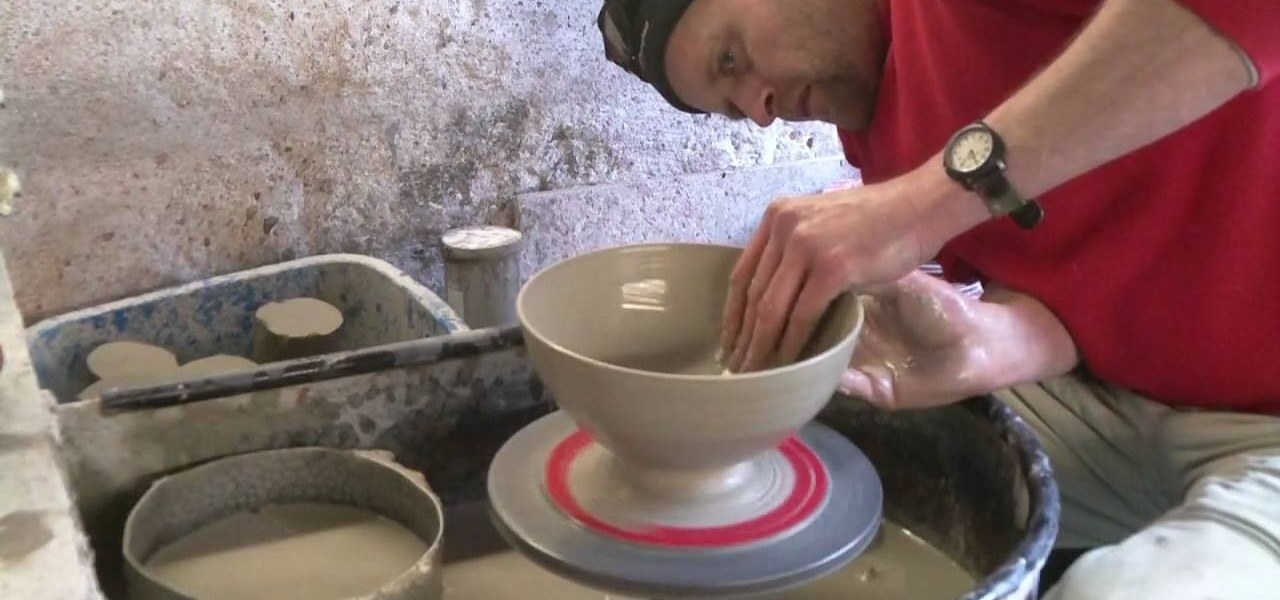
To throw a clay pottery fruit bowl, place a lump of clay on the potter's wheel and wet it with water. Use the foot pedals to spin the wheel while shaping the clay with your hands. Draw the clay up and then use your thumbs to create an indentation in the center of the clay. Apply slight pressure and the clay should assume a bowl form. Use water as necessary to create the right clay consistency. Draw the clay up to make the bowl walls thin. While shaping the bowl walls with one hand, create a r...
Childcareland demonstrates how to make a cupcake shaped book in this video. First, make a pattern page from a regular piece of paper. It should be designed like a cupcake. Place the designed pattern on top of a thicker paper like construction paper or card stock. Place five pages of regular paper behind the thicker page and finally place another thicker page at the back of the stack. Glue the cupcake pattern to the top, thick page, slightly to the left side. Then staple down the length of the...
You start out with putting a rater big lump of clay on the potter's wheel (the turn table if you want) and make sure you got water close by. By using your hands and your fingers you then start to shape the clay lump into the size you want it. Keeping both the clay and the hands wet all the time. Once the pot starts to get the size you want it to be, you start to give it a more detailed shape. In this case it is a bit wider in the top than in the bottom. Once your satisfied with the shape, you...
Basic bust drawing : Starting with the standard ball and crossed lines for the face. The artist fleshes out the chin before moving onto the eyes, giving them the general feel of the face. The nose and mouth follow suite. The tribal marking on the characters face are added next and shaded darkly.
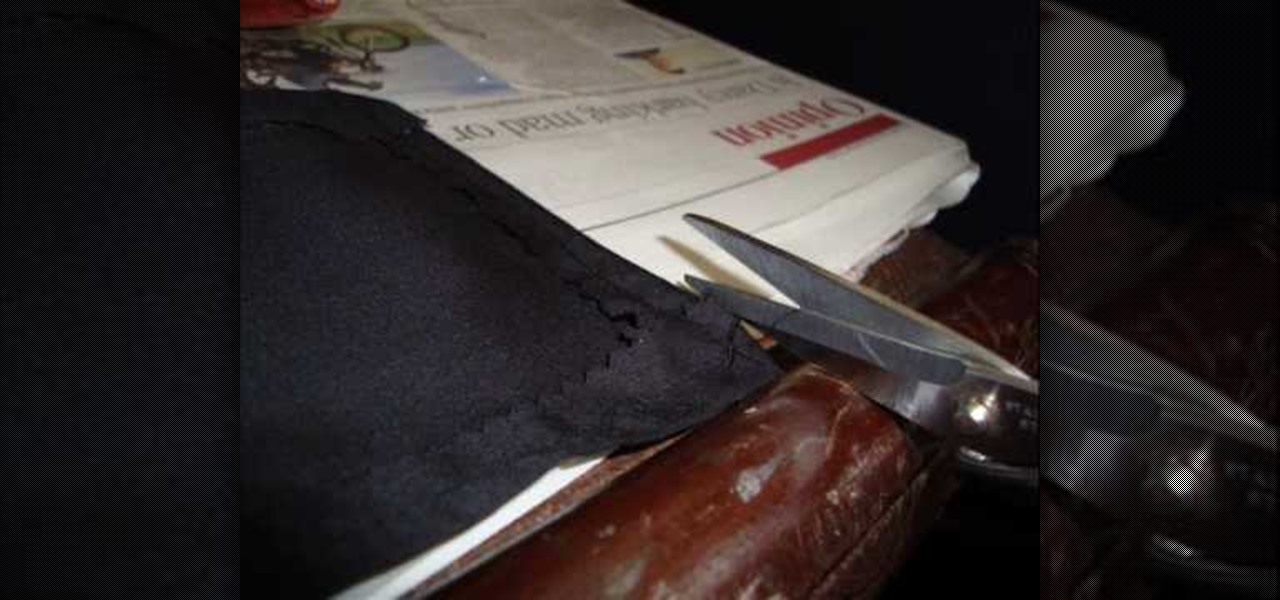
This video shows how a piece of glass can be cut using a pair of scissors into the shape that you want. First, use a permanent marker to draw the outline of the shape you want on the glass. Next, submerge the part of the glass that you want to cut into a basin of water. Using a pair of scissors, start cutting the general outline of the shape on the glass. After you are done with the general outline, you can then trim the glass with it still submerged in the basin of water. Remember to be care...