

How To: Use shape layers in After Effects
Creative Cow Leader Aharon Rabinowitz introduces you to Shape Layers, one of the most powerful features in Adobe After Effects CS3. Use shape layers in After Effects.

Creative Cow Leader Aharon Rabinowitz introduces you to Shape Layers, one of the most powerful features in Adobe After Effects CS3. Use shape layers in After Effects.

Learn how-to use the Fiskars Ultra Shape Xpress alone and with Fiskars Templates. Use a Fiskars Ultra Shape Xpress and Fiskars templates.
Mark Schoennagel, senior 3D animator at Softimage|XSI, shows how to use the Generalized Attribute Transfer Operator (GATOR) in XSI to transfer UV coordinates and shape animations to and from completely different characters. Transfer UV coordinates and shape animations in XSI.

Add shape to your animation using a motion tween along a path. Learn tips for using motion guides, snapping to motion paths, and finishing up with alpha fades. Add shape to your animation with motion tween in Flash.

This video shows you how to draw and edit the properties of 3D shapes in Illustrator CS3. It's actually very simple to do and you should have the hang of it in no time. Create 3D shapes in Illustrator CS3.

This video shows you how to use the Line tool, Eraser tool, and all of the shape tools in Illustrator. You also learn how to use modifier keys to access additional options. Check out the video by Matthew Richmond now! Use the Line, Eraser, and shape tools in Illustrator.
If you thought pull-ups and chin-ups were hard, guess again… this "side-to-side pull-up" takes the lead. Although tough, this exercise is great in keeping your arms toned. This pull-up exercise from Men's Health is ideal for the more advanced trainer, who has outgrown the standard chin-up.

Follow these steps to create perfect eye brows at home.
Cupcakes? Yes, please. As we all know, Christmas is a foodie's dream holiday, with oodles of Christmas cookies shaped like elves, pumpkin-spiced muffins, and of course cupcakes decorated into all sorts of festive shapes.
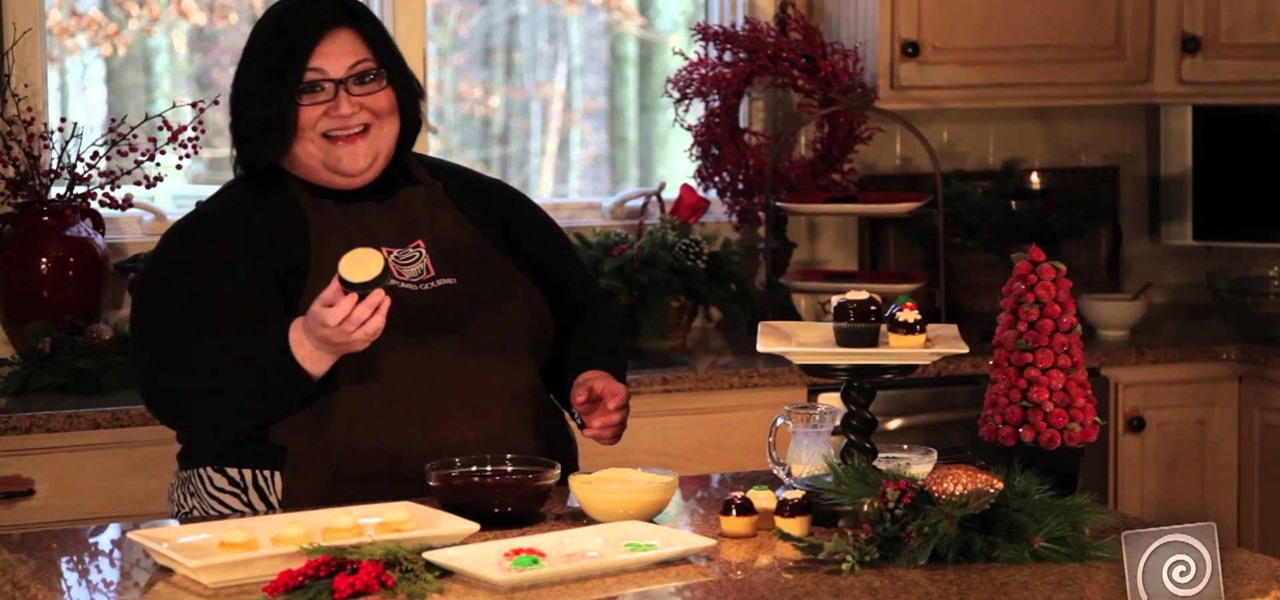
We didn't think it could get any better than cupcakes laden with buttercream icing until we saw these dark chocolate ganache-dipped cupcakes. Dripping in rich, velvety layers of ganache, these cupcakes are then topped with iced on Christmas shapes like trees and snowflakes for a festive flair.

The first step to create a boomerang paper airplane is to take a square piece of paper and measure to make sure it is a perfect square. You must then fold all of the corners of the cut of paper into the middle and then fold in half. The wings must then be folded down on the two chosen side. The final step is to fold the wings up to give the crease and cut of paper it's boomerang like shape. The video ends with examples of the type of flight that can be expected from a boomerang shaped paper a...
The first part of the video shows examples of completed Spartan leg guards. The materials needed for this project include boxes of cardboard, two liters of soda pop, gold paint, masking tape, scissors and wire. you must first print out the template shown by the narrator and use it to cut out the leggings to the appropriate size. Now use the two liters to fold the cardboard around the two liters to give the legs their shape. Once the cardboard has shape use the wire to hold to the paper in it'...
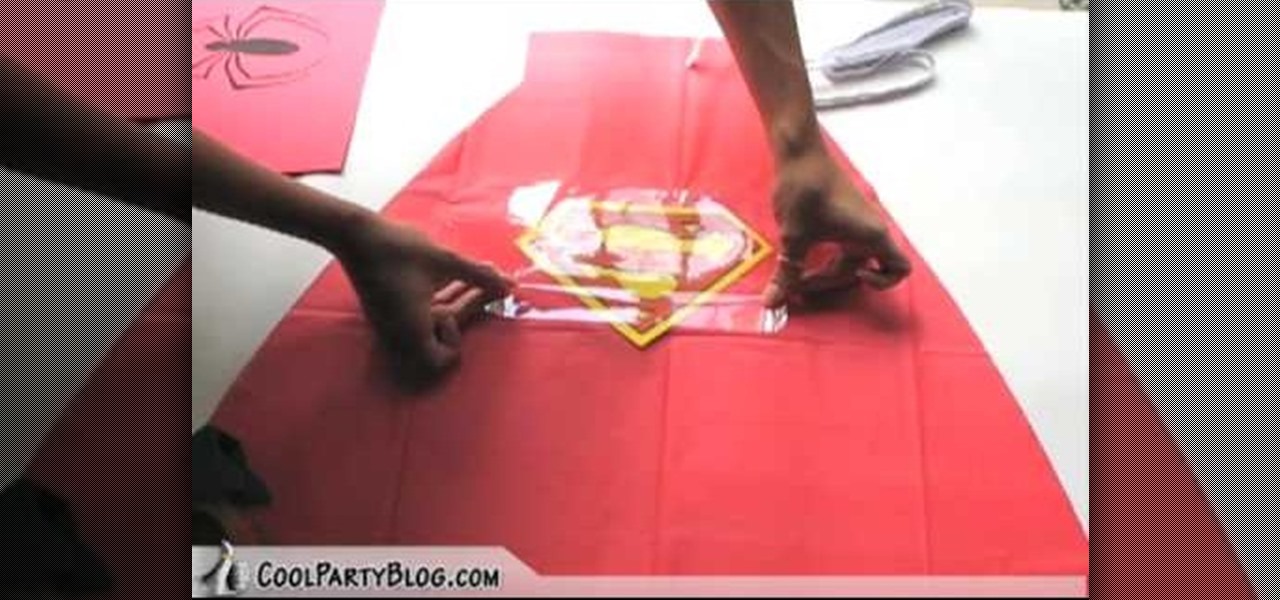
In this tutorial, we learn how to create super hero cape party favors. First, take a plastic red table cover and remove it from the package. Next, open it up and fold it in half twice, so you end up with a rectangle. Then, take scissors and cut a large triangle shape out of the material. When finished, open up the cover and it will be in the shape of a cape! Then, cut out some "s" for Superman signs and tape it on the back of the cape. Then, tie string around the top so it can be worn and you...
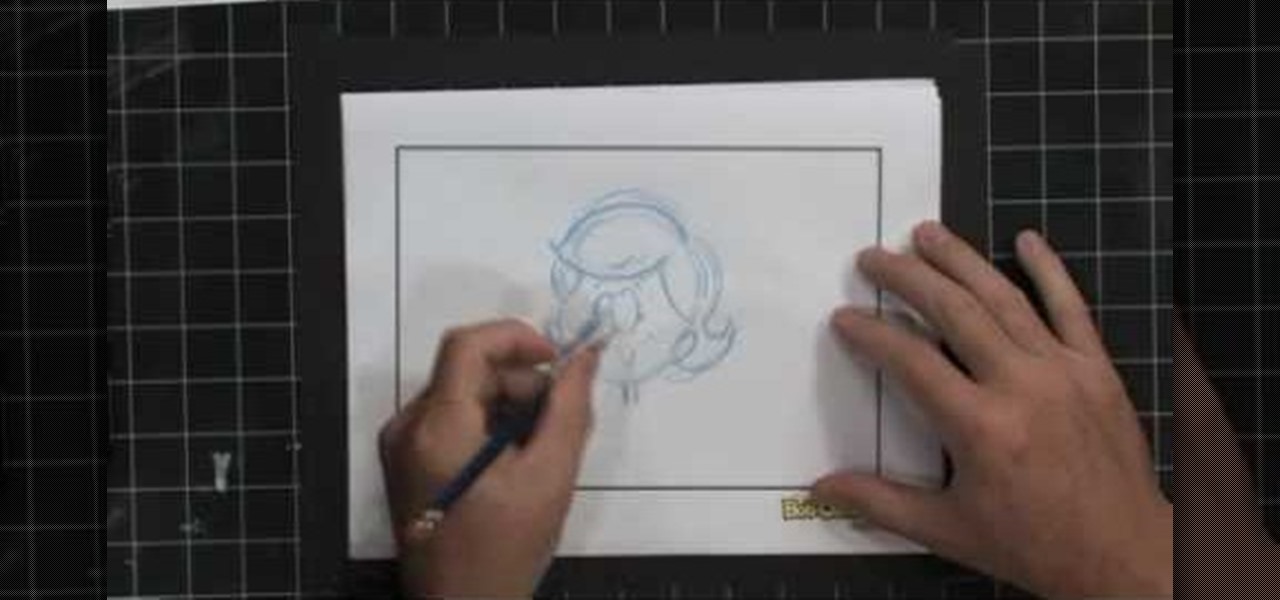
In this tutorial, we learn how to draw detailed hair. When you are drawing hair, you must remember to draw with the shape of the head not just the lines. You should also draw in the lines curved and feather them to show the different strands on the head. When drawing a guy or girl, draw different lengths in the hair and show the waves on them as well. For girls, when you are drawing curls you must make them ring shapes so they curve like curls. Just make sure you draw enough lines to show the...
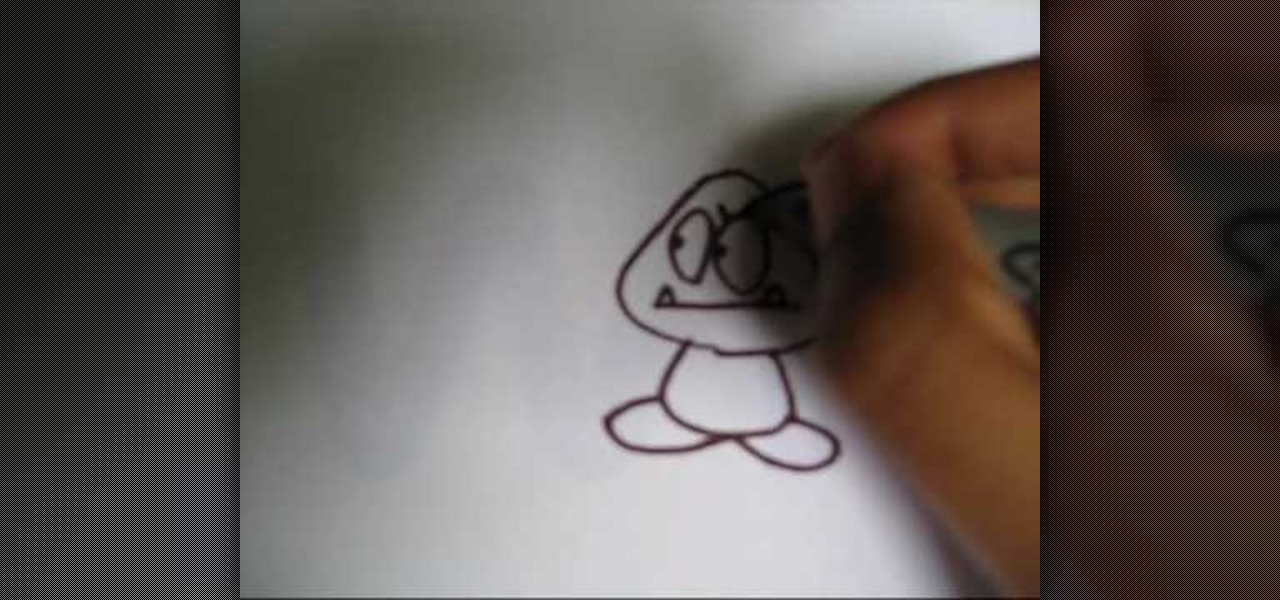
In this tutorial, we learn how to draw a Goomba from Super Mario. First, draw the softened triangle shape of the top of the head, then draw the body and the oval feet at the bottom. After this, draw on the oval eyes and then a flat mouth with two triangle teeth on both sides. From here, draw on the eyebrows to Goomba in thick lines. To draw another type of Goomba, draw the same basic shape, but then make the eyes squished into small lines and then draw the mouth with crunched teeth on the ins...

This video explains how to make paper flowers in just a few simple steps. The first step to make a paper flower is to take a simple piece of white printer paper and draw any design you find suitable on the blank paper. The next step is to fold the paper over two times to create a smaller square. The second step requires the paper be folded from it's edges into a triangle shape. The last step involved opening the paper from below to give the flower a three dimensional shape. It is shown that m...

In this tutorial, we learn how to style your hair into side spikes. First, you will brush the back of the top of your hair up into the air and then put it into a rubber band. After this, repeat for two more pieces until they are in a line ready for spikes. Then, grab the first section and remove the band from it. Then, spray hair spray in it and tease it until it's standing straight up in the air. Hold it up while you are spraying it so it keeps shape. Repeat this for the other spikes. When f...

In this tutorial, we learn how to make an array of paper roses. Use any colors of paper you want with this to add a special touch to them! Now, you will take the pattern or color of your choice and fold it up into a square. after this, fold it into a triangle and then cut the edges of this off. After this, cut the bottom off and open it up, it should be a flower shape with a hole in the center. After this, repeat with several other papers and then cut the flowers up into halves. From here, yo...

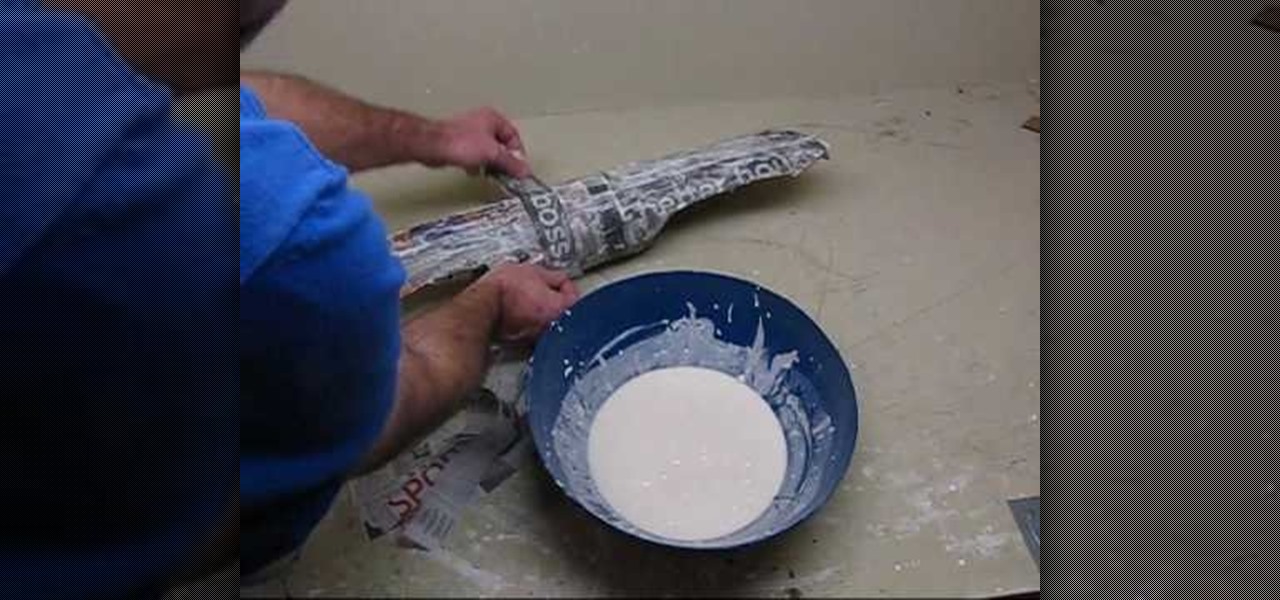
In this tutorial, we learn how to make a Spartan 300 shield. You will need: paper mache, durable cloth, gold spray paint, newspapers, cardboard, nuts and bolts, and the cap to a trash can. After you have these, cut out a large piece of cardboard and place it over the trash can cap in a circle shape. Then, dip newspaper strips into the paper mache mixture and apply it to your shield, taking your time to make it smooth. Let this dry, then cut two strips of cardboard and place it in a 'v' shape ...
In this tutorial, we learn how to draw Plankton. Start out by drawing a long oval shape for Plankton's body. After this, draw on a large eye to the upper middle section of the eye. Next, you will draw in the mouth underneath the eye and make sure to draw in an angry expression and pointed teeth. Next, draw in the eyebrow on top of the eye followed by legs on the very bottom of the oval. The legs should be soft triangle shapes and nothing more. You can color this green to finish up the drawing...
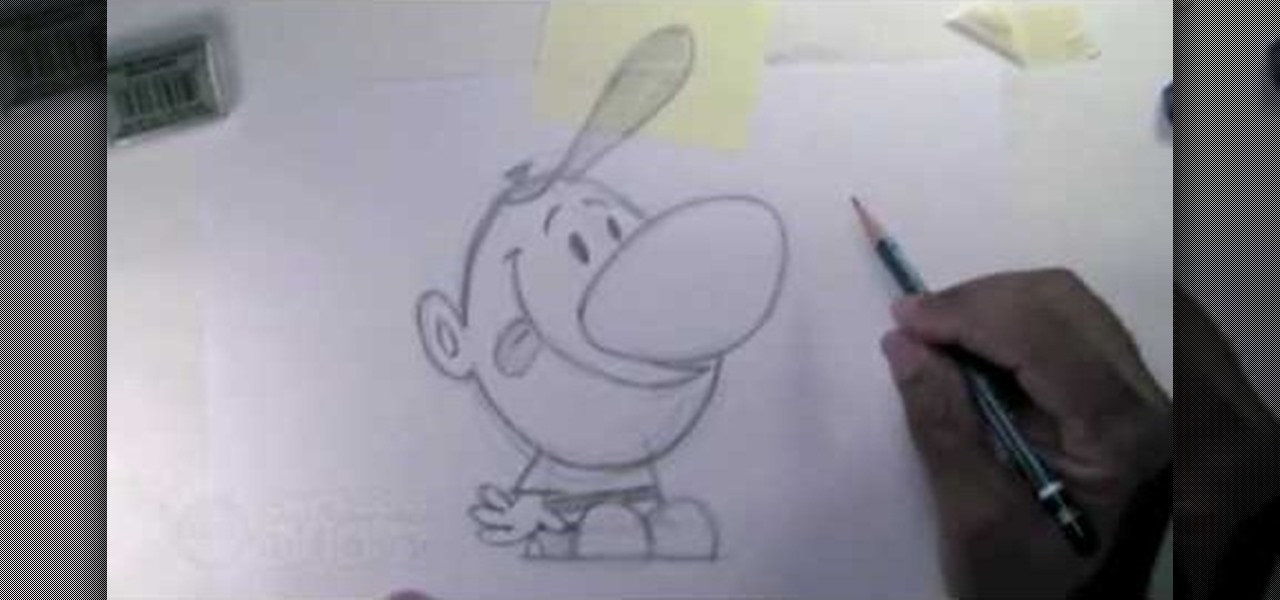
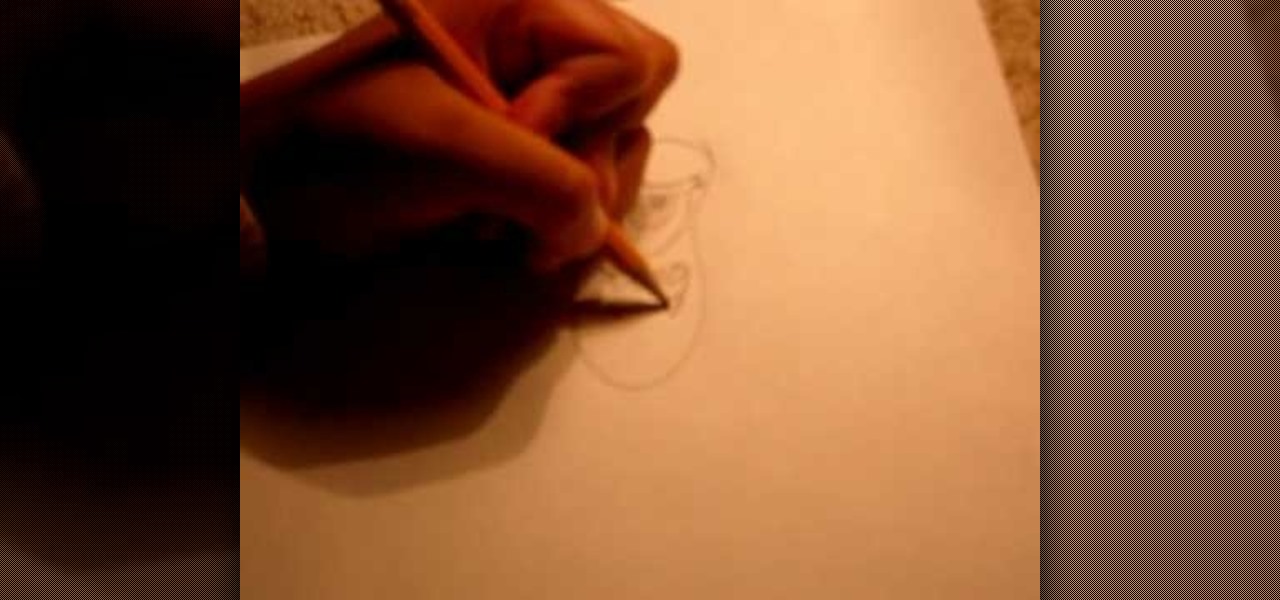
In this video, we learn how to draw Billy from The Grim Adventures of Billy & Mandy. Start out by drawing the egg shaped head with a pencil. From here, sketch on the body by using a block shape then draw the shoes as simple half circles. The arms and hands will be hanging to the sides. Now, draw on the huge nose in the middle of the circle. Attach the mouth to this and draw it all the way up near the eyes, which are simple dots. The brows are simple slashes. After this, add in the minor detai...
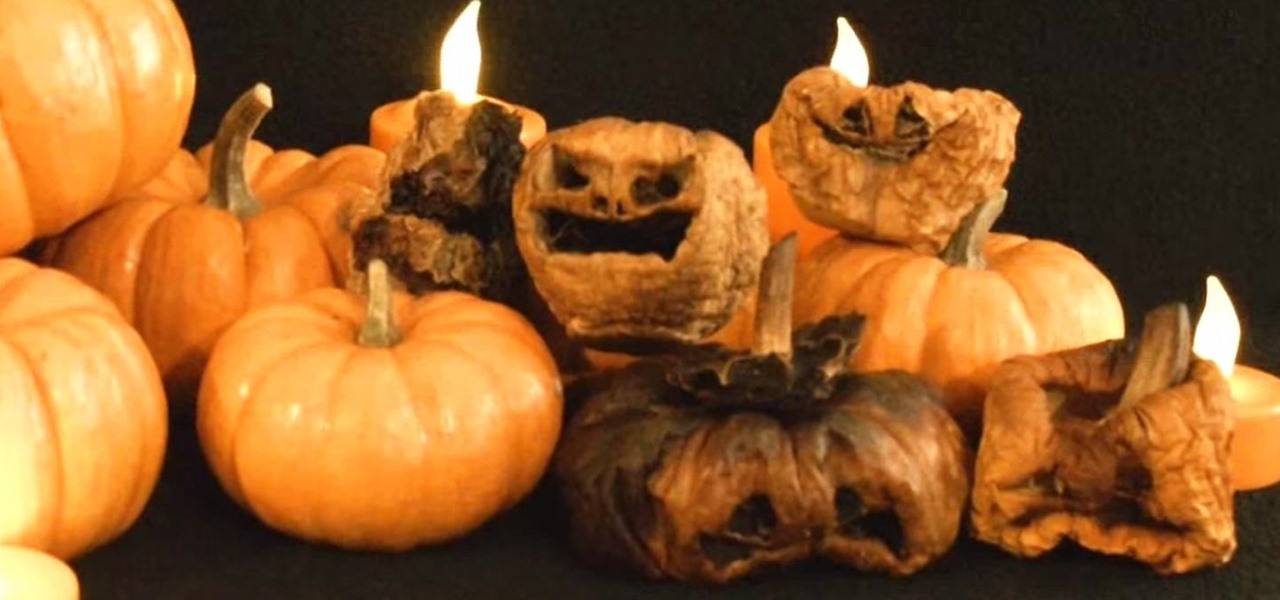
This year for Halloween, don't just settle for the normal cutesy pumpkin carvings — make these creepily charred and contorted miniature jack-o'-lanterns instead.
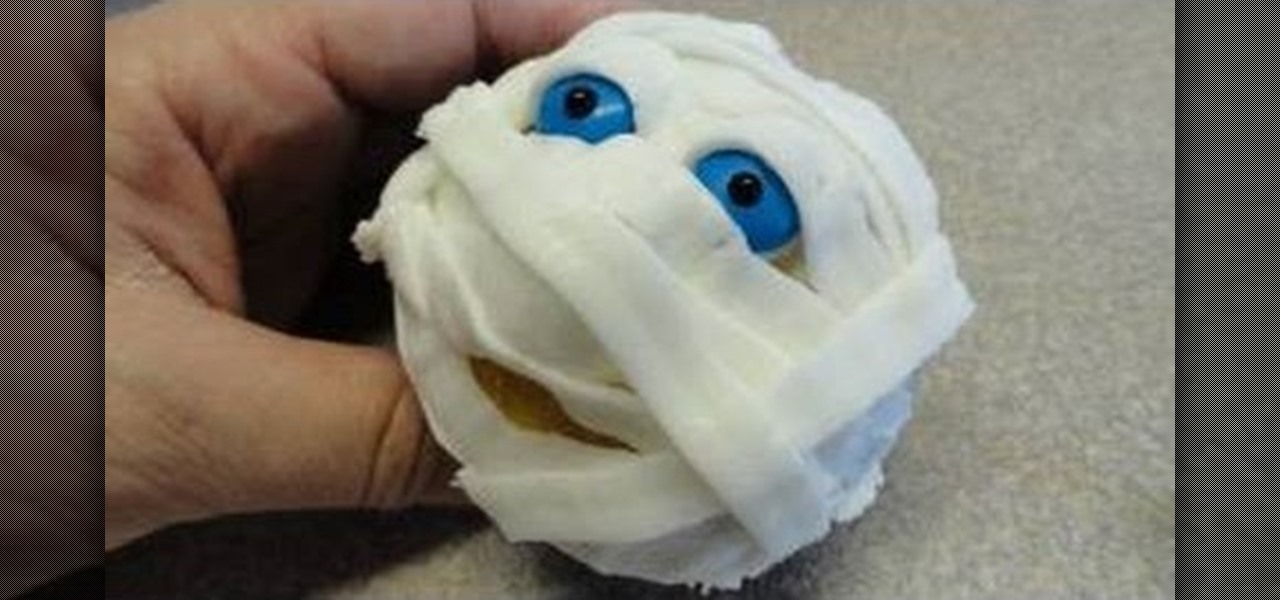
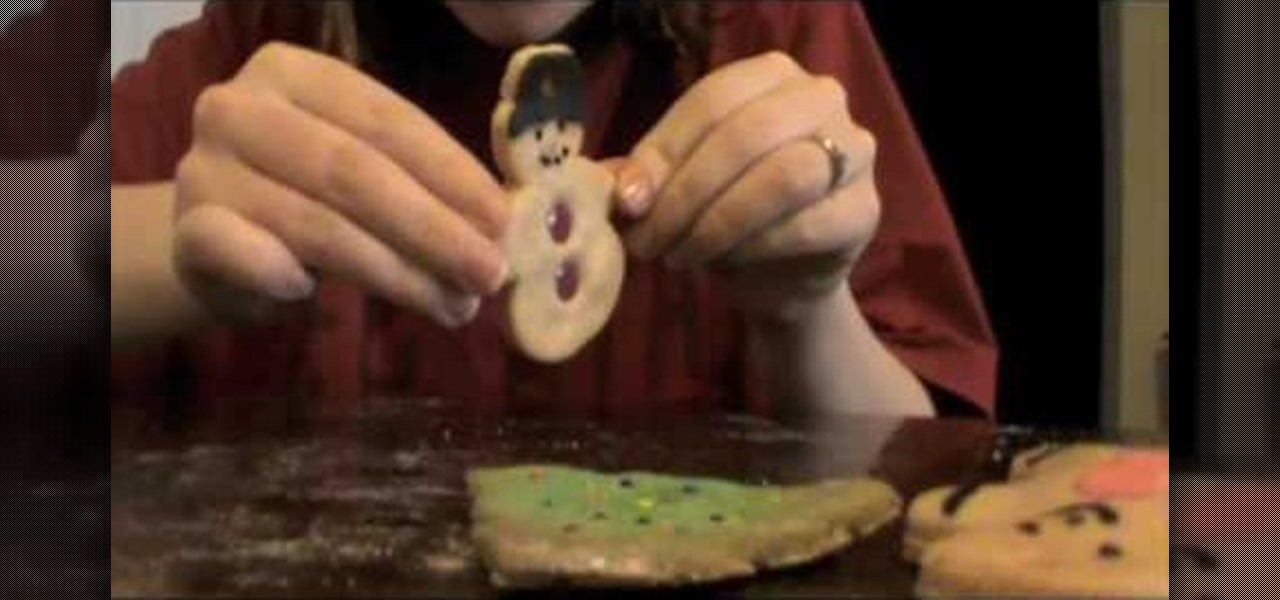
This mummy-shaped cupcake will be a ka-razy big hit on your Halloween buffet table. Flat, noodle-like layers of icing create a bandaged mummy effect, while an assortment of blue and red candies mimic the mummy's creepy eyes and mouth.
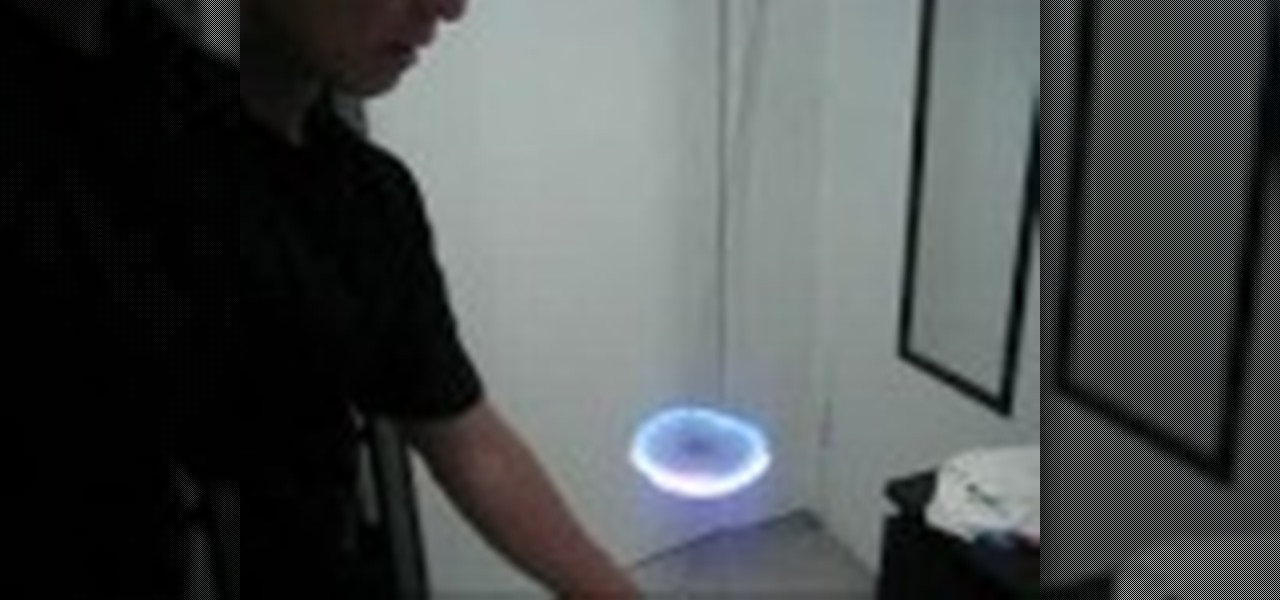
In this video, we learn how to do an orbit at an orbit light show. The light should spin clockwise in one and and counter clockwise in the other. You must pay close attention to keep these spinning back and for. Start out by winding the lights up and mastering this so you can produce different shapes. After you learn the wind up, learn how to make the stars with it by winding it up one direction and let the orbit in the middle unwind itself in the opposite way. Once you're comfortable, you wi...
In this video, we learn how to draw wolf eyes. Start out by drawing the outline for the wolf head. Then you will draw the eyes in an almond shape dragging downward on the nose. After this, zoom in on the eyes with the computer and then fill in darker lines around the eyes. Draw in the pupils on the eyes and add in the details for the corners of the eyes as well. If you want to draw wolf eyes from a side view, draw the outline of the head to give you reference, then draw the shape of one of th...
In this tutorial, we learn how to make a birthday cake in the shape of a purse. First, bake two round cakes and place them in the fridge. After this, cut off the edge of both the cakes that are the same size. Then, take some frosting and spread it onto the cake to adhere both together. Now, push the cakes together and have them stand up straight. Use the other pieces to make a mini cake and frost both cakes all over. Then, smooth out the frosting all over the surface. Now you can start to dec...

In this tutorial, we learn how to make fur suit hand paws. First, take your fabric that looks like fur and has a cotton lining. Then, cut out the different pieces you need to create the paw shape. Now, sew the pieces that you cut out onto the fur and then cut it into the shape to fit onto your hand. From here, you will sew this together with a bottom piece, then you can sew the paws together and place it on your hand to wear. Add in any additional details you would like, then wear these where...

In this tutorial, we learn how to draw eyebrows and eye lashes. First, sketch out the basic shape of the eyebrow. Cross edge with a 2B pencil, then blend it in to lighten in and act as a skin tone. Then, draw the actual hair with a B pencil, going upwards with the pencil strokes in the front area. For eyelashes, you will sketch out the outline with a 2H, then draw the eyelid and the hairs for the lashes. Draw in the direction and the shape of the eye to give off the illusion that it's round. ...
In this tutorial, we learn how to make an over-sized fashion bow fashion accessory. First, take your fabric and cut it to the desired size you want the bow to be. Cut this in a square shape at first, then sew the sides of the square. Then, fold this in half and pull in the middle of the square. Cut this in the middle to make a hole. Then, turn this inside out and push out the edges. Put an additional square of fabric around the square in the middle, then shape it out to be a cute bow to wear ...
In this tutorial we learn how to make a simple origami paper football. First, grab a strip of paper of your choice of size. Then, fold the bottom over into a triangle shape. Then, fold this up where the last fold ended. Continue to fold up until you reach the top of the strip of paper. When you reach the top, you will have extra paper at the very top. Fold this into the pocket that you created when you folded the triangle shapes up. Now you can hold this with one finger on a hand while you fl...

In this tutorial, we learn how to understand special quadrilaterals. A quadrilateral is a shape with four sides. Three figures of these are: kites, parallelograms, and trapezoids. Two types of parallelograms are the rhombus and the rectangle. Rectangles have four right angles. A square is also a parallelogram, which has four right angles and two congruent sides. A square is always a rhombus a parallelogram is always a quadrilateral and a kite is always a quadrilateral. The parallelogram is so...

In this tutorial, we learn how to tie dye an oval style shape. Start with a square piece of a shirt that is damp, then fold it in half. Then fold it in half again, then in half again. After this, fold the shirt accordion style, paying attention to where the main corner of the shirt is. Once finished folding, tie two knots in the bottom, then fold the fabric up until you reach the ties. Now, tie or secure this bundle tightly with rubber bands. Apply your favorite colors of die on the shirt, ge...
In this tutorial, we learn how to make models and ornaments with salt dough. First, grab a baking sheet and place aluminum foil over it. Now, grab some gloss sealer, salt, food coloring, flour, ribbon, glitter, cookie cutters, and buttons. To make the dough, combine flour with water and salt. Mix this together until you get a dough shape, then roll out and cut into shapes with cookie cutters. Cut a small hole in the top of it, then bake until golden brown in the oven. Tie a string in the hole...
In this tutorial, we learn how to create a genuine Italian pizza. After you have your dough, knead it out on a heavily floured surface. Move your hands in a circular motion and use the palms to create the circular shape of the pie. The, bring the dough into the air and pat off any excess flour. Throw the dough into the air, then catch it and bring it back down to the surface. When you have the circular shape of the pie, add the sauce to the top of the dough. Next, sprinkle on any type of chee...

In this tutorial, we learn how to make a clown punch using Stampin' Up! products. You will need: a red scallop circle, green key punch, orange scallop circle, heart shape, circle, oval, red circle, flower, black eyes, and a yellow small circle. After you have these punched out, make the hat out of the green large and oval shapes, then apply the flower to the top of the hat. Next, glue the circle behind this, then cut up the orange and red scalloped circles to create hair on the sides. Next, a...

Whether you were born with barely visible, fine brows or a full-on Bert unibrow, there's often a lot you can do to rein in those brows for a more shapely, pleasing finish. And the journey doesn't end once you've plucked stray hairs.

First thing you need to do this is to select rectangle tool and make a shape and select the gradient fill and change the angle of gradient to 90 degree. Now color and resize it as showing in the video. Now type your navigation texts like blog, contact, gallery etc. Now size your text for your rectangle shape. Now set the texts in the bar and resize your bar.
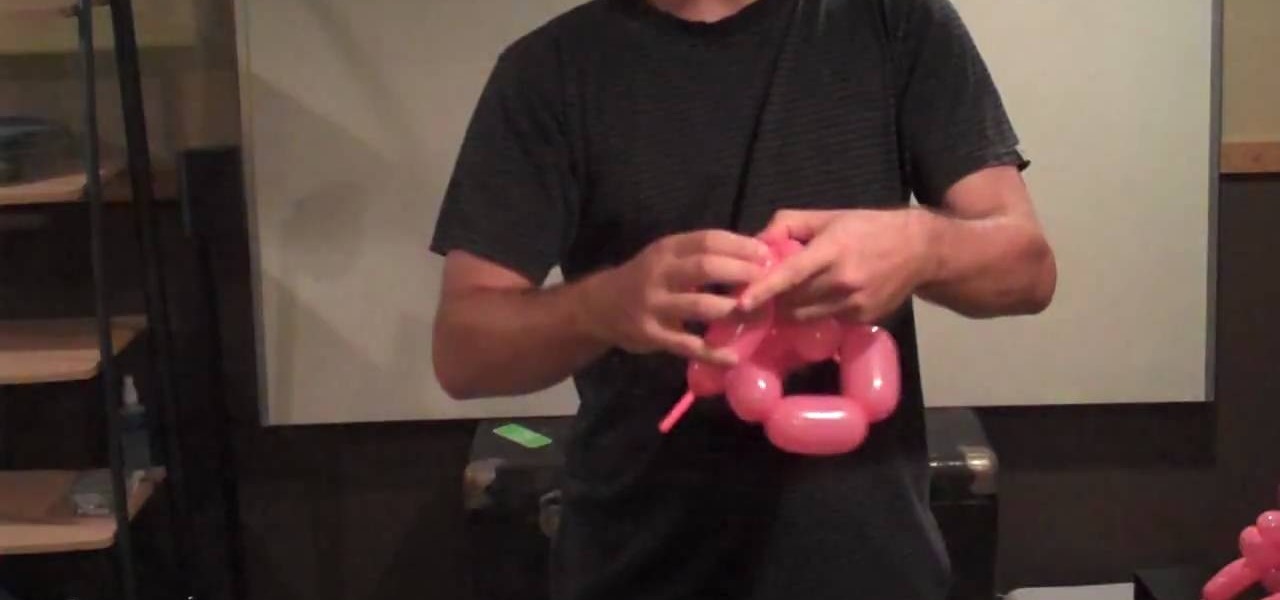
This video shows viewers how to create a maple leaf using two long balloons which are used for making animal balloons. You will begin by inflating the first balloon, leaving a few inches of empty space at the end of the balloon. Begin by making two small bubbles by twisting the balloon and creating consecutive bubbles in the balloon. Follow these with two larger bubbles and 3 more smaller ones, to create a hexagon shape. Continue to create small bubbles, folding them into each other to create...
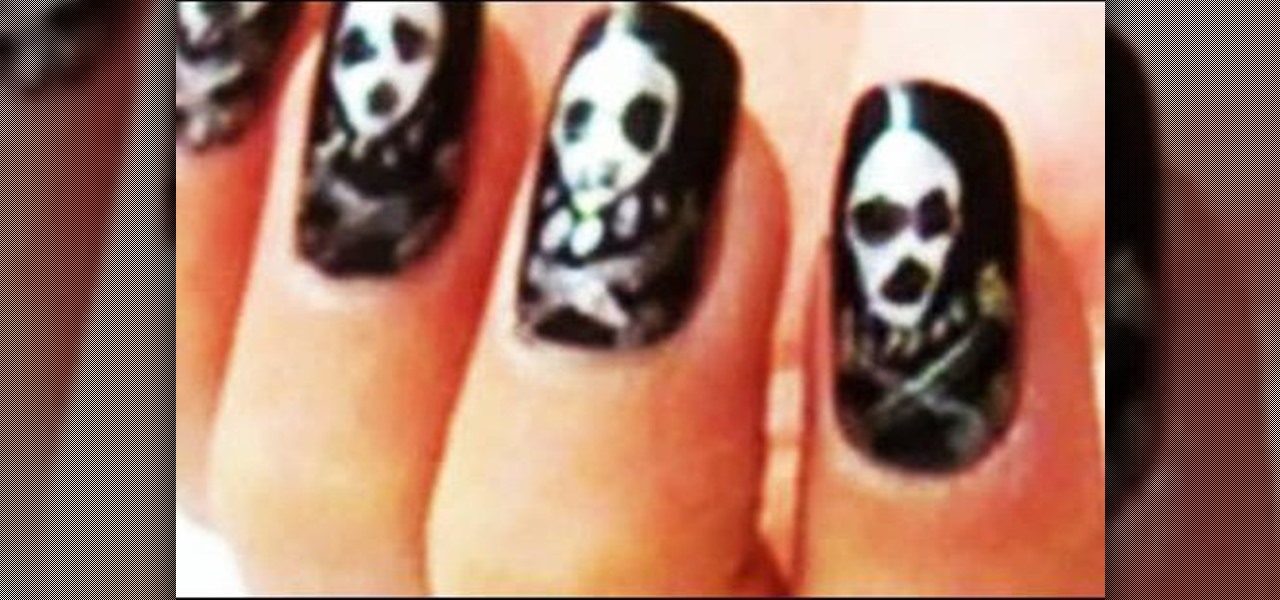
In this video, we learn how to create Halloween inspired skull nails. First, apply a base coat to the nails before applying anything else. After this, apply a black nail polish to the entire nail and allow it to dry. Now, take a silver nail polish, and draw a skull shape onto the nail. Use your black nail polish to create the eyes in the skull, then use a nail brush to create the shape of the head and bones underneath the skull. Let the nail dry, then repeat this on all your nails for a spook...

In order to make a hook for an earring, you will need the following: round nose pliers, a wire cutter, a nail file or sand paper, an ink pen, 20-22 gauge wire. With your round nose pliers, make little hook, in the end of the wire. Bend it, until it makes a little loop.