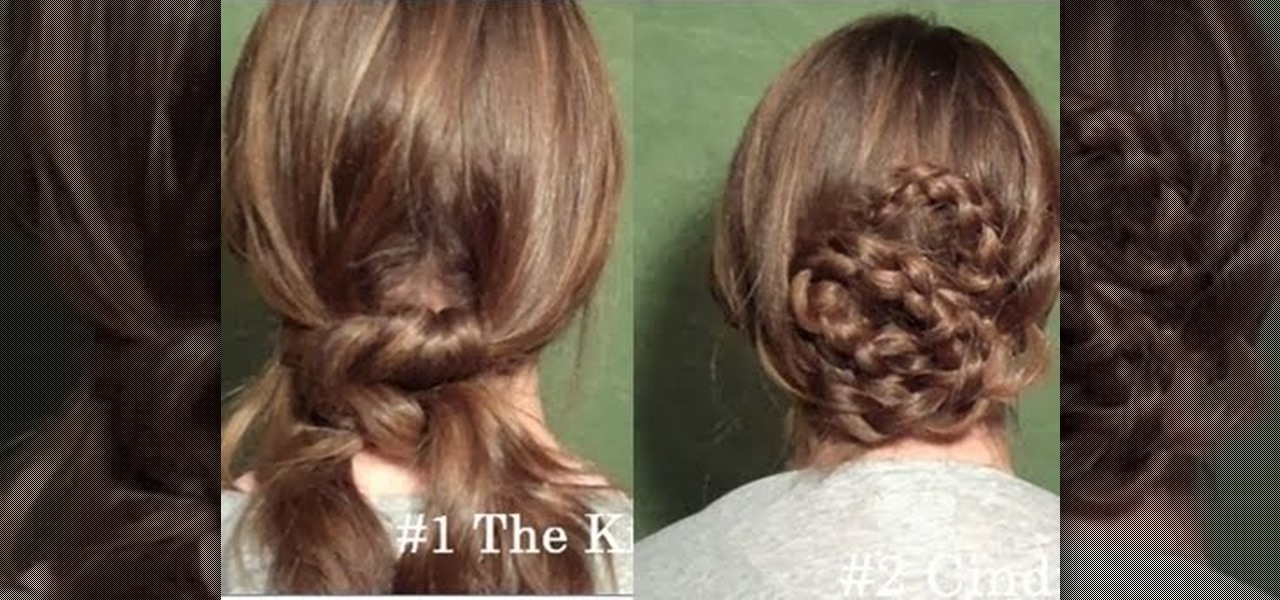
You don't need to spend an hour on your hair before you hit a club or go on a date to look absolutely ravishing. In fact, even if you start out the day in your PJs and don't decide until the last minute to go out, you can still look great with one of these simple updos.
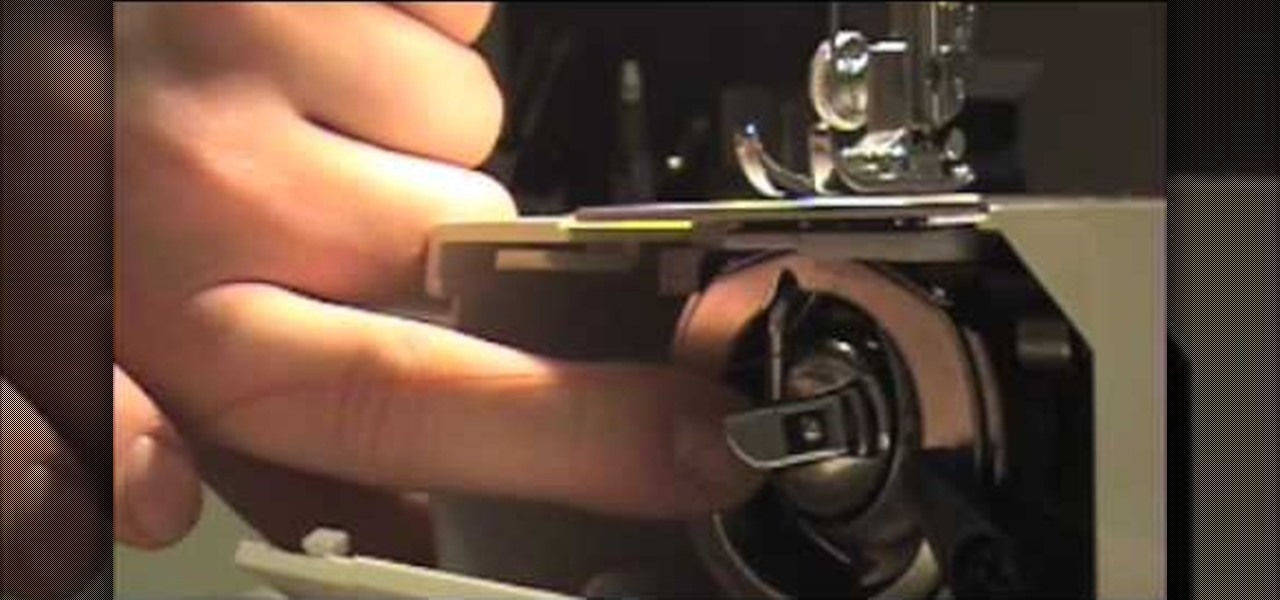
The first part of this tutorial shows you the various parts of your sewing machine, which will be the same regardless of the model. Then, you're shown how to thread both the top and bobbin of the machine, and start stitching.
This is the perfect tutorial for beginners who are interesting in learning how to quilt. Start with a basic abstract pattern and your favorite colors of fabric (you can use scraps if you wish as well), then follow the video and make your first quilt!
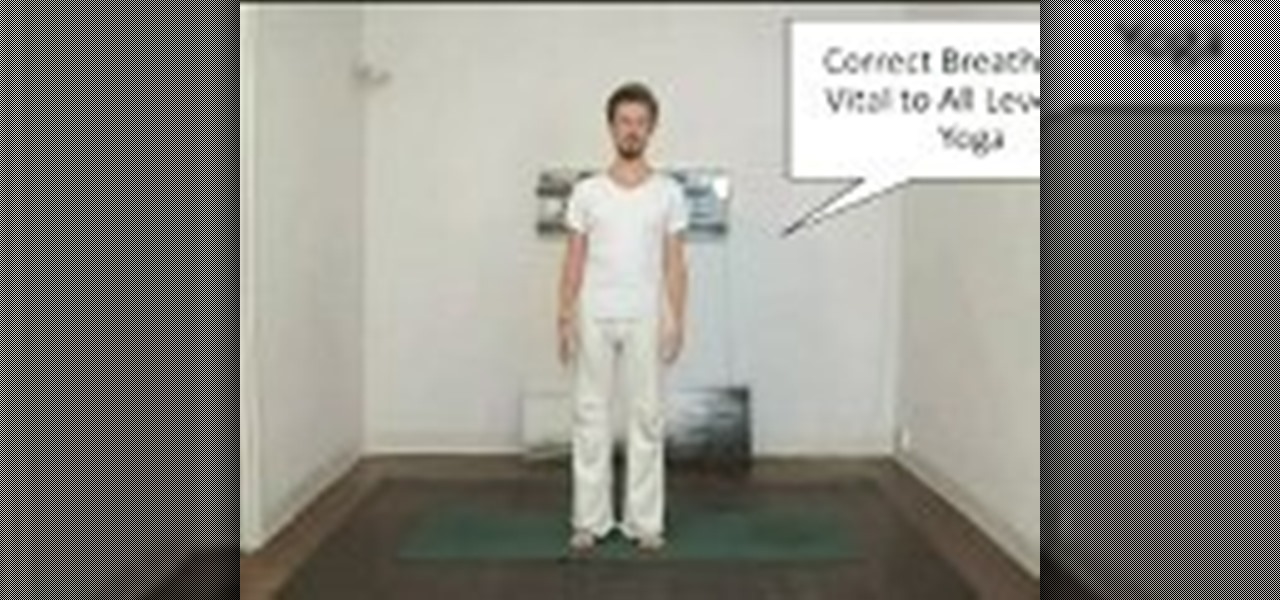
The key to being able to perform yoga properly is in the breath. This tutorial shows you how to get started on breathing the yogic way. Use your entire lung capacity to take slow, measured breaths and focus on your diaphragm.

Call of Duty: Black Ops has a great Easter egg on the main menu which allows you shoot and kill tons of Nazi zombies! And it's really easy to find. Basically, from the main menu, look down at your restraints and start tapping LT and RT to break free. This will give you the "Just Ask Me Nicely" achievement. Next, go to the computer and type in DOA, which will unlock Dead Ops Arcade. When you start playing the game, you'll earn the "Insert Coin" achievement. That's it!
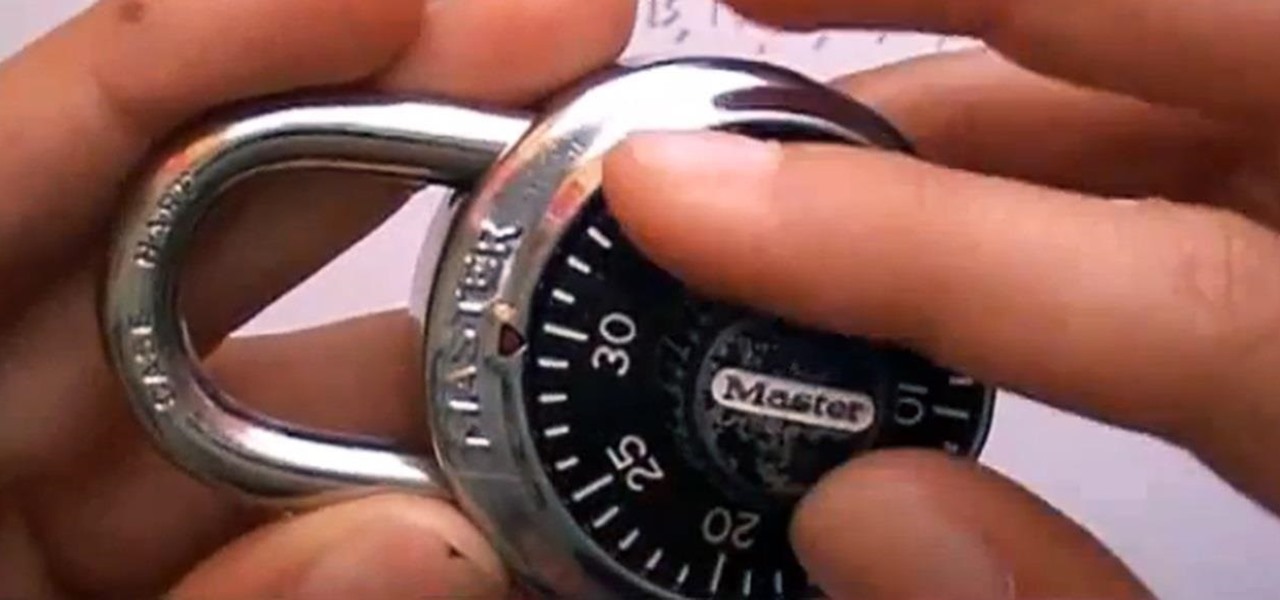
Lock picking is a great skill that takes lots of practice and patience to master, but some locks simply can't be picked, like a Master Lock combination padlock. With a combination lock, you'll have to do it the old-fashioned way—cracking combinations.

In this tutorial, we learn how to draw a vintage car. This car will take a lot of detail, so make sure you take your time with it. Start out by drawing the hood of the car, then work your way to the back of it. Once you have the basic outline of the car finished, add in the details! Don't forget the windshield, side mirrors, paint, wheels, tires, etc while drawing. To finish this up, start to shade with the pencil and then use the eraser to create a shined appearance as well. Add in colors if...

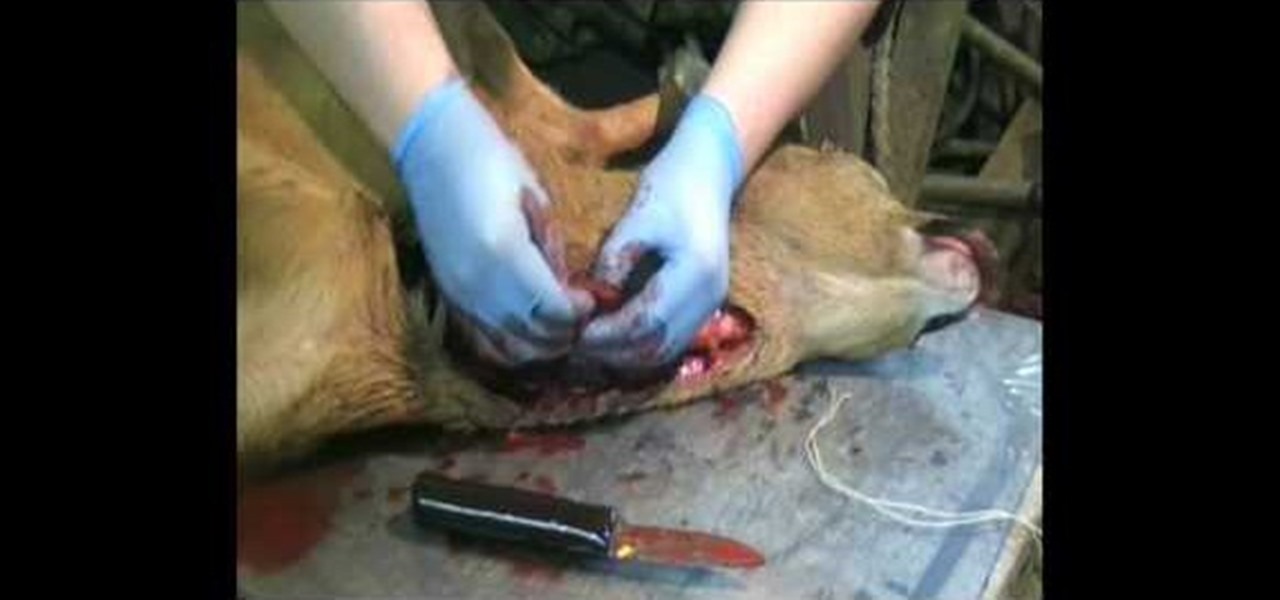
In this tutorial we learn how to field dress a deer. First, put some gloves on and grab a sharp knife. After this, puncture a hole in the lower half of the throat of the deer. Next, start to cut up until you reach the neck. There will be a lot of blood that comes out, just a warning. Then, you will see the inside of the deer start to come out from the fur. Cut the piece of the neck and then tie together at the end. To finish, go to the rear end of the deer and cut from the hole. Tie it with a...

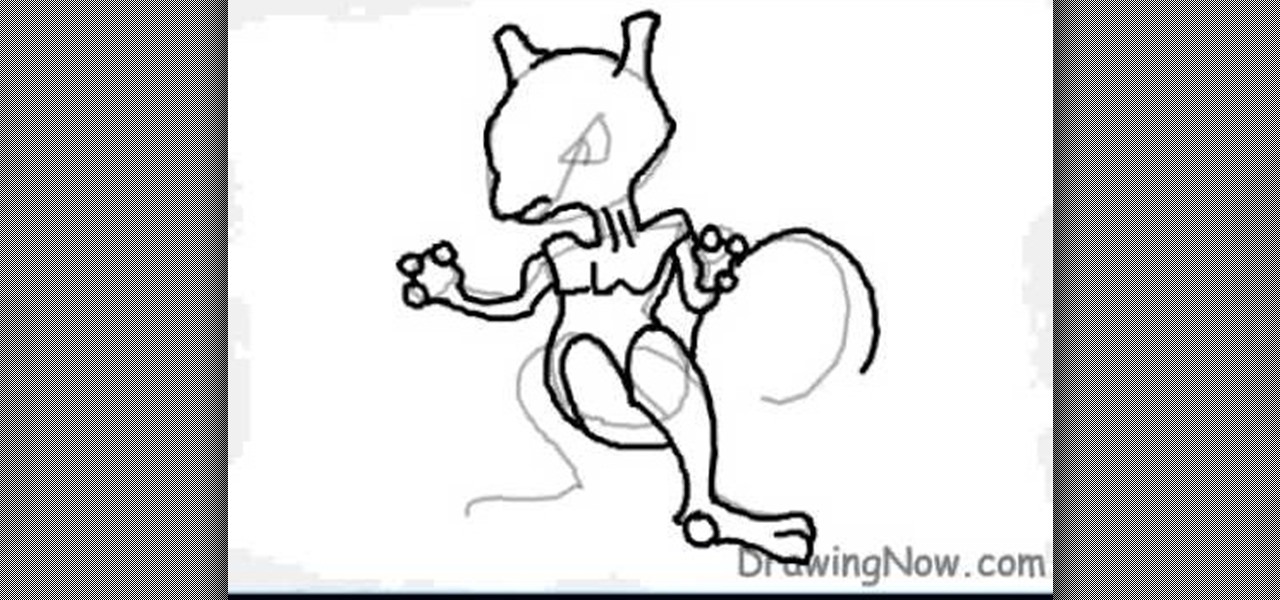
In this tutorial we learn how to draw Mewtwo. Start out by drawing the outline of the head and the rest of the body with a light pencil. Then, start to add in the details of the body and the face. Once completed, you will draw the permanent outline onto the picture over the first one and erase the first one. Next, you will color in the skin and clothing that Mewtwo is wearing. Add in shading around the character to make it look more realistic. Also make sure to use different colors on the ori...

In this tutorial, we learn how to draw Demon Realm Pain. To start, you will draw the outline of the character with a pencil. Draw the headband on him first, then draw the eyes, nose, and mouth. After this, draw on the top of the head using a half circle, then draw on the horns on top of the hat. After this, draw on freckles to the character's face and then shade in around the different areas. After this, you will start to draw in additional details around the face and shade in where needed to...

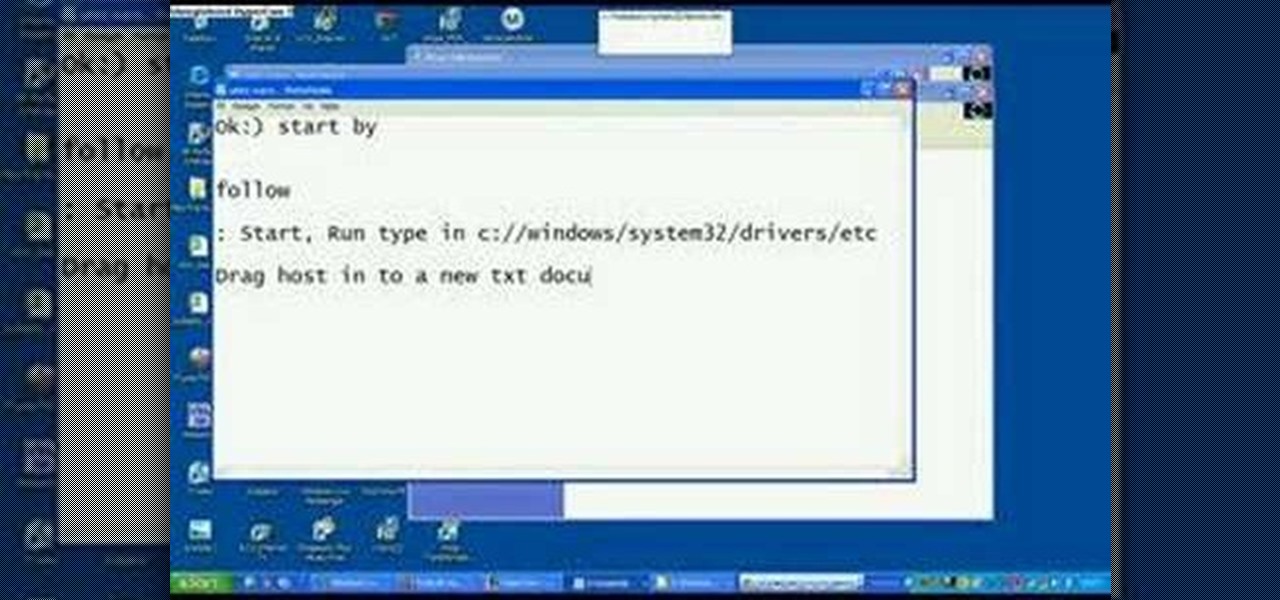
In this tutorial, we learn how to block a website. First, you will start by going to the start menu then go to "run". After this, type in "c://windows/system32.drivers/etc". After this, a new window will pop up on your screen. With this, you will drag the host into a text document. Then, type in the website that you want to block inside of this document. Once you are finished, type in the IP address of your computer next to that and save it. This will finish up the blocking of the website and...

In this tutorial, we learn how to draw fold legend Bob Dylan. To start, you will first draw the hair and the head along with the upper body, hands, and guitar. After this, you will start to add in the facial features. Draw on the eyes and add lines to make the face look more realistic. Make sure it looks like he is holding the guitar with his hand, showing one hand around it. After this, you will need to add color to the drawing on both the clothing and the skin. To finish, you will erase any...

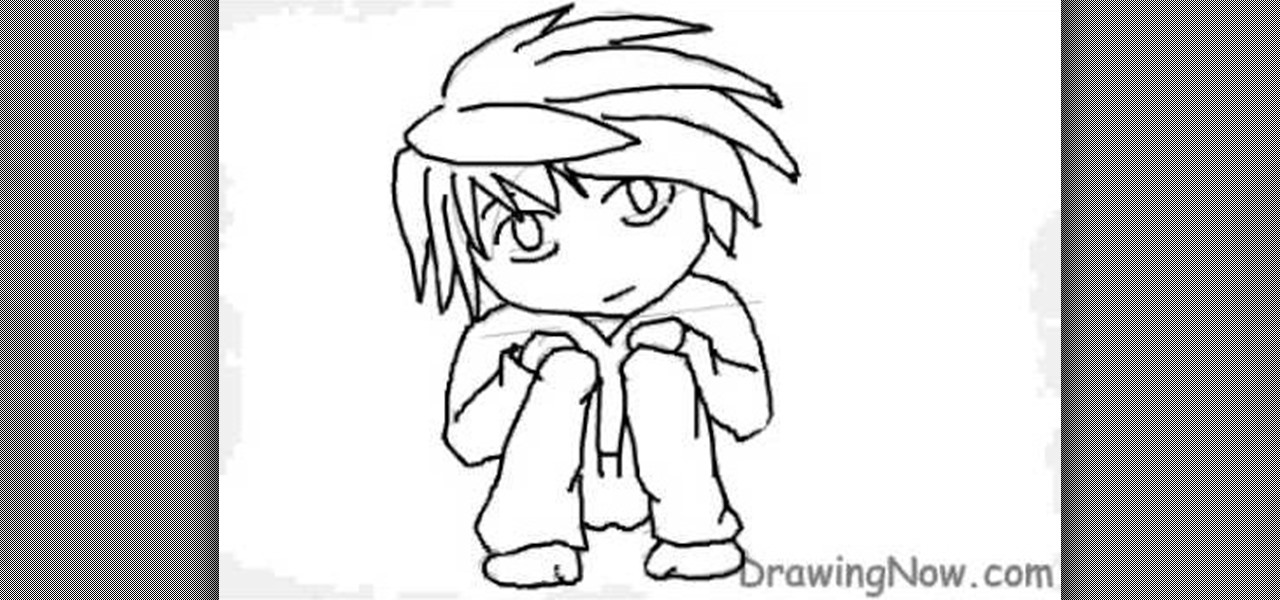
In this video, we learn how to draw a chibi L. As with any drawing, you want to start with the outline of the character to get a feel for where all the parts are going to go. After this, you will use a different drawing material to draw over this and create the final lines for the Chibi L. After this, start to draw in the details of the face and the rest of the body. Also make sure you draw in the hair, adding lines to show where the different strands are. Finish this off by coloring the skin...

In this tutorial, we learn how to walkthrough This Is the Only Level Too - All Levels. As you start the level, you will basically start to bounce around until you get to the gate. Don't move for five seconds to help you open the gate in the first level. On the second level, just go to the gate as normal. Then, use your mouse to help you open the gate up. Keep going through the different stages and hit your arrow keys or use your mouse to help you continue through. When you finish through the ...

In this drawing tutorial, we learn how to draw a chibi Sokka. Start off by drawing a round circle for the head of the character. After this, draw on the ears to the sides of the head. Then, draw on the hair on the back of the head followed by the facial features. After this, draw on the body, but don't draw a neck because this character doesn't really have one. Once you have the outline finished, start to use a darker marker to create the clothing and other details onto the character. Clean u...

In this tutorial, we learn how to heat emboss a stamped image for a handmade card. First, use the stamp to grab ink and then lay it down on a piece of card stock. After this, cover it in ink and start to add heat to it. You will see the image start to change color when you do this. It will turn to a metallic sort of color when you add the heat to it. Once you have added heat to the entire thing, you will be finished with the embossed stamp effect! Do this for any type of stamp you want and ha...

In this tutorial, we learn how to draw a twisted skull. First, draw the outline of the skull and then start to draw in the jaw line around the middle. After you have this drawn out, draw in the teeth on the top and bottom of the face. Then, draw in the eye sockets and the nose shape. From here, start to add in lines that look like cracks around the top and sides of the skull. There is no perfect way to draw this, draw it how you feel it should look! Add in some shading to show the depth and c...

Interested in using the Google TV Ads SpotMixer tool to produce your television commercial? It's easy. And this official video guide from the folks at Google AdWords presents a complete guide. For all of the relevant details, and to get started using SpotMixer to create your own custom TV spots, watch this clip.

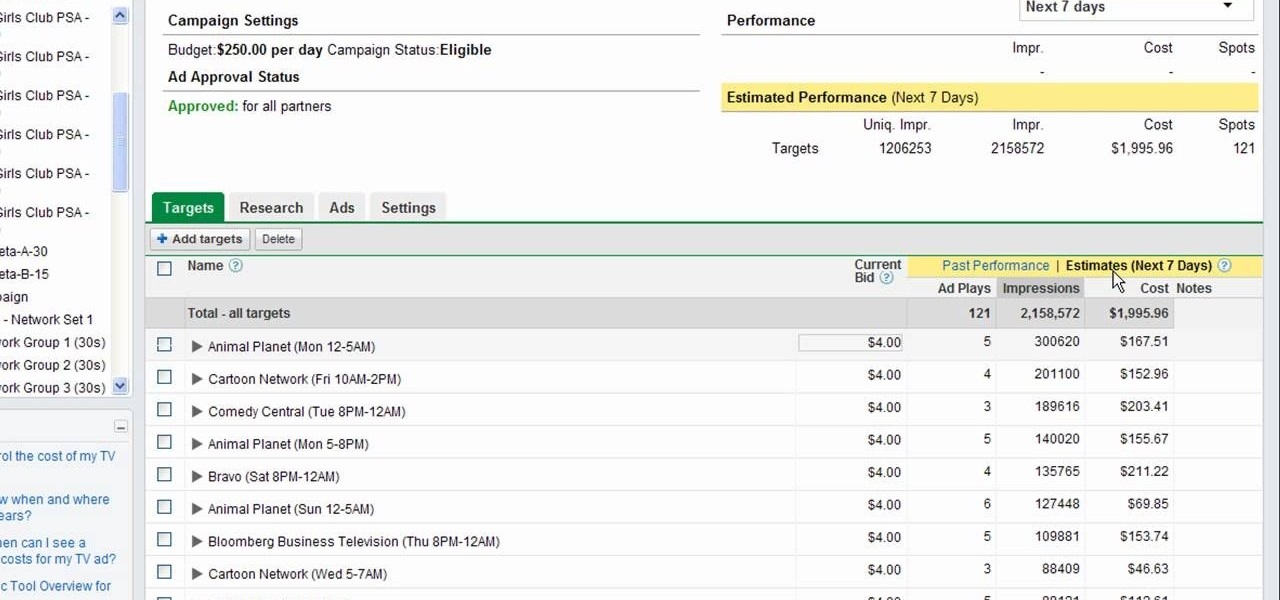
Interested to know how many TV impressions you'll receive over the next seven days? This official video from Google will teach you how to use the new interface to determine just that. For all of the relevant details, and to get started estimating the impressions of your Google AdWords TV Ads campaigns, watch this clip.

If you're only fighting with foam, you don't want a professional hunting weapon. But you can refit a commercial crossobw and make it larp safe. Starting with the Cobra crossbow, you can modify it to safely shoot foam tipped arrows at a boffer larp.

In this tutorial, we learn knitting basics. To knit, you will start out by selecting your choice and colors of yarns. After this, you will need to grab two knitting needles and then make a slipknot from the yarn with your finger. Attach this to one of the needles and then start a chain one on this. From here, you will continue to wrap the thread around the needle and then squish it all together. Then, take the other needle and wrap it into the first part of the thread. Then, continue to work ...

In this video we learn how to draw a nose using simple methods. Use a grid to start sketching out your drawing. Note the dark and light areas by outlining them on your paper. Then, crosshatch the first layer using whichever method works the best for you. Then, use a tissue to blend the pencil marks in with each other and create a lighter shade. Grab your darker pencil and mark on the darker areas of the nose, then start to shade in darker then before. To finish, use your pencil to add in the ...

In this video we learn how to make berries and whipped cream. First, pick the freshest berries, pastry shells, heavy whipping cream, powdered sugar, and vanilla. Start out by adding the cream to the bowl along with 2 tbsp powdered sugar and 1 tbsp vanilla. Take an electric beater and beat these together slowly at first, then increase the speed. Mix for several minutes until you see peaks start to form in the cream. Then, test it out to see if it tastes good. Serve this with your fresh berries...

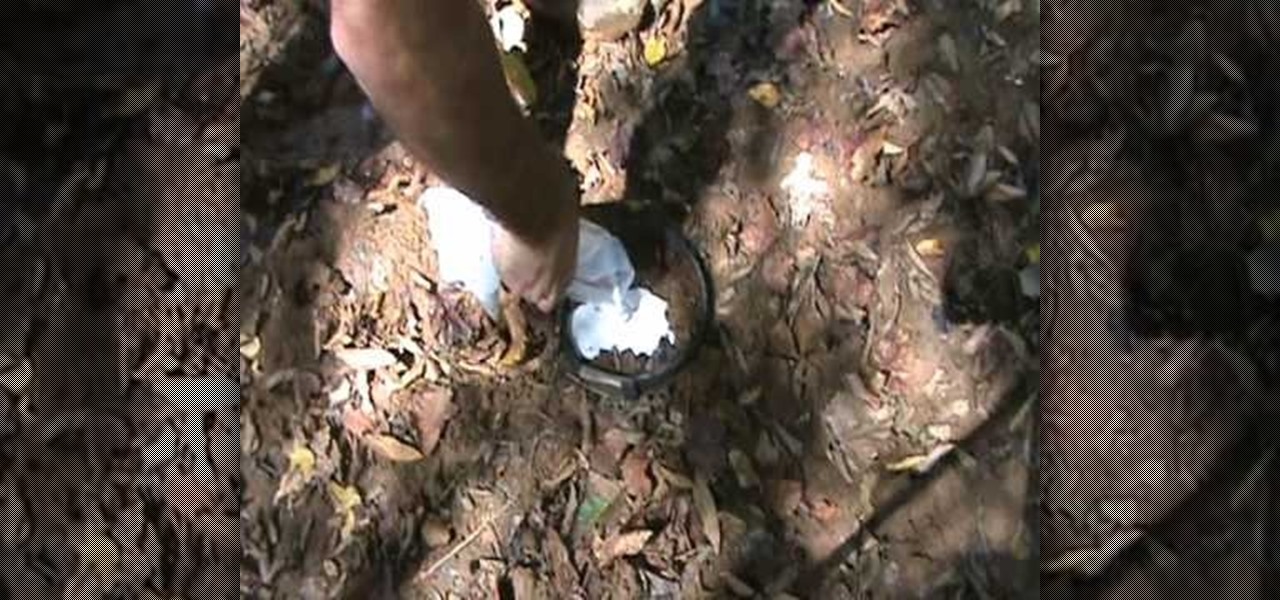
Whether it's research, a school project or term paper, going on an expedition, what have you, having to preserve animal tracks should be a part of your bag of tricks that you can do. But don't just grab some random plaster of paris and just start pouring. Check out this video first and learn how to properly preserve the animal tracks that you find in the wild.

Is your Droid always running out of power, and a charger isn't always convenient? Start with a hand cranked flashlight, then wire it up so you can charge your phone by hand! Great for pulling your dying phone out of emergencies.

In this clip, you'll learn how to add and activate phone numbers for call forwarding with the Google Voice app on a Google Android smartphone. For complete instructions, and to get started activating numbers on your own smartphone, take a look.

In this tutorial, we learn how to dye your hair at home for blondes. First, purchase a couple boxes of hair dye that are the right colors for your hair. After you do this, take all of the products out of the boxes. Now, pour the small bottle into the large container and put the rubber gloves on. You don't need to use both containers, you can just use one if your hair isn't that thick. Snip the top off the container, then start to shake up the container until it's well mixed together. Now, sta...

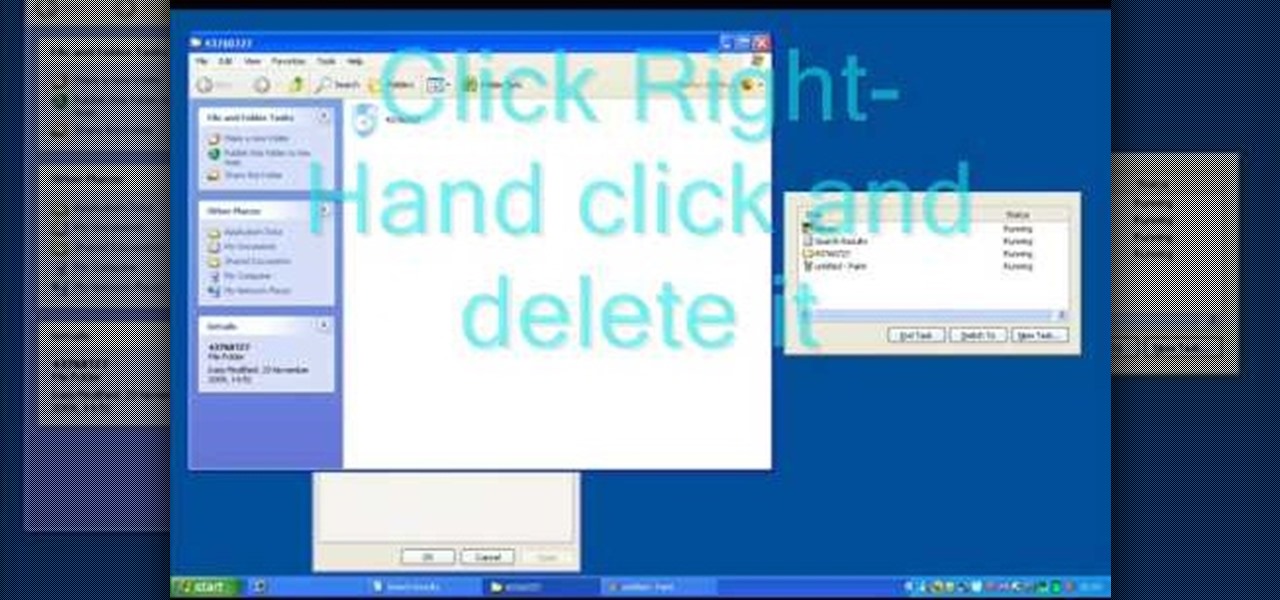
In this tutorial, we learn how to remove security tool in less than one minute. First, restart your computer, then press "ctrl+alt+del" when your new window starts up. After this, wait for a few seconds, then if you see the security tools pop up, end the task for it. Then, go to the start menu, then all programs, then look for any security tools. Right click, on "find target" then delete it! After this, your security tools will be deleted and will stop annoying you. You will be able to delete...

In this tutorial, we learn how to draw the face of an anime young man. Start out by using a pencil on a white piece of paper, drawing spiky hair at the top of the page. After this, draw in additional lines to create more hair around the face, then draw in the sides and the bottom of the face. Next, draw in the features of the face, including the eyes, nose, ears, and mouth. Then, start to draw the clothing and add shading in on the clothing and the top of the hair. Add in more lines to make i...

In this tutorial, we learn how to draw a dragon in profile. Start with a pencil on a white piece of paper and draw out the outline of the profile for the dragon. After this, start to add in the details for the side of the face, this includes the horns, teeth, nostrils, and scales for the dragon. Work your way into the middle of the dragon, drawing in different details, including the eyes and the mouth. Continue to shade and add different lines to the dragon, then finish it off with a horn or ...

If you're transferring from Guitar to Ukulele or if you're just starting with Ukulele and kind of want to understand how the notes on the fretboard, the music theory behind everything and also some techniques for remembering each of the fret letters and how to build chords.

Heart palpitations can be a serious problem if it's not monitored properly. If you're starting to get more and more heart palpitations, or if you've been experiencing them recently, it might be a good idea to watch this video. In it, you will learn what signs to watch out for before going to the doctors, as well as tips and various techniques that you can use to calm them down and keep them to a low frequency.

In this clip, you'll learn how to jailbreak and unlock an iPhone 3G running iOS 4 for use on the T-Mobile wireless network. For more information, including detailed, step-by-step instructions, and to get started jailbreaking and unlocking your own iOS 4 iPhone 3G, watch this hacker's how-to from Zedomax.

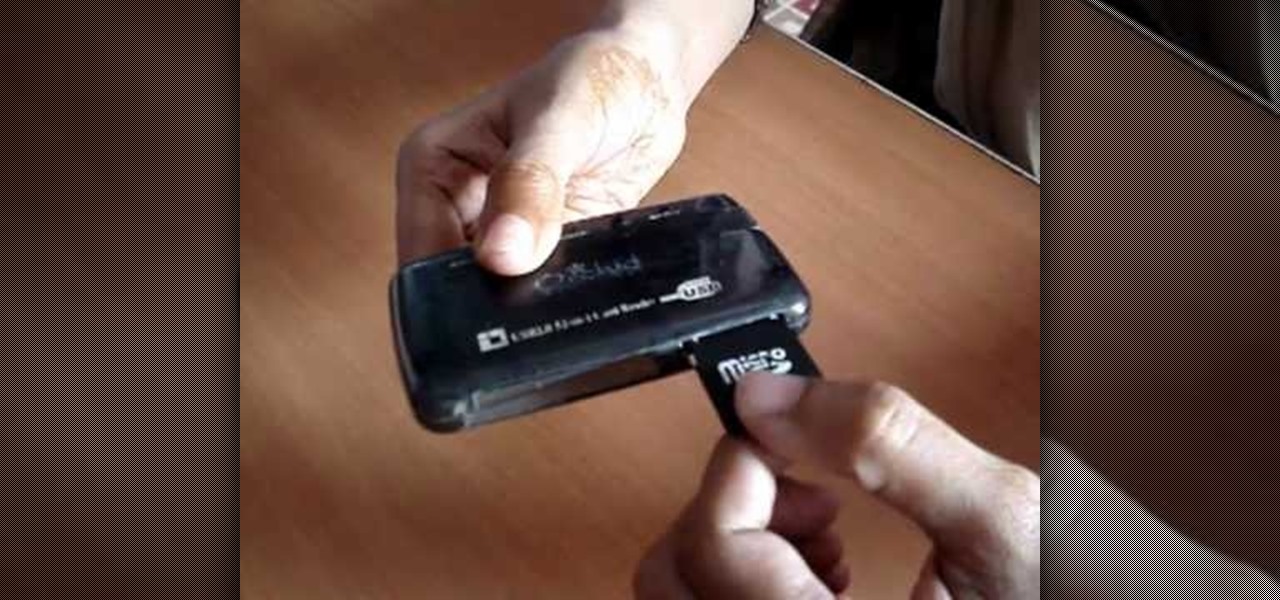
Sometimes it's necessary to format your memory card in your mobile phone or digital camera, just like you need to format a hard drive, because of virus problems or slower speeds. This video will show you the steps to formatting (or reformatting) the SD memory card for a cell phone, using a memory card reader. You'll also get details about a write protect error that could happen.

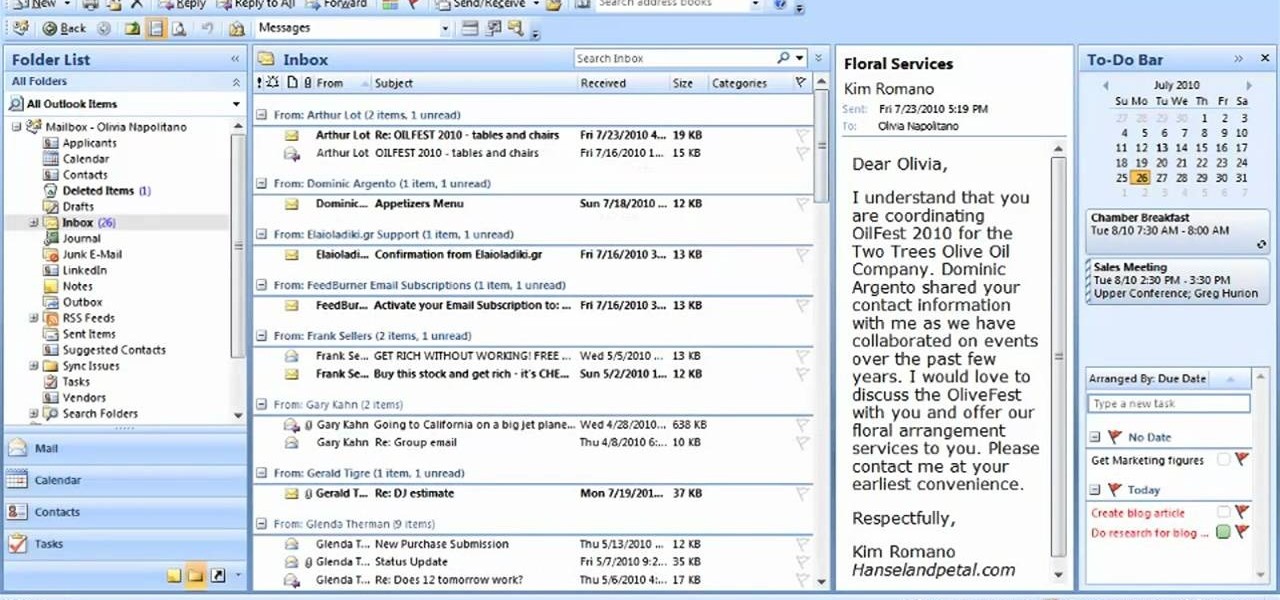
Sort your emails by either date or sender within MS Outlook 2007. This clip will teach you how. Whether you're new to Microsoft's popular email and scheduling application or a seasoned MS Office professional just looking to better acquaint yourself with the Outlook 2007 workflow, you're sure to be well served by this video tutorial. For more information, and to get started organizing your own inbox, watch this free video guide.

In this video, we learn how to do a single crochet going through back loops only. First, do your foundation crochet, then start doing single crochets. With the chain, there is two loops, the back and front. To the back loop, you would go through these with your crochet hook, then pull on the yarn to continue to crochet. Make sure you find the difference between these so you know which loop to go through. Start to do back loop crochets and continue until you reach the end of the line. Make sur...

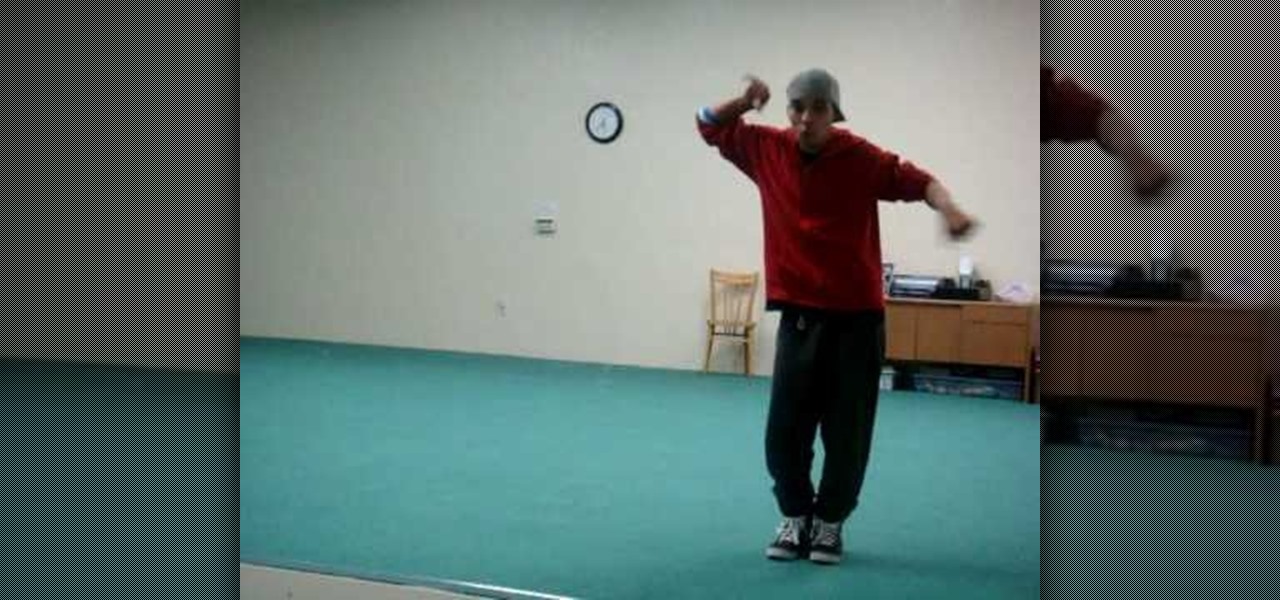
In this video, we learn how to do the break dance "which-a-way" lock. Start diagonal and put your hands together in front of you. Now, kick front and back, then twist. When you twist, your knee will go into your chest and be raised high in the air. Next, extend your leg and then bring it down to the ground, bringing the other leg up, then rocking between the legs. Start to do this between the legs, moving your upper body with you. Do this faster, rocking from side to side, then put these move...

In this video, we learn how to do a breakdance crab walk. Start on the ground, bringing the feet into the air. Then, bring the left hand back and your right hand out in front of you. Lean side to side to help you shift your weight. You need to get comfortable with both crab freezes before you will be able to do this completely. Next, you will start to switch your arms while you are doing this, with your legs still up in the air. This takes upper body strength to do, but can be combined with o...

In this video, we learn how to do a breakdance "scoo bot" lock. First, start with the feet only and once you master that, add in the arms. Place your heel up and your toes facing up. When you practice, use counts in your head to help keep you on beat. When you lock, you don't want to stay stiff, you want the dimensions changing all the time. Keep your movements low to stay with the beat. If you feel more comfortable going left first, then do this, or vice versa. Continue to practice this and ...

In this video, we learn how to create a song in Studio One. First, click on "create a new song" on the start page. Now, click on the empty template, and click on the continue button. After this, click song, then song setup. Click on the audio IO setup, then you will see a new window with input channels. Add in cross points and channels to the window and then test it out. Before you exit, click on the make default button, then click ok. After this, you will be able to start creating a new song...


